alpenwasser
New member
Oooo. Me likey the navy blue combo. (Then again, I like just about any color blue, except light/sky blue or turquoise. :lol")
+1. The navy combo looks very nice.
Oooo. Me likey the navy blue combo. (Then again, I like just about any color blue, except light/sky blue or turquoise. :lol
") ).
).


 . Gonna look even better with the sleeving. )
I find it odd that the coolant takes on a green colour in the reservoir and yet appears clear in the tubing. Hopefully it should go quite well with the sleeving.
Nice job on the loop


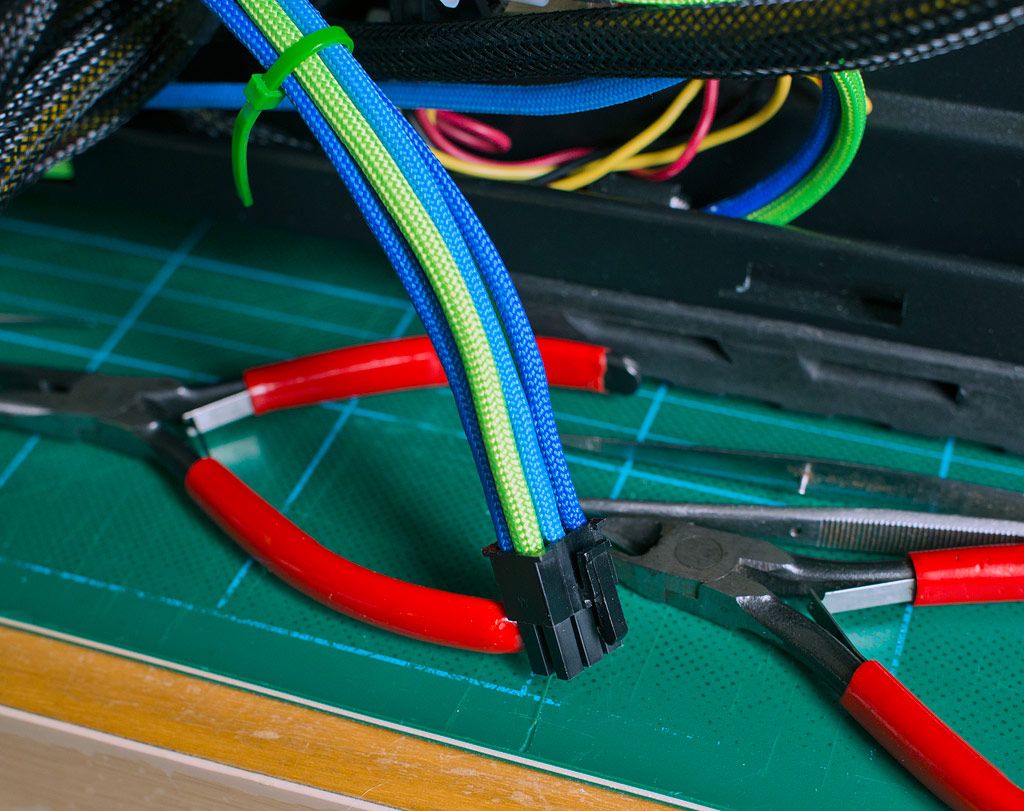
Got some sleeving done this afternoon. Takes quite a while, so i imagine this is going to be a long winded job.
. I know it doesn't really matter that much on the fan cables, but on the PSU cables that will actually be somewhat shown, I'd use a little shorter length of heatshrink, or you can just get rid of the shrink altogether by stretching the cord down to the end of the pin(s), heating it with a lighter, and pinching it in as tight as possible. Takes quite a while, so i imagine this is going to be a long winded job.


I've done the first 6 pin pcie connectors. Cable ties seem to be essential to keep the wires in order else they go all over the place.