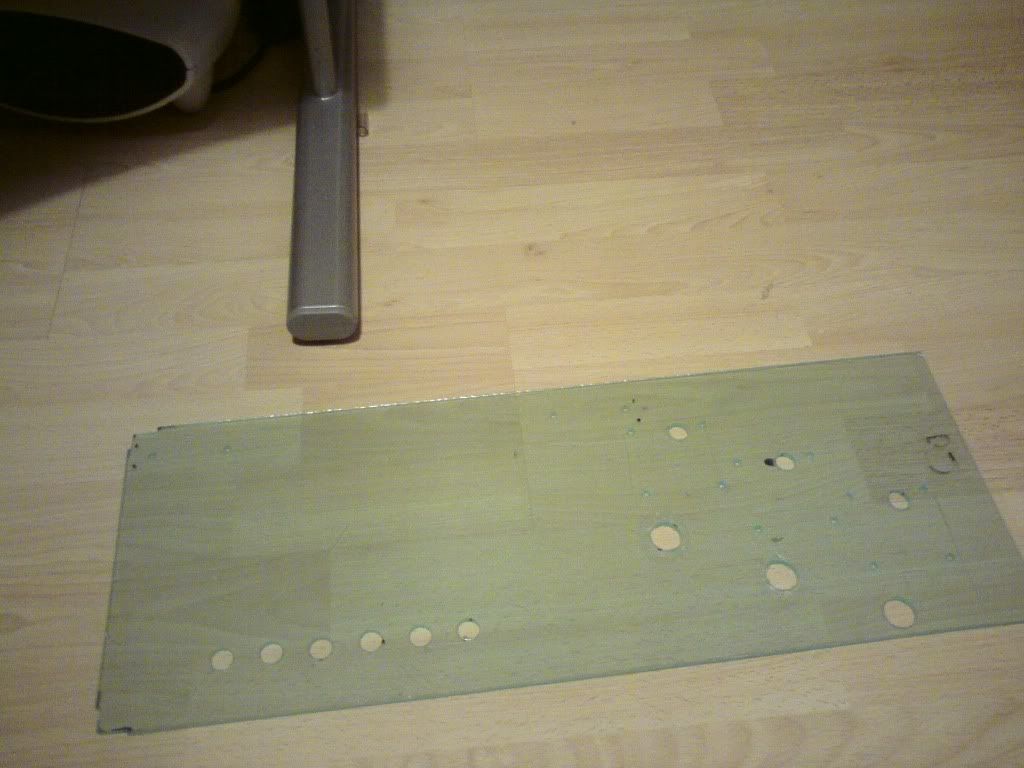
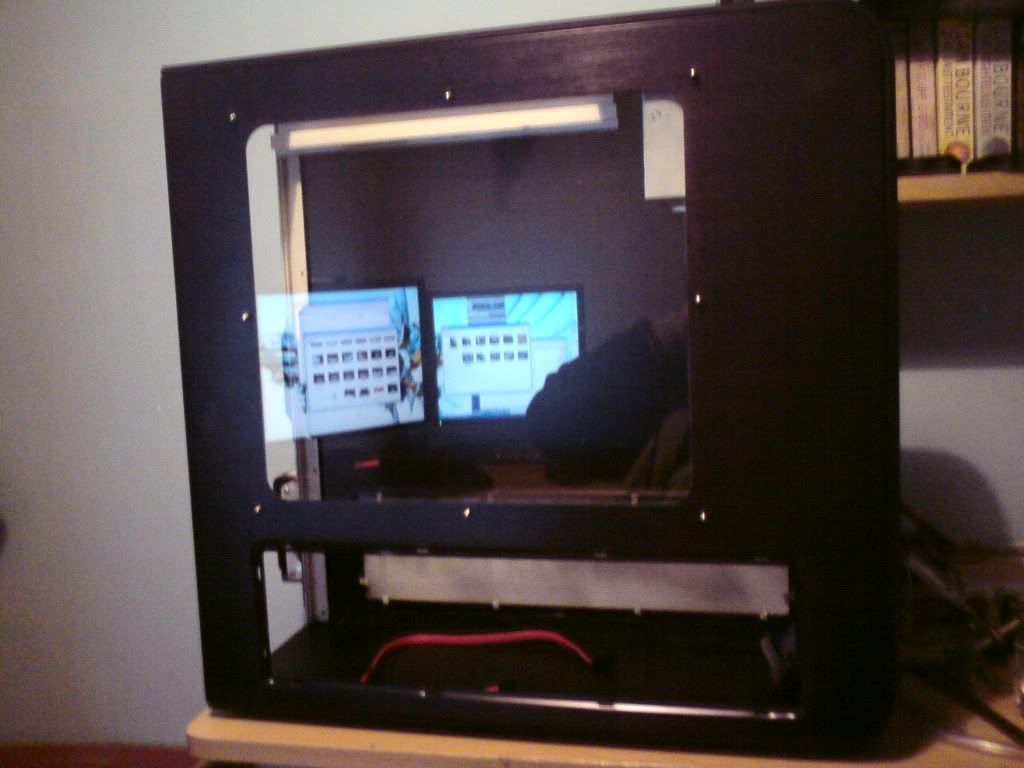
.:Filtration:. - Finished - New Video

Thanks :) ill take note, i need some more perspex for the floor now :( need to add another layer, i took the cheap way out (well £130 instead of £260) so have much xtra work!

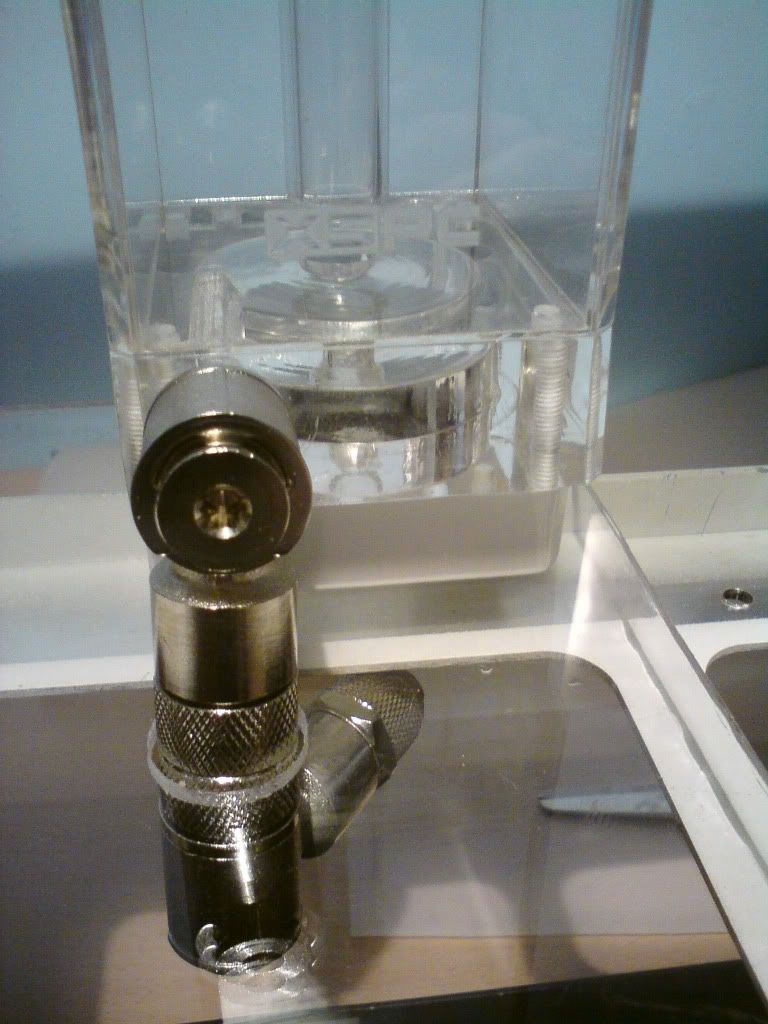
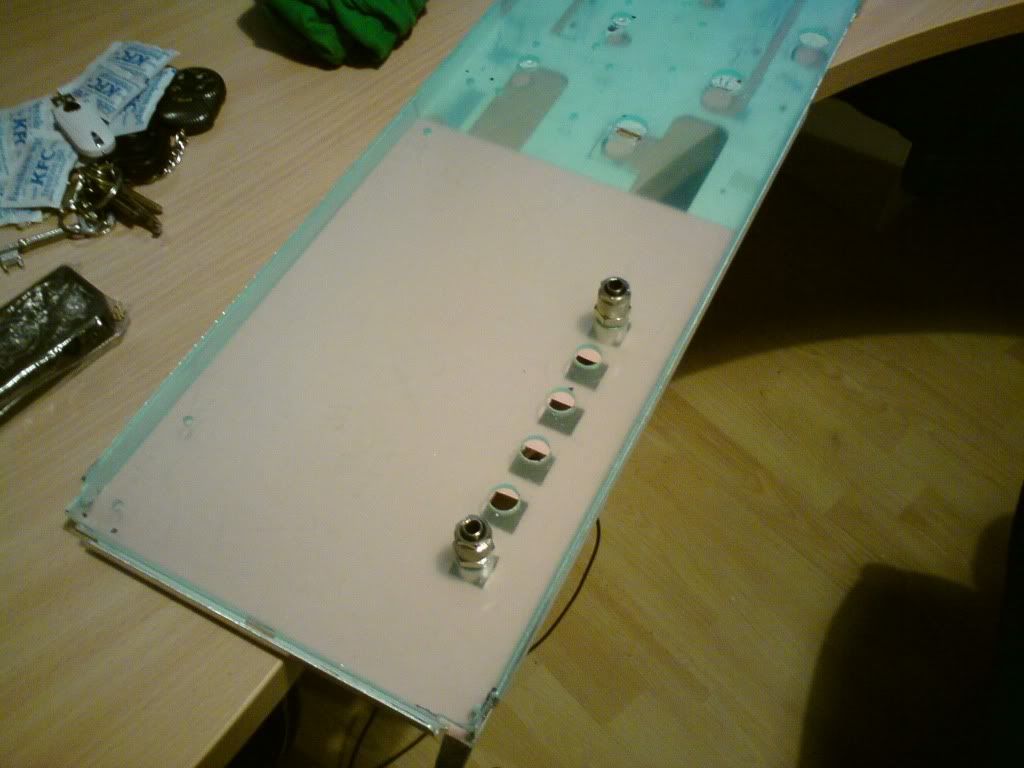
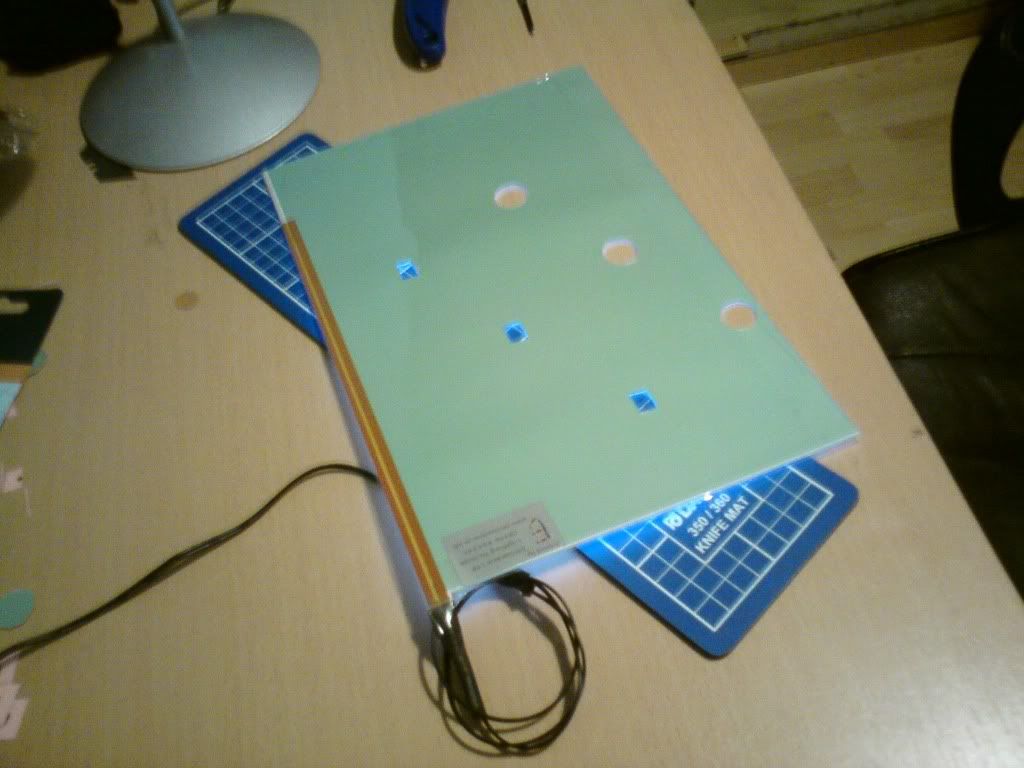
I have found a 1/4" female to female 90 deg fixing for £140 a pop so when they come i can get some holes made in the floor.

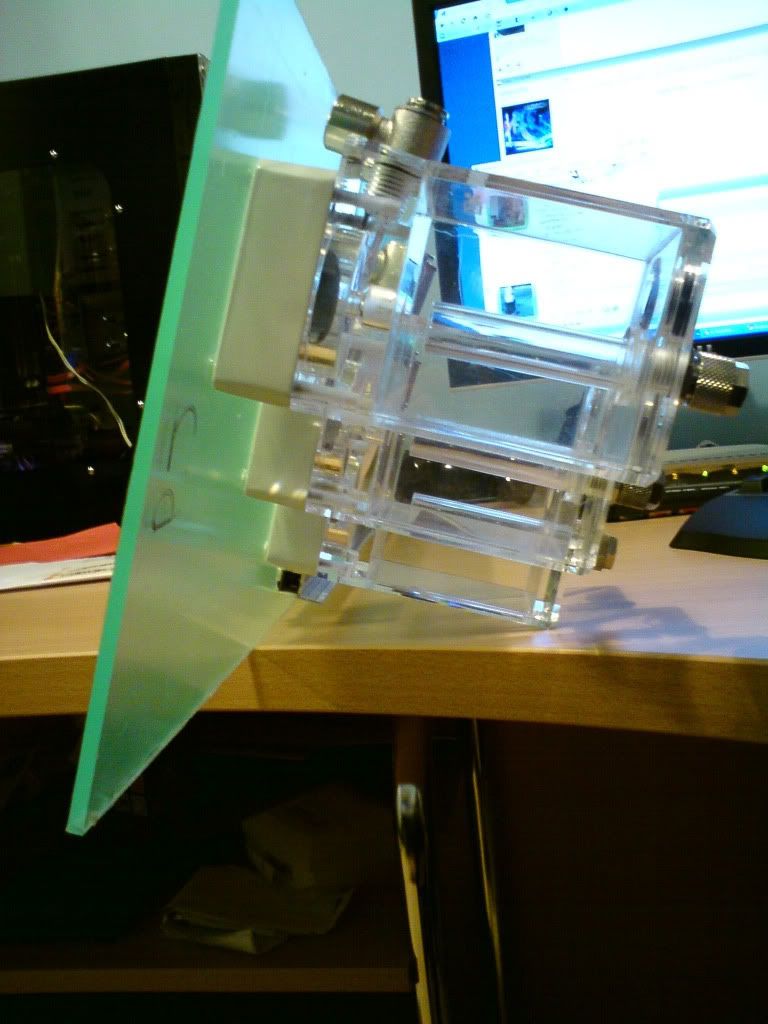
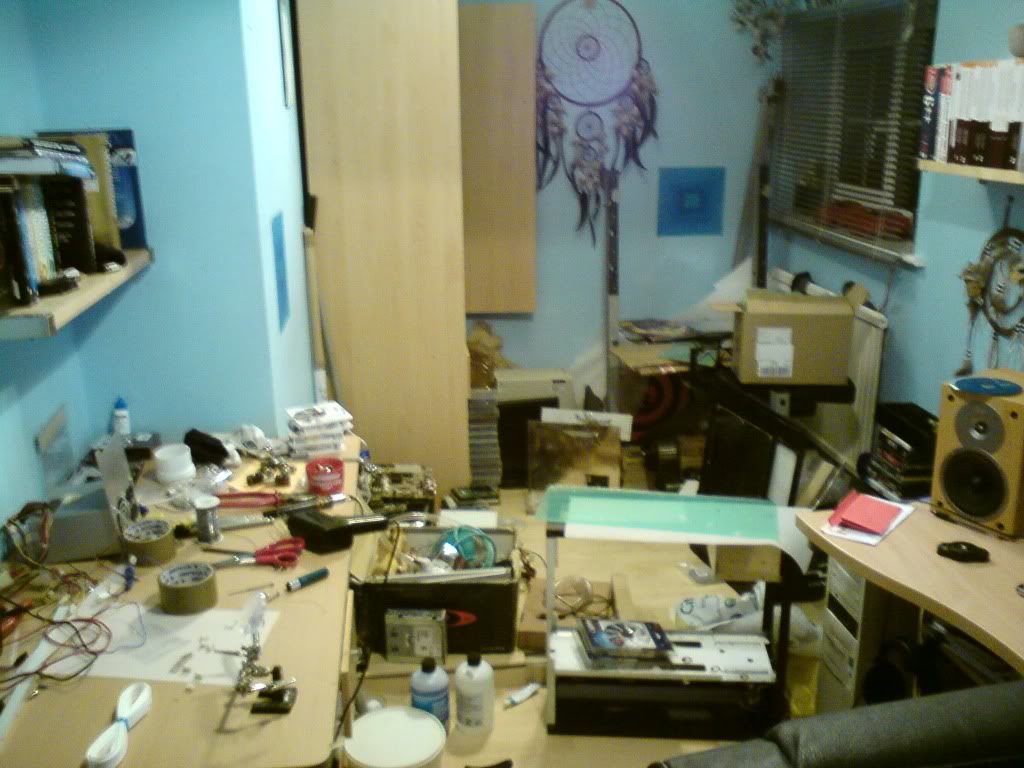
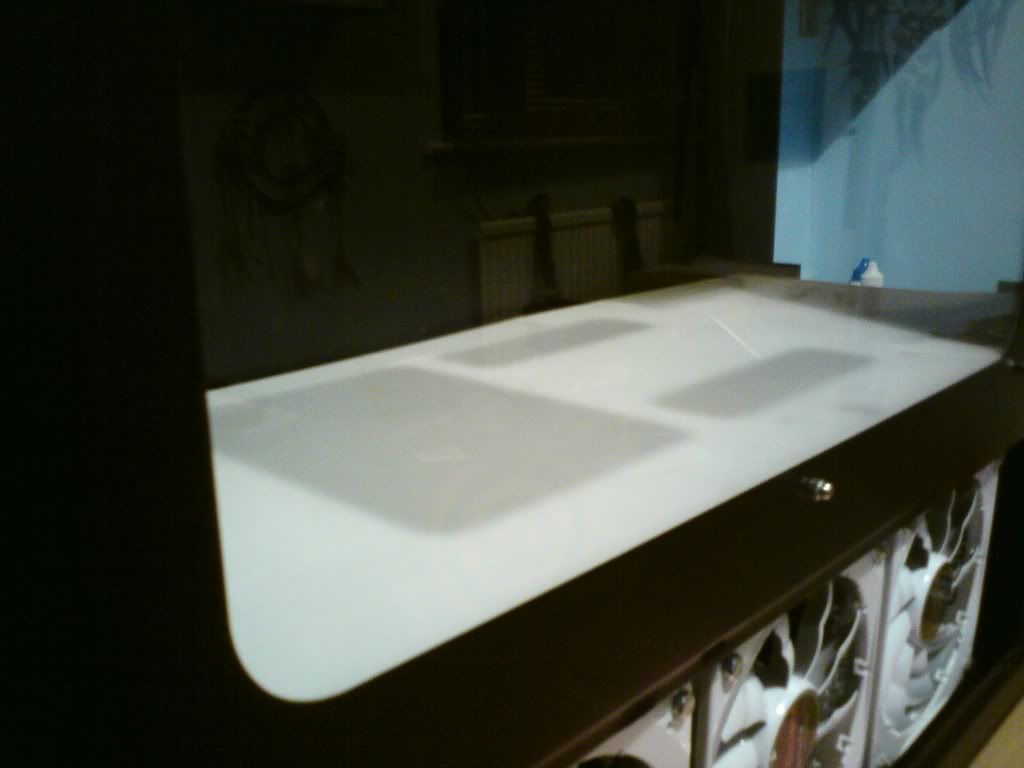
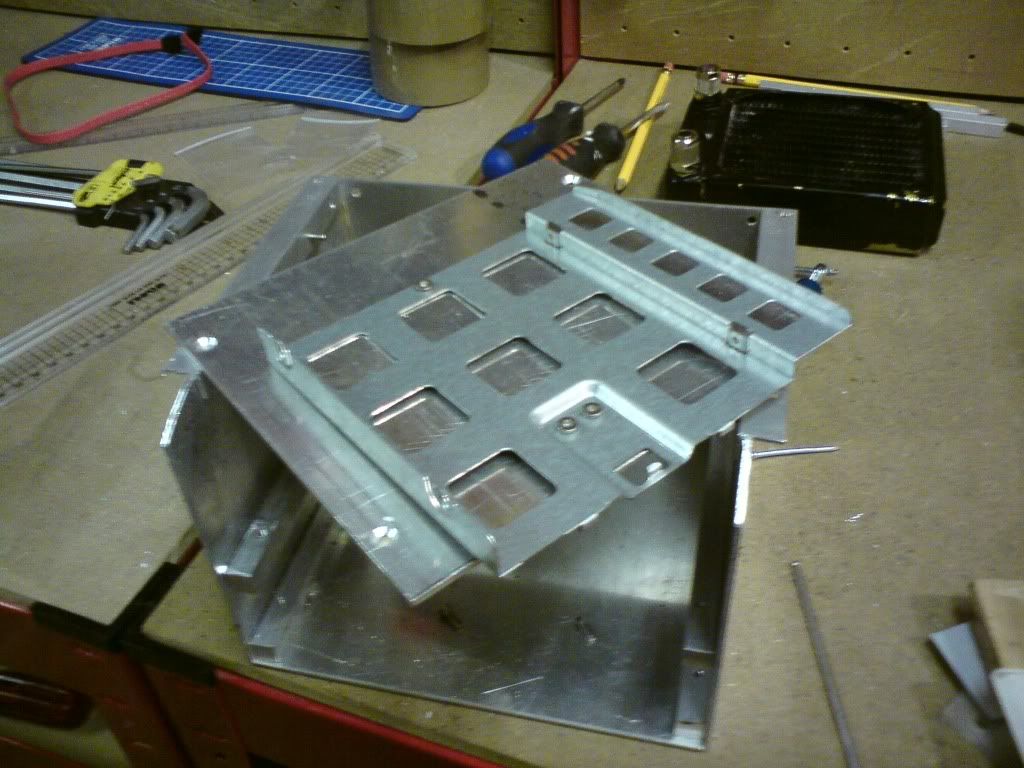
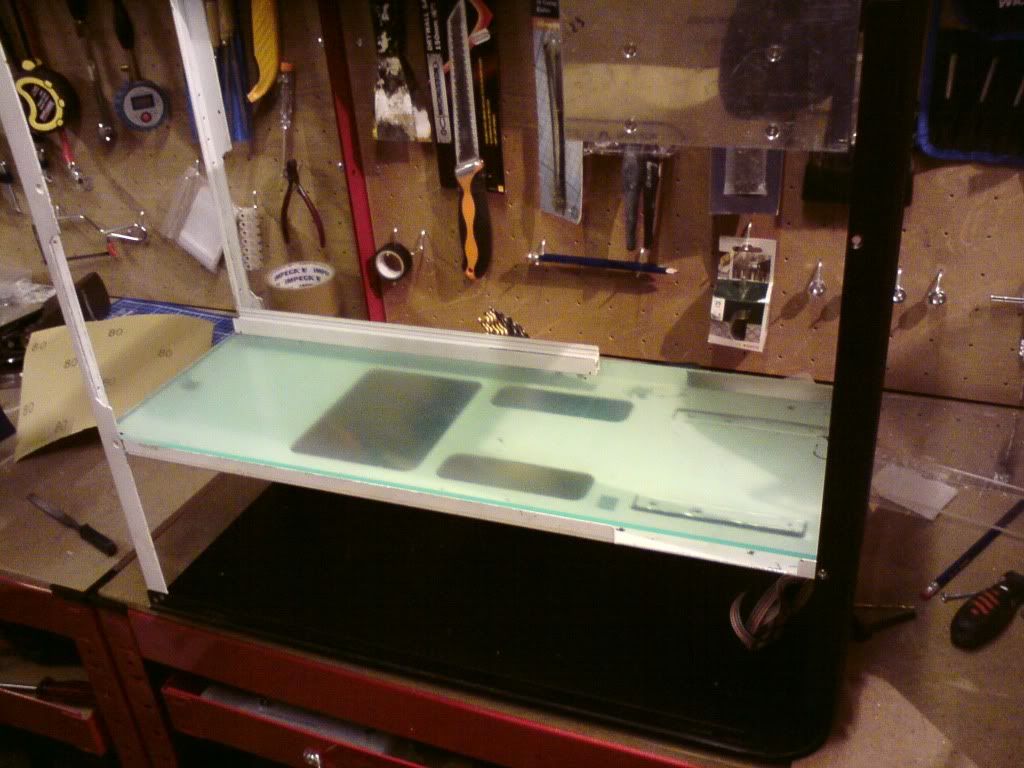
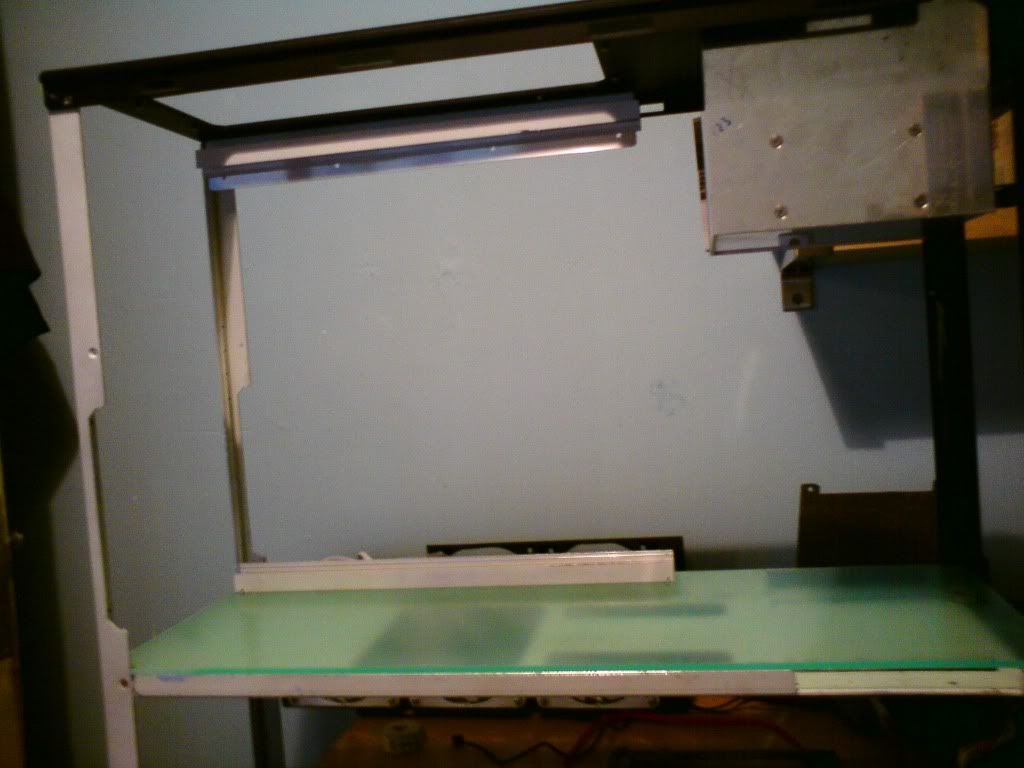
I also mounted the tj07 dividing floor upside down to give me more room under it looks quite nice with the floor coming very close to the bottom of the window. If i can keep it like this i will.

DSC00170.jpg


DSC00171.jpg


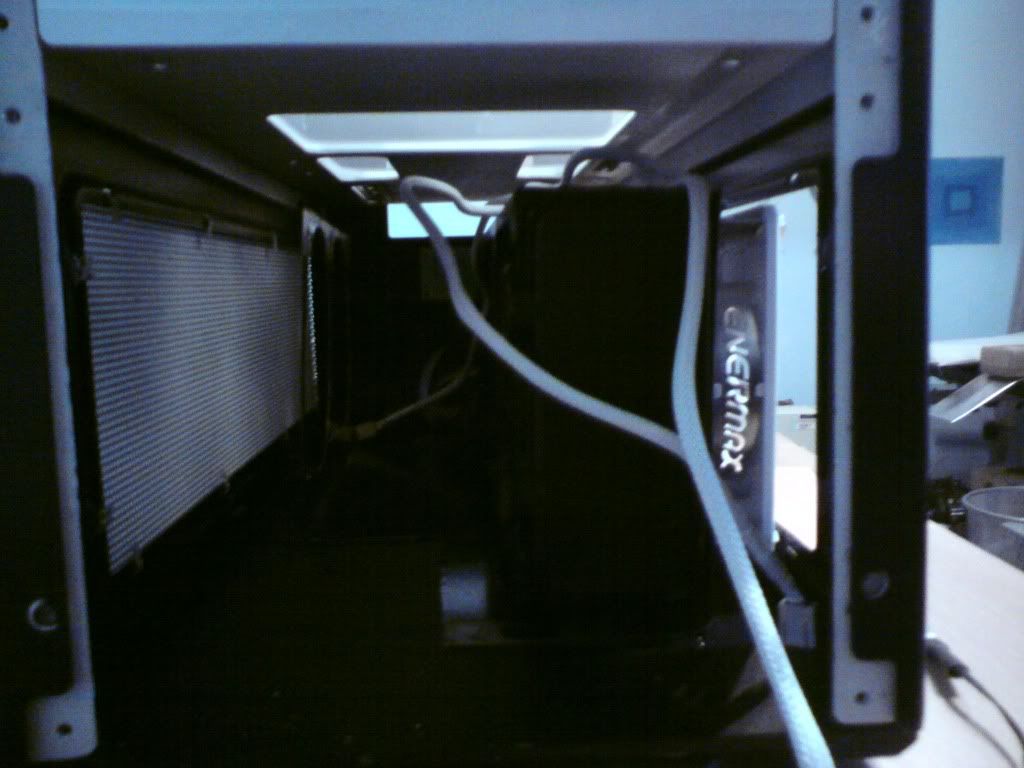
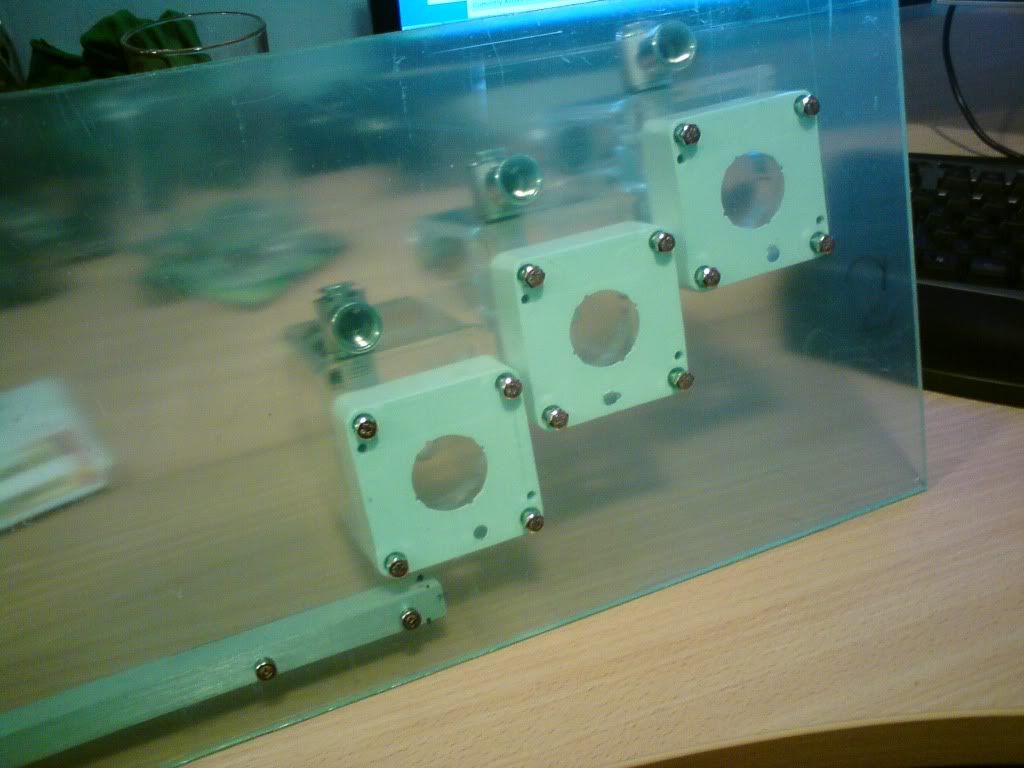
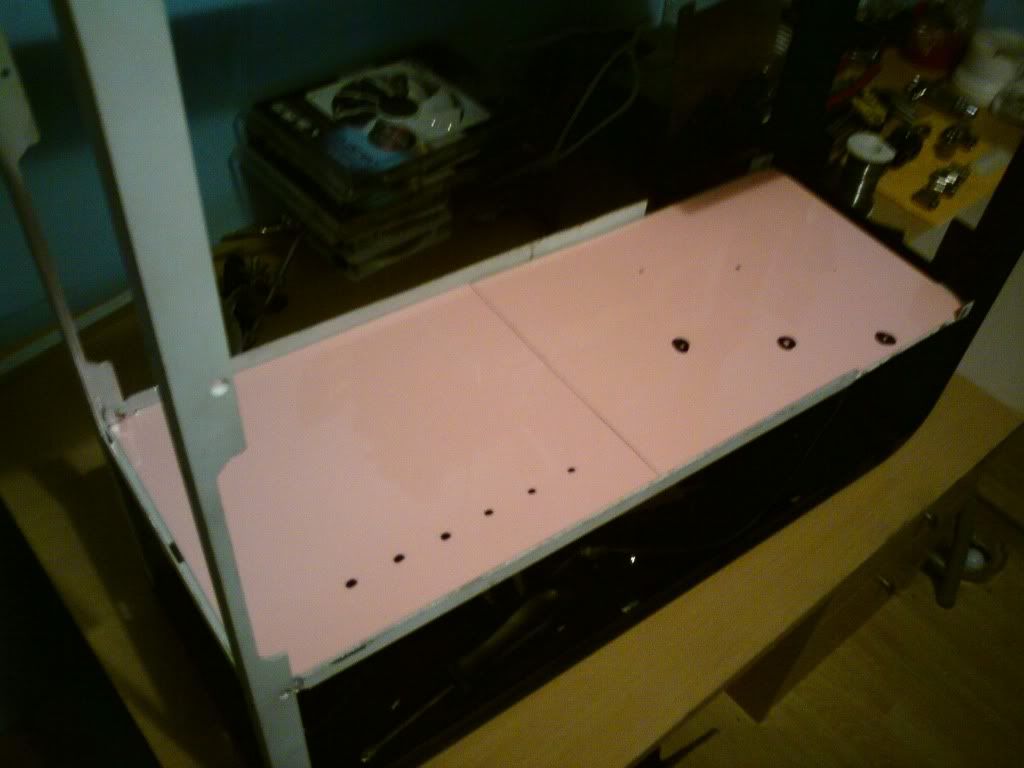
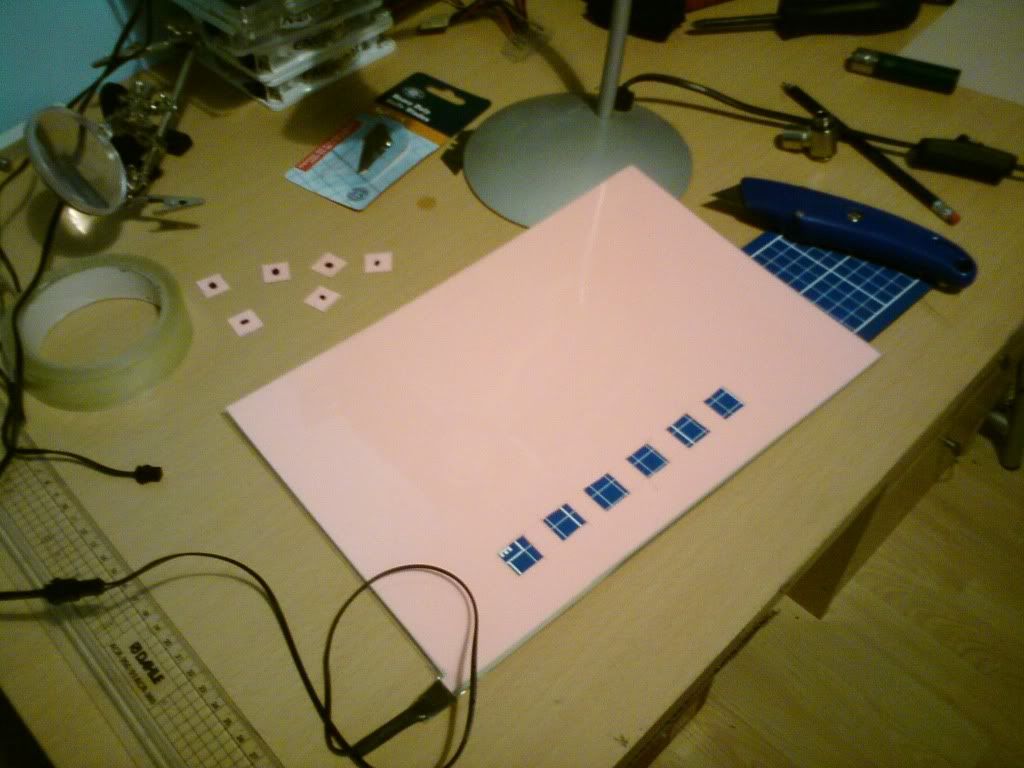
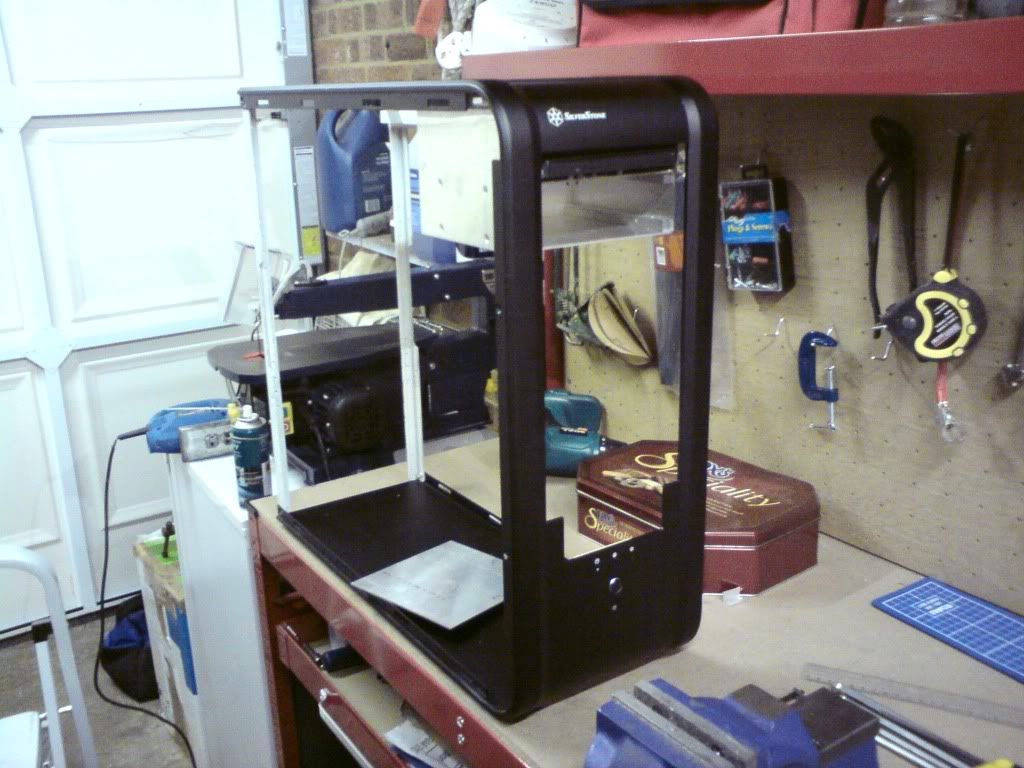
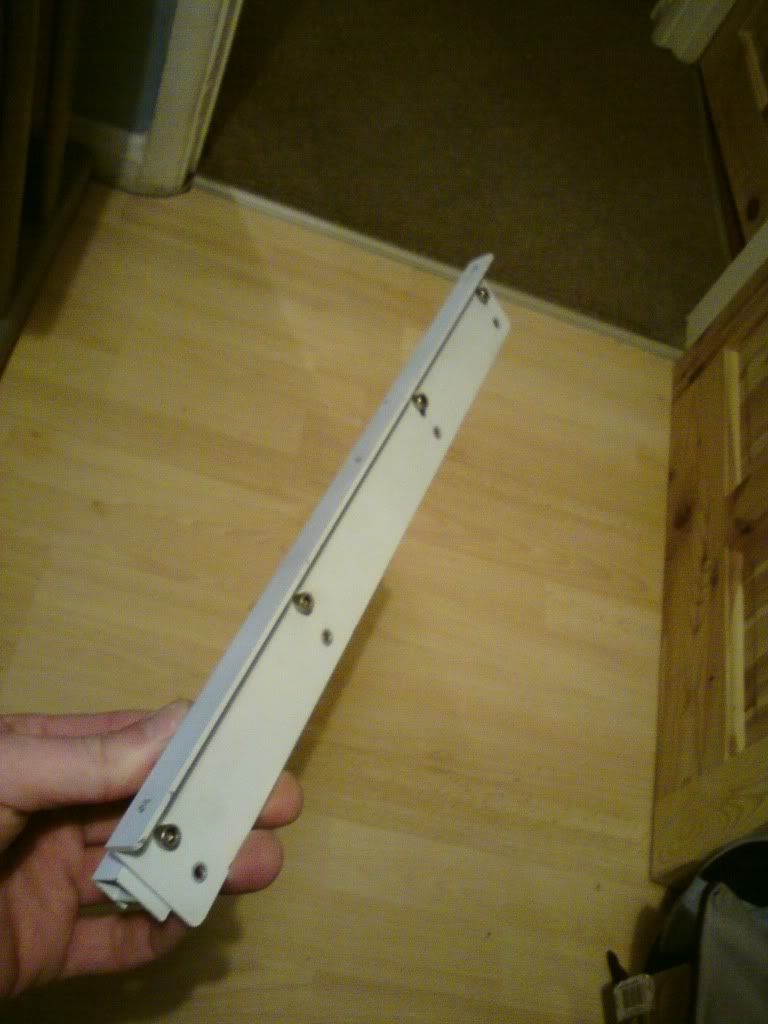
Here is the only thing from to nights playing around that shows any progress, will be tidier with it the final fitting.

DSC00173.jpg
 
Why are those fittings £140 each!? Im hoping that was a typo haha

Flooring looks like its gonna work nicely, been worth all the hassle :D 
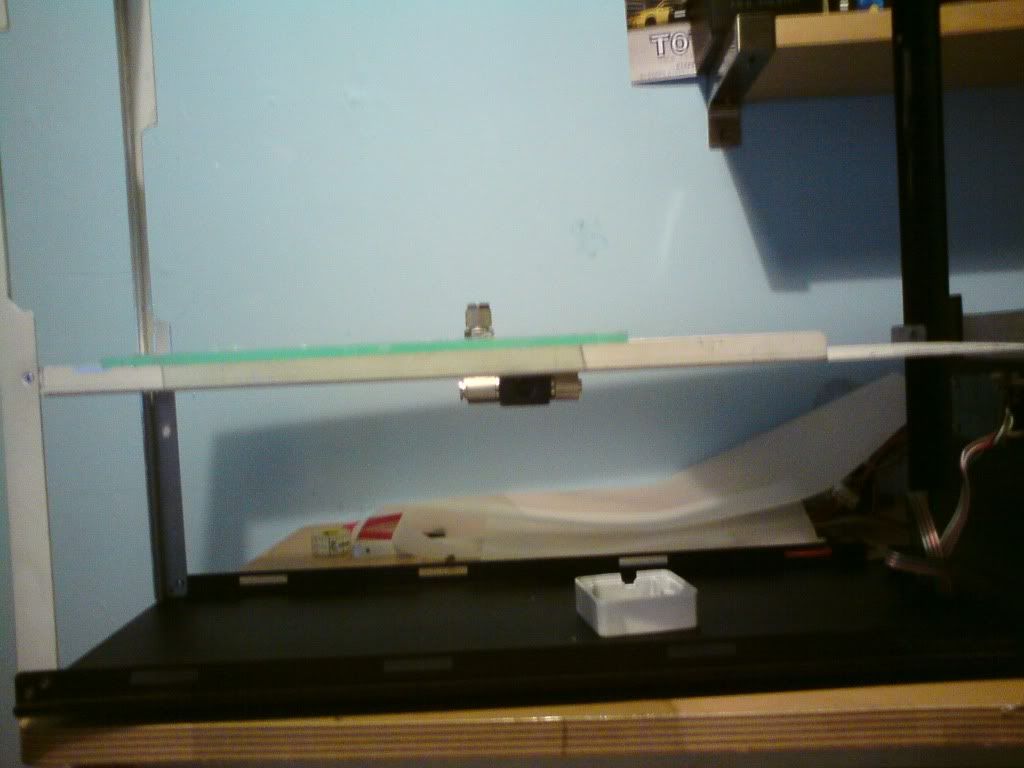
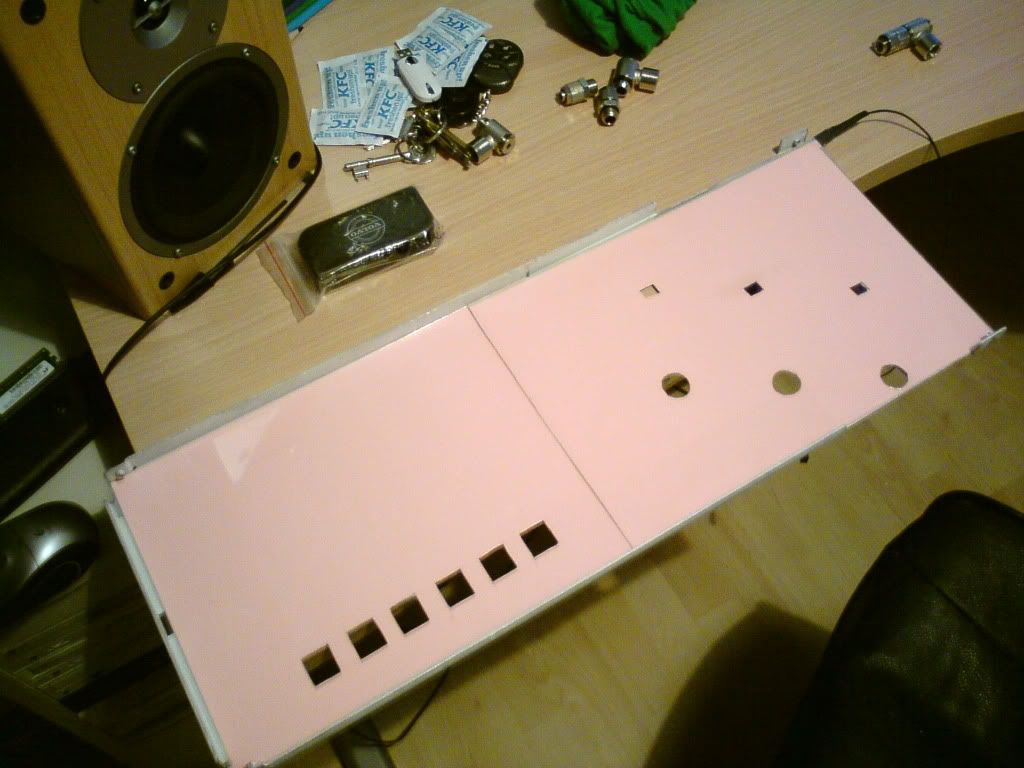
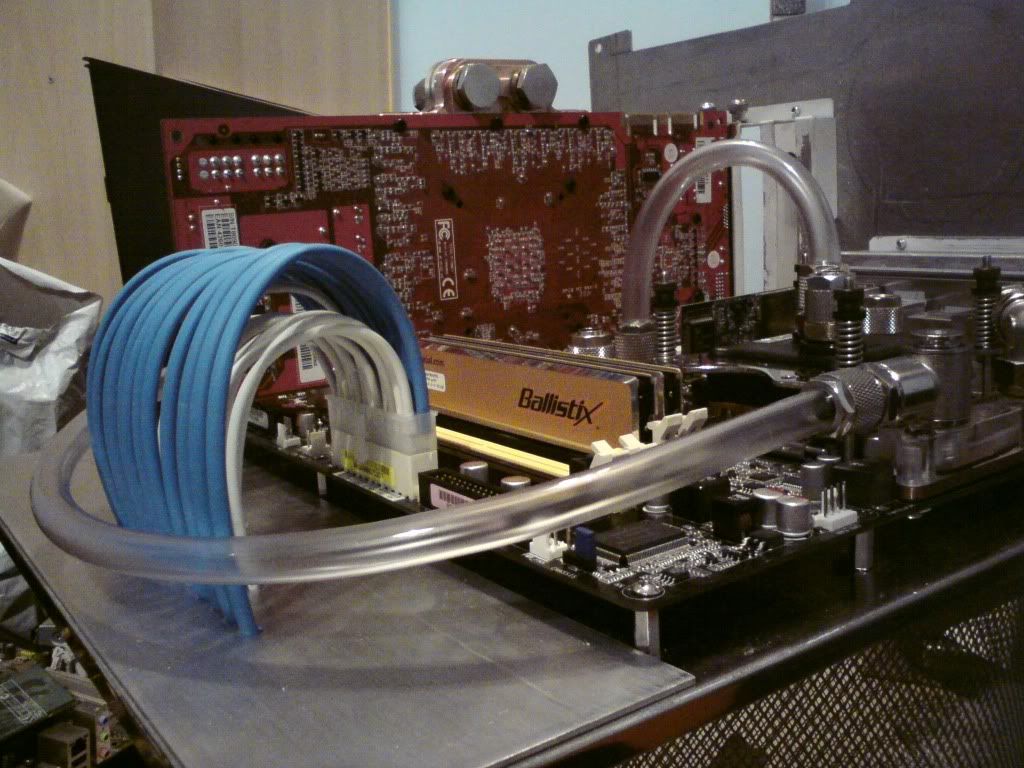
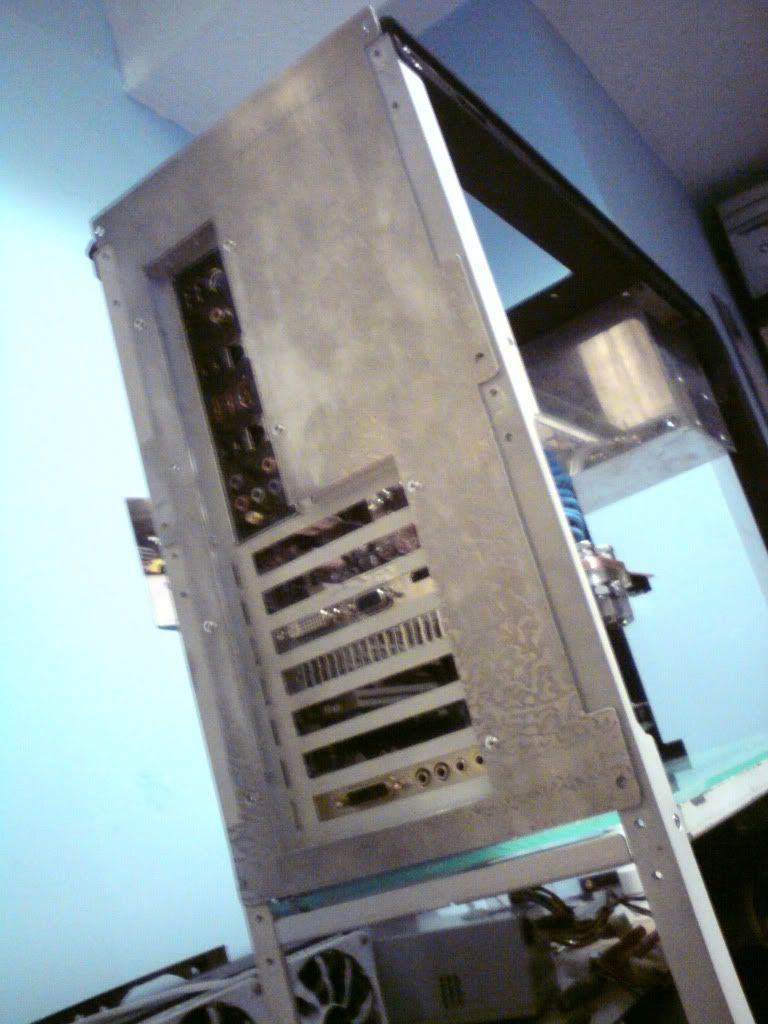
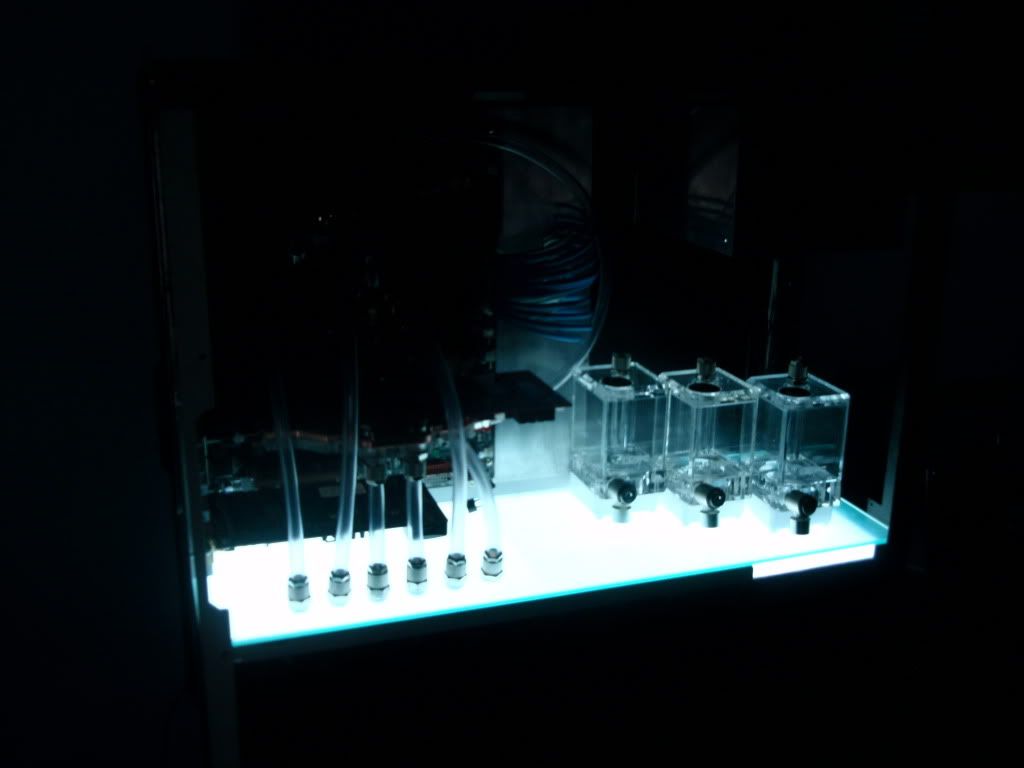
Cables look like theyve worked out pretty nicely too but its not the best angle to see them from there
 
I personally think the cables should be all white. I don't really think that blue looks nice. But then that's just me :P
 
Thanks mate :)

Tonight i did a bit more work on the drive bays, i moved the whole thing forward an inch or so to leave a smaller gap at the font and make it look a bit more profesional. Also means you dont see as much when the windows on.

Put in the CD drive shelf and mounted the CD Drive, does not sound like allot or work but it took me the best part of 3 hours.

DSC01045.jpg


DSC01048.jpg


DSC01050.jpg


Skorch
 
Productive day today. My new sheet of acrylic came today so i was able to make good head way on the flooring. Here you can see i mounted the mobo runner on it.

DSC01040.jpg


DSC01041.jpg


I then had to move the top runner up 17mm to suite. Rivets where drilled and then tapped.

DSC01042.jpg


DSC01044.jpg


Due to me doing this the backing plate is going to have to be re-made to suite.

DSC01048-1.jpg


DSC01049.jpg


This shows the floors new level, quite near the windows which i quite like.

DSC01052.jpg


Here is a pic with is all tubed up and pump placement testing, escuse some of the wonky hoses its not sitting right.

DSC01067.jpg


Here is a pic of the pumps mounted (ill get more detailed pics tomorrow) and floor placed together.

DSC01086.jpg


Im now waiting for some fixings so i can work on the hose as it come out the bottom of the floor,.

Im not looking forward to taking this appart for painting.

Bed time :)

Skorch
 
That lighting effect is absolutely fantastic.

It almost looks clinical. You aren't going to use colored liquid are you because I think you would ruin the effect slightly if you did. Brilliant work, there are so many tj07 builds going on but this really stands out.
 
This is looking the dogs dangles! Love the 24pin through the metal plate! looks the tits.. And having the pumps in full view seperate from the rads is a really unique idea. sub'd :)
 
Thanks guys, tom read the first post for coolants ;)

Flooring guide is here http://forum.overclock3d.net/showthread.php?32133-Illuminated-Flooring-How-To&p=366304#post366304

Little update.

Few pix of the pumps mounted, I have just painted the tabs that show on the inner motor so i can crack on modding them to 18v and then braid them.

DSC01092.jpg


DSC01093.jpg


Got a few fixings through today so i was able to work out how I can get through the floor and clear the rads.

DSC01096.jpg


DSC01098.jpg


I then place a stupidly HUGE fixings order!

This is now many holes are now in the floor, I really do hope I don’t break it.

DSC01100.jpg


Skorch
 
Thanks :)

Well it was a good night tonight, i shall let the pics do the talking (like i allways do).

I cleaned this up.

DSC01113.jpg


I sorted out my pumps and braided the cables.

DSC01110.jpg


DSC01111.jpg


I then set about doing what i have been putting off, cutting the £50 a pop EL Panels. I marked them out and the bit the bullet.

DSC01114.jpg


DSC01117.jpg


DSC01120.jpg


DSC01125.jpg


Wala!! It worked and now i can can clean the mess in my pants :)

DSC01118.jpg


DSC01128.jpg


Here is the back of the panel, them two strips are the only bits you cant cut (to an extent)

DSC01123.jpg


More work thus night, but im getting held up by parts again.

Skorch
 
I think i have settled on a grill design (after a day of photoshop), this will be laser cut then flushed in to the side panel.

This image is exactly how I had it in my head, really looking forward to getting it finished. Still held up with deliveries!!

I am making a few changes as well, that plate where the ATX comes thought I'm taking it it off the mobo tray and extending it to the front of the case. I'm also making it taller and its going to extend it to the back of the case so it runs up the top of the mobo and down the bottom (bolted to the mobo runners). This should give me an ultra clean look. My friend who i get all my alli sheets from is on holiday, should be back soon. Also the new Rad mounts are on there way!

Filtration-Case-side-design.jpg
 
It took a day on photoshop to come up with that?! Joking- looks good. Noticed how the fans are gonna fit in etc etc. Nice idea with the lettering.

Are you going to stick with the white theme? Powder coat the ali?

Also: where do you get it laser cut???
 
Liking the shooping there :P I think the window shouldn't show where the HDD's are housed. The original window design to me is perfect as you only see the motherboard and graphics card area. Shortening the window would solve this problem. If you don't mind seeing further up the case then leave it :P
 
Back
Top