You are using an out of date browser. It may not display this or other websites correctly.
You should upgrade or use an alternative browser.
You should upgrade or use an alternative browser.
.:Filtration:. - Finished - New Video
- Thread starter Skorchio
- Start date
Ducky Spud
New member
Nice idea with the 24pin wires. Will wait to see how it looks on the final thing, not sure if its gonna look amazing or a crazy mess lol. Hopefully amazing 
name='Ducky Spud' said:Nice idea with the 24pin wires. Will wait to see how it looks on the final thing, not sure if its gonna look amazing or a crazy mess lol. Hopefully amazing
My thought are exactly the same... haha.. I was putting the messy look down to the clear acrylic and not having fixed them all down to equal lengths... Ill keep telling myself that
")
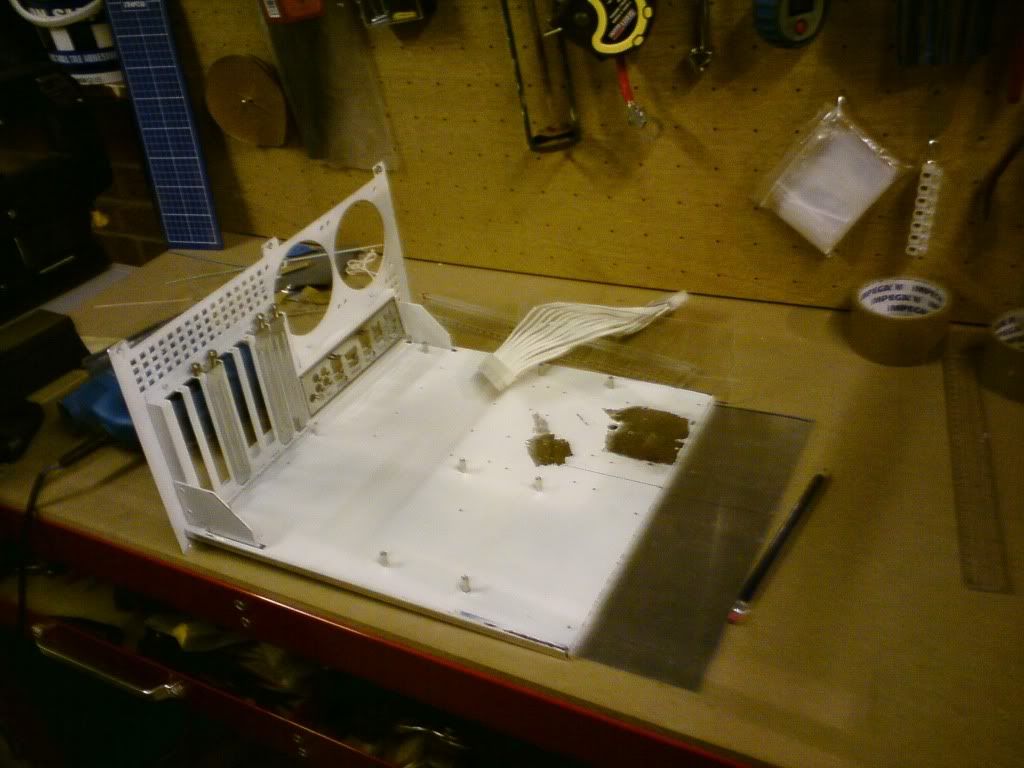
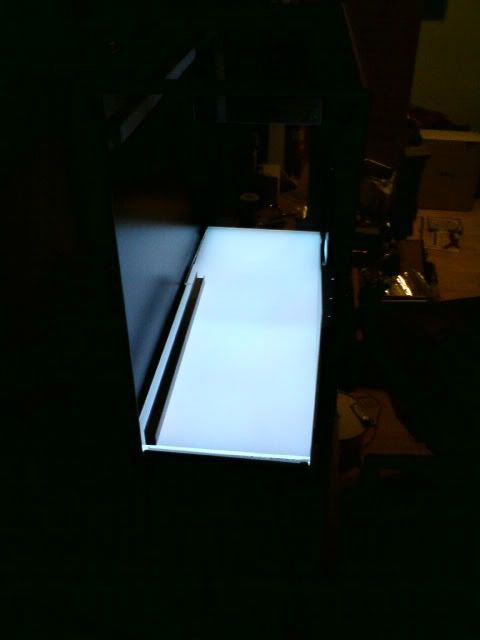
I got my white acrylic to use as the top layer of the flooring but its not as translucent as i thought it would be.
As you can see with 2x white CC's it does not let much light through.
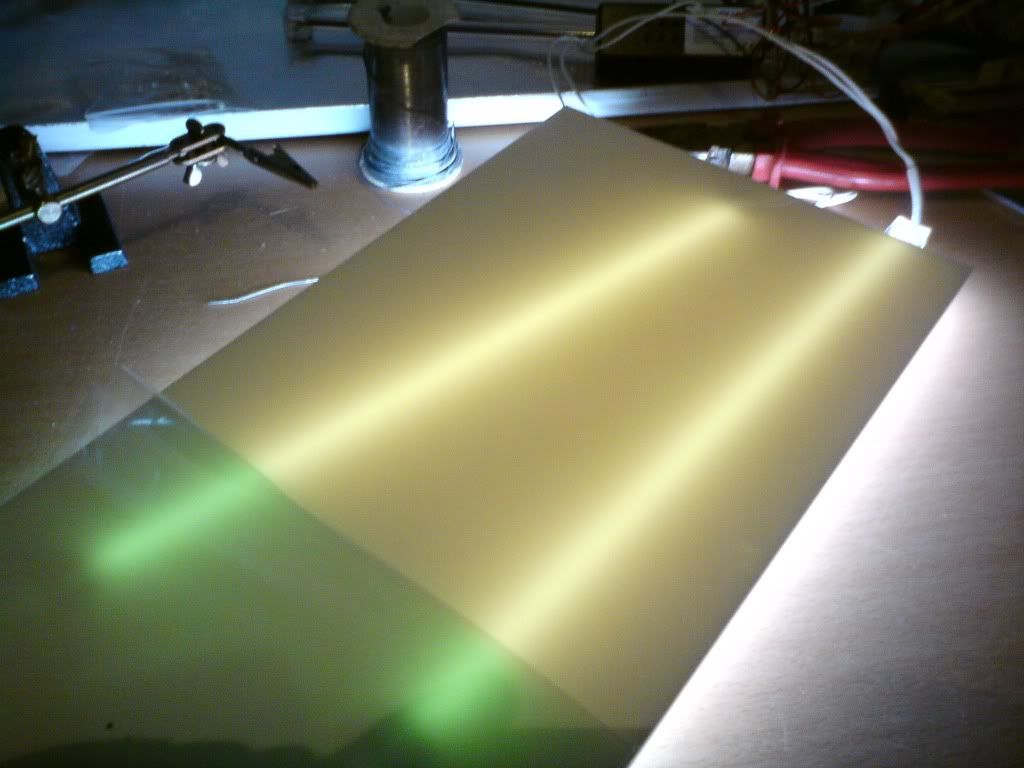
I should have the some more components soon so i will be able to better tell if it will work, i may have to get a very thin white top piece or look for other solutions. This flooring could be a project in its self.
More soon.
As you can see with 2x white CC's it does not let much light through.
I should have the some more components soon so i will be able to better tell if it will work, i may have to get a very thin white top piece or look for other solutions. This flooring could be a project in its self.
More soon.
Ducky Spud
New member
I think its already a project in itself!! Damn this festive season slowing down all the deliveries haha
siravarice
New member
Get a clear acrylics and sand it with fine sandpaper. Should create the translucent effect you are going for.

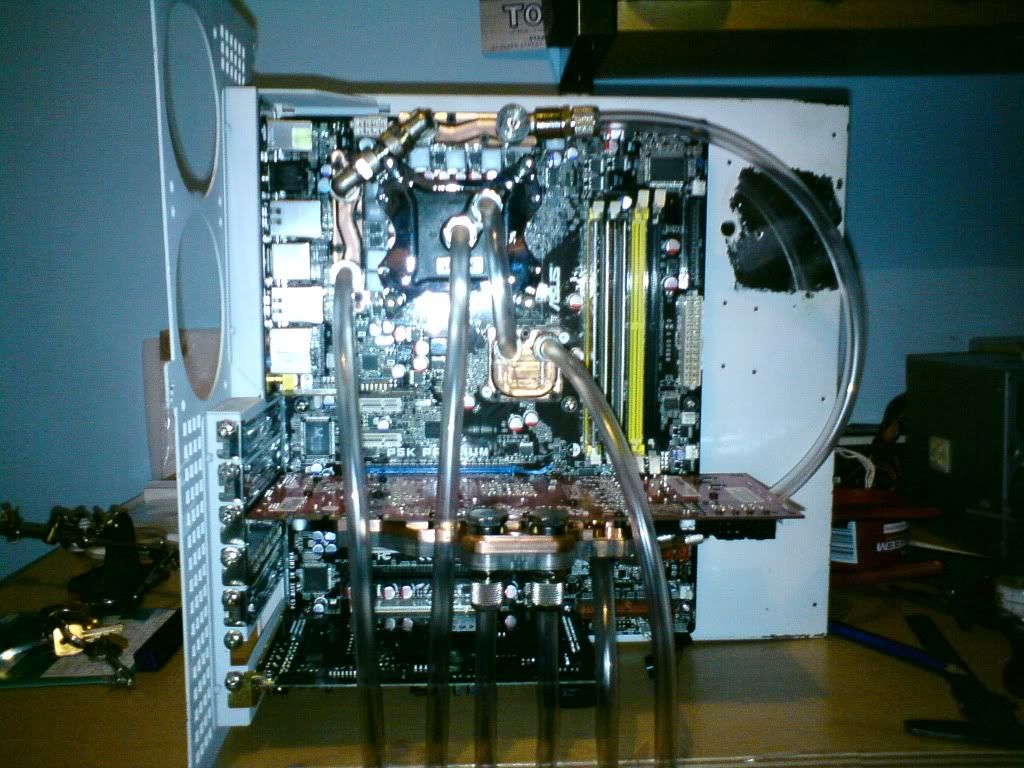
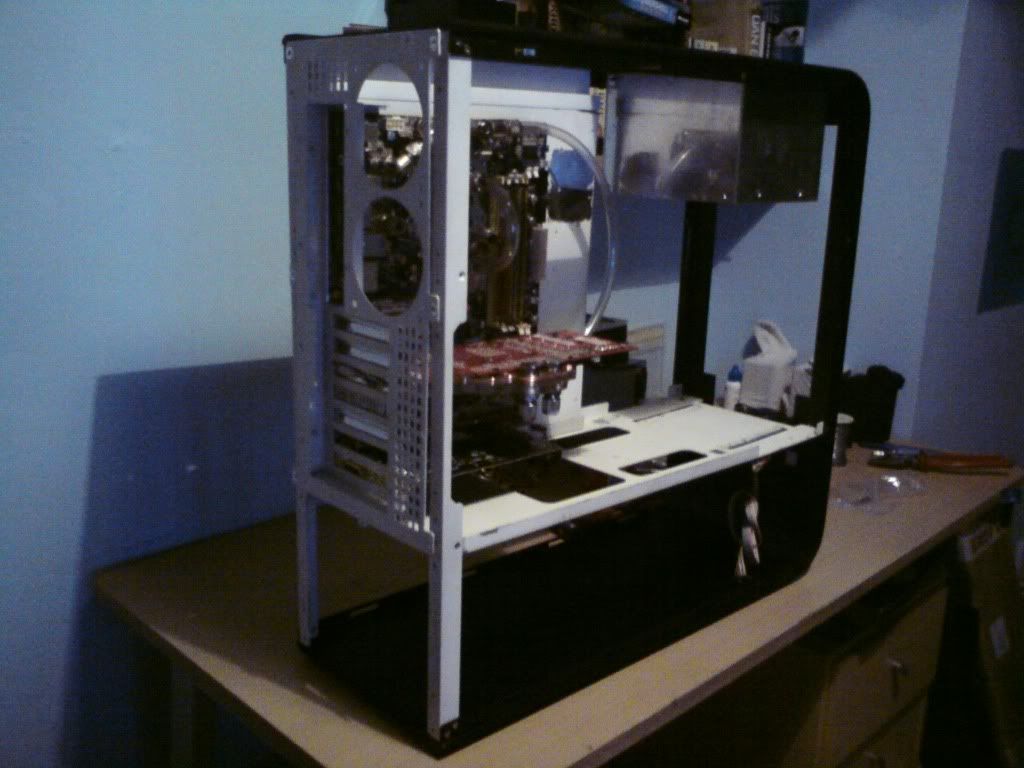
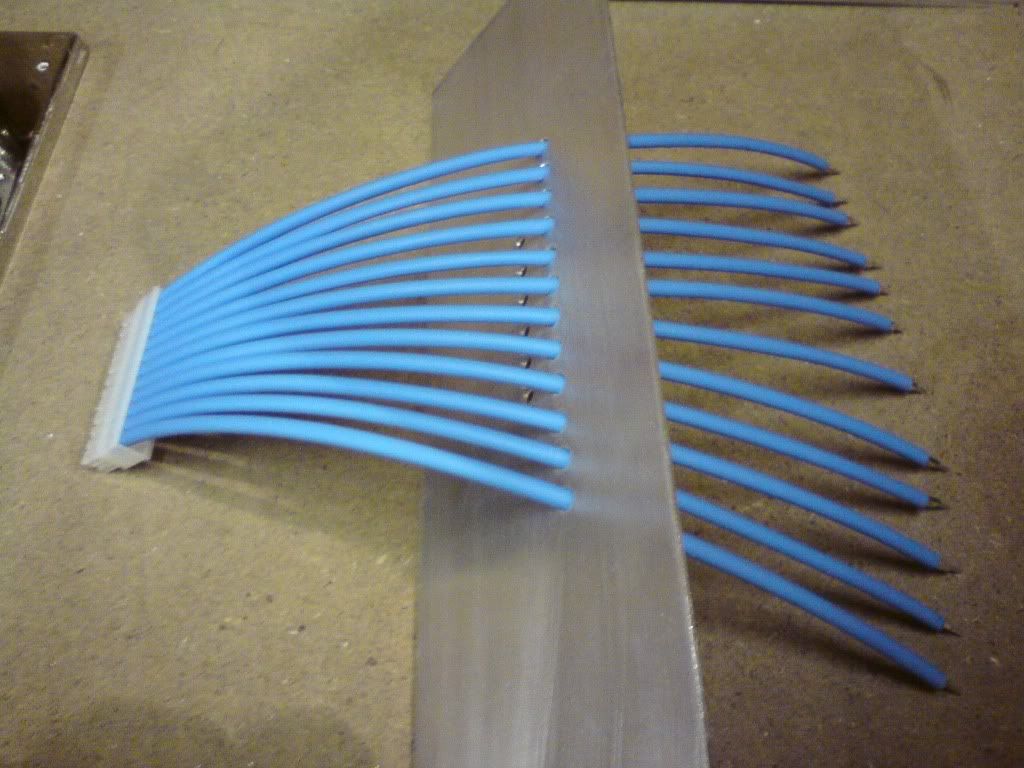
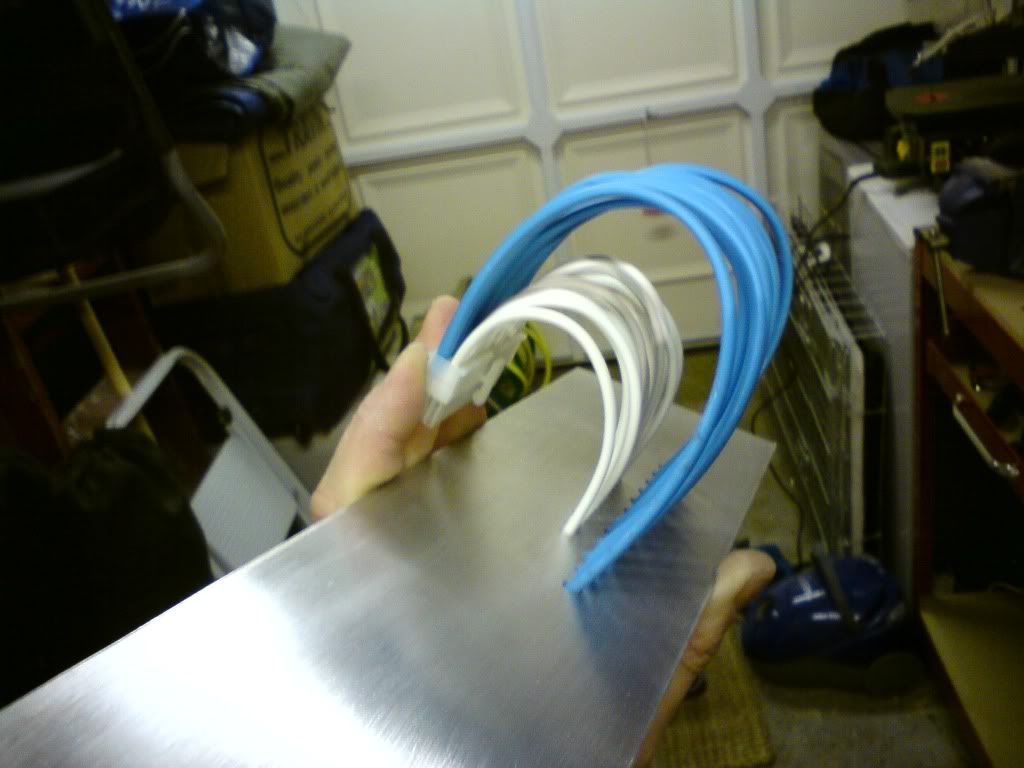
This shows how the tube routing is going to be if you didn't understand my drawings
Dark fluid on the 2 outer tubes, clear on the 2 inside and light blue for the CPU/NB. All 6 of them tubes will go in to a comp fixing thats bulkheaded through the floor (when thats done haha).
EDIT: Just realised i have the tubes in the wrong order DOH!!!
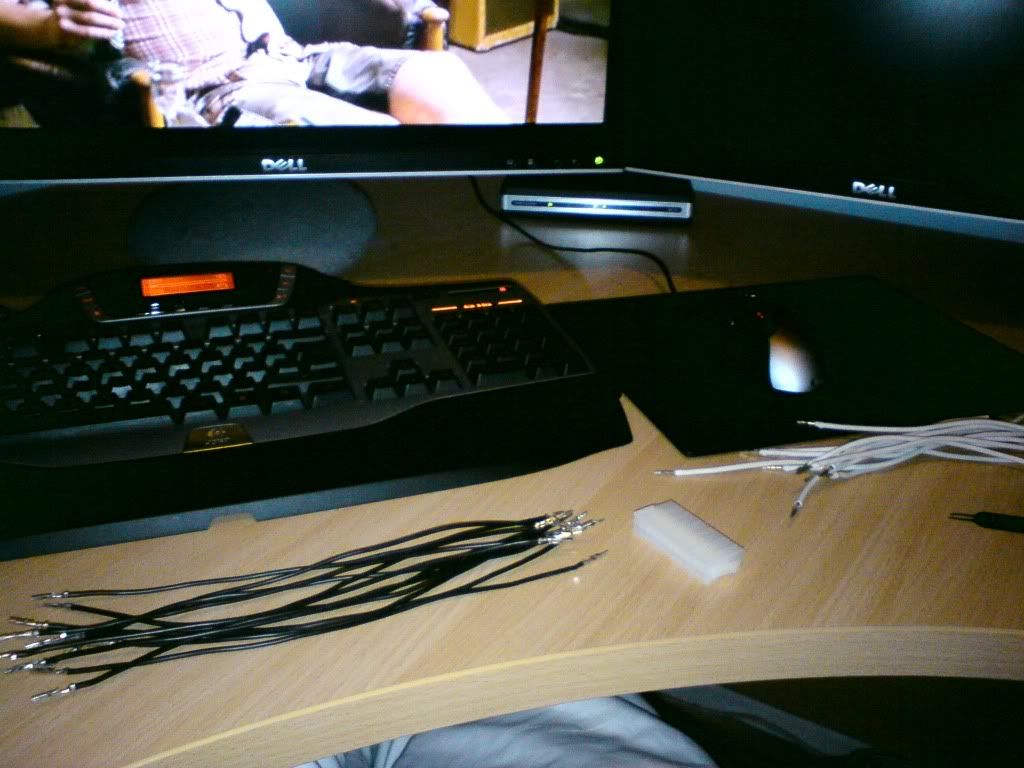
Got my blue shrink wrap through today to redo my 24 pin!
This shows how the tube routing is going to be if you didn't understand my drawings
Dark fluid on the 2 outer tubes, clear on the 2 inside and light blue for the CPU/NB. All 6 of them tubes will go in to a comp fixing thats bulkheaded through the floor (when thats done haha).
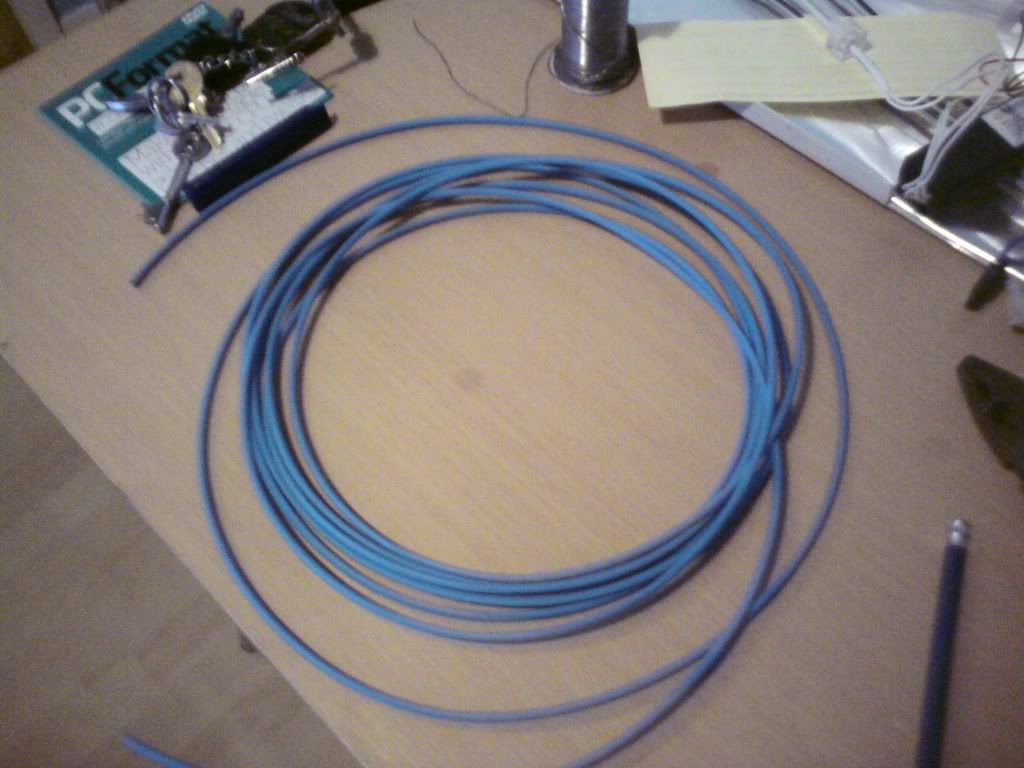
Its more of a perfect colour than I though it would be, was thinking about getting some dark blue and using my left over white to do the same idea as the tubing, but though that might be a bit to much, instead i think i have settled on keeping the back wires white and the front re-do in blue (this way it should eliminate the possibility of it looking "messy"). Having to make a big plate to go over the showing mobo tray so cover up all the little holes and give it a clean finish, it also mean if i **** it up i can just make another plate.
More soon.
Skorch
Dark fluid on the 2 outer tubes, clear on the 2 inside and light blue for the CPU/NB. All 6 of them tubes will go in to a comp fixing thats bulkheaded through the floor (when thats done haha).
EDIT: Just realised i have the tubes in the wrong order DOH!!!
Got my blue shrink wrap through today to redo my 24 pin!
This shows how the tube routing is going to be if you didn't understand my drawings
Dark fluid on the 2 outer tubes, clear on the 2 inside and light blue for the CPU/NB. All 6 of them tubes will go in to a comp fixing thats bulkheaded through the floor (when thats done haha).
Its more of a perfect colour than I though it would be, was thinking about getting some dark blue and using my left over white to do the same idea as the tubing, but though that might be a bit to much, instead i think i have settled on keeping the back wires white and the front re-do in blue (this way it should eliminate the possibility of it looking "messy"). Having to make a big plate to go over the showing mobo tray so cover up all the little holes and give it a clean finish, it also mean if i **** it up i can just make another plate
.More soon.
Skorch
siravarice
New member
Double post?  Lookin' good there Skorch!
Lookin' good there Skorch!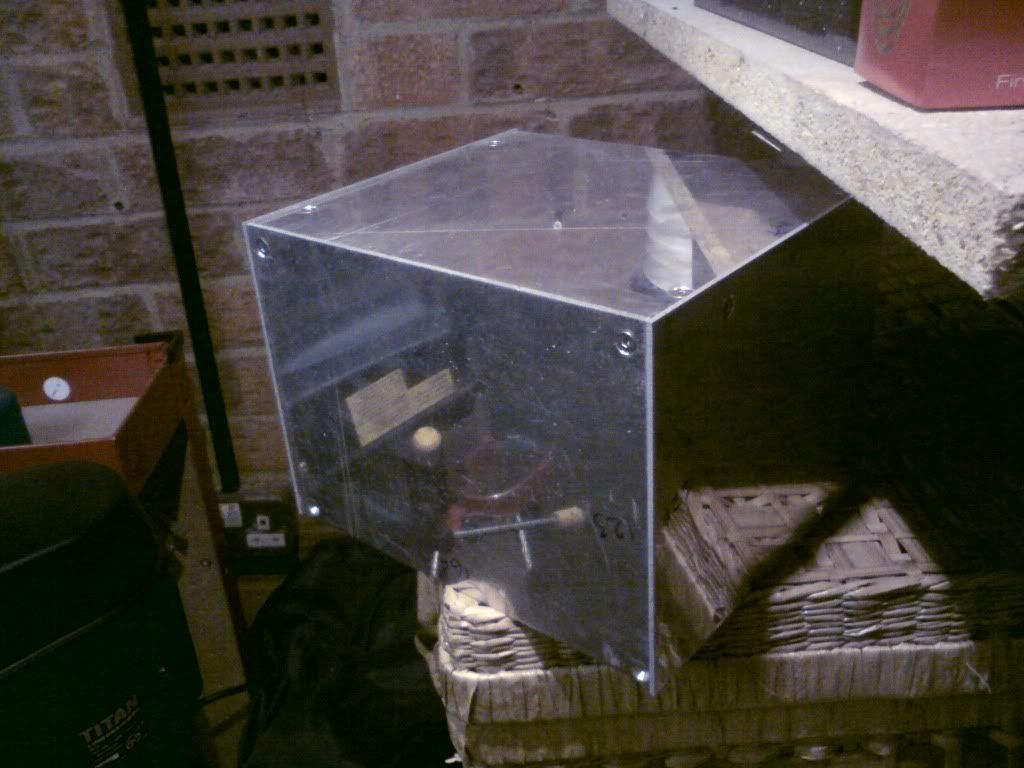

thestepster
New member
lookin great mate this is a really neat build!
walkingasd
New member
wooooooooooooooooooooow!!! I'm doing a case build but nothing on this scale!!!
keep the project going ^_^
keep the project going ^_^
Thanks guys!
Busy night tonight 4 hours or so
First i made the panel to go over the mobo tray to cover all the holes that are not covered by the mobo, and also to drill all the holes in for the ATX cable mod.
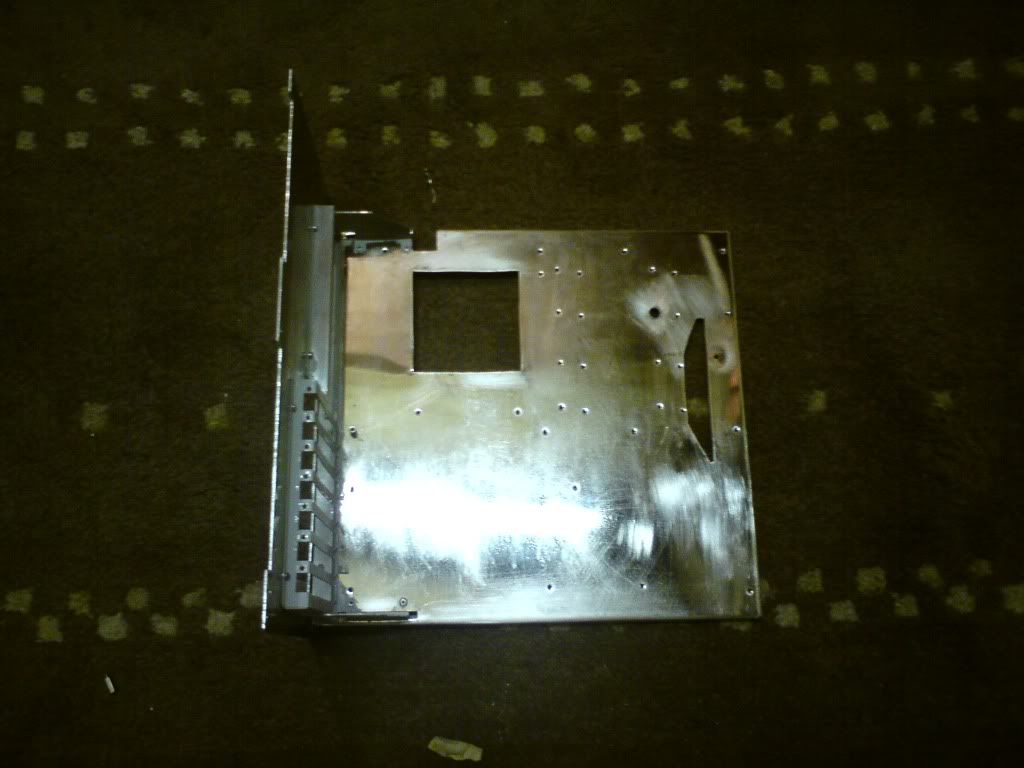
I then set about making new backing plates. I want a clean look and all the holes in the stock one was just not to my taste. I will be putting the fan holes back, well maybe!
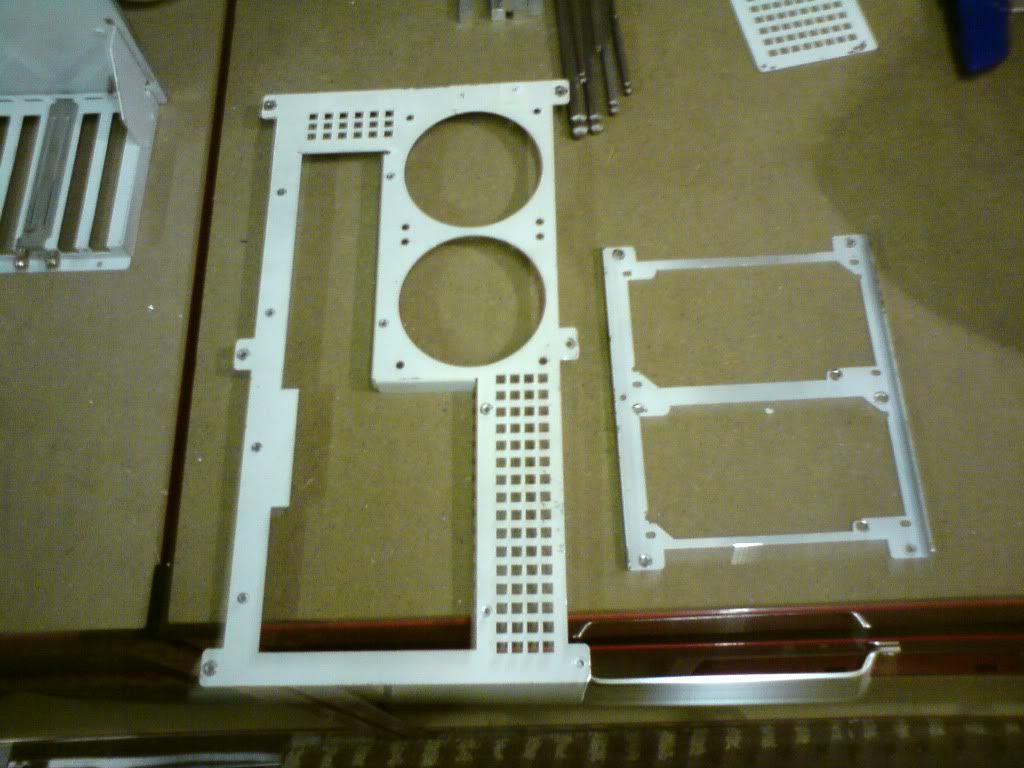
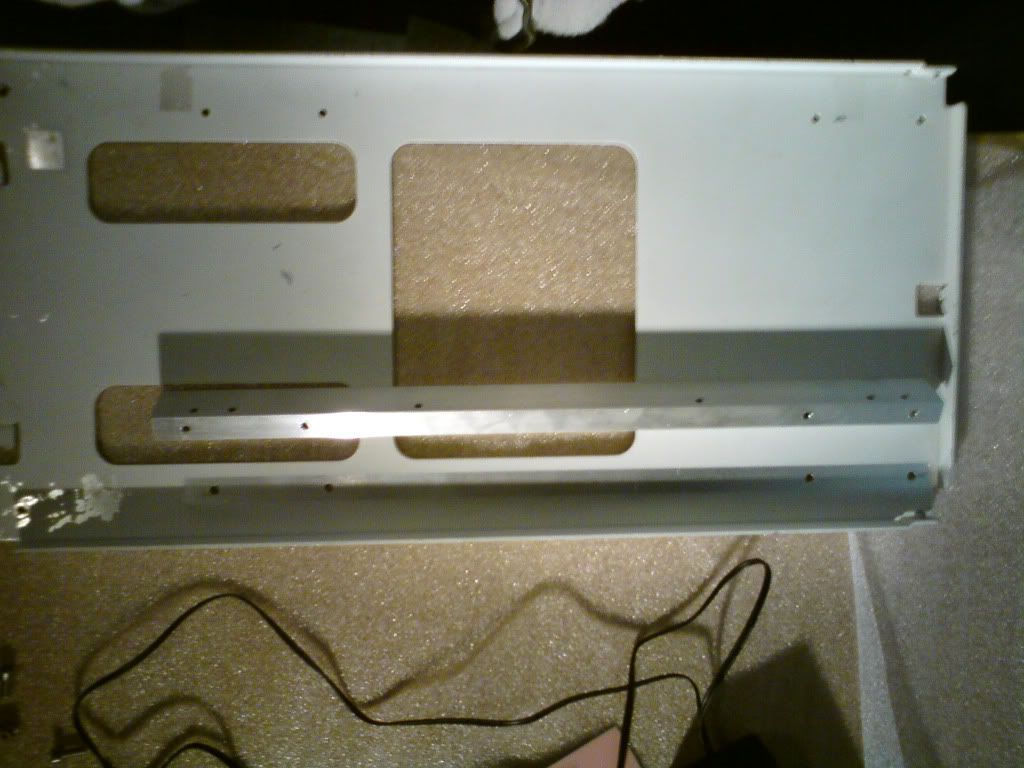
As you can see here the mobo backing plate has big gaps. I decided as i was making a new backing plate to make mine so it filled these in and made the back more flush.


I also wanted to make a new PSU backing plate, i was only going to have one PSU and i didnt like having all the holes the blanking plate left. Also wanted it to sit more flush with the mobo tray.
Here is the completed backing, much smoother.
There is a rivet missing as i run out
Floor should be finished next weekend if i can get the last parts here on time
Busy night tonight 4 hours or so
First i made the panel to go over the mobo tray to cover all the holes that are not covered by the mobo, and also to drill all the holes in for the ATX cable mod.
I then set about making new backing plates. I want a clean look and all the holes in the stock one was just not to my taste. I will be putting the fan holes back, well maybe!
As you can see here the mobo backing plate has big gaps. I decided as i was making a new backing plate to make mine so it filled these in and made the back more flush.
I also wanted to make a new PSU backing plate, i was only going to have one PSU and i didnt like having all the holes the blanking plate left. Also wanted it to sit more flush with the mobo tray.
Here is the completed backing, much smoother.
There is a rivet missing as i run out
Floor should be finished next weekend if i can get the last parts here on time
Ducky Spud
New member
Now this attention to detail is just getting out of hand
Cant wait to see how this floor works out after all the problems youve had with it!
Cant wait to see how this floor works out after all the problems youve had with it!
siravarice
New member
name='Ducky Spud' said:Now this attention to detail is just getting out of hand
I wish I could do something like this!
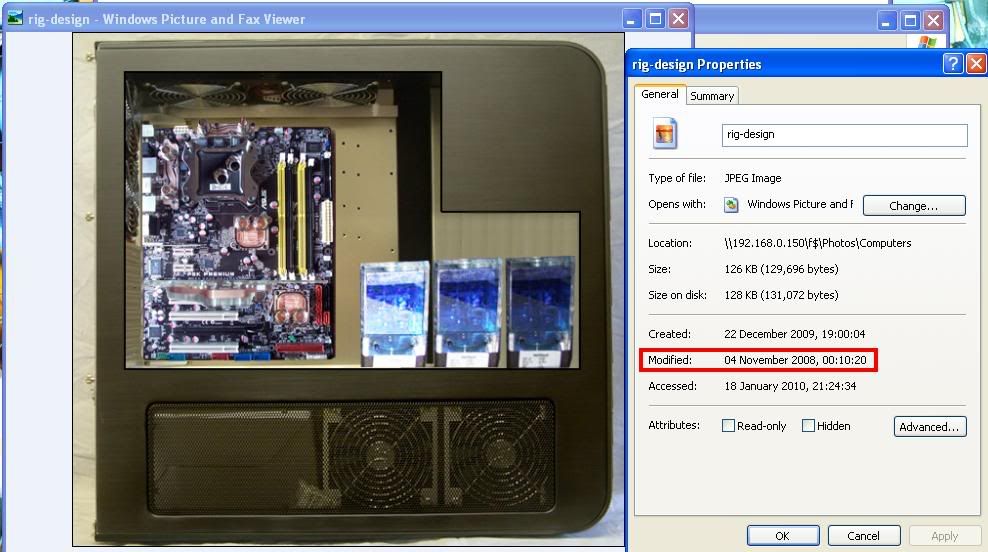
You can mate, just takes time Found a desing that i did for this rig back in nov 2008
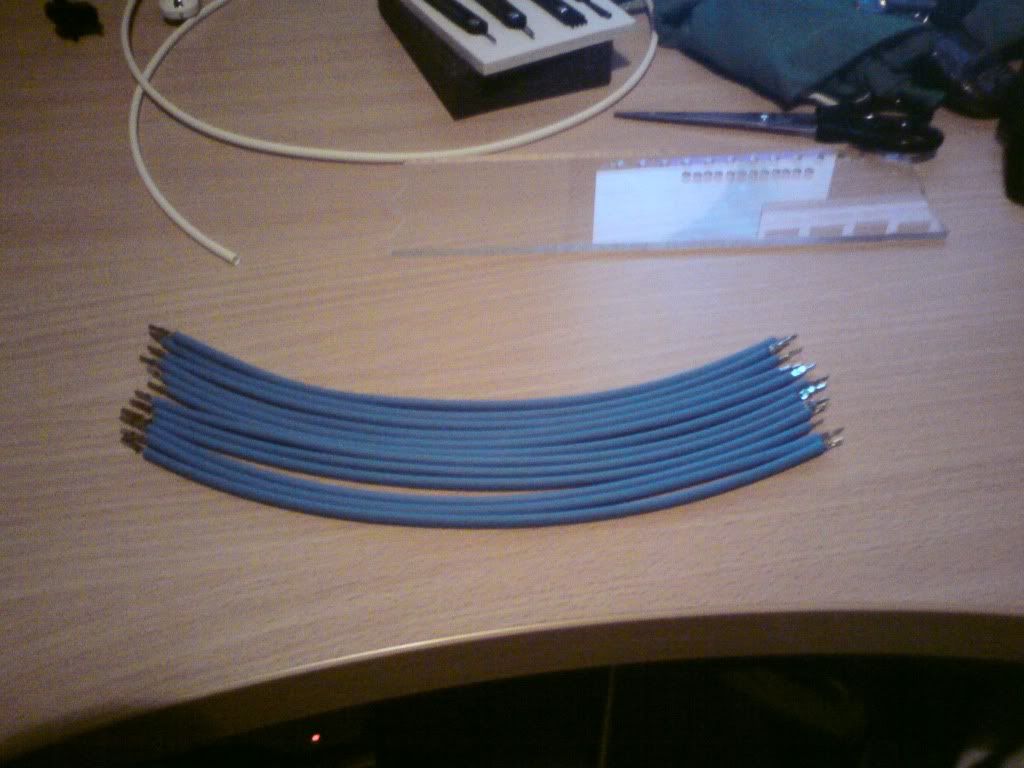
I worked more on the ATX tonight. Took all the pins back out and took it out the plastic jig. I then had to strip off the white shrink wrap which was a compleete PITA. Then blue sleeving, i have not heated it, just forced it in to the plug, seems to hold well and gives a nice clean look so i may leave it like that.

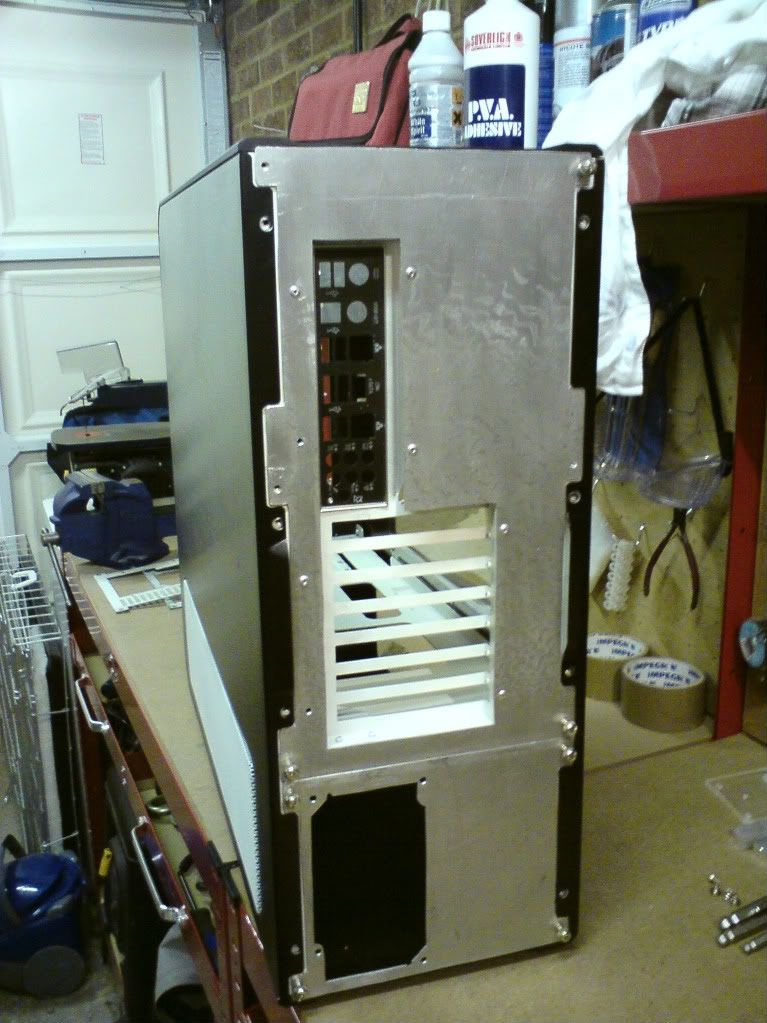
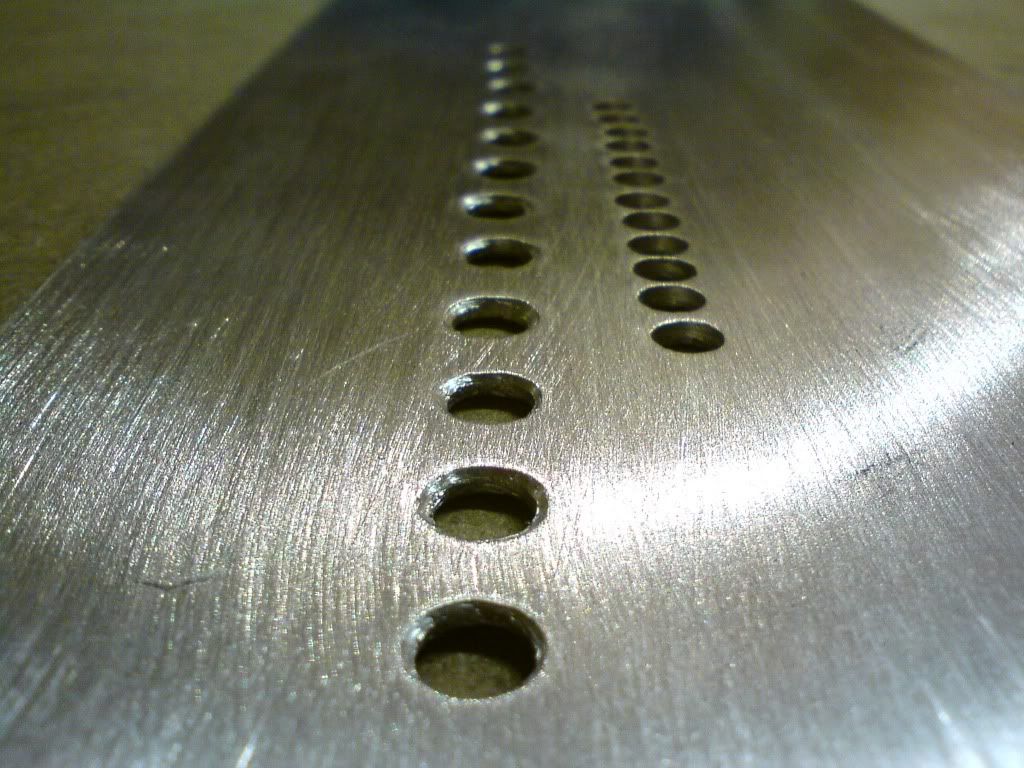
Used the jig to drill the sheet alli, then i went over it with a counter sink drill bit to get a nicer finish, then sanded it to get all the marks off, looks kinda brushed.
I then started to take all the paint off the mobo tray and cut it up
All for now, more soon
Skorch
Found a desing that i did for this rig back in nov 2008
I worked more on the ATX tonight. Took all the pins back out and took it out the plastic jig. I then had to strip off the white shrink wrap which was a compleete PITA. Then blue sleeving, i have not heated it, just forced it in to the plug, seems to hold well and gives a nice clean look so i may leave it like that.
Used the jig to drill the sheet alli, then i went over it with a counter sink drill bit to get a nicer finish, then sanded it to get all the marks off, looks kinda brushed.
I then started to take all the paint off the mobo tray and cut it up
All for now, more soon
Skorch
Here is a sneeky peek at the flooring, its not finished yet but it should be soon.

Here is one of the pump base back on the pump.
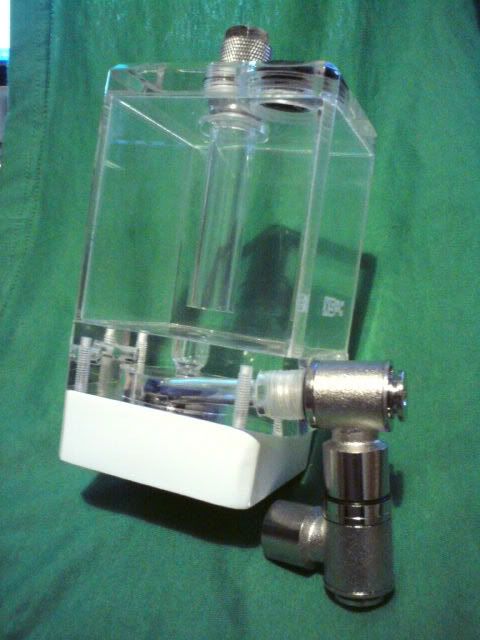
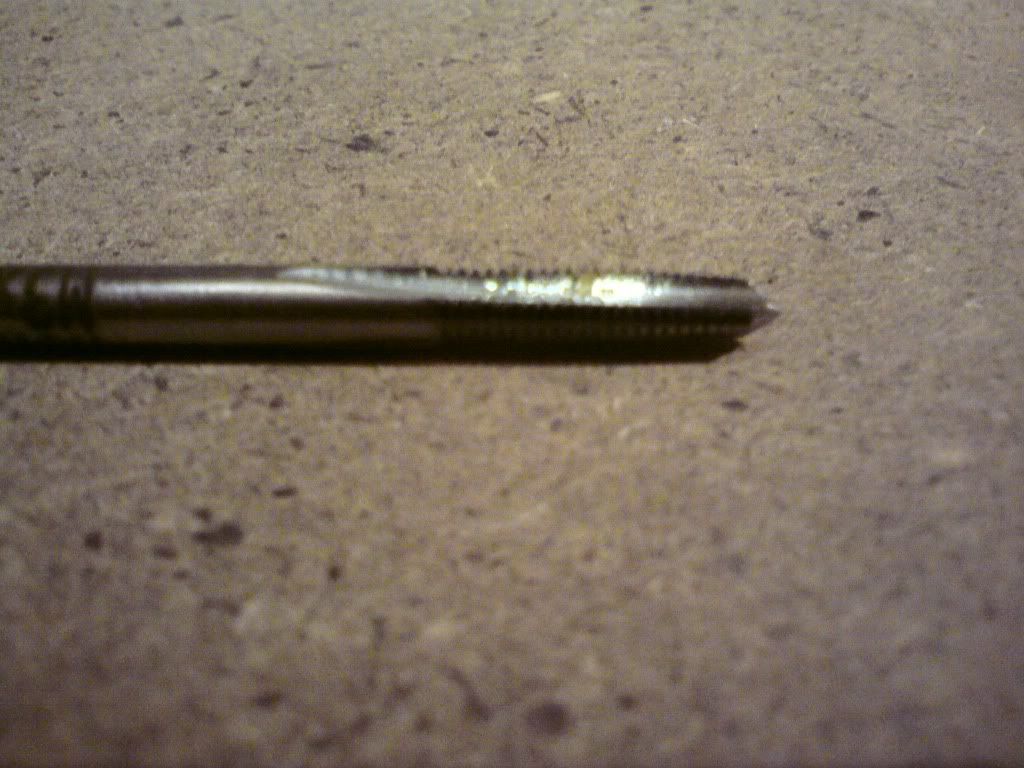
Practice for putting a barb through acrlic.

I have got so much left to do and so much more money to spend to overcome problems its stressing me out Might have a few days off.. Its supposed to be enjoyable
Skorch
Here is one of the pump base back on the pump.
Practice for putting a barb through acrlic.
I have got so much left to do and so much more money to spend to overcome problems its stressing me out
Might have a few days off.. Its supposed to be enjoyable Skorch
Similar threads
- Replies
- 3
- Views
- 604