siravarice
New member
Maybe when I'm rich I'll get you to build me one ><
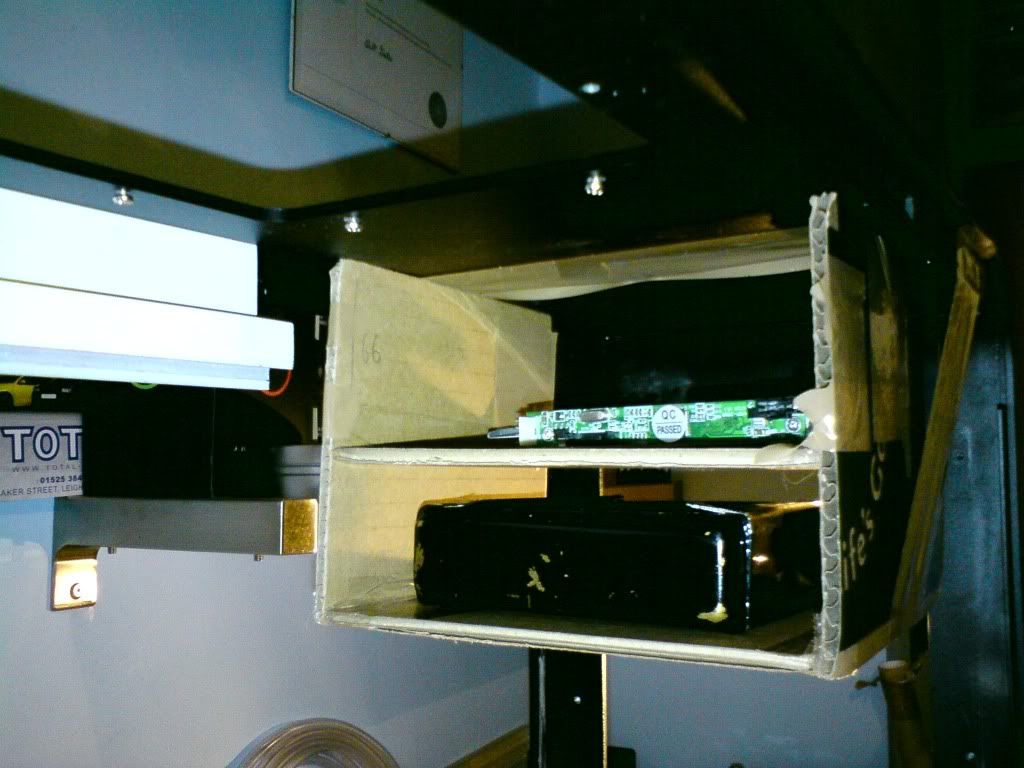
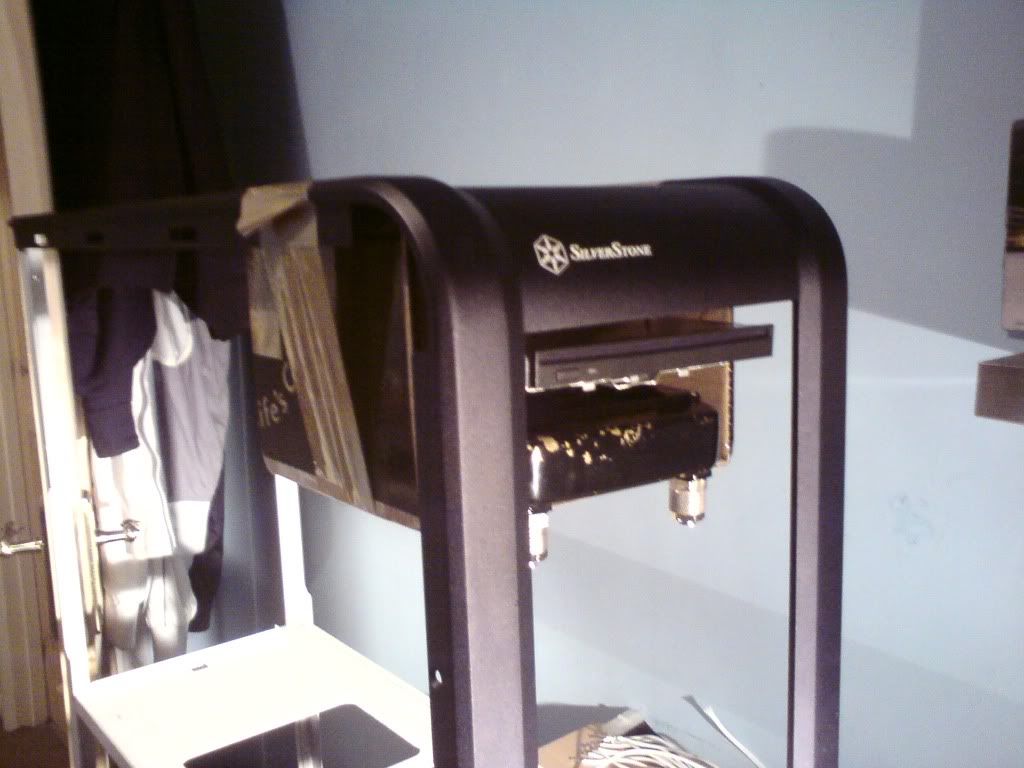
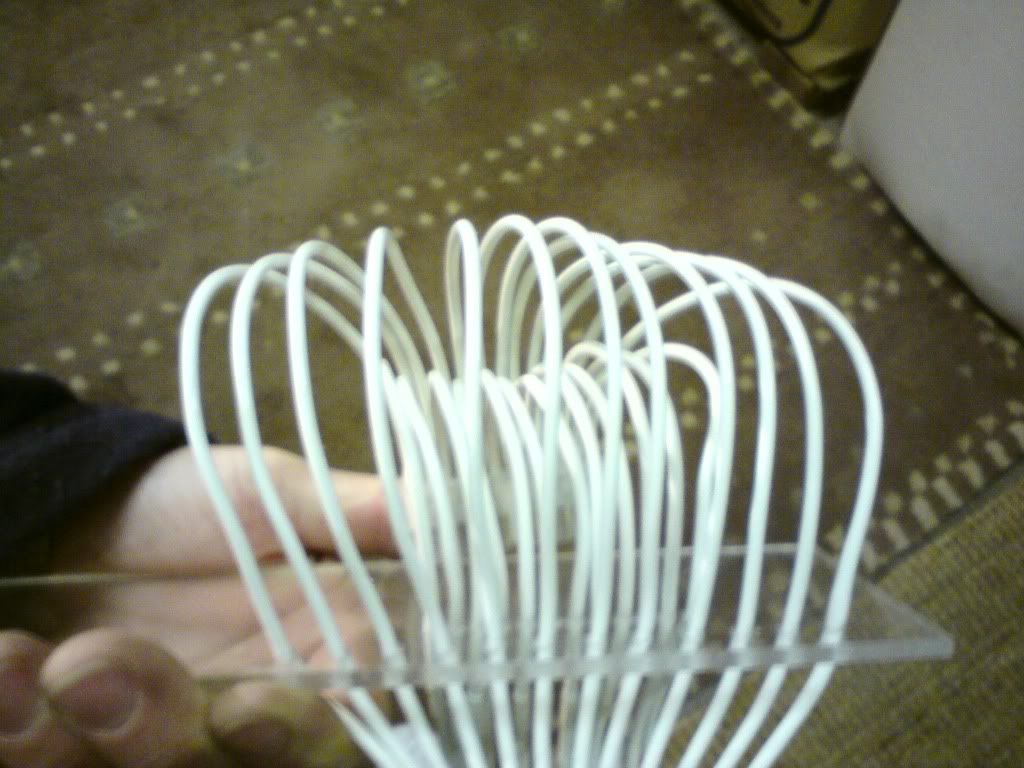
 Everything else perfect finish then just that sitting at the top haha
name='Ducky Spud' said:Haha, I reckon you should just leave it made out of cardboard and parcel tape

")

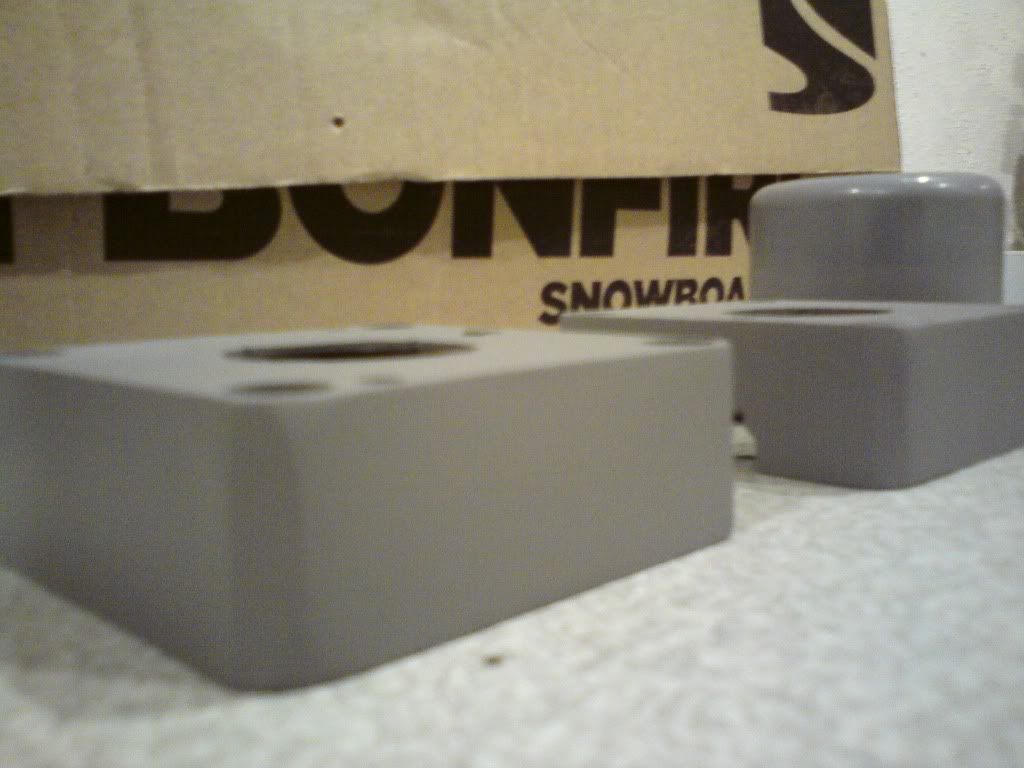
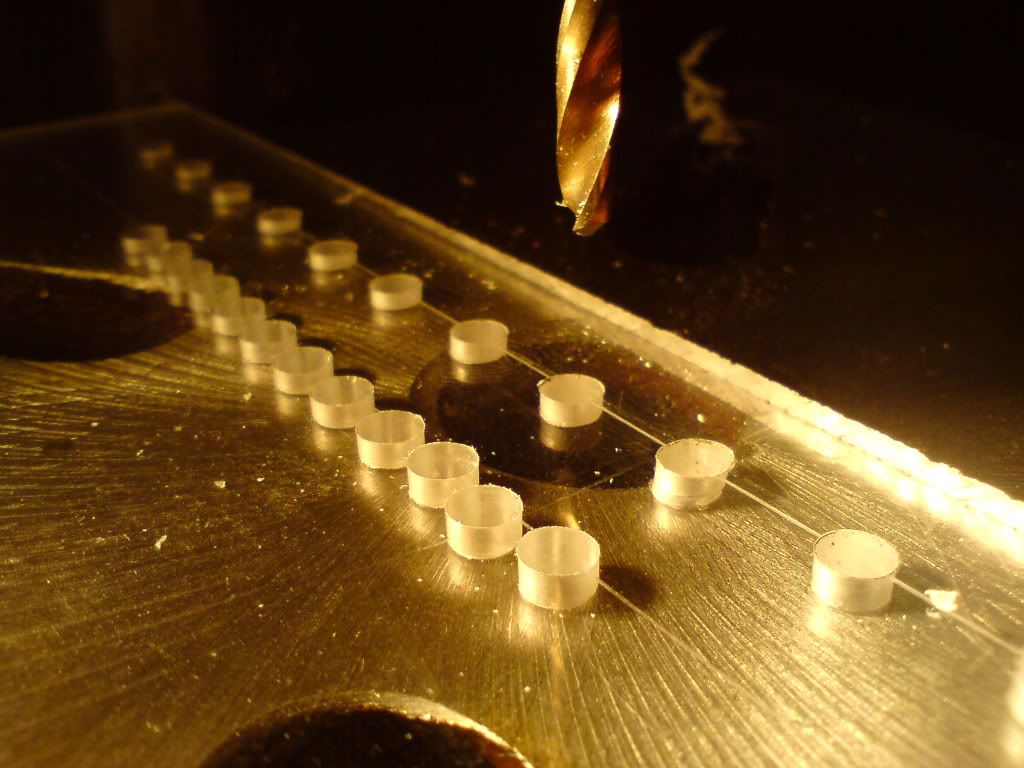
 O well. In for a penny in for a pound and all that...
name='Scorpii' said:Wow, looking good!
Shame about the flooring costing so much... can't think of any ways round it..?
it'll look awesome though I'm sure!
.
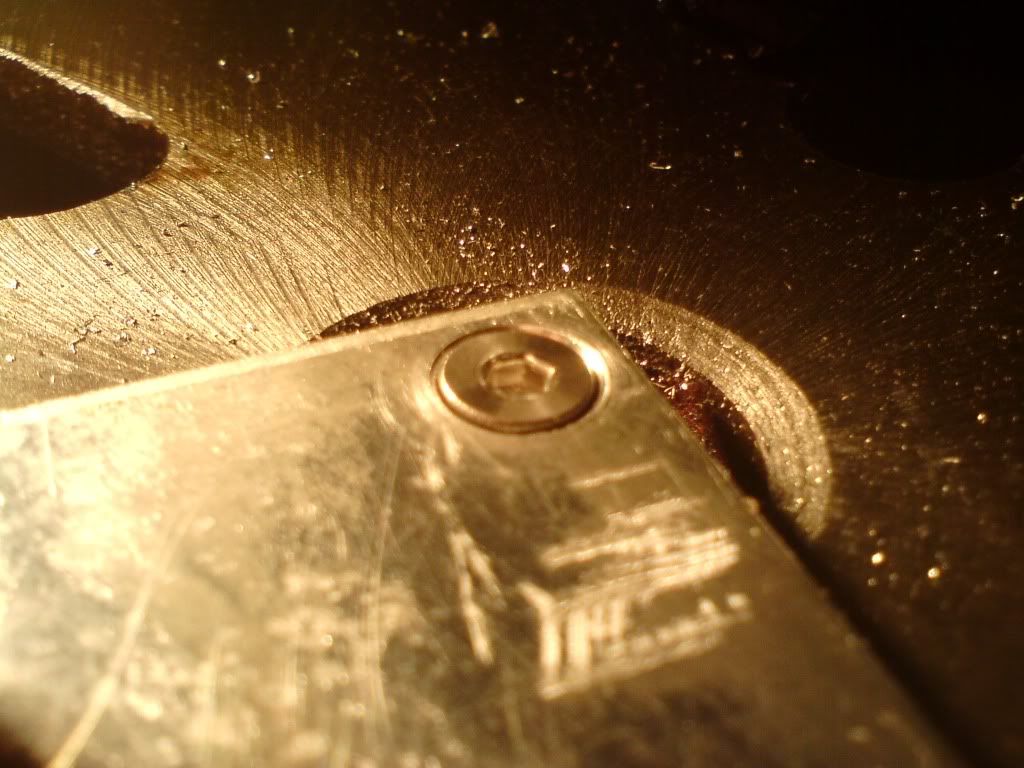
") more shortly.
more shortly. had to be resanded!

 .
.