G-Dubs
New member
This is a build log I did in April and May of this year using the ever popular CM 690 II Advanced. A really nice case to work with. By no means perfect, but not far off at the price it's sold for
From the outset i want to say that this log is a pure build log. I'm not going to be modding anything here (the temptation is huge though) I've written a few reviews recently and posted on this forum as well as others and wanted to bring together a lot of the kit i've reviewed in a build.
I got the case and the XSPC Rasa kit from Specialtech as well as a lot of the other bits i'm using in this build. I'm planning to review this case as I go along with the build, and bring my final thoughts together at the end. I know there have been many many reviews of this case, and that it has a well respected place in the community, however most reviews are written by people who aren't actually building it or using it. As I am building into it and will be using it I hope my little missive may be able to add something.
All build logs should start with a Kit list so here goes.
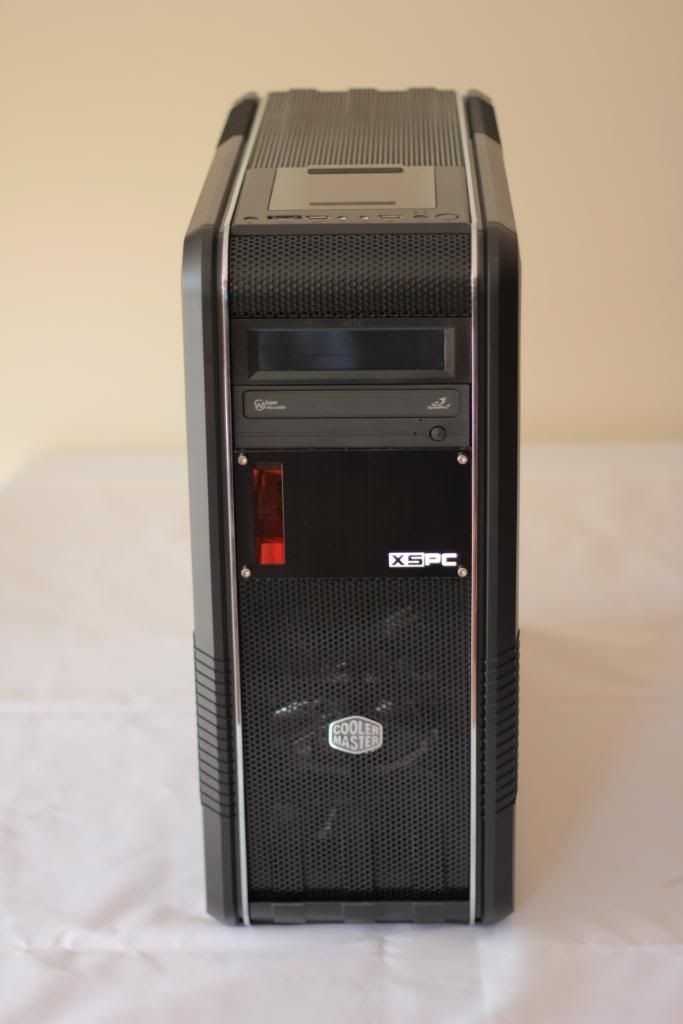
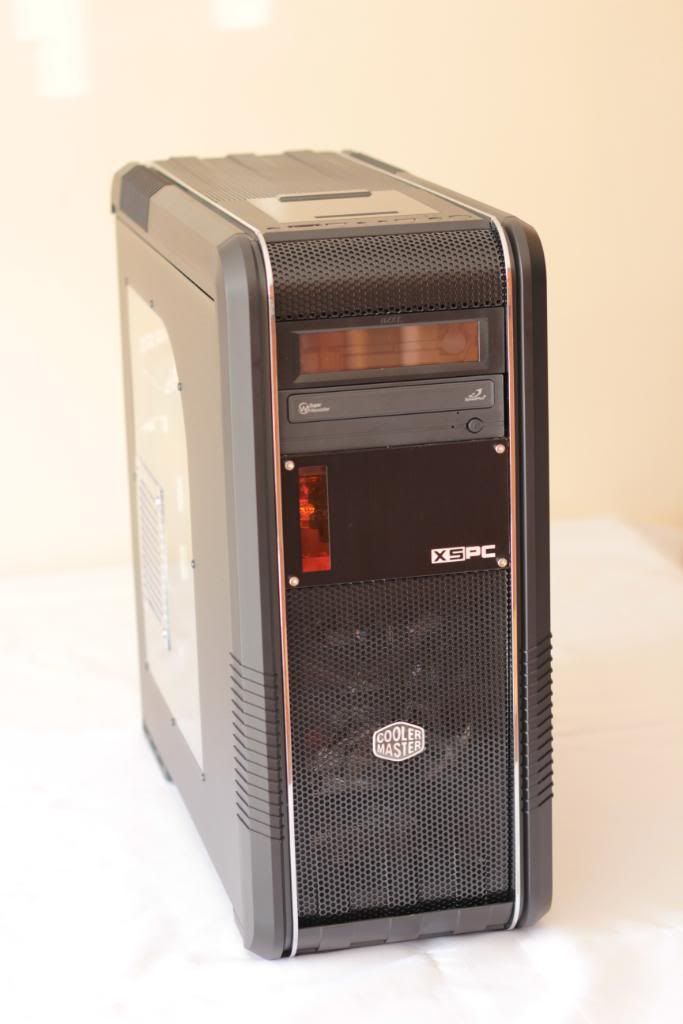
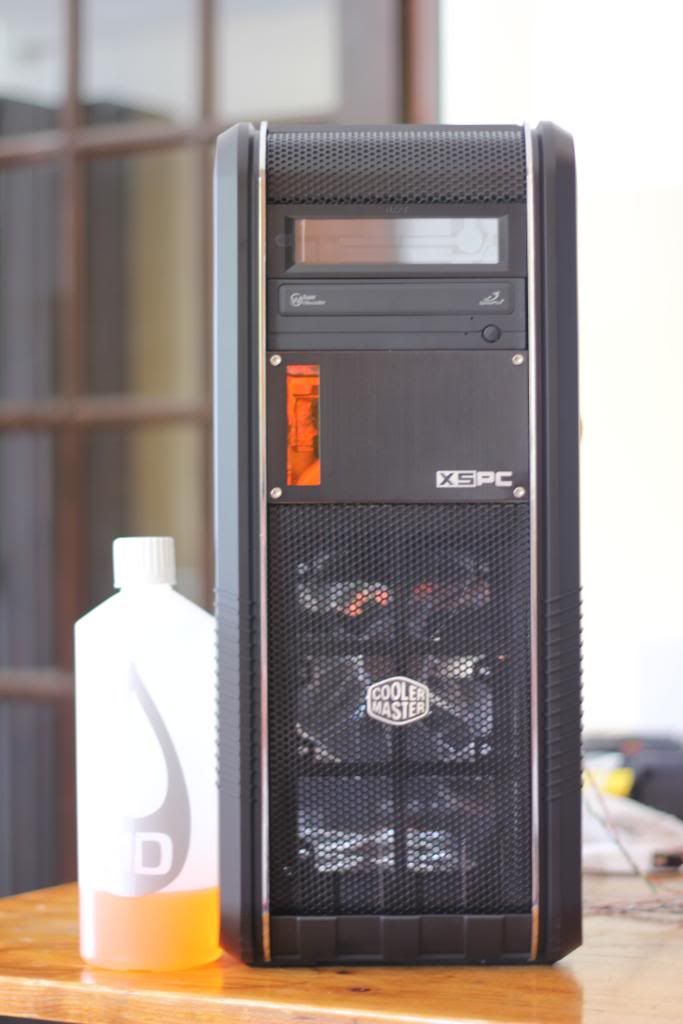
CM690 II Advanced in black with window
XSPX Rasa 750 RS240
Intel i7 920 @4.2
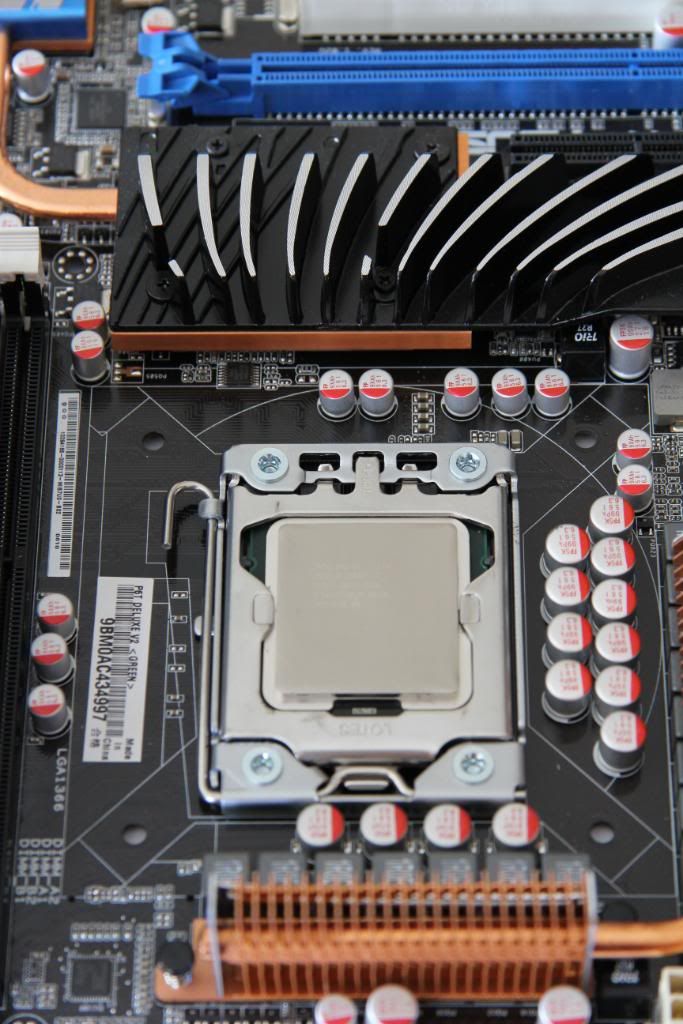
Asus P6-T Deluxe V2
Patriot 6 GB
Antec truepower New 750 PSU
GPU to be confirmed.
Most of the hardware has come out of my Black ops Skelly build and although strictly speaking a generation old it's still mighty fine kit and clocks to 4.2 on air so may well go higher with the water (depending on how brave i'm feeling)
Stage 1 The strip down. (Afternoon of 26.03.11)
Let the Strip down commence

Sides and front panel removed
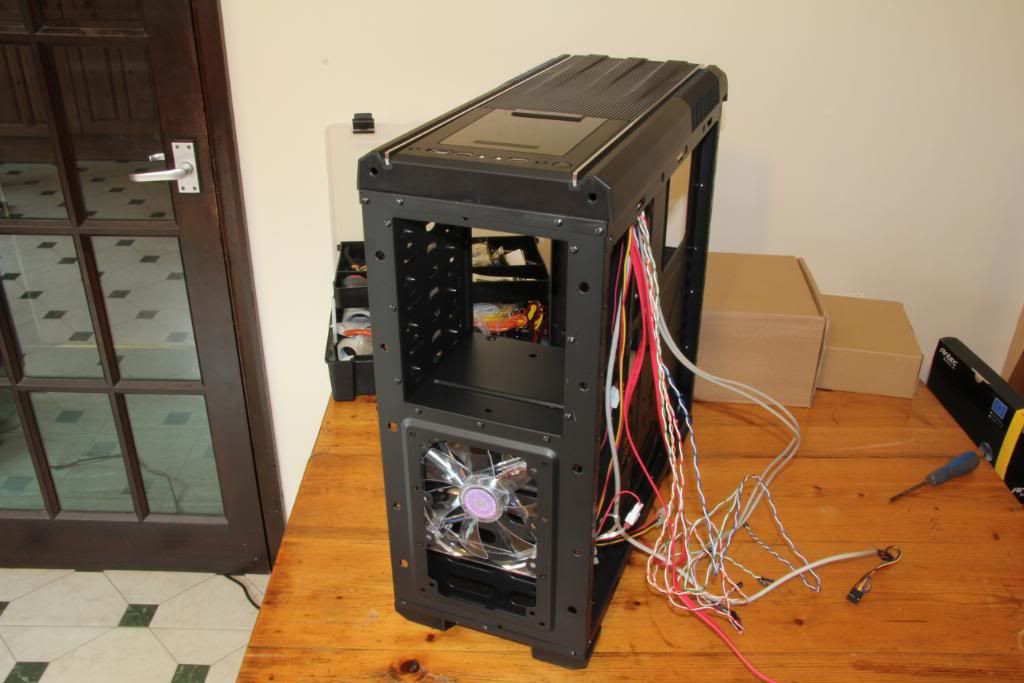
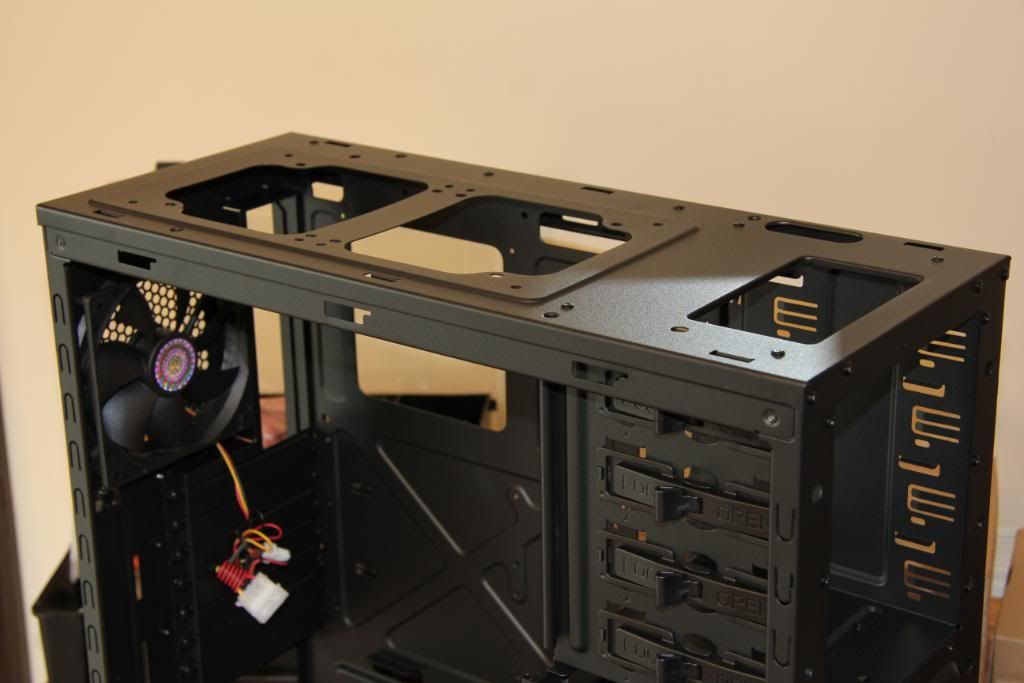
Top removed (this took some working out)

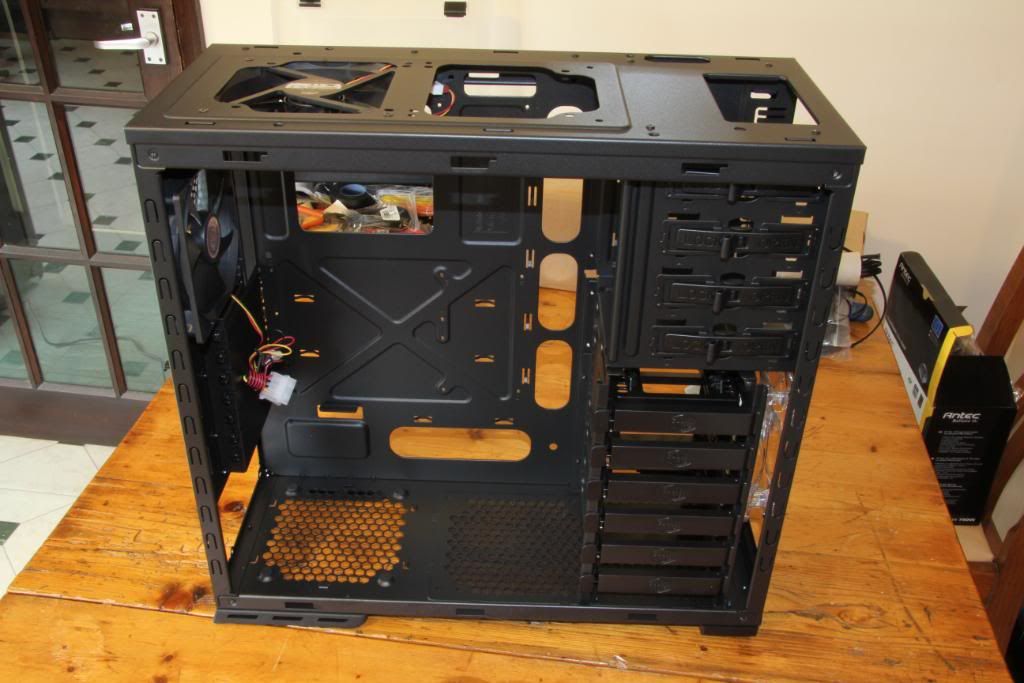
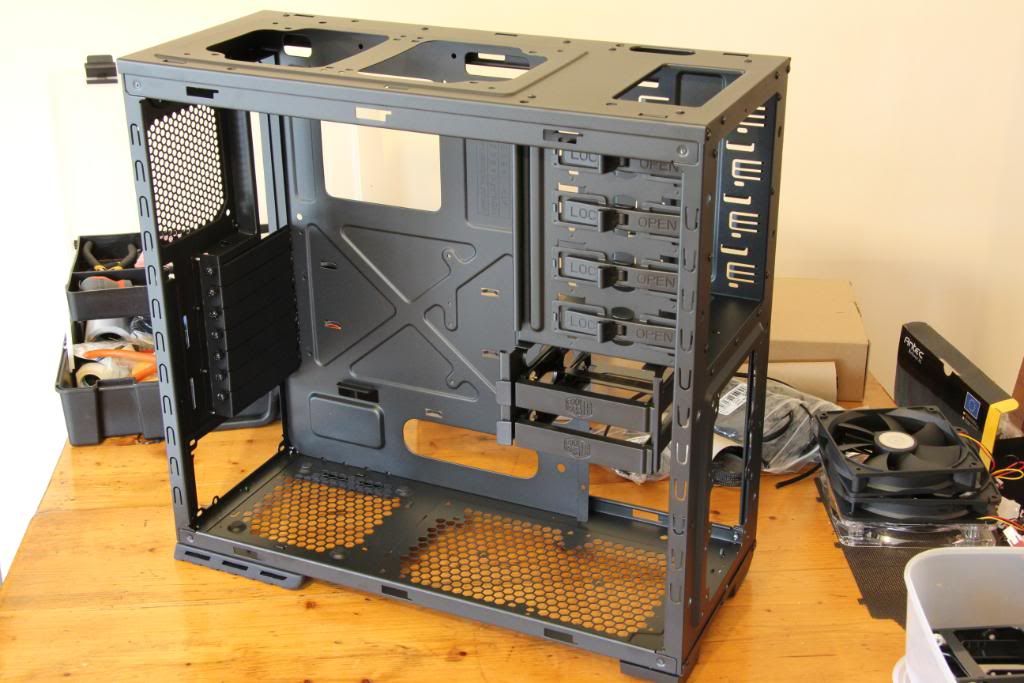
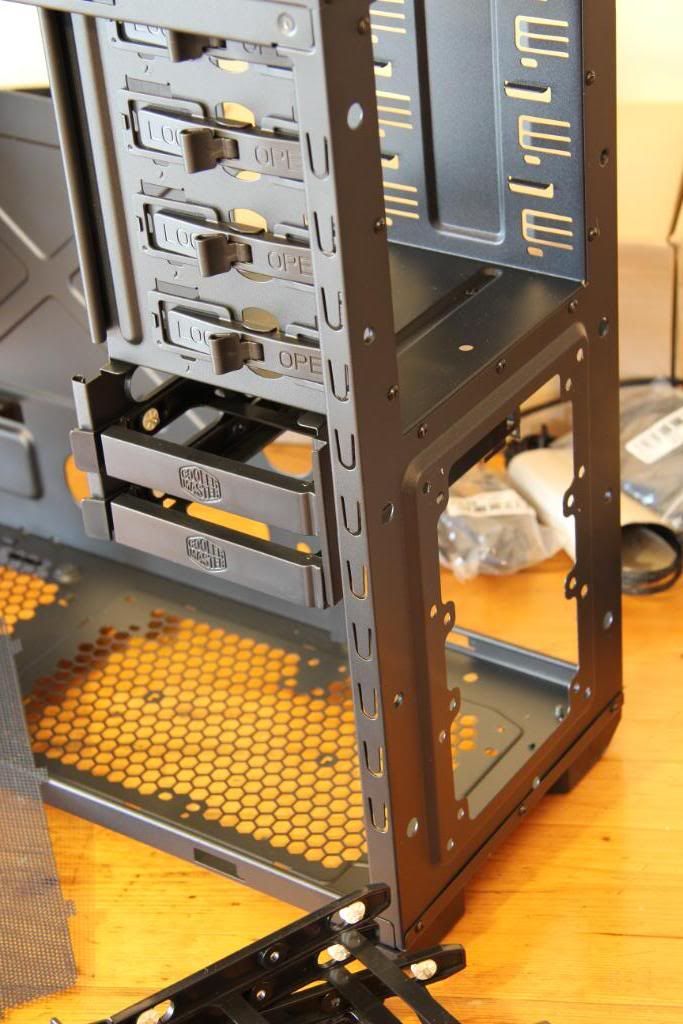
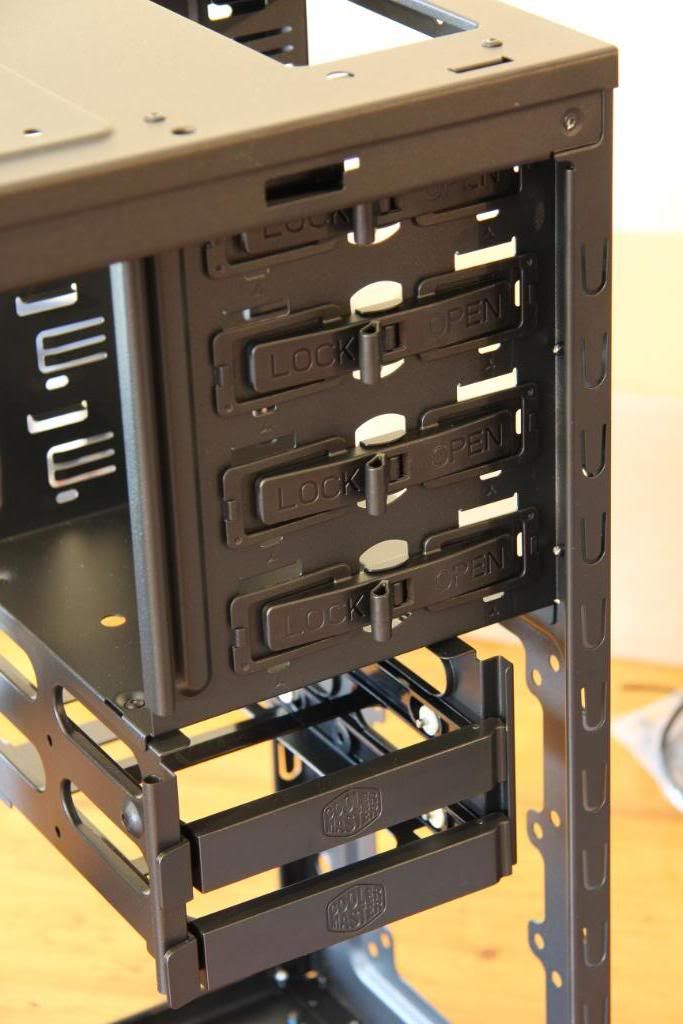
Lower HDD rack removed.
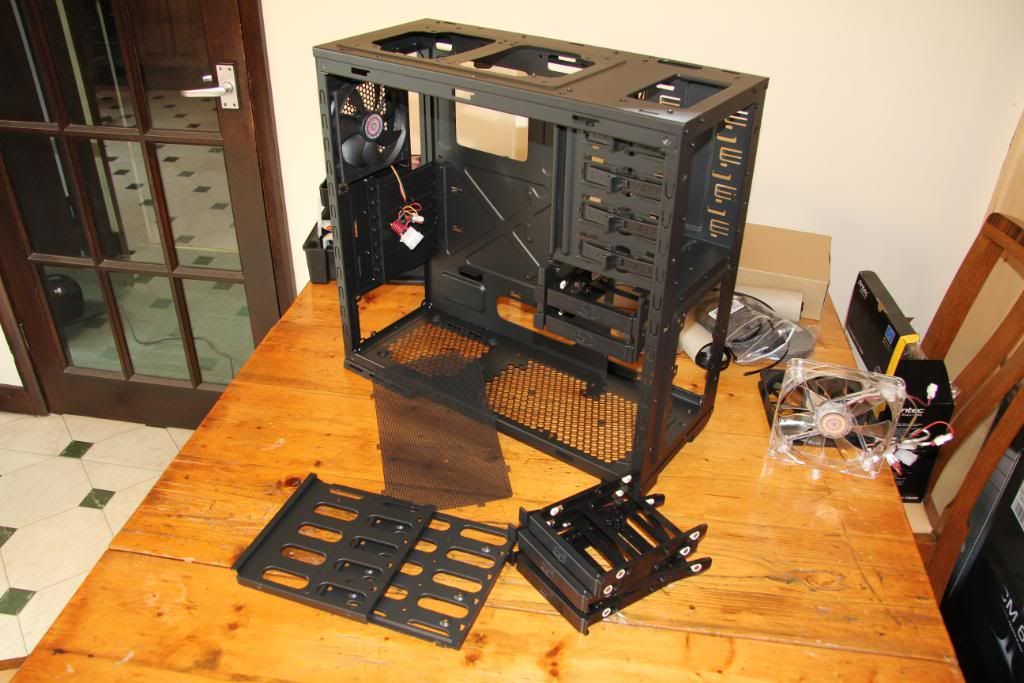
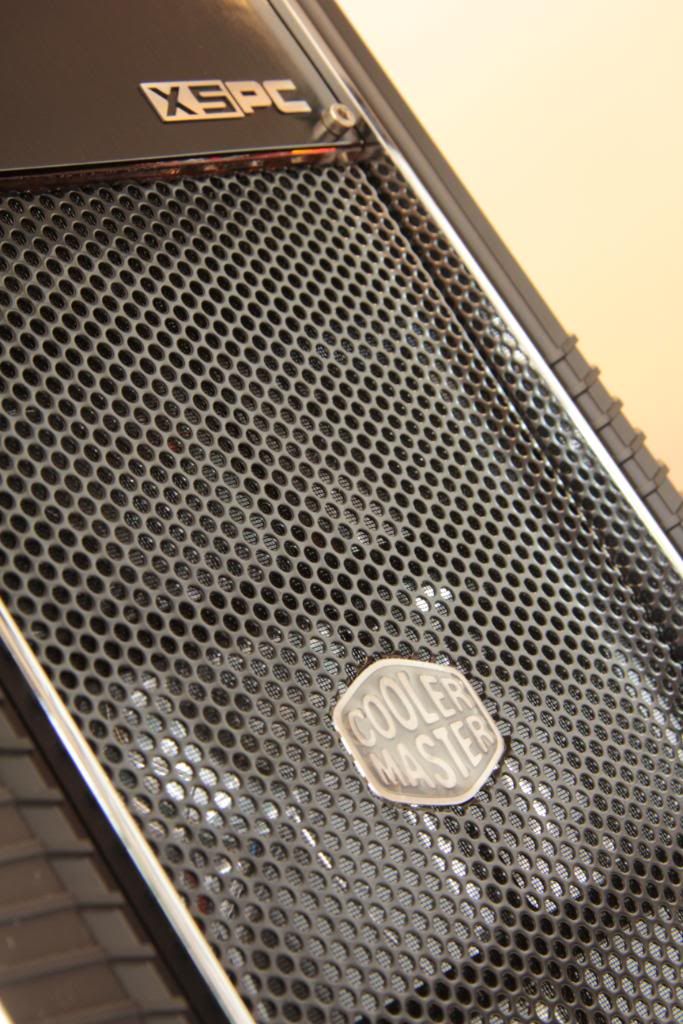
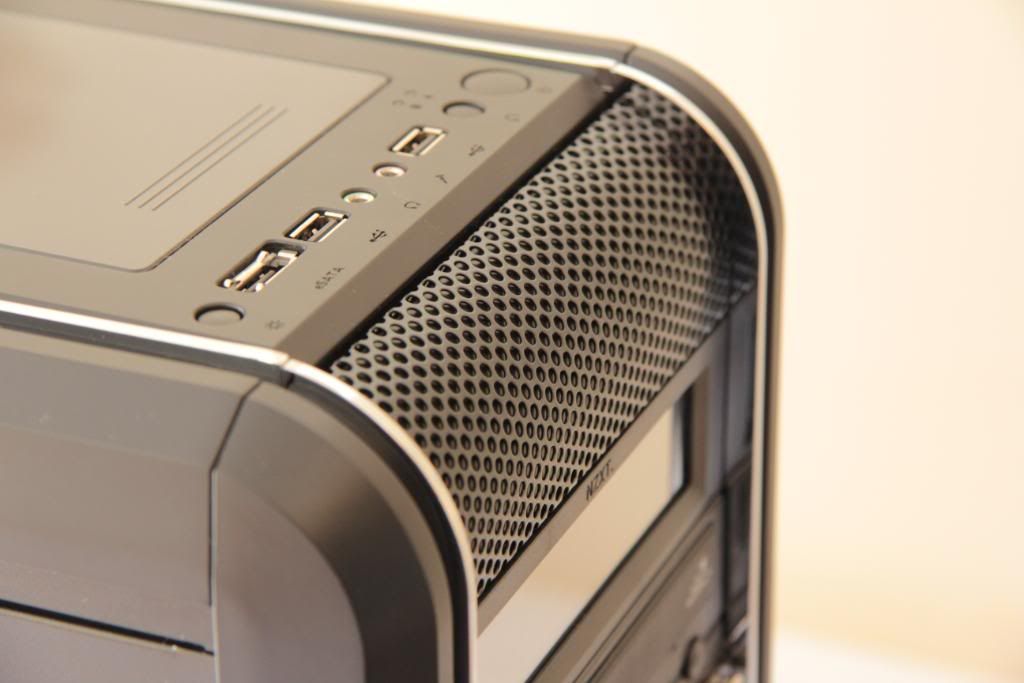
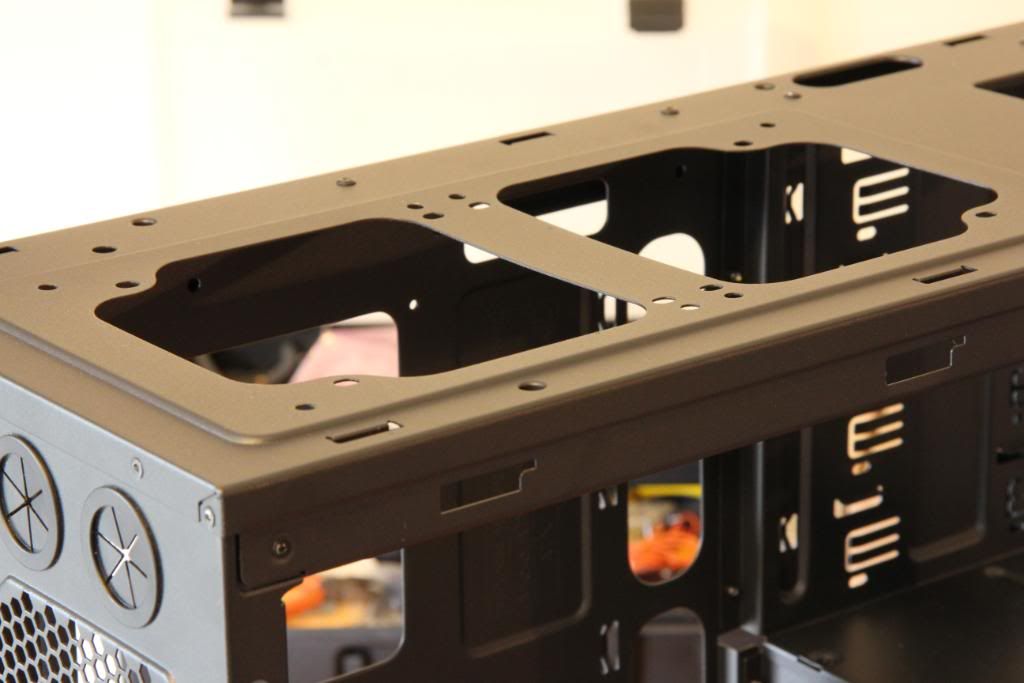
Some general photos of case detail etc.
Beer stops play. The strip down complete A beer to reward myself and to help cushion the verbal blows I know i'm going to get when my wife gets back from town and sees the state of the kitchen

Thoughts on the case so far then, well it's reputation appears deserved, it is well built and well put together. Whether it's metal or plastic everything feels sturdy (with the possible exception of the HDD rack tool less mount flappy door things which feel a bit flimsy)
The case comes apart easily with minimal need to refer to the instructions. I did find it quite hard to work out how to release the clips to remove the top section, and also to actually remove the clips once I'd worked out where they were and how to do it.
There is real attention to detail in this case, a feeling that the project team wouldn't let it go out to market until it was "just right"
Now all i've got to do is put it back together...now where did I put all those screws I took out????
next stage is to work out how to mount the RASA kit and to mock up a loop to see where everything is going to go.
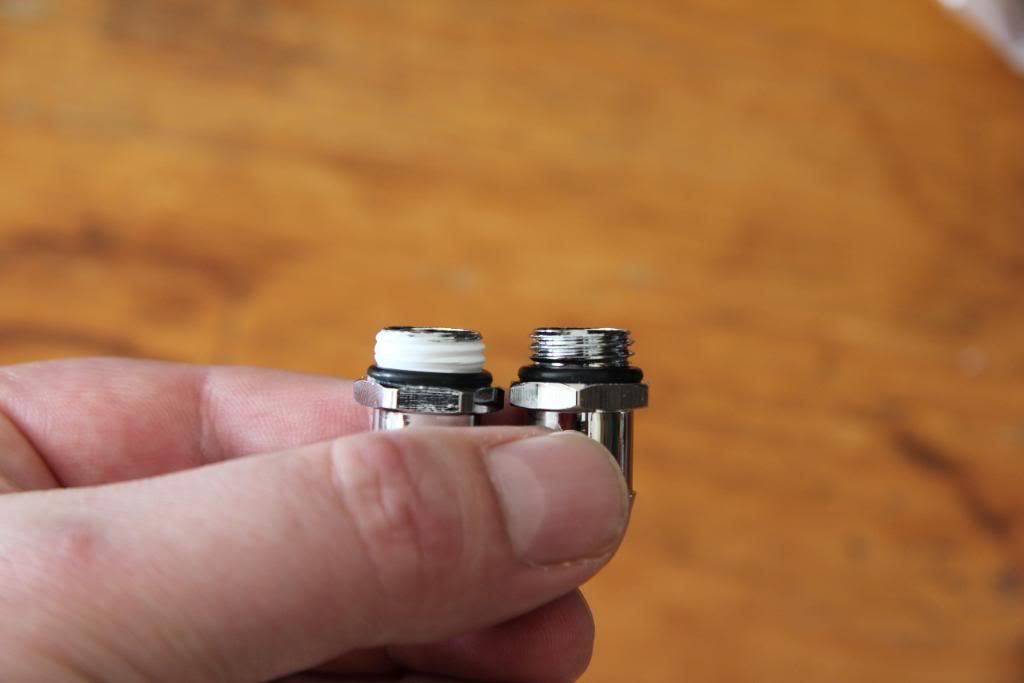
Also thinking of using compressions rather than the barbs the kit comes with. Only a few quid more.
...........................
Need help with a few decisions here. I was originally planning to use the XSPC kit in it's vanilla form, (barbs and tubing the lot) but you know how it goes, you get started and you get a few ideas. I should say there's absolutely nothing wrong with the XSPC kit, it's great, it's just I can't help looking inside a case and thinking Mmmmm...I wonder what it would look like if I did...
Option 1
Stay with the XSPC kit exactly as it is, chrome barbs with black retainer clips, clear tubing.
Option 2
Black tubing with the above
Option 3
Black tubing but change to black compressions
Option 4
Black tubing but change to chrome compressions
Option 5
White tubing and black or chrome compressions.
If I go for option 5 do i stay with black braid or go for white braiding???
All suggestions appreciated.
............
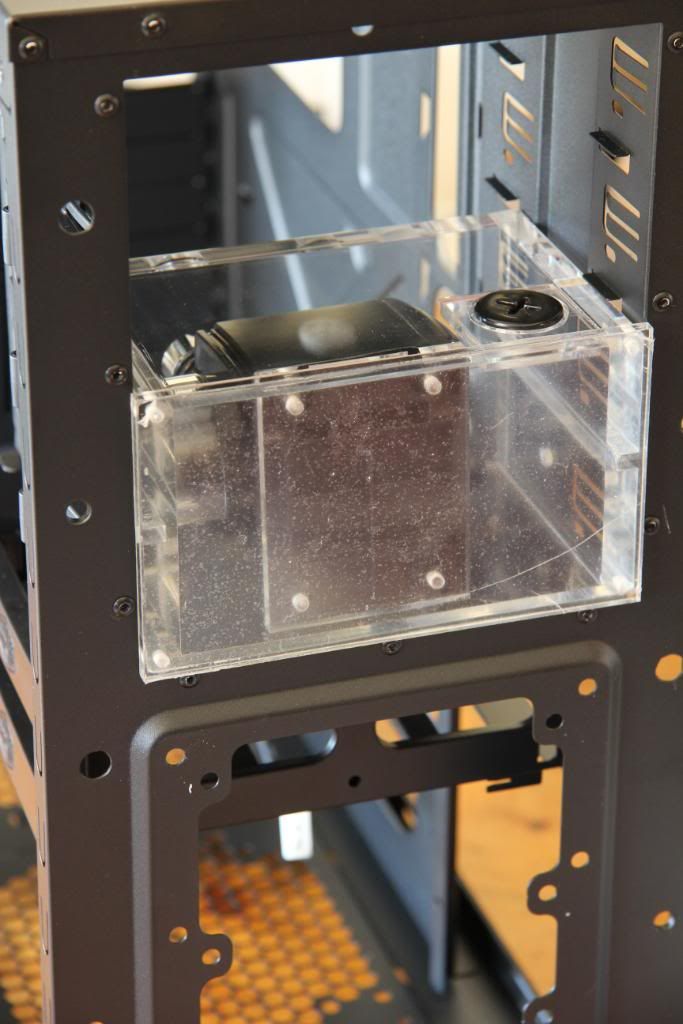
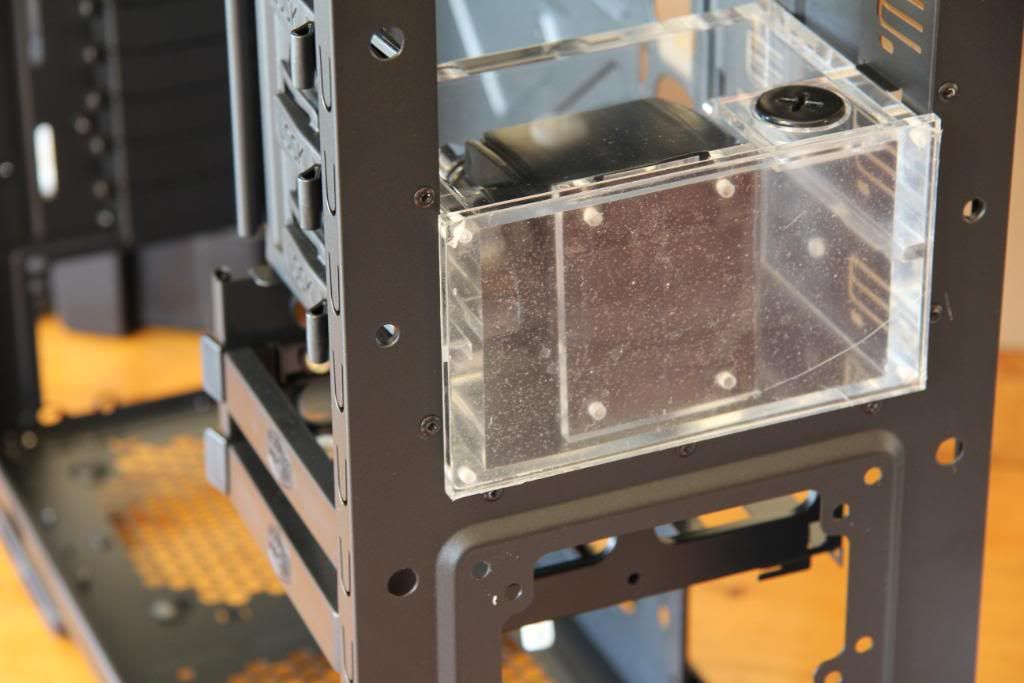
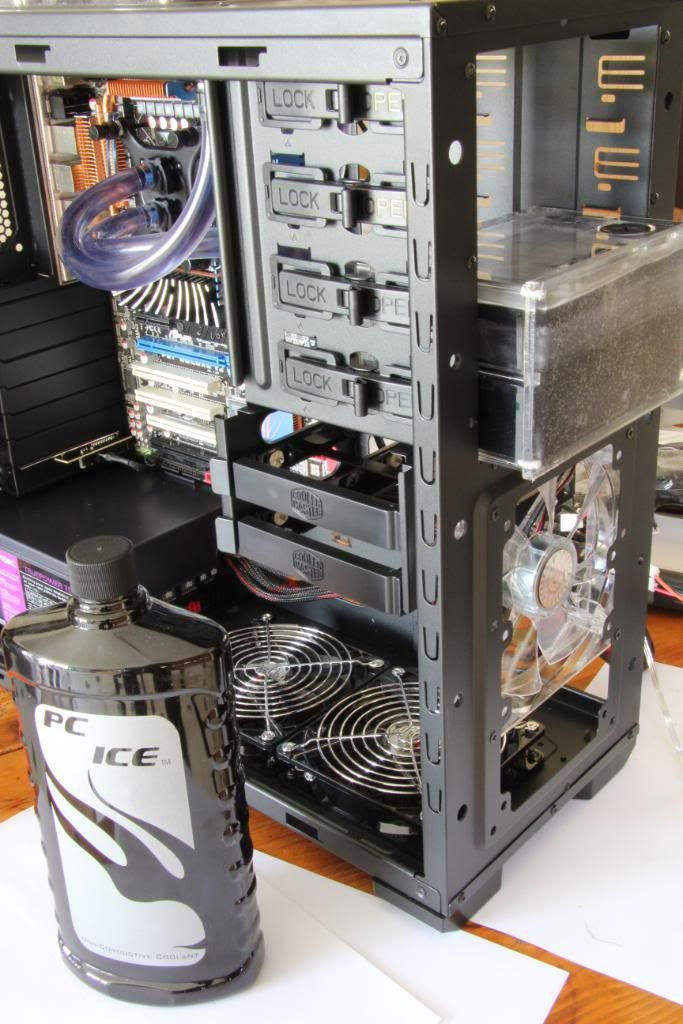
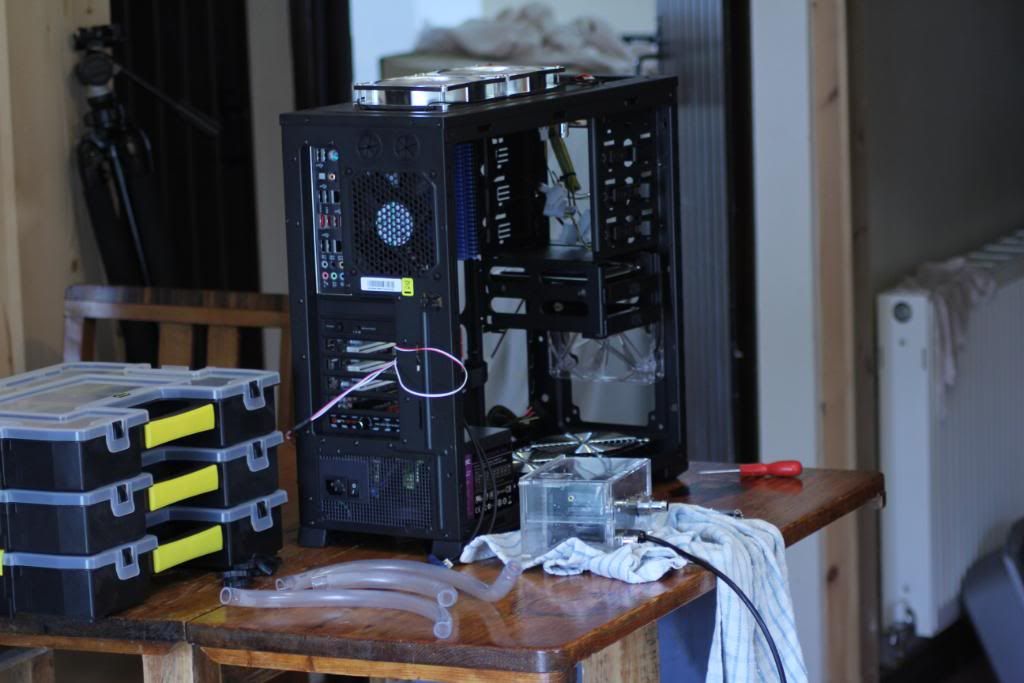
A few picks of test fitting for Rad and res.
I've spent most of the afternoon staring into the case and trying to visualise the tubing route.
my wife commented that I never look that longingly at her
(feel free to insert your joke about tubing routes and beautiful chassis)
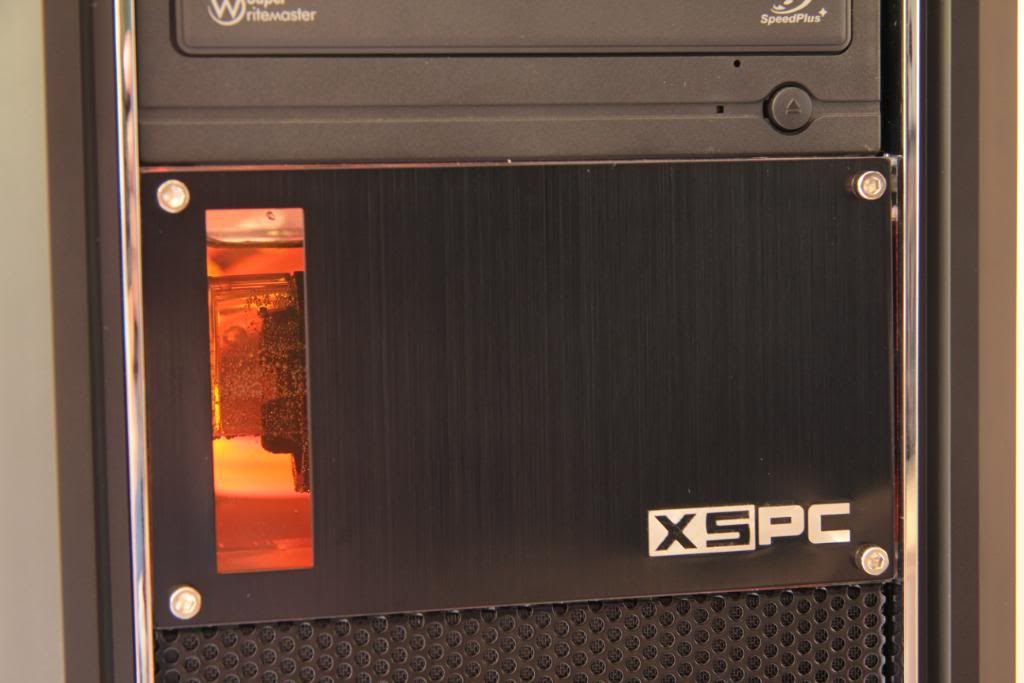
Please note i've left the protective cover on the front of the reservoir
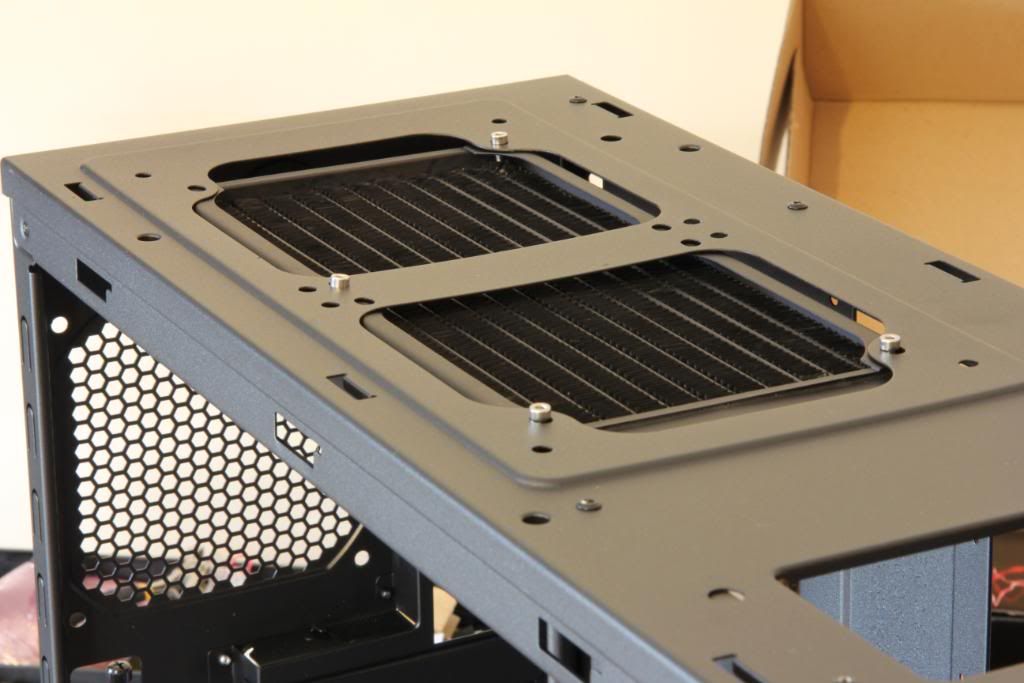
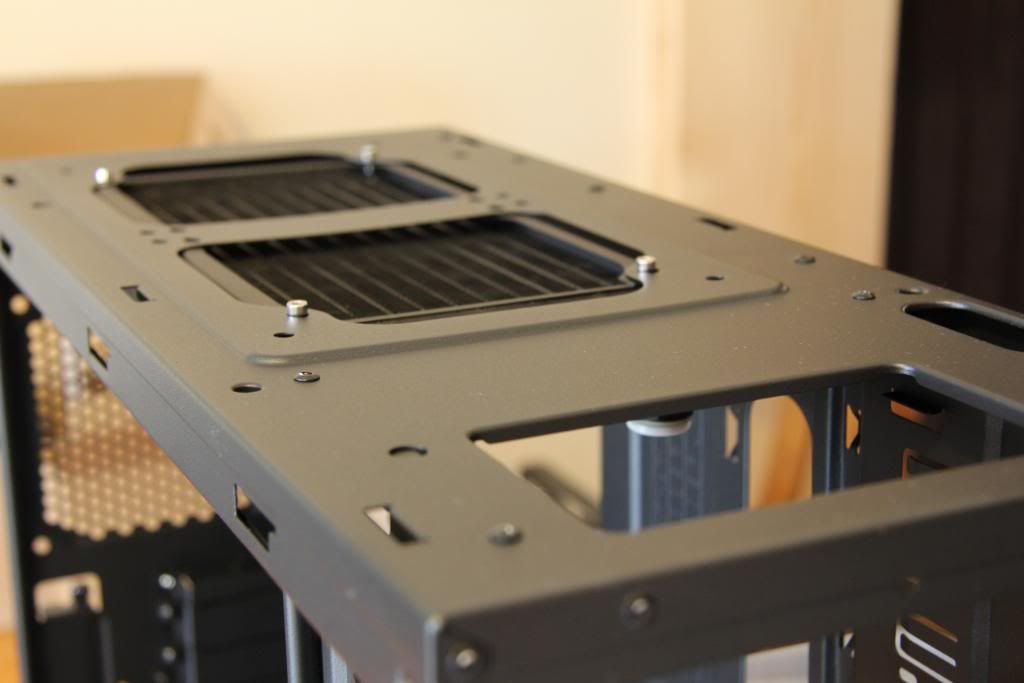
Rad mount is only for test fit, I'm probably going to have the fans that come with the XSPC as pull on top of the rad, and the Air penetrators I reviewed as push inside the case.
03.04.11
Well a good day and a bad day.
Got a lot done on the case, but have had to change my plans a bit.
1st off a few pics of the progress (the good bit), bad bit at the end.
Decided to go with the stock kit in the end. I can always change it later if I want a change of scenery.
I always PTFE my fittings. PTFE is an active barrier, and the O ring is a passive barrier, but no reason not to have both.
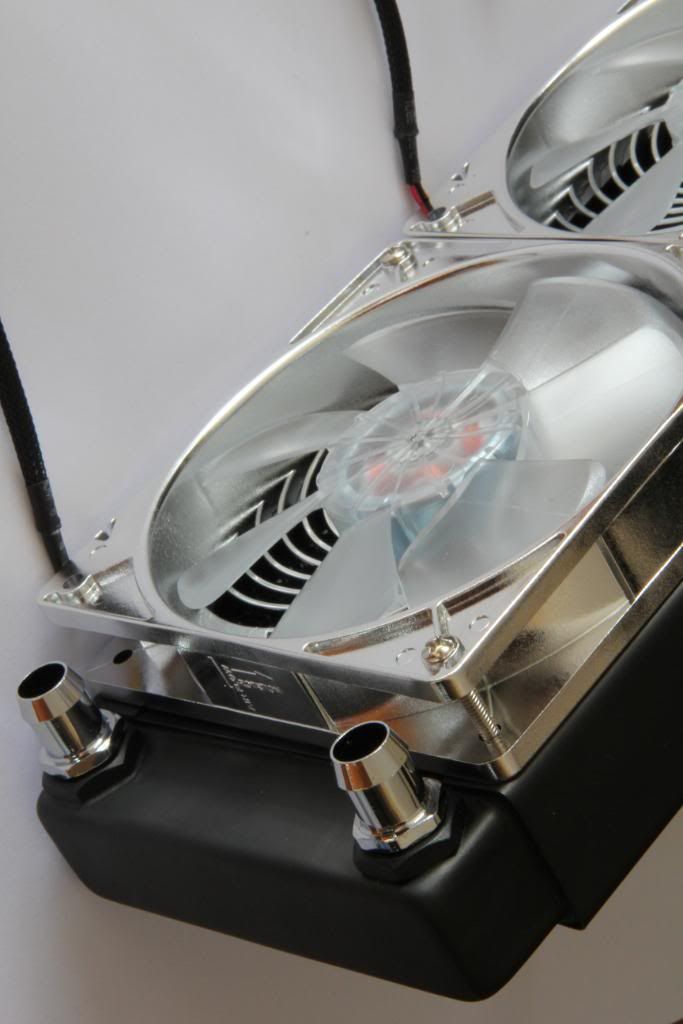
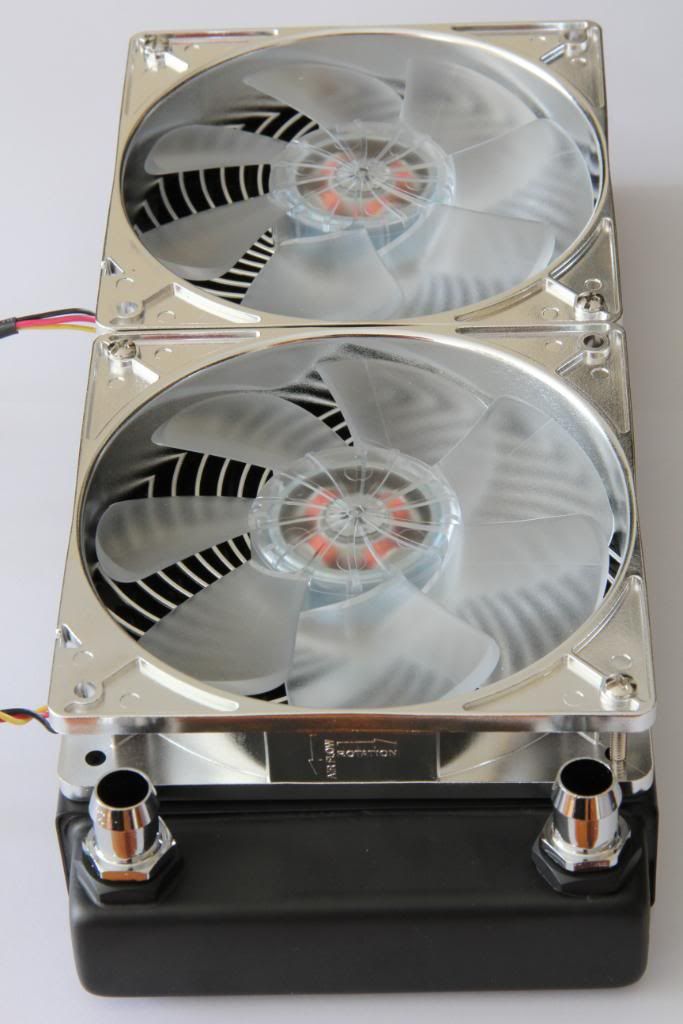
Silverstone air penetrators on the Rad. and barbs fitted
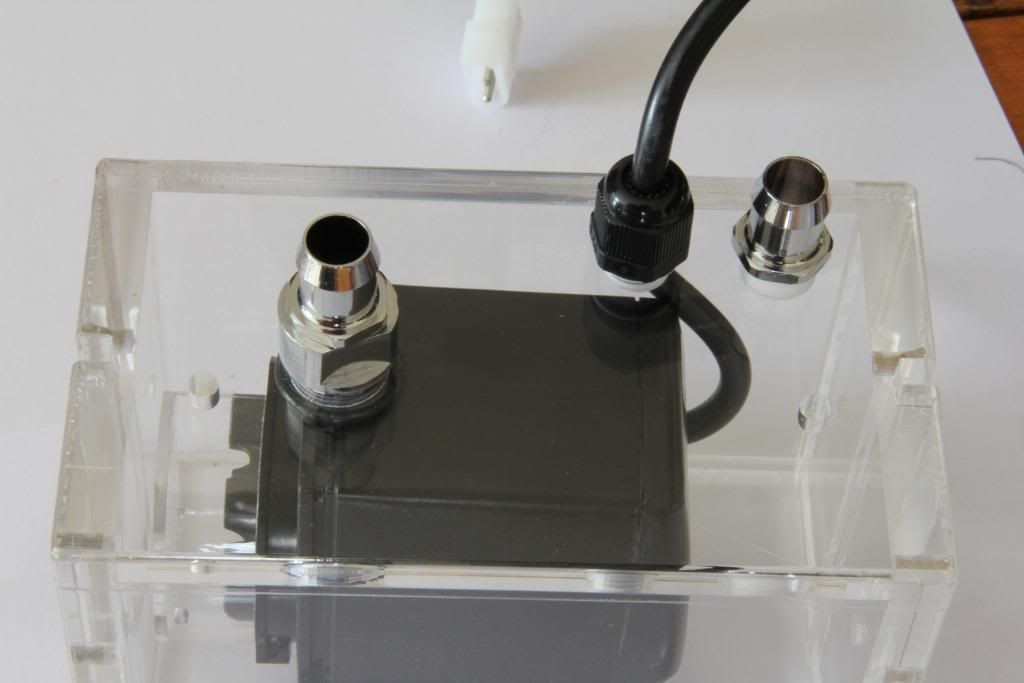
Barbs fitted to the res
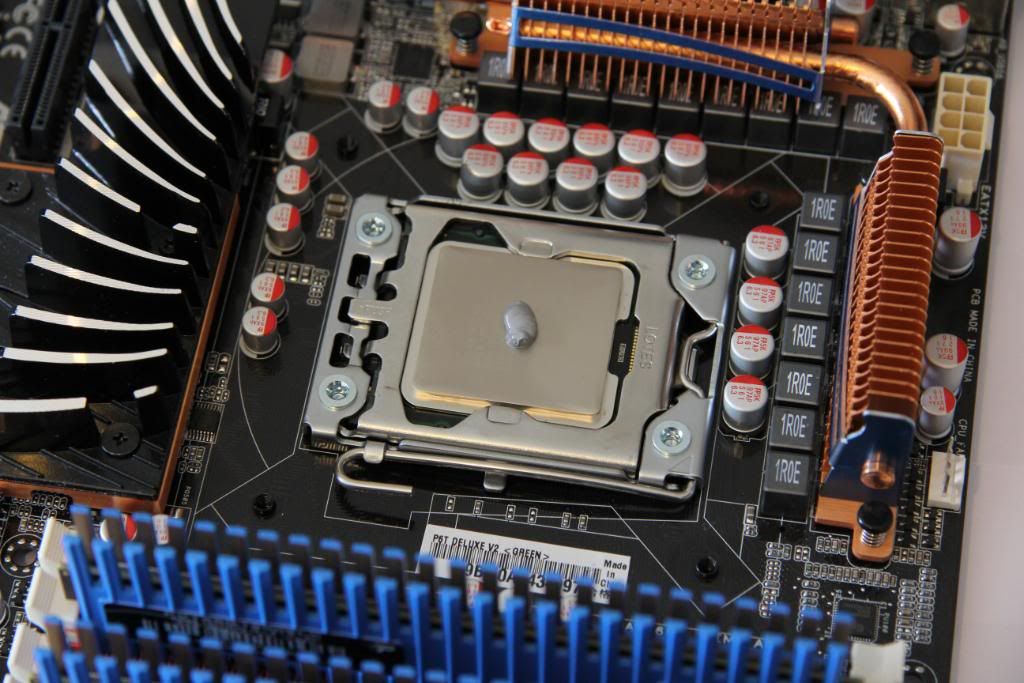
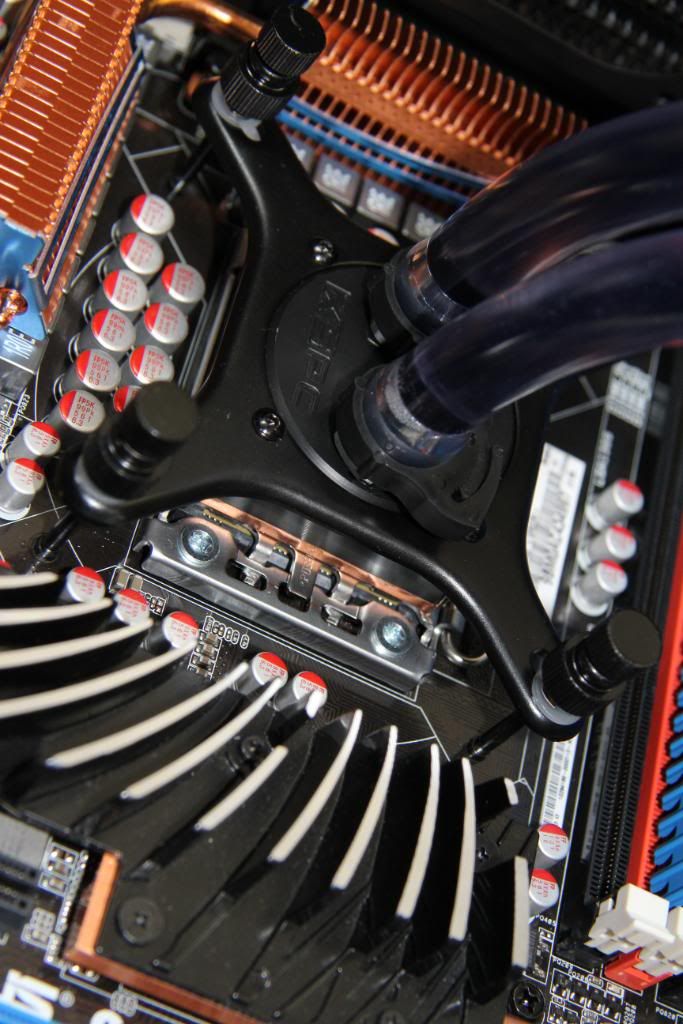
The i7 ready for....
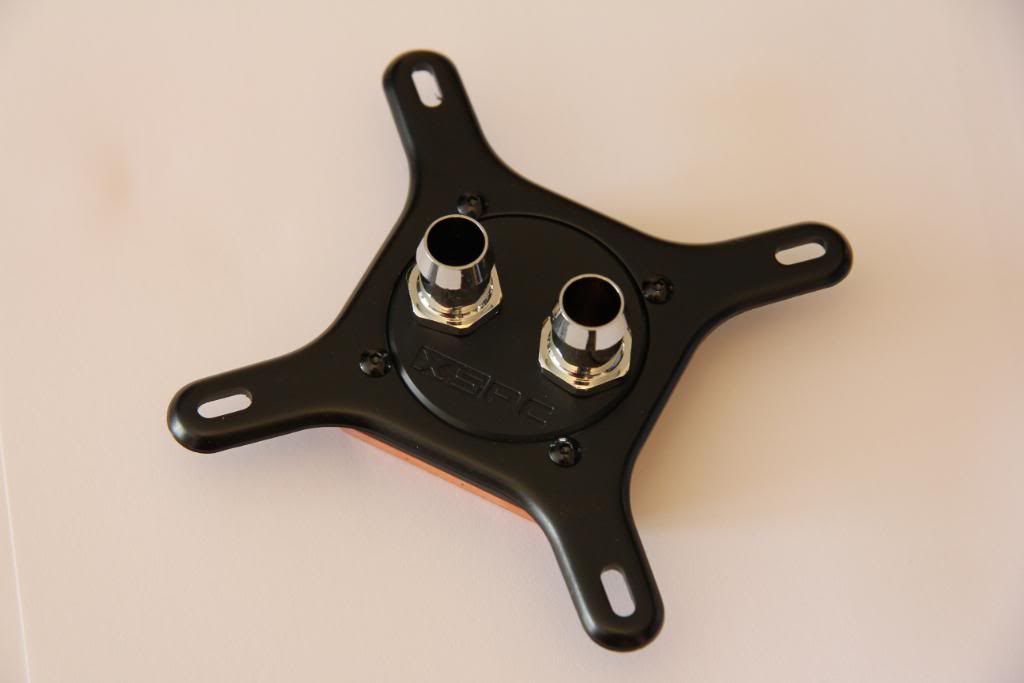
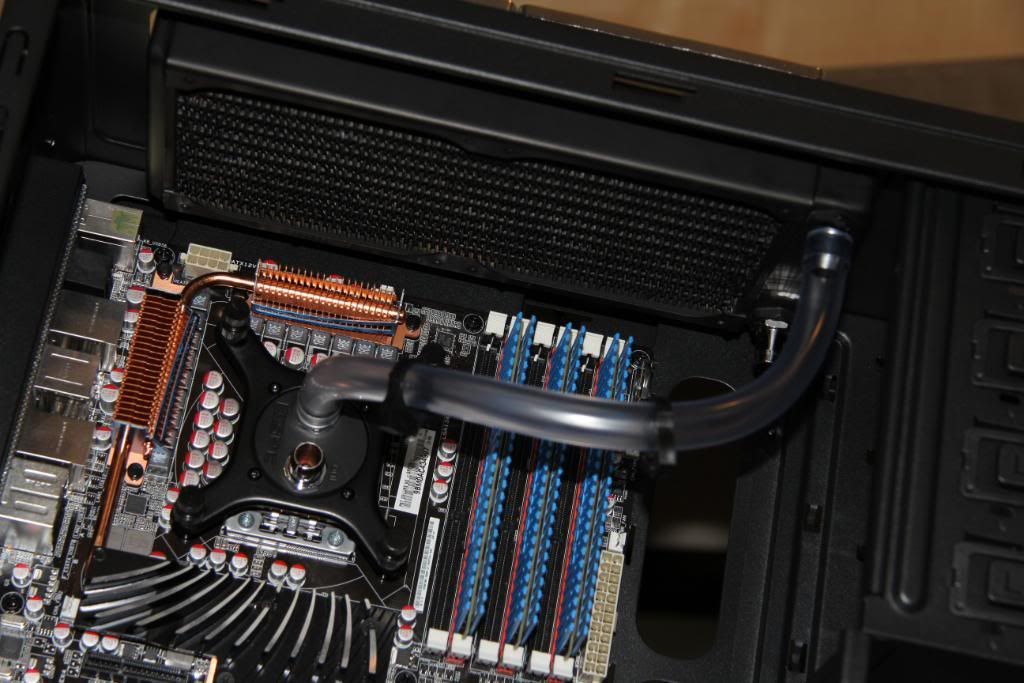
The Rasa
Bit of a blob
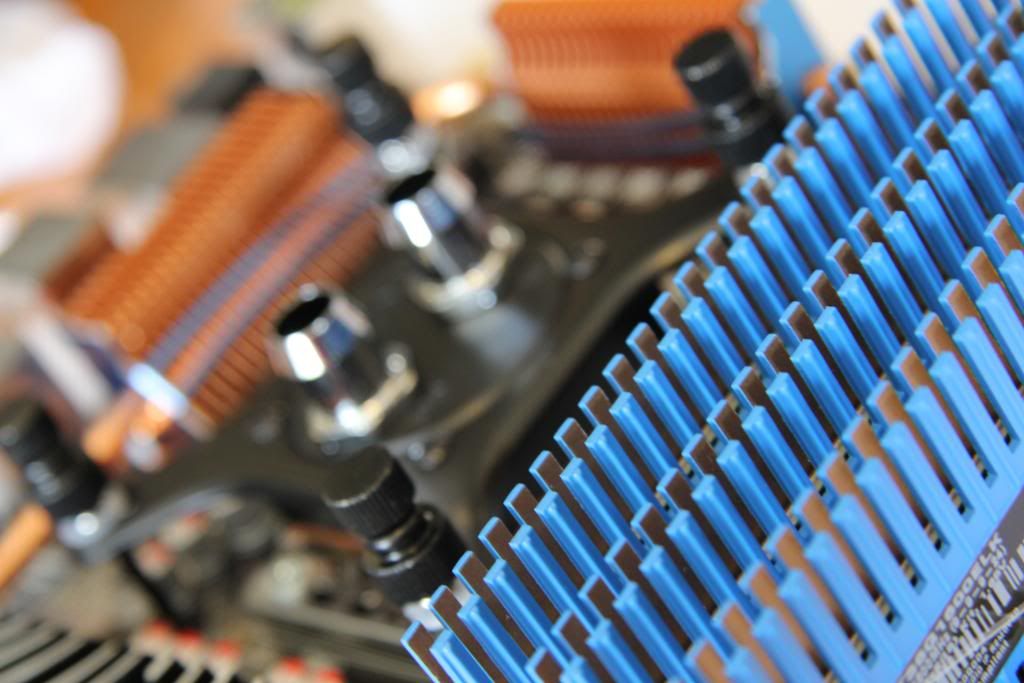
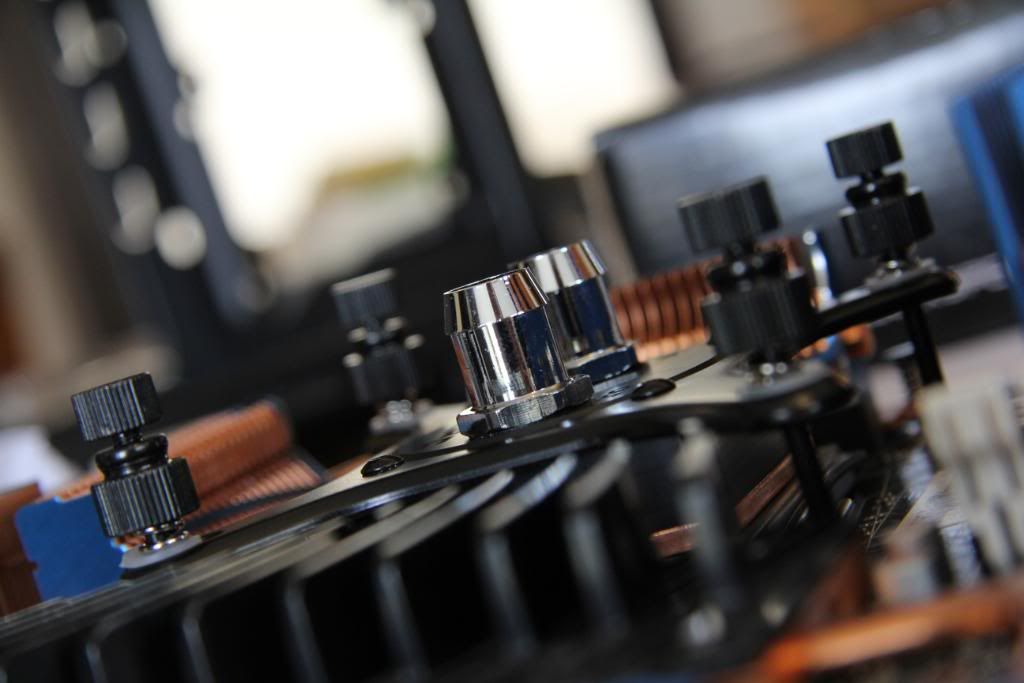
Thought it all looked so pretty It deserved some nice shots.
Ok now the not so good bit. I was originally intending to have the Silverstones inside the case under the rad pushing air up and out through it, assisted by the fans that come with the case having a bit of a pull from the outside of the rad.
However....
There aint enough room inside to have fans pushing up and uot.
So a couple of options.
1 Just the silverstones as pull on the rad (they don't work at their best as extracts)
2 the silversones as push from the top down through the rad. this of course would be great as it would be cool air from outside the case being pushed over the rad, only problem is it's then entering the top of the case area. perhaps the rear case fan would be enough to remove the warm air, although I'm a bit worried about general air flow through if I do this.
3 find another fan to use as extract, either the fans that come with it or the orange Bitfenix I have
So what do you think guys?
........................................................................
Time for a bit of an update, and hopefully garner some good advice from you guys.
Been spending a few days staring at the case trying to visualise the loop and the options for fan placement and direction.
I've narrowed it down to a few options and would like to know which should be best. I've put my thoughts in on each also
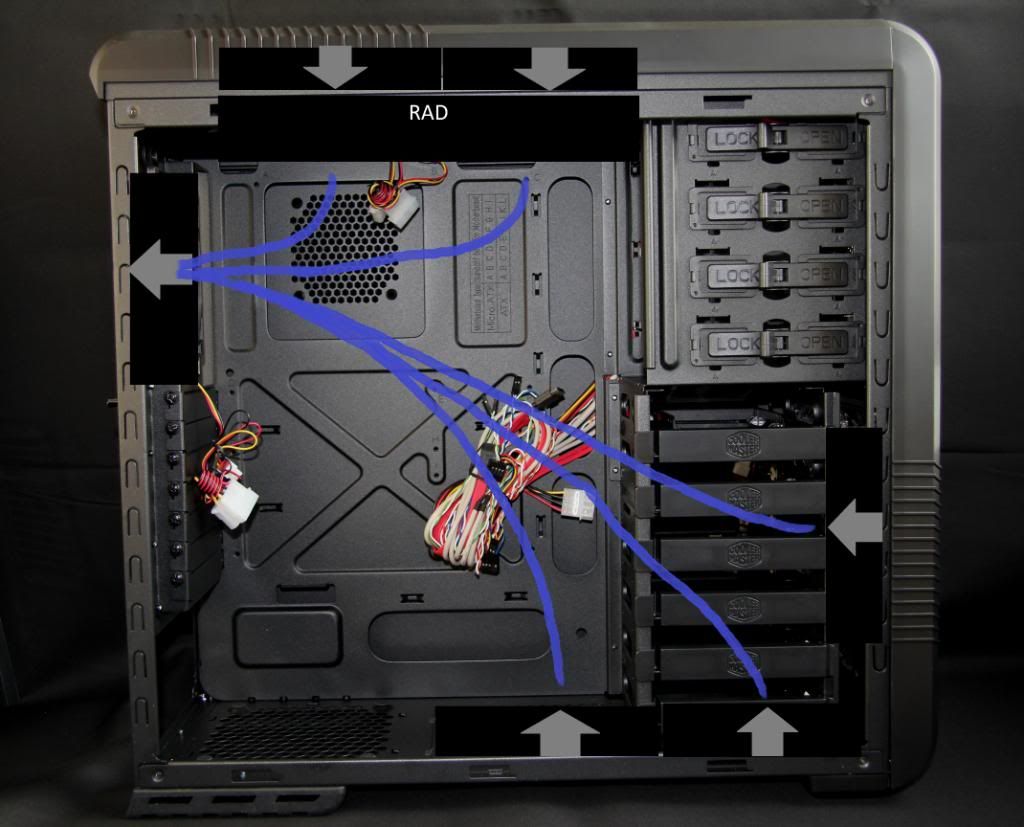
Option 1
Top mounted rad with 2 fans on pull
rear case fan as intake to supply fresh cool air to rad
1 front fan on intake and 2 base fans on intake to give cross board airflow up and towards the rad.
pros, good cross board cooling
cons pull not as good as push

Option 2
Top mounted Rad with 2 fans on push
rear case on exhaust
front fan on intake and 2 base fans on intake to give cross board flow.
Pros
optimal cooling of rad with fans on push
cons possible turbulent air mid case may disrupt cross board flow.
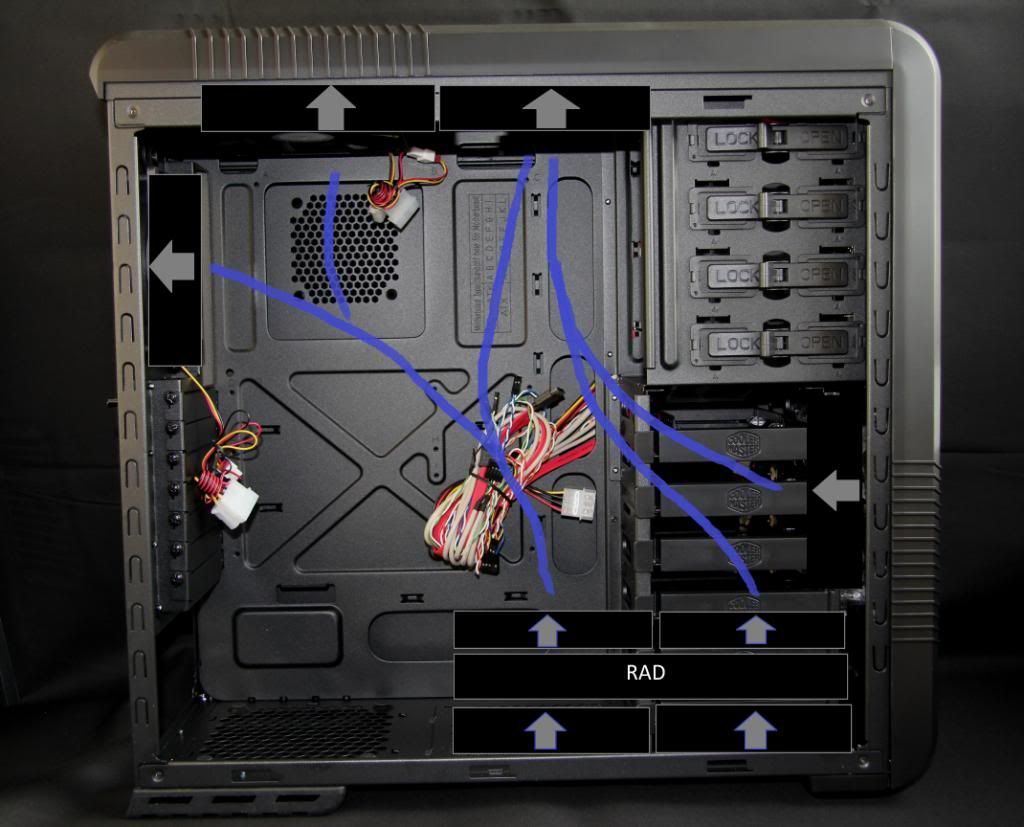
Option 3
Bottom mounted rad with fans in push pull
top fans on exhaust
rear fan on exhaust
front fan on intake mounted higher to cool HDD and give cross board flow.
Pros.
best rad cooling solution
cons perhaps less cross board flow than other options
WC loop not as tidy looking (this is a biggy for me)
So what do you think guys?
If you've got a better idea here's a blank.
..................................07.04.11.......................................
First things first, thanks for all the support and comments received. I've finally decided on the loop layout and the fan orientation.
I've even been doing some actual work on the case as opposed to just staring at it and trying to visualise things.
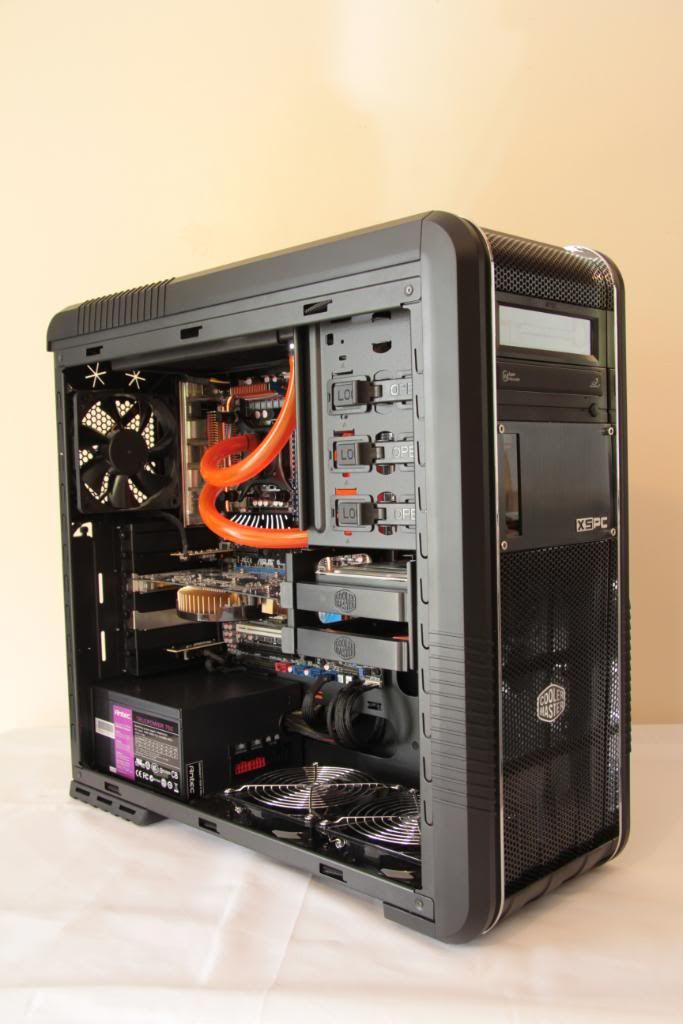
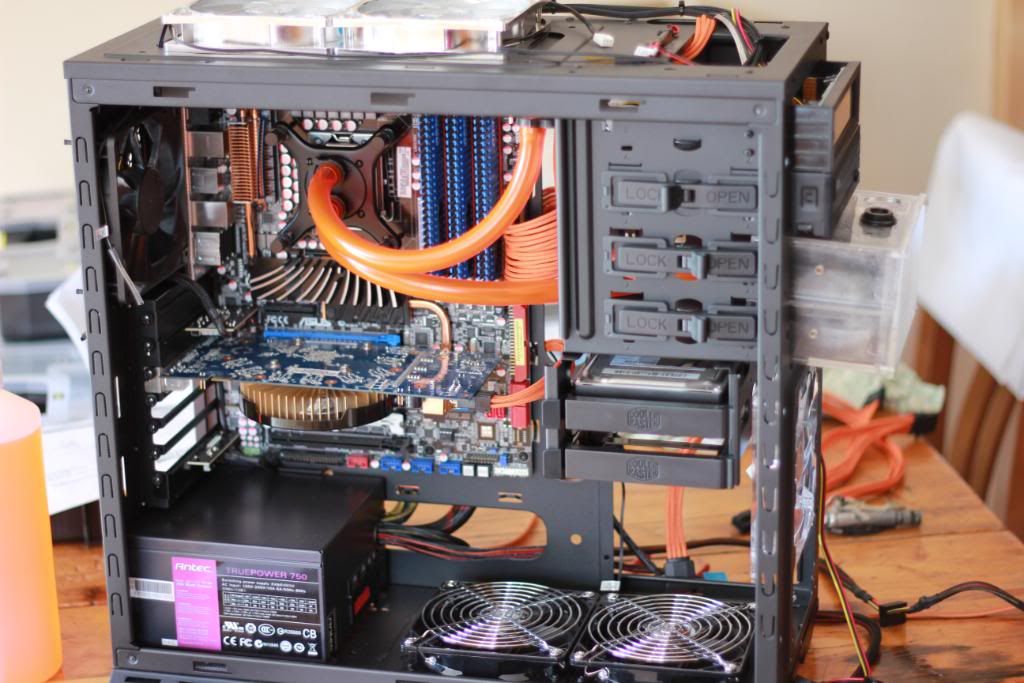
Rather than reams of text I'm going to try to let the photos do the talking, with just a few comments from me here and there.
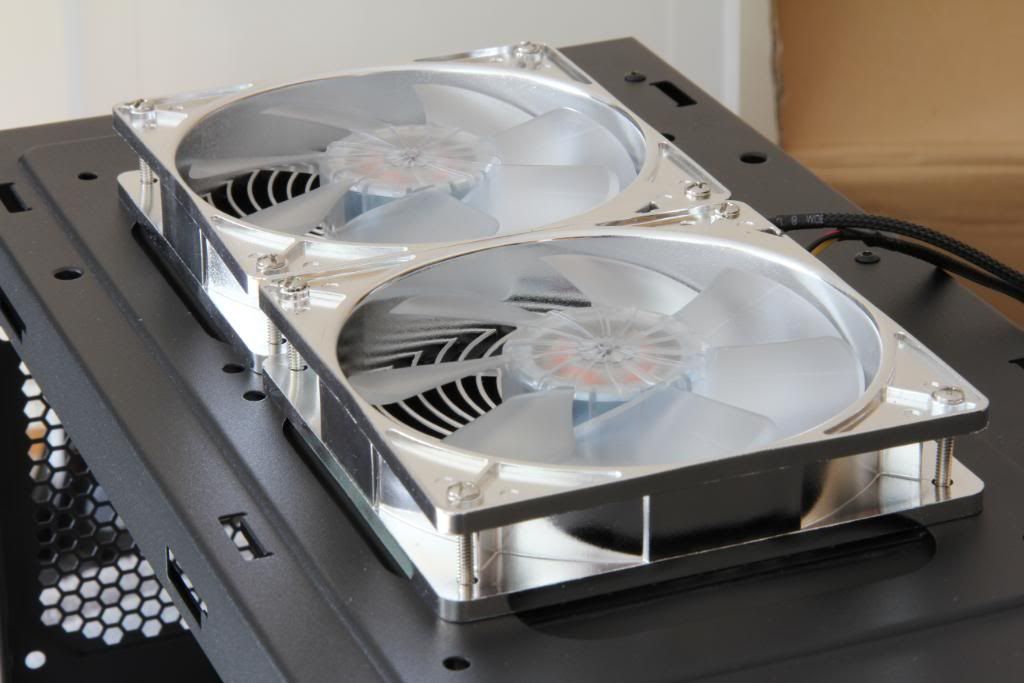
Top fans mounted, they will be cooling the rad on push. If it's a disaster it's no biggy to swap them around or swap them out for a different set.
Review http://www.specialtechforums.co.uk/...eview-Silverstone-Air-Penetrator-Fan-Blue-LED
get them here http://www.specialtech.co.uk/spshop...r-120mm-Blue-LED-Fan--AP121-BL-pid-12570.html
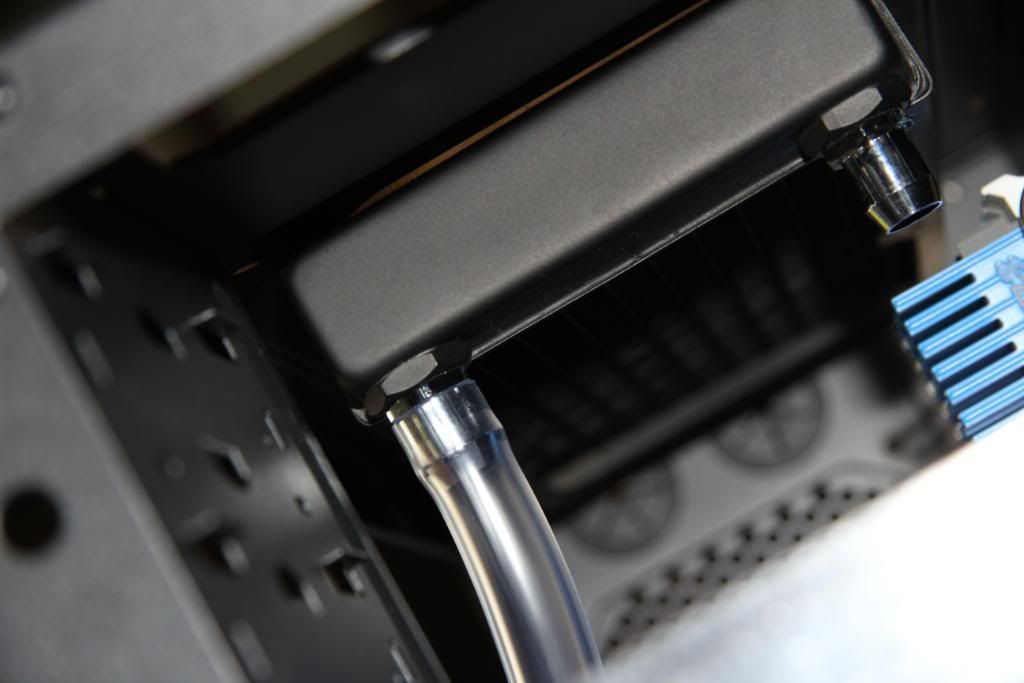
First bit of the loop goes in (the clips will get tightened later)
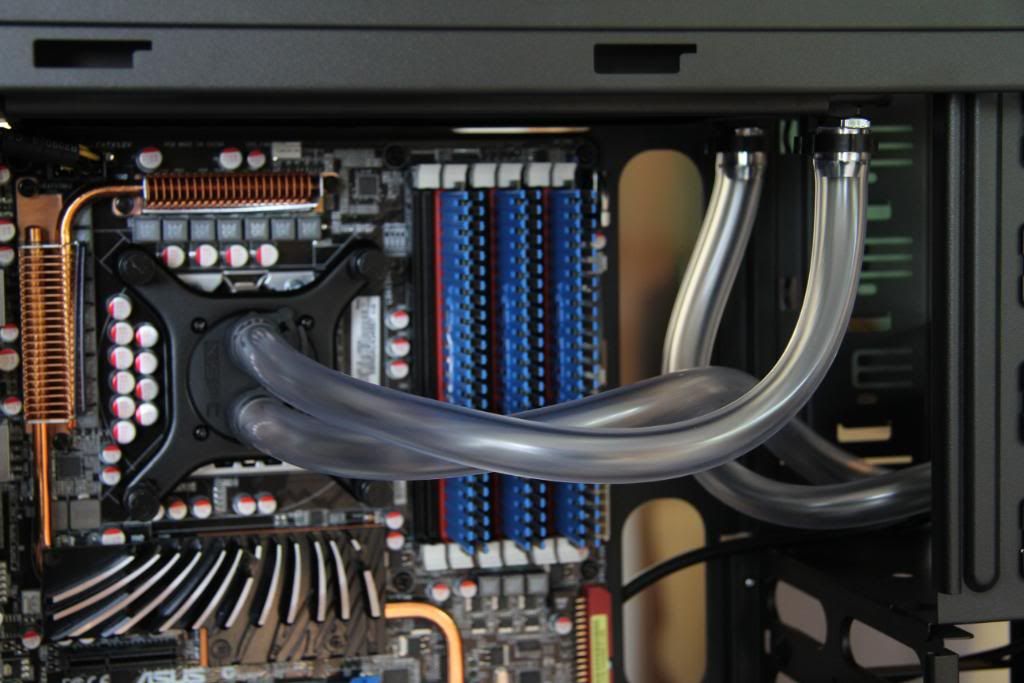
Rest of the loop installed and clips tightened.

Front and base fans installed on intake
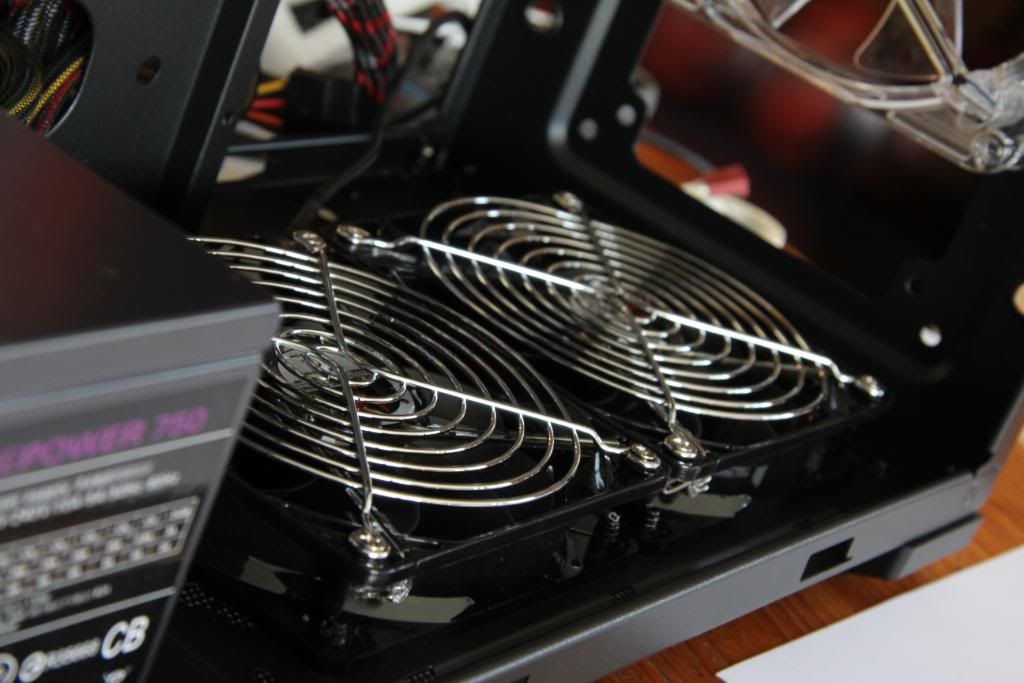
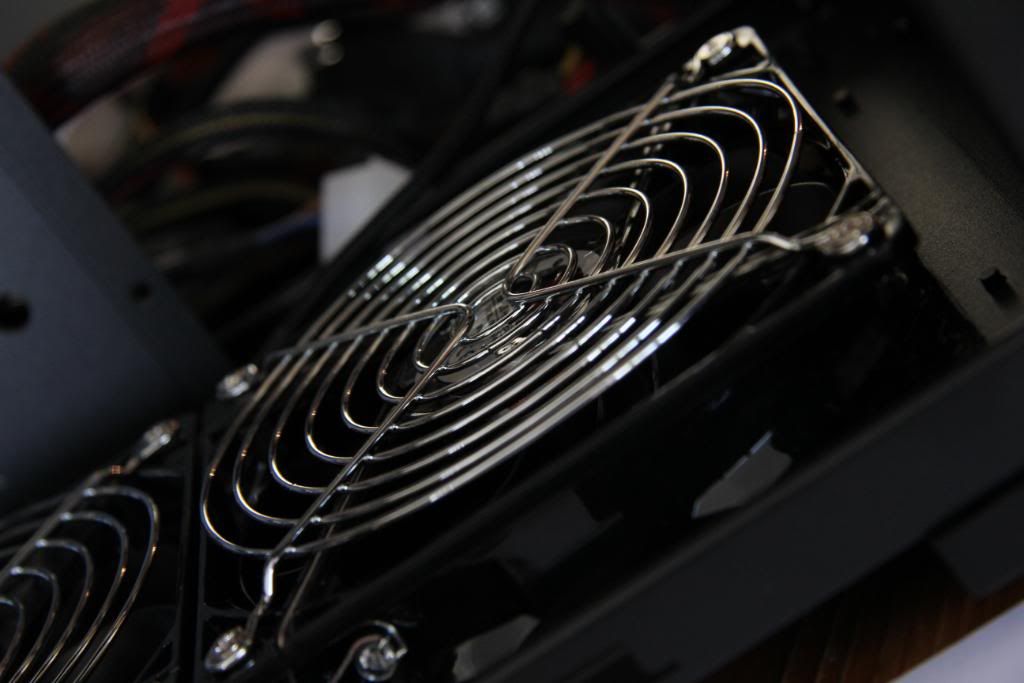
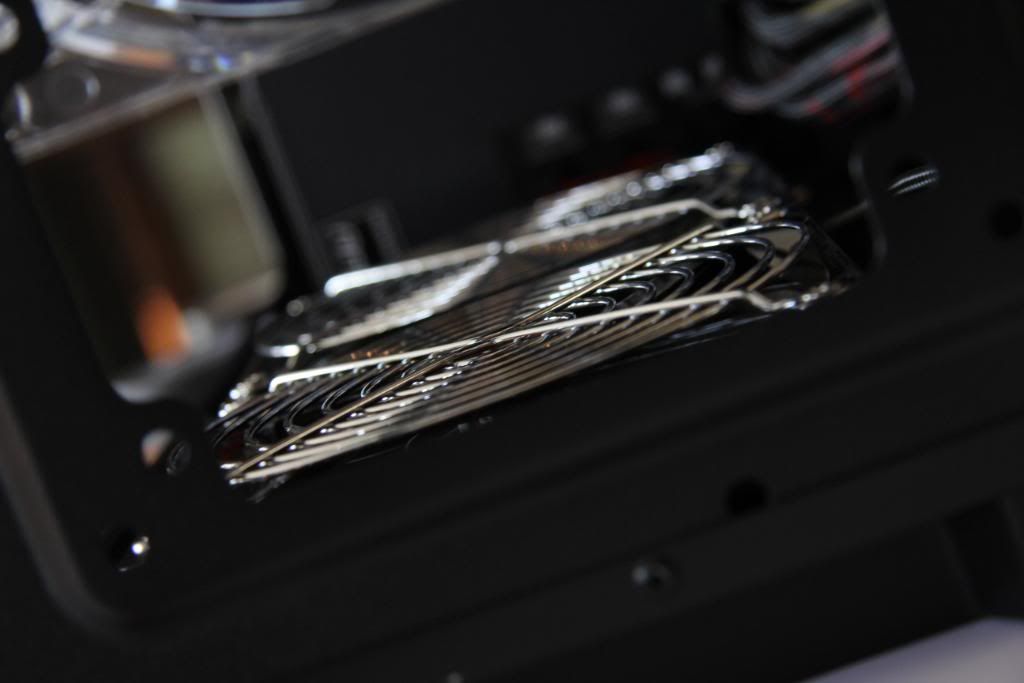
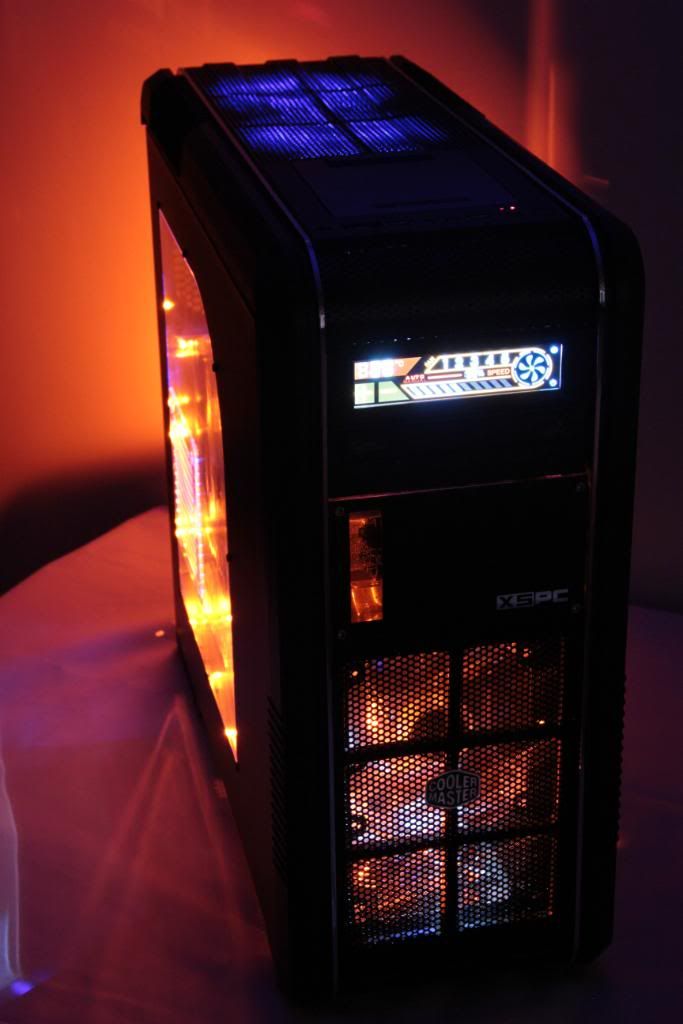
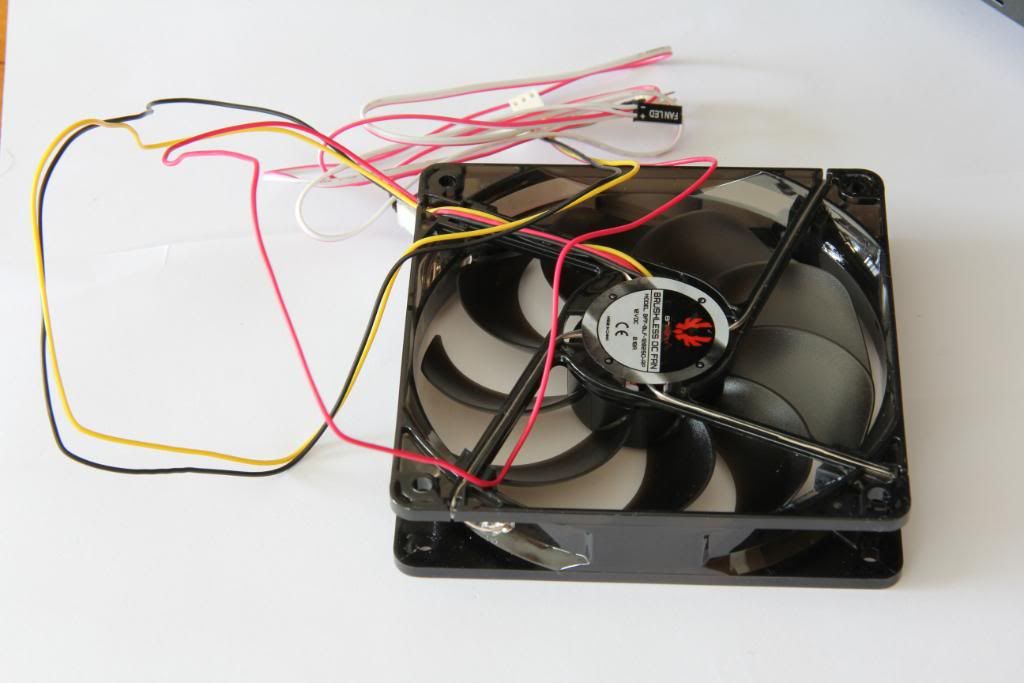
Using Bitfenix Spectre 120mm fans Black with Orange LEDs on the bottom.
reviews http://www.specialtechforums.co.uk/...pectre-120mm-case-fan.-Black-with-Orange-LEDs
http://www.specialtechforums.co.uk/...pectre-120mm-case-fan.-Black-with-Orange-LEDs
Get them here http://www.specialtech.co.uk/spshop/customer/product.php?productid=12721&cat=1535&page=1
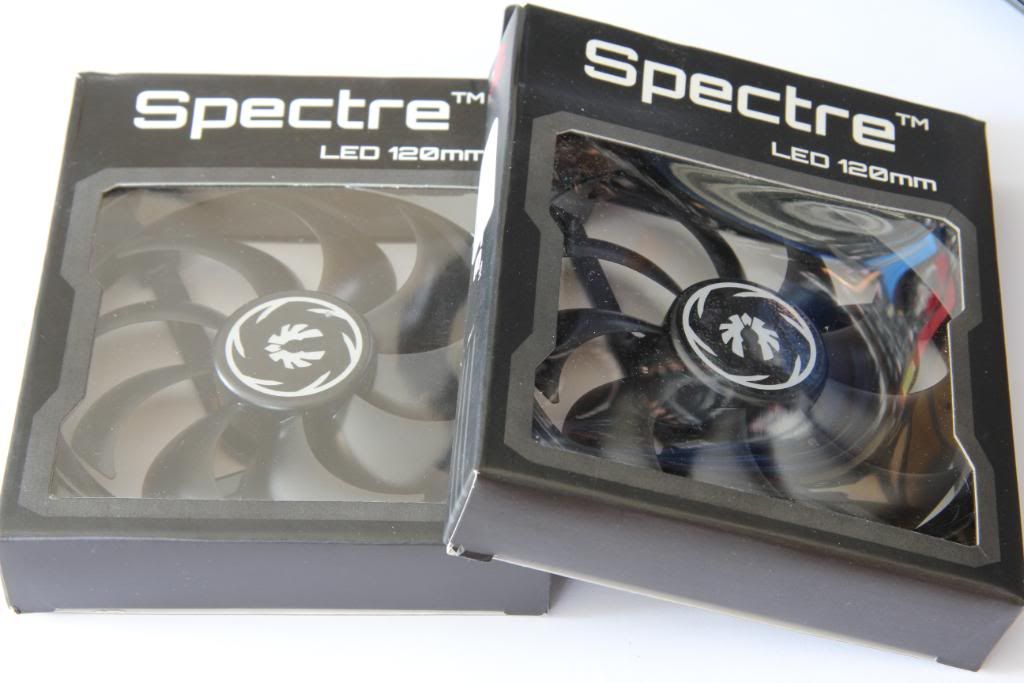
Braided them of course, couldn't put them in looking like this
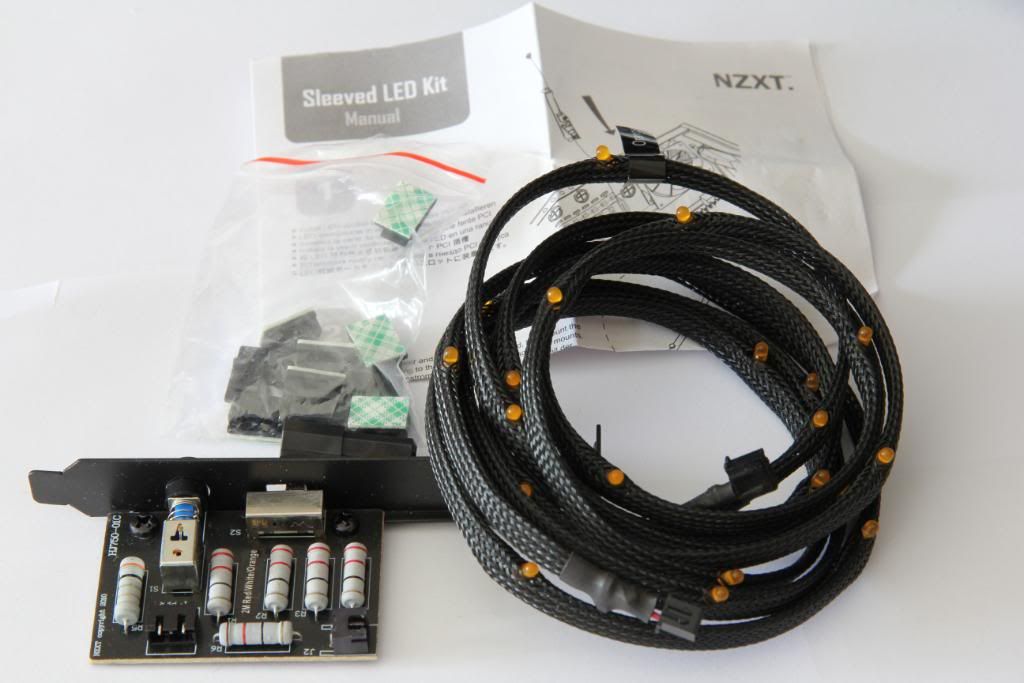
Also going to be installing this rather nice NZXT string LED.
review http://www.specialtechforums.co.uk/v2/showthread.php?1052-NZXT-200cm-Sleeved-LED-Kit-in-Orange
get it here http://www.specialtech.co.uk/spshop/customer/product.php?productid=12378&cat=1674&page=1
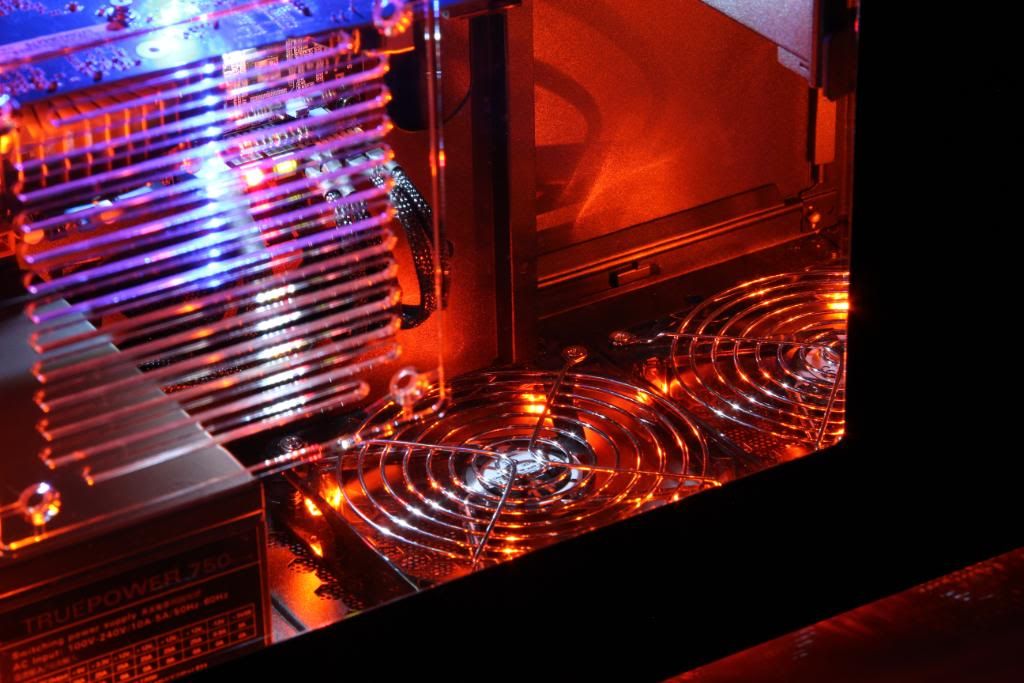
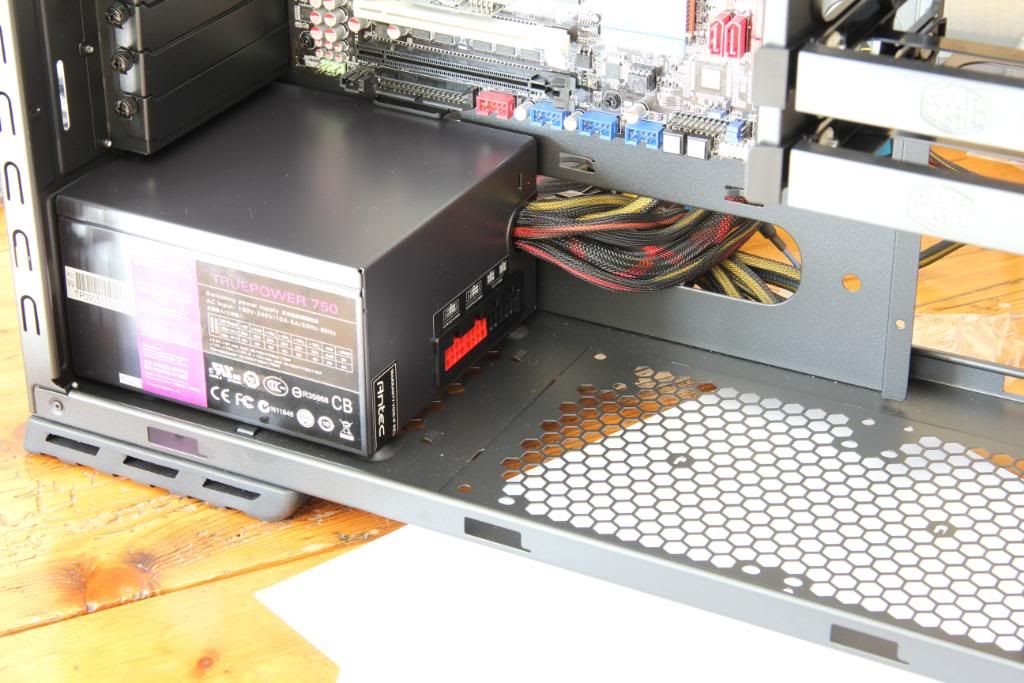
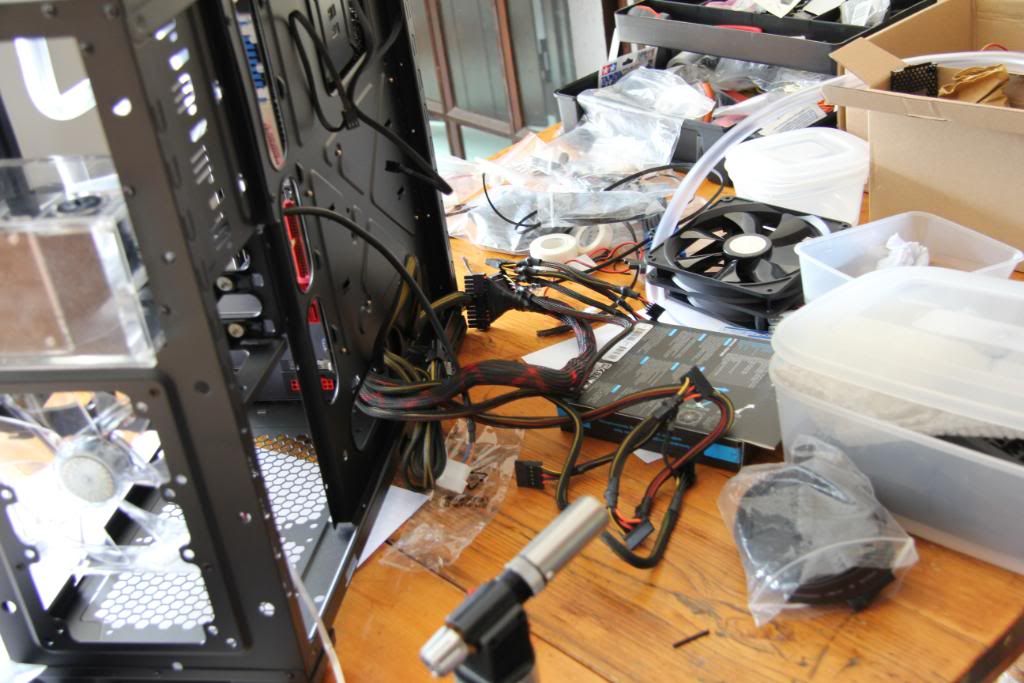
PSU is the rather nice Antec Truepower 750. it's a semi modular design having all the major cables attached and the ability to add more if desired. Just got to work out what to do with all those wires
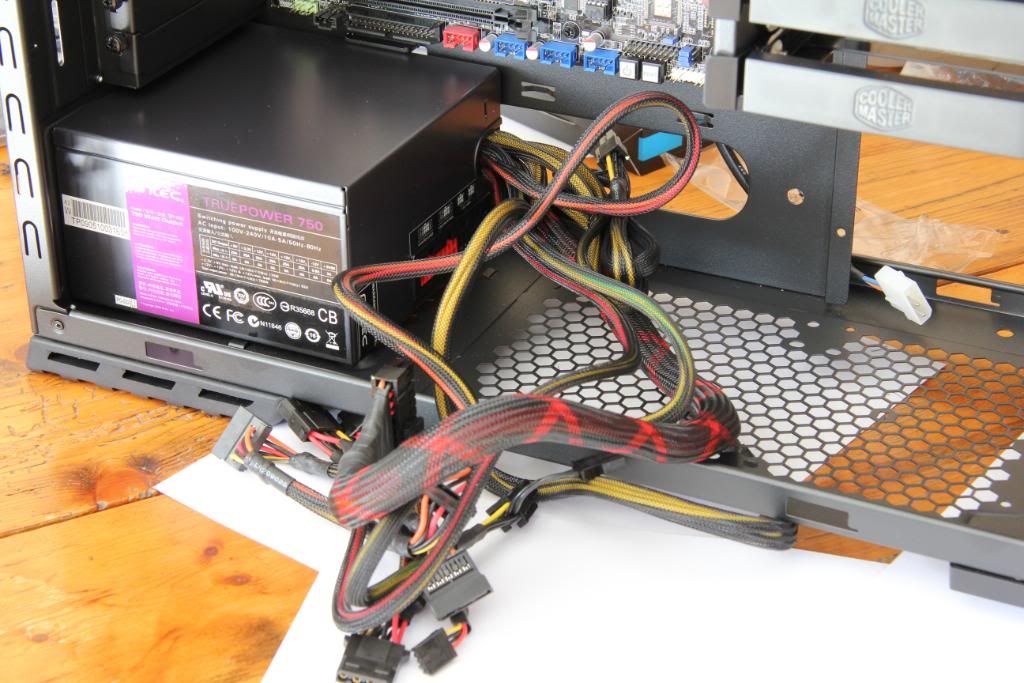
Stuff them round the back for now
The perfect crime (not)
Next up I'll be filling the loop and leak testing.
............09.04.11........................
The loop's now full and leak testing has commenced, although I have to say I'm far from happy with my choice of coolant. Having thought long and hard about whether to use the tubing that came with it, and whether to use water or a coloured coolant I decided to stick with the stock clear tubing and use some Black coolant that I had purchased for a previous build and never used.
This stuff, sold as ICE BLACK although it is available in a range of other colours. If it did what it said on the bottle, and if the colour achieved was anything like the colour of the bottle I'd be happy.
Pretty Black I think you'll agree
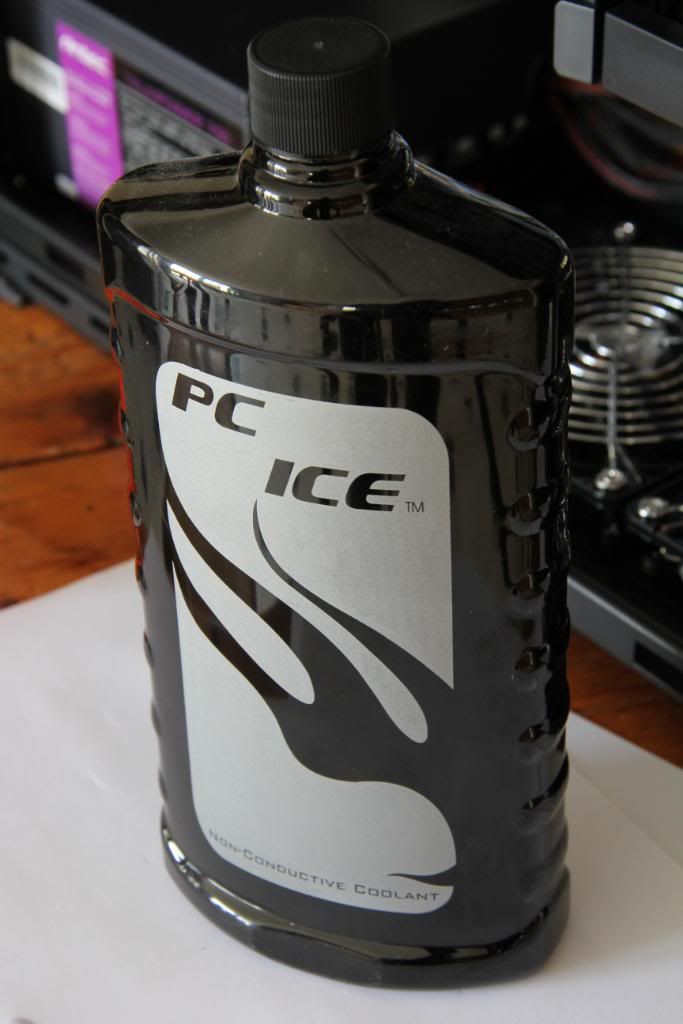
NO IT'S NOT, ITS SMEGGING PALE BLUE, PURPLE AT BEST
I AM NOT A HAPPY CAMPER!!!!!
Thinking of maybe using a dye bomb, but never used one before, do they work? any problems with them?
25.04.11
Sorry for the delay in this build. Work has been a bit frantic and i've been having a bit of a contemplate about which direction to take it in.
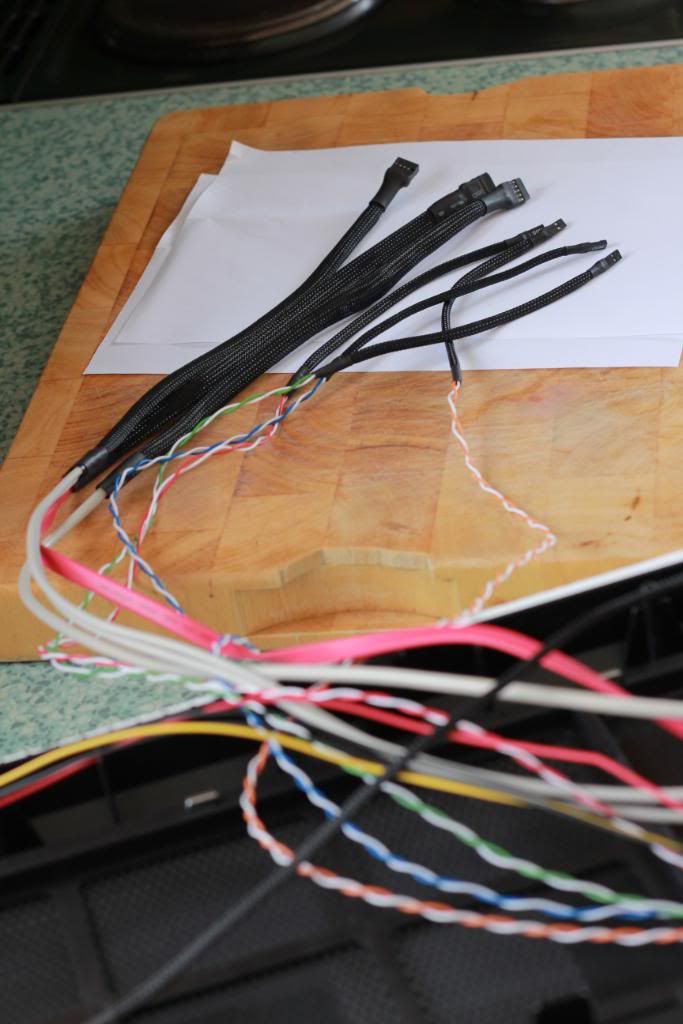
Bit of activity over the bank hols has seen me start braiding the cables from the front IO and some of the SATAs. I say some of the cables, as what I'm doing is braiding the bits that can be seen. as there's no point wasting braid on areas that are out of sight.
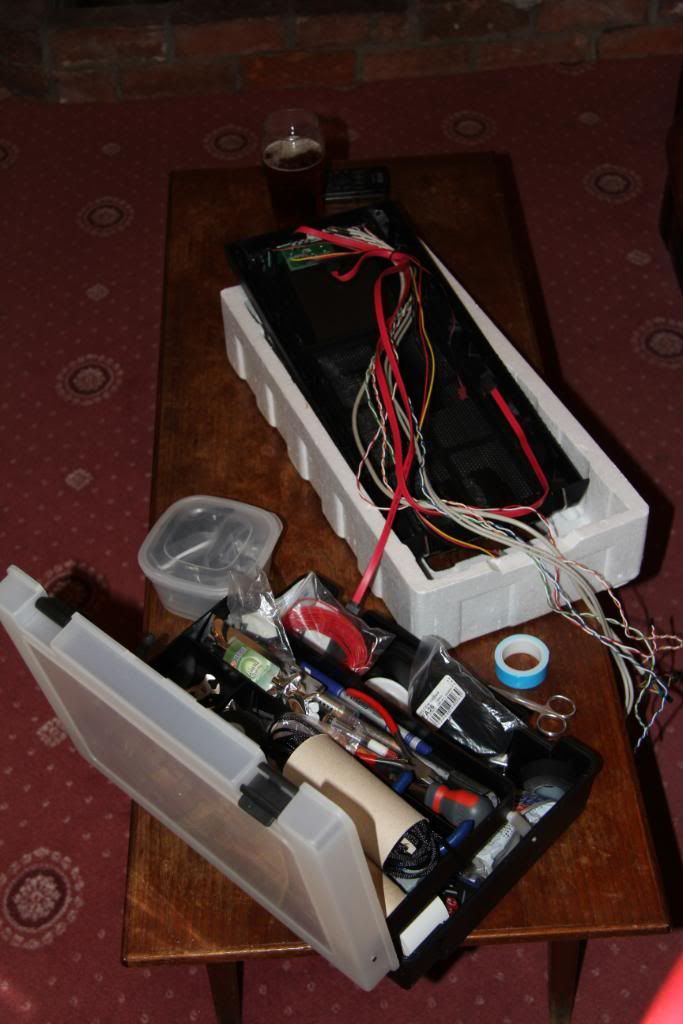
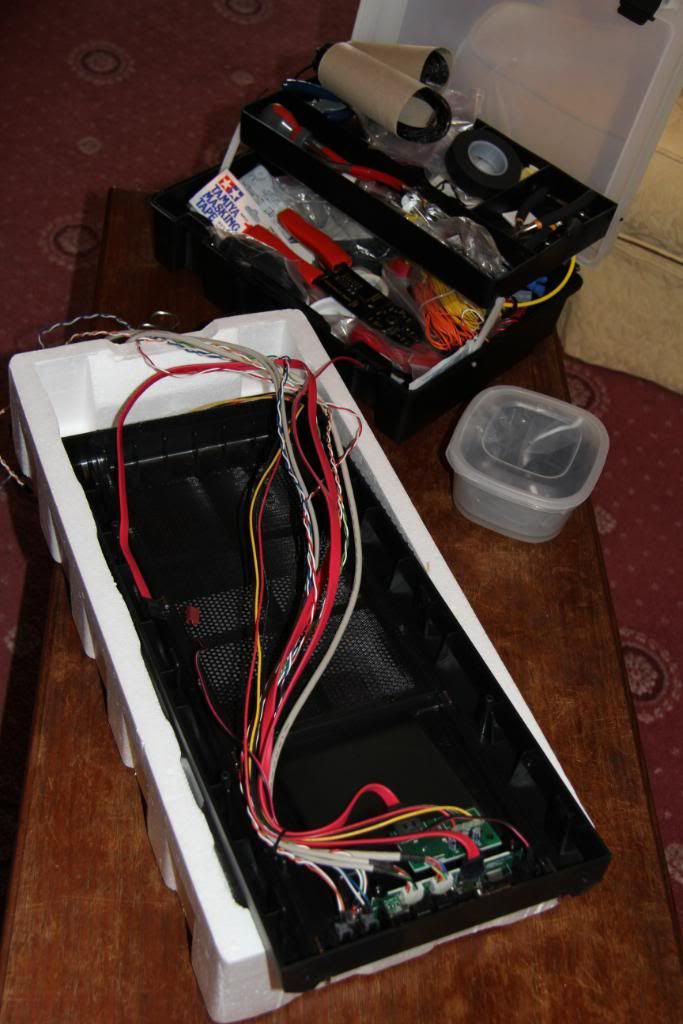
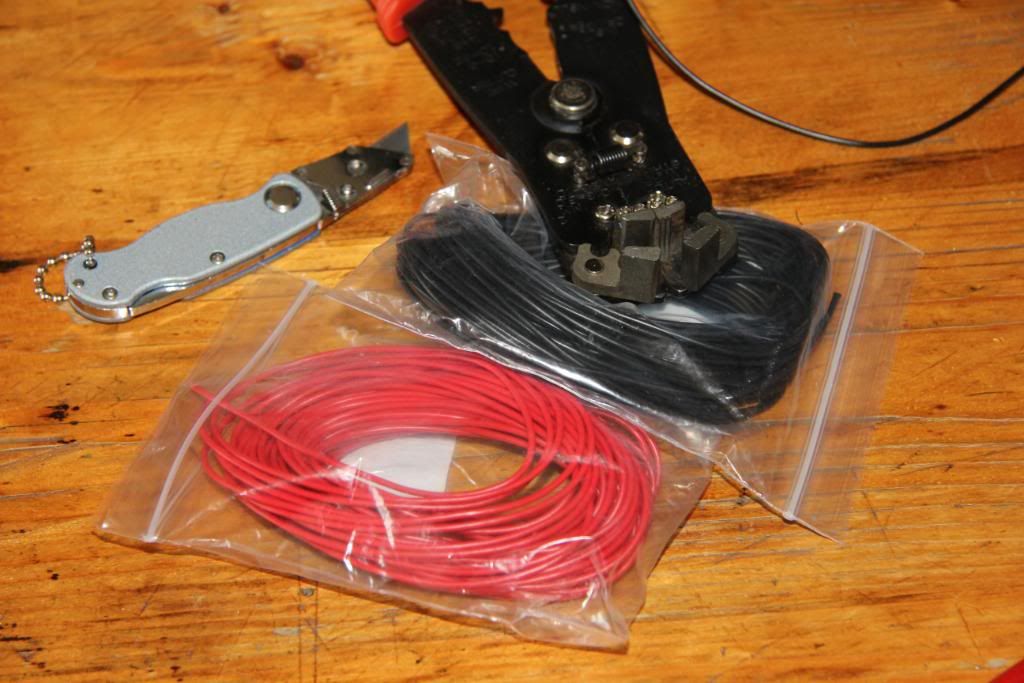
All the essential items for a good braiding session (yes the Beer is essential, it's thirsty work)
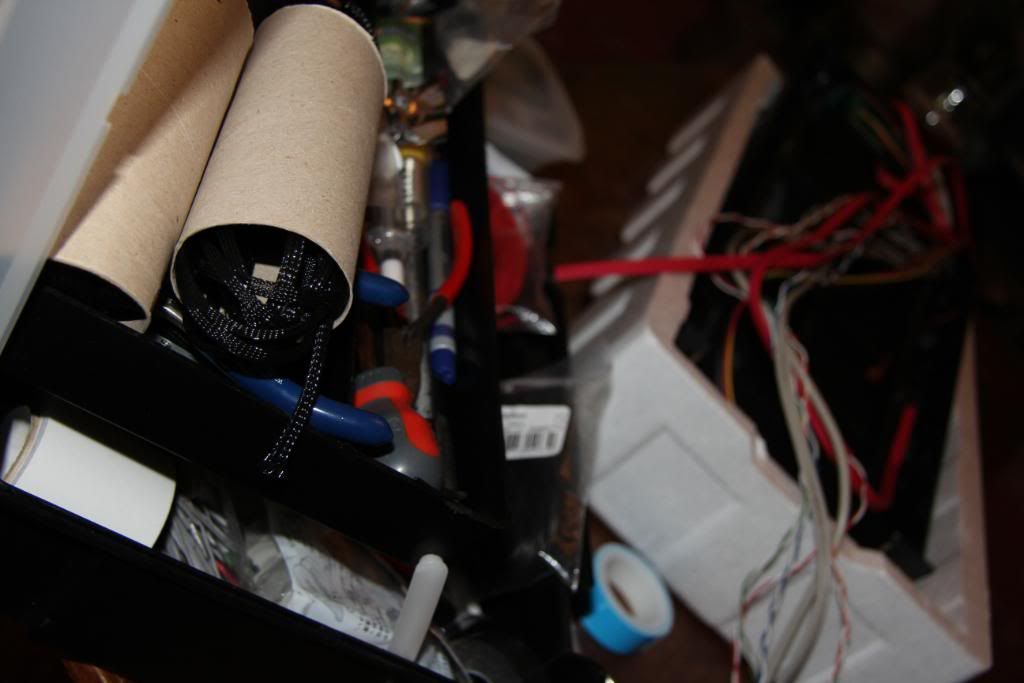
I found a handy dandy way of keeping the braid when not in use
Some of the cables do seem a bit unnecessarily long, in particular the sata cable
Unfortunately having made the decision to braid in black I've discovered my stock of braid is really low as is my heatshrink supply so may have to get some more in.
I've also drained the poor excuse for a black coolant from my loop and have replaced with distilled water. I may stay with clear water, or might at some dye later. (still thinking orange. or maybe white).
Either way a kill coil is on the shopping list.
I got this case from the great guys at Specialtech, and having worked with it for a few weeks now i've had time to properly appraise it, so thought i'd let you have the benefit of my thoughts so far. I will of course be giving my full report at the end
Build quality.
The panels are well painted, straight with few or no blemishes or marks to the finish.
The chrome is well applied with good thick coverage and again no marks or blemishes.
The case comes well packaged with a good selection of accessories.
Ease of use
The case is very easy to work on, it strips down very quickly allowing all the plastic components to be removed giving full access to all the cable routing at the rear of the case
There are plenty of cable tie retainers on the rear side of the mobo tray area (no need for sticky tape with this case).
Cable routing holes are well placed, although there could perhaps be better access to the top of the mobo area and perhaps into the drive bay areas.
The cable routing holes are spacious and easy to get plugs through howerver they are not covered by grommets.
Air Cooling options
The case comes with 1x140mm front, 1x 140mm top and 1x120 rear fans.
In total there is provision for 1x 140 front or 1x 120 front
2x 120 or 140 bottom
2x 120 or 140 top
1x 120 rear
1x 80 slim rear of mobo.
1x 120 side
Additional fan can be installed in the optional GPU support bracket.
Watercooling options
The case supports maximum
120.2 single thickness rad in the roof.
120.2 single thickness rad in the floor. To mount the floor rad necessitates the removal of the detachable HDD section, leaving 2 HDD bays.
Ok, i'd best hit the Specialtech shop and get me some bits and bobs sorted.
25.04.11 evening
You wait ages for an update and then 2 come along in the same day.
Typical...Bloooooming typical.
Well it's been a bit of a windy bank holiday Monday out here on the Lincolnshire coast, but still the caravans have been out in force. We've had guests down for the weekend, but they went yesterday so after a spot of gardening it was on with the build
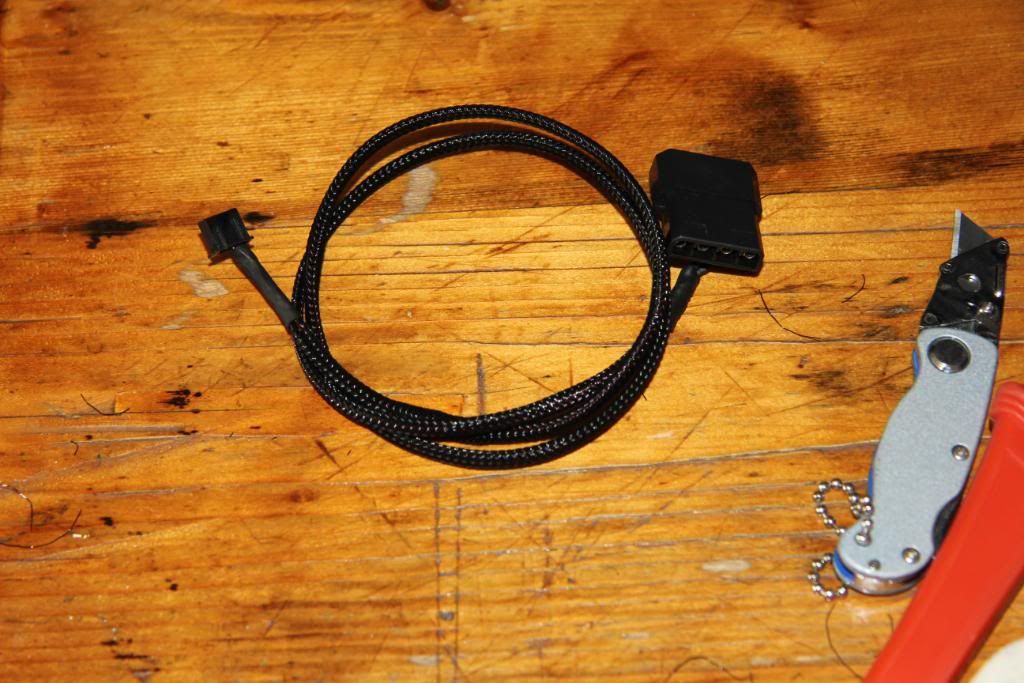
I reviewed the NZXT orange LED strip a while back and commented on how short it's molex power lead was. Well Having tried to install it I can confirm its way too short. Too short in fact to even reach through the mobo cutout.
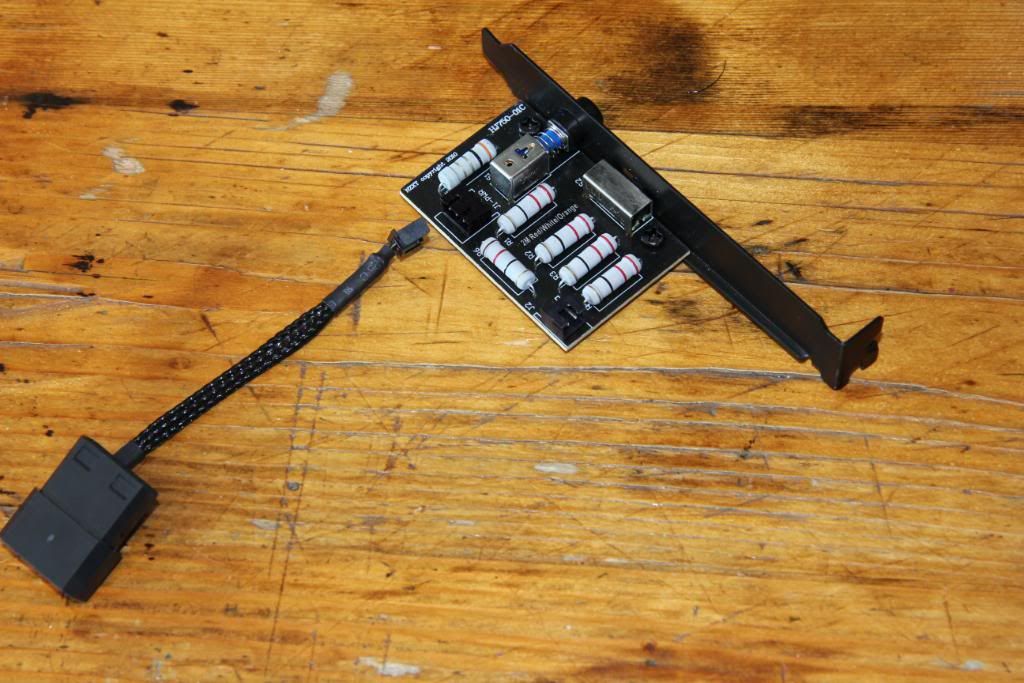
All is not lost however as In my handy dandy box of goodies resides some wire and the remnants of my braid.
Et Voila, the way NZXT should have made it. Sorry to bang on about this, but this orange LED strip is a great product that is really let down by the short power extension lead. That said, it really is only a problem if your a bit OCD about hiding your cables. If you're not then it's not an issue.
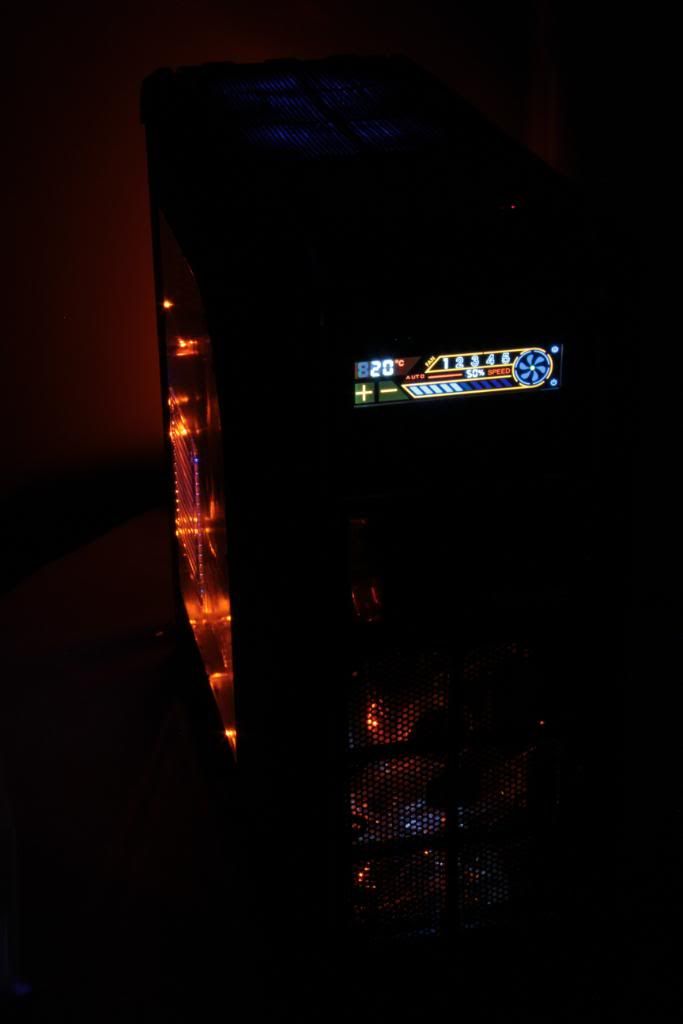
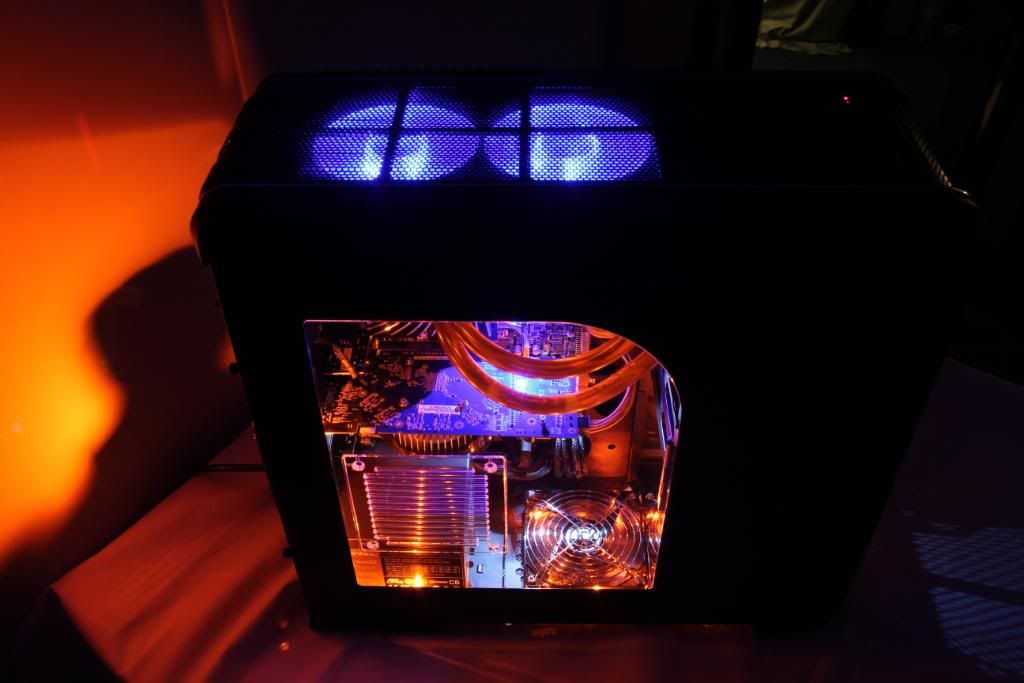
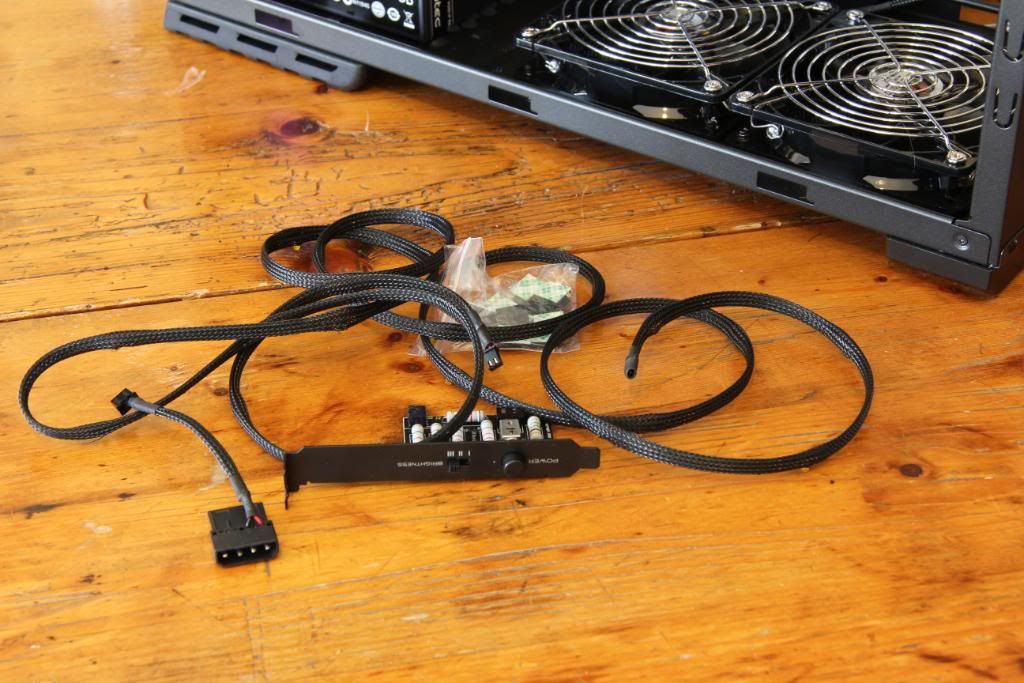
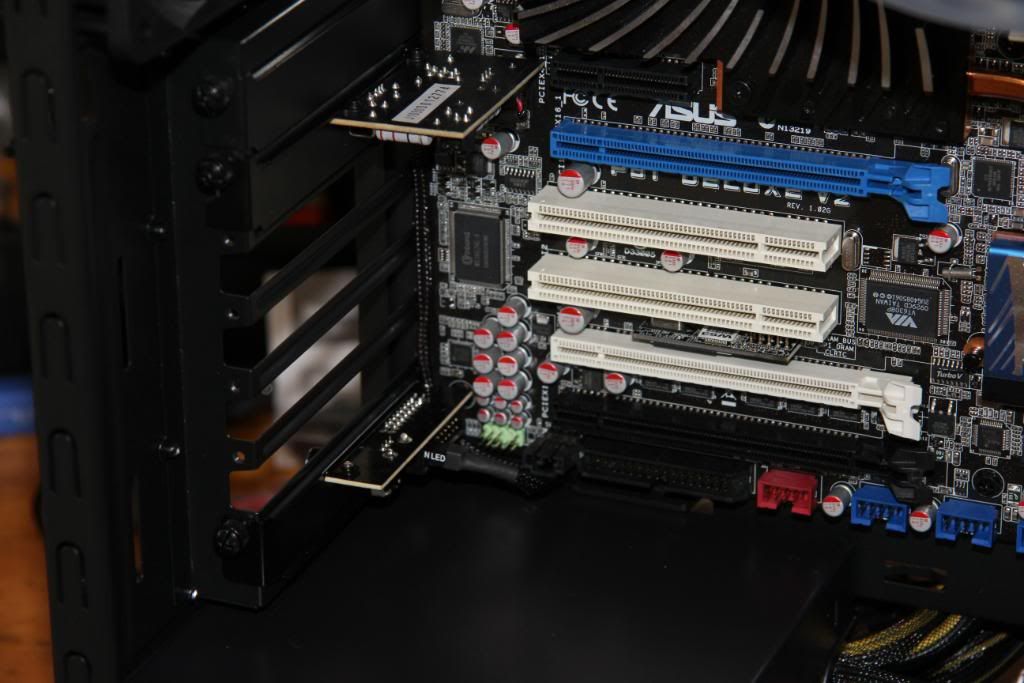
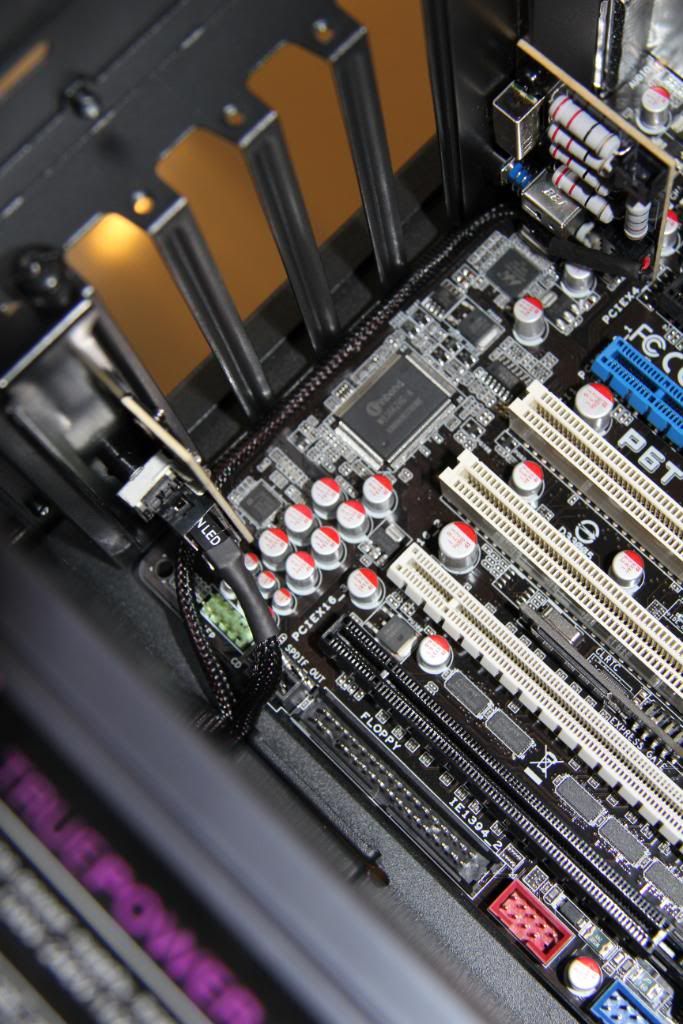
A few pics of it installed in the case. The one at the bottom is the Hydra controller for the BF Spectre fans, the one at the top is the NZXT unit. Why is it all the way at the top as opposed to on the second from bottom PCI slot just above the Hydra? Well it's simple, the PCB on the NZXT fouls the capacitors on the Mobo and this is the only slot it will go in without interfering with the GPU. No worries, i'll just route the cable down the inside. Glad I added all that extra length.
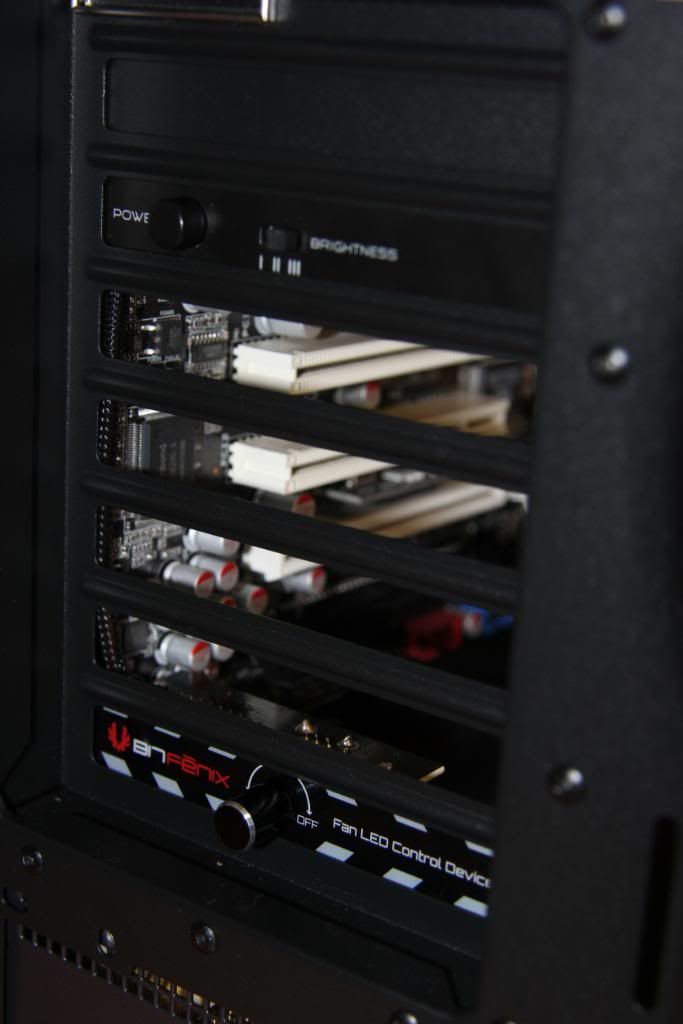
So now I have the control unit in I'm all set to get the String LED in place.
.................................................................
08.05.11
Remember I said I was going with a bit of an Orange theme?
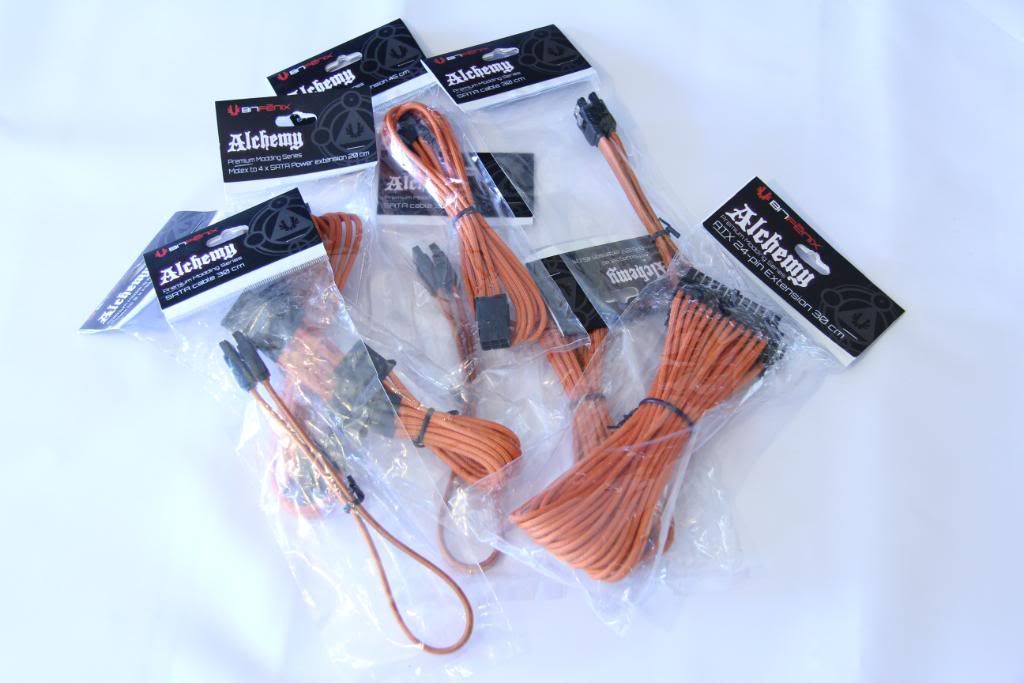
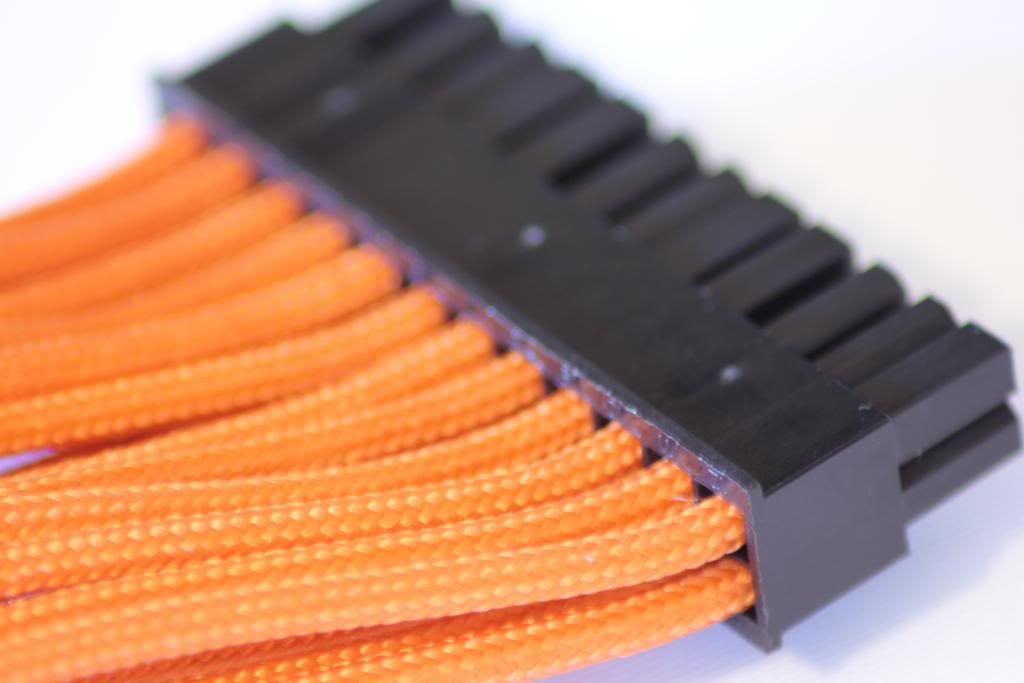
Well having been very impressed with the BitFenix fan cable I have I went the whole hog and decided to outfit the rig with a full set of Orange BitFenix cables.
I'm going to review them as a job lot later on, however I can tell you now the quality of the fan cable I reviewed is not a one off and is reflected in the full range.
I actually have 24pin ATX cables by both NZXT and Phobya knocking around somewhere so will do a compare and contrast type review on them.
Mean time a few pics of the Goodies from those great guys at Specialtech.
The ones I have are only the tip of the iceberg compared to the full range
http://www.specialtech.co.uk/spshop/customer/Pre-Modded-Cables-cid-33.html
Power cables
http://www.specialtech.co.uk/spshop/customer/Pre-Modded-Power-Supply-Cables-cid-1584.html
Molex etc
http://www.specialtech.co.uk/spshop/customer/Pre-Modded-Molex-Cables-cid-1700.html
Sata
http://www.specialtech.co.uk/spshop/customer/Pre-Modded-SATA-Cables-cid-1583.html
Plenty more photos of the cables to come,
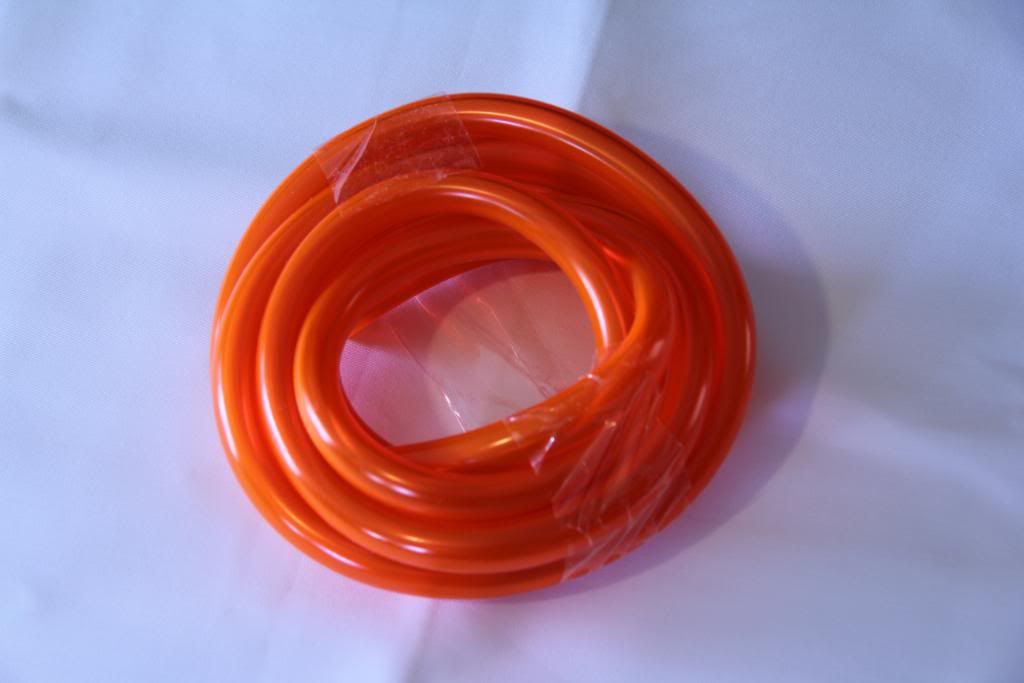
Also have some rather vivid XSPC Orange tubing
http://www.specialtech.co.uk/spshop...-Flex-Tubing--Orange--UV-Orange-pid-6752.html
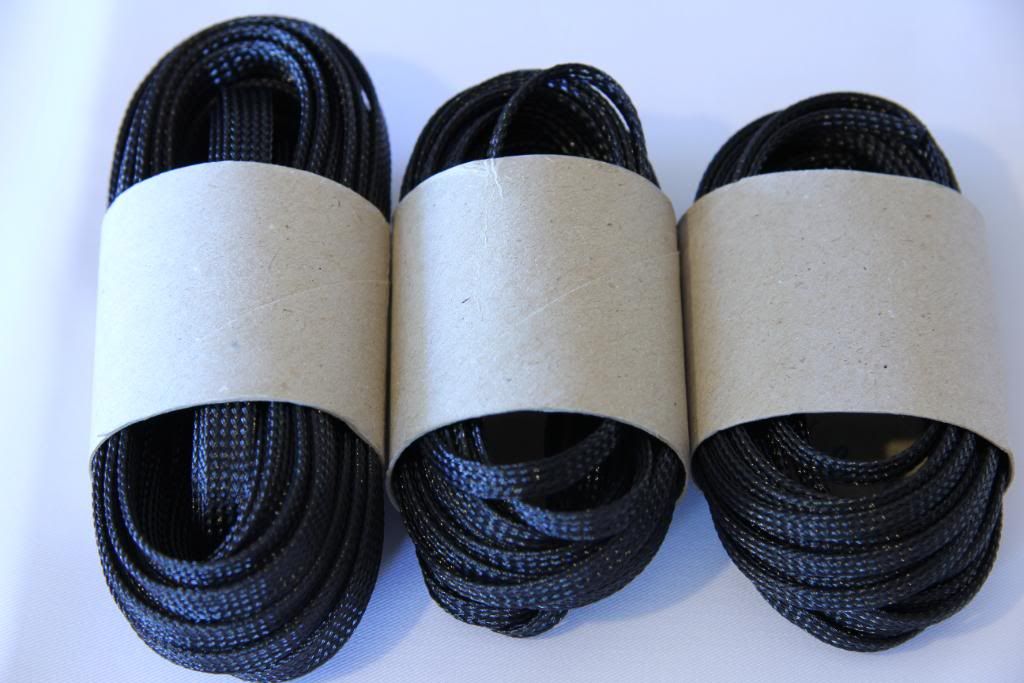
Some black braid to give a bit of contrast
http://www.specialtech.co.uk/spshop/customer/Black-Cable-Braid-cid-1677.html
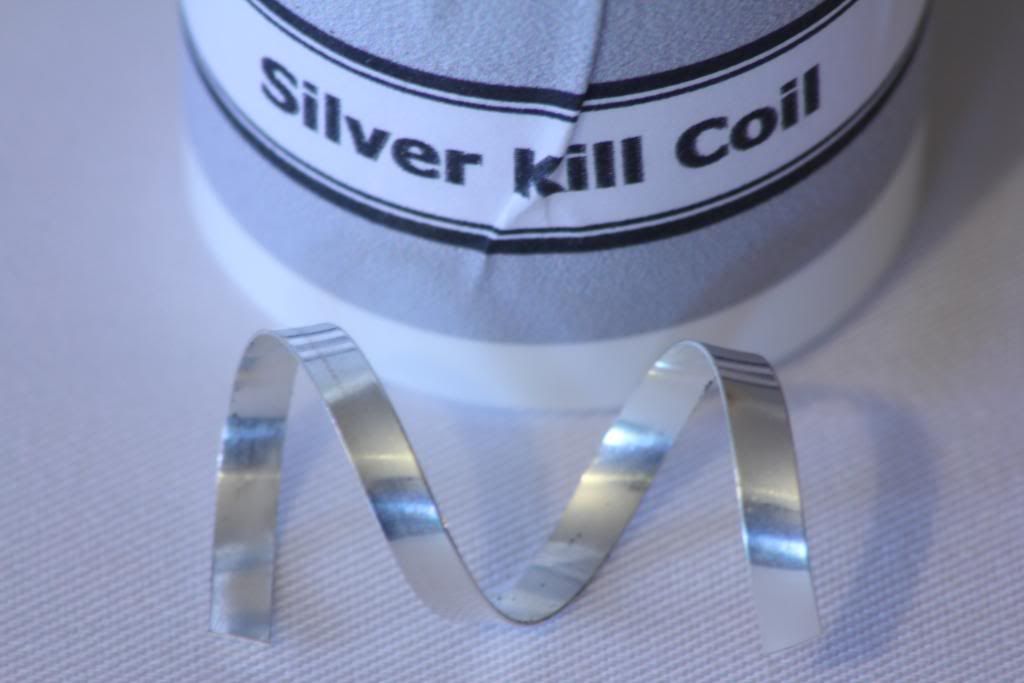
And a kill coil to stop it all tuning swampy in there.
http://www.specialtech.co.uk/spshop/customer/Pulse-Modding-999-Silver-Kill-Coil-pid-13036.html
..........................................
11.05.11
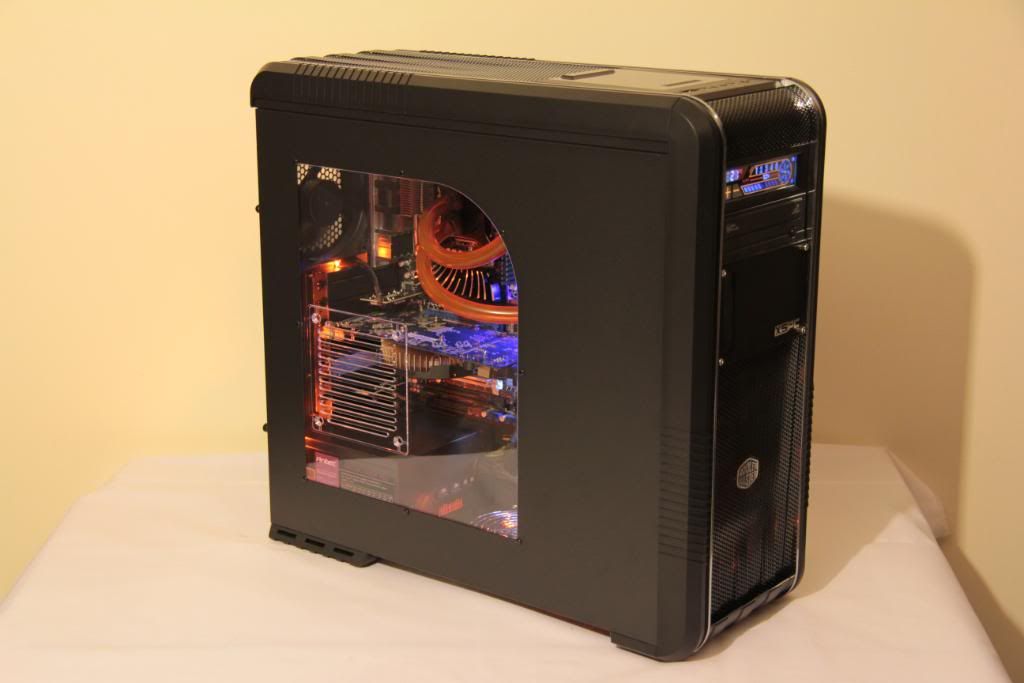
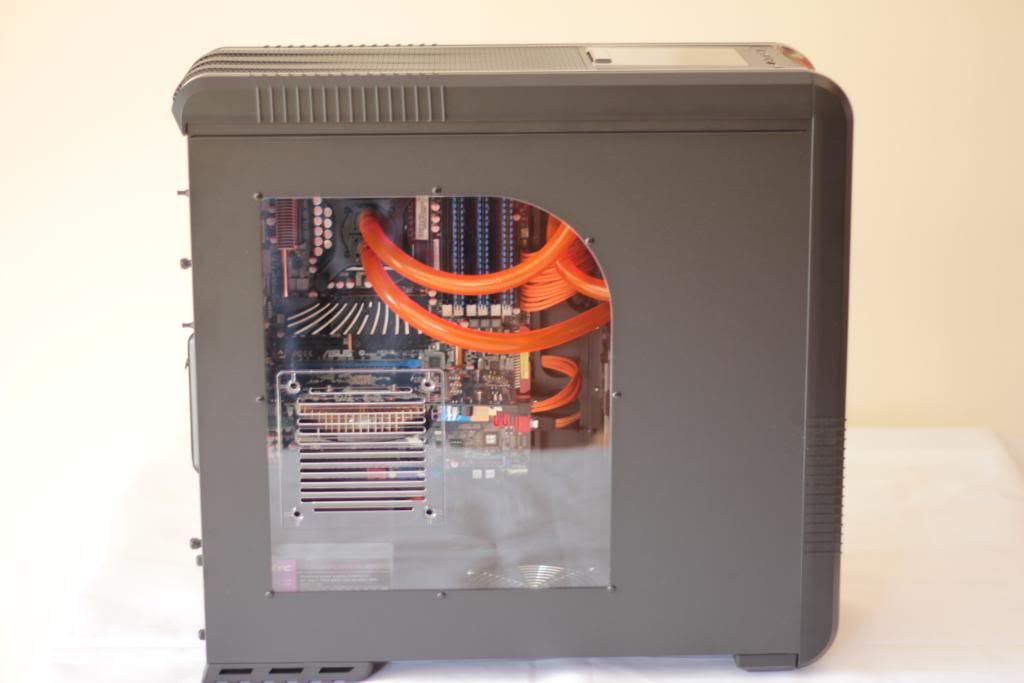
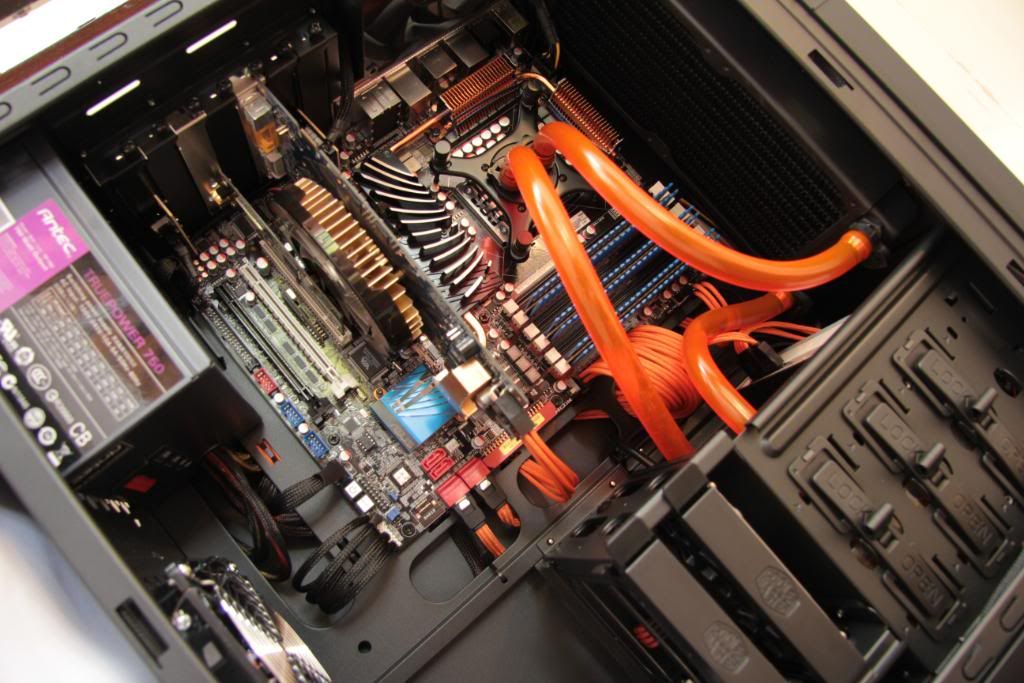
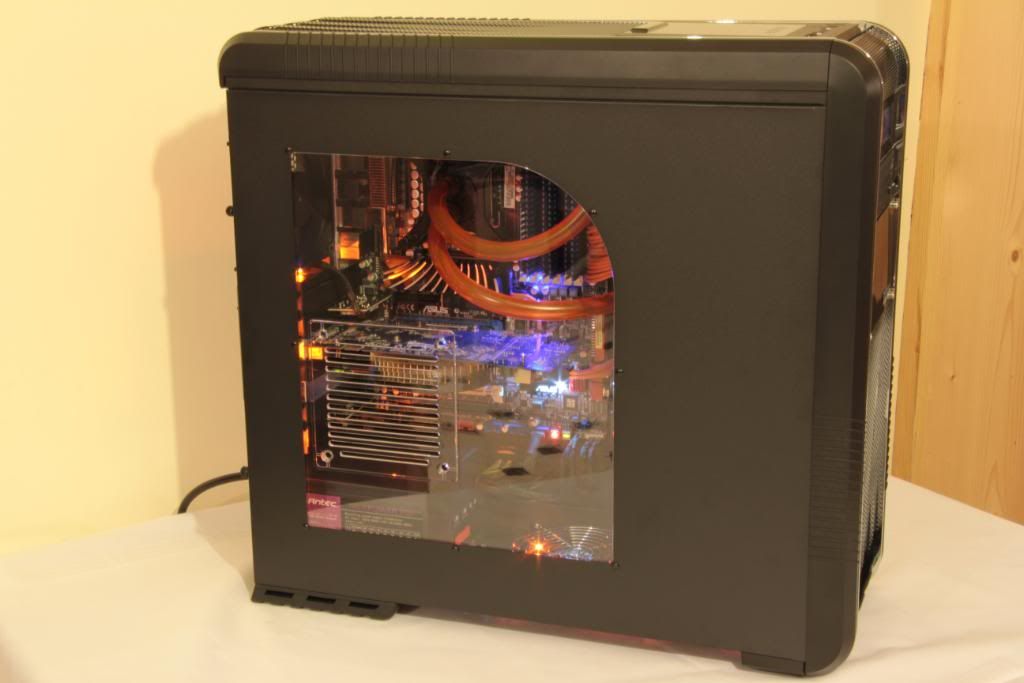
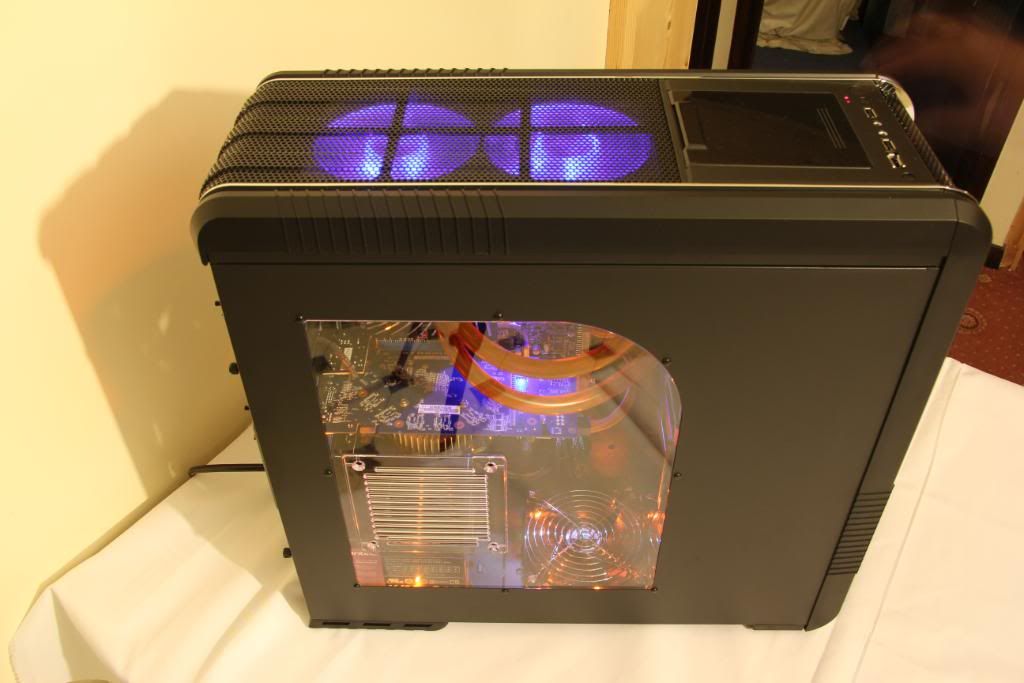
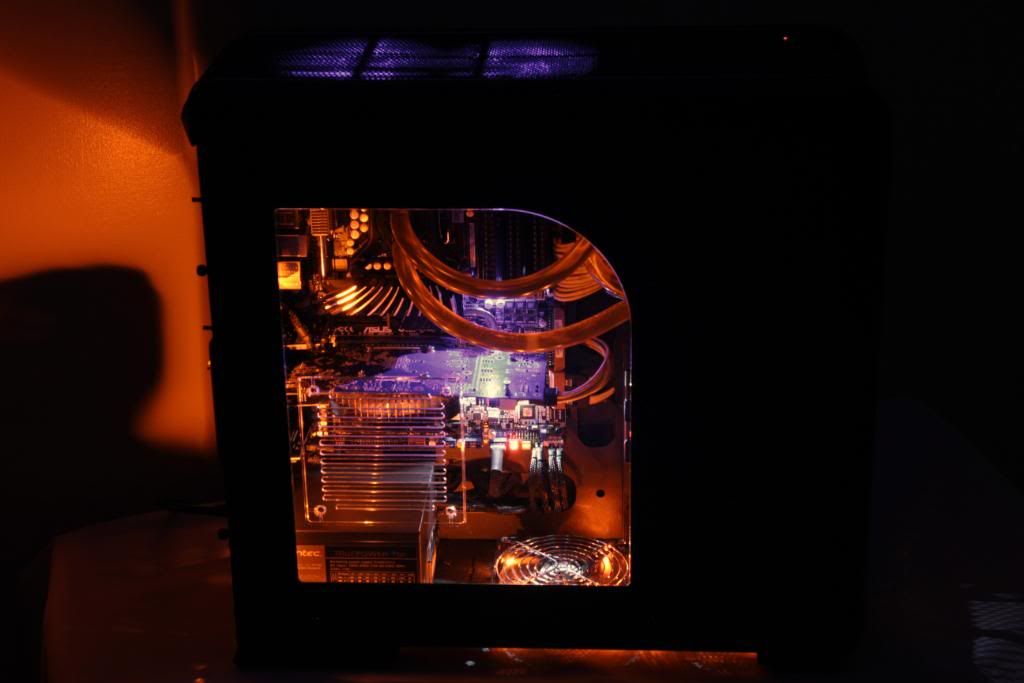
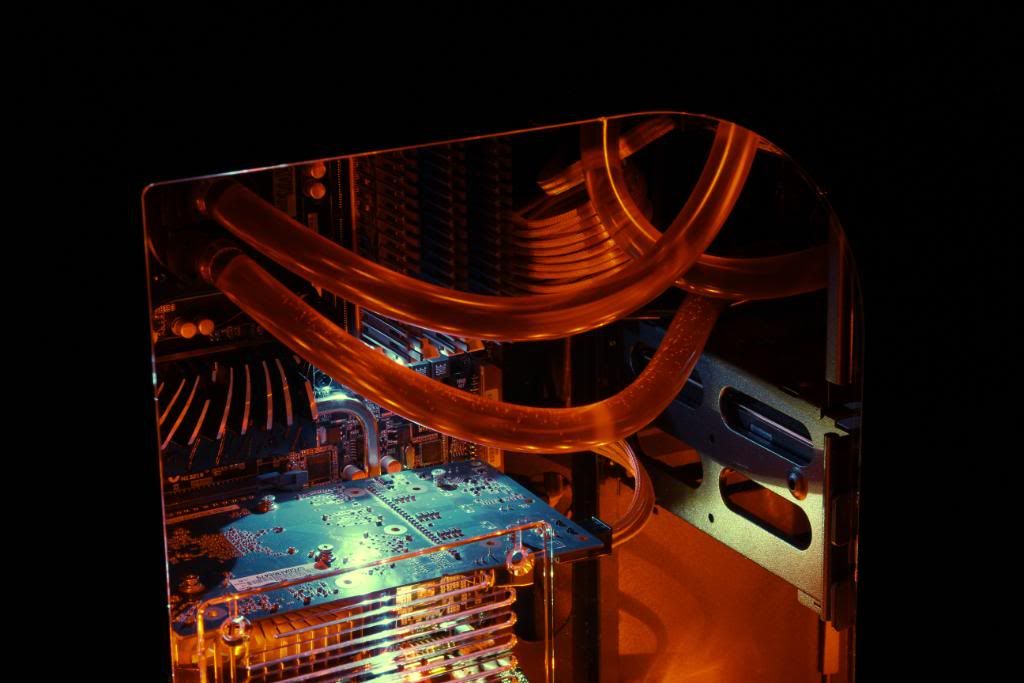
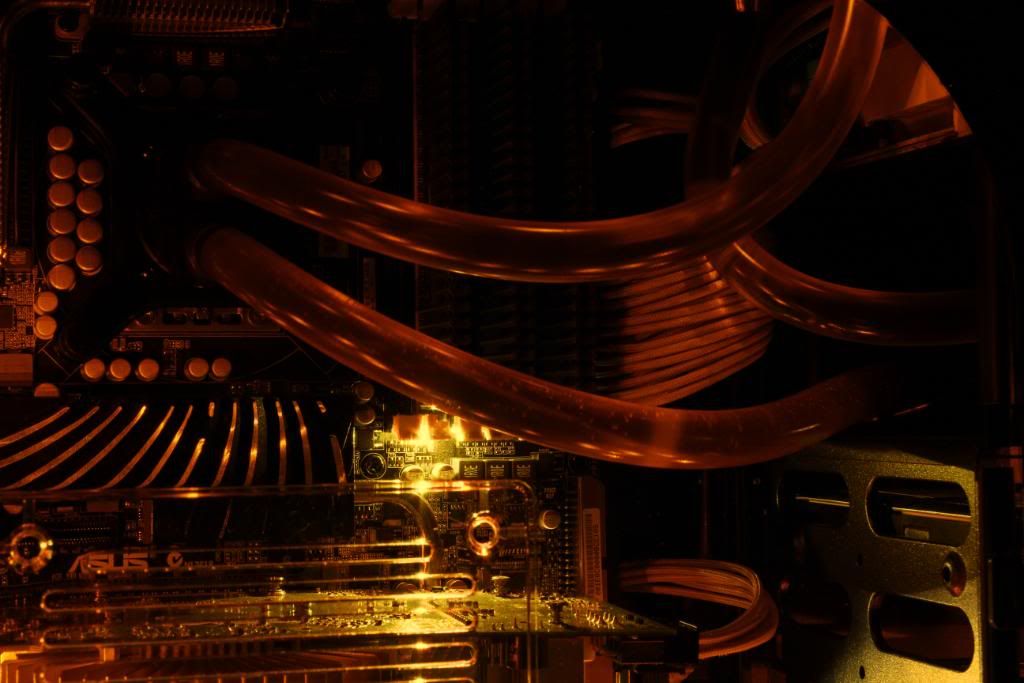
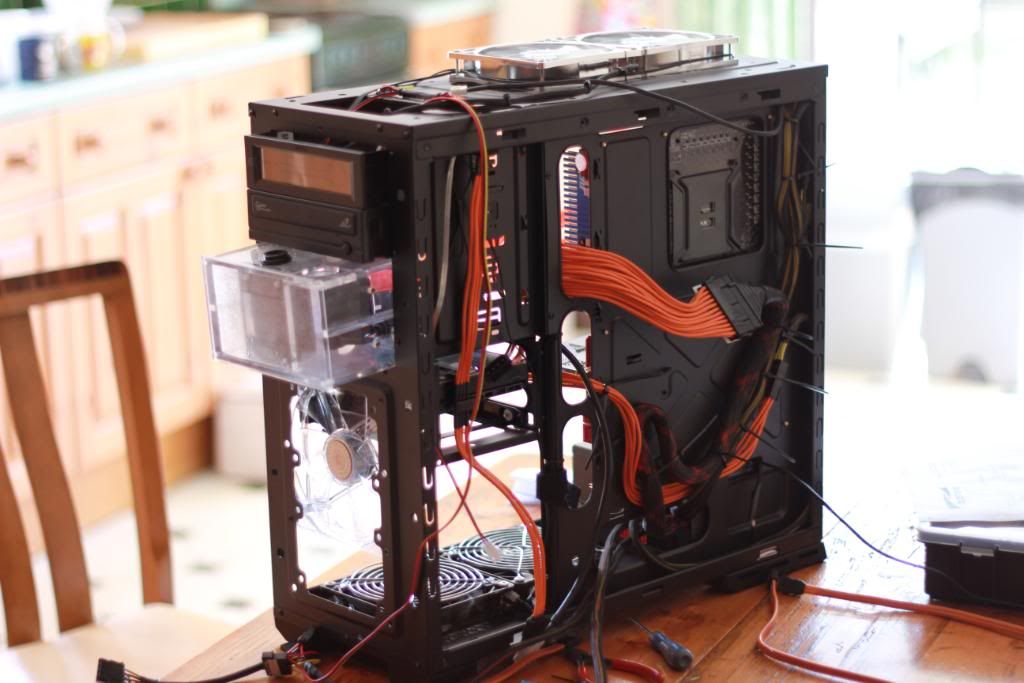
Well the clear is out and the orange is in.
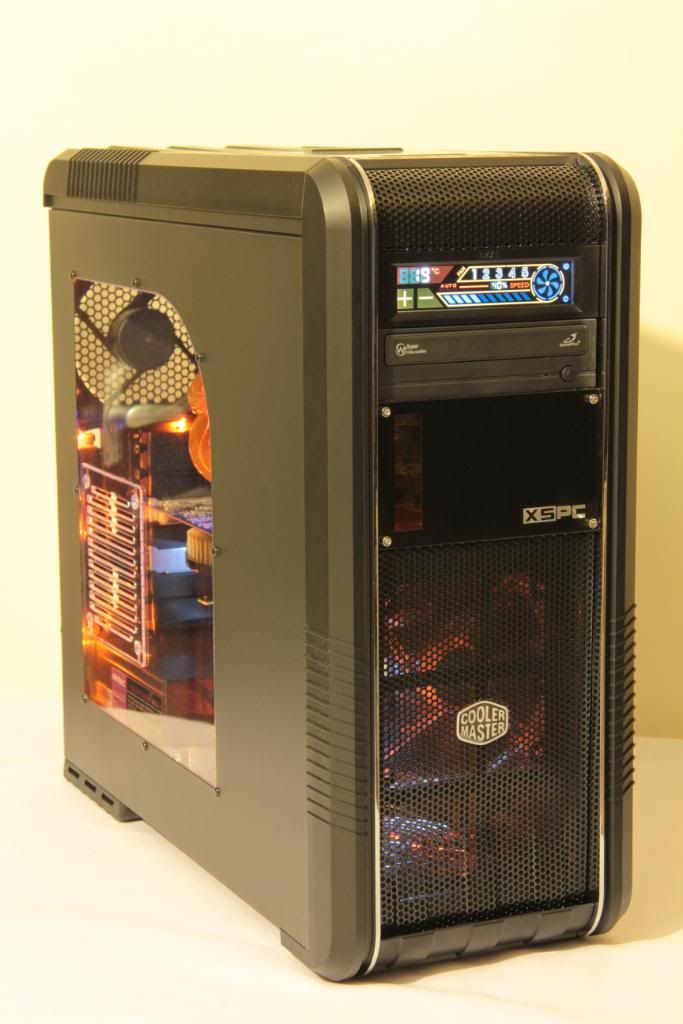
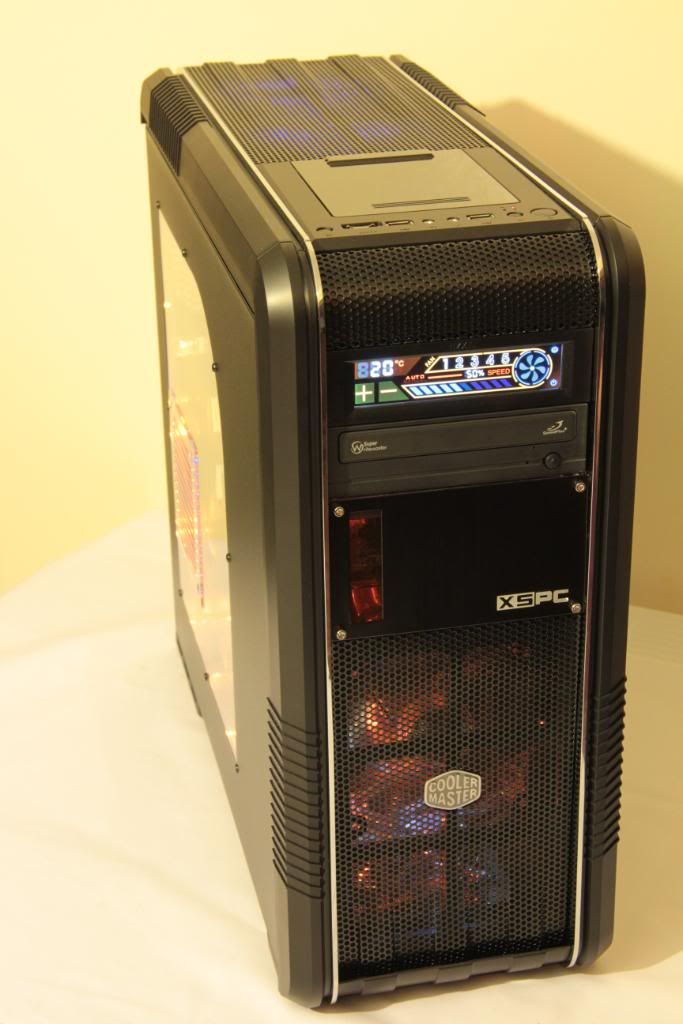
Really rather liking the look of it, what do you guys think?
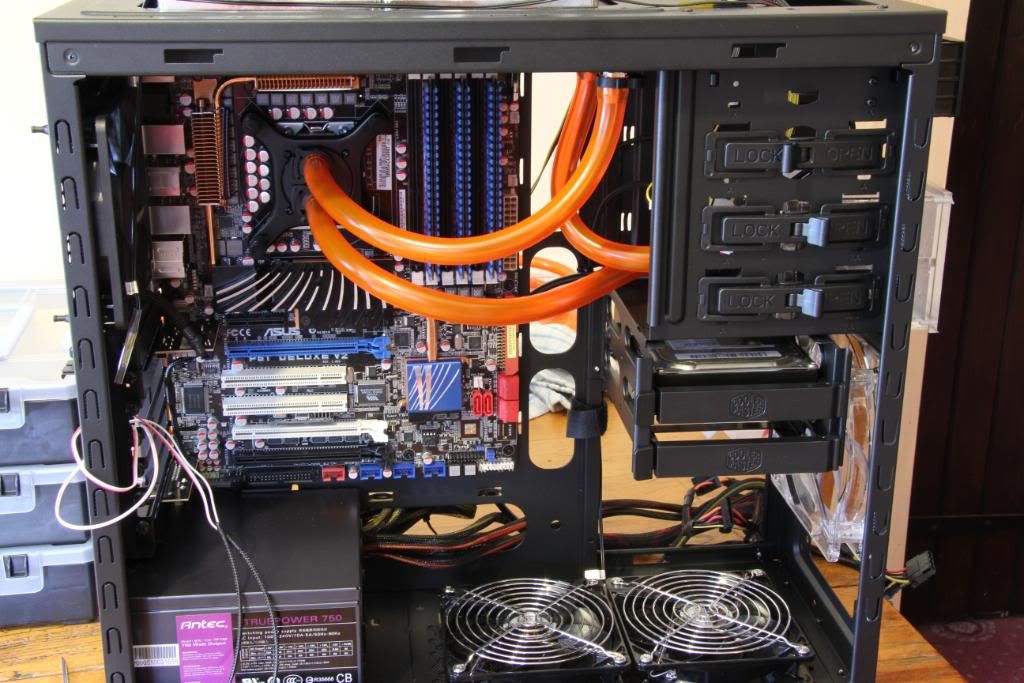
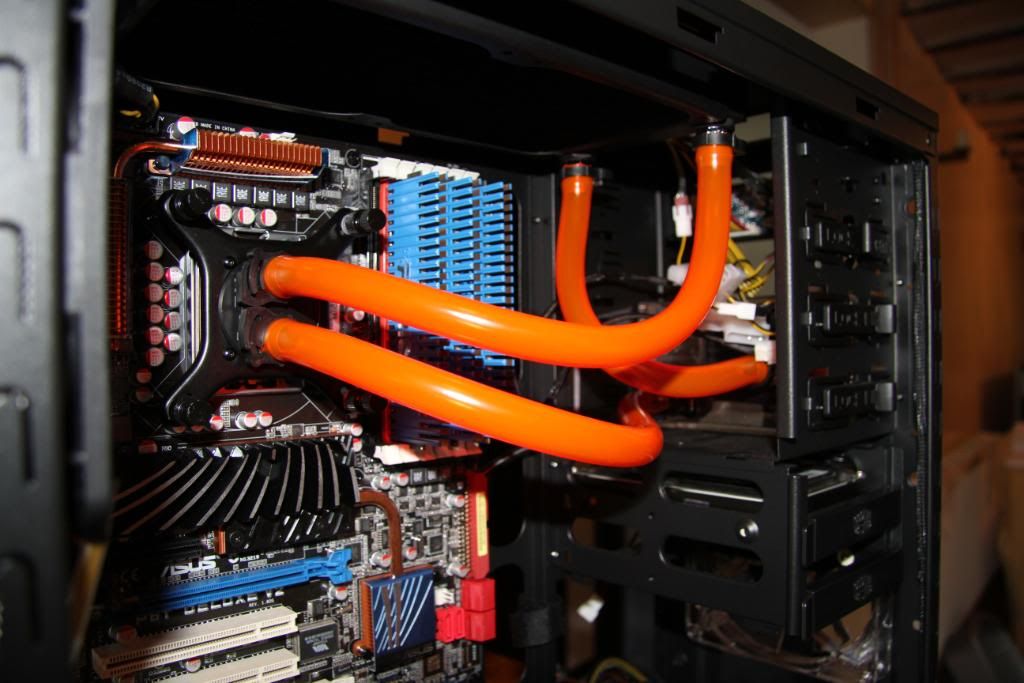
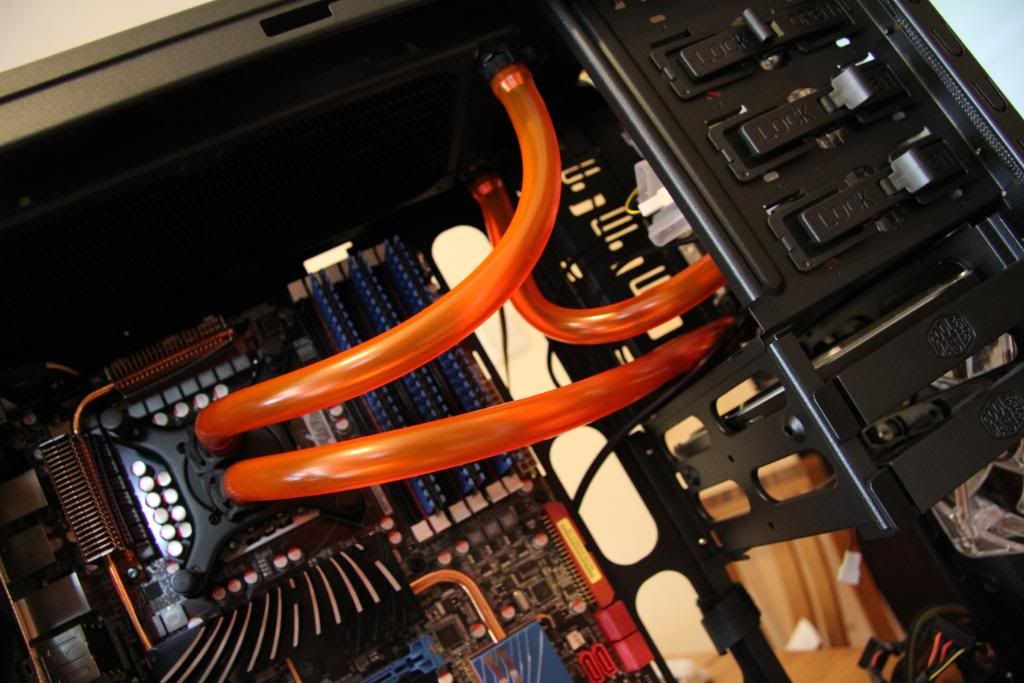
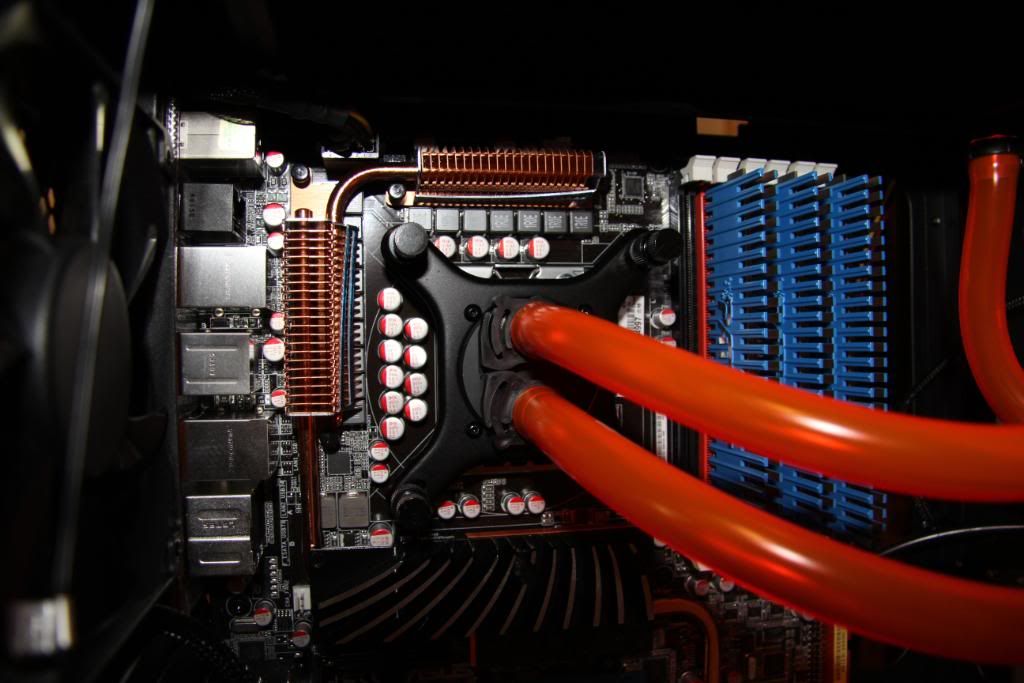
The quality and feel of this XSPC tubing is much better than that of the stock tubing that comes with the kit.
http://www.specialtech.co.uk/spshop...-Flex-Tubing--Orange--UV-Orange-pid-6752.html
Not that the stock tubing is in any way bad, it's not, my reasons for changing were purely aesthetic and down to personal taste, and for a few quid a metre (£2.39 to be exact) it's hardly breaking the bank is it. And as this stuffs UV reactive I may have to get me a UV tube in there.
Next step is to re commence leak testing then get the cabling in.
.....................................................
13.05.11
Well I've decided to forgo the leak test in favour of getting the cabling sorted
I said at the start of this thread that I would be using it not only as a build log but also as a vehicle for appraising the qualities of this case. essentially like an in depth review.
Initial thoughts with regards to the CM 690 cases cable management have been re enforced now that I've actually started to build into it.
The cable tie cut outs on the rear of the mobo tray are a godsend (ok more would be good but you can't have everything). Also there's plenty of room and very little obstruction
My one real criticism though is that once you remove the lower HDD rack section a whole area of the cable management section becomes very visible, so it's hard to hide all those Molex and satas supplying your HDDs and DVDs etc. Despite saying I would not be modding on this case I might end up making a little blanking plate to cover this area.
Also. it didn't immediately dawn on me that although the case has cable management holes, they do not have those nice little rubber grommets on them to hide the cables as they pass through. Only a few quid I'd have thought and would have made such a difference.
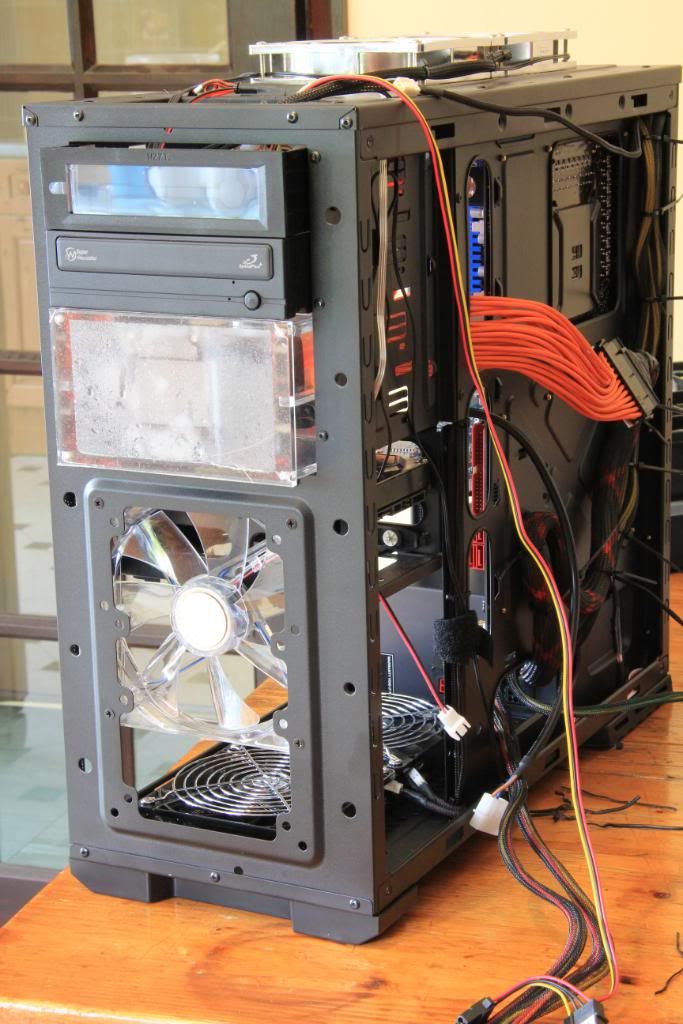
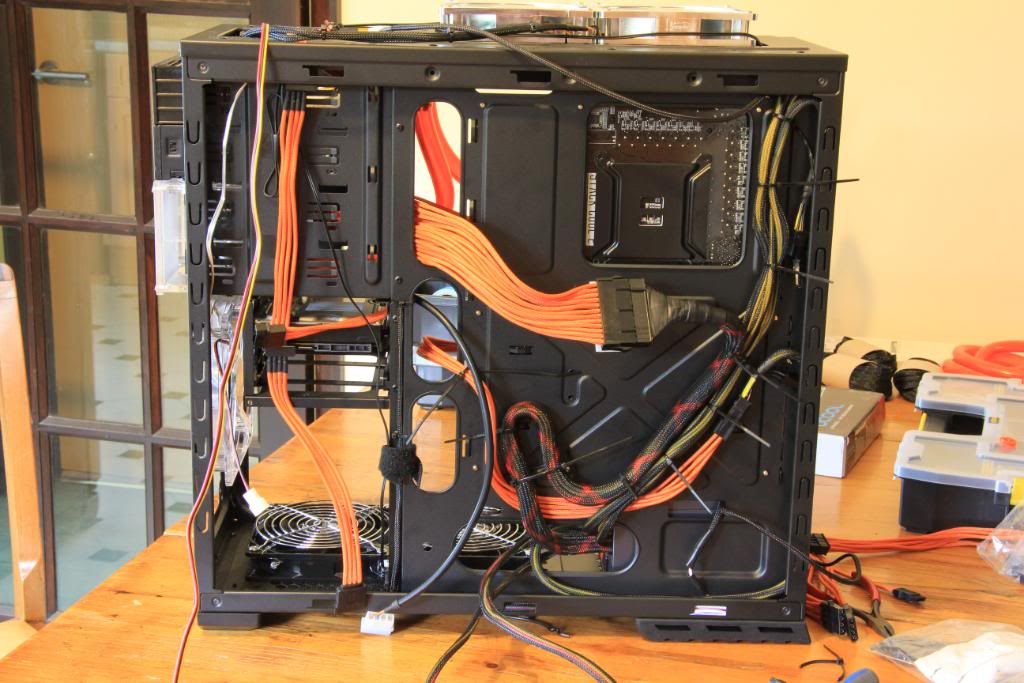
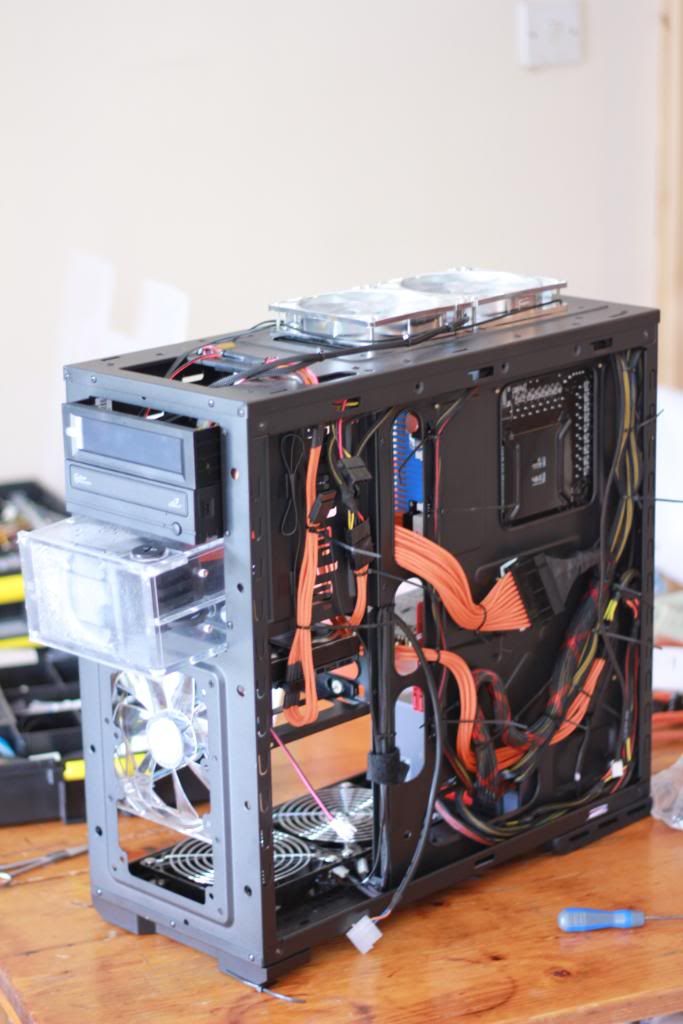
OK so a few pics of the cable management so far.
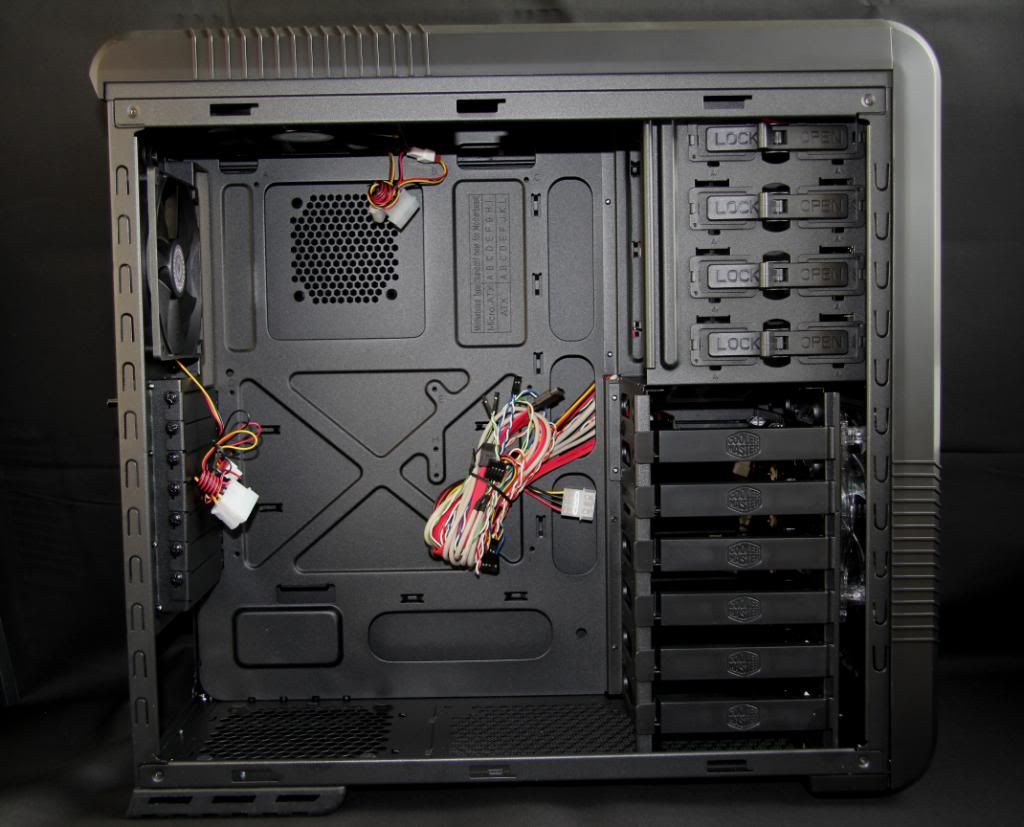
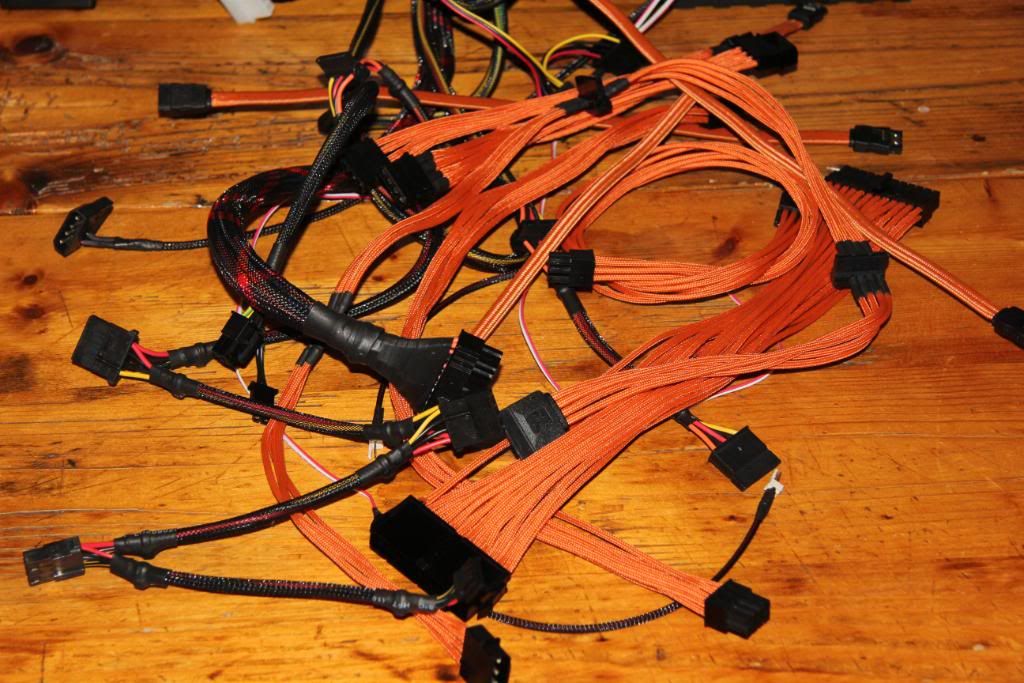
The starting point, lots of cables and a lot of thinking about where the heck t put them all. You can clearly see the obvious void behind and below the HDD rack where it's not possible to hide cables
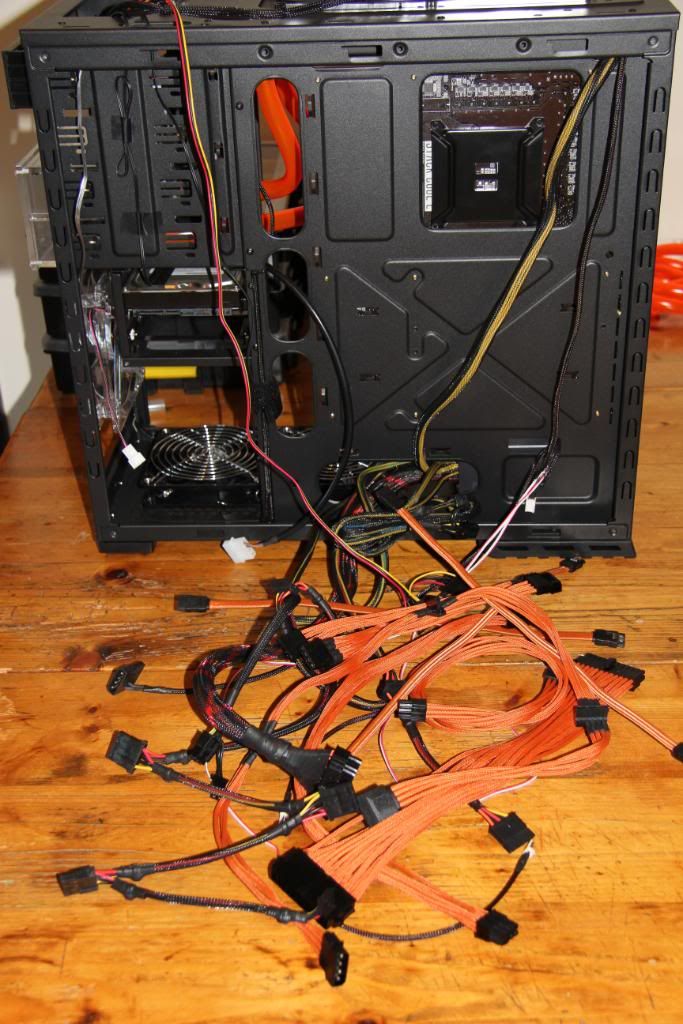
How many Orange cables??? man these cables are nice.
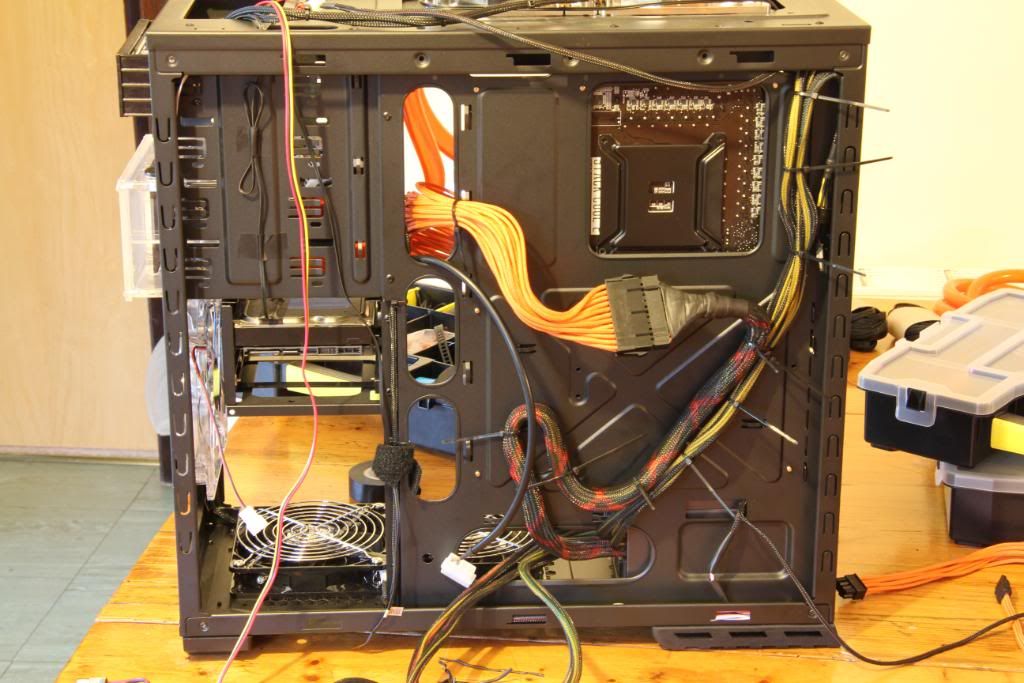
Getting started
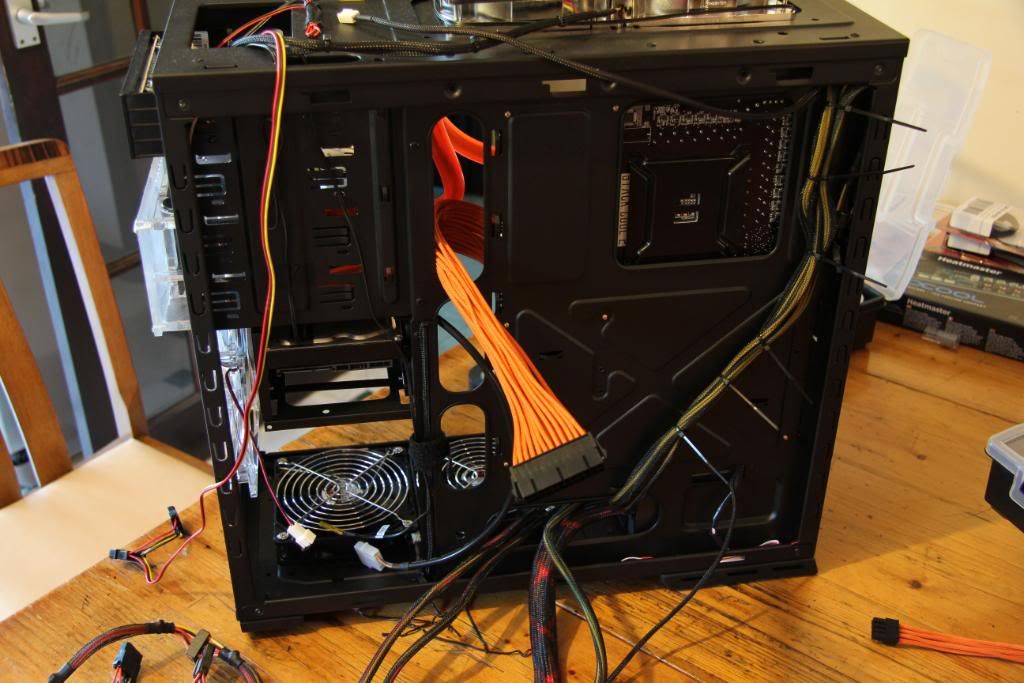
Big boys are pretty much in, just got to sort all the little ones now.
....................................................
Got the DVD drive in now ready to be wired up

Few more cables in place. Having to do this a bit at a time because it's driving me nuts. Not because it's a bad case, it isn't but because there's just so many wires.
The BitFenix cables are very nice to work with, very flexible and pliable
24.05.11
Can't believe the amount of cabling I've put into this case. My disbelief is seconded only by the ability of this case to take it in its stride.
Pictures speak louder than words so a few of my activities
Starting point this morning
Seems like a bit of an unclimbable mountain at this point.
The 690s front headers are not braided, but look pretty nice once they are.
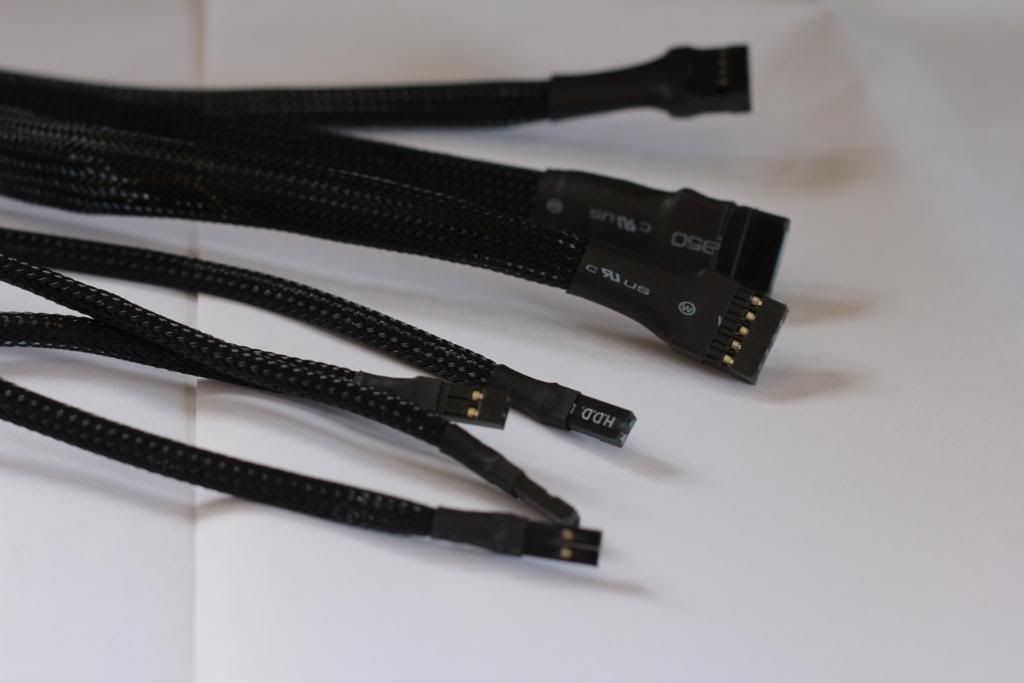
Even if you cheat and just braid the bits on show.
Most of the cabling in, just a few hundred cable ties to snip off
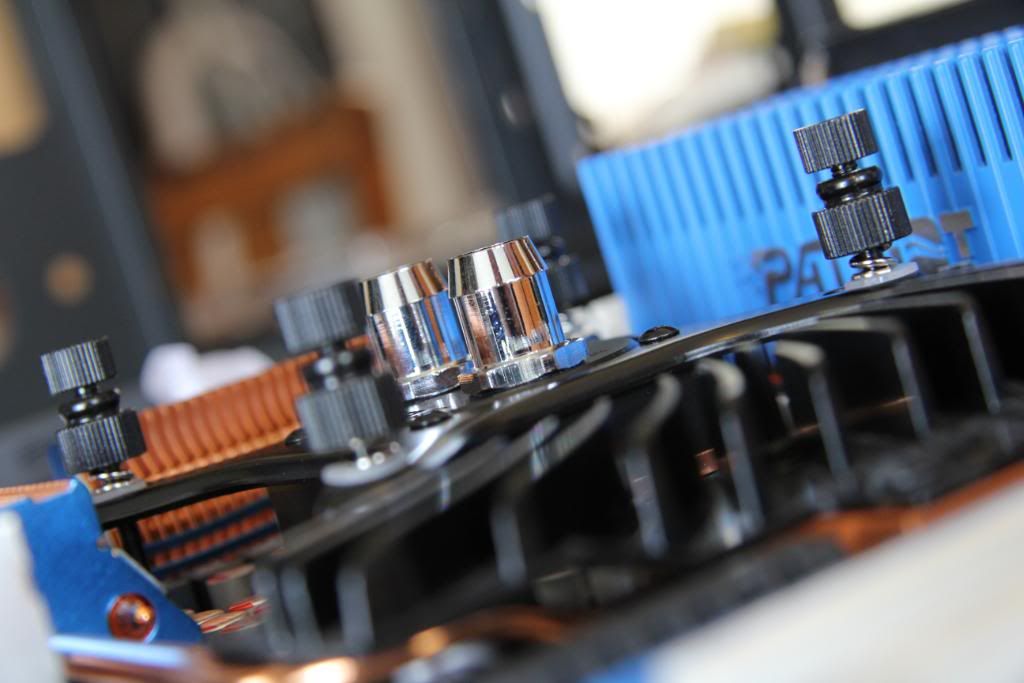
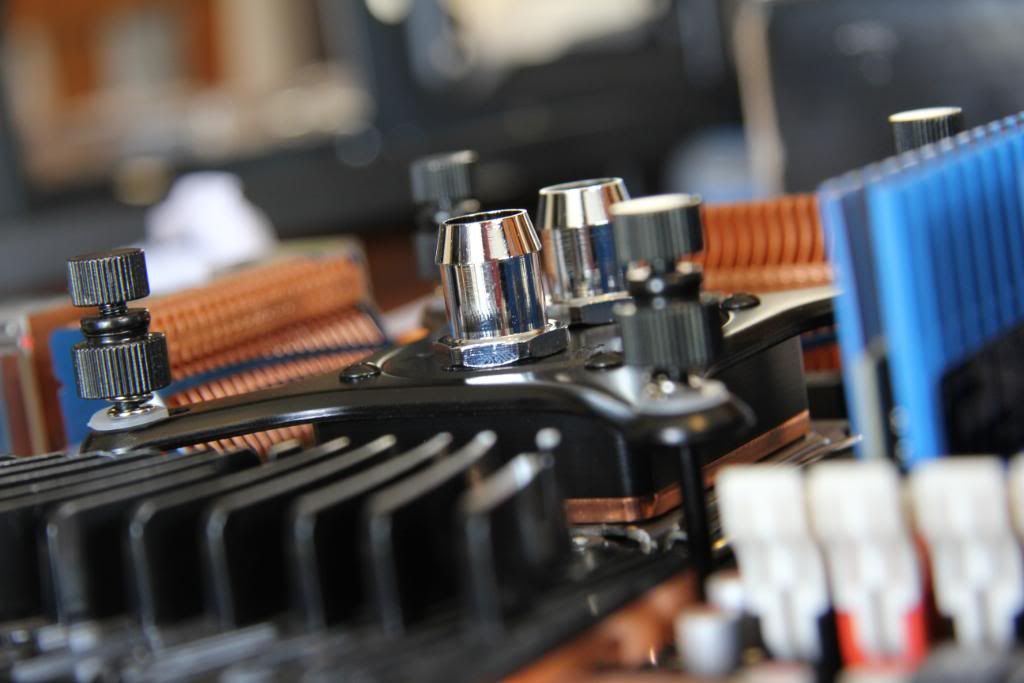
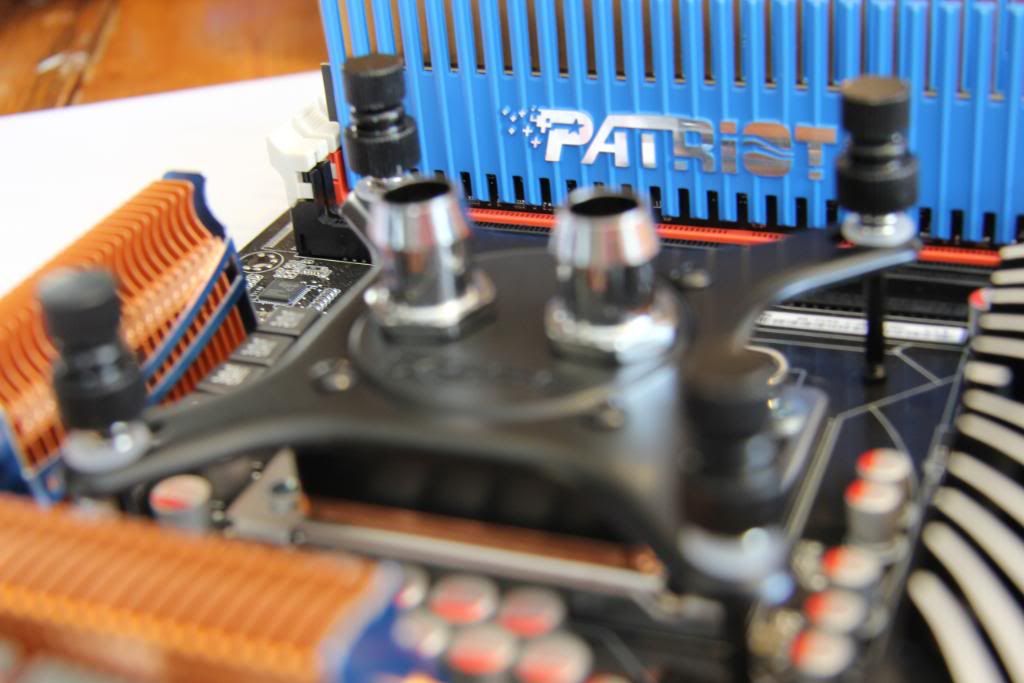
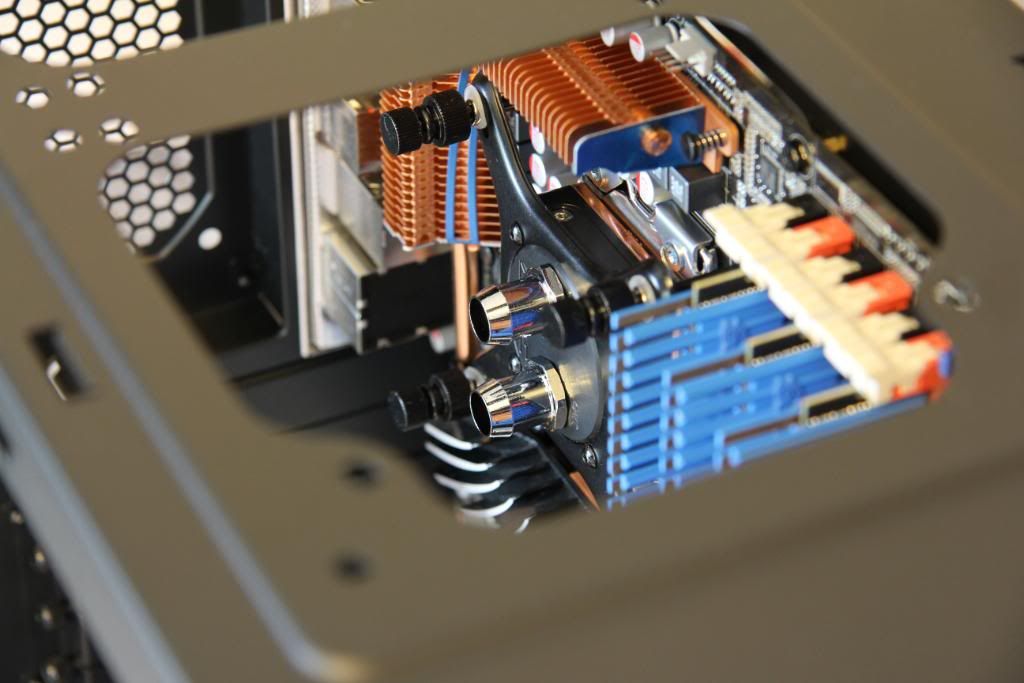
A few shots of the RASA with the protective film in place, with it removed, and with the front panel attached.
Bit more wiring in place, the main 24pin atx gave me real problems.
The Mayhems Dye. Really pleased with this. the perfect match for the rest of the gear and grade 1 coolant to boot.
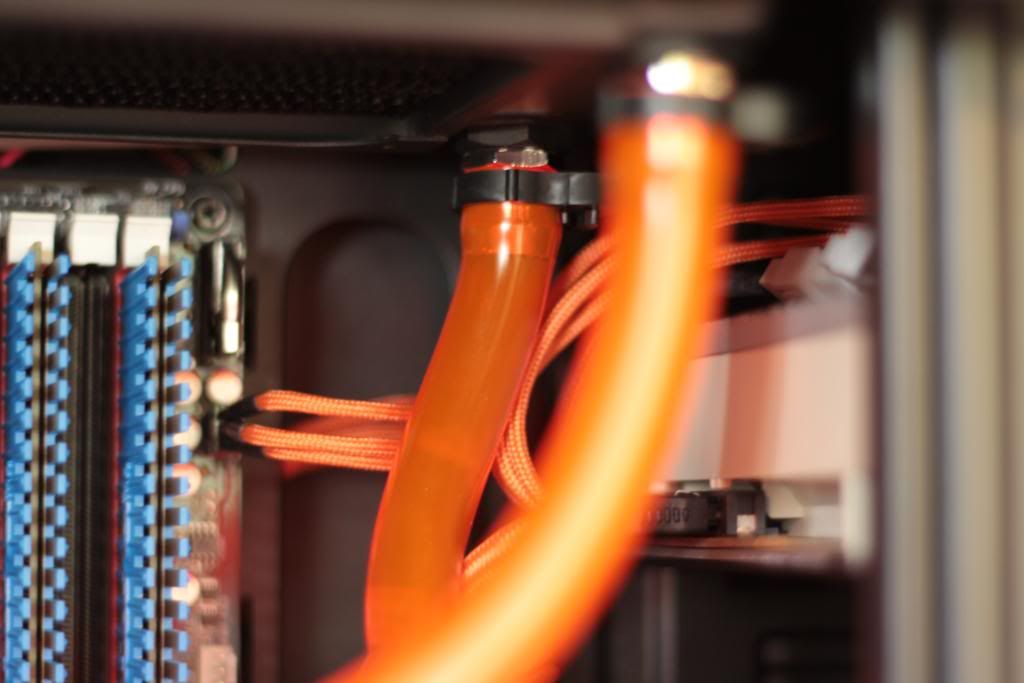
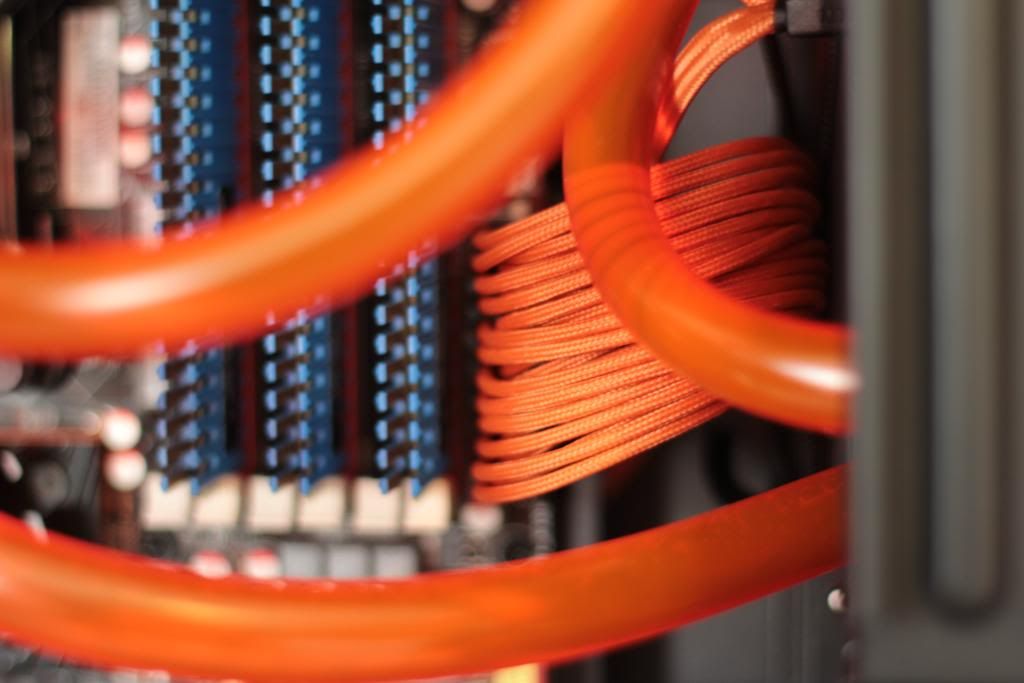
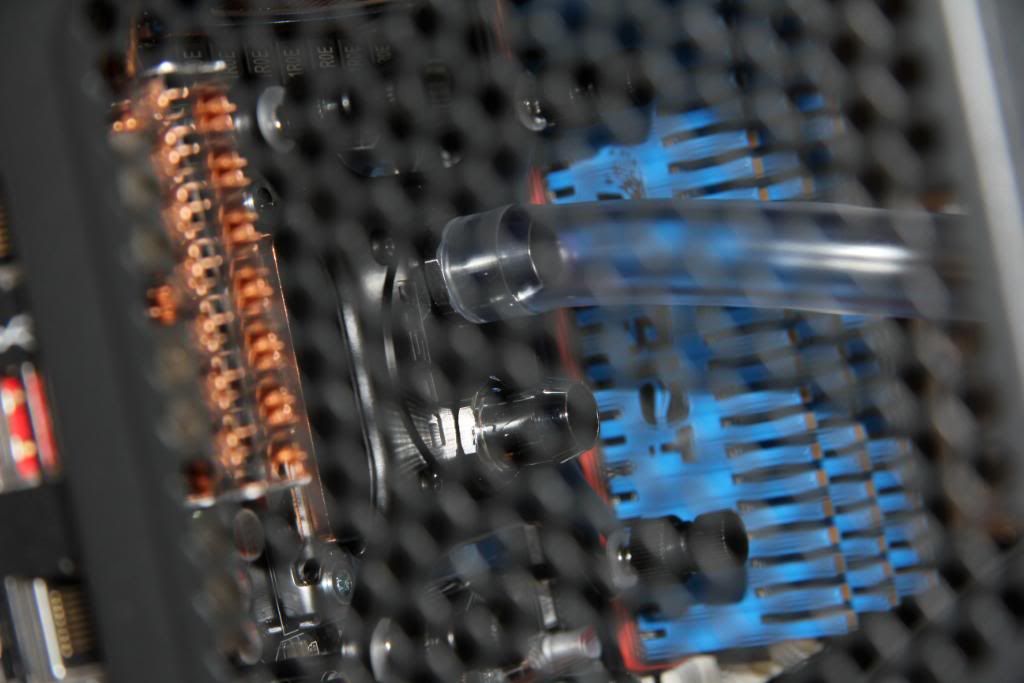
A few arty shots, playing with a few new lenses, feel the Bokeh
...................
From the outset i want to say that this log is a pure build log. I'm not going to be modding anything here (the temptation is huge though) I've written a few reviews recently and posted on this forum as well as others and wanted to bring together a lot of the kit i've reviewed in a build.
I got the case and the XSPC Rasa kit from Specialtech as well as a lot of the other bits i'm using in this build. I'm planning to review this case as I go along with the build, and bring my final thoughts together at the end. I know there have been many many reviews of this case, and that it has a well respected place in the community, however most reviews are written by people who aren't actually building it or using it. As I am building into it and will be using it I hope my little missive may be able to add something.
All build logs should start with a Kit list so here goes.
CM690 II Advanced in black with window
XSPX Rasa 750 RS240
Intel i7 920 @4.2
Asus P6-T Deluxe V2
Patriot 6 GB
Antec truepower New 750 PSU
GPU to be confirmed.
Most of the hardware has come out of my Black ops Skelly build and although strictly speaking a generation old it's still mighty fine kit and clocks to 4.2 on air so may well go higher with the water (depending on how brave i'm feeling)
Stage 1 The strip down. (Afternoon of 26.03.11)
Let the Strip down commence
Sides and front panel removed
Top removed (this took some working out)
Lower HDD rack removed.
Some general photos of case detail etc.
Beer stops play. The strip down complete A beer to reward myself and to help cushion the verbal blows I know i'm going to get when my wife gets back from town and sees the state of the kitchen
Thoughts on the case so far then, well it's reputation appears deserved, it is well built and well put together. Whether it's metal or plastic everything feels sturdy (with the possible exception of the HDD rack tool less mount flappy door things which feel a bit flimsy)
The case comes apart easily with minimal need to refer to the instructions. I did find it quite hard to work out how to release the clips to remove the top section, and also to actually remove the clips once I'd worked out where they were and how to do it.
There is real attention to detail in this case, a feeling that the project team wouldn't let it go out to market until it was "just right"
Now all i've got to do is put it back together...now where did I put all those screws I took out????
next stage is to work out how to mount the RASA kit and to mock up a loop to see where everything is going to go.
Also thinking of using compressions rather than the barbs the kit comes with. Only a few quid more.
...........................
Need help with a few decisions here. I was originally planning to use the XSPC kit in it's vanilla form, (barbs and tubing the lot) but you know how it goes, you get started and you get a few ideas. I should say there's absolutely nothing wrong with the XSPC kit, it's great, it's just I can't help looking inside a case and thinking Mmmmm...I wonder what it would look like if I did...
Option 1
Stay with the XSPC kit exactly as it is, chrome barbs with black retainer clips, clear tubing.
Option 2
Black tubing with the above
Option 3
Black tubing but change to black compressions
Option 4
Black tubing but change to chrome compressions
Option 5
White tubing and black or chrome compressions.
If I go for option 5 do i stay with black braid or go for white braiding???
All suggestions appreciated.
............
A few picks of test fitting for Rad and res.
I've spent most of the afternoon staring into the case and trying to visualise the tubing route.
my wife commented that I never look that longingly at her
(feel free to insert your joke about tubing routes and beautiful chassis)
Please note i've left the protective cover on the front of the reservoir
Rad mount is only for test fit, I'm probably going to have the fans that come with the XSPC as pull on top of the rad, and the Air penetrators I reviewed as push inside the case.
03.04.11
Well a good day and a bad day.
Got a lot done on the case, but have had to change my plans a bit.
1st off a few pics of the progress (the good bit), bad bit at the end.
Decided to go with the stock kit in the end. I can always change it later if I want a change of scenery.
I always PTFE my fittings. PTFE is an active barrier, and the O ring is a passive barrier, but no reason not to have both.
Silverstone air penetrators on the Rad. and barbs fitted
Barbs fitted to the res
The i7 ready for....
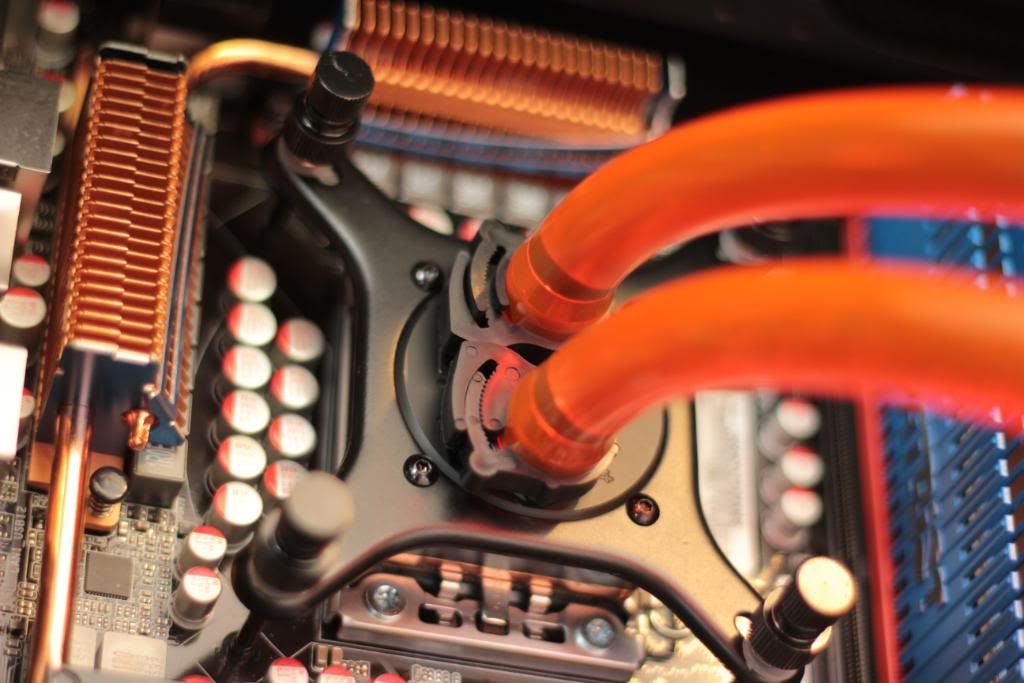
The Rasa
Bit of a blob
Thought it all looked so pretty It deserved some nice shots.
Ok now the not so good bit. I was originally intending to have the Silverstones inside the case under the rad pushing air up and out through it, assisted by the fans that come with the case having a bit of a pull from the outside of the rad.
However....
There aint enough room inside to have fans pushing up and uot.
So a couple of options.
1 Just the silverstones as pull on the rad (they don't work at their best as extracts)
2 the silversones as push from the top down through the rad. this of course would be great as it would be cool air from outside the case being pushed over the rad, only problem is it's then entering the top of the case area. perhaps the rear case fan would be enough to remove the warm air, although I'm a bit worried about general air flow through if I do this.
3 find another fan to use as extract, either the fans that come with it or the orange Bitfenix I have
So what do you think guys?
........................................................................
Time for a bit of an update, and hopefully garner some good advice from you guys.
Been spending a few days staring at the case trying to visualise the loop and the options for fan placement and direction.
I've narrowed it down to a few options and would like to know which should be best. I've put my thoughts in on each also
Option 1
Top mounted rad with 2 fans on pull
rear case fan as intake to supply fresh cool air to rad
1 front fan on intake and 2 base fans on intake to give cross board airflow up and towards the rad.
pros, good cross board cooling
cons pull not as good as push
Option 2
Top mounted Rad with 2 fans on push
rear case on exhaust
front fan on intake and 2 base fans on intake to give cross board flow.
Pros
optimal cooling of rad with fans on push
cons possible turbulent air mid case may disrupt cross board flow.
Option 3
Bottom mounted rad with fans in push pull
top fans on exhaust
rear fan on exhaust
front fan on intake mounted higher to cool HDD and give cross board flow.
Pros.
best rad cooling solution
cons perhaps less cross board flow than other options
WC loop not as tidy looking (this is a biggy for me)
So what do you think guys?
If you've got a better idea here's a blank.
..................................07.04.11.......................................
First things first, thanks for all the support and comments received. I've finally decided on the loop layout and the fan orientation.
I've even been doing some actual work on the case as opposed to just staring at it and trying to visualise things.
Rather than reams of text I'm going to try to let the photos do the talking, with just a few comments from me here and there.
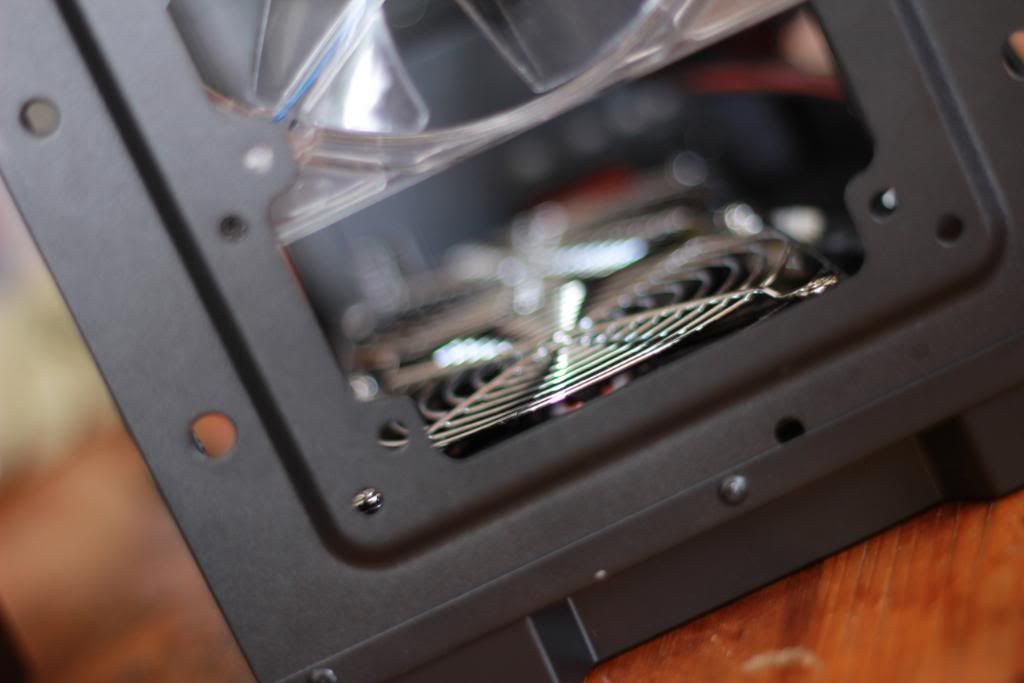
Top fans mounted, they will be cooling the rad on push. If it's a disaster it's no biggy to swap them around or swap them out for a different set.
Review http://www.specialtechforums.co.uk/...eview-Silverstone-Air-Penetrator-Fan-Blue-LED
get them here http://www.specialtech.co.uk/spshop...r-120mm-Blue-LED-Fan--AP121-BL-pid-12570.html
First bit of the loop goes in (the clips will get tightened later)
Rest of the loop installed and clips tightened.
Front and base fans installed on intake
Using Bitfenix Spectre 120mm fans Black with Orange LEDs on the bottom.
reviews http://www.specialtechforums.co.uk/...pectre-120mm-case-fan.-Black-with-Orange-LEDs
http://www.specialtechforums.co.uk/...pectre-120mm-case-fan.-Black-with-Orange-LEDs
Get them here http://www.specialtech.co.uk/spshop/customer/product.php?productid=12721&cat=1535&page=1
Braided them of course, couldn't put them in looking like this
Also going to be installing this rather nice NZXT string LED.
review http://www.specialtechforums.co.uk/v2/showthread.php?1052-NZXT-200cm-Sleeved-LED-Kit-in-Orange
get it here http://www.specialtech.co.uk/spshop/customer/product.php?productid=12378&cat=1674&page=1
PSU is the rather nice Antec Truepower 750. it's a semi modular design having all the major cables attached and the ability to add more if desired. Just got to work out what to do with all those wires
Stuff them round the back for now
The perfect crime (not)
Next up I'll be filling the loop and leak testing.
............09.04.11........................
The loop's now full and leak testing has commenced, although I have to say I'm far from happy with my choice of coolant. Having thought long and hard about whether to use the tubing that came with it, and whether to use water or a coloured coolant I decided to stick with the stock clear tubing and use some Black coolant that I had purchased for a previous build and never used.
This stuff, sold as ICE BLACK although it is available in a range of other colours. If it did what it said on the bottle, and if the colour achieved was anything like the colour of the bottle I'd be happy.
Pretty Black I think you'll agree
NO IT'S NOT, ITS SMEGGING PALE BLUE, PURPLE AT BEST
I AM NOT A HAPPY CAMPER!!!!!
Thinking of maybe using a dye bomb, but never used one before, do they work? any problems with them?
25.04.11
Sorry for the delay in this build. Work has been a bit frantic and i've been having a bit of a contemplate about which direction to take it in.
Bit of activity over the bank hols has seen me start braiding the cables from the front IO and some of the SATAs. I say some of the cables, as what I'm doing is braiding the bits that can be seen. as there's no point wasting braid on areas that are out of sight.
All the essential items for a good braiding session (yes the Beer is essential, it's thirsty work)
I found a handy dandy way of keeping the braid when not in use
Some of the cables do seem a bit unnecessarily long, in particular the sata cable
Unfortunately having made the decision to braid in black I've discovered my stock of braid is really low as is my heatshrink supply so may have to get some more in.
I've also drained the poor excuse for a black coolant from my loop and have replaced with distilled water. I may stay with clear water, or might at some dye later. (still thinking orange. or maybe white).
Either way a kill coil is on the shopping list.
I got this case from the great guys at Specialtech, and having worked with it for a few weeks now i've had time to properly appraise it, so thought i'd let you have the benefit of my thoughts so far. I will of course be giving my full report at the end
Build quality.
The panels are well painted, straight with few or no blemishes or marks to the finish.
The chrome is well applied with good thick coverage and again no marks or blemishes.
The case comes well packaged with a good selection of accessories.
Ease of use
The case is very easy to work on, it strips down very quickly allowing all the plastic components to be removed giving full access to all the cable routing at the rear of the case
There are plenty of cable tie retainers on the rear side of the mobo tray area (no need for sticky tape with this case).
Cable routing holes are well placed, although there could perhaps be better access to the top of the mobo area and perhaps into the drive bay areas.
The cable routing holes are spacious and easy to get plugs through howerver they are not covered by grommets.
Air Cooling options
The case comes with 1x140mm front, 1x 140mm top and 1x120 rear fans.
In total there is provision for 1x 140 front or 1x 120 front
2x 120 or 140 bottom
2x 120 or 140 top
1x 120 rear
1x 80 slim rear of mobo.
1x 120 side
Additional fan can be installed in the optional GPU support bracket.
Watercooling options
The case supports maximum
120.2 single thickness rad in the roof.
120.2 single thickness rad in the floor. To mount the floor rad necessitates the removal of the detachable HDD section, leaving 2 HDD bays.
Ok, i'd best hit the Specialtech shop and get me some bits and bobs sorted.
25.04.11 evening
You wait ages for an update and then 2 come along in the same day.
Typical...Bloooooming typical.
Well it's been a bit of a windy bank holiday Monday out here on the Lincolnshire coast, but still the caravans have been out in force. We've had guests down for the weekend, but they went yesterday so after a spot of gardening it was on with the build
I reviewed the NZXT orange LED strip a while back and commented on how short it's molex power lead was. Well Having tried to install it I can confirm its way too short. Too short in fact to even reach through the mobo cutout.
All is not lost however as In my handy dandy box of goodies resides some wire and the remnants of my braid.
Et Voila, the way NZXT should have made it. Sorry to bang on about this, but this orange LED strip is a great product that is really let down by the short power extension lead. That said, it really is only a problem if your a bit OCD about hiding your cables. If you're not then it's not an issue.
A few pics of it installed in the case. The one at the bottom is the Hydra controller for the BF Spectre fans, the one at the top is the NZXT unit. Why is it all the way at the top as opposed to on the second from bottom PCI slot just above the Hydra? Well it's simple, the PCB on the NZXT fouls the capacitors on the Mobo and this is the only slot it will go in without interfering with the GPU. No worries, i'll just route the cable down the inside. Glad I added all that extra length.
So now I have the control unit in I'm all set to get the String LED in place.
.................................................................
08.05.11
Remember I said I was going with a bit of an Orange theme?
Well having been very impressed with the BitFenix fan cable I have I went the whole hog and decided to outfit the rig with a full set of Orange BitFenix cables.
I'm going to review them as a job lot later on, however I can tell you now the quality of the fan cable I reviewed is not a one off and is reflected in the full range.
I actually have 24pin ATX cables by both NZXT and Phobya knocking around somewhere so will do a compare and contrast type review on them.
Mean time a few pics of the Goodies from those great guys at Specialtech.
The ones I have are only the tip of the iceberg compared to the full range
http://www.specialtech.co.uk/spshop/customer/Pre-Modded-Cables-cid-33.html
Power cables
http://www.specialtech.co.uk/spshop/customer/Pre-Modded-Power-Supply-Cables-cid-1584.html
Molex etc
http://www.specialtech.co.uk/spshop/customer/Pre-Modded-Molex-Cables-cid-1700.html
Sata
http://www.specialtech.co.uk/spshop/customer/Pre-Modded-SATA-Cables-cid-1583.html
Plenty more photos of the cables to come,
Also have some rather vivid XSPC Orange tubing
http://www.specialtech.co.uk/spshop...-Flex-Tubing--Orange--UV-Orange-pid-6752.html
Some black braid to give a bit of contrast
http://www.specialtech.co.uk/spshop/customer/Black-Cable-Braid-cid-1677.html
And a kill coil to stop it all tuning swampy in there.
http://www.specialtech.co.uk/spshop/customer/Pulse-Modding-999-Silver-Kill-Coil-pid-13036.html
..........................................
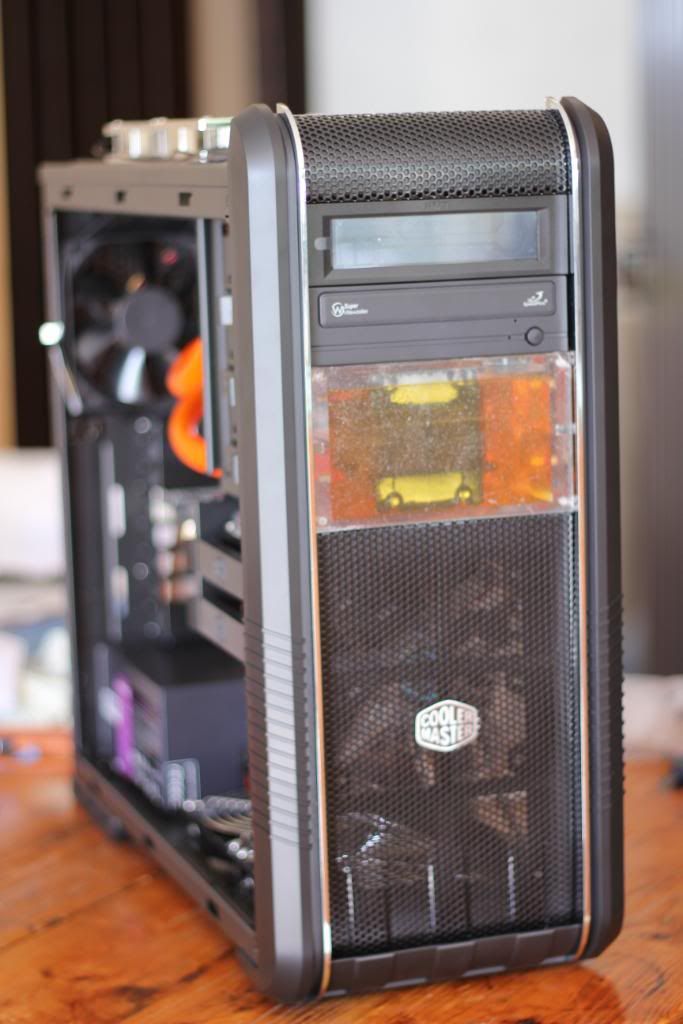
11.05.11
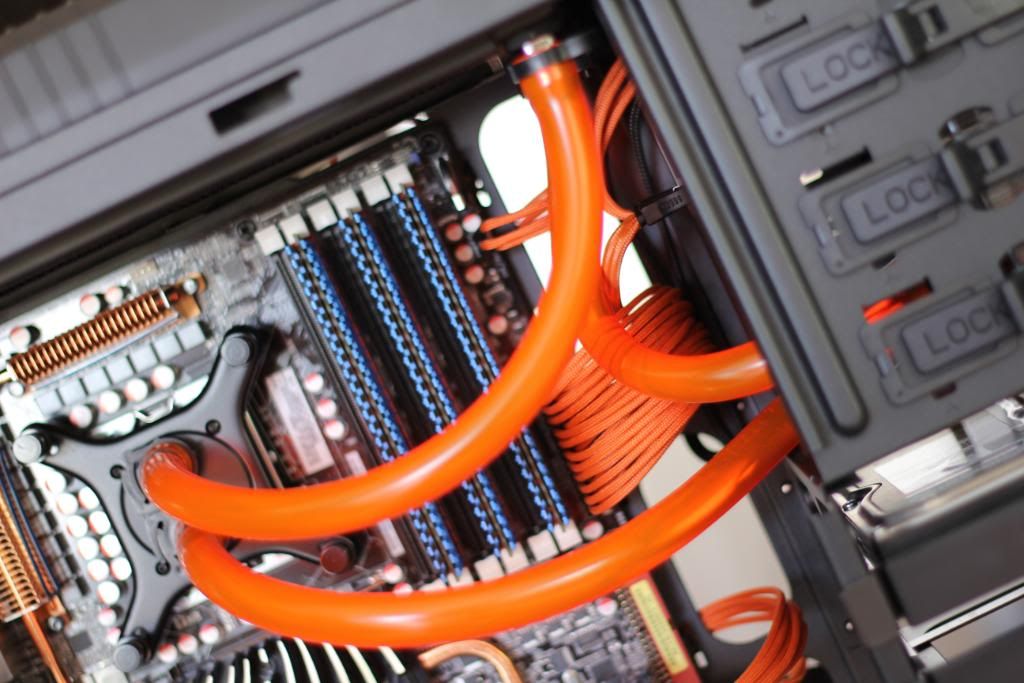
Well the clear is out and the orange is in.
Really rather liking the look of it, what do you guys think?
The quality and feel of this XSPC tubing is much better than that of the stock tubing that comes with the kit.
http://www.specialtech.co.uk/spshop...-Flex-Tubing--Orange--UV-Orange-pid-6752.html
Not that the stock tubing is in any way bad, it's not, my reasons for changing were purely aesthetic and down to personal taste, and for a few quid a metre (£2.39 to be exact) it's hardly breaking the bank is it. And as this stuffs UV reactive I may have to get me a UV tube in there.
Next step is to re commence leak testing then get the cabling in.
.....................................................
13.05.11
Well I've decided to forgo the leak test in favour of getting the cabling sorted
I said at the start of this thread that I would be using it not only as a build log but also as a vehicle for appraising the qualities of this case. essentially like an in depth review.
Initial thoughts with regards to the CM 690 cases cable management have been re enforced now that I've actually started to build into it.
The cable tie cut outs on the rear of the mobo tray are a godsend (ok more would be good but you can't have everything). Also there's plenty of room and very little obstruction
My one real criticism though is that once you remove the lower HDD rack section a whole area of the cable management section becomes very visible, so it's hard to hide all those Molex and satas supplying your HDDs and DVDs etc. Despite saying I would not be modding on this case I might end up making a little blanking plate to cover this area.
Also. it didn't immediately dawn on me that although the case has cable management holes, they do not have those nice little rubber grommets on them to hide the cables as they pass through. Only a few quid I'd have thought and would have made such a difference.
OK so a few pics of the cable management so far.
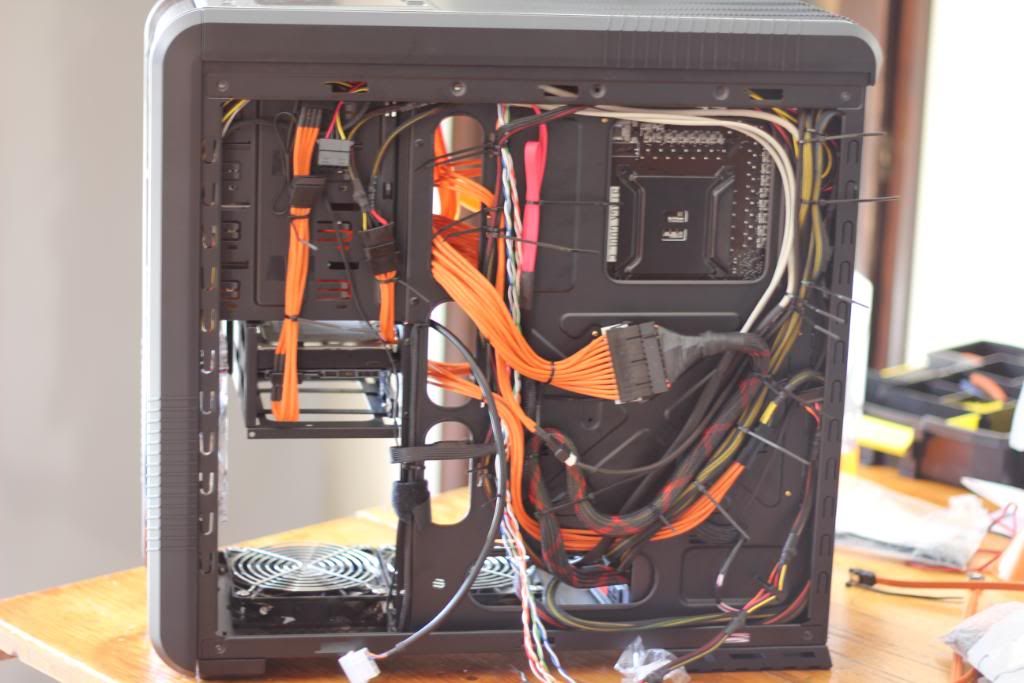
The starting point, lots of cables and a lot of thinking about where the heck t put them all. You can clearly see the obvious void behind and below the HDD rack where it's not possible to hide cables
How many Orange cables??? man these cables are nice.
Getting started
Big boys are pretty much in, just got to sort all the little ones now.
....................................................
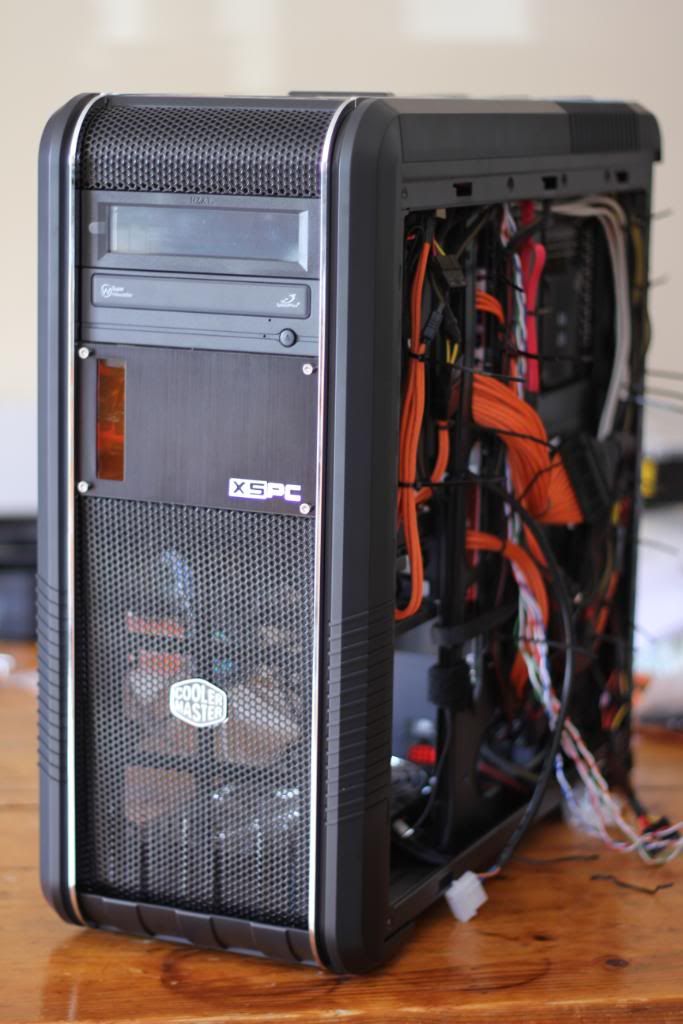
Got the DVD drive in now ready to be wired up
Few more cables in place. Having to do this a bit at a time because it's driving me nuts. Not because it's a bad case, it isn't but because there's just so many wires.
The BitFenix cables are very nice to work with, very flexible and pliable
24.05.11
Can't believe the amount of cabling I've put into this case. My disbelief is seconded only by the ability of this case to take it in its stride.
Pictures speak louder than words so a few of my activities
Starting point this morning
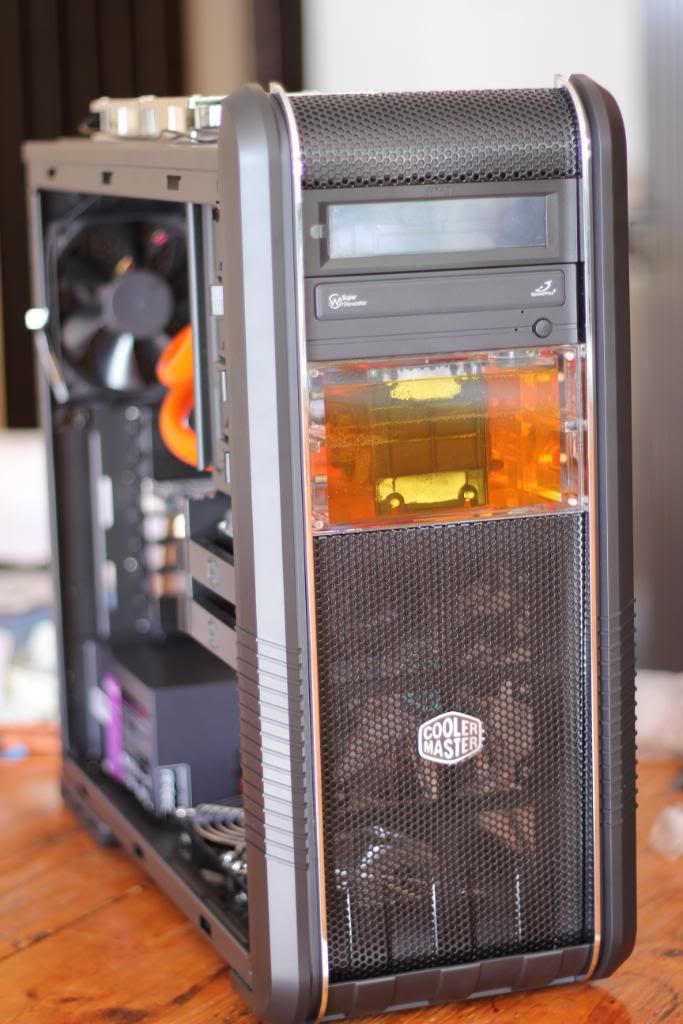
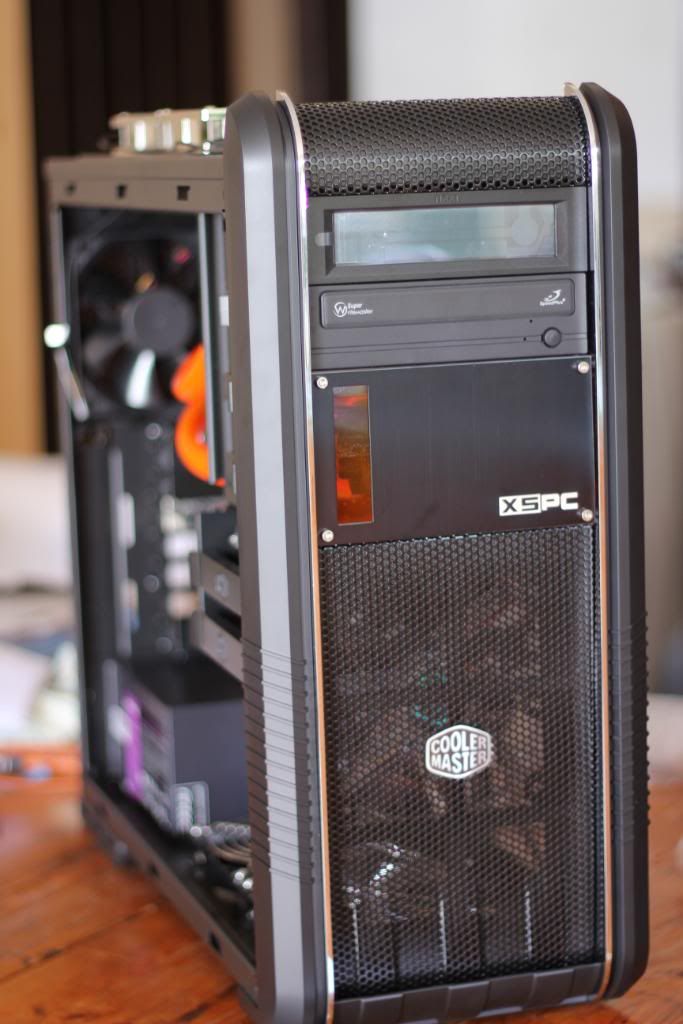
Seems like a bit of an unclimbable mountain at this point.
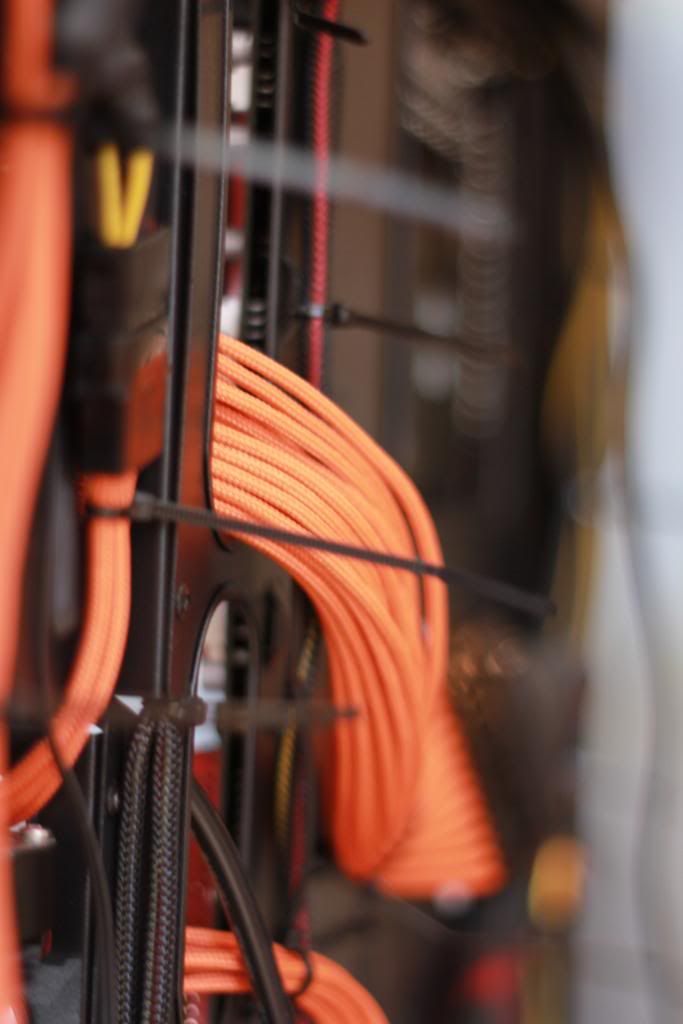
The 690s front headers are not braided, but look pretty nice once they are.
Even if you cheat and just braid the bits on show.
Most of the cabling in, just a few hundred cable ties to snip off
A few shots of the RASA with the protective film in place, with it removed, and with the front panel attached.
Bit more wiring in place, the main 24pin atx gave me real problems.
The Mayhems Dye. Really pleased with this. the perfect match for the rest of the gear and grade 1 coolant to boot.
A few arty shots, playing with a few new lenses, feel the Bokeh
...................