[BL] Water Cooling MMPMM

MadMarc

New member
Hi guys,

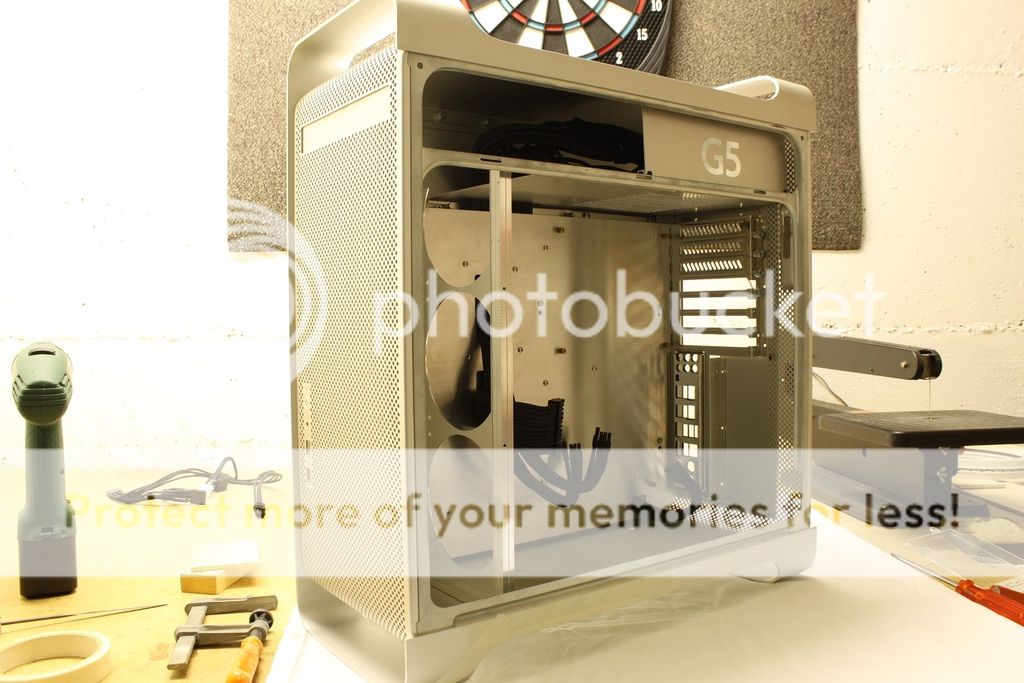
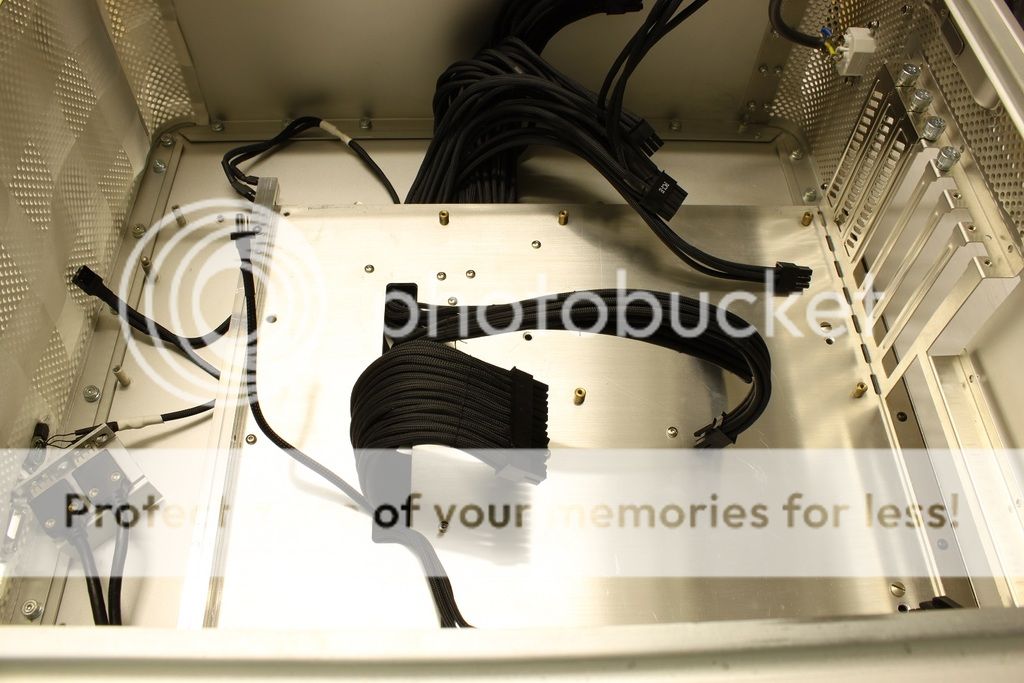
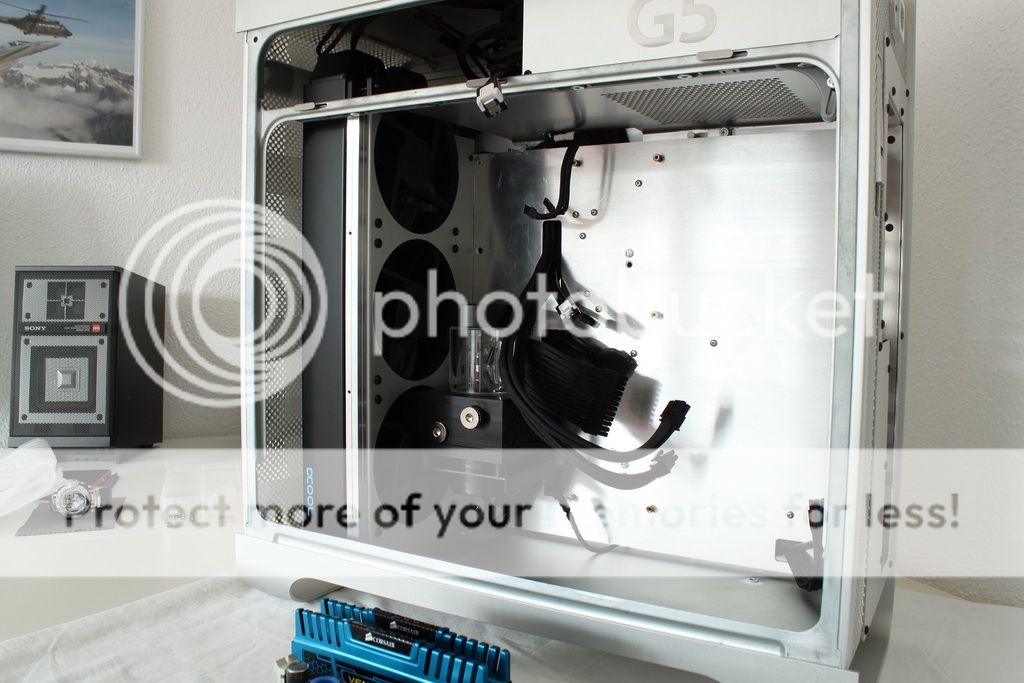
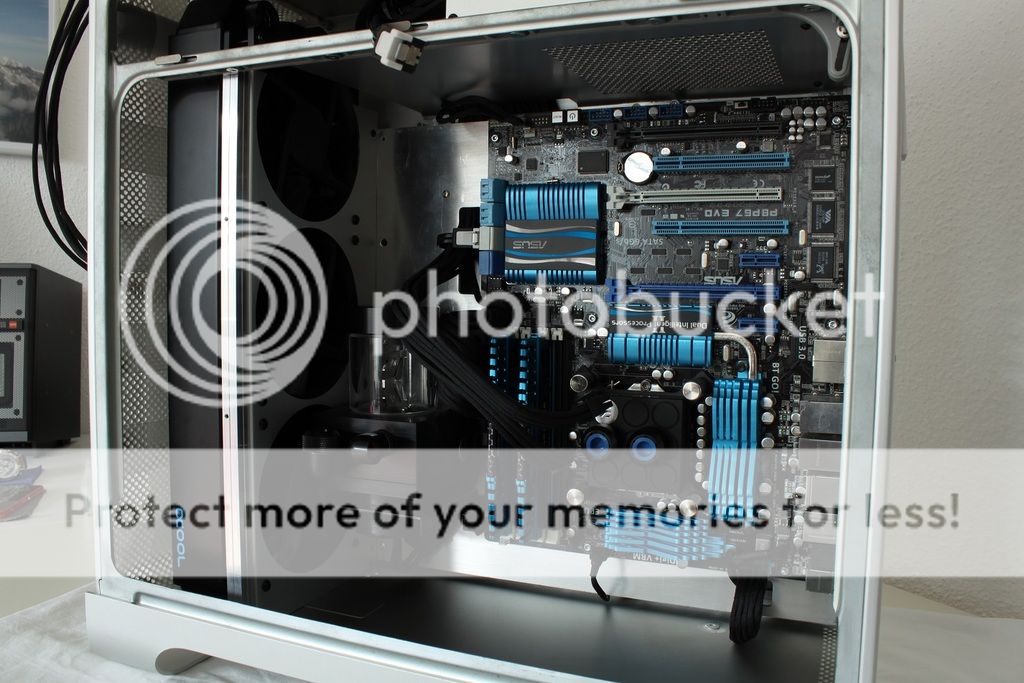
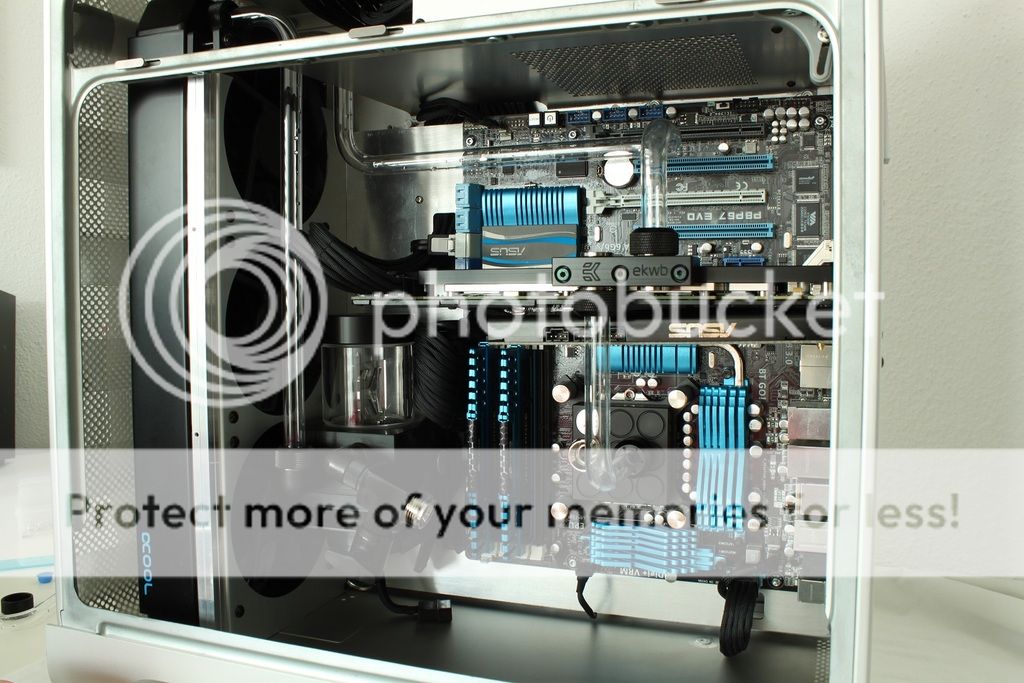
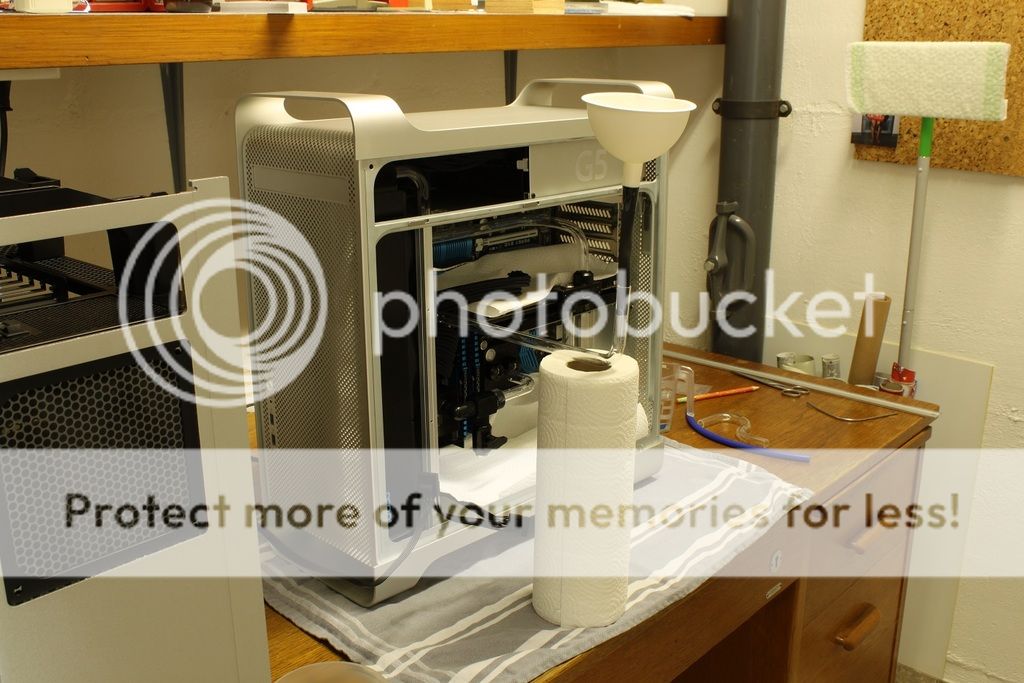
it's time to build my first custom water cooled rig. Other than a GPU upgrade my parts didn't change much from the origninal build in the modded PowerMac G5 case.

Finished original build:

http://forum.overclock3d.net/showthread.php?t=56879&page=8

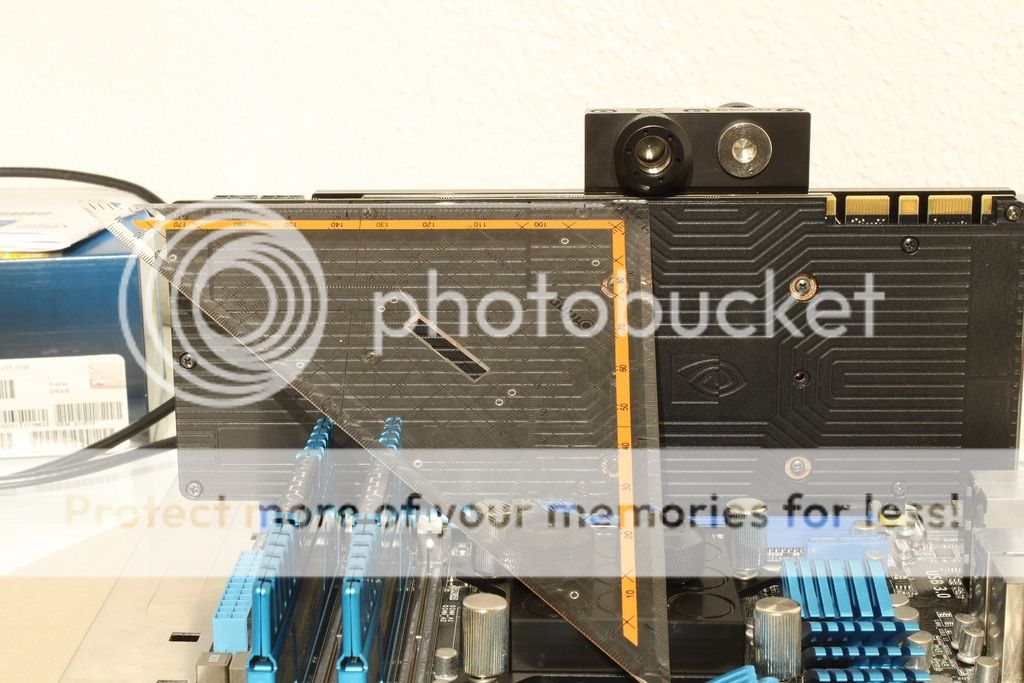
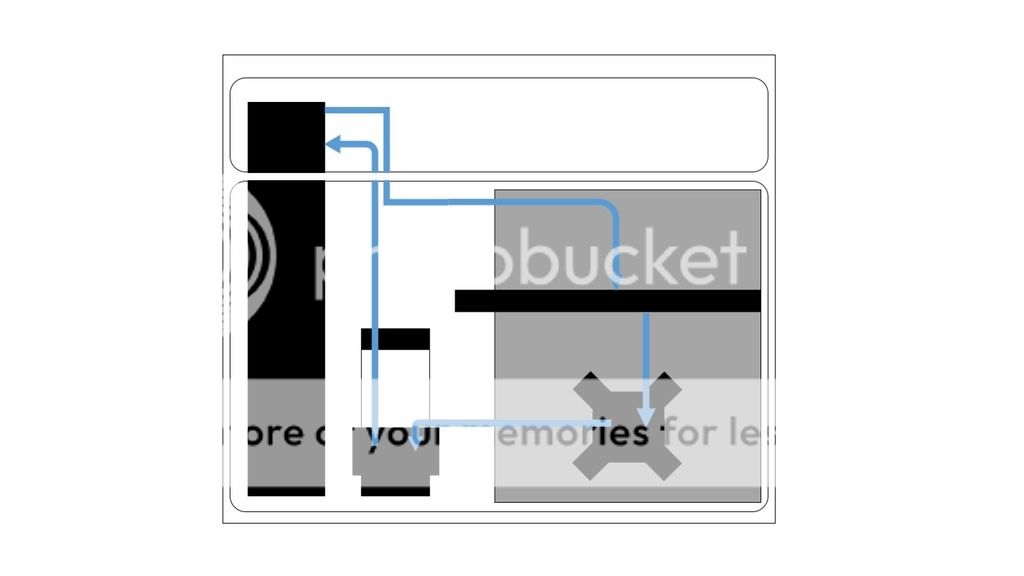
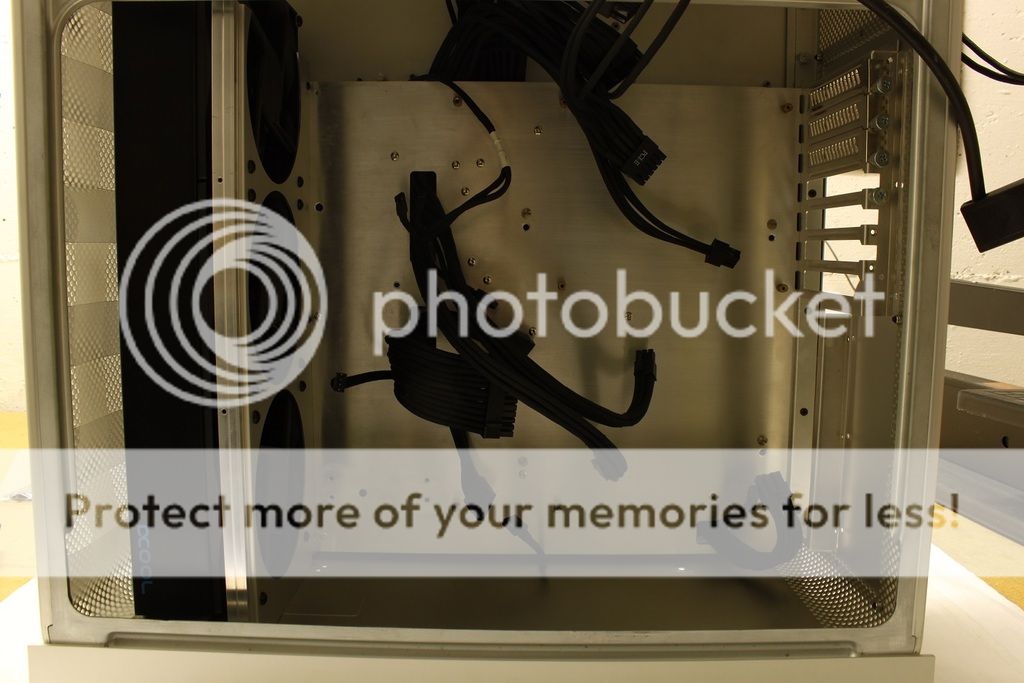
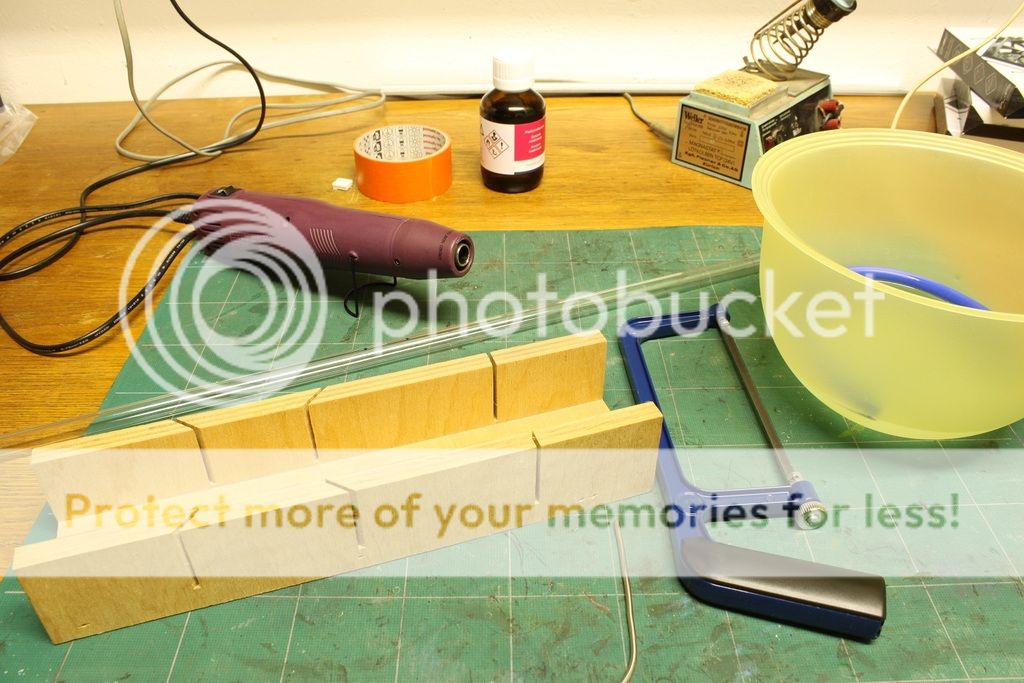
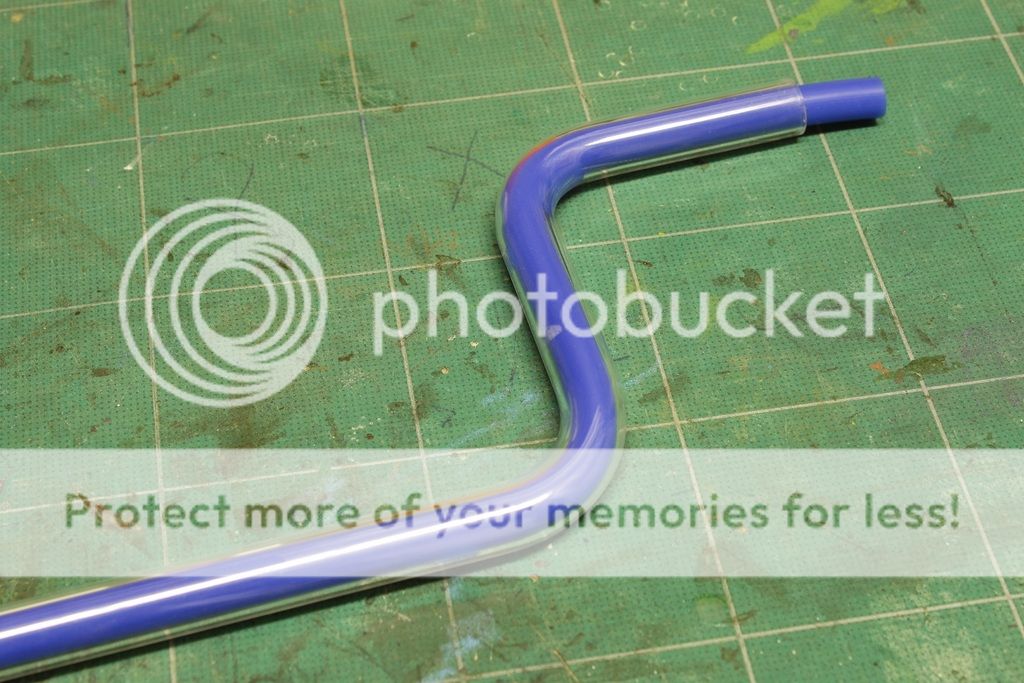
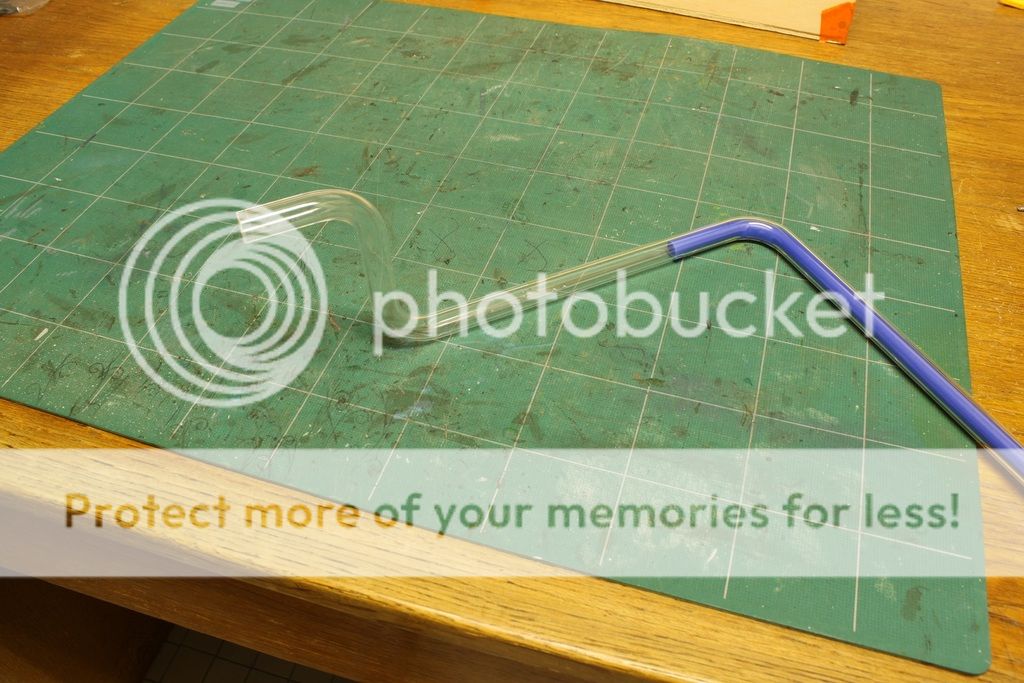
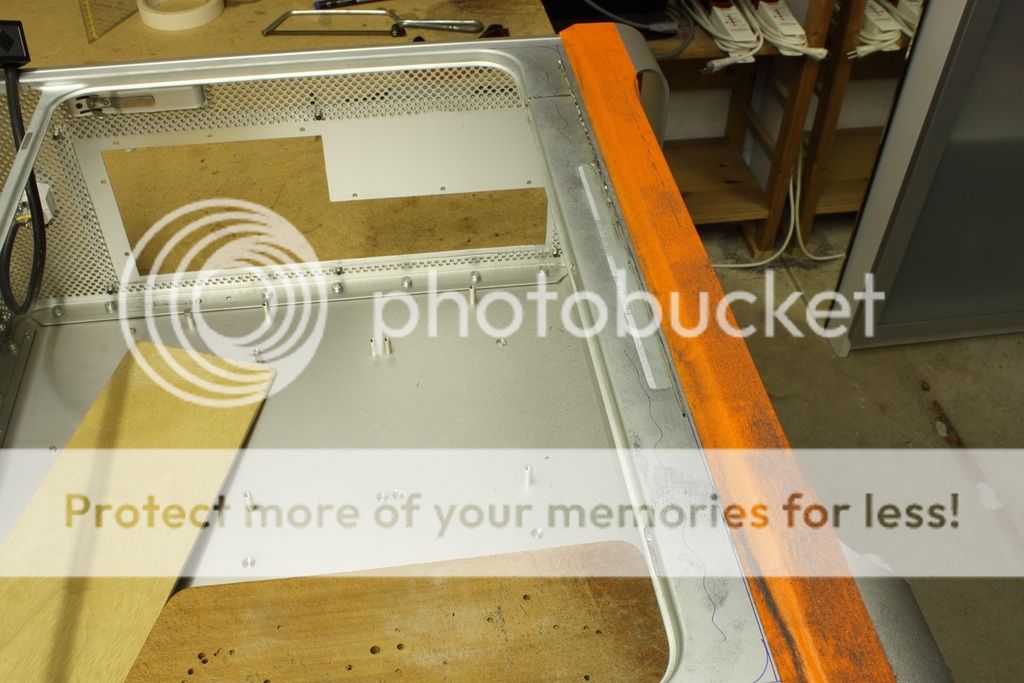
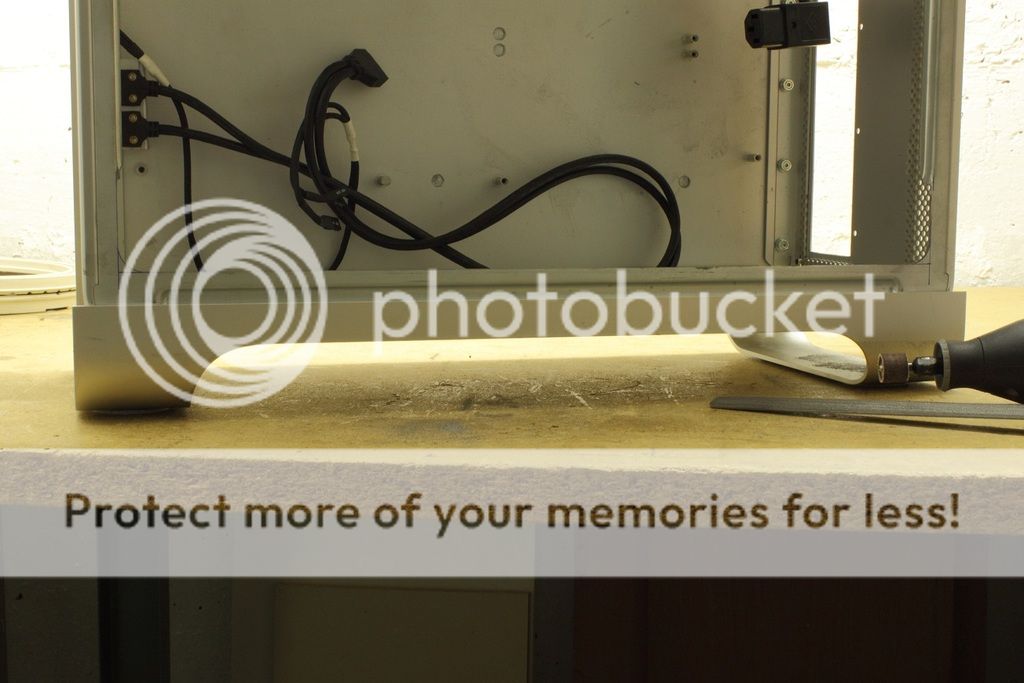
I still have to do some slight modifications to the case in order to fit all the new components and allow for clean tubing routing. These mods will also make it easier to disassemble the rig in the future.

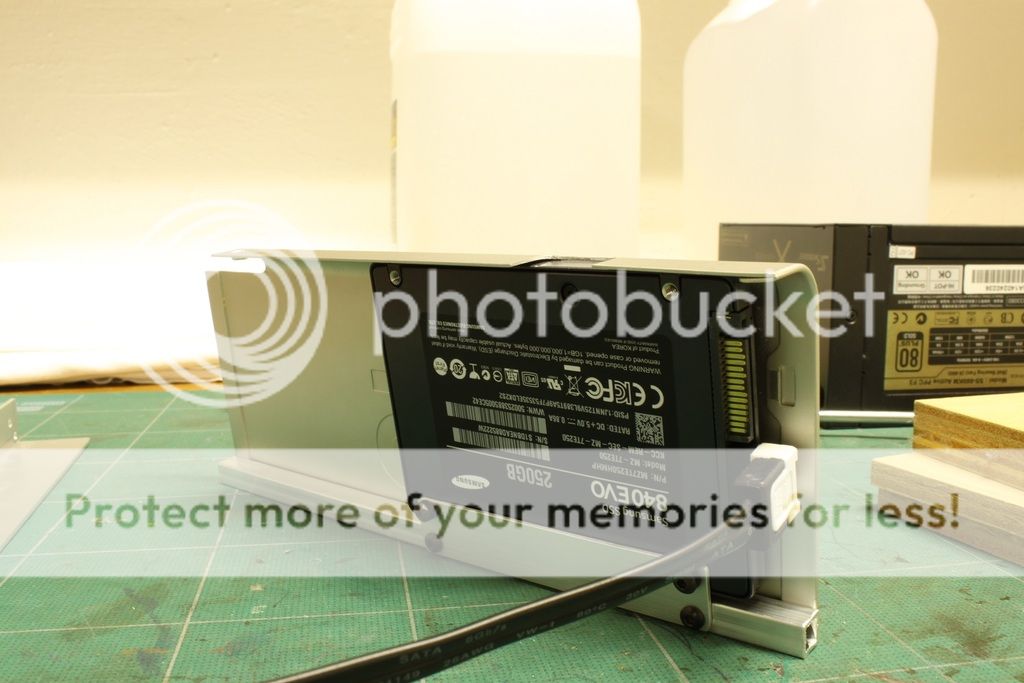
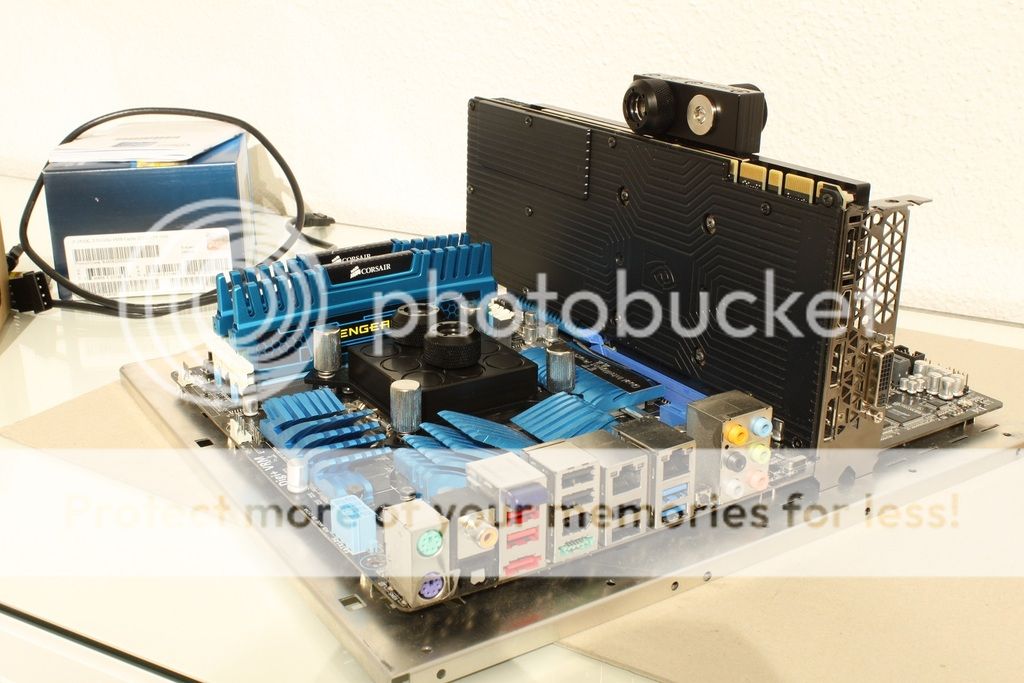
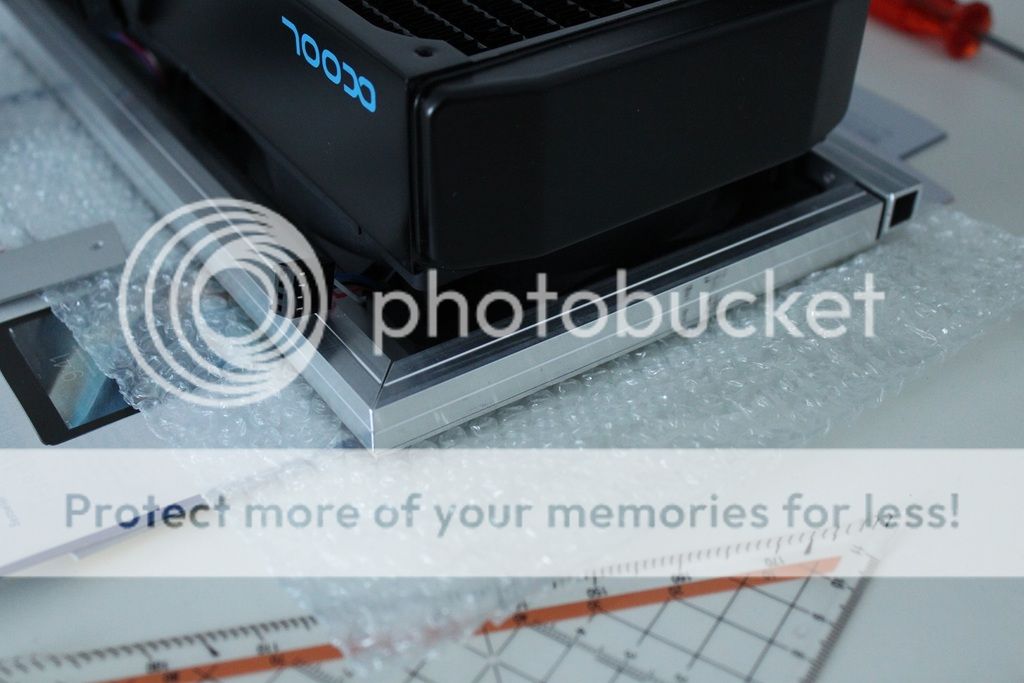
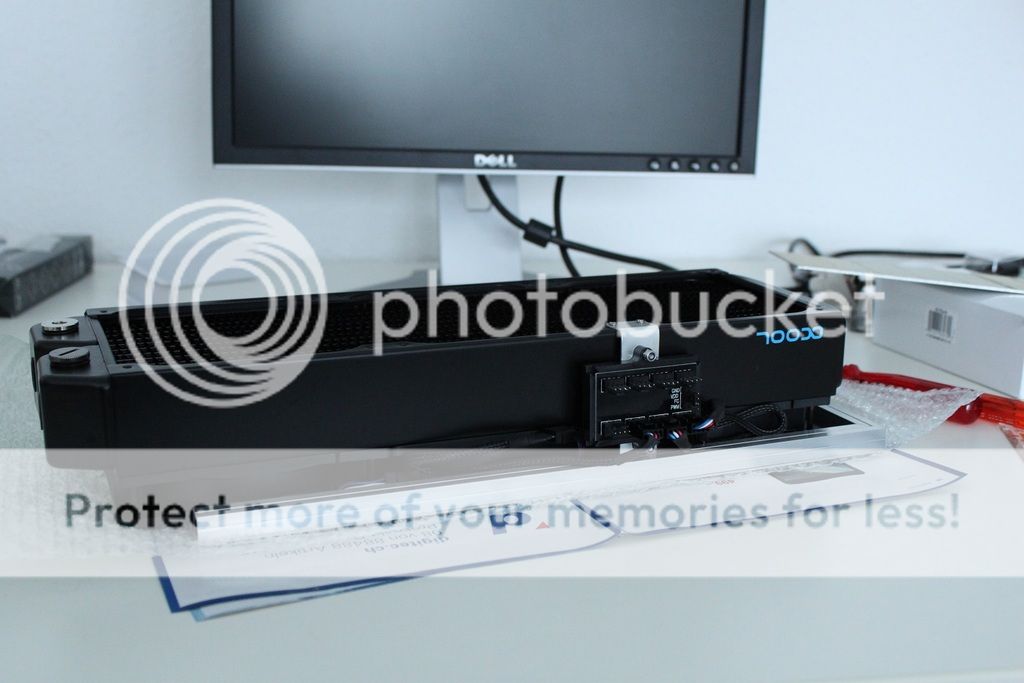
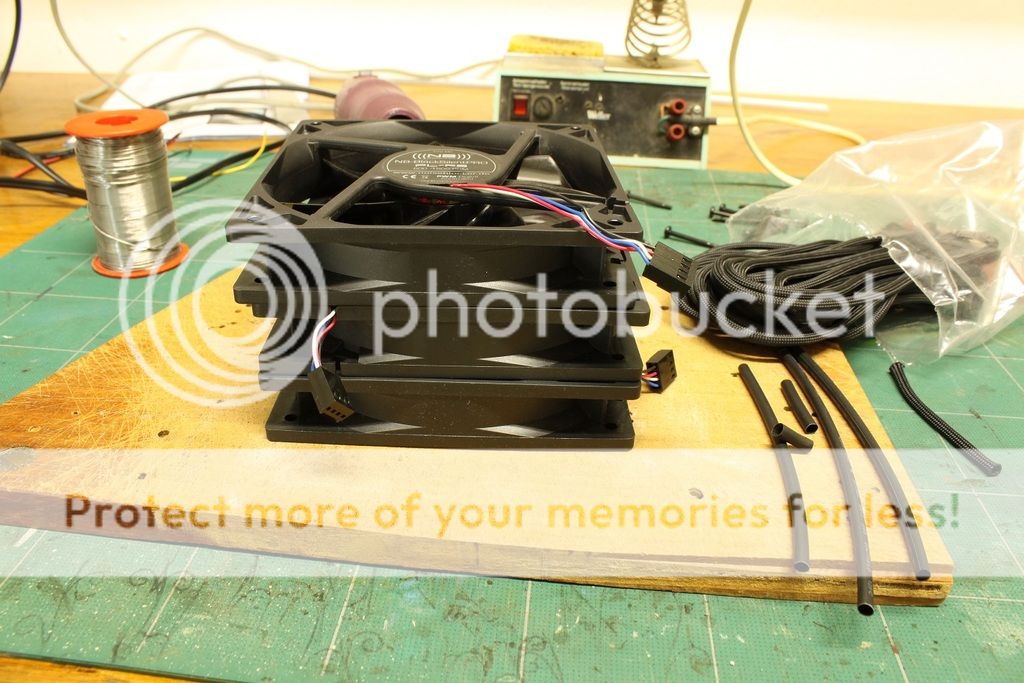
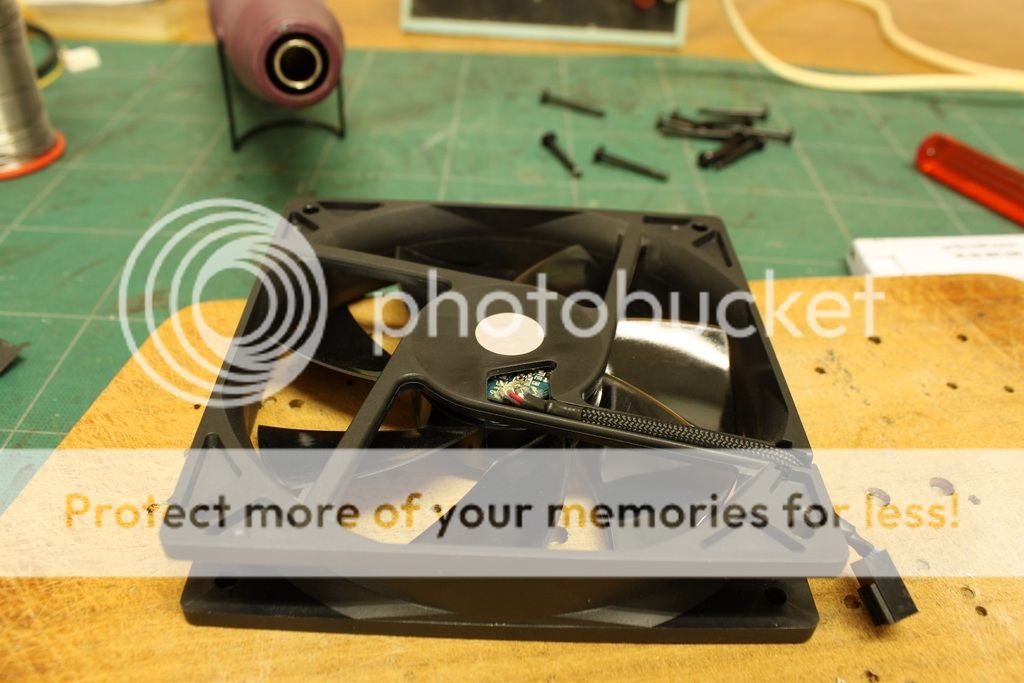
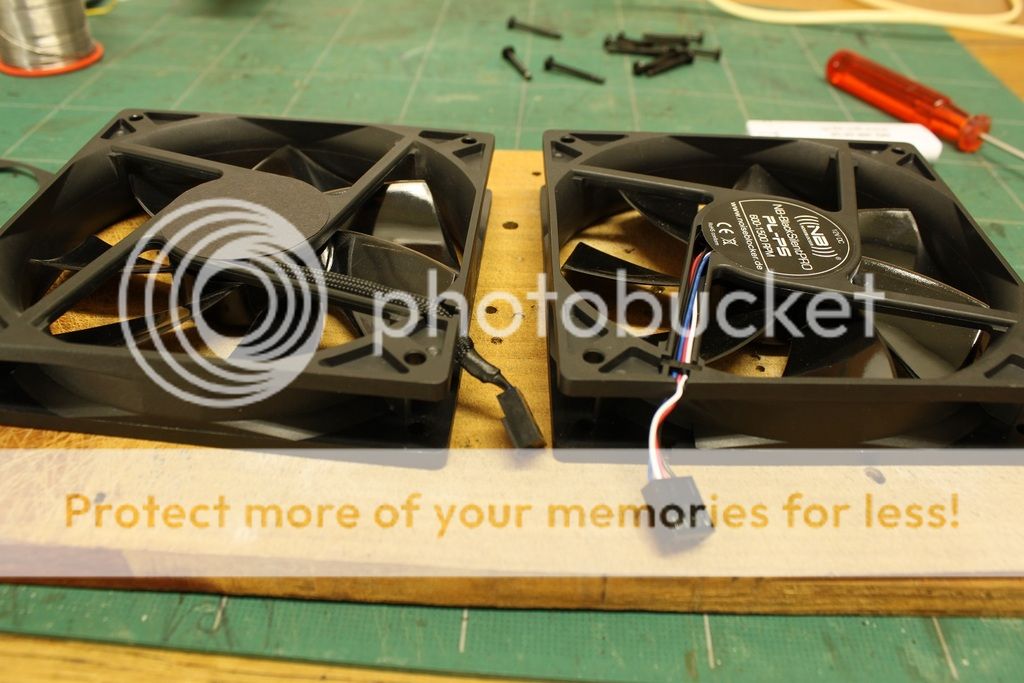
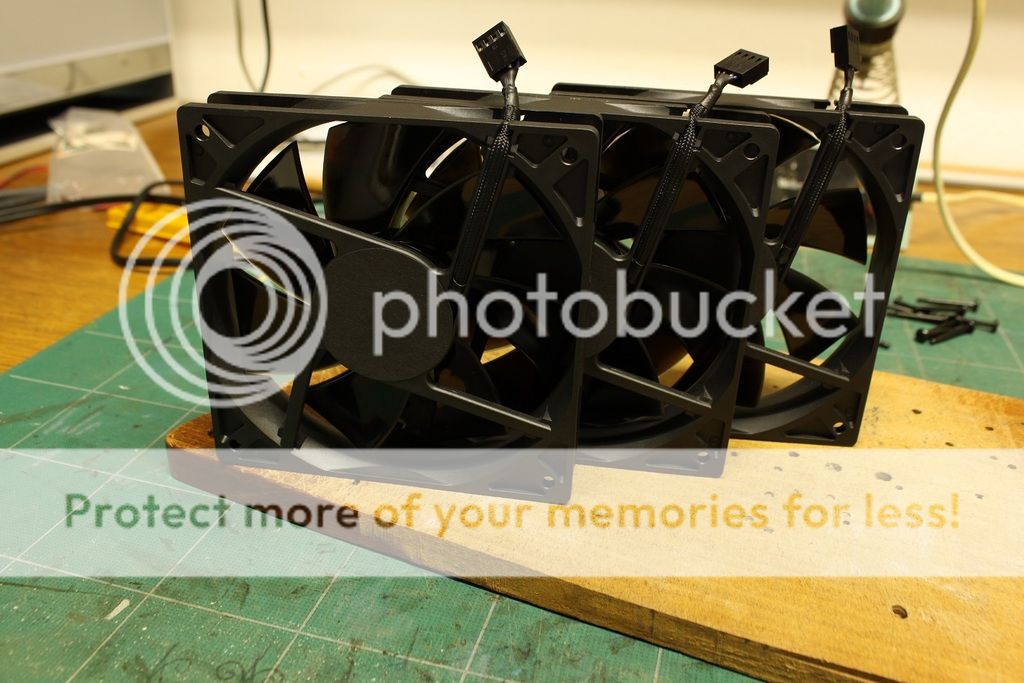
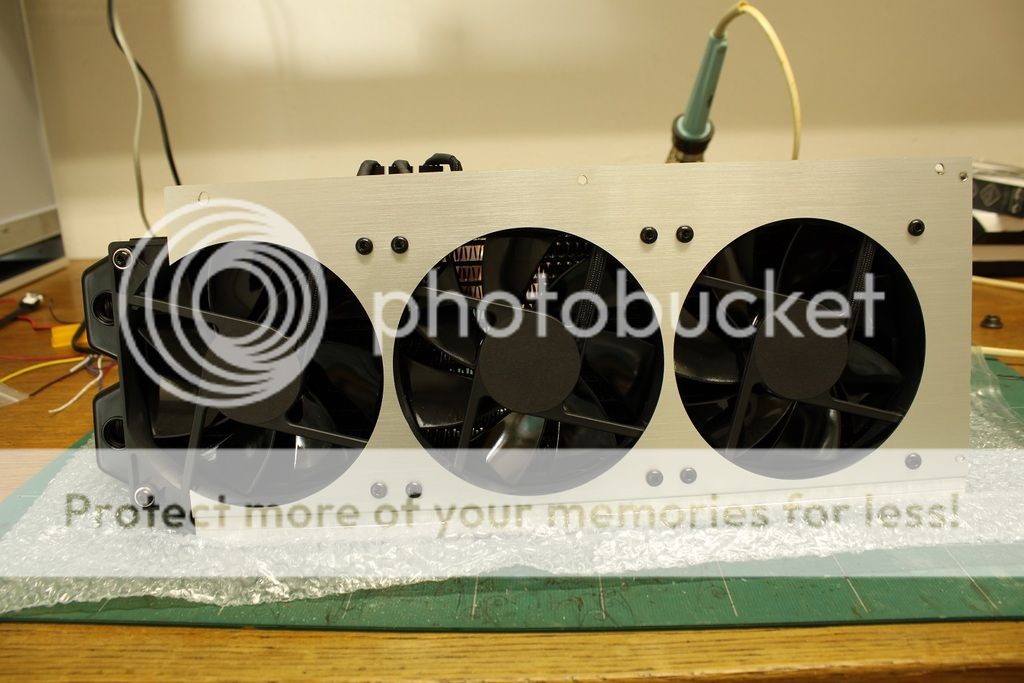
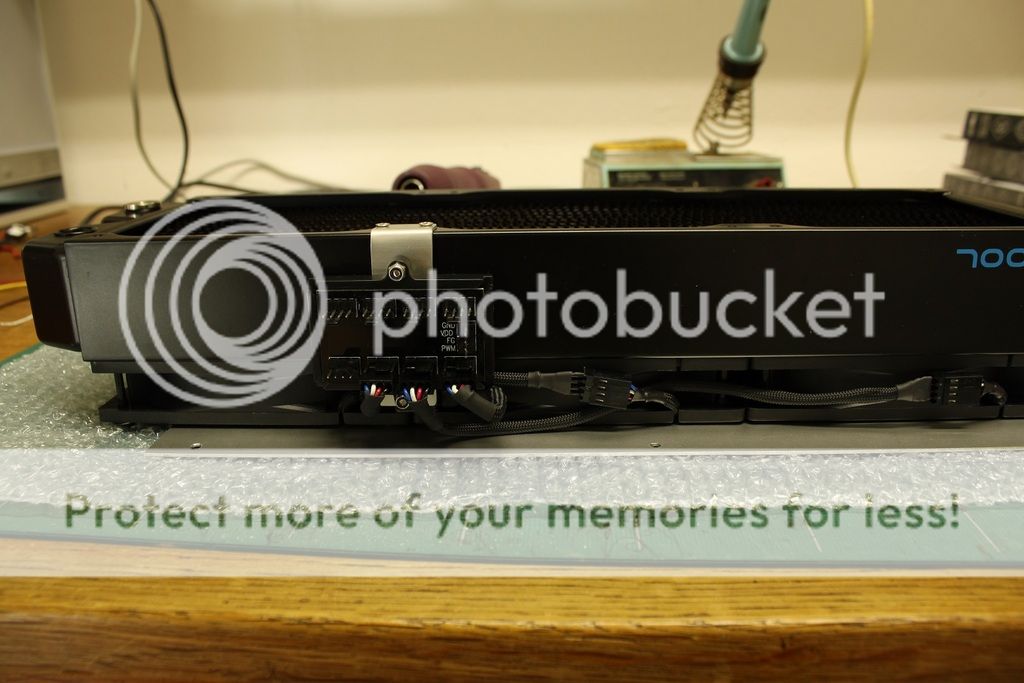
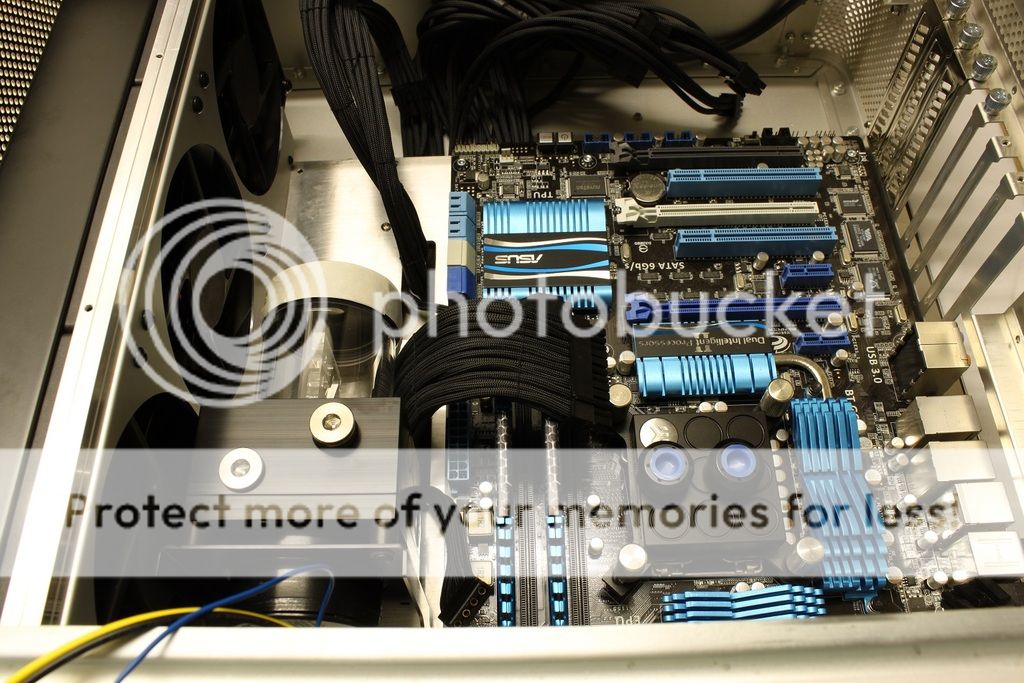
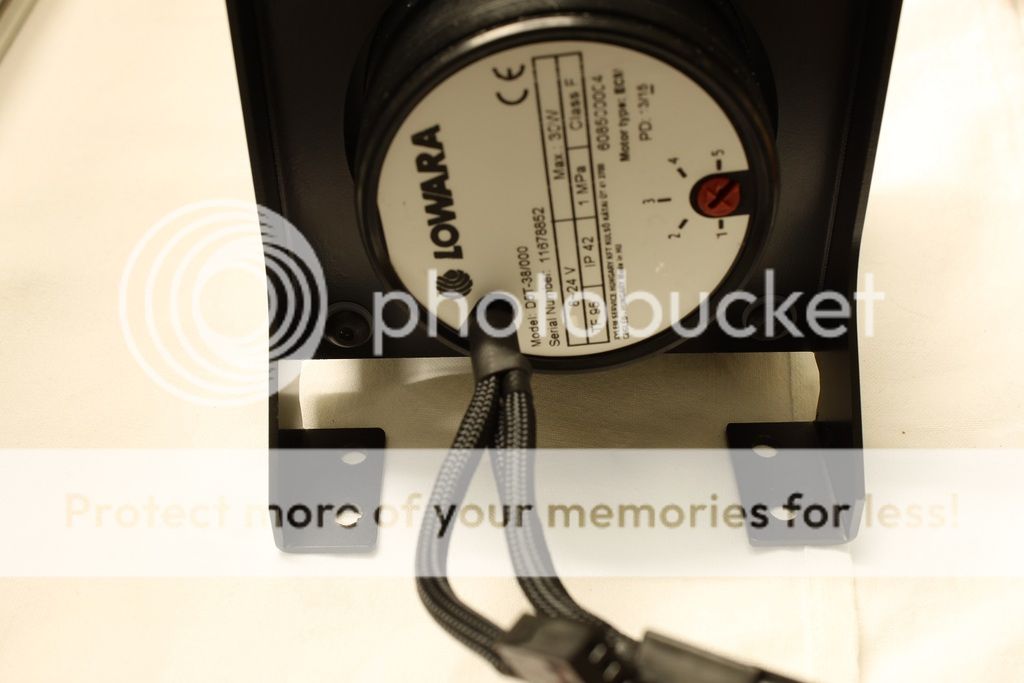
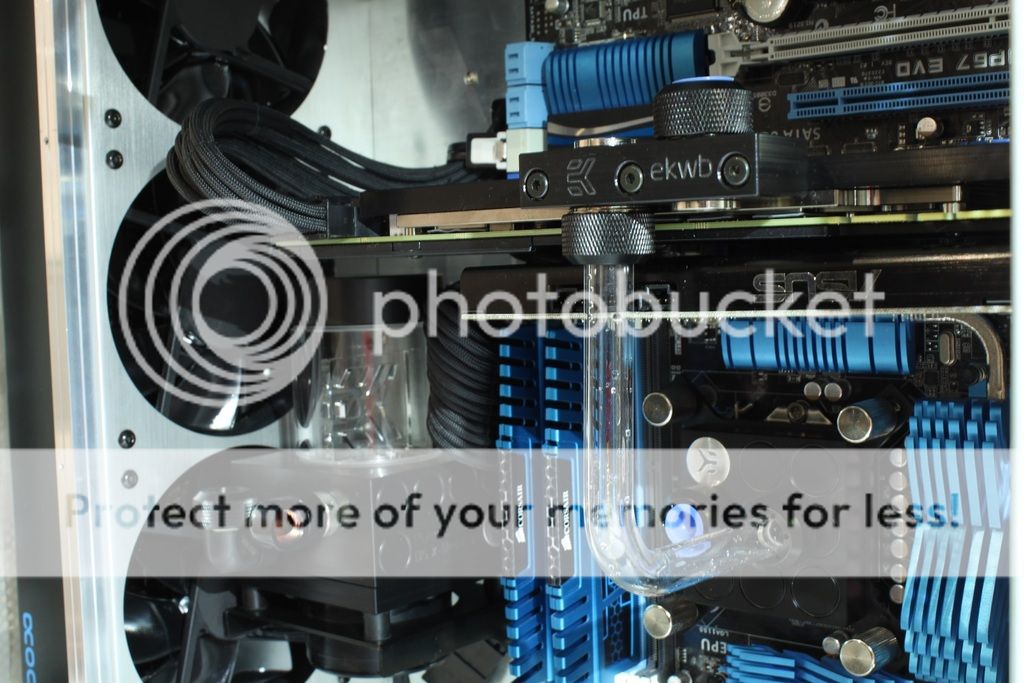
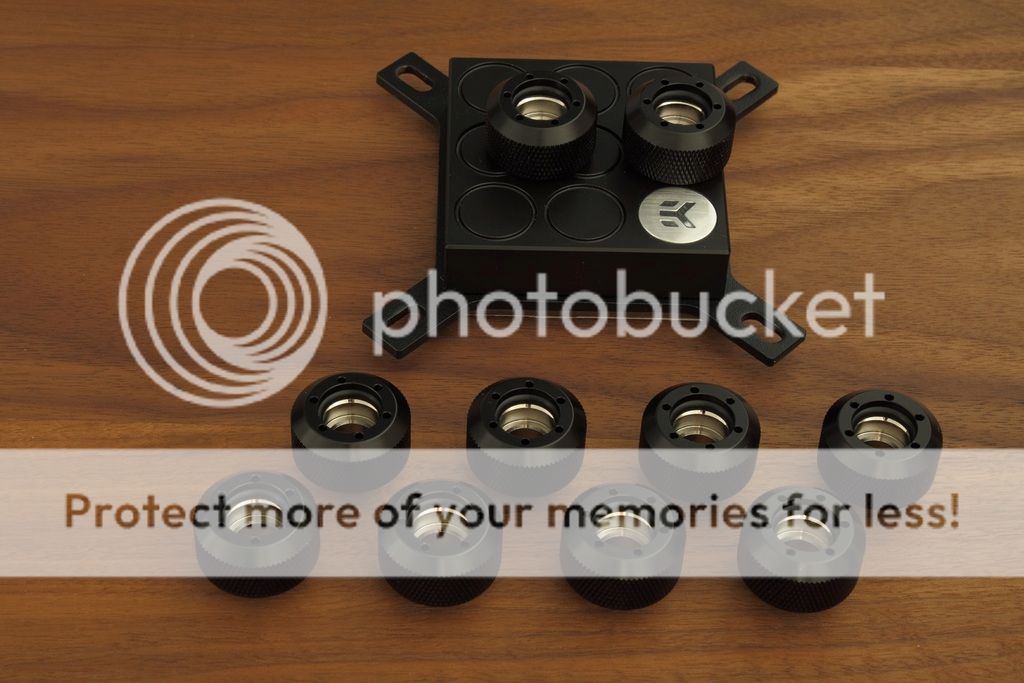
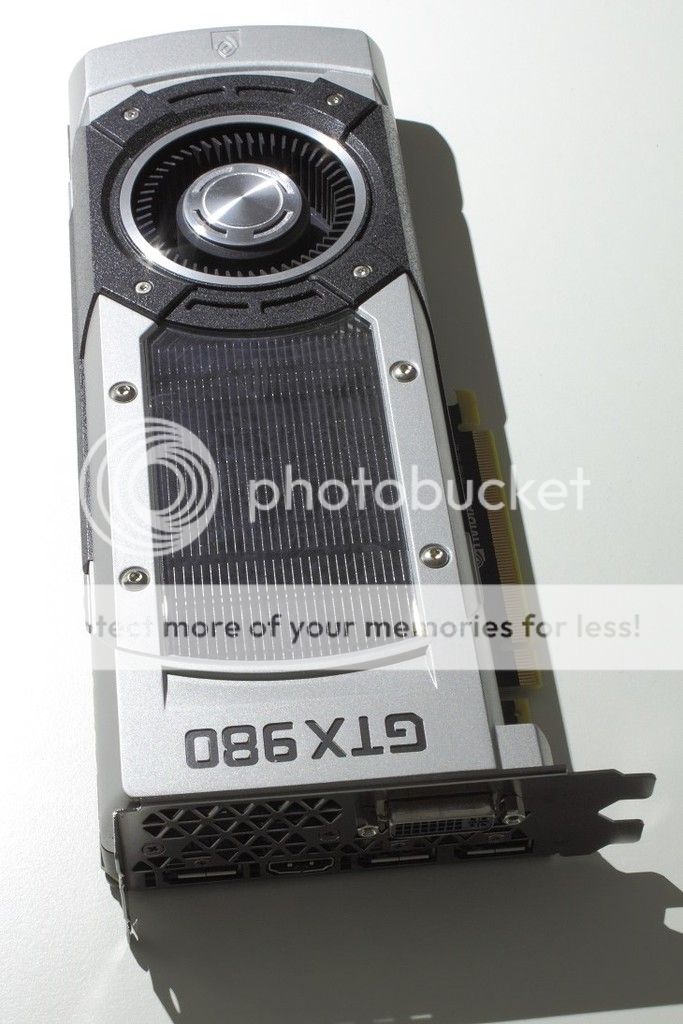
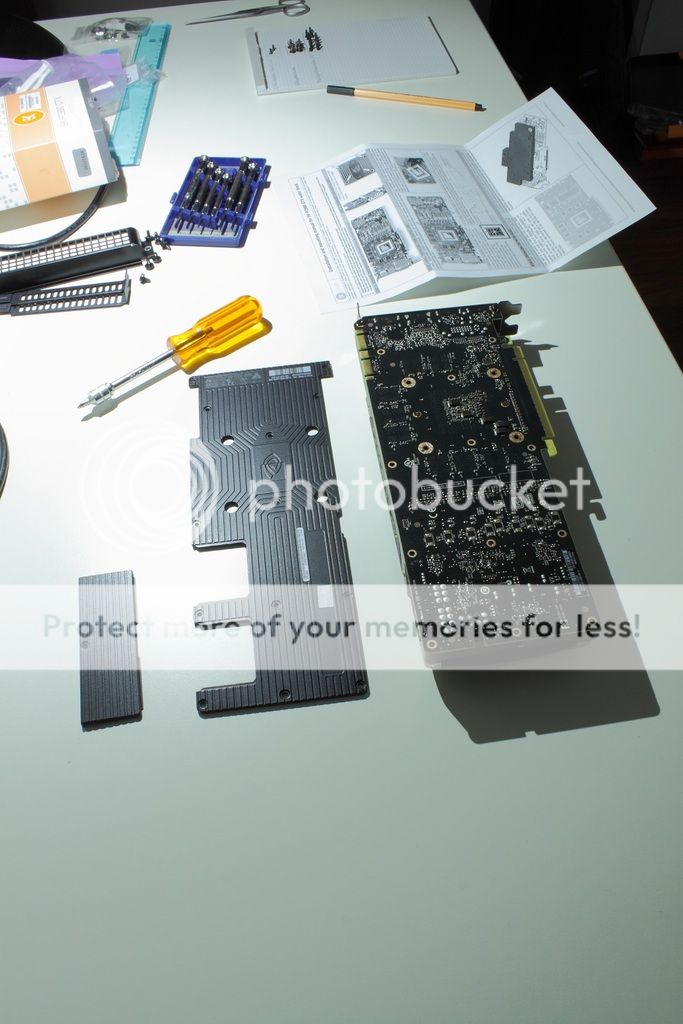
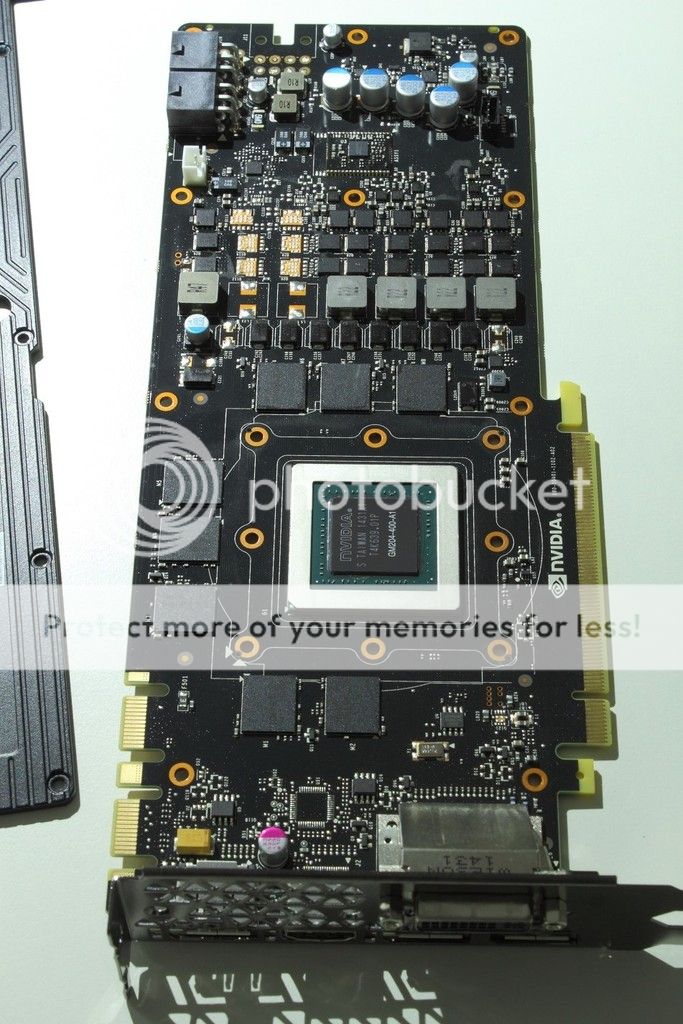
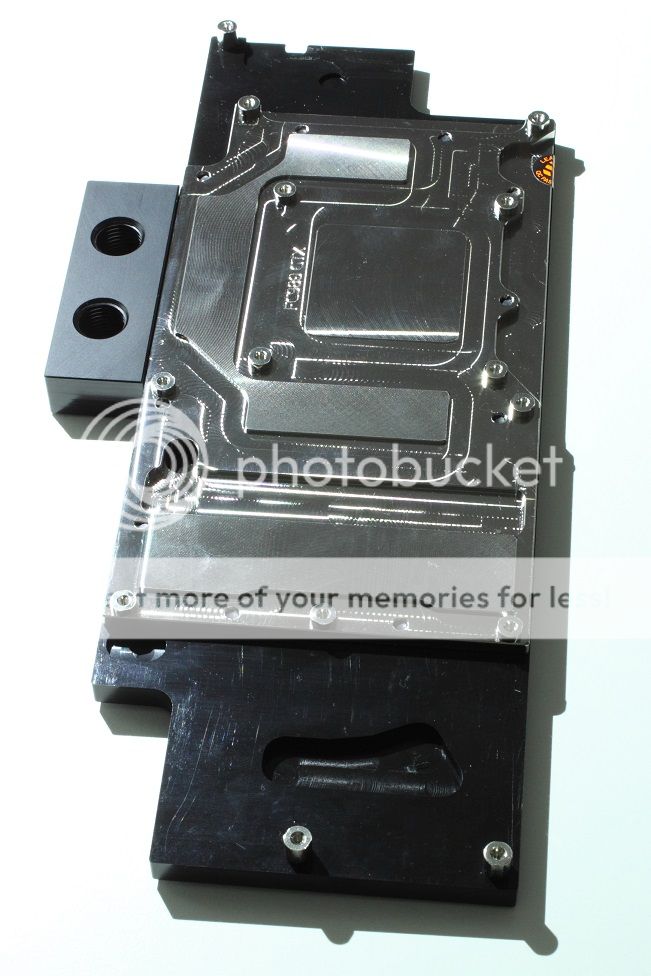
Here are some of the parts that I'll be using:

IMG_5831_zpsdpsdeite.jpg~original


IMG_5835_zpsbgeksvgm.jpg~original


IMG_5833_zpssmib5yyn.jpg~original


IMG_5849_zpsrylwerms.jpg~original


IMG_5847_zps2kjtdxf5.jpg~original


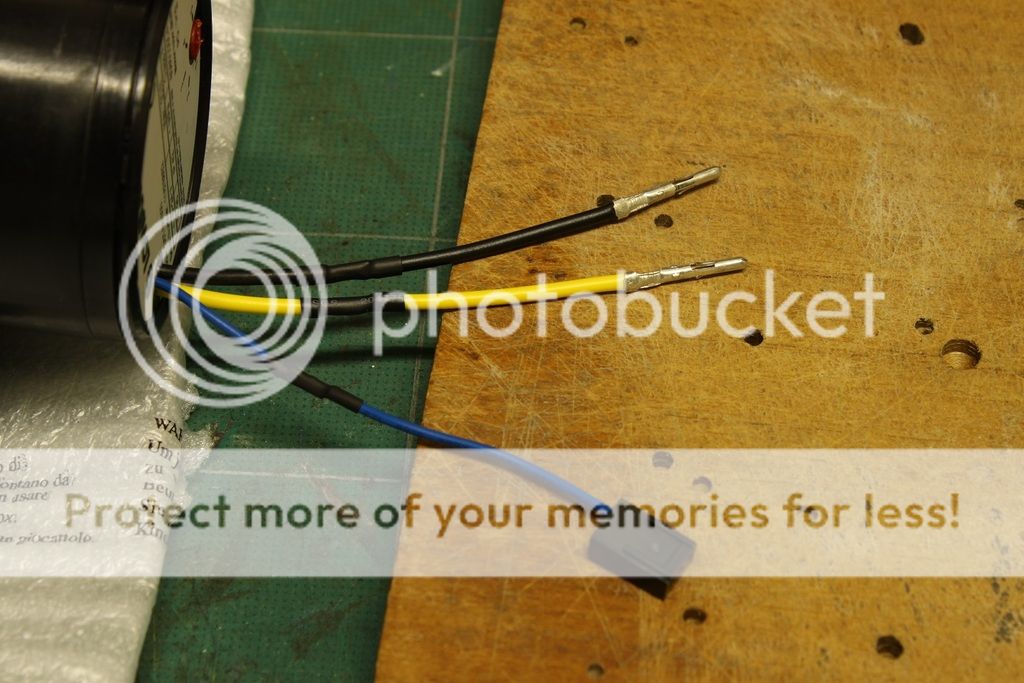
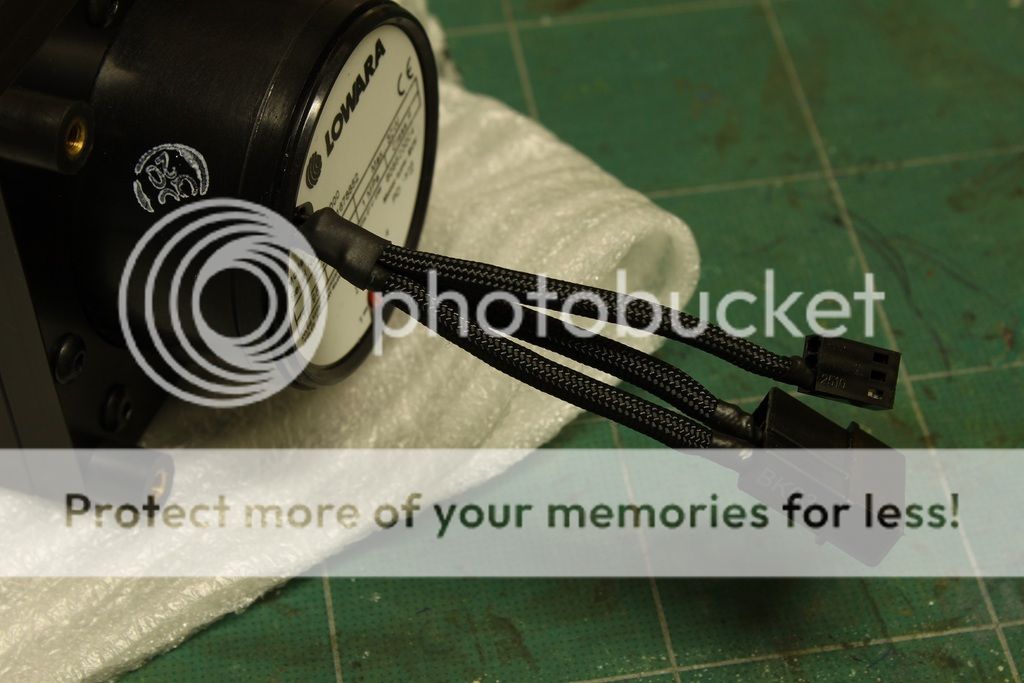
Big thanks again to JR23 for his help sorting out an issue with the pump/res unit
 
Last edited:
Fitting the GPU block was much easier and less scary than I thought

IMG_5840_zpsvikynqit.jpg~original


IMG_5843_zpstl8n6su5.jpg~original


IMG_5844_zpsp9ule4ie.jpg~original


IMG_5841_zpsywywmqgr.jpg~original


I also started modding the case today to make it easier to get the rad in and to give me more room while working on the loop:

IMG_5851_zps1gcaonin.jpg~original


I cut away about 25mm while leaving enough material for the sidepanel to slide into

IMG_5852_zps1wpzl13b.jpg~original


IMG_5853_zps0lhx3idd.jpg~original


IMG_5856_zpseewatcag.jpg~original


IMG_5857_zpsiumxl5zn.jpg~original
 
Last edited:
Looks good dude, will definitely follow this one :)

Thanks mate!

Today I built a PSU cover from the Powermac's CPU cover plate.

Test fitting:

IMG_5859_zpsvoi0yjmq.jpg~original


I also built in a mount for the SSD:

IMG_5860_zpsj2o7ehum.jpg~original


IMG_5861_zpsczxkrjau.jpg~original


CPU block installed:

IMG_5862_zps6p0zgvnv.jpg~original


Luckily the ports line up perfectly:

IMG_5863_zpsasefjekr.jpg~original


Here's what I've planned for the rest of the loop:

Loop_zpstn2vmagv.jpg~original


Small update:

I redid the radiator mounting system today, instead of L-profiles with nuts and bolts I'am now using square aluminium tubing in which I tapped M3 threads. This allows me to put it into the case piece by piece and screw it together once it's inside, where as before it had to be preassembled first and the jammed into the case.

IMG_5865_zpsu9eeagcw.jpg~original


IMG_5868_zpsi2vqbic6.jpg~original


IMG_5877_zpsnhmdbxul.jpg~original


I also made a little bracket that lets me bolt the PWM-splitter directly to the rad:

IMG_5876_zpsy7sbbhld.jpg~original
 
Last edited:
IMG_5881_zps42auw4oh.jpg~original


The rad mounting system is done, the rad and the fans can now be bolted to the plate and whole assembly then to the case. The square tubing also gives it some extra strength.

Almost all the metal fabrication is complete now and after making a few cables it will be time to test fit the hardware to figure out the exact tubing routing.

IMG_5882_zps5wocmtaz.jpg~original
 
Good stuff! Do still really like the look of the old Powermac cases :)

always fun to see what people do with the internals of that case :)

Thanks, it's certainly not as easy to work with as a normal pc case, but when it's done right it looks very nice and it's not something everybody has. Everyone who converts a PowerMac case to fit standard pc hardware has their own idea of how to do it.
 
The fan cables clearly couldn't be kept like this:

IMG_5885_zpsv9yk1bh7.jpg~original


...and fixed

IMG_5891_zps7jfsfmmf.jpg~original


With some thick black paper covering the motors, the fans look quite stealthy

IMG_5892_zpsufoneexu.jpg~original


IMG_5894_zps8ueurpnf.jpg~original


IMG_5896_zpspyxidhgk.jpg~original


I made some custom extensions to tidy up the wiring behind the radiator:

IMG_5897_zps5tfrjcdb.jpg~original


Figuring out the exact position of the res in order to have a horizontal tubing run coming from the CPU:

IMG_5912_zpspppirroz.jpg~original


Some more custom cables:

IMG_5913_zpsbdlgzfij.jpg~original


IMG_5914_zpscdgeybdd.jpg~original
 
Installing a dust filter was also an important part of the update as my rig got pretty dusty before. I decided to try Wraith's idea of using curtain material as the filter. Just plain white or gray curtain would have looked better but we had plenty of this lying around and once all the parts are in an the side panel is closed it should look just fine.

IMG_5915_zpsdzjs6yis.jpg~original


I the background you can see an other build I've been working on for a mate, once a replacement mainboard arrives I'll do a buildlog for that rig as well.

IMG_5916_zpsgpzupb2k.jpg~original


Finally the mainboard tray with all the cables routed behind it went in for the last time

IMG_5919_zpsyuac4ush.jpg~original


Starting to look like a normal case again

IMG_5920_zpsymknbumf.jpg~original


I cut the piece with factory mounting holes off the res mount and drilled two new holes in a vertical layout on either side to reduce the stress on the threads.

IMG_5921_zpsvf2camwl.jpg~original


IMG_5922_zps4j2rjq6f.jpg~original


IMG_5925_zpspogtfzs2.jpg~original


IMG_5926_zpsdkcvwuys.jpg~original
 
Last edited:
I didn't like the blue right up until you posted those last pics. Now it's beginning to make sense.
 
I do want to say that I think if you're going to use blue coolant in clear tubing for the loop, I think the colour might be a bit overpowering.

In my opinion, a grey/silver metal hardline loop would look brilliant in this.
 
Very nicely colour co-ordinated. The blue works so well with the aluminium case. Love it!

I didn't like the blue right up until you posted those last pics. Now it's beginning to make sense.

Thanks guys! Initially I would have much preferred to get a new Asus Z170 mainboard; CPU and RAM but I couldn't justify spending that much money, considering the 2500k has still enough performance for me. Now, once everything was in place I'm really happy with the result.
Do you think I should keep it the way it is now or add a panel covering the radiator, the way it was before? (well sort of, there was a panel but now rad it had to cover..., but you get the point:))

I do want to say that I think if you're going to use blue coolant in clear tubing for the loop, I think the colour might be a bit overpowering.

In my opinion, a grey/silver metal hardline loop would look brilliant in this.

I'll use clear tubing and fluid, I agree blue coolant would be too much. Metal tubing would certainly look very nice, maybe something for a future upgrade.
 
Last edited:
I like it the way it is now. I feel if the radiator had no panel it'd just be a huge black block in the front of the case, the current 'shroud' breaks it up nicely.

If you add a panel on the side, you'll have a huge aluminium black in the front, while the black bits nicely colour-match with all the black on the actual PC components. Besides, there's a bonus blue logo. By keeping it this way it looks like the entire case is filled with matching PC goodness and it'll just look like one big, nicely matching system :)
 
Final part of the build process, also the part I was most worried about as I've never done this before: Bending the acrylic tubing

IMG_5927_zpsflsbjg7s.jpg~original


I ended up using a scrollsaw instead which allowed me to cut the tubes straighter and more quickly.

After a practice piece to figure out how far away from the heatgun I had to hold it, I did the first two easy pieces that just required a 90 degree bend

IMG_5928_zpsnr2wkuft.jpg~original


The piece connecting the gpu and the rad was significantly more complex but after many small adjustment it finally fit:

IMG_5931_zpschwwqxxb.jpg~original


IMG_5932_zpsvpknc7xg.jpg~original


IMG_5933_zpsjlz2abai.jpg~original


IMG_5936_zpsdbed4zvl.jpg~original


Today the two male G1/4 to male G1/4 rotary fittings for the drainage system arrived:

IMG_5937_zps9xdfmaxq.jpg~original


Time to fill the loop:

IMG_5938_zpsms4cybnl.jpg~original


IMG_5939_zpskzieu5kp.jpg~original


IMG_5940_zpsajidwmgw.jpg~original


IMG_5941_zpsnod4o751.jpg~original


So far no signs of a leak, lets hope it stays that way.

I'll post some pretty pictures once the loop is completely bled.
 
Back
Top