Blade Runner
New member
I need a second work PC that I will be able to move from one place to the other without breaking my back, my STH10 is great but portable it is not!
I also need a spare for backup, when the STH10 sprung a leak in the middle of a big job it caused all sorts of grief and meant having to go back to an old HP which does not like some of my bigger files.
Anyway, I want it to be as fast or even faster than my STH10 but with better graphics capability that will be able to run a VR head set super smooth as well as my main stuff.
The following is the specification as I see it at the moment.
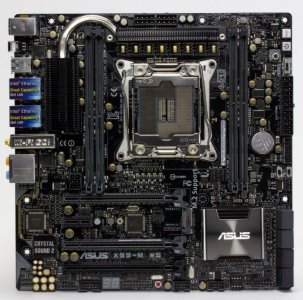
· Motherboard - Asus X-99 M WS
· CPU - Broadwell E equivalent of the 5930K if it is somewhere near the same price, if its silly money I will go for the 5820K equivalent.
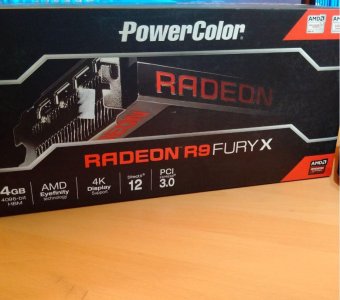
· GPUs - AMD – A pair of the new Fury like cards that I read are supposed to be released in the summer?
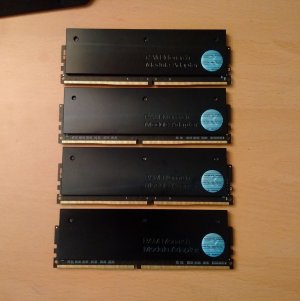
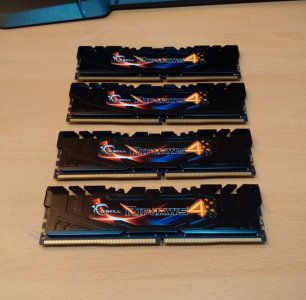
· RAM - To be decided, DDR4 seems to be dropping in price all the time so I will hang on and see what is available.
· PSU - Super Flower 1000W Platinum
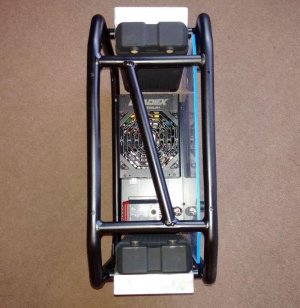
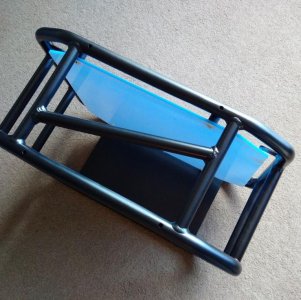
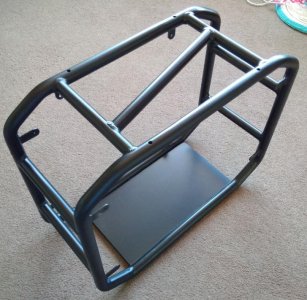
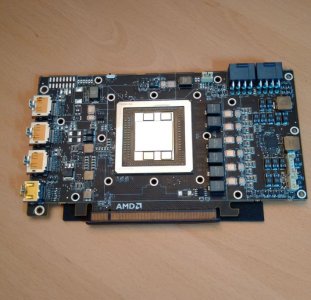
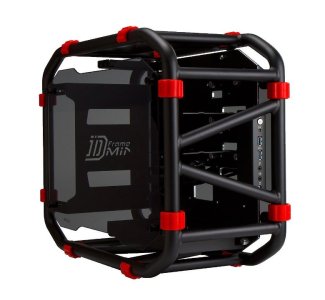
· Case - In Win D Frame Mini with a few mods……………") The short GPUs open up a few new possibilities.
The short GPUs open up a few new possibilities.
· Water blocks - All EK plexi apart from the mosfet block which they don’t make for this board so another Liquid Extasy block has been ordered, which has a very similar look. All blocks to have RGB LEDs run from a Farbwerk.
· Storage - Samsung 950 Pro and pair of SSDs in Raid 0 for the rest.
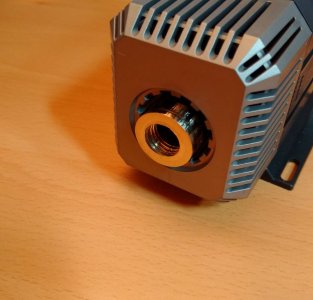
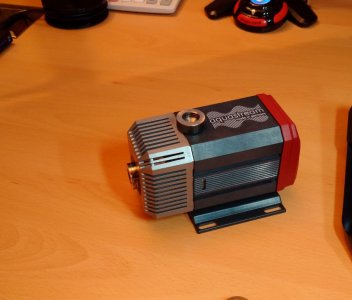
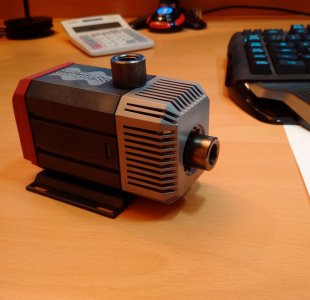
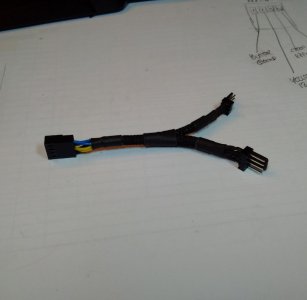
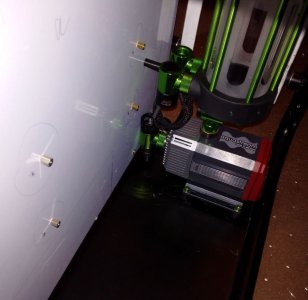
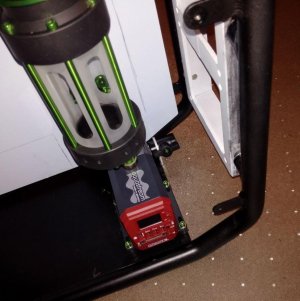
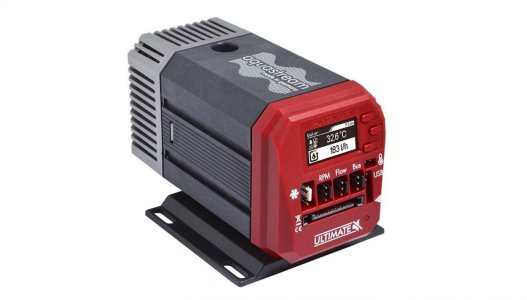
· Pump - Aquacomputer XT Ultimate – This new pump has a built in fan controller that is more advanced than the Aquero 6, so they say. It only has to run 4 fans so it will keep down the cable clutter.
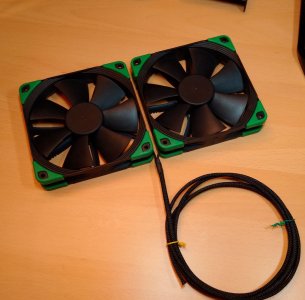
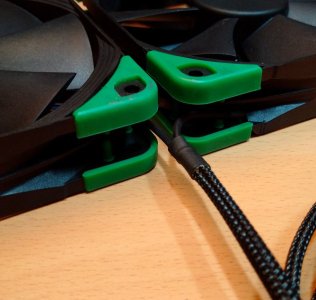
· Fans - 4 Noctua NF-F12 PPC PWM 120s
· Rads - A pair of - not sure as yet, it depends on how much room there is when everything is laid out, they won’t be 560’s anyway…….:huh:
· Fittings/ Pipes - Monsoon
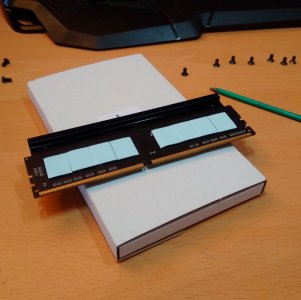
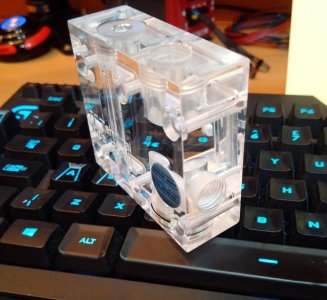
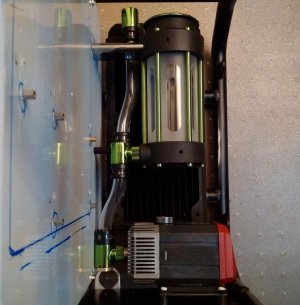
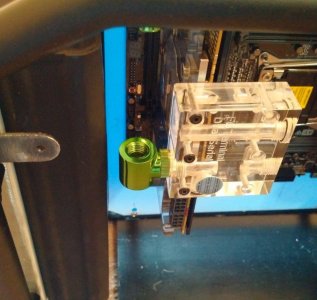
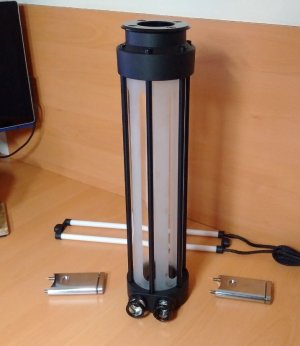
· Reservoir - Monsoon Modular – See pic, I have bought a 250mm version as it was all that was available but I will be cutting the tube/ tension bars down to whatever length works best.
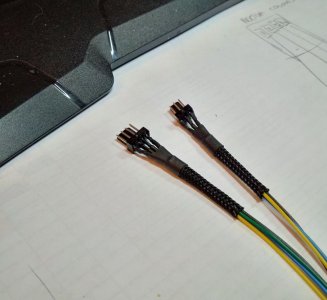
· Colours - Mostly black with green fluid/ sleeves and the red bumpers.
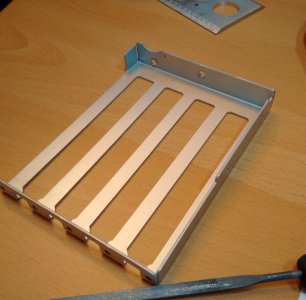
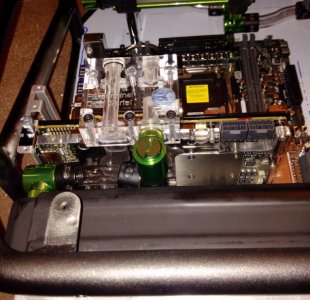
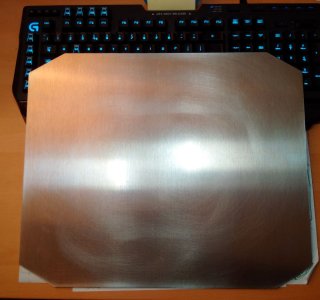
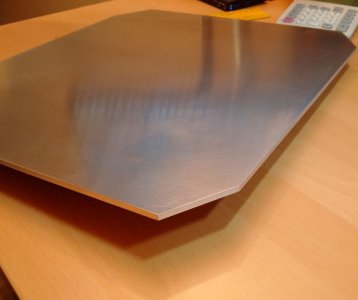
It’s going to be a bit of a slow build as I have a lot of mods to do on the case which will need jigs making and then welding, the latter of which I can’t do myself. I also need to make an entirely new motherboard tray which again I want properly powder coating.
Once everything is fabricated and fixed the case will then have to be sent away to be sand blasted and powder coated. I want a really hard wearing finish given that it is going to be moved about a lot and I don’t think my painting is up to that.
I am not sure when the Broadwell E CPUs or the new AMD cards will be available either, so I am in no rush, as I would really like to have those if at all possible.
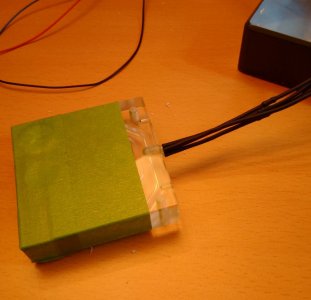
Here are a couple of pics of stuff that is either on order or has been delivered to date.
I also need a spare for backup, when the STH10 sprung a leak in the middle of a big job it caused all sorts of grief and meant having to go back to an old HP which does not like some of my bigger files.
Anyway, I want it to be as fast or even faster than my STH10 but with better graphics capability that will be able to run a VR head set super smooth as well as my main stuff.
The following is the specification as I see it at the moment.
· Motherboard - Asus X-99 M WS
· CPU - Broadwell E equivalent of the 5930K if it is somewhere near the same price, if its silly money I will go for the 5820K equivalent.
· GPUs - AMD – A pair of the new Fury like cards that I read are supposed to be released in the summer?
· RAM - To be decided, DDR4 seems to be dropping in price all the time so I will hang on and see what is available.
· PSU - Super Flower 1000W Platinum
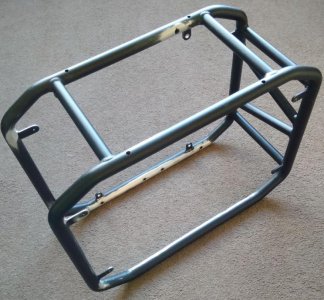
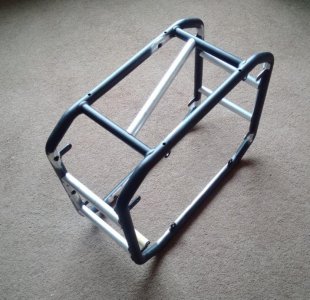
· Case - In Win D Frame Mini with a few mods……………
The short GPUs open up a few new possibilities.· Water blocks - All EK plexi apart from the mosfet block which they don’t make for this board so another Liquid Extasy block has been ordered, which has a very similar look. All blocks to have RGB LEDs run from a Farbwerk.
· Storage - Samsung 950 Pro and pair of SSDs in Raid 0 for the rest.
· Pump - Aquacomputer XT Ultimate – This new pump has a built in fan controller that is more advanced than the Aquero 6, so they say. It only has to run 4 fans so it will keep down the cable clutter.
· Fans - 4 Noctua NF-F12 PPC PWM 120s
· Rads - A pair of - not sure as yet, it depends on how much room there is when everything is laid out, they won’t be 560’s anyway…….:huh:
· Fittings/ Pipes - Monsoon
· Reservoir - Monsoon Modular – See pic, I have bought a 250mm version as it was all that was available but I will be cutting the tube/ tension bars down to whatever length works best.
· Colours - Mostly black with green fluid/ sleeves and the red bumpers.
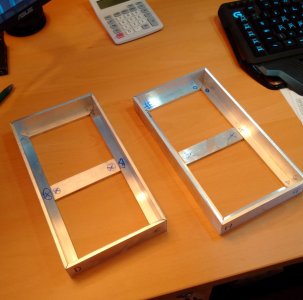
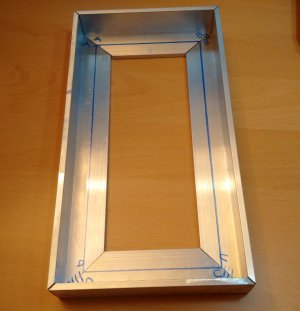
It’s going to be a bit of a slow build as I have a lot of mods to do on the case which will need jigs making and then welding, the latter of which I can’t do myself. I also need to make an entirely new motherboard tray which again I want properly powder coating.
Once everything is fabricated and fixed the case will then have to be sent away to be sand blasted and powder coated. I want a really hard wearing finish given that it is going to be moved about a lot and I don’t think my painting is up to that.
I am not sure when the Broadwell E CPUs or the new AMD cards will be available either, so I am in no rush, as I would really like to have those if at all possible.
Here are a couple of pics of stuff that is either on order or has been delivered to date.
Attachments
Last edited by a moderator:


 looking forward to the rest of the build!
")