The Ultimate case

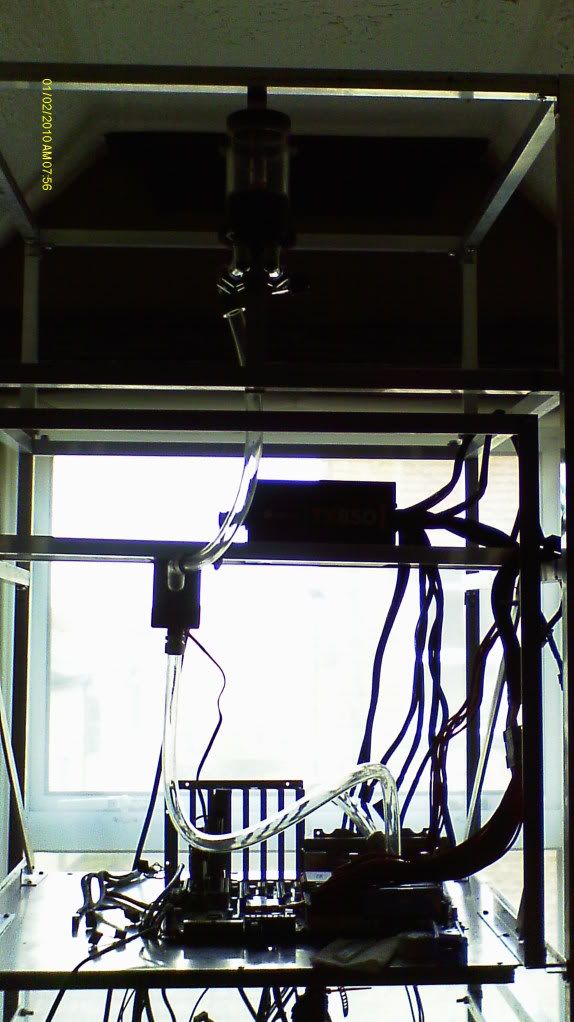
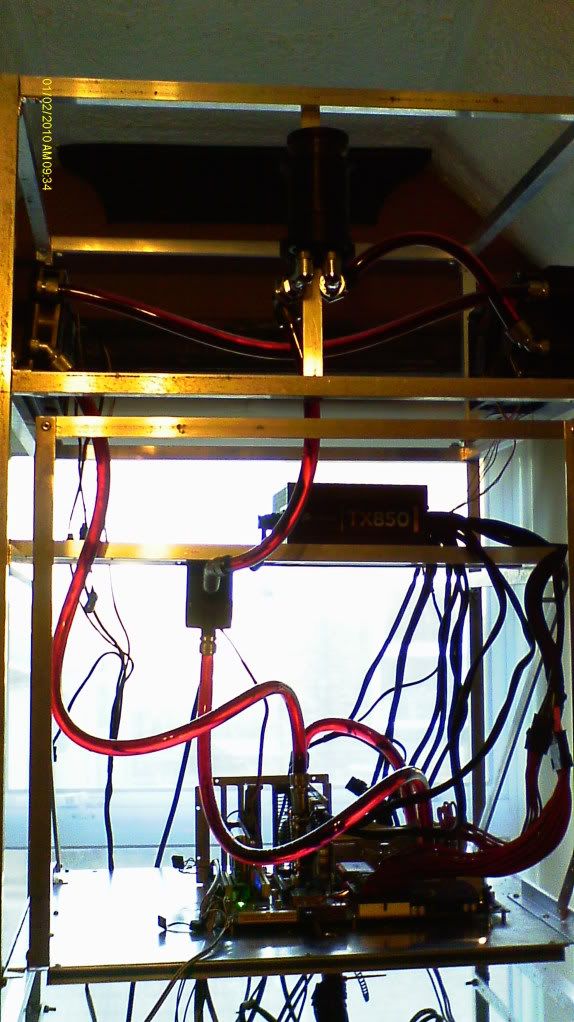
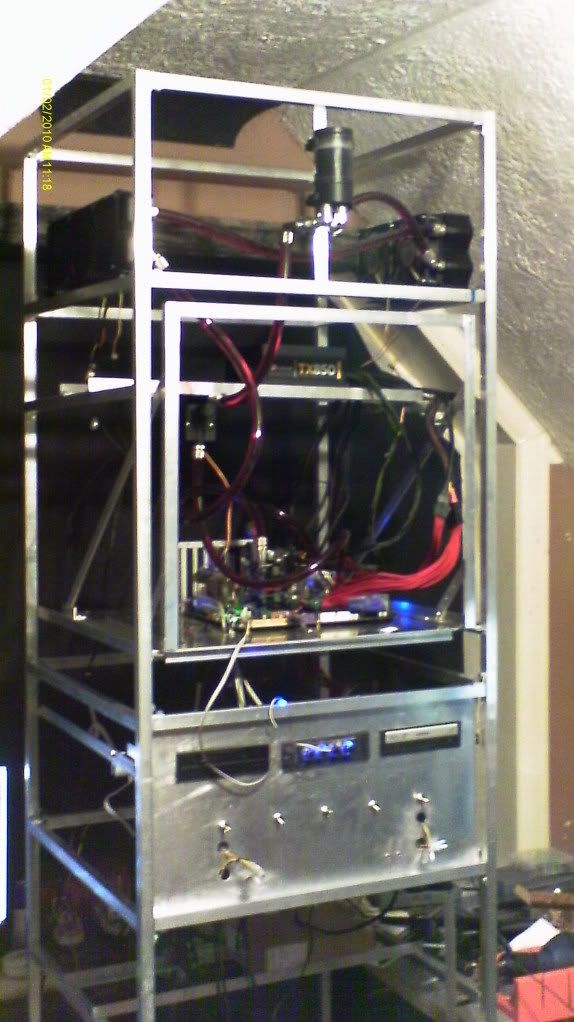
Ah yes I see, I remember wondering what the patterns were at the start of the log, just didn't twig.

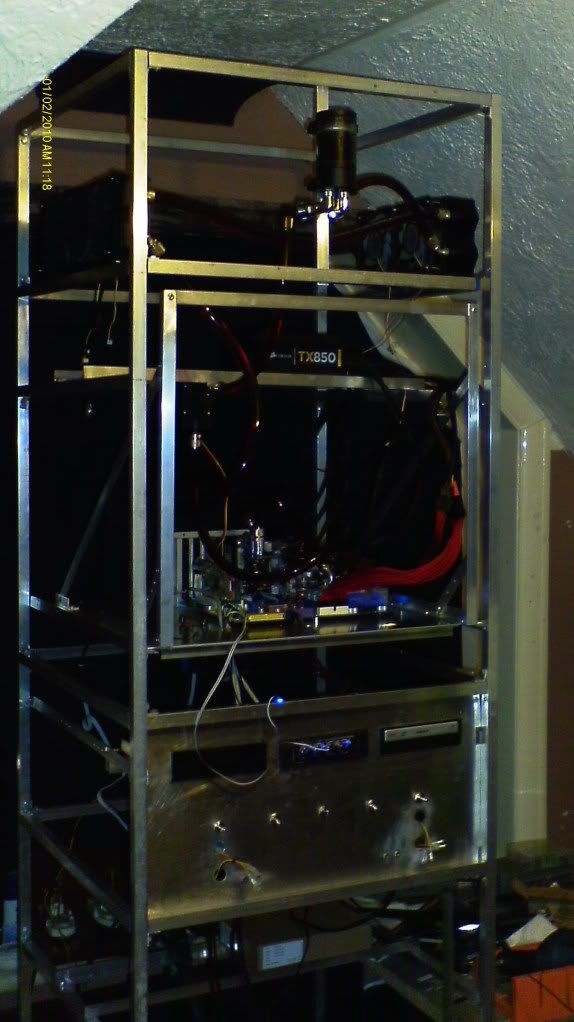
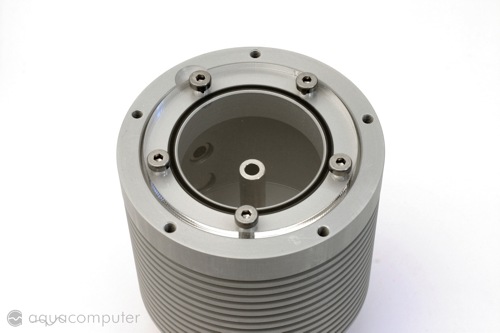
How are you going to acheive the look? I remember a mod where a chap used a foil coating on acrylic and then cut out the areas and lines he wanted to to make it look like a PCB when he back lit it. it was in a mag a while back I think.
 
Wow, that case frame looks tiny.
tongue.gif


Great job so far mate, looking forward to the rest of the log
smile.gif
 
UPDATE - 25-1-2012

IMAG0009.jpg


IMAG0001.jpg


IMAG0004.jpg


IMAG0003.jpg


IMAG0005.jpg


IMAG0006.jpg


IMAG0007.jpg


IMAG0010.jpg


IMAG0011.jpg


IMAG0012.jpg


IMAG0013.jpg


IMAG0014.jpg


IMAG0016.jpg


IMAG0017.jpg


IMAG0018.jpg


1/4 of the cables Specialtech supplied, THANK YOU!!

IMAG0020.jpg


motherboard tray sliding

http://www.youtube.com/watch?v=aJ9z8cu-FKE

tomorrow i carry on with more of the smaller horizontal bars hopefully completing that part of the build.

then if i have time tomorrow it'll be the second motherboard tray runners and psu mount.

Next week i start work on the front panel sheet that the optical drives, fan controller, switches, front end usb and audio goes through.

THEN the next order starts on the sheets of metal to divide each section off adding strength to the frame and adding some flat bar to those to re-enforce the sheets, as well as starting work on motorising the top motherboard tray, radiator mounts.
 
well got 3/5 control switches in, waiting on 2 to be delivered.

also got the 19mm holes drilled out and the 3.5mm audio jacks are installed now too.

still waiting for jibsaw blades to arrive (tomorow i hope) so i can cut out the 5.24" bay slots.

tomorow i should also take receipt of the specialtech sponsorship package, lots and lots of cables, i will use my rubbish webcam to record the unpacking of it.

later on going to start marking up the second motherboard tray as my shiny new center punch arrived. so that will be the motherboard standoff holes, reinforcement bar rivet holes, front acrylic panel mount assembly rivet holes. oh and also mark up how much of it needs slicing off the side as, same with the top one, its to effin wide cause the suppliers fecked up. and tbh im tired of calling them about mistakes lol.

as soon as those jiggy blades arrive im going to get the sliders cut and mounted for the bottom motherboard tray, the bottom psu mount made and finally, finish off the damn box tube lengths ROFL!

so i have LOTS to do before monday still.
 
i will be yes, assuming it works lol.

if it doesnt work i wont bother, but i got some more bits to buy before i even attempt to power it on.

in the mean time im trying to wire up an on-off-on toggle switch so 1 on possition is reverse polarity.

that bits easy, its working out where the current enters the switch and how the 4 wires join up to the motor
 
i like the way this is taking shape, can't wait to see watercooling in this epic case
smile.gif


Is it going to be a open case or closed like one of those server racks with door panels on all sides?
 
sorrry about the photobucket account.

anyways i installed my rig into the case today

GTX460 1gb oc edition gpu

intel i7 920 chipset

240 HW labs black ice GT rad

360 magicool slim rad

currently running 0 fans on the radiators, ambient room temp of 23/24*

cpu = 44*c

gpu = 35*c

both on the loop which is

res > pump > cpu > gpu > 360 rad > 240 rad > res

pretty happy with those temps to be honest
 
lol tidy for now,

i ordered £115 worth of fittings, extensions and bulkheads and tube today so that loop will be going bye bye tomorow i hope
 
lol tidy for now,

i ordered £115 worth of fittings, extensions and bulkheads and tube today so that loop will be going bye bye tomorow i hope

Nice
smile.gif
you should have a large flat reservoir made to fit in the front or the case with one of those water jets, would look awesome
biggrin.gif
 
Back
Top