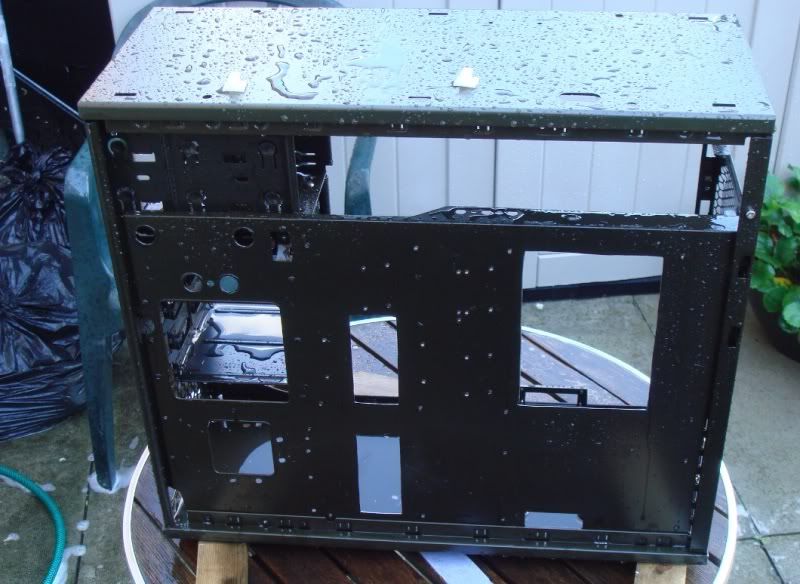
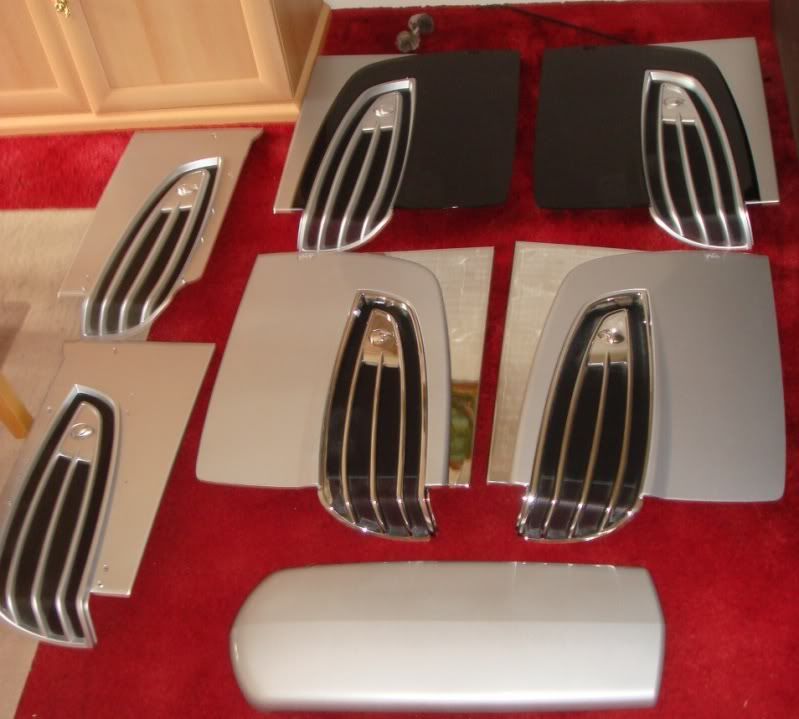
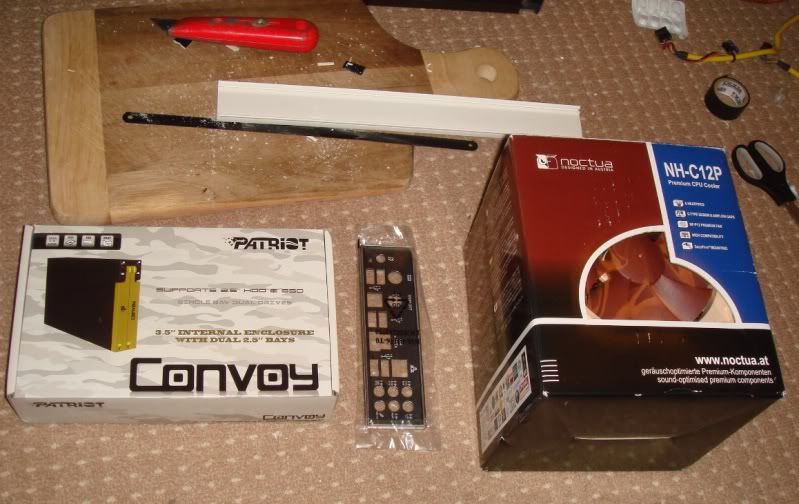
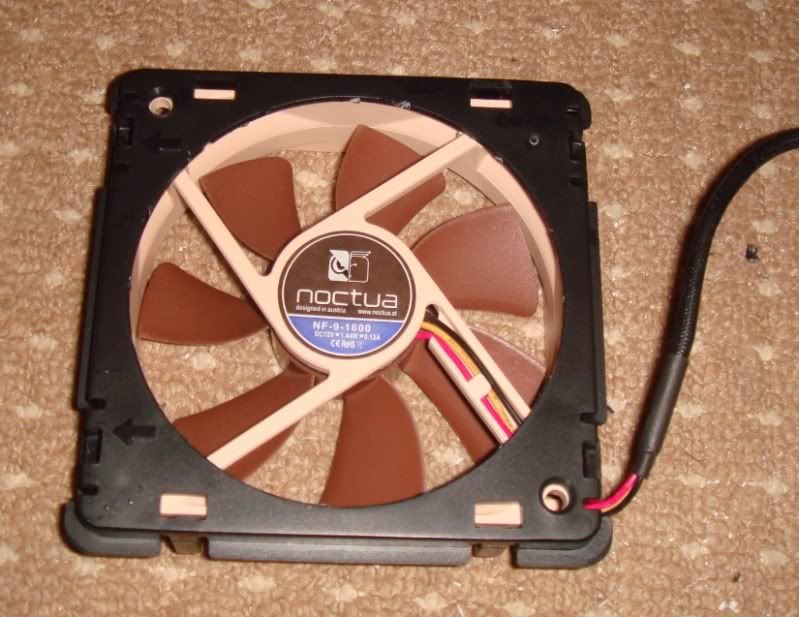
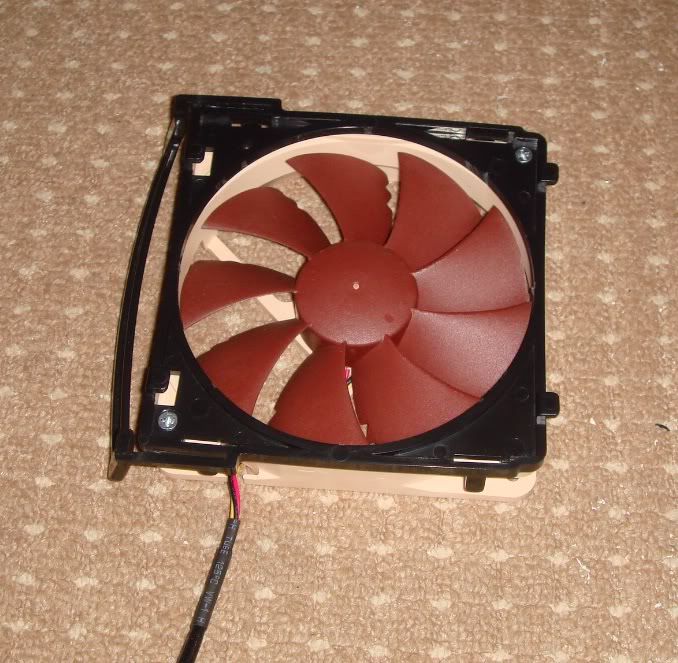
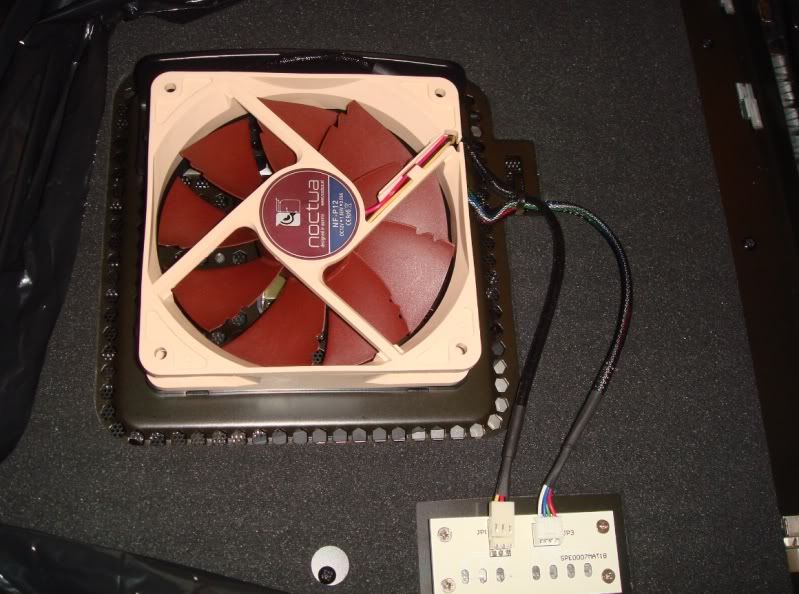
At last some modding parts arrived.
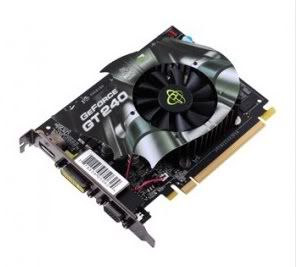
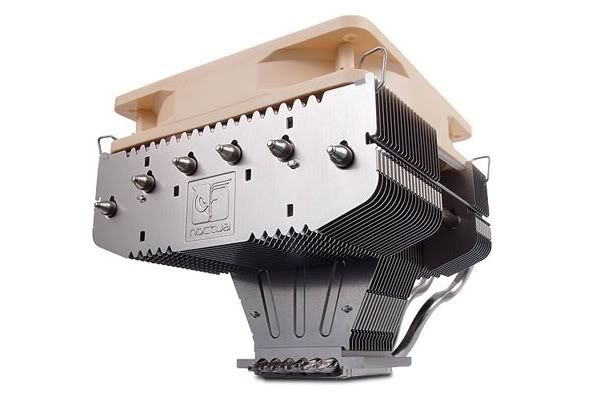
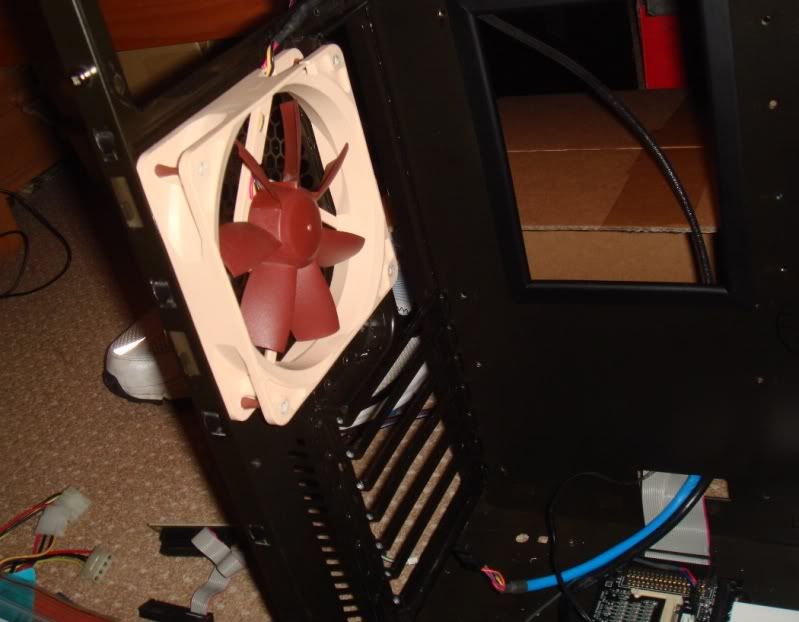
Also, today the 240 GT came and it's brand new. It still has the protective wrapping over the plate on the card. This is good because it seems the seller wasn't lying when he said it came in a machine he got new and he pulled it straight out. It is a double slot though (that'll teach me to not look at more than one photo !) but it has a very similar cooler to the Vaporx, kinda like a flower. And that is good 'cos with the fan on 40% idle (Afterburner) it idles at 28c. Awesome. In a Furmark bench it only hit 51. So, the cool theme may continue, and bless all who sail in her (or something).
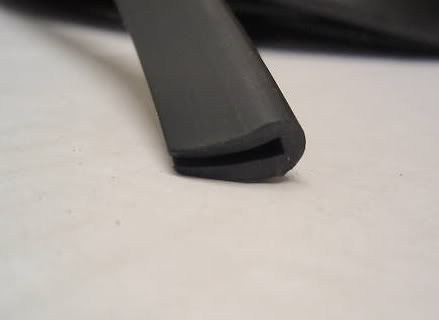
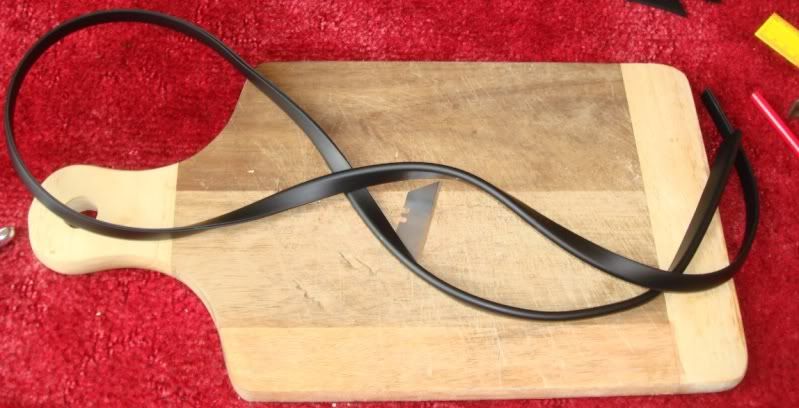
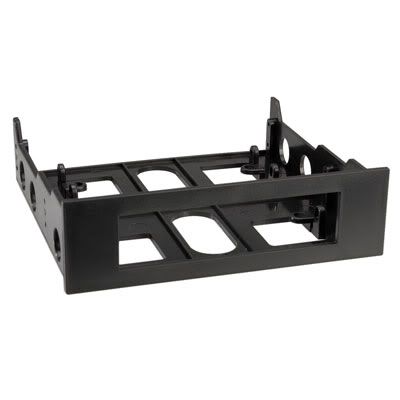
OK, now back to the more interesting stuff. Again I took a gamble here because the last one was £5 and completely useless for what I wanted to do. It was full of metal to strengthen it but it was in straight lines. Cutting it at angles just wrecked it. This time I spent about £3 on this.
http://cgi.ebay.co.uk/ws/eBayISAPI.dll?ViewItem&item=380187590452&ssPageName=STRK:MEWNX:IT
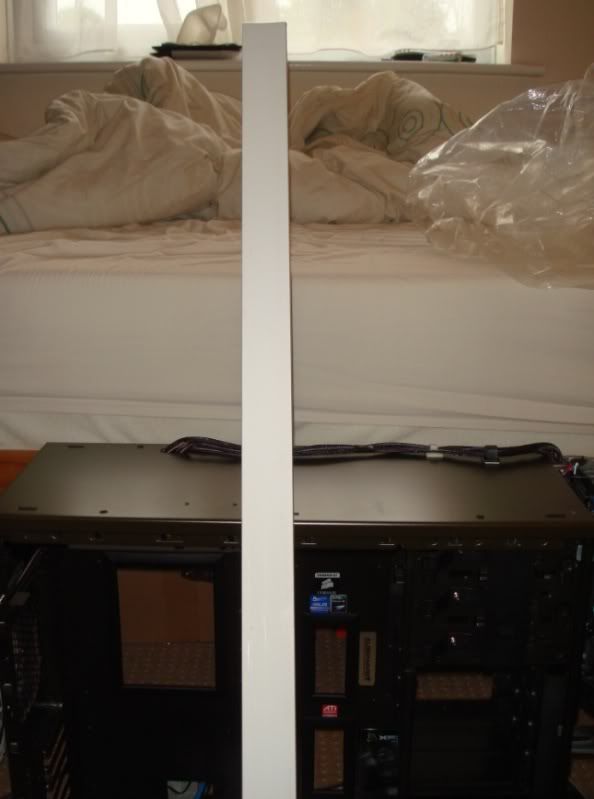
Which works out cheaper than the small rounded neoprene rubbish sold as a case mod. Again a gamble, and I am £8 in now but I wanted it right..
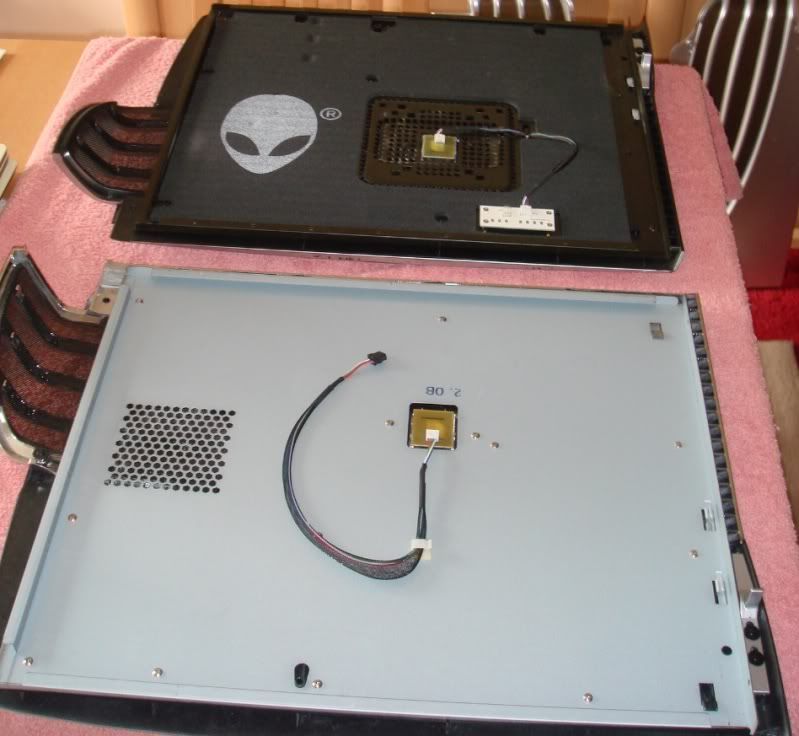
Here it is, and I already knew it was going to be perfect.
So it was time to get this show underway. I sat and thought about the best way of doing this for about two hours the other night. I wanted the edges clean sharp and precise, and my plan was to use the following method.
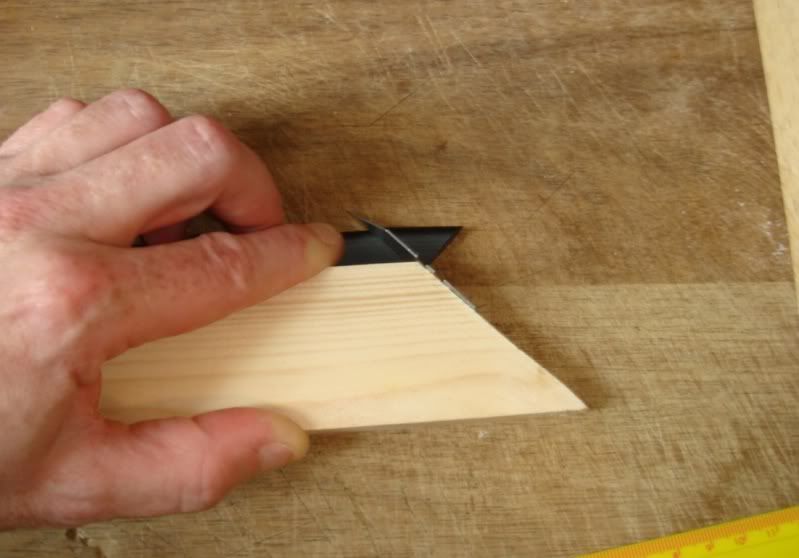
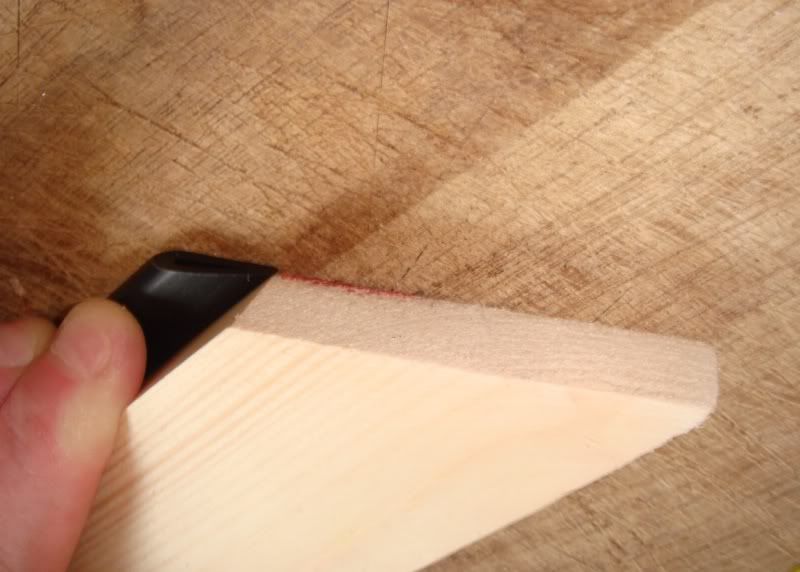
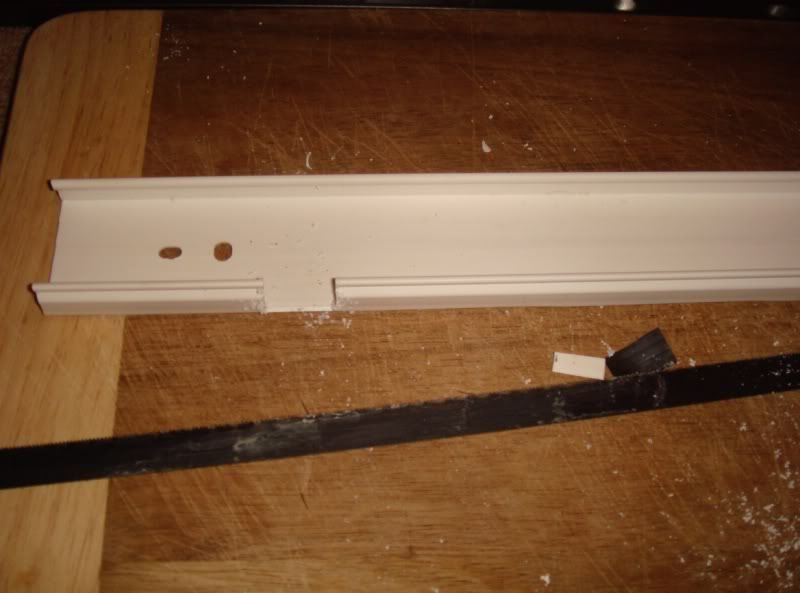
Get out my mitre saw (I'm a bit of a chippy at heart, it's in the blood, you'll see more of that in a future project) and cut myself a 45' angle out of a piece of 2x1 (well it isn't really 2x1 any more, poxy metric system !). I then got a stanley blade and a hammer.
Press fit it tight, push the blade in like this.
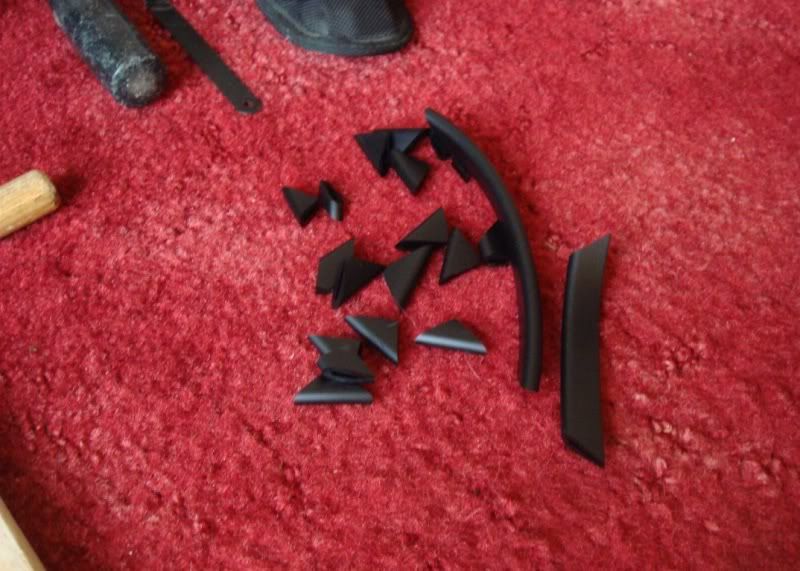
And then twat it one hard with the hammer. It literally slices straight through leaving a perfect edge. See pic.
Being very careful I started cutting out bits to fit the edges. Sadly I got my angles mixed and became confused and buggered one right up, cutting the angles the wrong way.. Into the offcut pile then, and then I cut all of the small edge pieces.
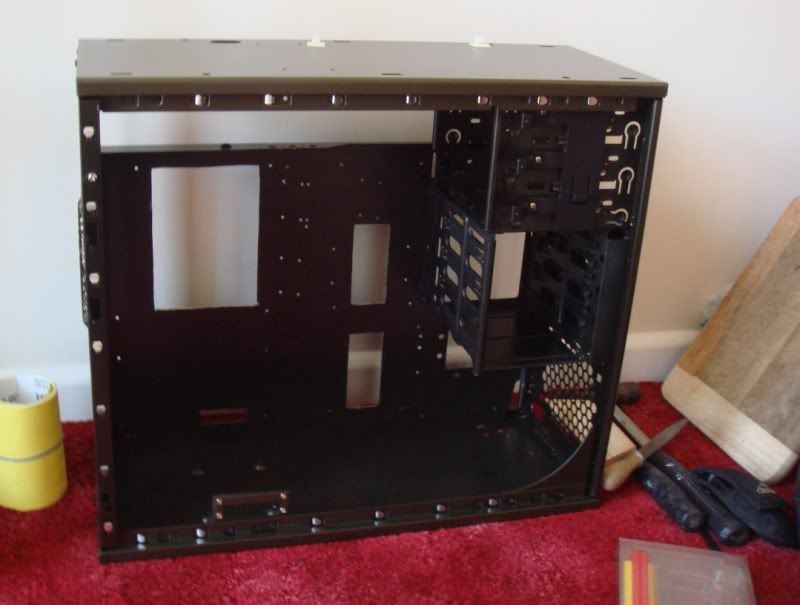
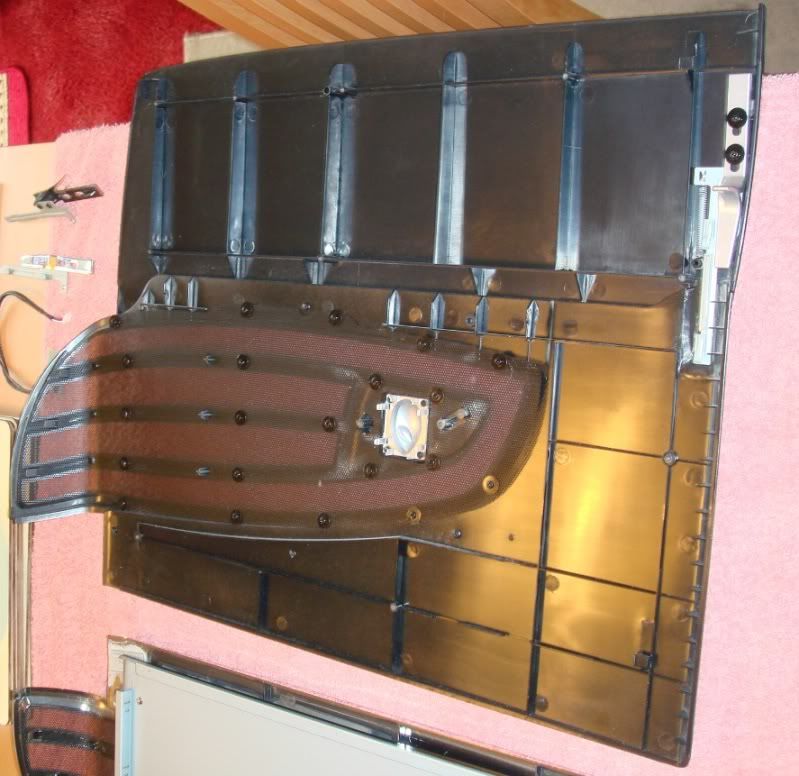
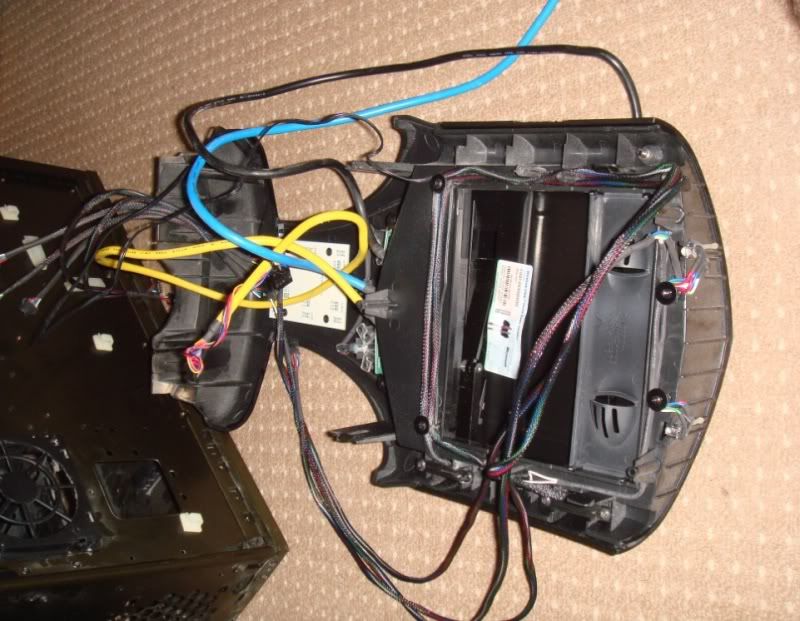
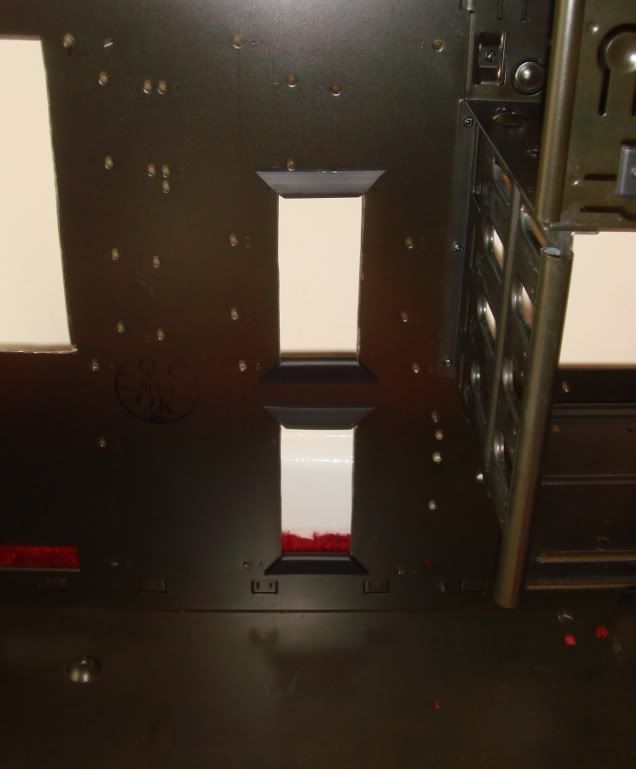
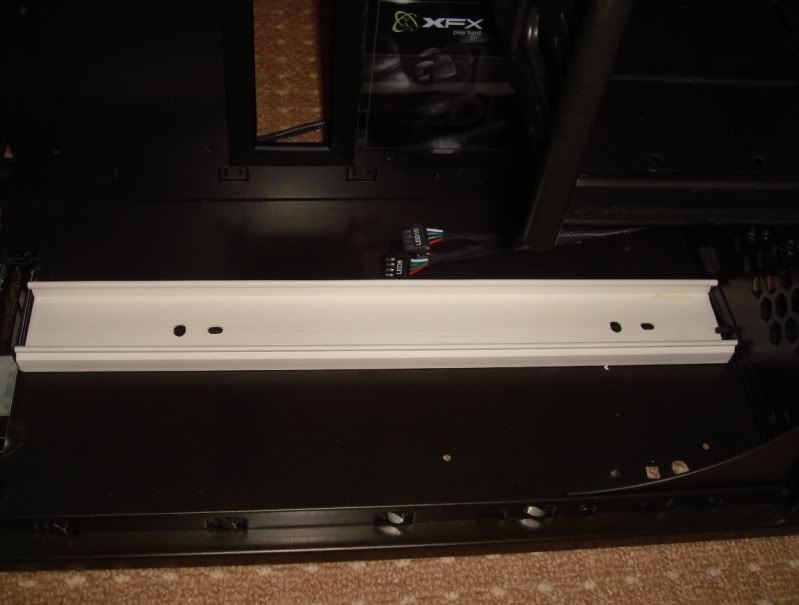
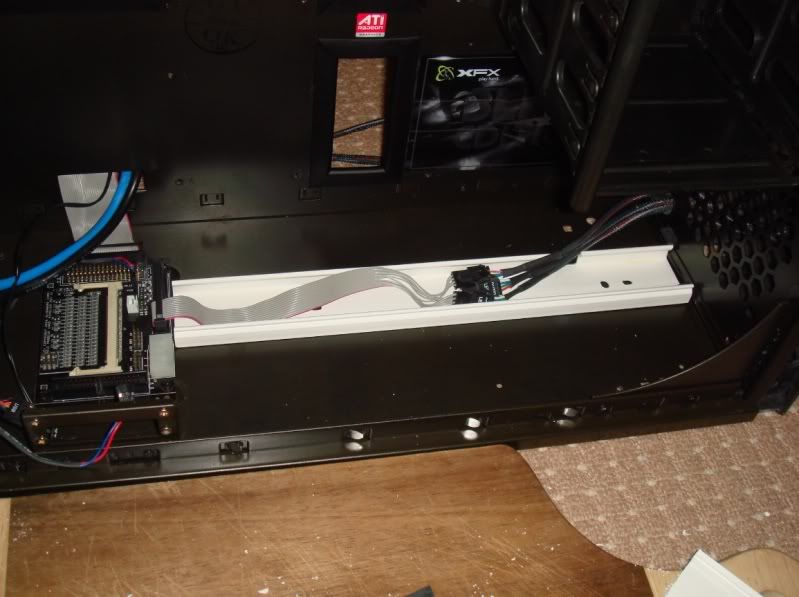
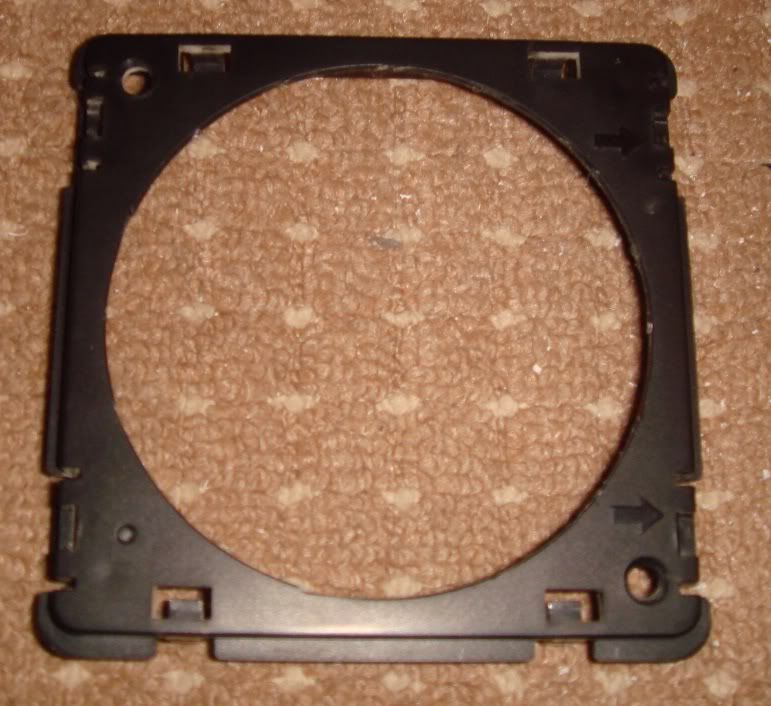
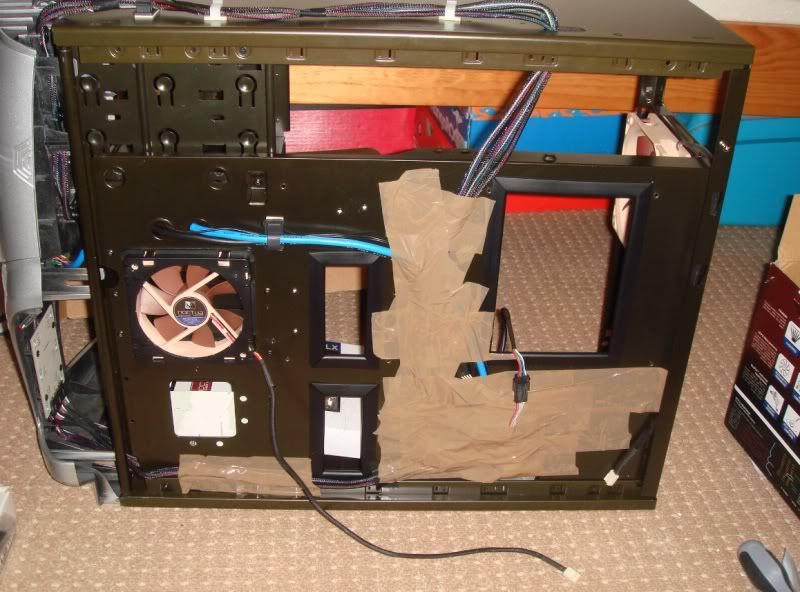
I then cut the larger ones after measuring around three times. I was super paranoid now that I was going to mess up and not have enough matierial as the CPU relief hole is quite large. Here are the cable management holes completed and test fitted.
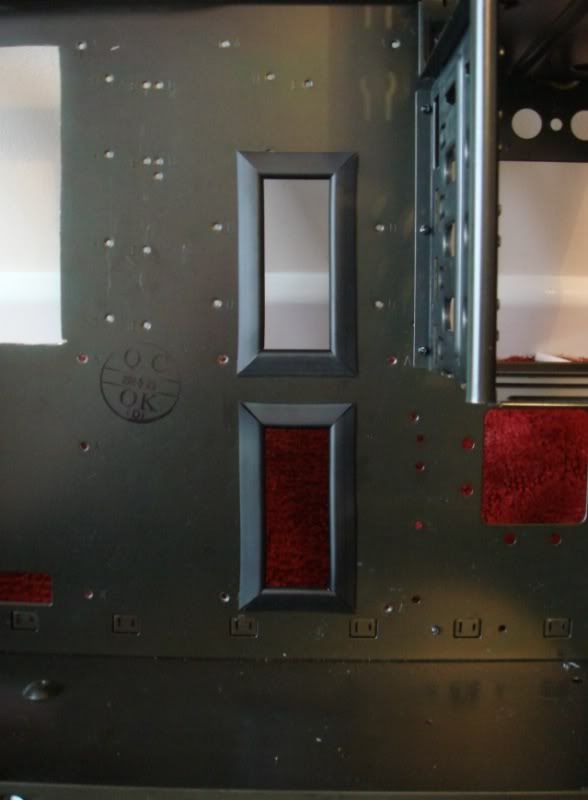
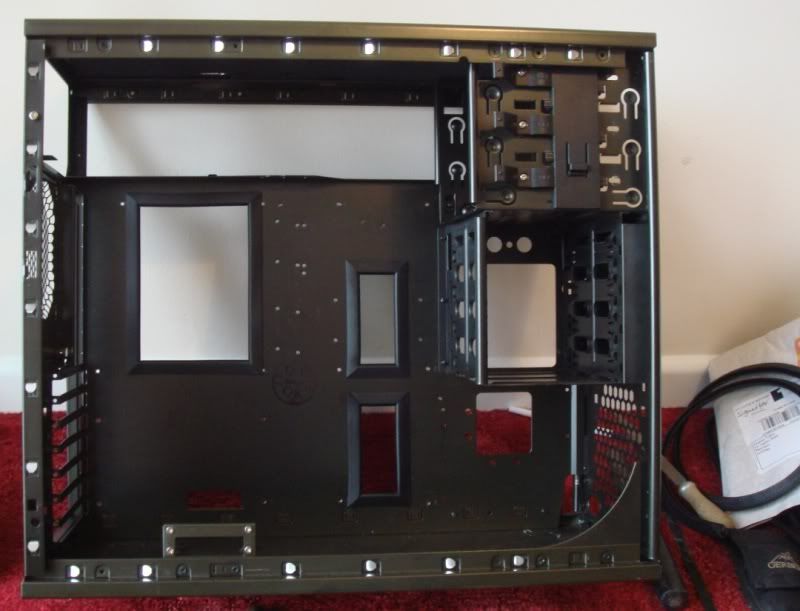
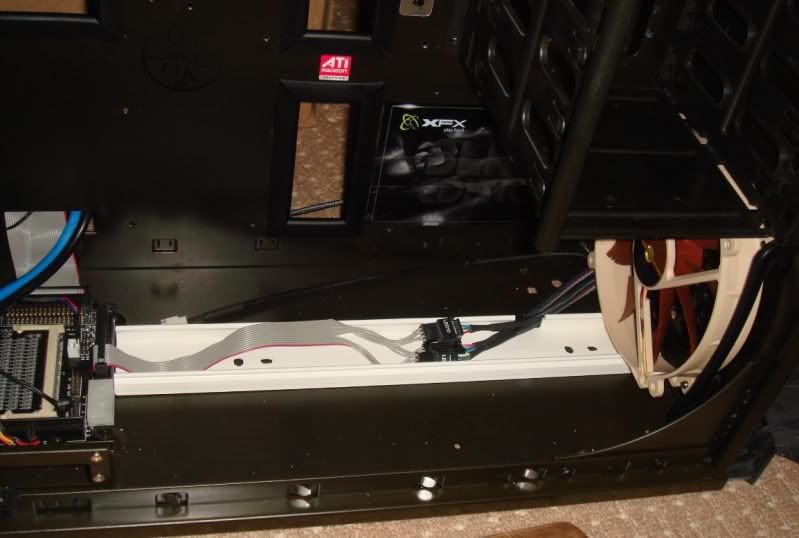
It was then more of the same, and after a lot of measuring, lining up and smacking with a hammer onto a stanley blade I had this.
Please note : It has only been test fitted. It is not final and I am going to brush the edges with Araldite to secure them and get them all perfectly butted up.
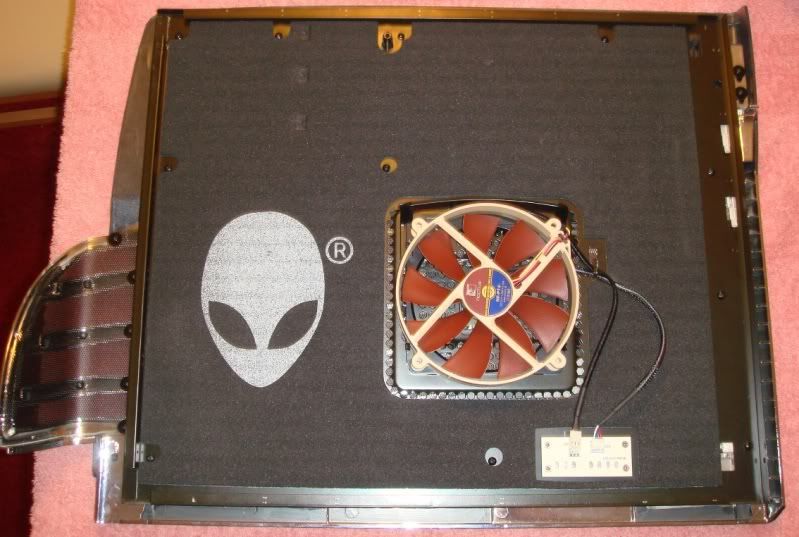
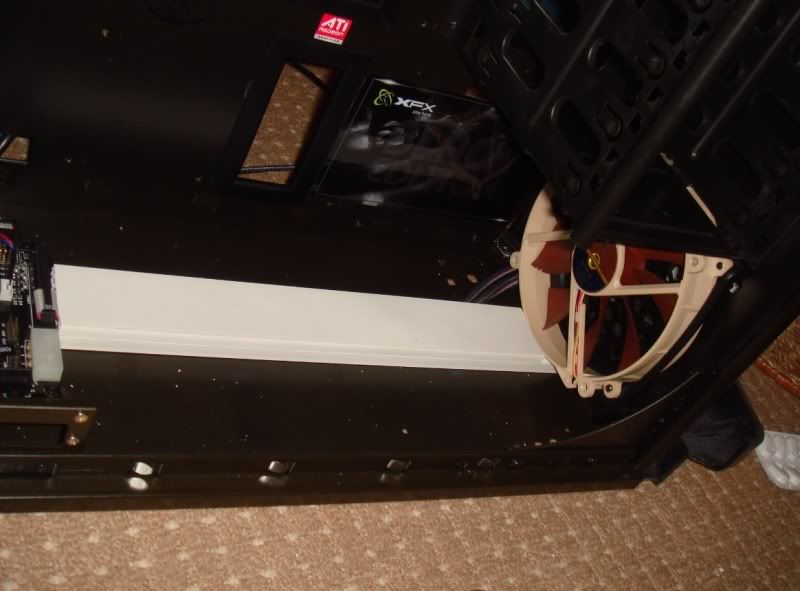
And one large pile of offcuts. Sadly no single cut can be reused, so you need to recut every time. It took me about an hour but it's bloody great. Miles better than the crap sold for modding, more substantial with perfect 45' edges (try that with rounded stuff !) and looks miles better.
'Til next time.