Re-ALX

I had the 92 from aaages ago. It came with a cooler, but, was too slow to be of any performance. Darn quiet though !

The 140s are both new. One was £17 del from Amazon (last gitting one though) and the other was £19.99 del.

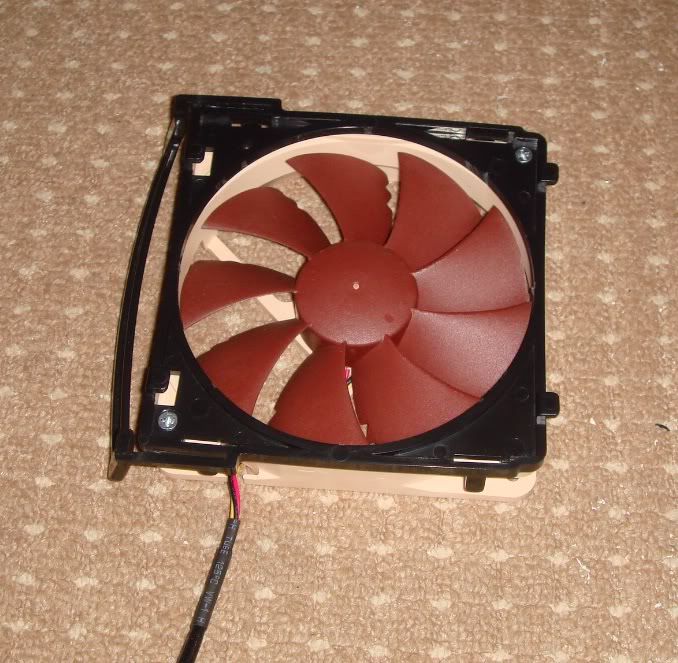
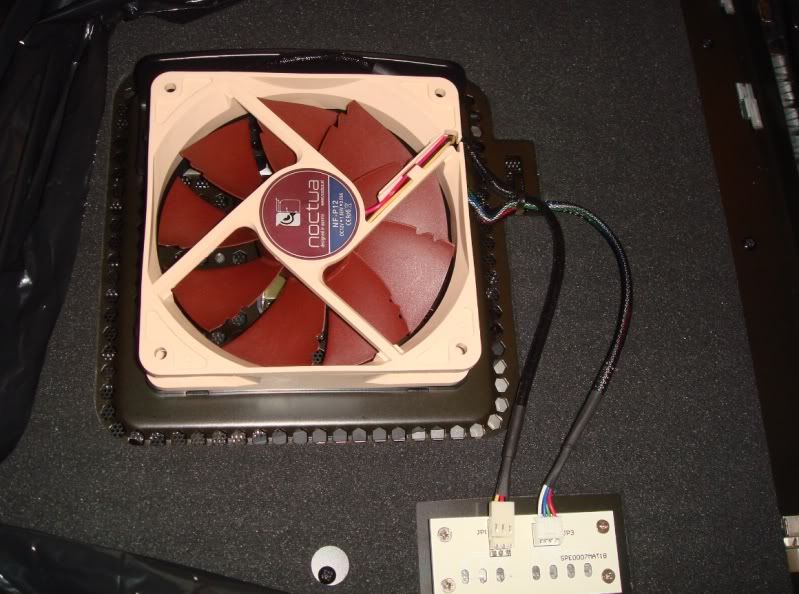
The 120 isn't the old old style. Look at the fan blade shape and layout compared to the 92. It has less blades but they are twisted more to get hold of more air
smile.gif
 
the new ones have the vortex notches,they dont fella

and i think they had the 80s out first,but my first gen noctua looks like that
 
Yes they do. But as I said, it's not the old old one. The old old one is like my 92 and has more blades. All the new new one has over mine is the notches. And how much difference they actually make? Well, let's put it this way. My 92 is inaudible unless you shove your ear over it. And all you can hear is the air.

The 120 was £4.11. Honestly, would you fork out £20 for less? haha.

Ebay, gotta love it. I bet the seller didn't though
biggrin.gif
Mind you, I have had my fair share of days like that on there !
 
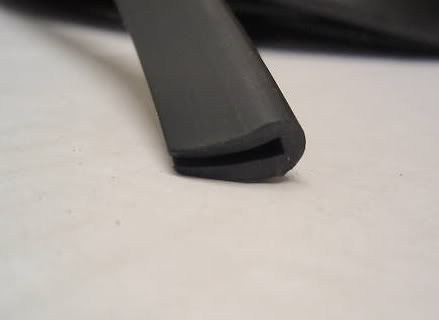
Not much to report ATM. Sadly the rubber trim was useless due to being metal reinforced and a bit of a loss. I am also being stubborn about it because I want something I can 45' and make seemless and you can't do that with rounded edging. It's also neoprene, crap. I want solid rubber so I have now ordered this one as it's metal free. Here it is here, cost was £3 del. See, that's another thing. That neoprene stuff is cheap @ £1 odd but the postage is rape.

newtrim.jpg


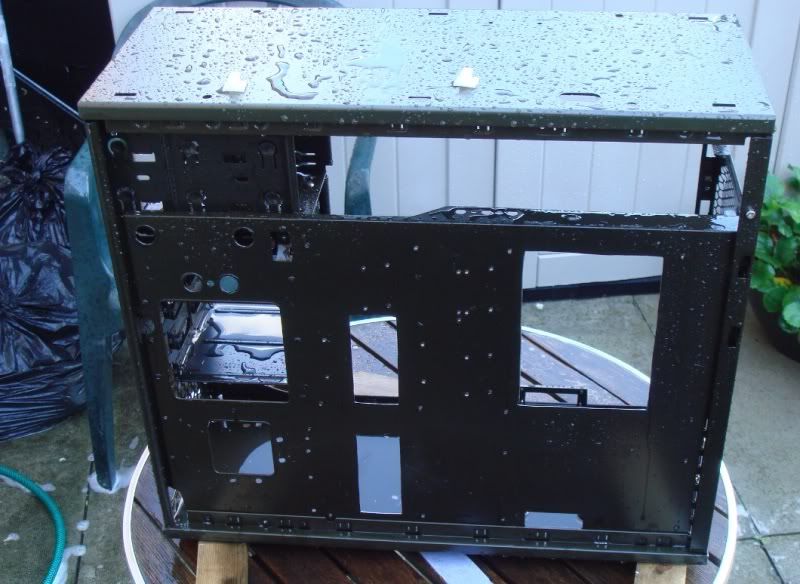
Yesterday I did get more done on the case. Firstly I filed all of the edges clean and smooth and washed it again.

filedandwet.jpg


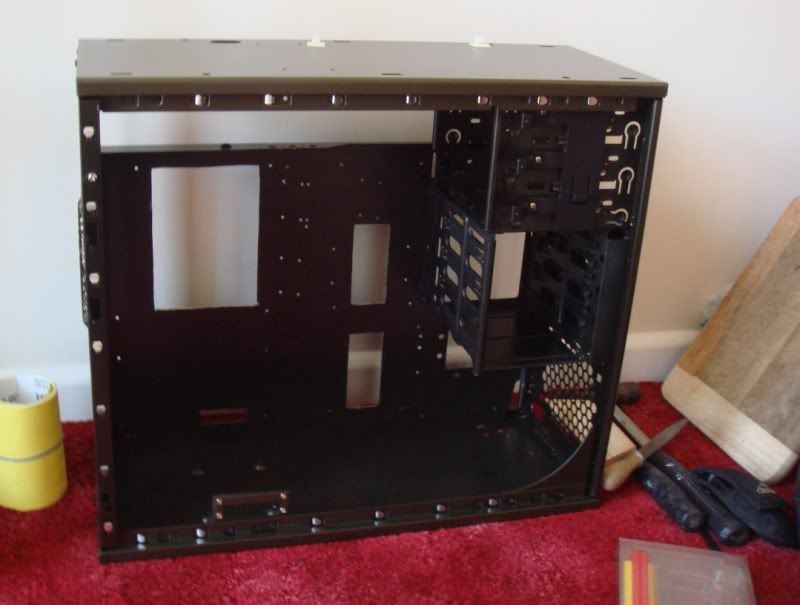
And then dried it and cleaned off all the markings from the perm marker with acetone.

filedanddry.jpg


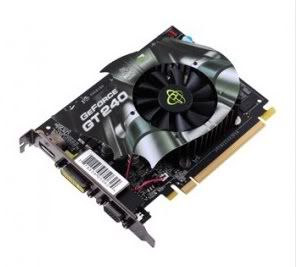
So it's literally waiting to have the rubbers fitted now. I also ordered this today for £45 del. I can't use the 8800 ultra for physx due to it being so big and hot and I want airflow. That is the whole idea of this build, to keep things cool and quiet. Pointless using Noctua and then fitting a fusion microwave into my case ruining it all.

GT240.jpg


So everything will be XFX now.

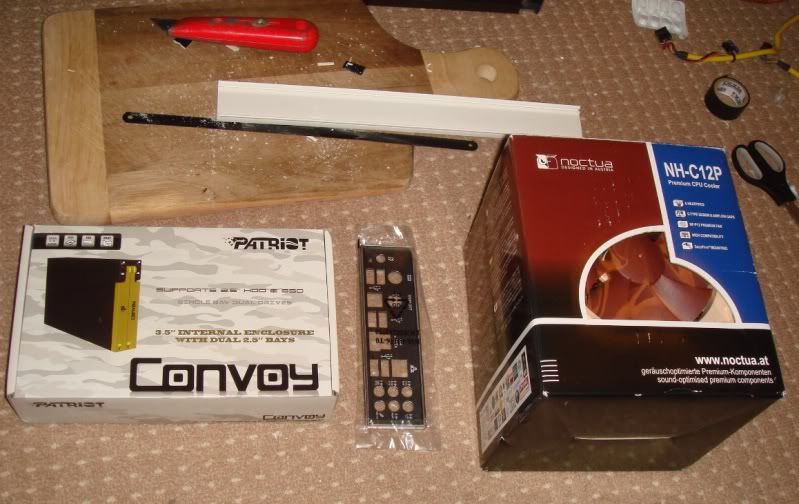
Other than that I am waiting on a package from the USA with my IO shield and Patriot SSD hotswap unit so updates may be thin on the ground for a bit.
 
Yeah it should be right up to date tbh. It had cable management (even when cases had none, four years ago) but it was in a bad place really.

Hopefully the new trim will arrive soon but I know the stuff from the USA won't. And in that package is the IO shield so there's just no way I can do without it.
 
I was going to do this bit last. But I then realised that I absolutely hate doing this and knew that by the end of the project I would put it off..

Couple of things to explain.

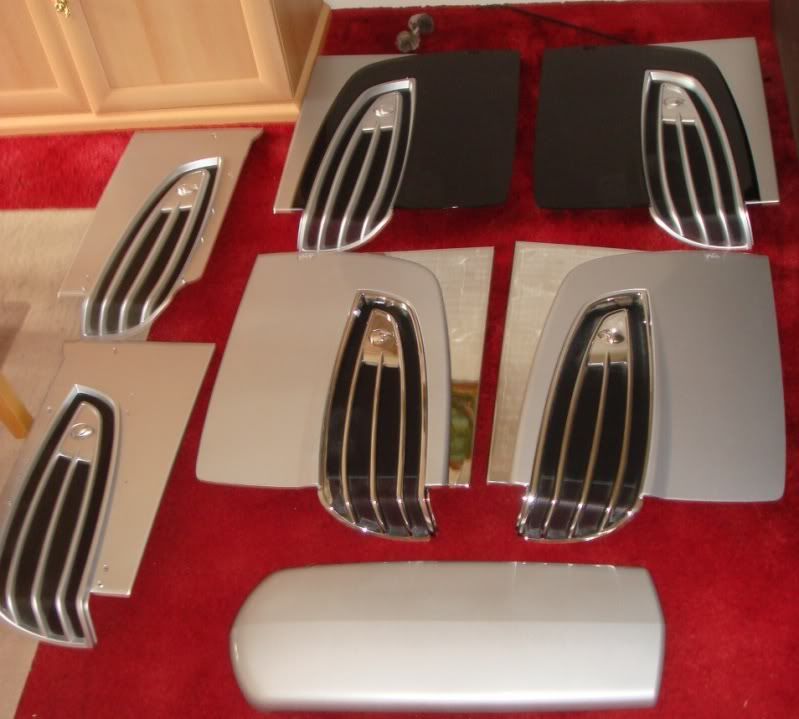
1. The black anodised panels you see with the sound proofing on are ALX panels. They are in a totally different class to the horrid stainless ones.

2. The ALX inner panels (as above) were on the black panels with regular gills. Not the chrome ALX ones. It was all a bit of a mish mash.

What I had to do was take all of the ALX parts and put them onto the silver panels, whilst switching the horrid ones onto the black panels.

Welcome to the Alienware factory floor...

allpanels.jpg


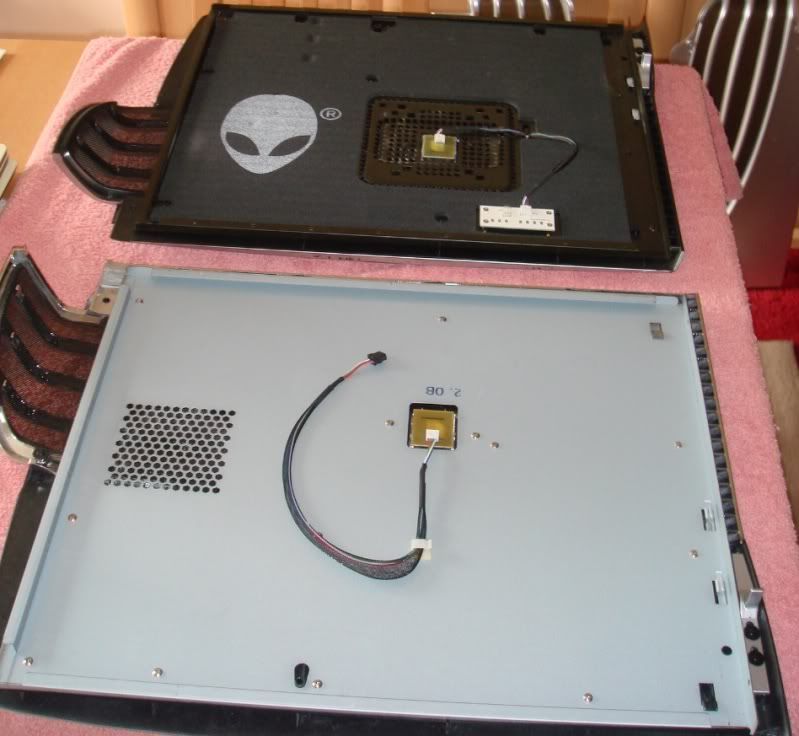
Here you can see what I mean. At the top is an ALX back inner panel and at the bottom is a regular predator 2.0 panel.

alxvsnormal.jpg


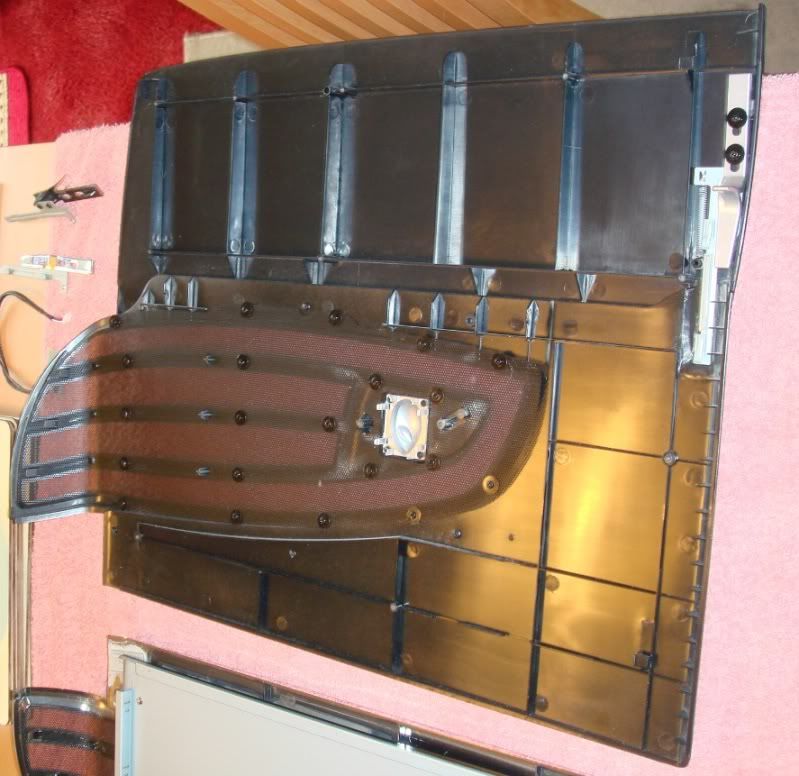
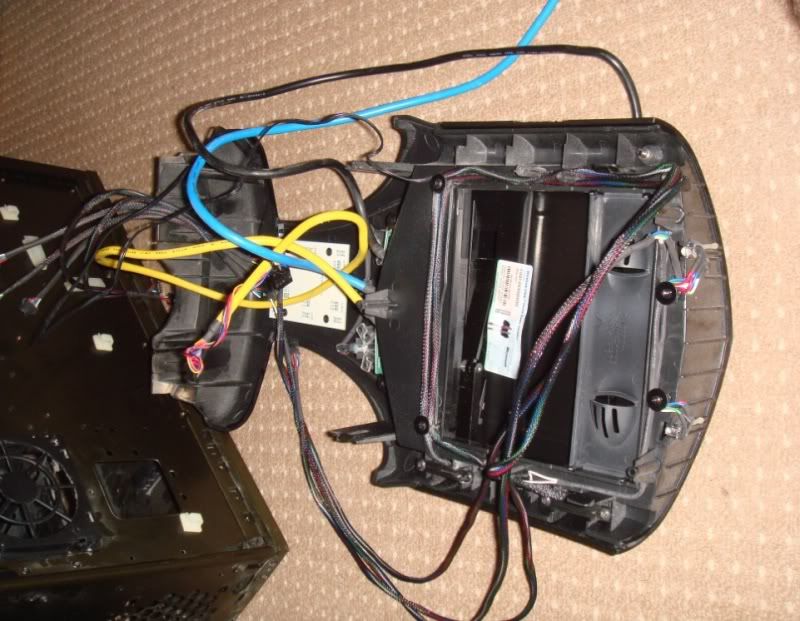
After removing the side fan, lighting and about thirty screws you end up with this. This is the outer shell panel and consists of about twenty parts and around a hundred screws. Now you can begin to realise why I was dreading this.

panelstripped.jpg


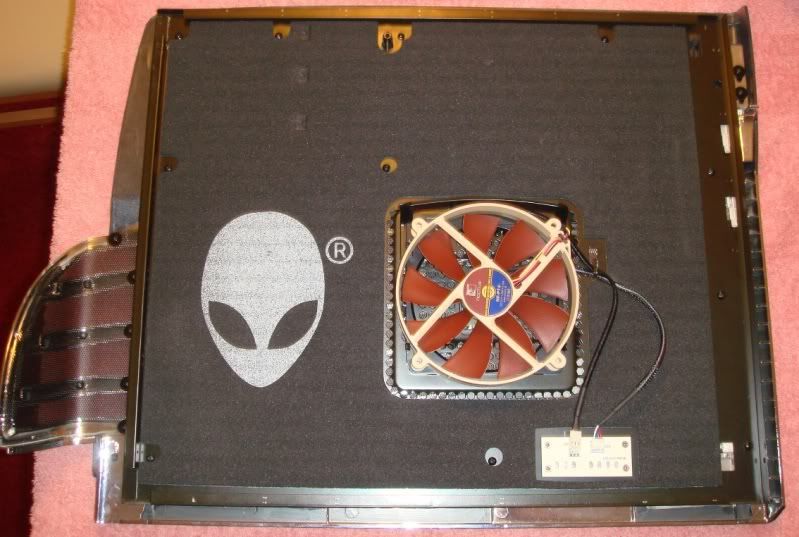
After about two hours of utter boredom (removing tons of screws, switching parts and replacing) I finally got done. Here is a pic of the finished silver ALX panel with the new fan on
smile.gif


alxpaneldone.jpg


Which is now silver with the anodised back and the chrome gills. They have now been polished with T-cut metallic (because they are 2 pack clear coated and harsher T-cuts wreck the finish) and put into plastic bags to keep the dust off.

I then had to come upstairs and put the bare shell of the Predator 2.0 back together using the black panels.

Remember this?

frontpanel.jpg


Getting it all out is bad enough, getting it back in is a right pig. Took me about another hour just to end up with this.

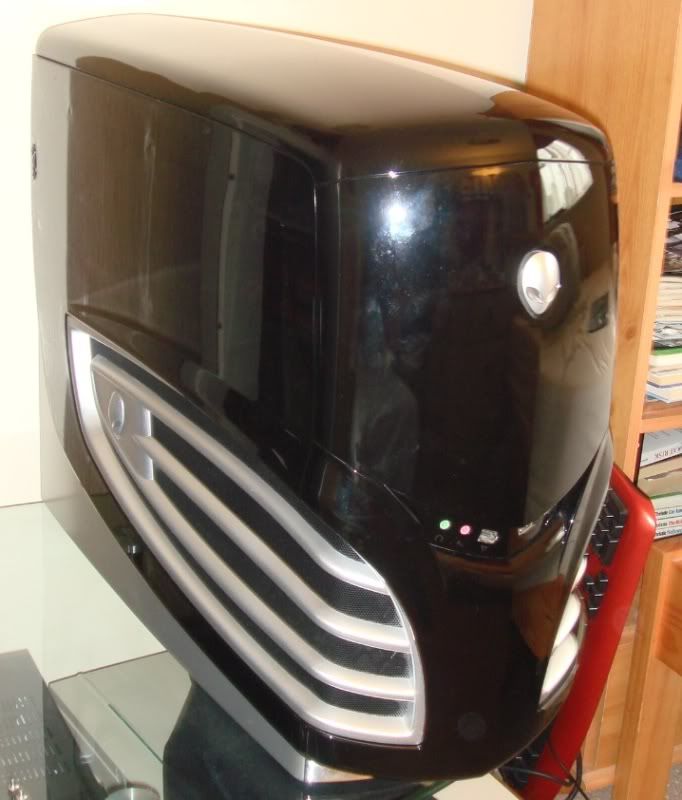
blackpredator.jpg


And now maybe you can see why I am not using the black shell. Basically I spent about an hour T-cutting the black shell before putting it back together. It's now completely filthy again and covered in finger marks and palm prints. And that's the ultimate problem with the black chassis. It shows every mark, every single microscopic speck of dust and I got totally sick of cleaning it. I was literally cleaning it EVERY day with Windolene.
 
At last some modding parts arrived.

Also, today the 240 GT came and it's brand new. It still has the protective wrapping over the plate on the card. This is good because it seems the seller wasn't lying when he said it came in a machine he got new and he pulled it straight out. It is a double slot though (that'll teach me to not look at more than one photo !) but it has a very similar cooler to the Vaporx, kinda like a flower. And that is good 'cos with the fan on 40% idle (Afterburner) it idles at 28c. Awesome. In a Furmark bench it only hit 51. So, the cool theme may continue, and bless all who sail in her (or something).

OK, now back to the more interesting stuff. Again I took a gamble here because the last one was £5 and completely useless for what I wanted to do. It was full of metal to strengthen it but it was in straight lines. Cutting it at angles just wrecked it. This time I spent about £3 on this.

http://cgi.ebay.co.uk/ws/eBayISAPI.dll?ViewItem&item=380187590452&ssPageName=STRK:MEWNX:IT

Which works out cheaper than the small rounded neoprene rubbish sold as a case mod. Again a gamble, and I am £8 in now but I wanted it right..

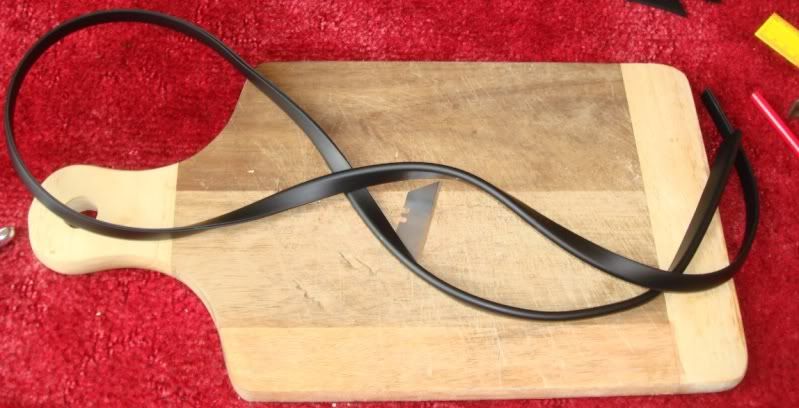
Here it is, and I already knew it was going to be perfect.

edging.jpg


So it was time to get this show underway. I sat and thought about the best way of doing this for about two hours the other night. I wanted the edges clean sharp and precise, and my plan was to use the following method.

Get out my mitre saw (I'm a bit of a chippy at heart, it's in the blood, you'll see more of that in a future project) and cut myself a 45' angle out of a piece of 2x1 (well it isn't really 2x1 any more, poxy metric system !). I then got a stanley blade and a hammer.

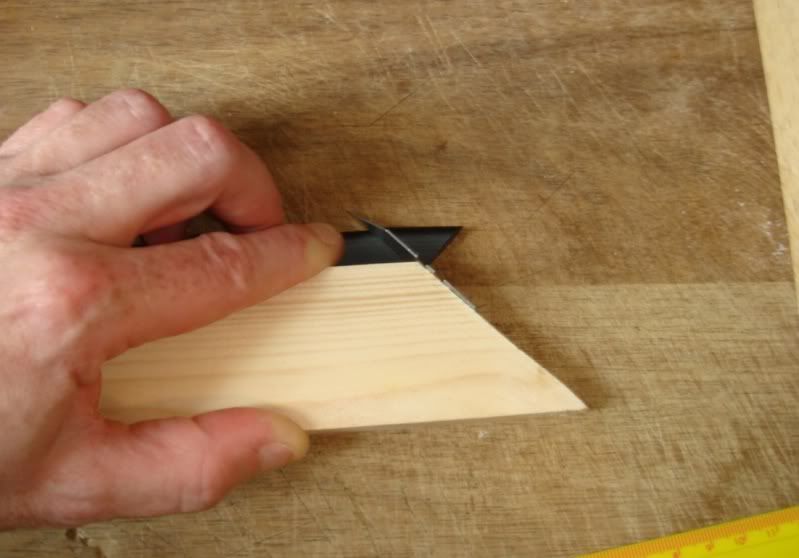
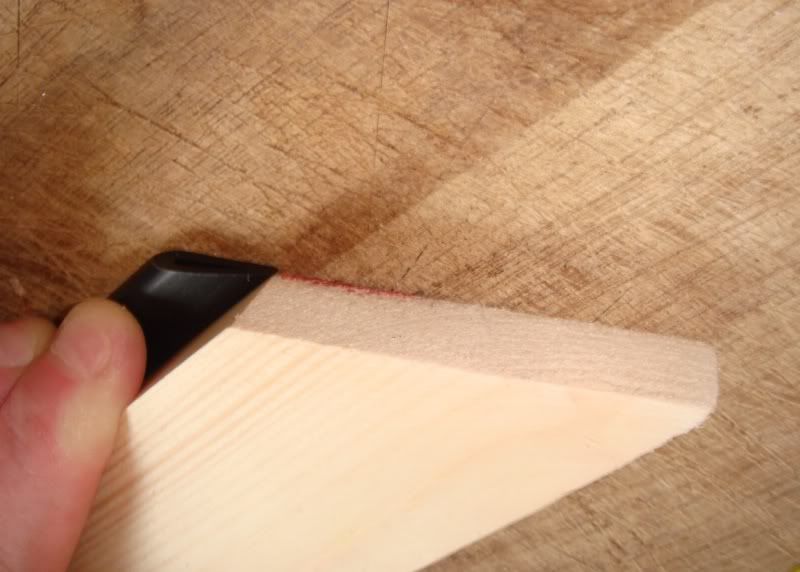
Press fit it tight, push the blade in like this.

cutting1.jpg


And then twat it one hard with the hammer. It literally slices straight through leaving a perfect edge. See pic.

cutting2.jpg


Being very careful I started cutting out bits to fit the edges. Sadly I got my angles mixed and became confused and buggered one right up, cutting the angles the wrong way.. Into the offcut pile then, and then I cut all of the small edge pieces.

testfit1.jpg


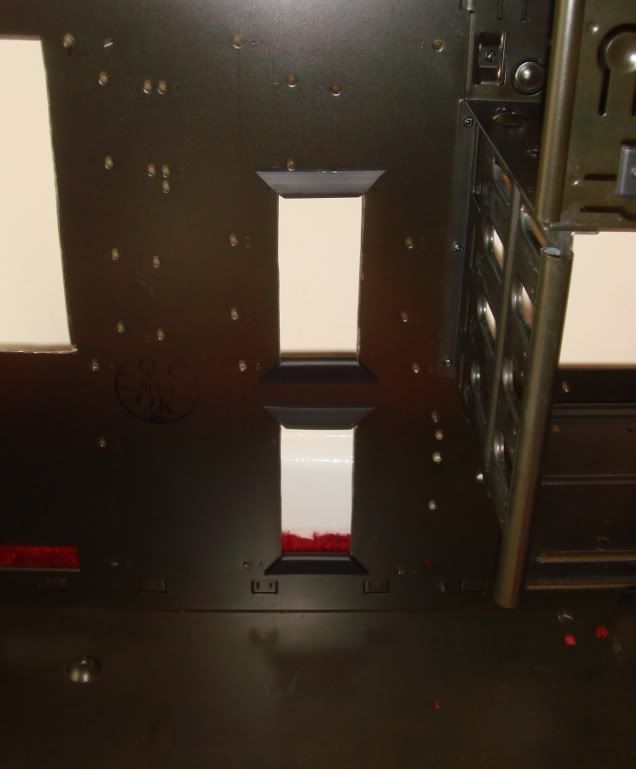
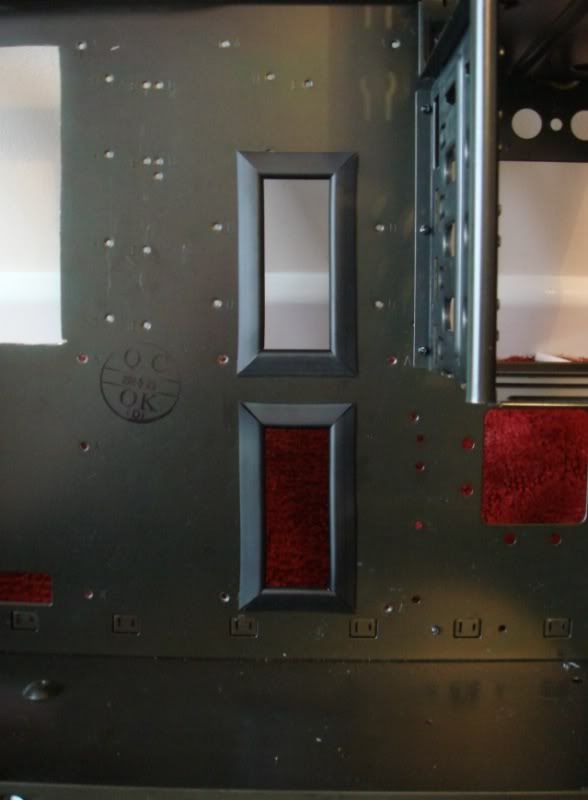
I then cut the larger ones after measuring around three times. I was super paranoid now that I was going to mess up and not have enough matierial as the CPU relief hole is quite large. Here are the cable management holes completed and test fitted.

testfit2.jpg


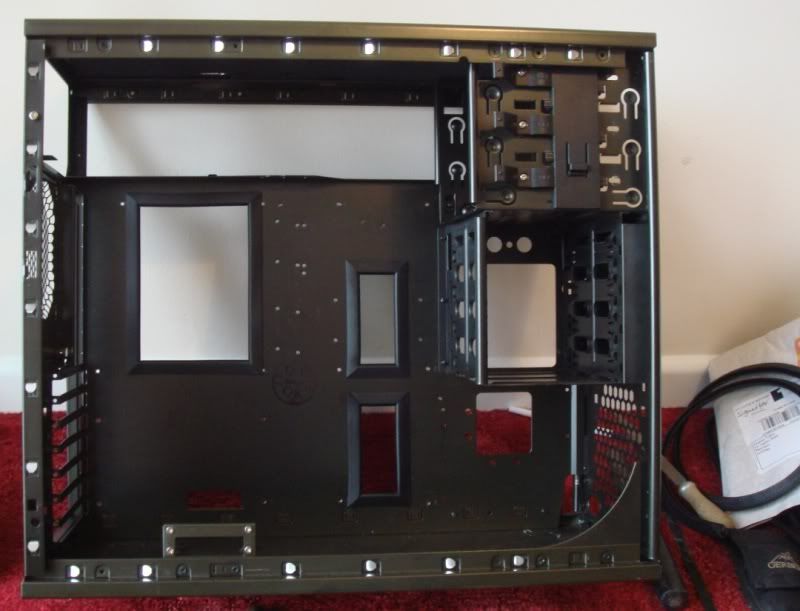
It was then more of the same, and after a lot of measuring, lining up and smacking with a hammer onto a stanley blade I had this.

testfitfinal.jpg


Please note : It has only been test fitted. It is not final and I am going to brush the edges with Araldite to secure them and get them all perfectly butted up.

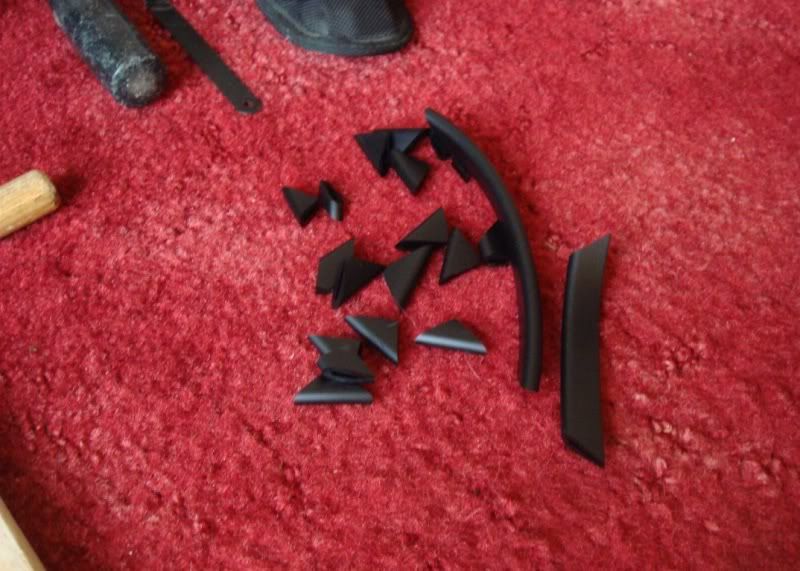
And one large pile of offcuts. Sadly no single cut can be reused, so you need to recut every time. It took me about an hour but it's bloody great. Miles better than the crap sold for modding, more substantial with perfect 45' edges (try that with rounded stuff !) and looks miles better.

leftovers.jpg


'Til next time.
 
Haha thank the lord for OC3D
biggrin.gif


I realised the other day that the NH14 was not going to fit my case no matter how I went about it. I am not aiming for a massive OC (3.5ghz will be awesome) and I have had a very stable 3.4 using my NH9 thing.

However I did want to stay Noctua for this one as I want the quiet. Firstly I found the NH-C12P thing. The new one with the 140mm fan.. Sadly it's £60 or so, the same as the NH14. However after running NH-C12P through OC3D search I found a review of the older model released in 08. It's exactly the same as the new one.
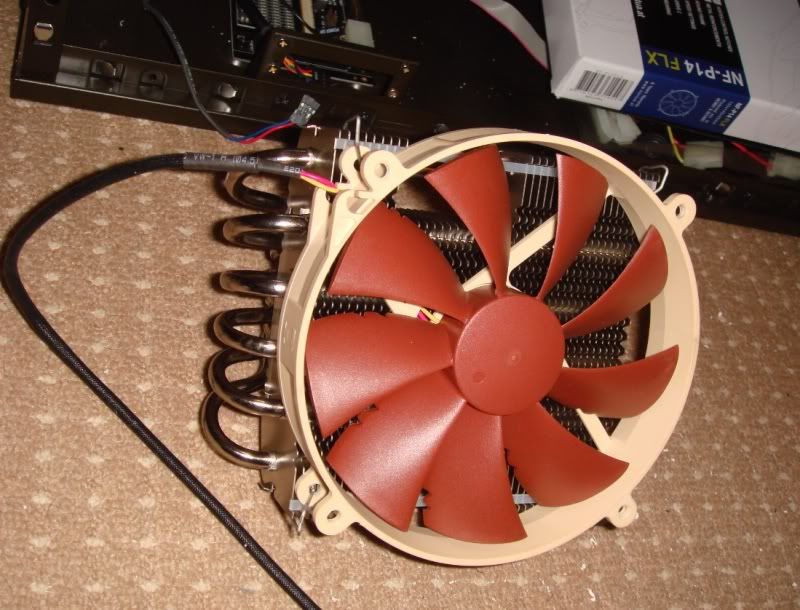
Then I found one for £37. So, what I am going to do is remove the 120mm fan from it, put that in the side panel and use a 140mm fan that I already have. It's saved me £23 and I don't need anything else..
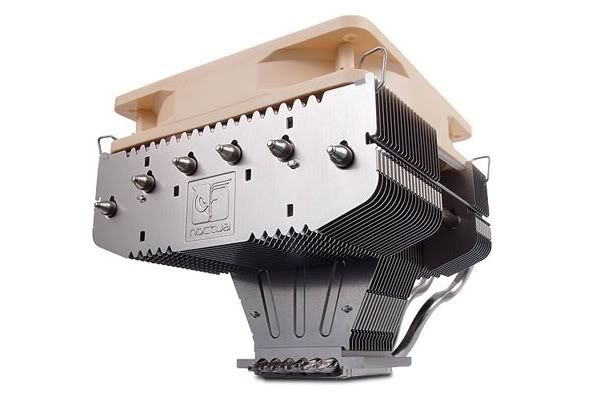
Here is is here. As I say, they haven't changed anything apart from the fan.

nhc12p.jpg


And it performed very very well in the review I found on here !

When the NH14 comes I am going to unpack it and put it on my shelf as a trophy
biggrin.gif
 
Dude, those cable management holes look unreal!! Like urself I'm going to be using a secondry nvidia card for PhsX, do u think the 8800GTS will run too hot next to a 5870?
 
Heya Sherv ! Glad you found your way here mate.

(Sherv is an ex Alienware forum user !).

The 8800GTS is a hot sonbitch. I wouldn't reccomend butting them up against one another no, as the 8800GTS's heat will rise into the 5870. However if you have the ability to leave a slot or two free between them? then yes, it'll be fine mate.

Recently I broke down my second rig and in there was a 3870x2 with a 8800 Ultra two slots below and it was as cool as a cucumber. The only reason I can't use the 8800 Ultra now is because it would need to sit in the middle of the 5770s. Due to the way the M3A32 motherboard works if you don't put your crossfired pair into the blue slots it becomes very confused over which is the primary GPU. Firstly I wouldn't want to sandwich the 8800u between them (for the obvious heat reasons) but secondly I can't. The 8800 Ultra I have is a superclocked KO edition and it has a top cooler for the ram, meaning it won't even physically fit in there.

The 240GT is not as fast for physx but it runs ice cool and needs no secondary power source other than the slot it is plugged into. A good compromise IMO.

I want cool & quiet with as little power usage as possible. Especially now winter is coming and the fuel bills are crushing if winter is harsh (like last year).
 
Your right Andy, makes perfect sense. The new motherboard i was looking at was a MSI with three PCI-express X16 slots x48 chipset as the old P43 cuts the x16 to x8 when two gpu's are used. This new MSI board had plenty room so should be fine. I'm getting a Q9450 for free tomorrow from a guy I was at college with but as it runs @ 1333fsb I think I'll need DDR3. I think it's great ur going for a quiet PC build, I eventually want my new P2 chassis to be in the living room so i'm closey reading ur thread for tips to replace the fans etc. I have the Alienware sound proofing coming tomorrow from the states. (I know u don't think there's a big difference but I have five hdds in my PC)
 
The soundproofing is for HDDs. That's it, literally. It won't stop fan noise as the fans are mounted bringing air in and out, so the noise from them comes out of the back. The sound deadening deadens any vibration ETC, great for mechanical drives
smile.gif


The reason Alienware began to use it was because for many years they used Raptors. And Raptors are NOISY sonbitches. The early ones? well, put a bag of bolts in a metal box and shake them and you get a rough idea of the noise they made. The Velociraptors were not as bad as they were basically laptop drives in a shroud. Reducing the platter size reduced the noise
smile.gif


Be warned though, with stock fans the Predator 2 is a REALLY noisy pig. The Yate Loons it carries are as noisy as hell. This is why I have spent around £140 going all Noctua. However, also realise that if you are going to be running a card like the 8800GTS with your 5870 you may need the performance the Yates offer. This is why I am going Crossfire 5770 and a 240. I will lose some performance using the 240 BUT I will save in bills and heat. So I can live with that.

I ran some early tests on it the other day with Physx and Mafia II did make it struggle. But it doesn't matter tbh. Physx titles are like rocking horse poo any way so I'm not going to dump loads of coin for something that happens once a year if you're lucky
biggrin.gif
 
I do have two raptors in mine, the old 74GB & the 150GB I use just for games, the SSD I run is only for the OS so soundproofing should help them. I have a fan controller so hopefully at low the standard fans won't be too high db. (at least untill i get more cash to upgrade them) Your right about PhysX, all thats been good is batman AA & Mafia 2, mirrors edge was abit of a let down but I loved the first mafia & the difference with PhysX in mafia 2 is pretty huge.
 
Mirror's Edge was my fave of them all TBH. Absolutely stonking game, but is rather cult and didn't appeal to every one..

One of my absolute pet hates about the inner case of the ALX was the way Alienware decided to run the lighting wires. Most was incredibly well hidden and then all of a sudden it seems their designer couldn't be assed any more so just ran the last of the cables right accross the bottom of the case. What a dick.

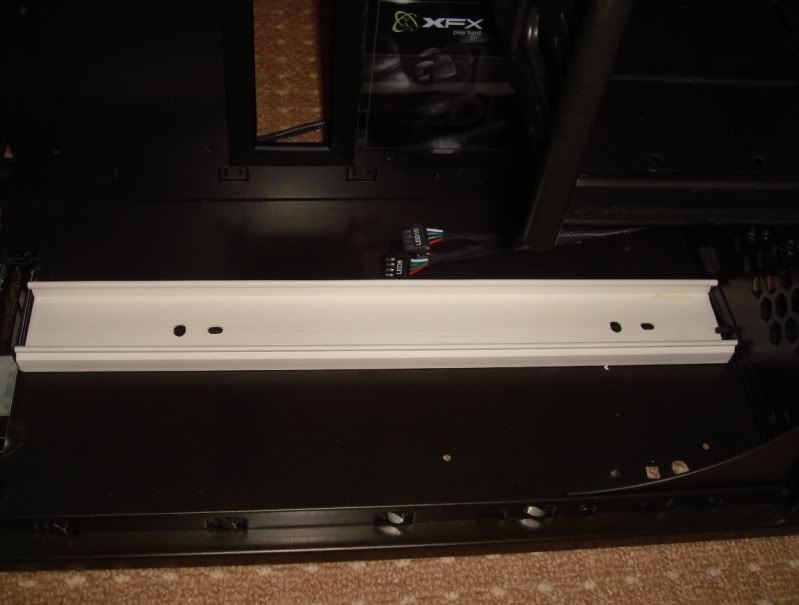
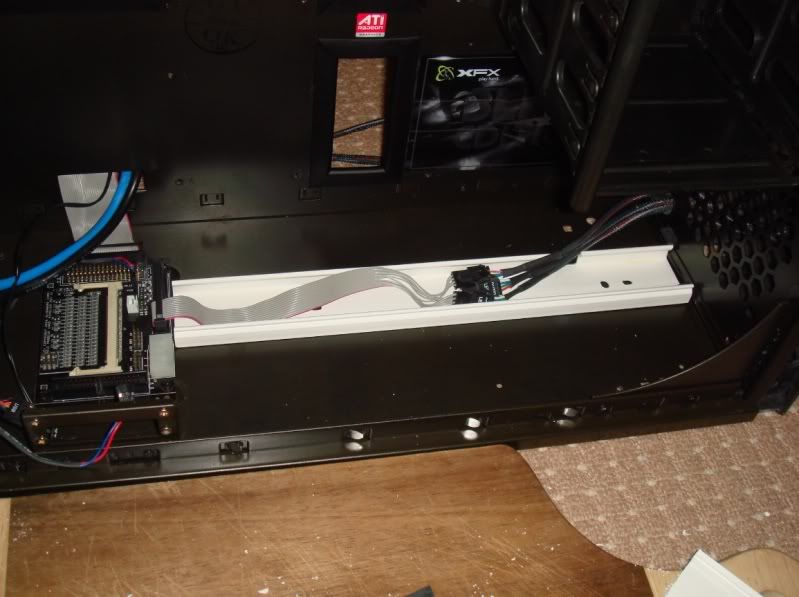
So today it was time to use one of my ideas to hide it. Here it is here. Look in the bottom of the case. Bloody great ribbon connector going into three braided light wires and a couple of wonky stuck on clips
rolleyes.gif


This will NEVER DO ! (old pic back when I had a C2D and a 280)

oldform.jpg


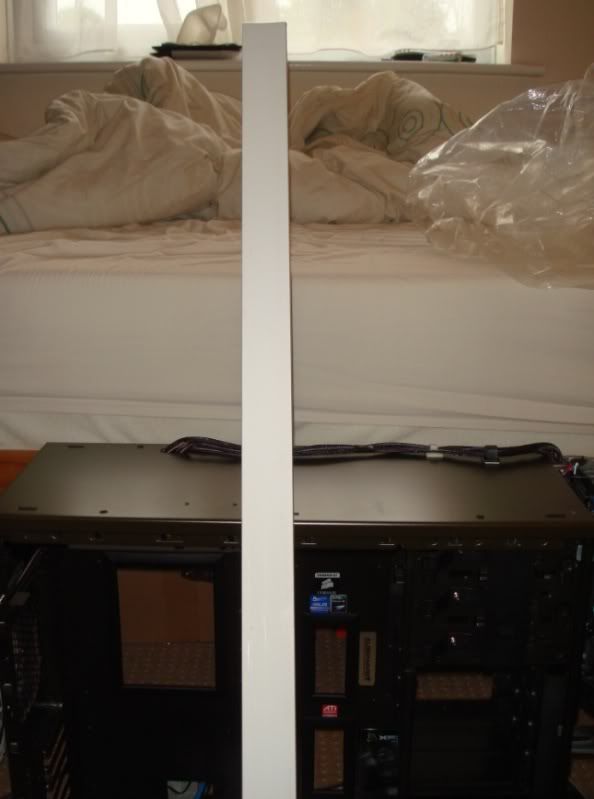
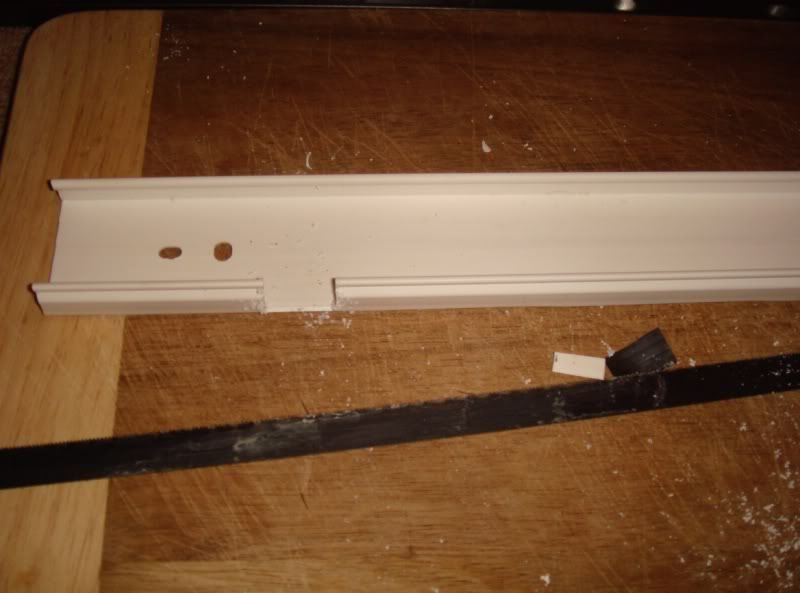
They should be slapped for that. Never mind, Alien to the rescue. Time for some schoolin' Alien style. Take one piece of trunking.

trunking.jpg


I had this left over from an Aerial install I did for my uncle a few months back. Any way, time to cut a piece that butts up against the front of the chassis and the lighting card.

bottomtrunktestfit.jpg


Then cut a relief hole.

cablerelief.jpg


Test fit.

bottomtrunknofan.jpg


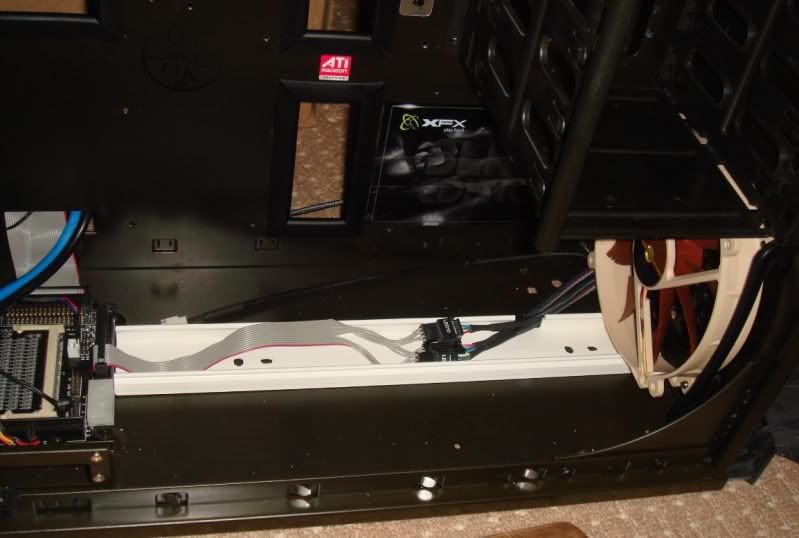
Time to get the fan in so I can make the measurements for the final piece.

bottomtrunk.jpg


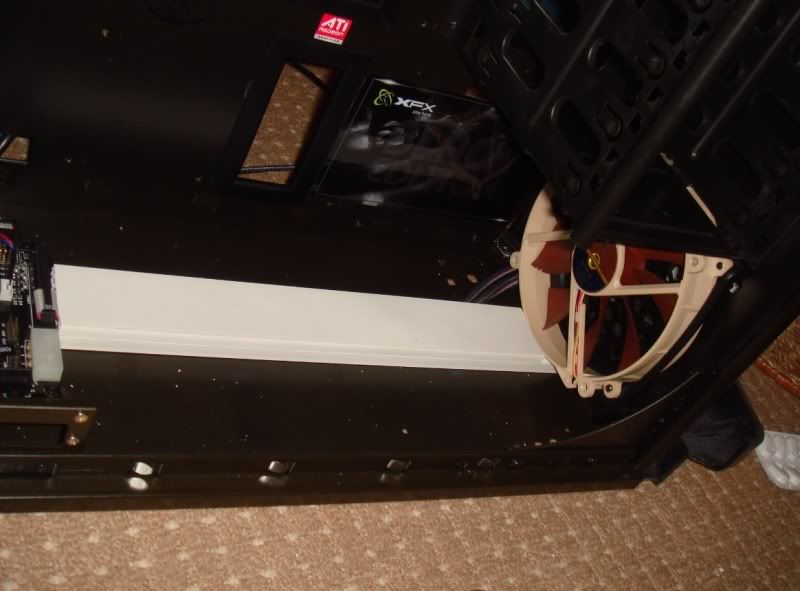
Then cut the final piece and test fit.

trunkingdonefinished.jpg


And now I need to spray it satin black, but sadly today it is absolutely hammering with rain so it will have to wait
sad.gif


The good news though is Santy Claus came today. Both from the USA and the UK.

newbitsusa.jpg


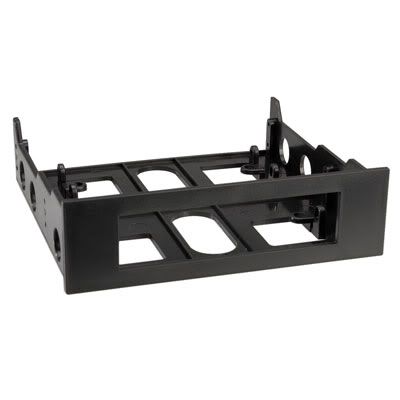
I then realised I needed one of these.

525adapter.jpg


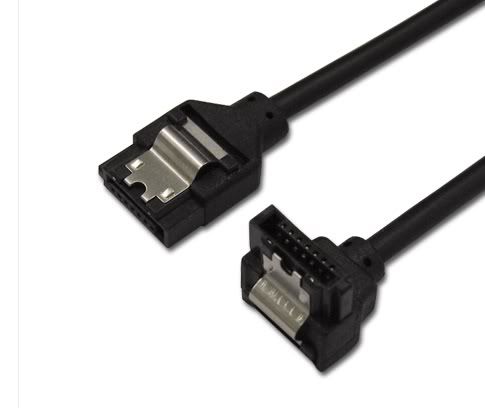
And because the Lian Li braided cluster is a cluster I ordered two of these.

sataround.jpg


One for the BDR and one for the SATA SSD hotswap unit (that Patriot Convoy thing is a raid hotswap SATA caddy made from billet).

Sadly that's going to be about it for today due to the bad weather
sad.gif
I'll get the trunking pulled and prepped and as soon as it's dry out do some painting.

Oh and before you rip the urine for the stickers? They're there for a reason. The XFX Black edition plaque covers an old cable hole I no longer need and the other cover nasty mounting post holes I am not using. And yes, they look far better than a load of unsightly holes !
 
The trucking along the bottom looks unreal!! I'll try that myself, plenty trunking from my work. Was wondering about the stickers but as u said it looks better than unsightly holes!
 
Started tidying up and realised there was a plethora of things I could actually do.

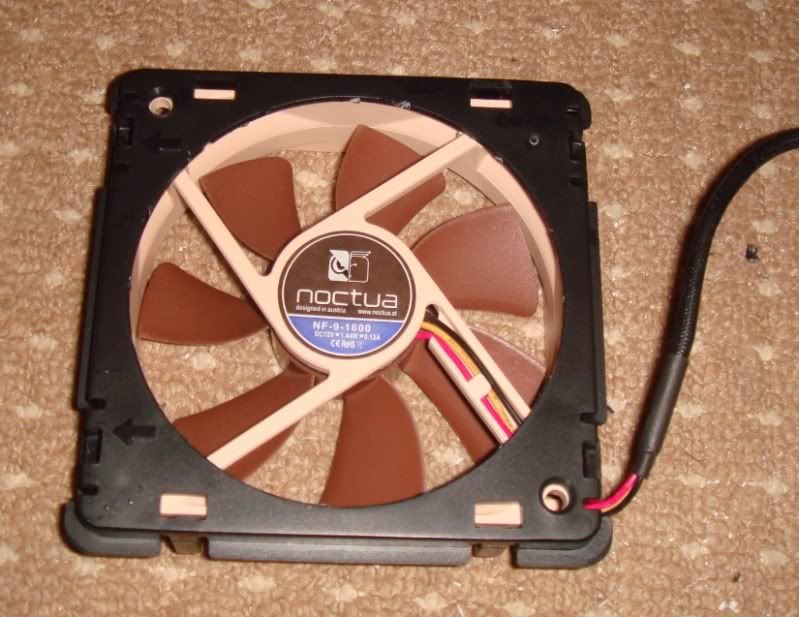
I don't know if I mentioned it but I have modded all of the fan carriers. Basically they had some horrid spoke things in them which was pointless. So here is the last one that needed doing, the 92mm holster.

92mmmountmodded.jpg


Gave it a good clean and fitted the fan.

92mminmodded.jpg


I didn't want to bother refitting the cable holsters as they were stupid, so I just taped everything in. Here it is with the lighting all fully rewired and the 92 fan fitted in.

92mmfittedmodded.jpg


Back fan in. And I noticed in the photo I had missed some dust FFS
laugh.gif
Will have to clean that later.

rearfanfitted.jpg


And then I could play. I mentioned that I managed to get the NH-C12P for £37. After an hour of comparing I realised that it was IDENTICAL to the new one and the only difference was the fan. Well, that and the price, the new one is £60
rolleyes.gif


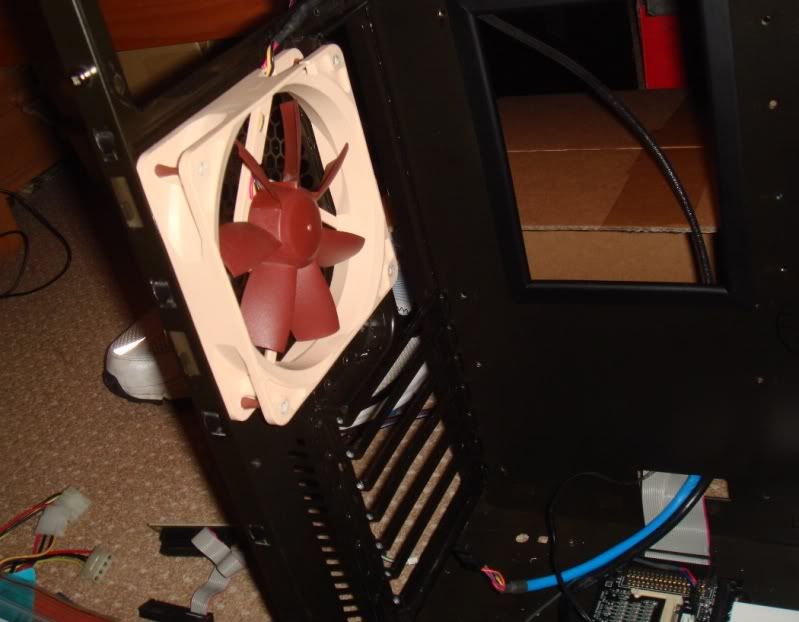
There was no point paying £23 for a fan as I already had one. So, I removed the side 140mm intake and.. Well... DROOOOOOOL.

coolerdrool.jpg


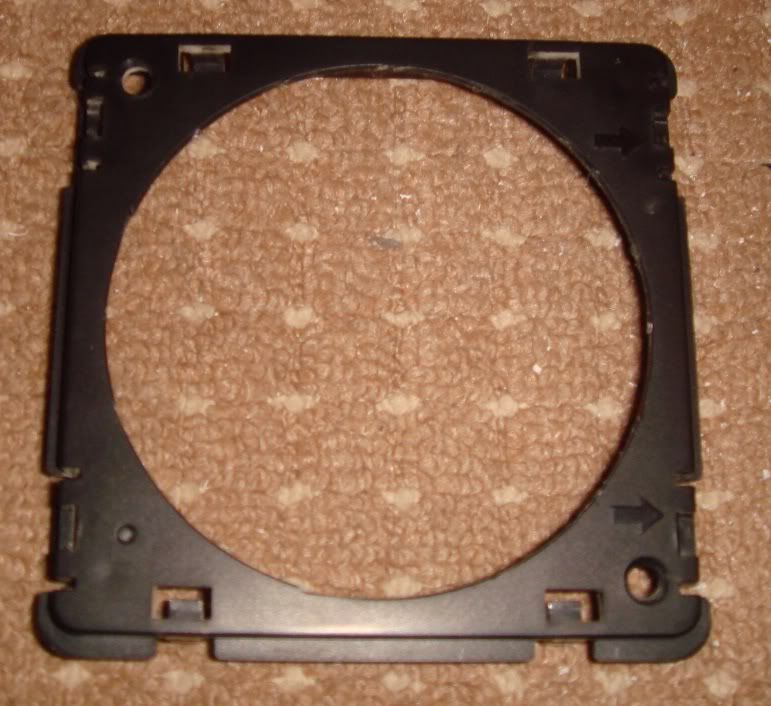
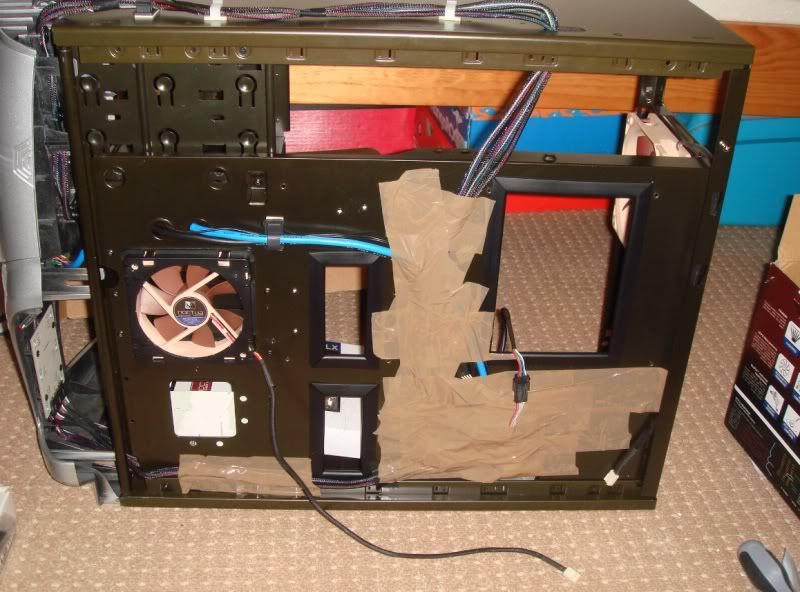
Here is the modded side intake holder that I hadn't shown before with the 120mm fan from the cooler in it.

sideintakemodded.jpg


And fitted to replace the 140 I took out to put on the cooler. This time I really didn't mind losing 2cm as it's the same blade design and saved me £23.

120sideintakenew.jpg


The trucking along the bottom looks unreal!! I'll try that myself, plenty trunking from my work. Was wondering about the stickers but as u said it looks better than unsightly holes!

Well I didn't mention that the Araldite I got takes about four hours to set
sad.gif
So I now have blobs here and there and bleeding Araldite fingerprints. All of which have been covered thank god. Yeah the trunking is a deffo improvement man. All of the dust brought in by the intake ends up caught up in the wires on the braided ones.

I'm also going to make a plate cover to cover up the lighting card so the bottom of the case will be completely clean.
 
Right, spent a few more hours doing stuff. Some of it I didn't take photos of yet.

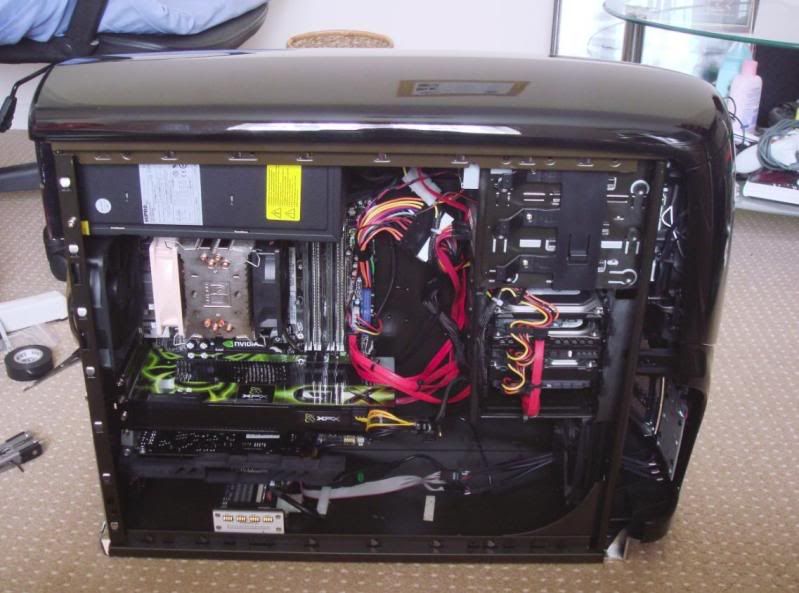
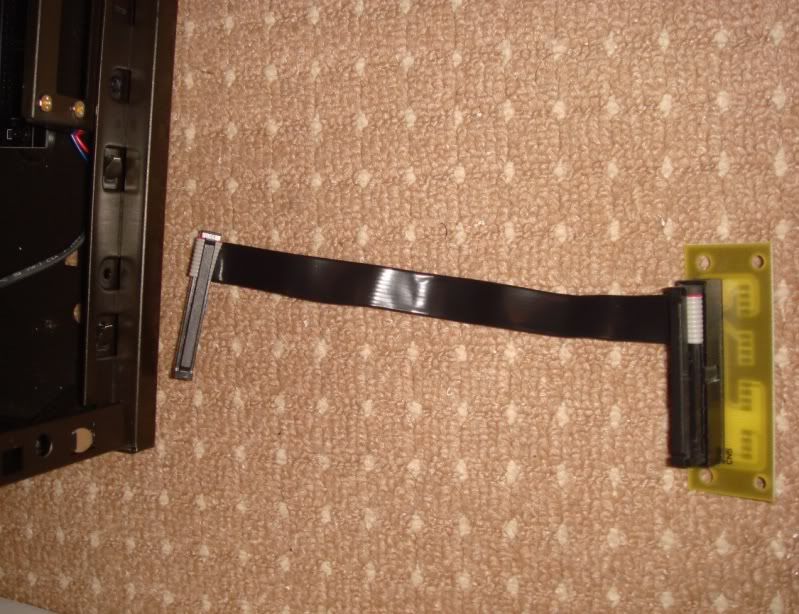
Firstly I have completely reassembled the lighting system now. To the point where it can be test fired with a molex from my other PC. What was annoying me though was the ugly floppy ribbon sort of cable Alienware used for the lighting. It's bad enough that it's ugly gray but this one is way too long for what's needed here. So, first thing I did was wrap it.

wrappedcable.jpg


Which looked much nicer, but then I realised it was about ten times too long, so once I was done fitting it I wrapped it again making it look far better than having a big wavy floppy cable snake in my bloody case.

boardin.jpg


I also fitted a black molex to the breaker cable and braided it, but that was a waste of time 'cos you don't even see it
biggrin.gif


I did come a cropper when testing the lighting though. One of the LEDs in the case was not lighting. I figured the bulb was blown.. Then I realised I had to change that bulb before and must have been in a lazy mood because I only wired up the wires so the blue LED would light.. Rats..

I had to do it properly and have decided on purple lighting.
 
Back
Top