alienware
Banned
Finally began my latest project.
After buying a Silverstone TJ-06 or whatever it was I realised how good Alienware's Predator 2 is. Some will strongly disagree, but, until you have actually owned, used and touched one I'm sorry, I will argue until I turn blue in the face.
And it has nothing to do with the looks, either. Even if you absolutely hated the wretched things there is just no getting away from the build quality, airflow, fan layout and design of the interior. And that basically comes down to the fact that Alienware invested X ammount of dollars into it and asked Chieftec to take care of it. And I don't really care who you are, if you think that Chieftec make bad chassis you need help.
Any one who has been into PCs for more than a few years would highly likely used a Cheiftec, and, most probably loved it.
When I wrote my write up member review of the Predator 2/2.1 I did so with strong criticism. I said that the airflow was not all that great, that the parts could use better cooling and that the build could be better. Which in hindsight was quite clearly quite wrong. After using a couple of different chassis recently and taking a look over others it's pretty clear that the Alienware offers very good air flow, is spacious, easy to build into and built like a tank.
When I showed an interest in the Thermaltake Element S Tom warned me they weren't built so well. After looking over countless photos and reviews I totally agree. It looks cheap, flimsy and tacky. Anything it has going for it soon dissapates when you open the front door, or notice in reviews that the inner structure is so flimsy it flexes when being tipped around. So really there was no point wasting around £70 on a case that was worse than what I had. To that ends I figured it better to spend £70 on mine and bring it up to date, and give it the best cooling possible.
This time I am going for quiet. As damn near to silent as humanly possible. I have very cool graphics cards (5770) that can easily be kept in check without annoying me audibly, but the rest of the fans I use leave a lot to be desired noise wise. They're either Yate Loon or very high RPM Arctics. And this was all good when I had a 280GTX as I accepted I must put up with the noise to save my parts, but now? Well now I can afford to lower RPM and get as close to silent as possible.
So the first thing on the list? silence. Utter silence, with money being no object.
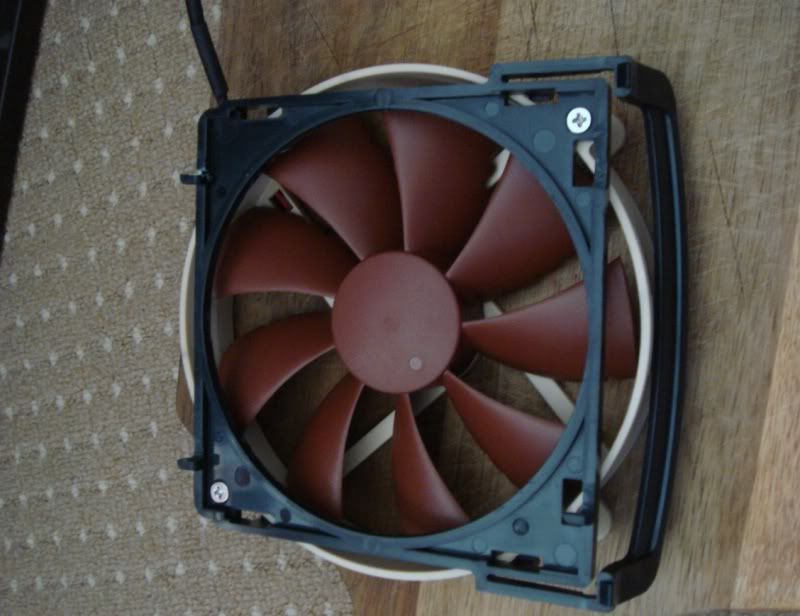
Digging through what I do have reminded me I already have one of these. It came with a cooler I have, but was not high RPM enough to provide the CFM I needed to overclock on that cooler. It's sitting doing nothing.
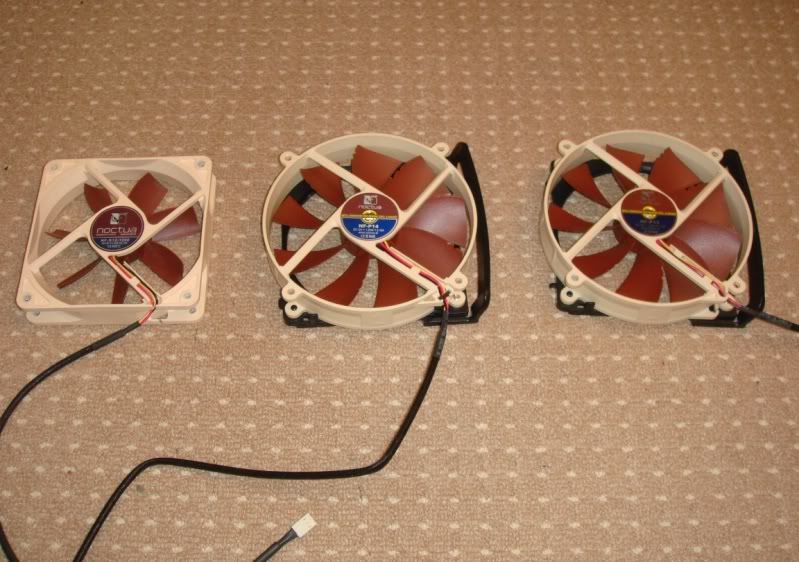
So that will take care of the hard drive bay, then it was time to really get serious. For the front and back I have these.
Which are immensely expensive. Between the two I have spent £37. On fans. To me that is blasphemy, but I figured it was the least I could do to thank Noctua for my incoming cooler.
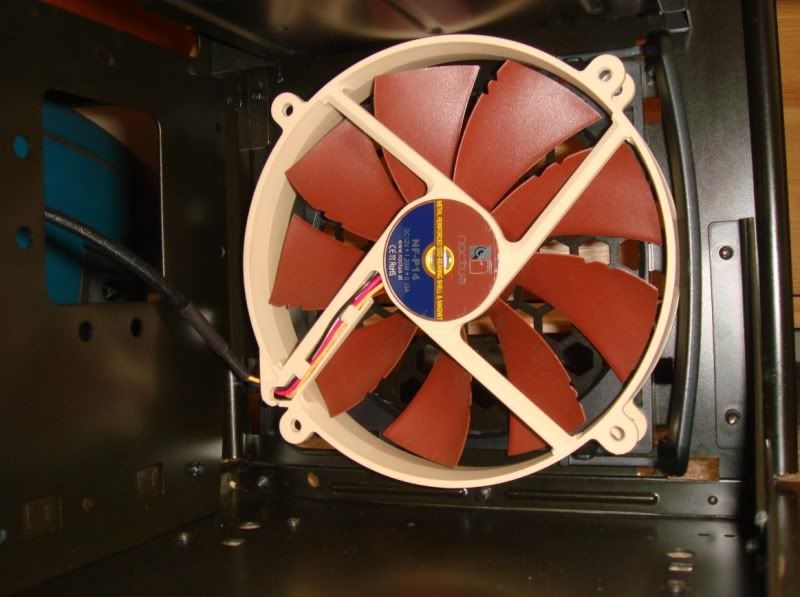
For the side panel cooler (that is positioned over the GPUs) I got one of these on Ebay for £4.11. Gotta love Ebay eh? twenty quids worth of fan.
So now that quality has to be adhered to and money being no object within reason it was time to sort out what I was going to use for the SATA drives. I did not want to use manky SATA cables so I got these.
Lian Li braided cables. Now before any one accuses me of cheating? don't bother. A full set of four cost me £6.99. I couldn't even do them myself for that and nor could I be bothered to. I am going to have way too much on my hands to faff around braiding cables, and everything else is already braided on the PSU front.
So, with those parts on order and arriving soon (as well as a Dremel, 'bout time I got one, I had two in the USA) it was time to sort the mission briefing.
As mentioned above there is just absolutely nothing wrong with this chassis. It is strong, well built and offers good cooling (which is about to get as good as it gets). So the ideas were -
Strip the entire thing down to the inner shell.
Clean it, remove all of the existing cable management.
Fix the problems that existed five years ago - IE - only one cable hole in a crap place. No CPU backplate relief hole (meaning if you want to change coolers the entire board has to come out)
Redo the lighting wiring to make it more invisible.
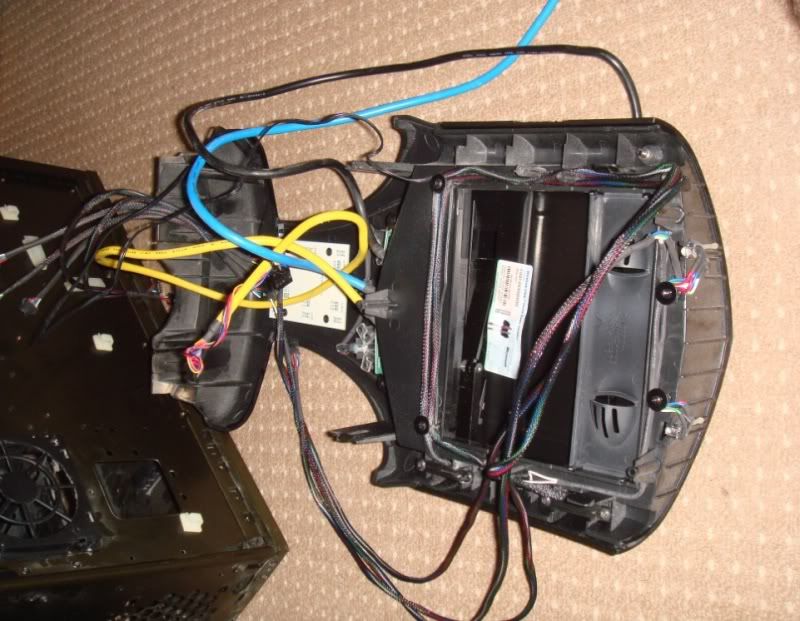
Step one was retrieving the ALX chassis from storage and strip it.
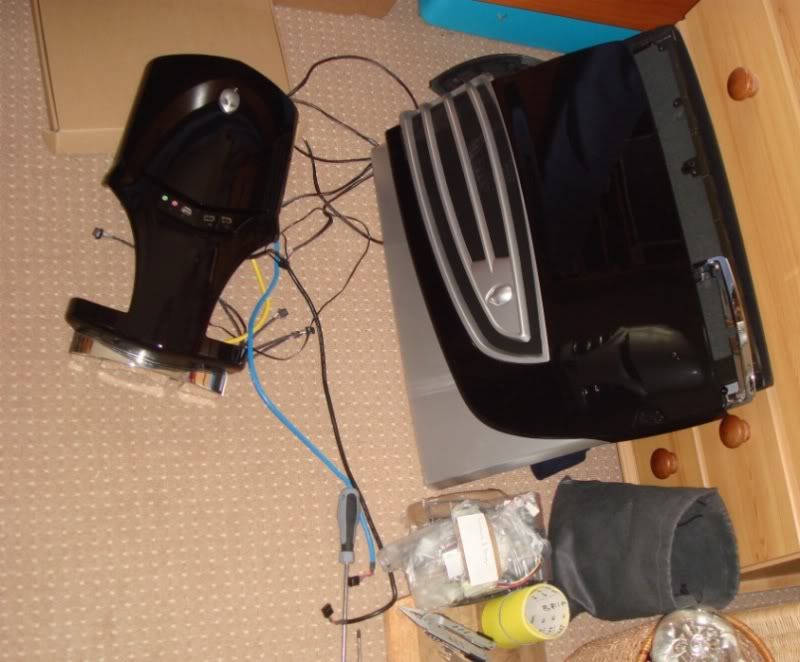
The lighting system was removed and bagged and labelled, then it was onto ripping it down. First off the side panels and then the hard part, the front.
With the exterior panels off
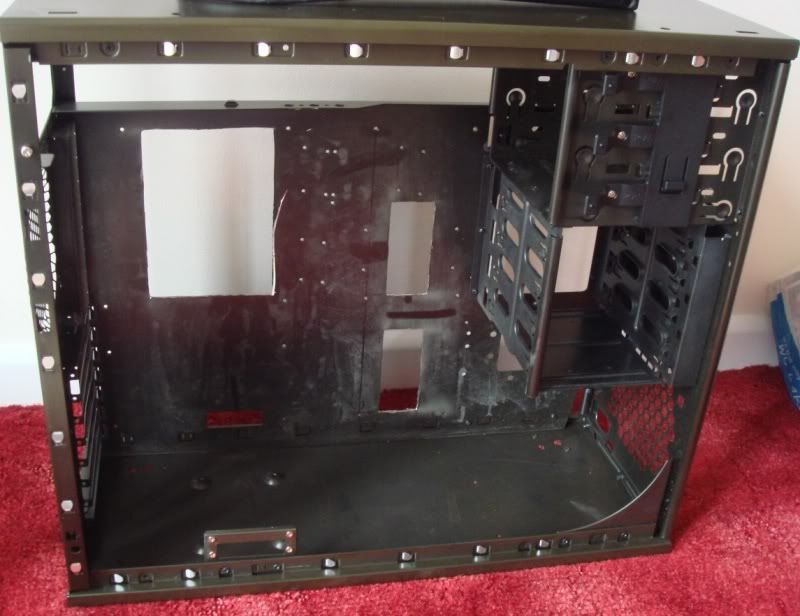
I was then down to the inner chassis. It's literally a case wrapped in a case.
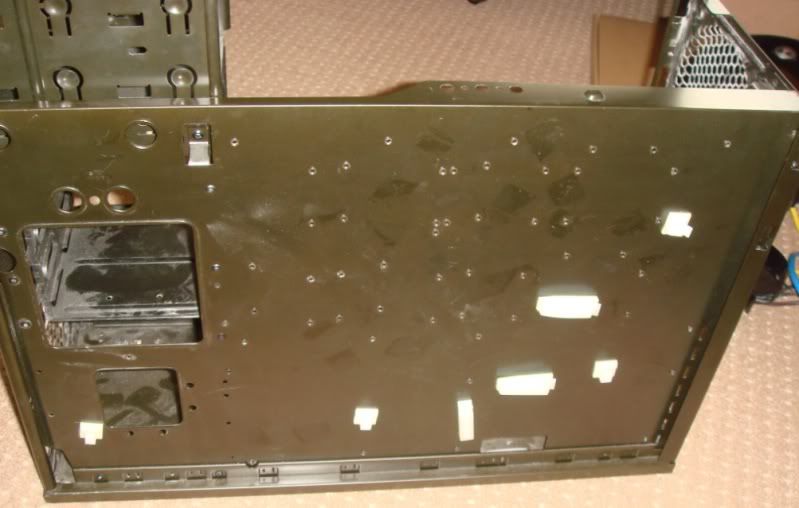
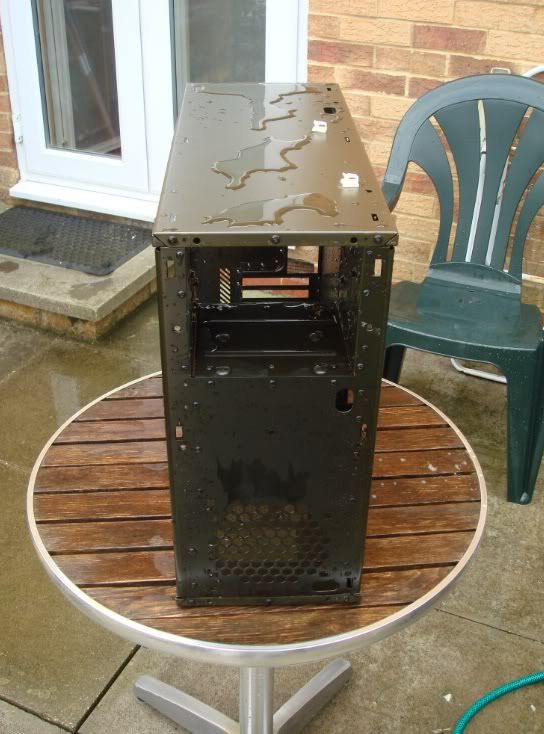
And the inside, which like the back side was utterly filthy.
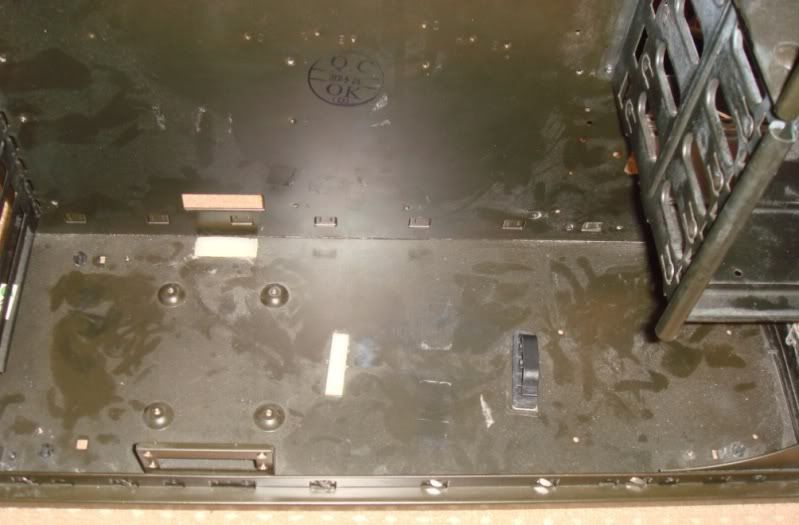
Not only is it full of dust with random cable holsters stuck everywhere (not even straight I may add) it also had curious white washy marks in it. Now I have a strong suspicion that the reason I ended up with this case is because of the fact that it originally shipped to a customer and the water lines on the cooling burst, spraying coolant everywhere and hence all of the white marks. It's kind of like a residue.
So, needing to get all of that off aswell as all of the holsters, stickers and marks it was down to the garden for some fun. First step clean it, second step remove all of the sticky gunk with white sprit, then onto rinse.
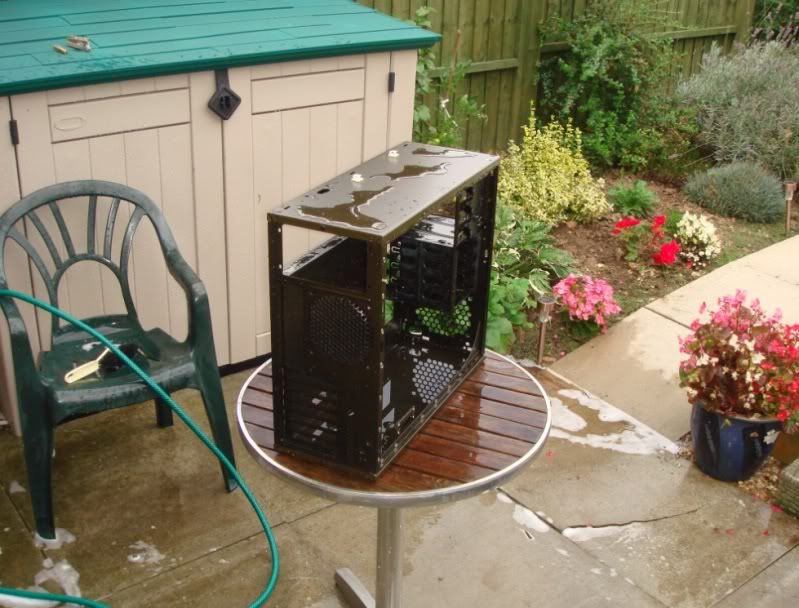

One of the problems here is that the inner chassis sound proofing is on the inner roof. This is bad, because it's acoustic foam. Foam and water love each other.
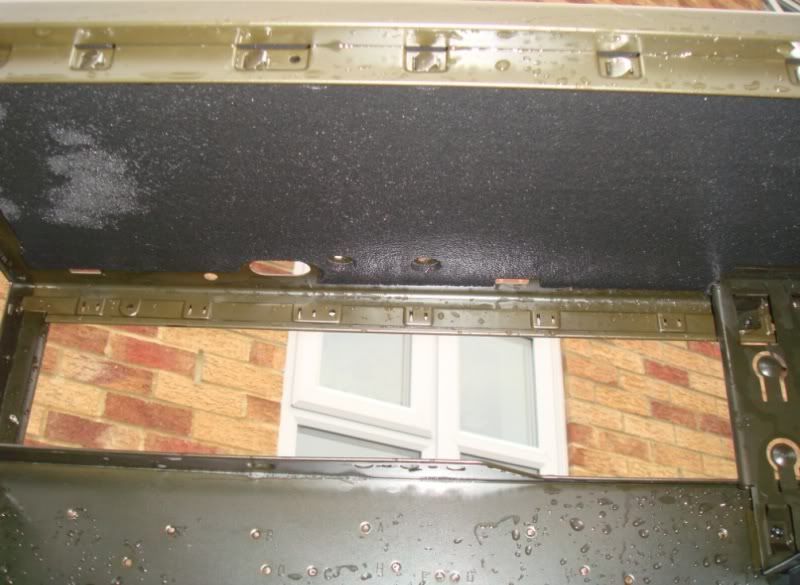
So in order to sort that I had to take a couple of dry towels and press them onto the foam to suck out the water, well, as much as I can. I shall hit it with the hairdryer later

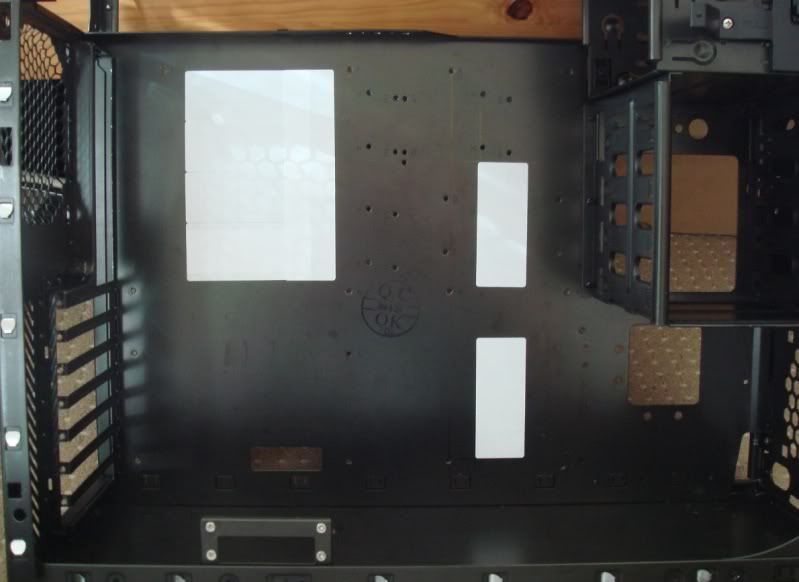
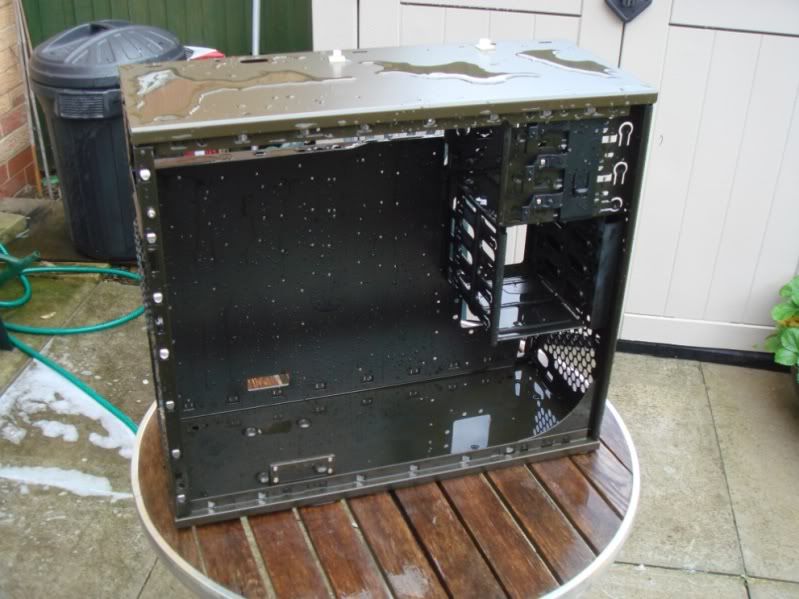
As dry as I could get it -

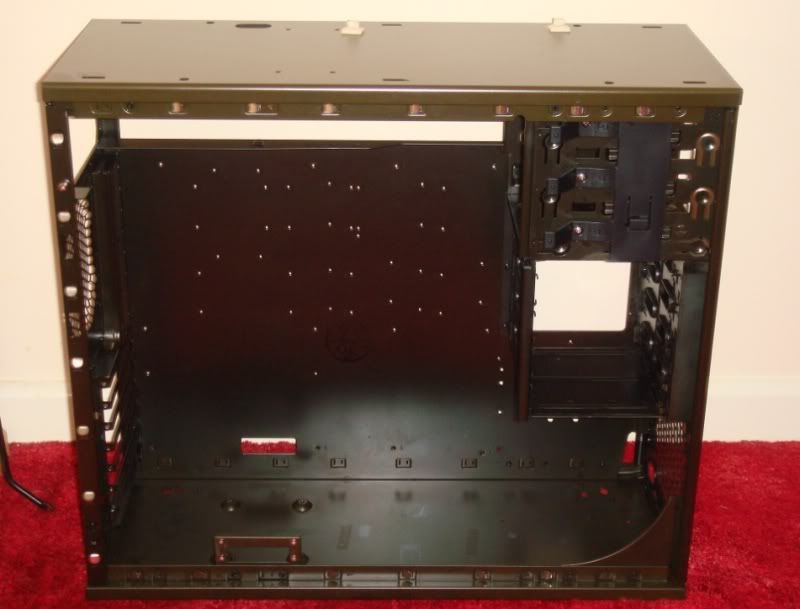
Ahh, nice and clean

Now a big problem for me was cutting holes in it. I absolutely have to so leaving it is not an option, but what am I going to do with the edges of the holes? I have looked around for rubber flange/grommets and the ones used on new cases are not for sale. My only option was using grommets from the firewall of a car, but these are round (and I don't have a metal cutting holesaw) and are £11 each. Ideally I wanted rectangular holes as they are easier to cut with a cut off Dremel disc (the mini angle grinder black type) but would leave metal exposed. The problem is the case has been anodised with a very dark greeny black colour. So touch ups are a no no. In the end after many hours of brain racking I came up with this idea.
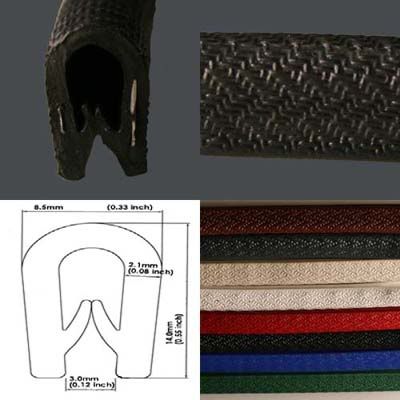
Which cost me a fiver for a meter, and is perfect for the task
Next time - measuring and marking.
After buying a Silverstone TJ-06 or whatever it was I realised how good Alienware's Predator 2 is. Some will strongly disagree, but, until you have actually owned, used and touched one I'm sorry, I will argue until I turn blue in the face.
And it has nothing to do with the looks, either. Even if you absolutely hated the wretched things there is just no getting away from the build quality, airflow, fan layout and design of the interior. And that basically comes down to the fact that Alienware invested X ammount of dollars into it and asked Chieftec to take care of it. And I don't really care who you are, if you think that Chieftec make bad chassis you need help.
Any one who has been into PCs for more than a few years would highly likely used a Cheiftec, and, most probably loved it.
When I wrote my write up member review of the Predator 2/2.1 I did so with strong criticism. I said that the airflow was not all that great, that the parts could use better cooling and that the build could be better. Which in hindsight was quite clearly quite wrong. After using a couple of different chassis recently and taking a look over others it's pretty clear that the Alienware offers very good air flow, is spacious, easy to build into and built like a tank.
When I showed an interest in the Thermaltake Element S Tom warned me they weren't built so well. After looking over countless photos and reviews I totally agree. It looks cheap, flimsy and tacky. Anything it has going for it soon dissapates when you open the front door, or notice in reviews that the inner structure is so flimsy it flexes when being tipped around. So really there was no point wasting around £70 on a case that was worse than what I had. To that ends I figured it better to spend £70 on mine and bring it up to date, and give it the best cooling possible.
This time I am going for quiet. As damn near to silent as humanly possible. I have very cool graphics cards (5770) that can easily be kept in check without annoying me audibly, but the rest of the fans I use leave a lot to be desired noise wise. They're either Yate Loon or very high RPM Arctics. And this was all good when I had a 280GTX as I accepted I must put up with the noise to save my parts, but now? Well now I can afford to lower RPM and get as close to silent as possible.
So the first thing on the list? silence. Utter silence, with money being no object.
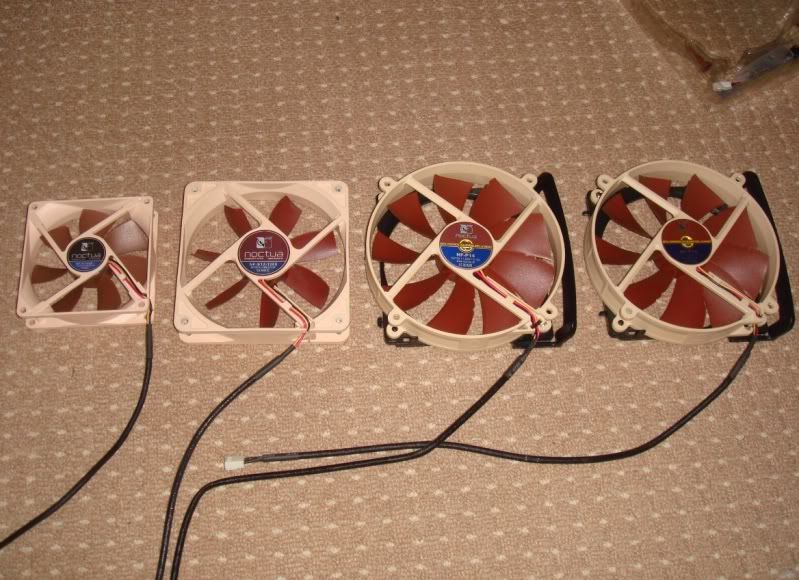
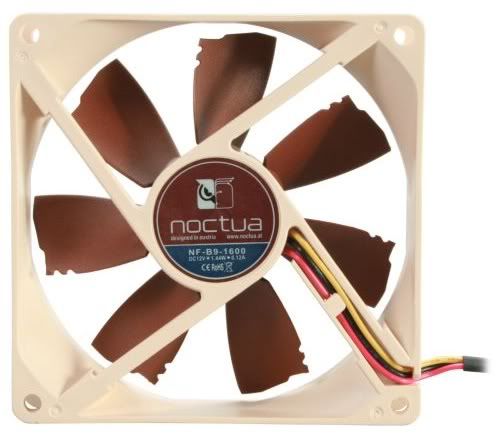
Digging through what I do have reminded me I already have one of these. It came with a cooler I have, but was not high RPM enough to provide the CFM I needed to overclock on that cooler. It's sitting doing nothing.
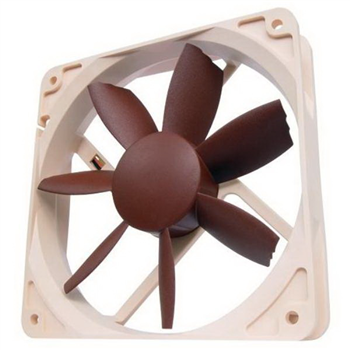
So that will take care of the hard drive bay, then it was time to really get serious. For the front and back I have these.
Which are immensely expensive. Between the two I have spent £37. On fans. To me that is blasphemy, but I figured it was the least I could do to thank Noctua for my incoming cooler.
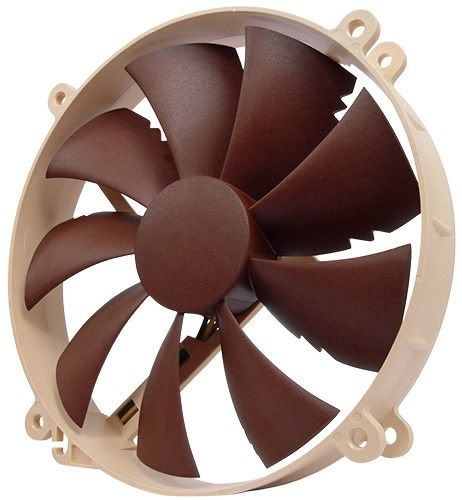
For the side panel cooler (that is positioned over the GPUs) I got one of these on Ebay for £4.11. Gotta love Ebay eh? twenty quids worth of fan.
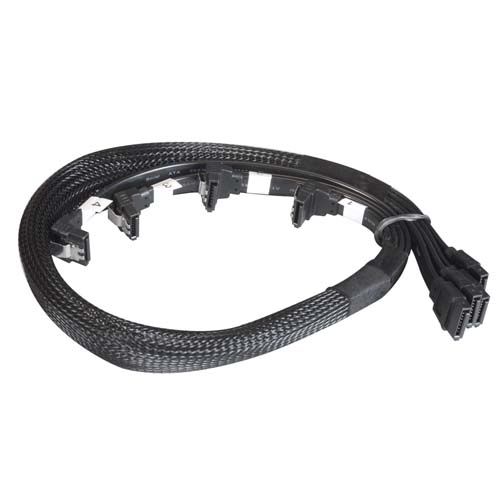
So now that quality has to be adhered to and money being no object within reason it was time to sort out what I was going to use for the SATA drives. I did not want to use manky SATA cables so I got these.
Lian Li braided cables. Now before any one accuses me of cheating? don't bother. A full set of four cost me £6.99. I couldn't even do them myself for that and nor could I be bothered to. I am going to have way too much on my hands to faff around braiding cables, and everything else is already braided on the PSU front.
So, with those parts on order and arriving soon (as well as a Dremel, 'bout time I got one, I had two in the USA) it was time to sort the mission briefing.
As mentioned above there is just absolutely nothing wrong with this chassis. It is strong, well built and offers good cooling (which is about to get as good as it gets). So the ideas were -
Strip the entire thing down to the inner shell.
Clean it, remove all of the existing cable management.
Fix the problems that existed five years ago - IE - only one cable hole in a crap place. No CPU backplate relief hole (meaning if you want to change coolers the entire board has to come out)
Redo the lighting wiring to make it more invisible.
Step one was retrieving the ALX chassis from storage and strip it.
The lighting system was removed and bagged and labelled, then it was onto ripping it down. First off the side panels and then the hard part, the front.
With the exterior panels off
I was then down to the inner chassis. It's literally a case wrapped in a case.
And the inside, which like the back side was utterly filthy.
Not only is it full of dust with random cable holsters stuck everywhere (not even straight I may add) it also had curious white washy marks in it. Now I have a strong suspicion that the reason I ended up with this case is because of the fact that it originally shipped to a customer and the water lines on the cooling burst, spraying coolant everywhere and hence all of the white marks. It's kind of like a residue.
So, needing to get all of that off aswell as all of the holsters, stickers and marks it was down to the garden for some fun. First step clean it, second step remove all of the sticky gunk with white sprit, then onto rinse.
One of the problems here is that the inner chassis sound proofing is on the inner roof. This is bad, because it's acoustic foam. Foam and water love each other.
So in order to sort that I had to take a couple of dry towels and press them onto the foam to suck out the water, well, as much as I can. I shall hit it with the hairdryer later
As dry as I could get it -
Ahh, nice and clean
Now a big problem for me was cutting holes in it. I absolutely have to so leaving it is not an option, but what am I going to do with the edges of the holes? I have looked around for rubber flange/grommets and the ones used on new cases are not for sale. My only option was using grommets from the firewall of a car, but these are round (and I don't have a metal cutting holesaw) and are £11 each. Ideally I wanted rectangular holes as they are easier to cut with a cut off Dremel disc (the mini angle grinder black type) but would leave metal exposed. The problem is the case has been anodised with a very dark greeny black colour. So touch ups are a no no. In the end after many hours of brain racking I came up with this idea.
Which cost me a fiver for a meter, and is perfect for the task
Next time - measuring and marking.