Project Purple

Socks

New member
My Build Log For WCUK Modding Competition.

I probably should have started this off from the start of the build, BUT, some of you know me and you know I never do that. XD

Im too lazy.

Anyways. This is what I have been doing:

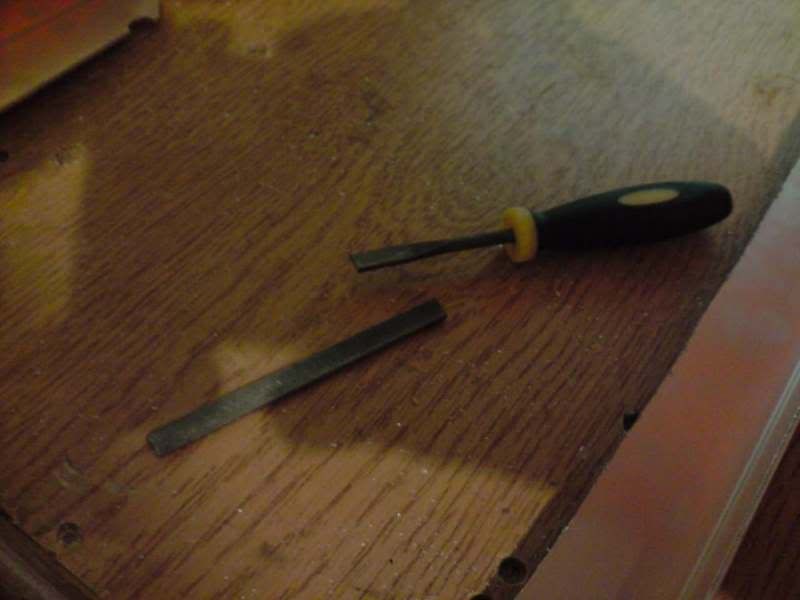
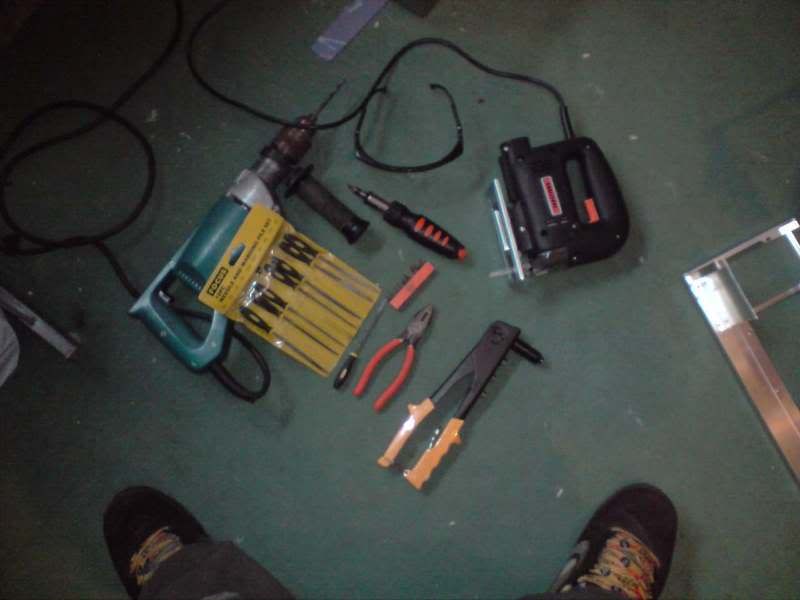
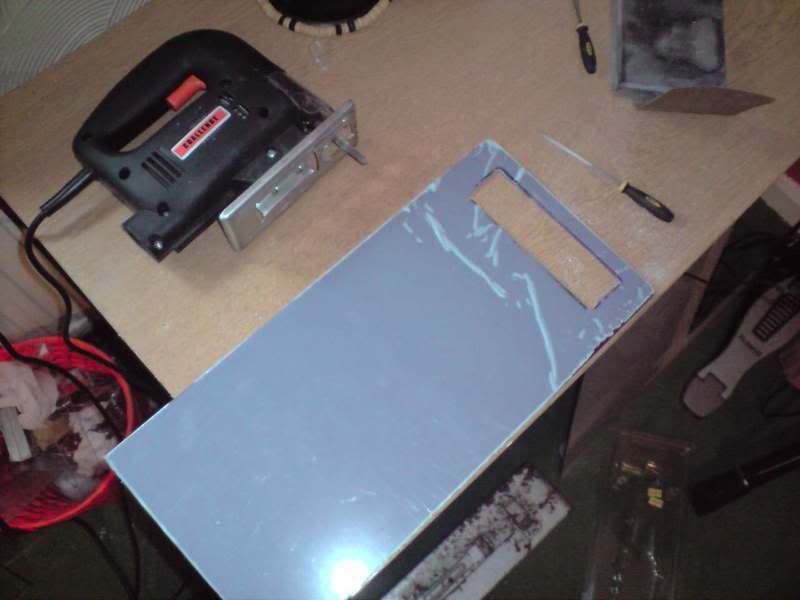
These are literally ALL of the tools I have to use. So this is going to be my hand crafted mod me thinks. To top things off, my favourite file broke too.

P280508_220102.jpg


P280508_192501.jpg


I went about this in one weird order of things, simply due to my idea and technique finding abilities. :S

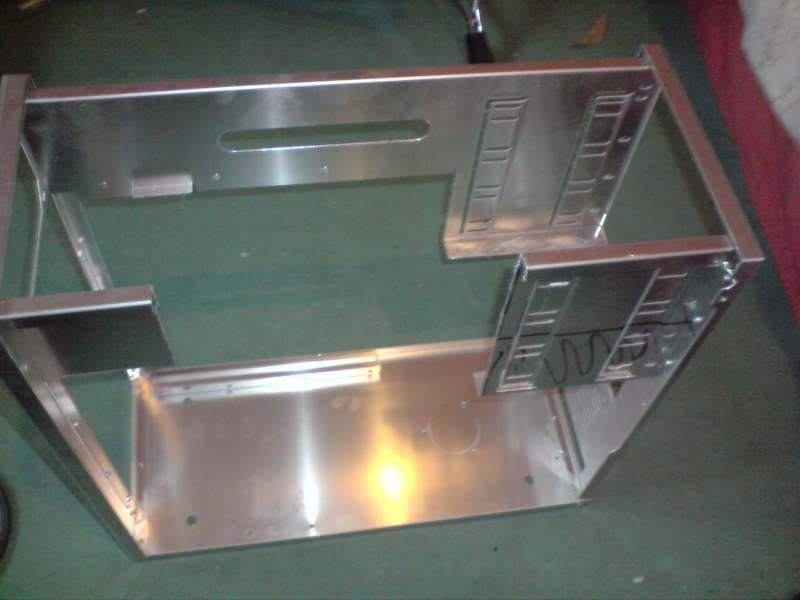
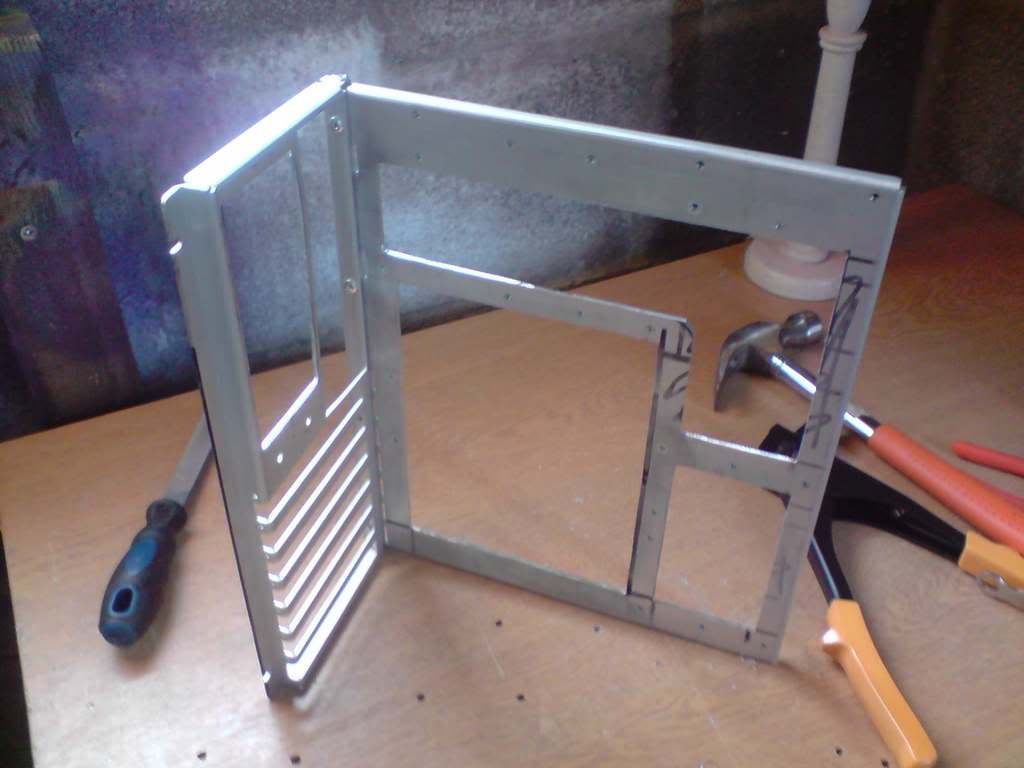
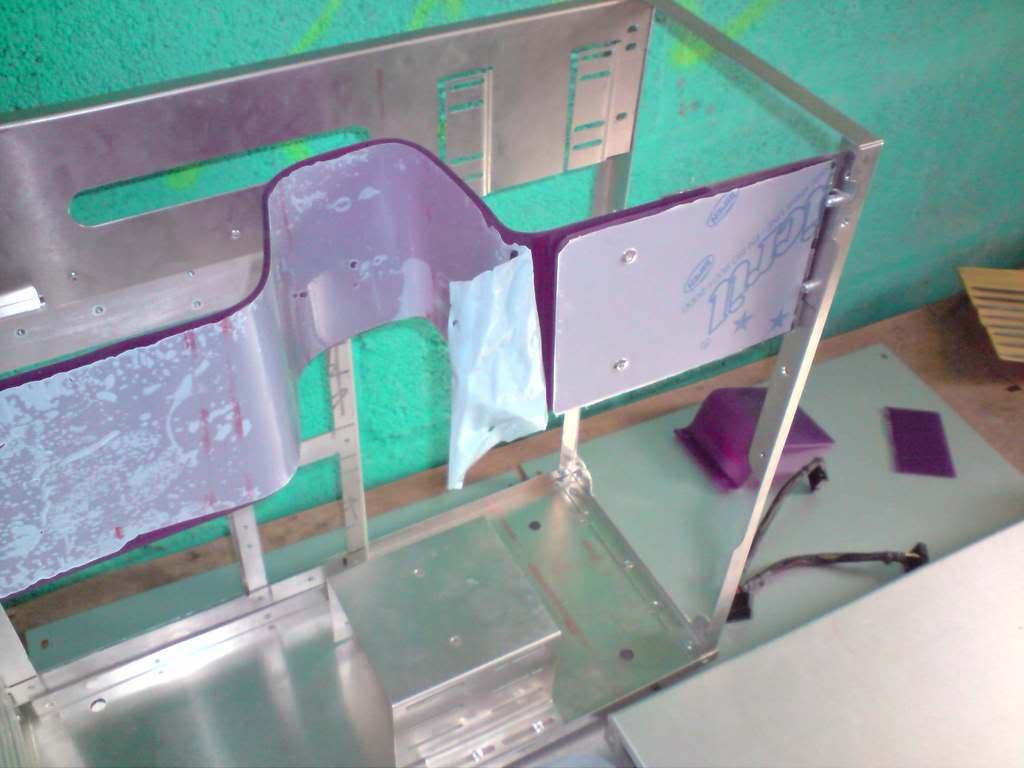
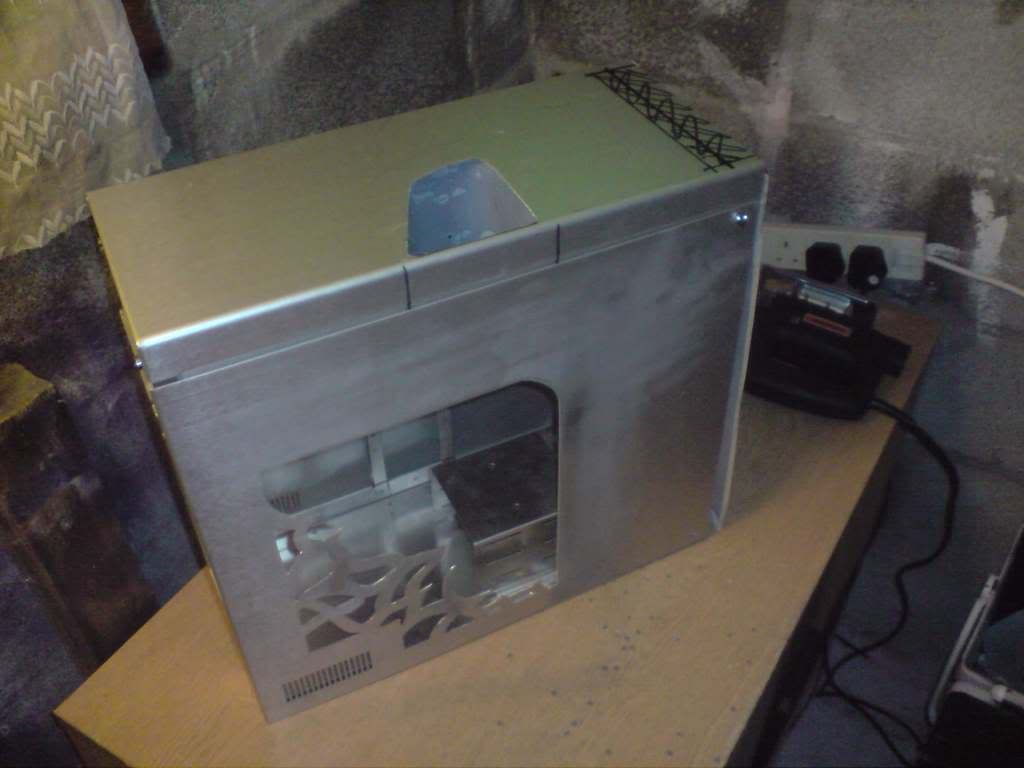
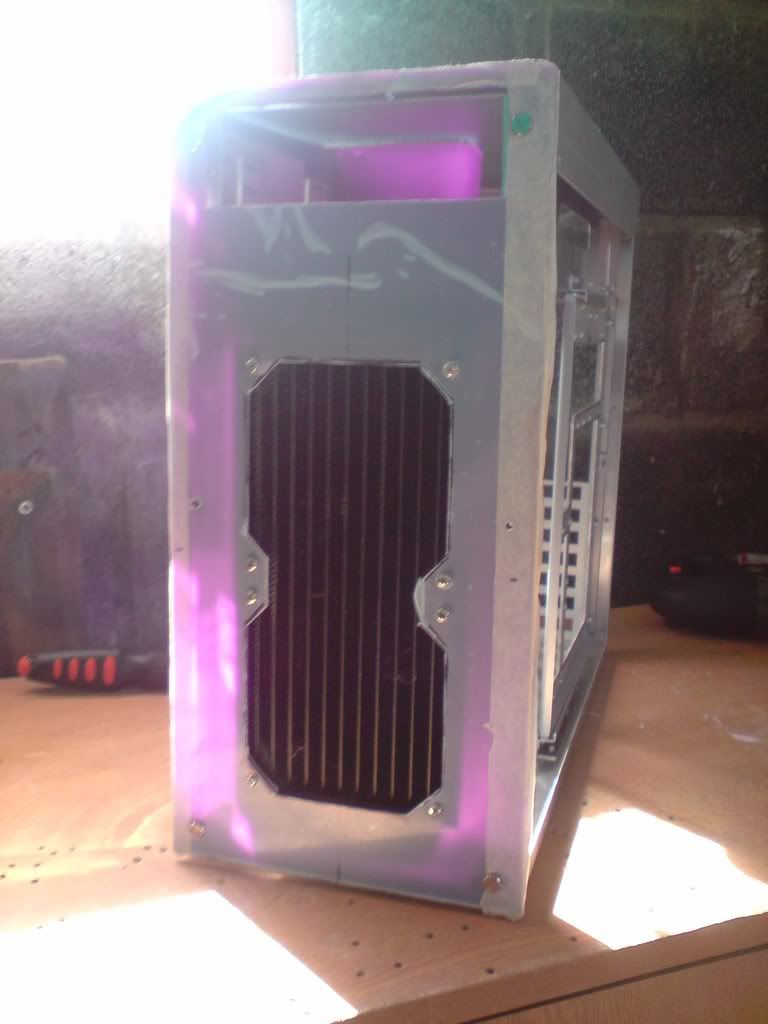
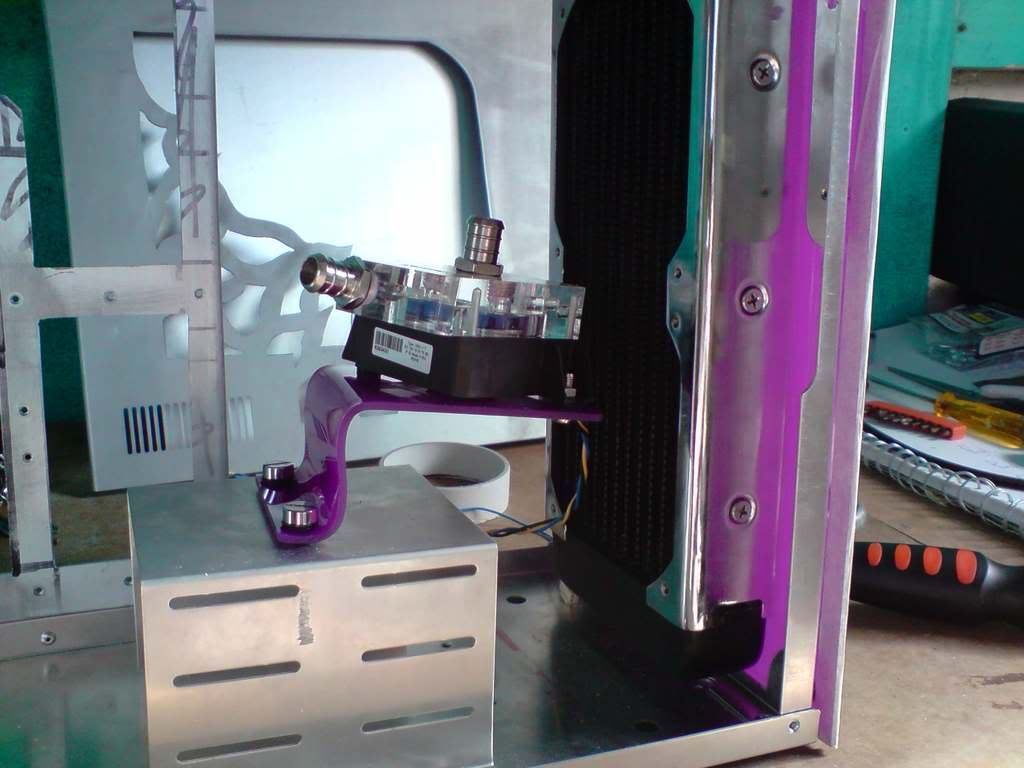
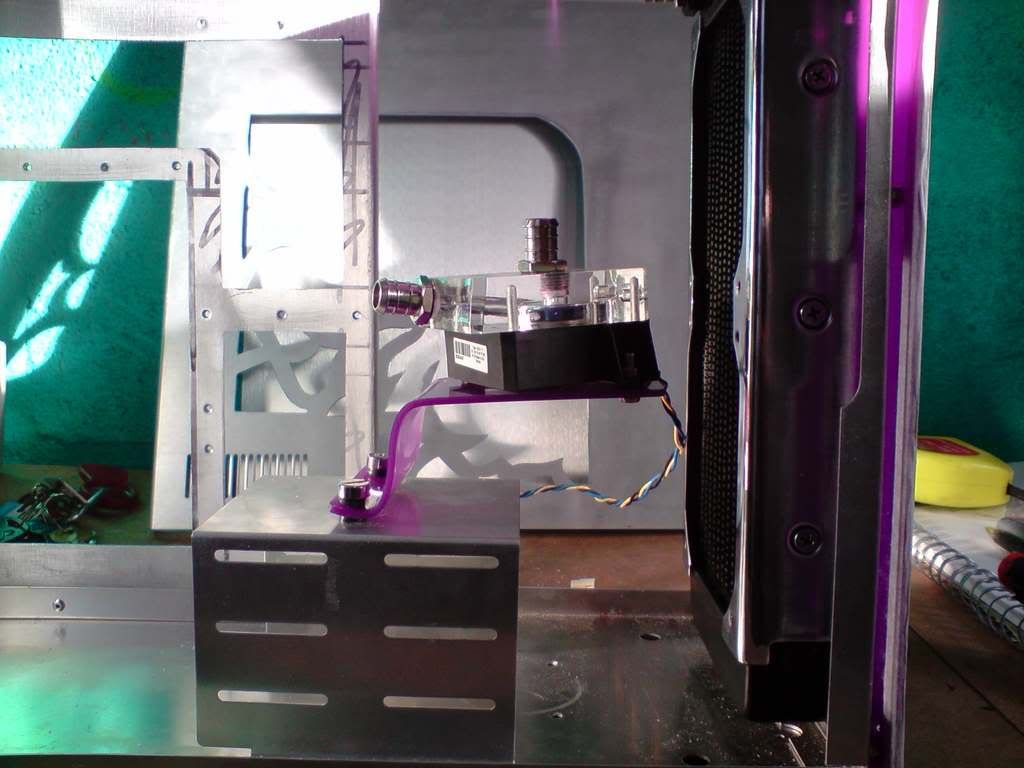
Chopped out the side of the main frame

P280508_1923.jpg


P280508_192301.jpg


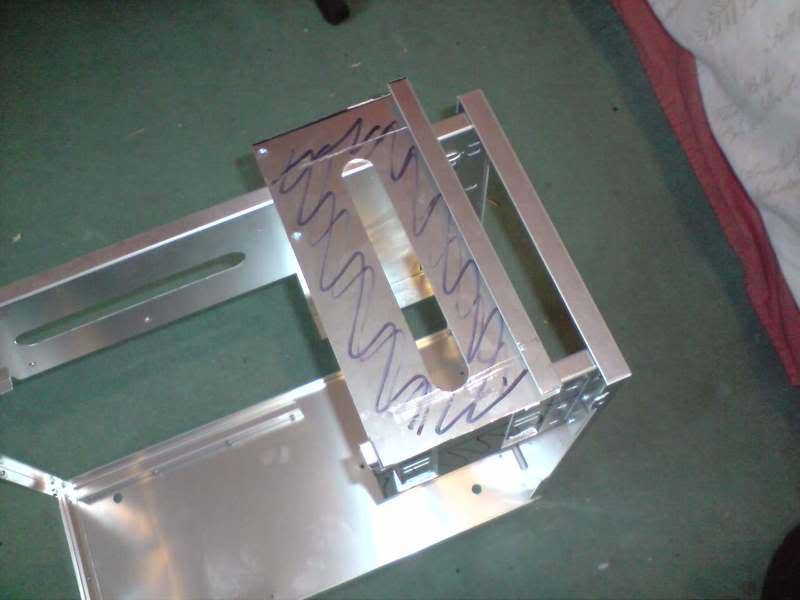
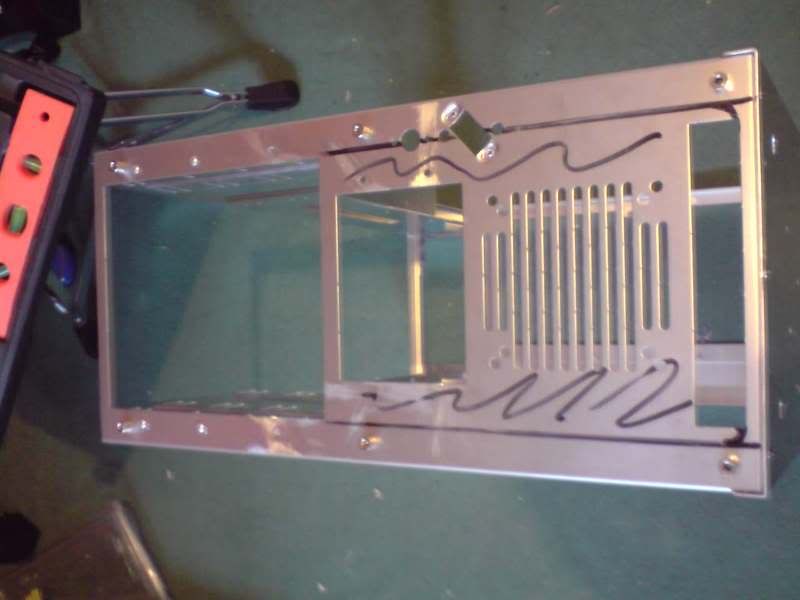
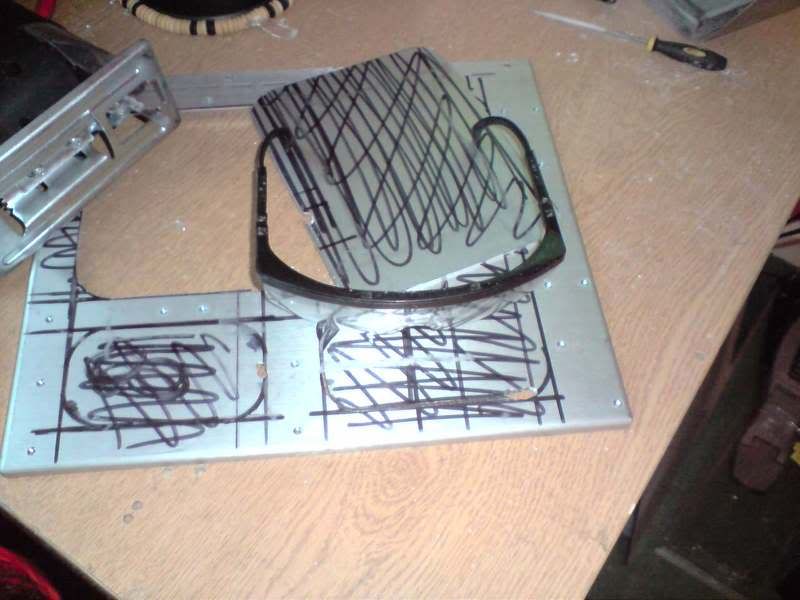
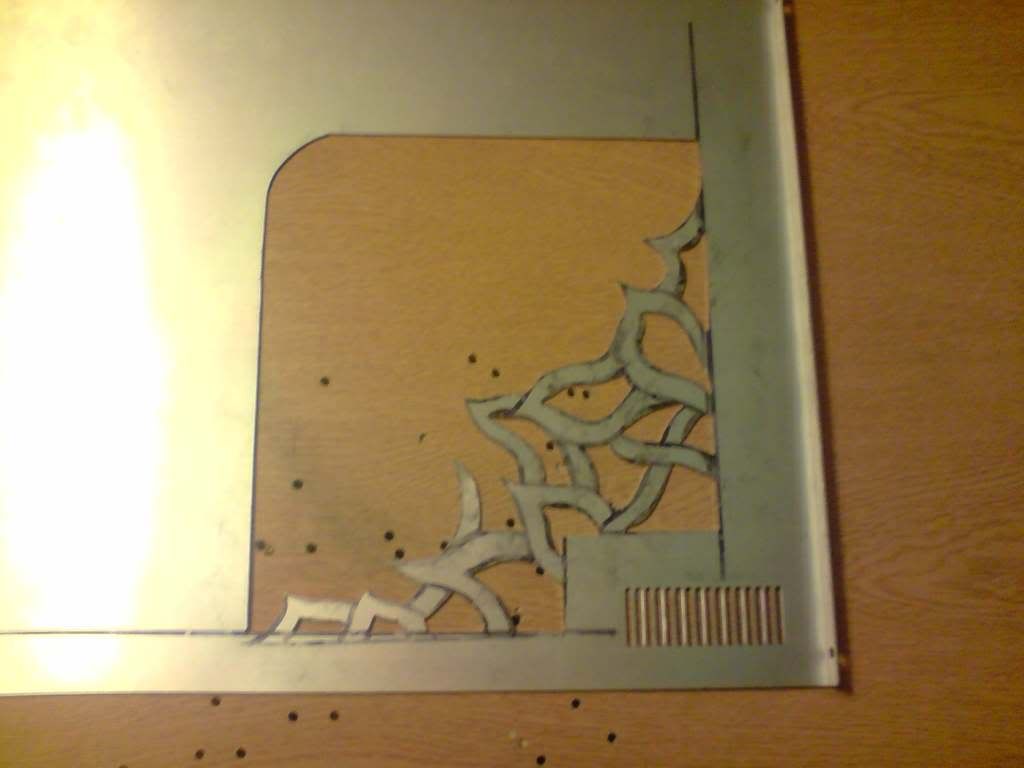
Marked up on the front where I will be cutting for the rad.

P280508_192303.jpg


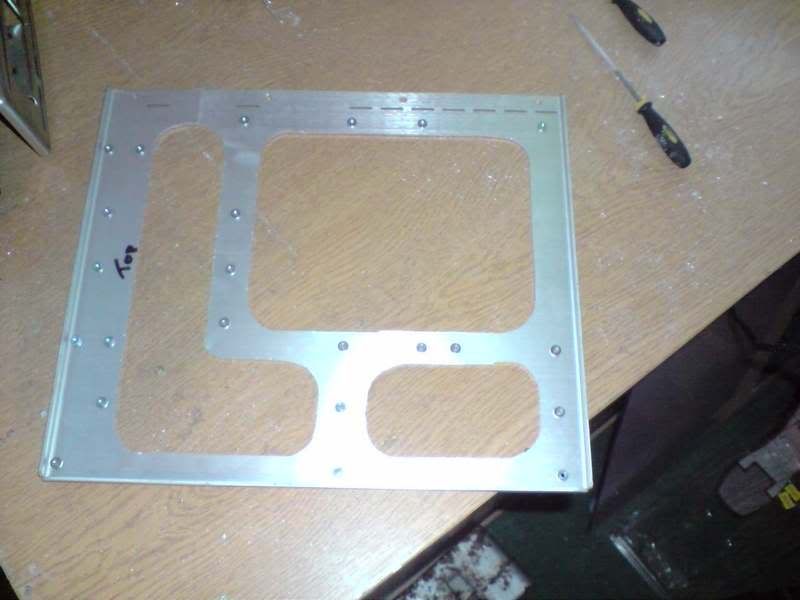
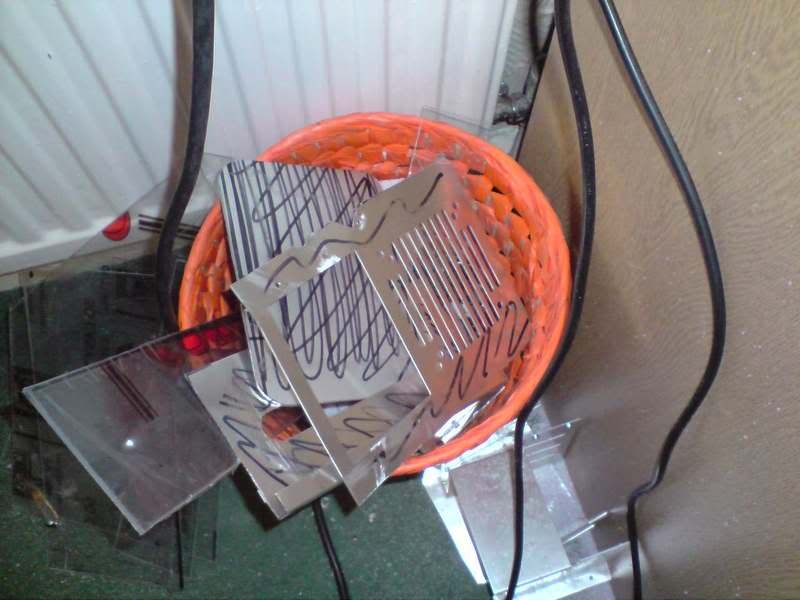
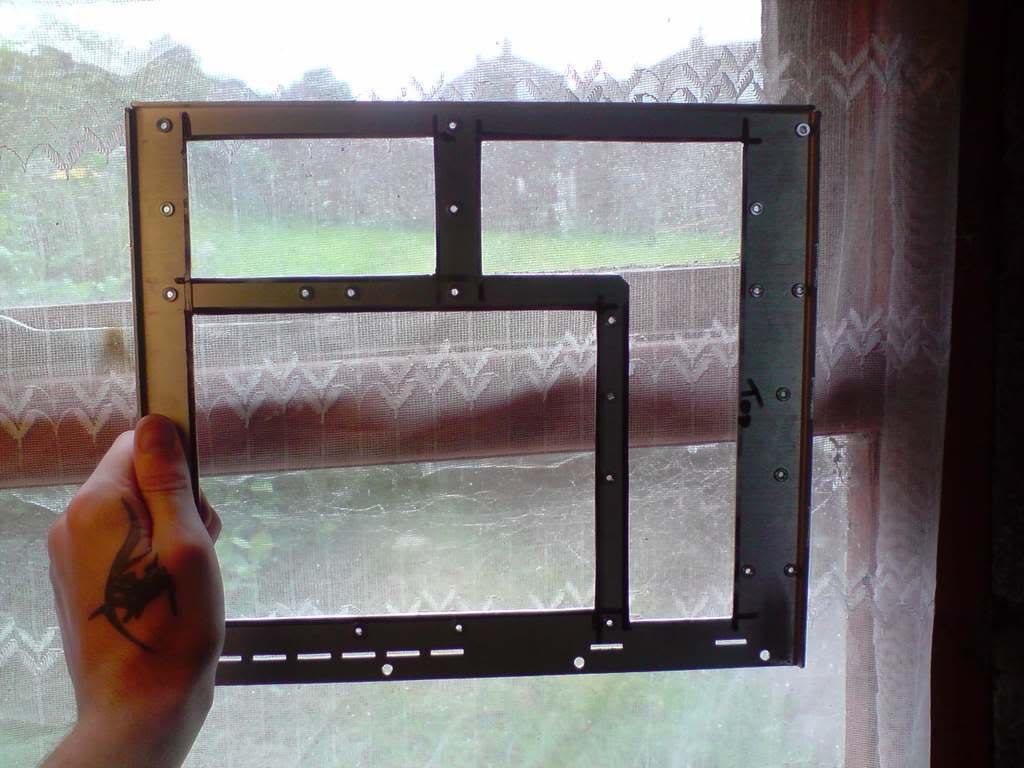
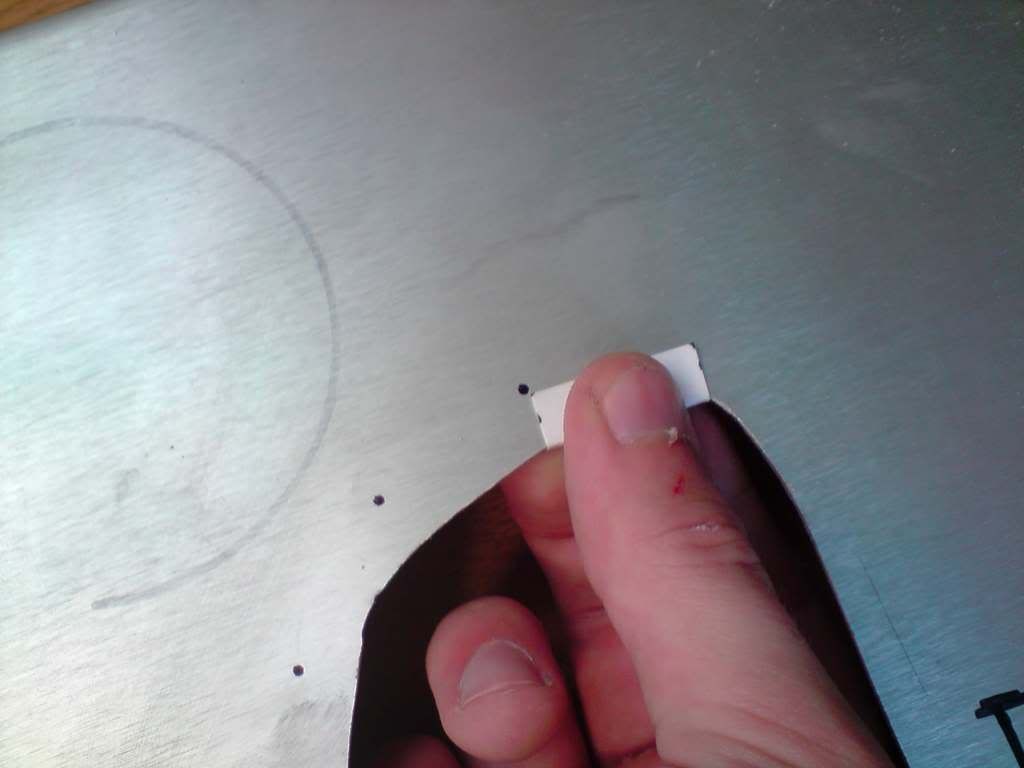
Did some cutting to the mobo tray (cant forget safety glasses )

P280508_203701.jpg


Some tidying left to be done

P280508_2057.jpg


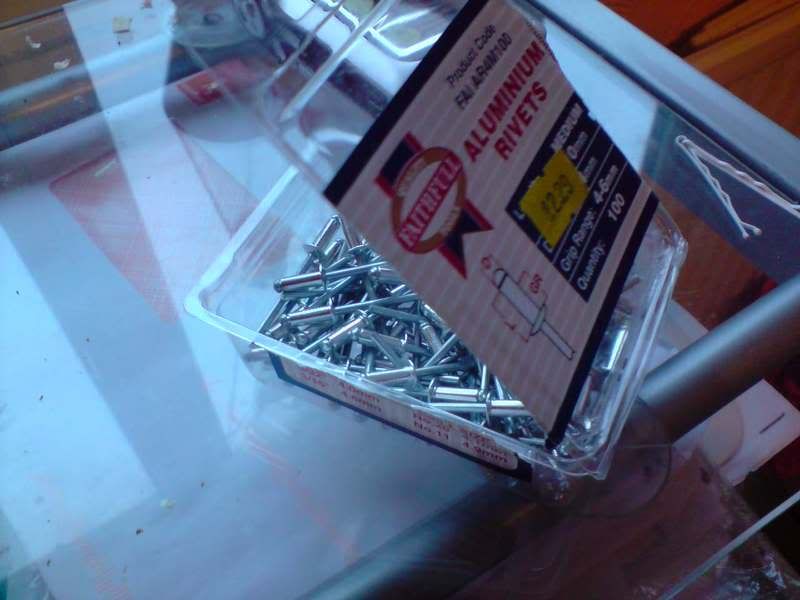
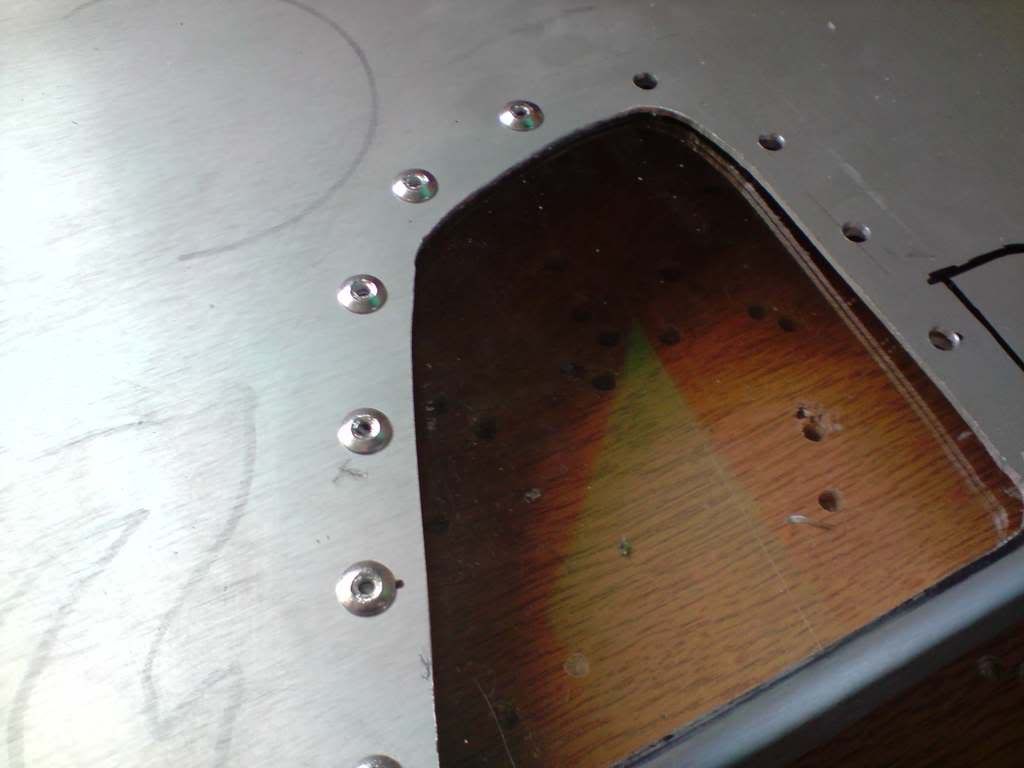
Then after removing the rivets on the case ( they were small rivets and I only own 4/6mm rivets, so on that note, I just re-drilled all of the holes out to this size, meaning a load of old rivets are now a permanent fixture on my drill bit ) ROFL!!!

P280508_203901.jpg


P280508_2038.jpg


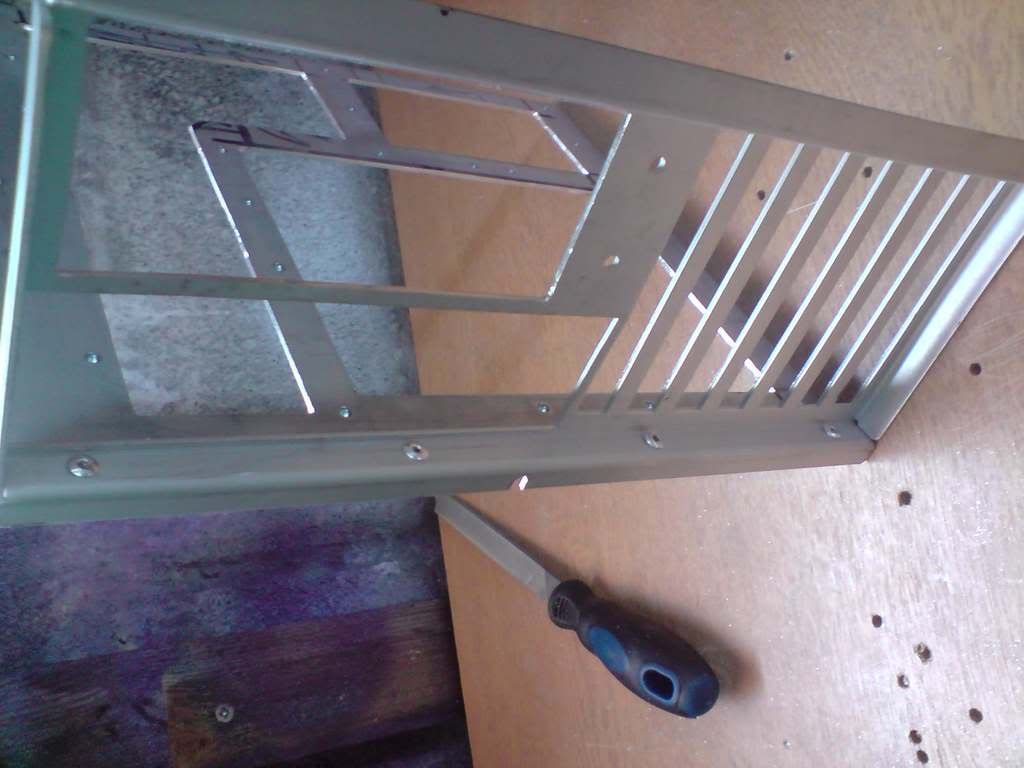
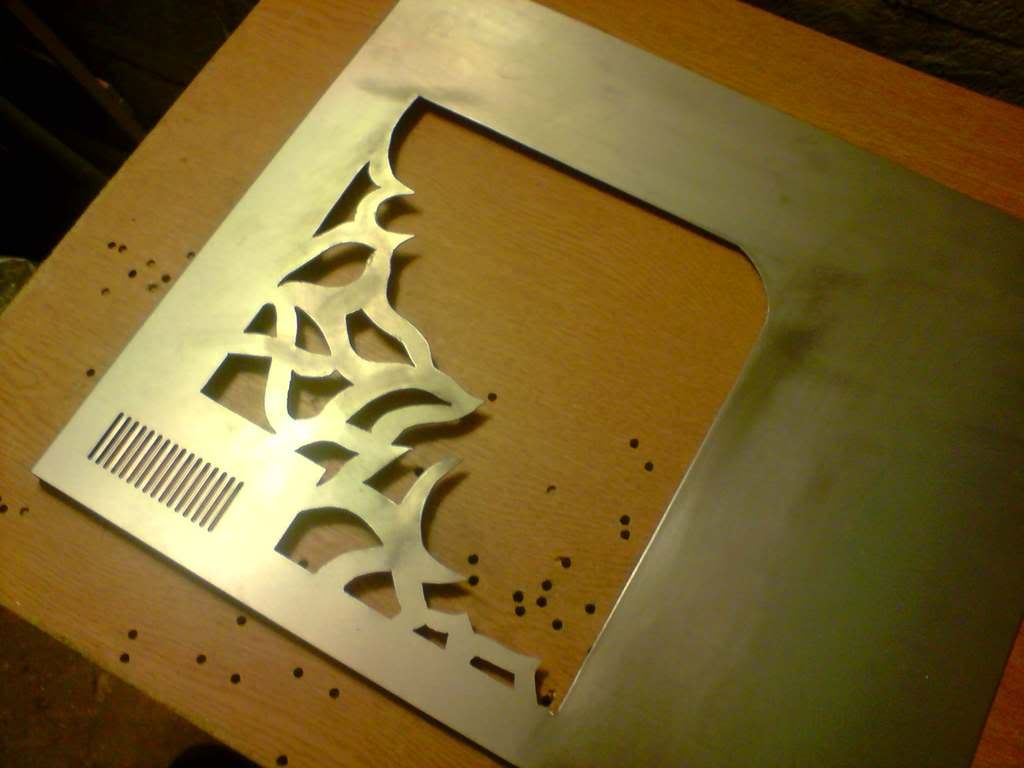
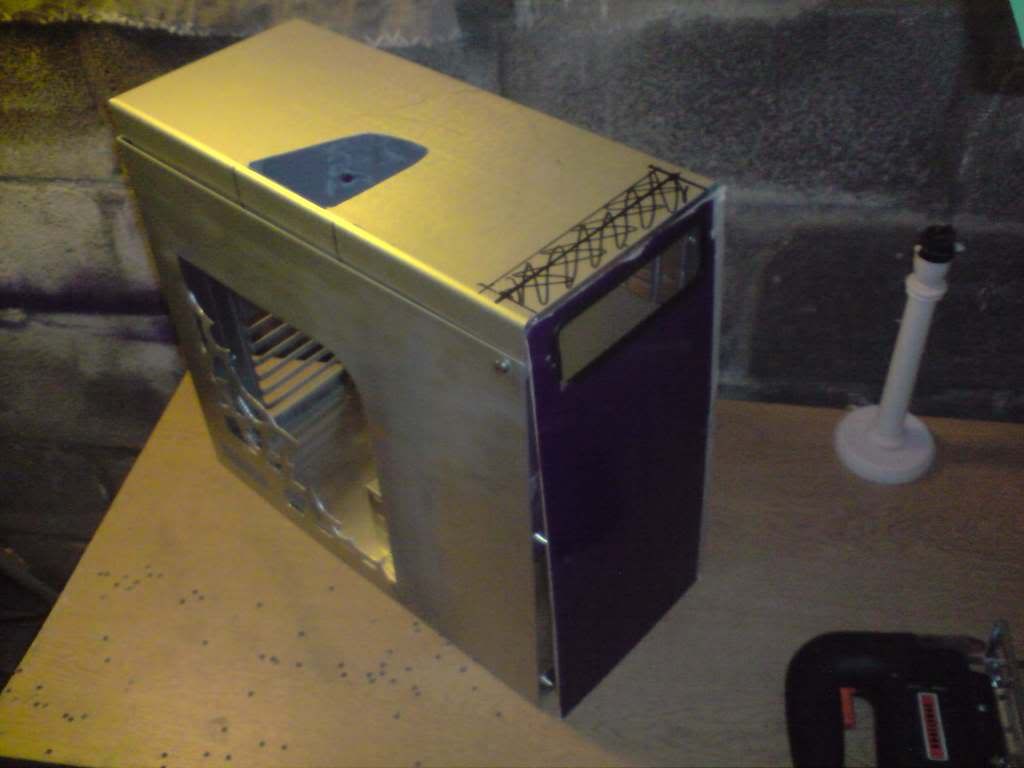
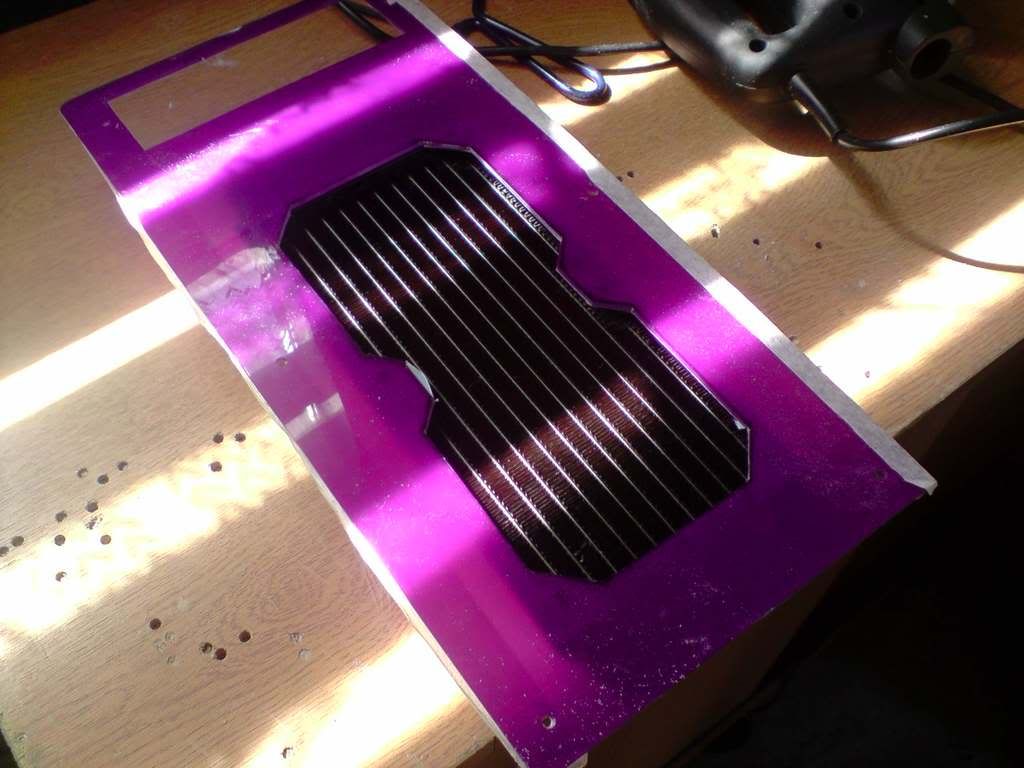
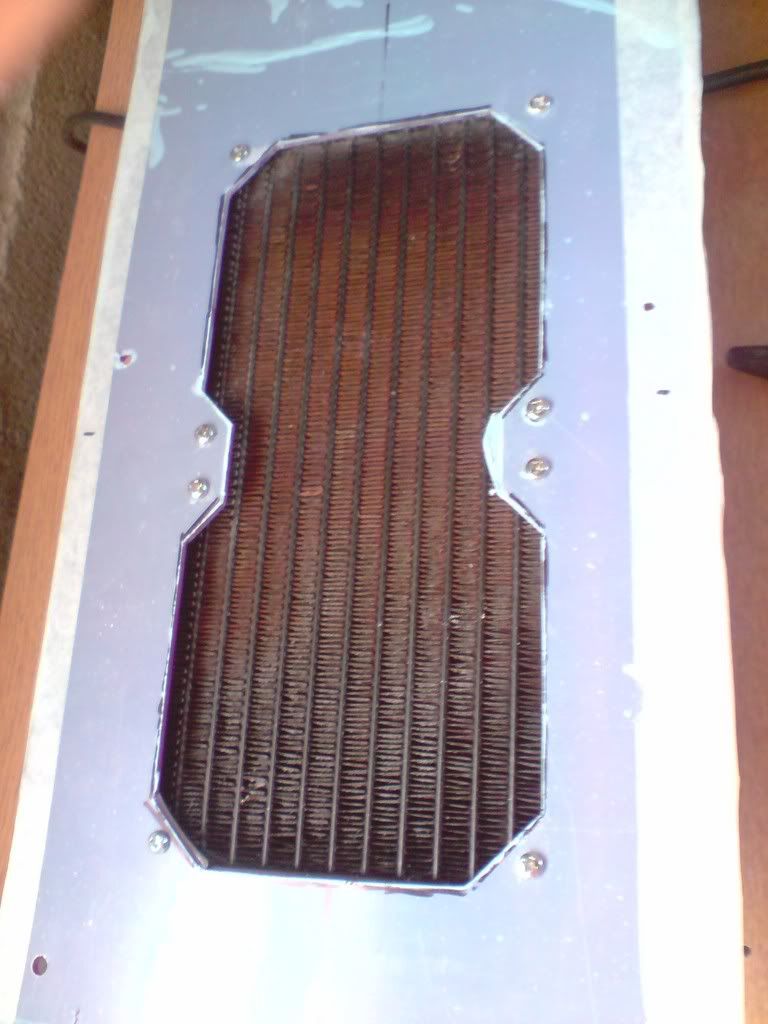
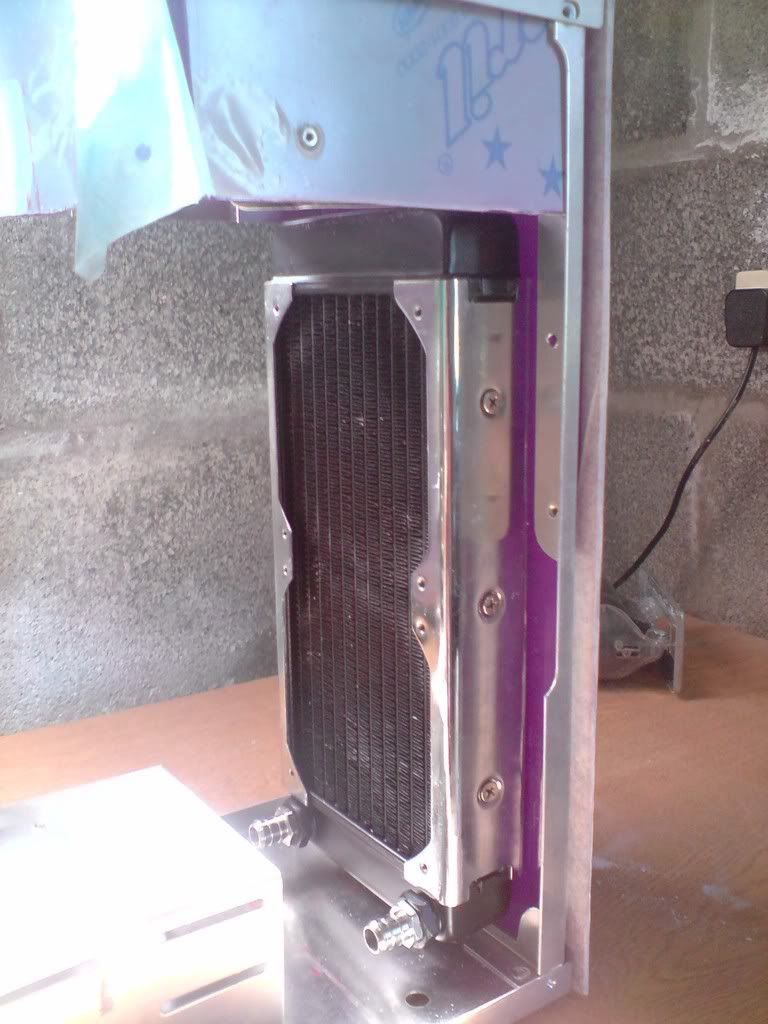
The next bit was to cut out the front for the rad after it was marked out.

P280508_203803.jpg


Started to fill my bin with scrap metal.

P280508_2039.jpg


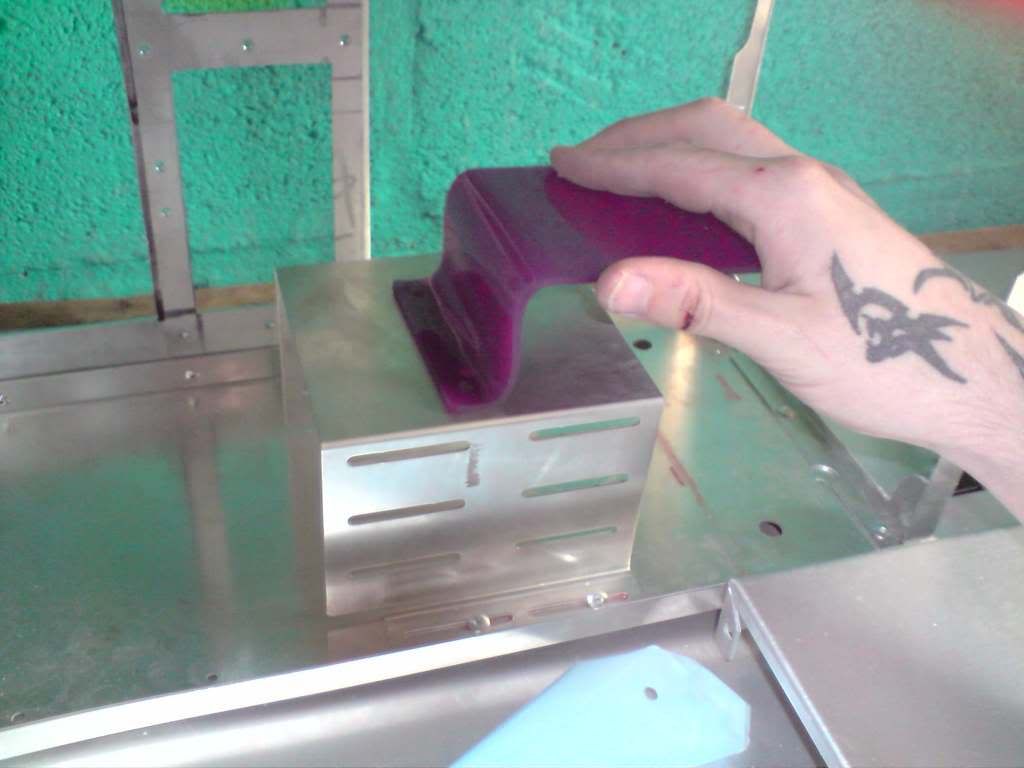
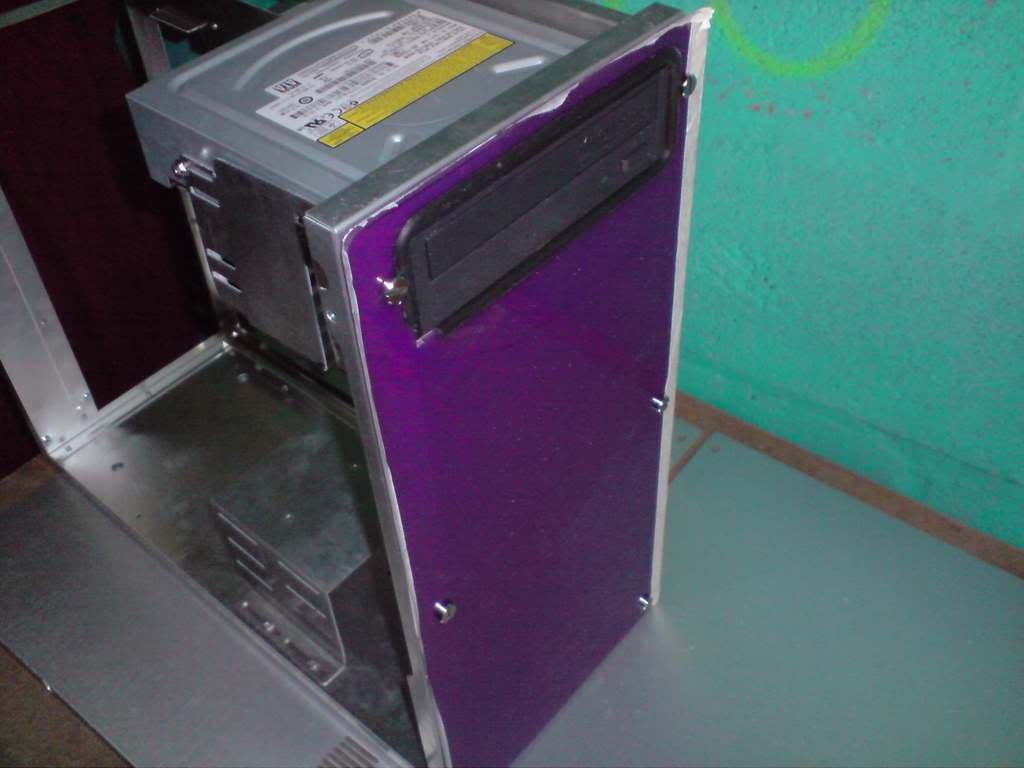
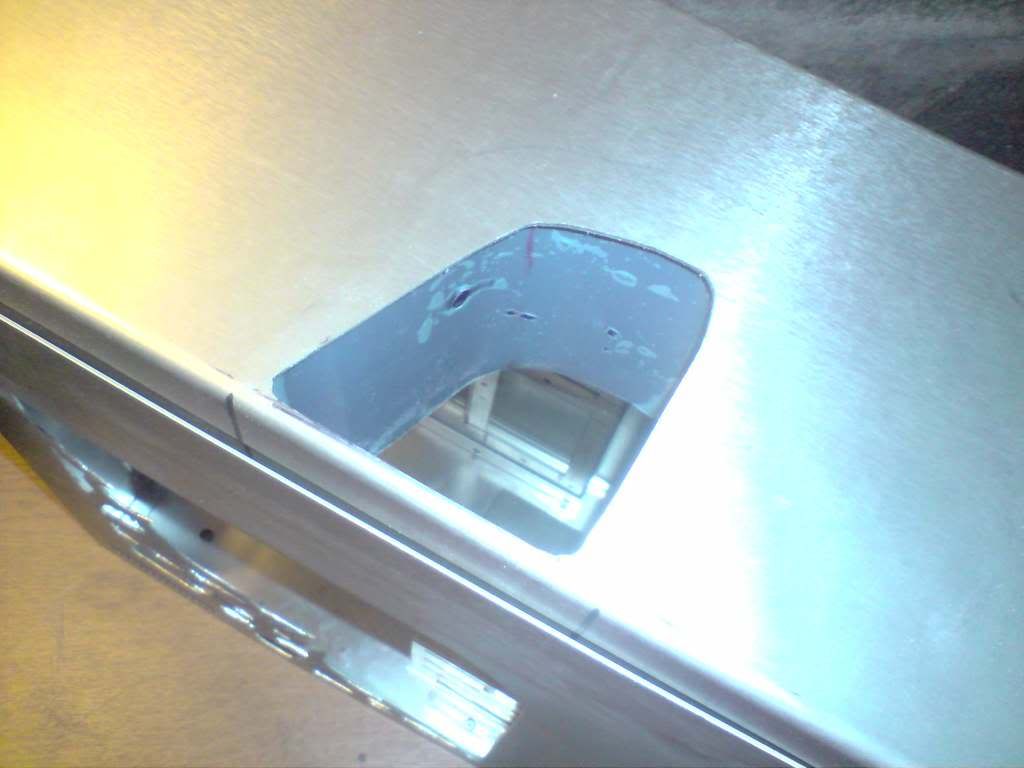
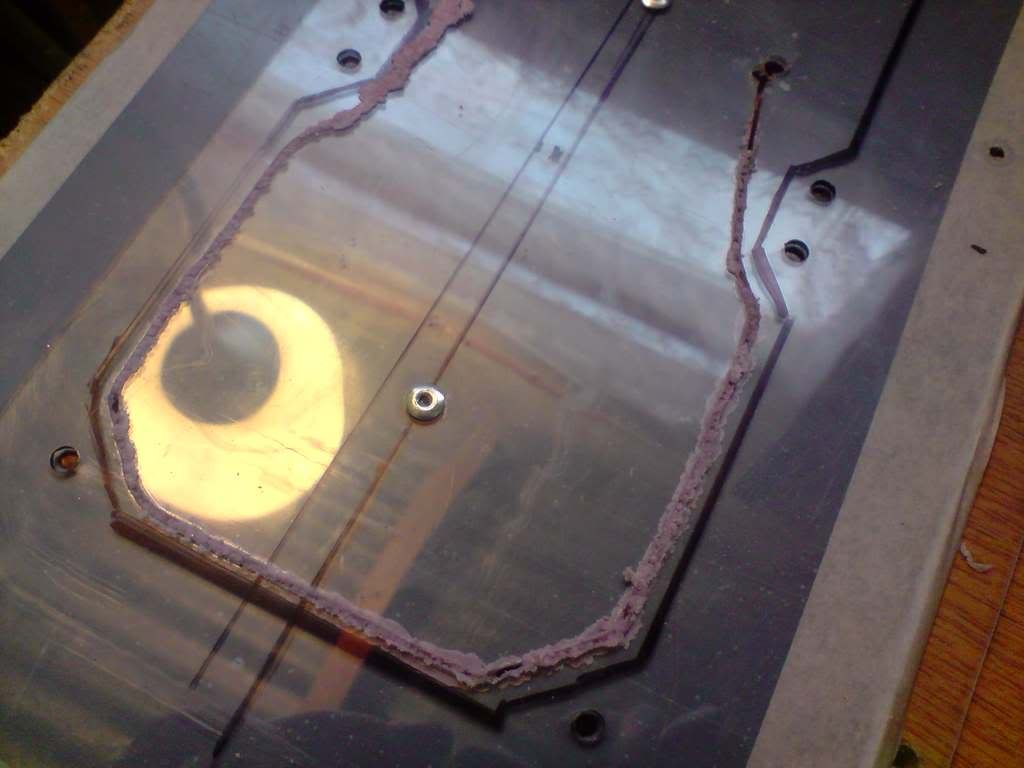
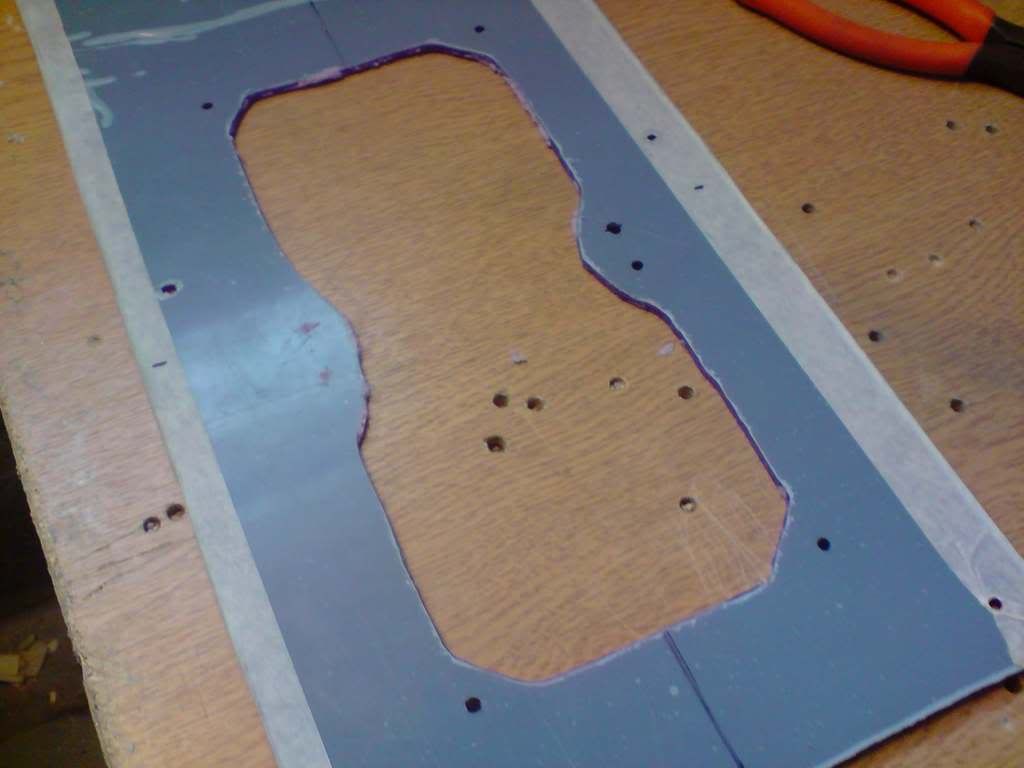
Then I moved on to making my acrylic front for this project.

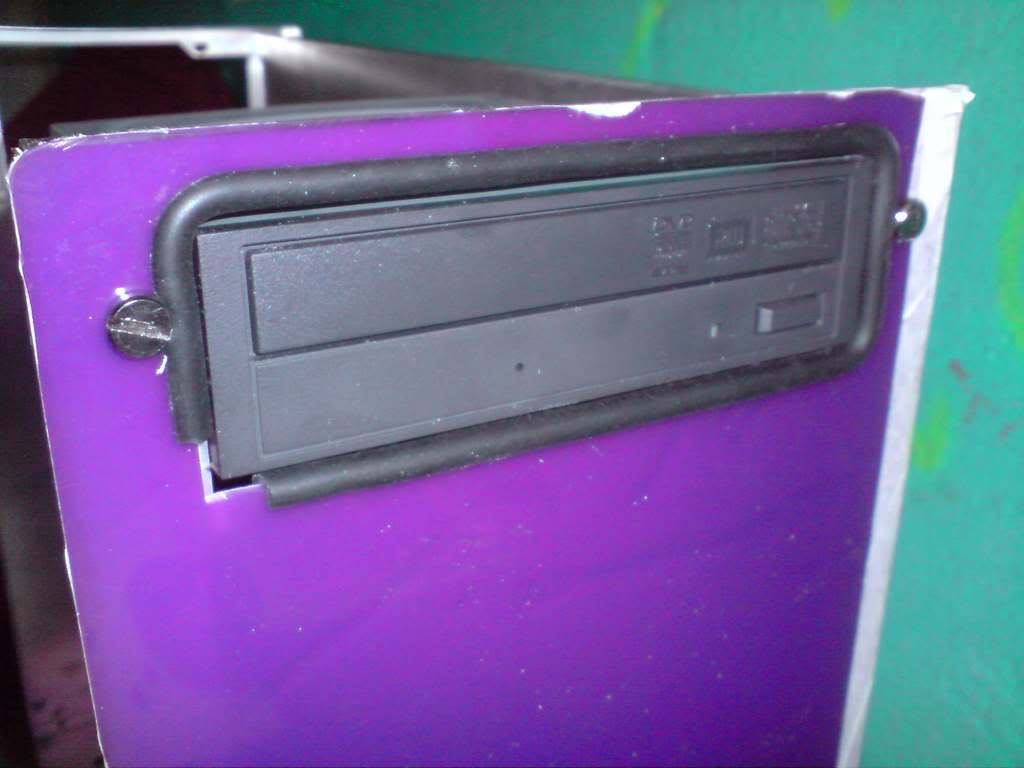
Cut it out, then made the primary cut for the drive bay area, I still have a little thing to do to this, which I think will make this mod look great and then finishing touches (finishing it up, tidying edges etc).

P280508_192402.jpg


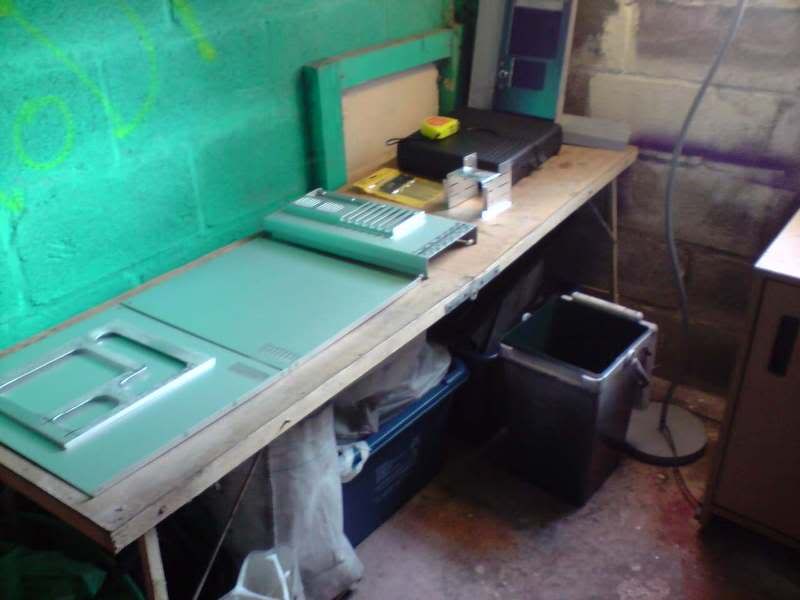
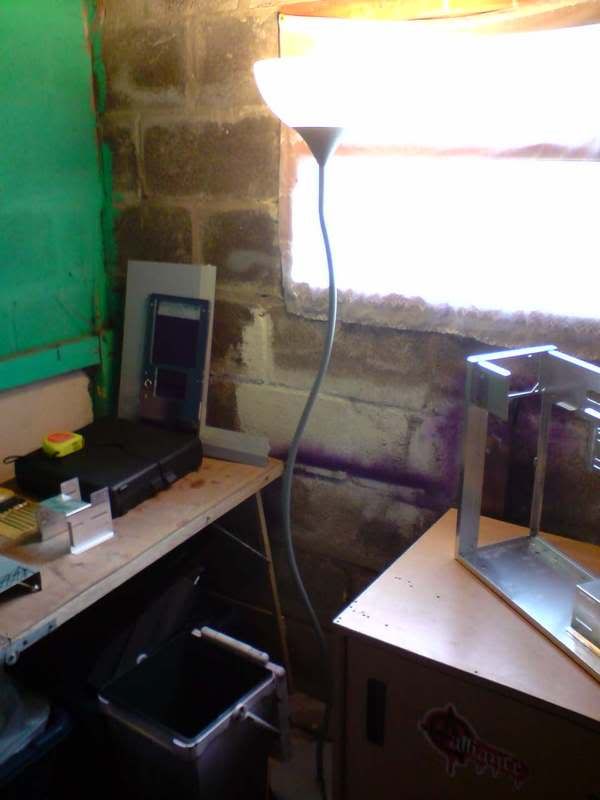
I then had to stop doing this, as I had to do a move. I thought, RIGHT, I need space, out to my shed I go. So i took out my unit ( threw it down the stairs and out the door then dragged it round) to the shed and propped up my old wallpapering table for some extra space. Rigged up some extension leads and stole the lamp from the living room.

P290508_194701.jpg


P290508_194703.jpg


P290508_1947.jpg


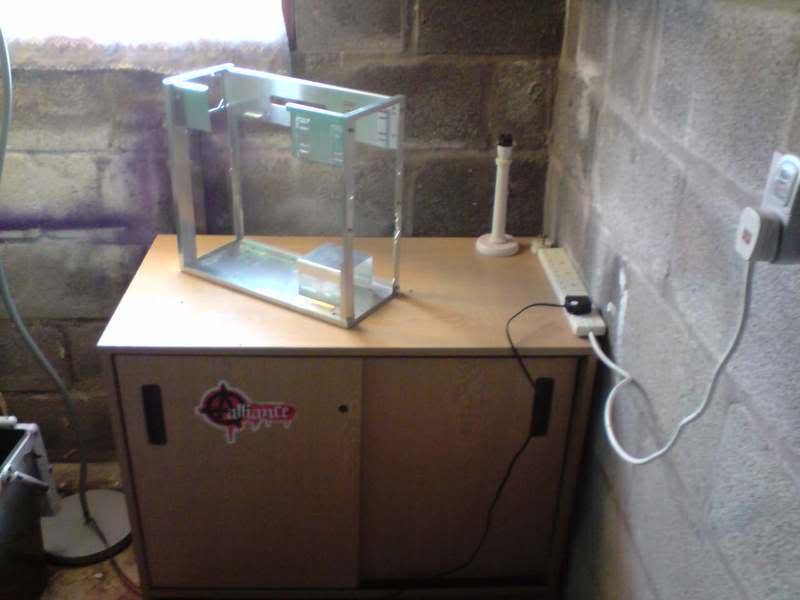
Im going to hopefully get on with some more today. So all being well, I shall do an update asap.
 
name='Pseudonym' said:
woop woop. Good start.

Loving the drill bit. Sorry to hear about your file. Hope the loss isn't too great for you.

It was my favourite tool. I dont think anything well ever replace him. :(
 
anticipating this as I purple can be a wicked colour for a mod.

if you are using, and more importantly have found, purple LEDs then give me a PM with a link :)

or, if you can't find any, my idea, devised by other forum members, was to purchase superbright white LEDs and paint them purple.
 
name='DaveVader' said:
anticipating this as I purple can be a wicked colour for a mod.

if you are using, and more importantly have found, purple LEDs then give me a PM with a link :)

or, if you can't find any, my idea, devised by other forum members, was to purchase superbright white LEDs and paint them purple.

Paint LED's? with what sort of paint???? It would'nt get an even coat, surely.

Iv got a good shop in town which im going to buy something from and possibly mod for the lighting.

Have you considered something like...

http://caraudiosecurity.com/shop/product/products_id/6080/referer/rc_froogle.html

and modding that???
 
yeah, I found a lot stuff like that on eBay. You can get things such as glass paints etc. The whole part of modding is trying new things though I suppose; I'm sure I will post up my findings with whatever I do.
 
UPDATE TIME!!!!

Did some shizzle todays, lmfao,

First off, bought me a new file, as you know, my last one broke, so i bought a BEEFY one!!!

HOO YAR!!

P040608_1424.jpg


Then mainly did some filing through the day, did the mobo tray (decided to make it square edges instead of round ):

P040608_175902.jpg


P040608_175903.jpg


Then i put some nice new rivets in it to make it all lovely and strong again :

P040608_1804.jpg


P040608_1805.jpg


Then i rearranged the pump mount (made a new one from some scraps) :

P040608_193702.jpg


Redid the front of the case, making way for the rad, thought i would neaten it up and get rid of the chunky bits, now there is no support at all so think i may buy some tube steel to slap in there, i think it needs it quite badly now. :

P040608_1758.jpg


Finished the front cover to the extent where i can now test fit it (its all nicely fitting, and thats masking tape on the top and sides, not chunk missing XD ):

P040608_2016.jpg


P040608_201601.jpg


And a sneaky peak as to what i plan on doing to the top:

P040608_193701.jpg


Cheers guys.
 
Cheers tox. I shall let you all know. got an update for you tonight as it happens, just nursing a cut thumb XD
 
Another Update

So, this is what I managed to do today.

First of all, I have something to say, needle file + slippage = PAIN!!!

P050608_2123.jpg


Right, to the work of today, first off, I decided to make a window on the top, dont ask me why but hey, I though it would work well with the acrylic iv put in there.

P050608_225701.jpg


Then had to think about something to do for a side panel design, and in the end i managed to come up with this.:

The desgin drawn on the back

P050608_225202.jpg


All done

P050608_225201.jpg


Id like to mention that ALL of this was done with only a jigsaw and a set of file, hence why my wrist is now dead. :(

This is a little mock up of what iv done so far :

P050608_2257.jpg


P050608_225601.jpg


AND, whilst just being sat here i have come up with a great idea for the top of the case, which means a hell of a lot more work for me tomorrow. oh well, better than college work i suppose. :p
 
name='Bungral' said:
dude.. your blood looks like paint!

go see a quack!

HAHAHAHA!!! i think it was just the flash tbh bud, makes it look a bit funky, its a nice colour though, got me thinking about what colour im going to chose now for the case... ;)
 
UPDATE

Due to being occupied, I havent got much done, but here is something that i have done ..

First thing i wanted to do was cut out the area for my rad (im not going to use a rad grill for this one as im cheap!!

I made myself a template out of some clear acrylic as i thought it would be the best way to get a completely accurate measuring of the holes and the size of the area i would need to cut out.

So once making this template, I rivetted it to the front panel, making sure it was all aligned properly and in the correct place.

P070608_2031.jpg


After cutting around the shape in a kind of quick manner, (not neat at all but leaving myself a load of room for mistakes)

The 2 pieces melted together, but hey, this was easy to fix with a quick tap ...

This left me with a lovely shape

P070608_2034.jpg


After a few minutes of filing and shaping I came up with this, and mounted the rad to see if it would fit properly, and to see what it looked like.

P080608_1520.jpg


P080608_1614.jpg


P080608_1617.jpg


P080608_161702.jpg


Then time for a lovely icey drink...

P080608_161301.jpg


After doing that, it was time for some correcting. I realised the pump mount was sagging, sooooo, i had to bend it again back the other way...

Before :

P080608_1740.jpg


After:

P080608_193101.jpg


Then time for some more modding.

I decided on where Im putting the res, so, it was time to make the top sturdy enough for what im going to do.

I wanted to make it look sexy, so, time for the drill, some scrap acrylic and a rivet gun :

I used a piece of paper to make sure all of the holes are in the right place:

P080608_182301.jpg


Then I drilled it out:

P080608_1828.jpg


Marked and drilled out the piece of plastic to test fit and to see what it was going to look like (this is going to be white acrylic in the end piece :

P080608_1835.jpg


Looks good hey??/

And thats it for the day guys.....Cheers for looking
 
That looks good you're pretty handy with the old DIY tools mate (y)

liking the way the rad has a custom cutout, looks real smart.
 
cheers man, Its nearly completed actually, so shouldnt be long now until i get it powdercoated and we can see how nice it really looks.
 
Back
Top