ShortAlieN
New member
Very nice build. Great ideas in there.
I don't even....

Really like the look of this
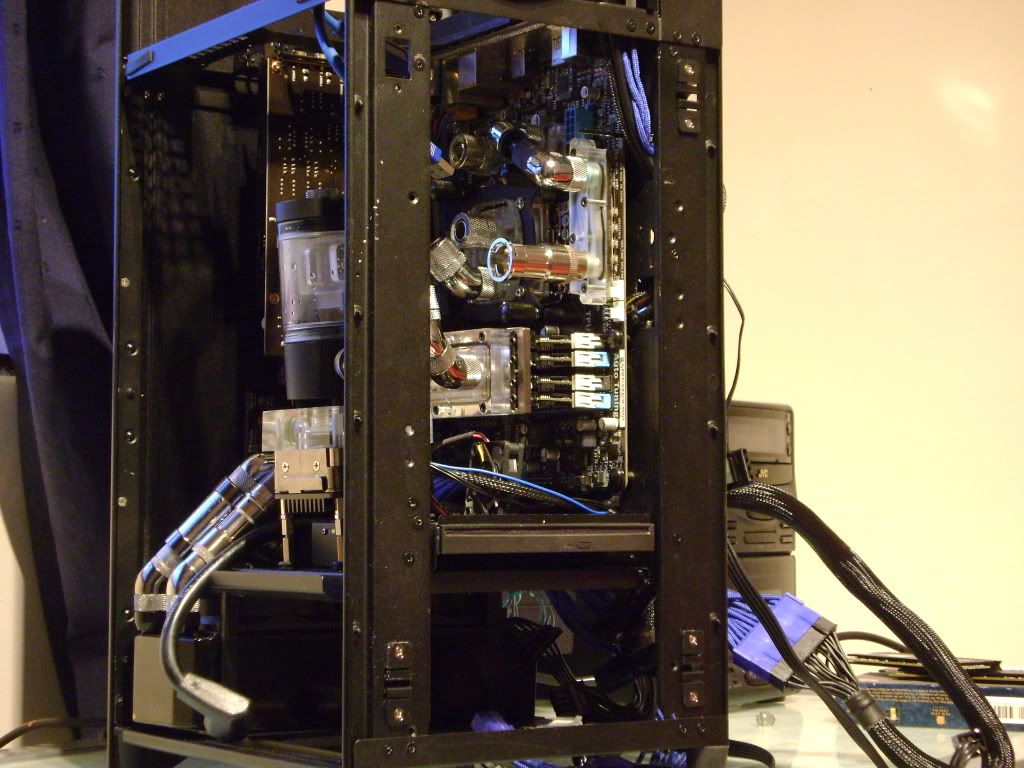
Never thought i'd see a watercooled FT03 build, nice job, it looks awesome
awesome bro and those temps are good considering its just a small rad

looks good m8
Looking really nice dude! Love what you can fit in such a neat and small case
Very nice build. Great ideas in there.
Looking really nice! But it seems you have a kink in one of the tubes, maybe you should check it.
what temps you get mate?
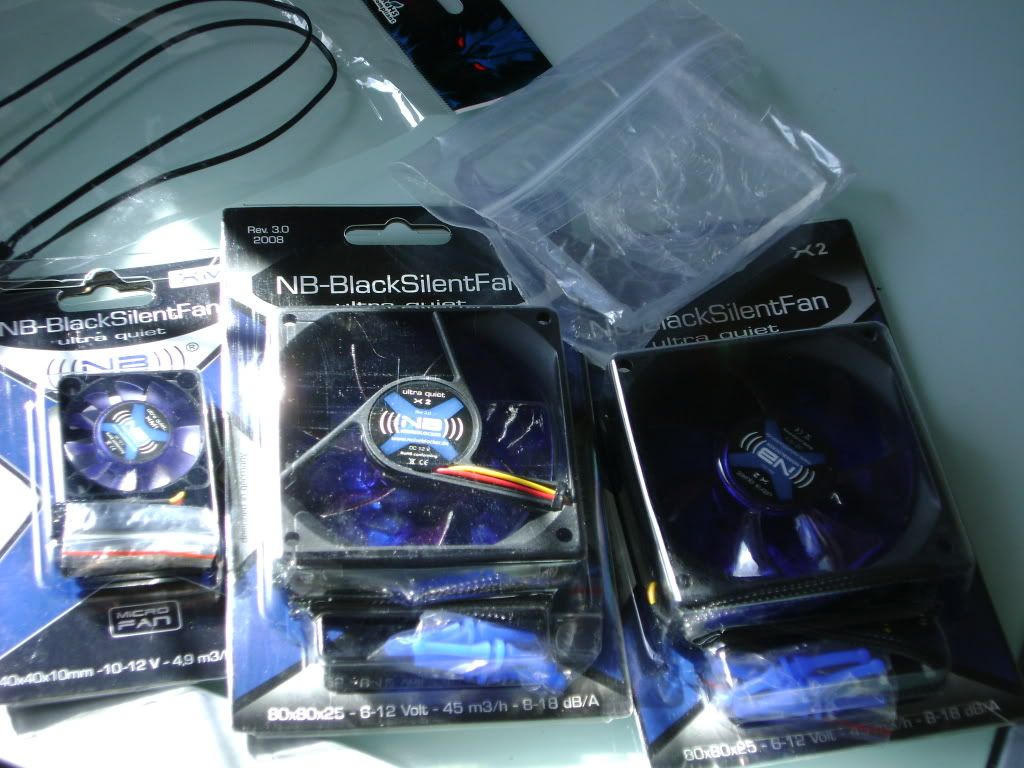


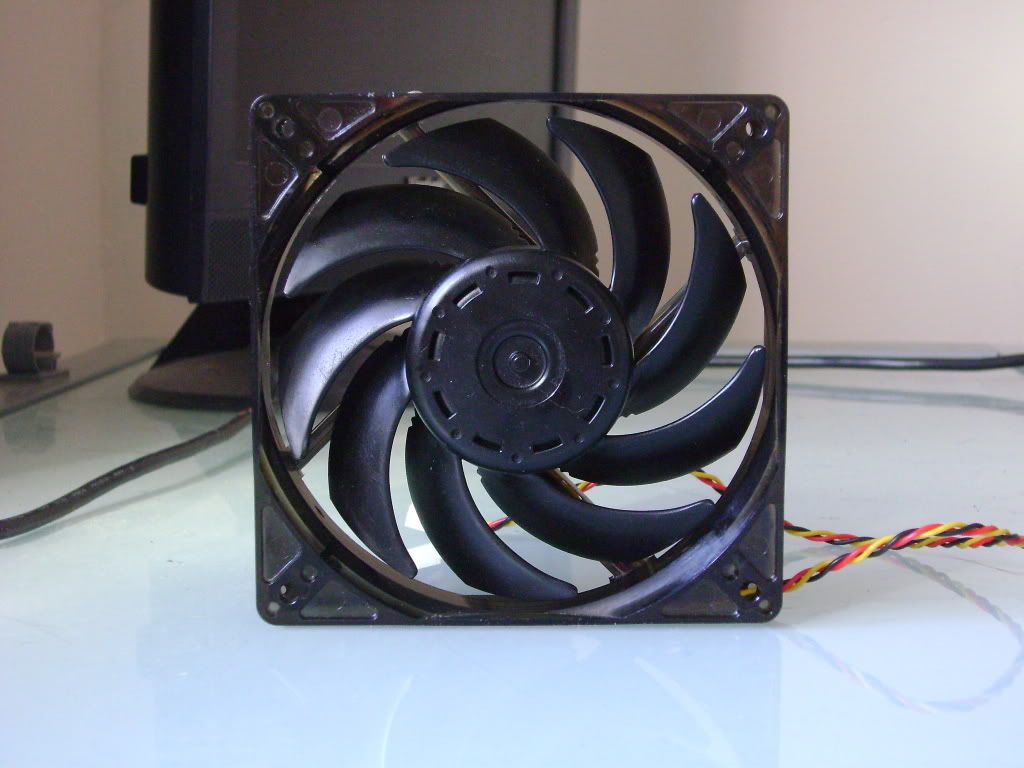
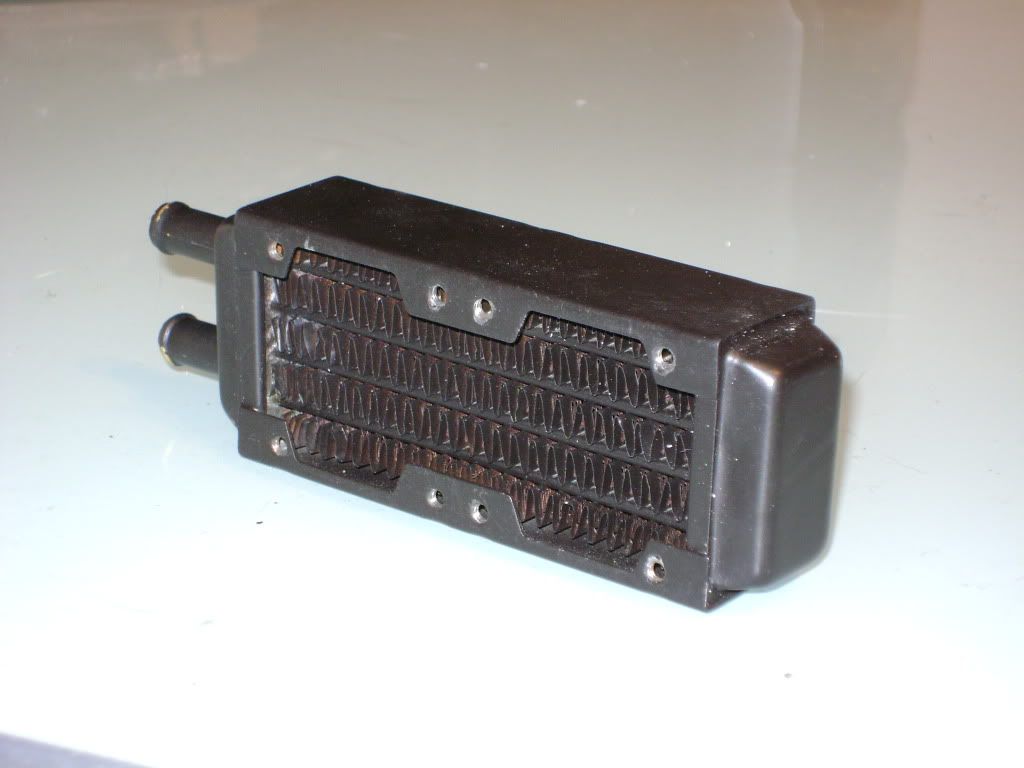
Time for noiseblocker action...
two 80mm X2 and a 40mm which i will use for the pump heatsink (I stuck a thermal probe in to the middle heatsink fin and it droppped the temp by 8'C!!! Happy days)
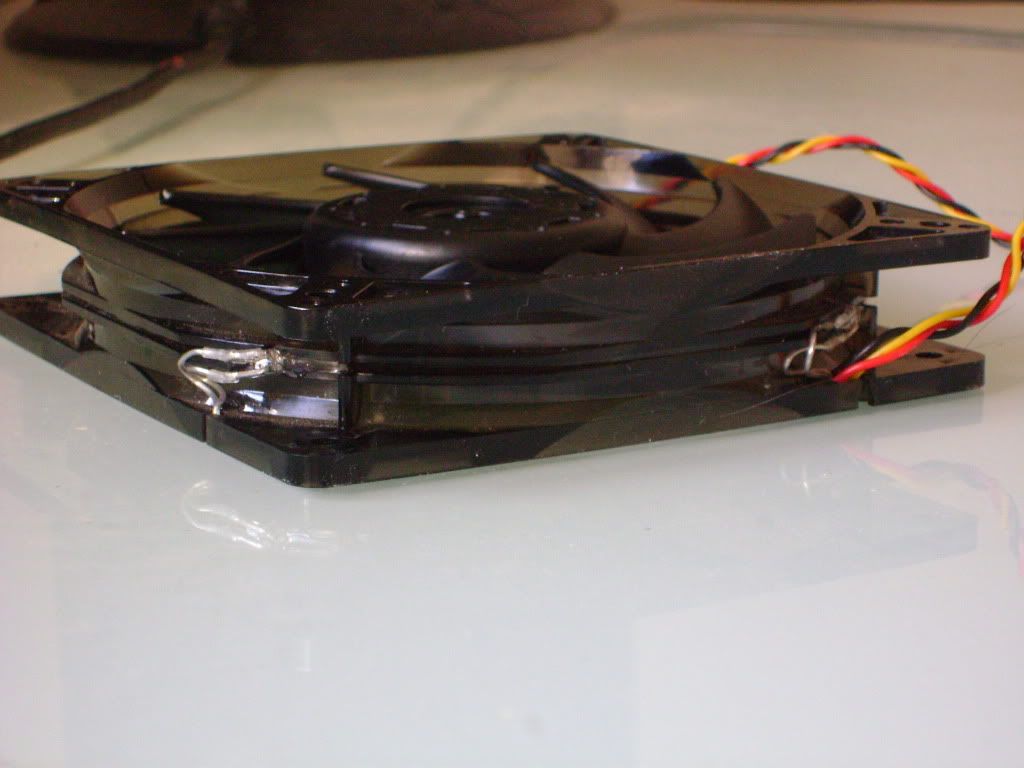
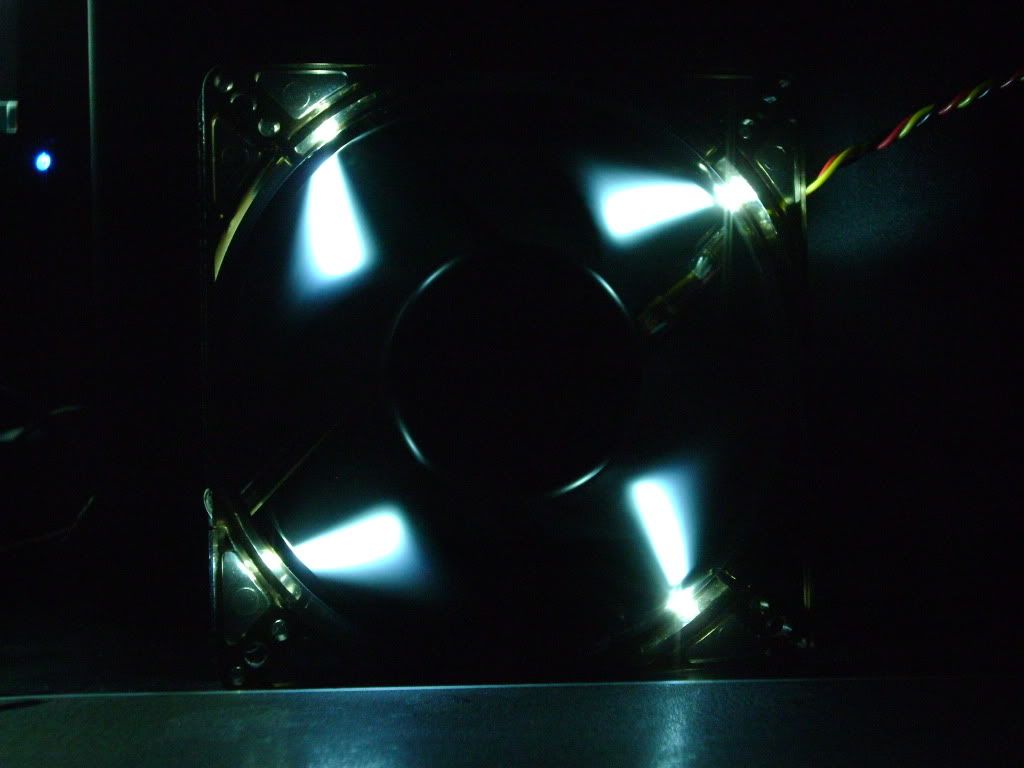
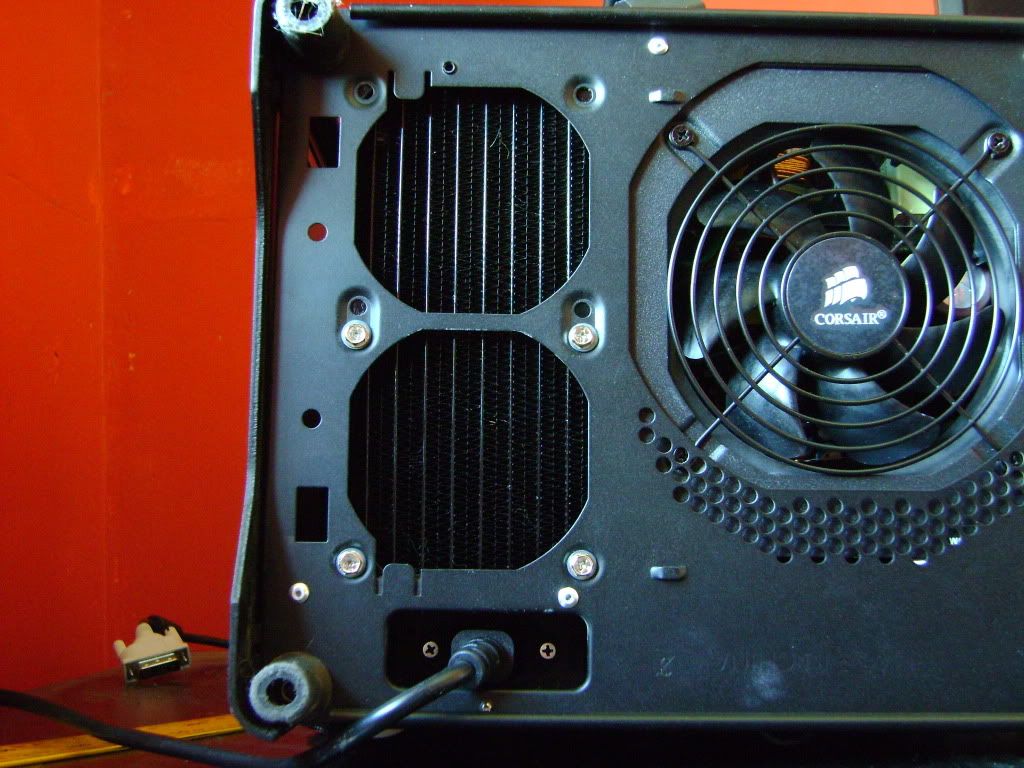
Mounted to the rad
HWlabs decieded to use standard 15mm fan spacing on their rad, I guess they designed this on a monday morning cause you dont need 15mm of space for 80mm fans lads
note its only screwed into the bottom four fan how mounts
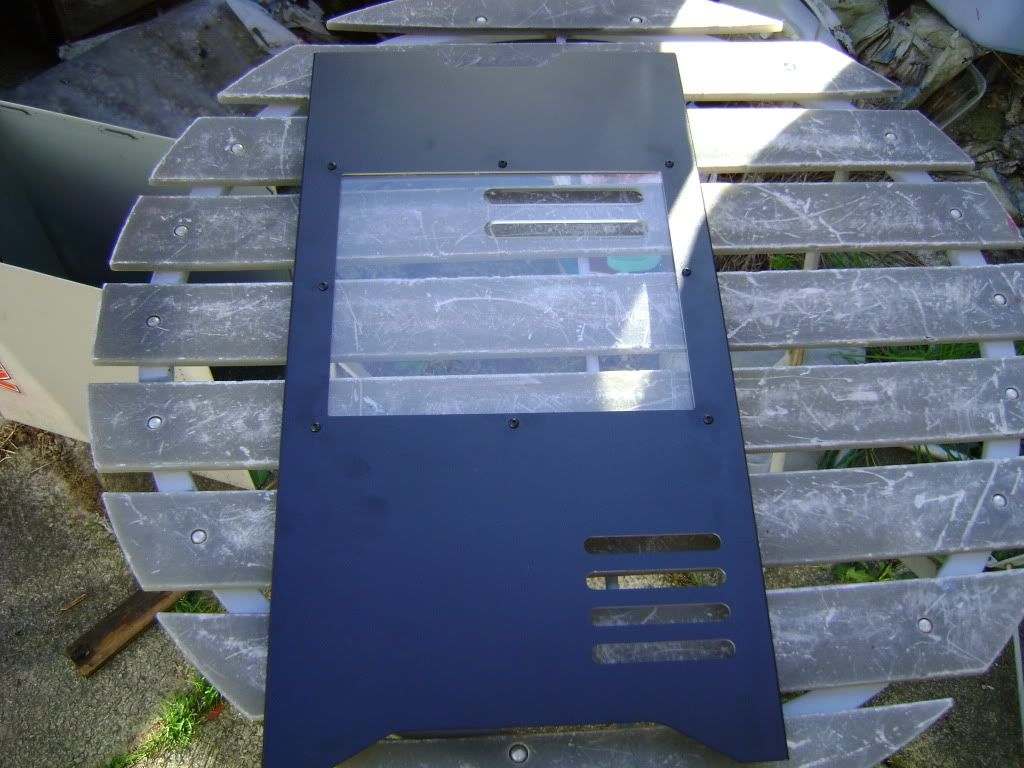
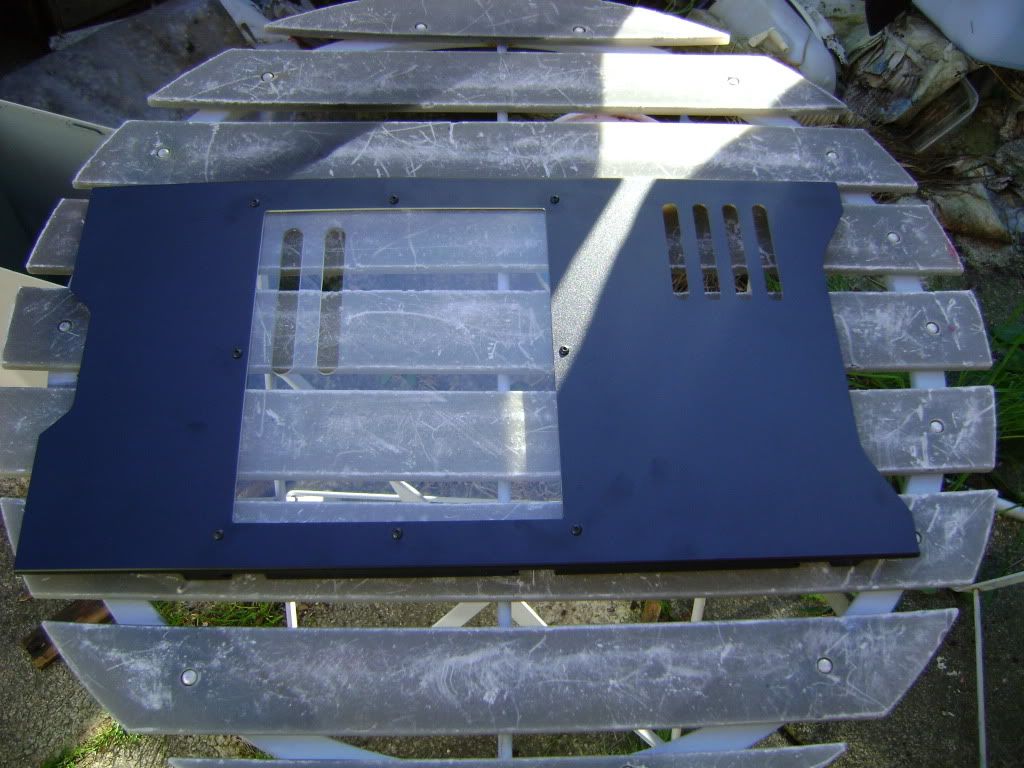
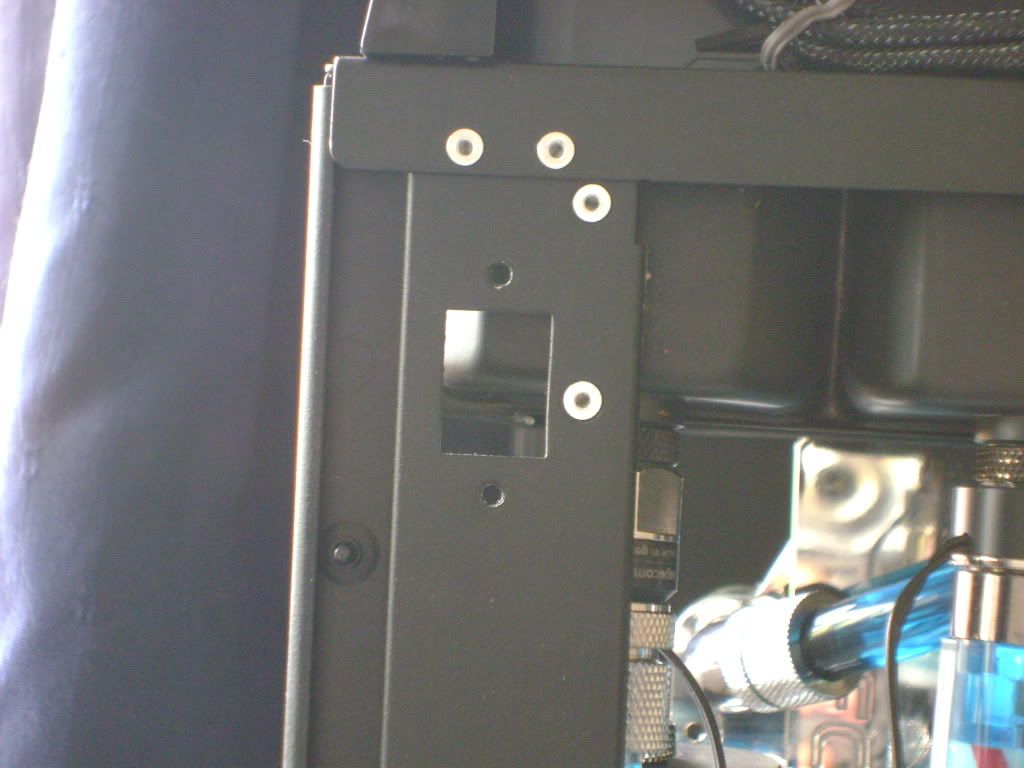
Forgot to mention before about the top 120mm rad if anyone else is thinking of tryign this. You will need to remove the top left front panel mount as it fouls the rad. Top right is fine so the front panel doesnt loose much rigidity, only a couple of mm of play at very most in the top left corner when its attached
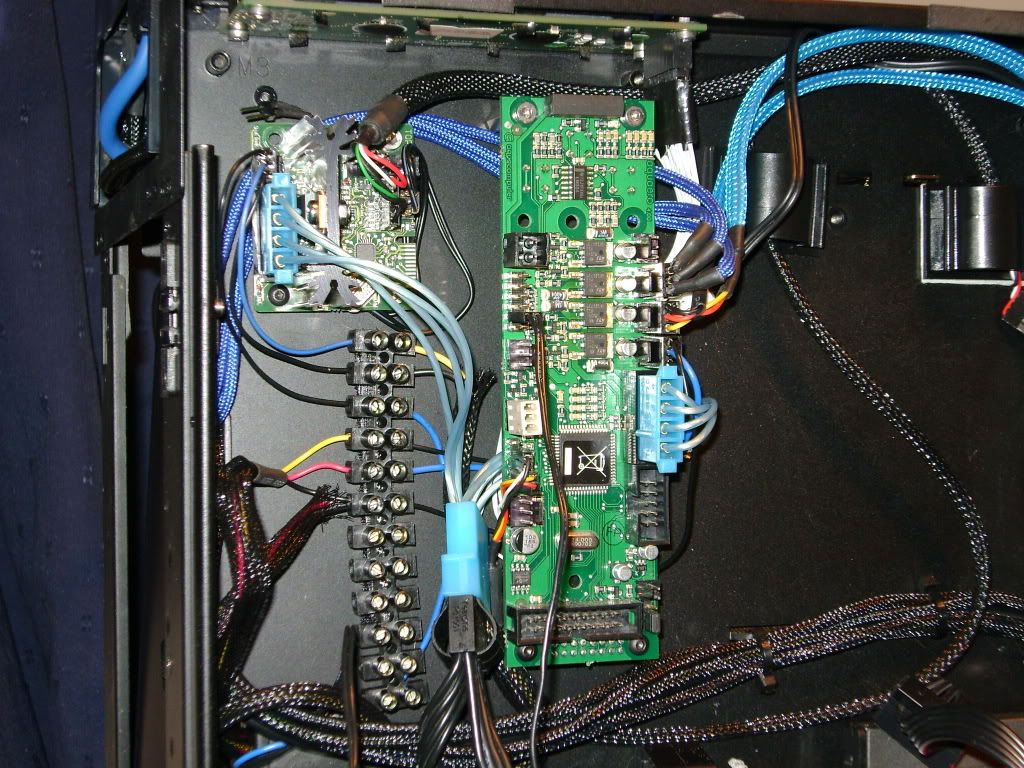
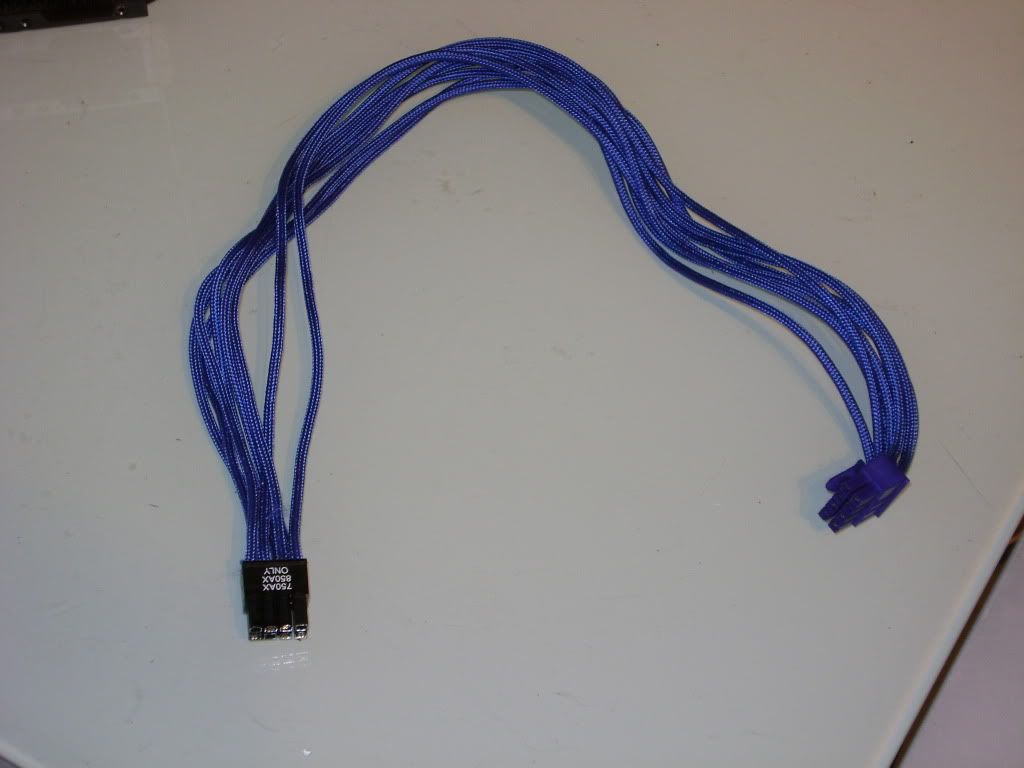
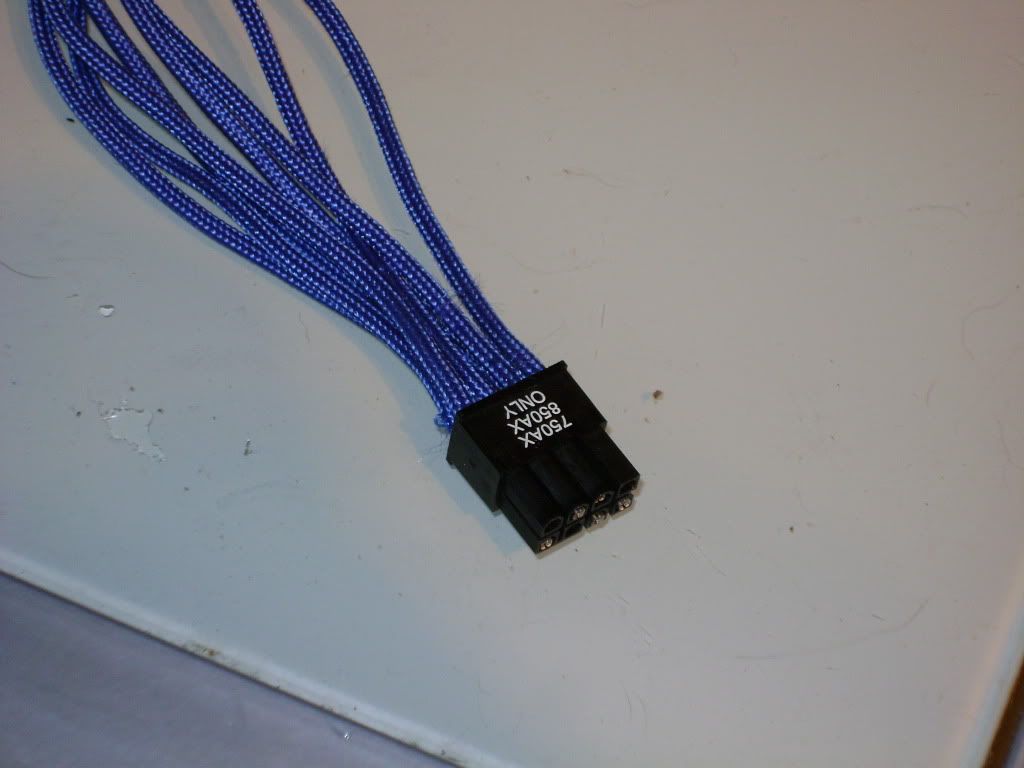
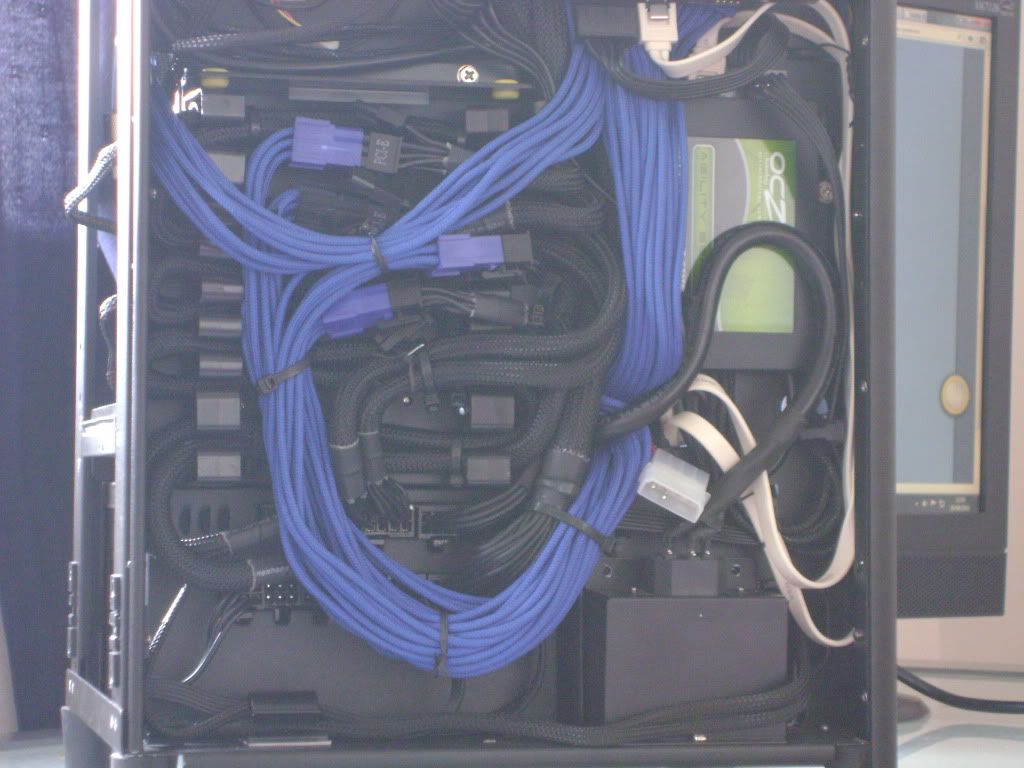
Onto the dreaded cable management
To sum it up I have got way to much cable in there but I really like the blue cable extensions. So at some point in the future I will have a go at making some short male to female adaptors so I can effectively plug the bitfenix extension almost straight into the back of the psu, but this is one definitely for the future as I'll have to source all the connectors first.
For now this is what I've come up with
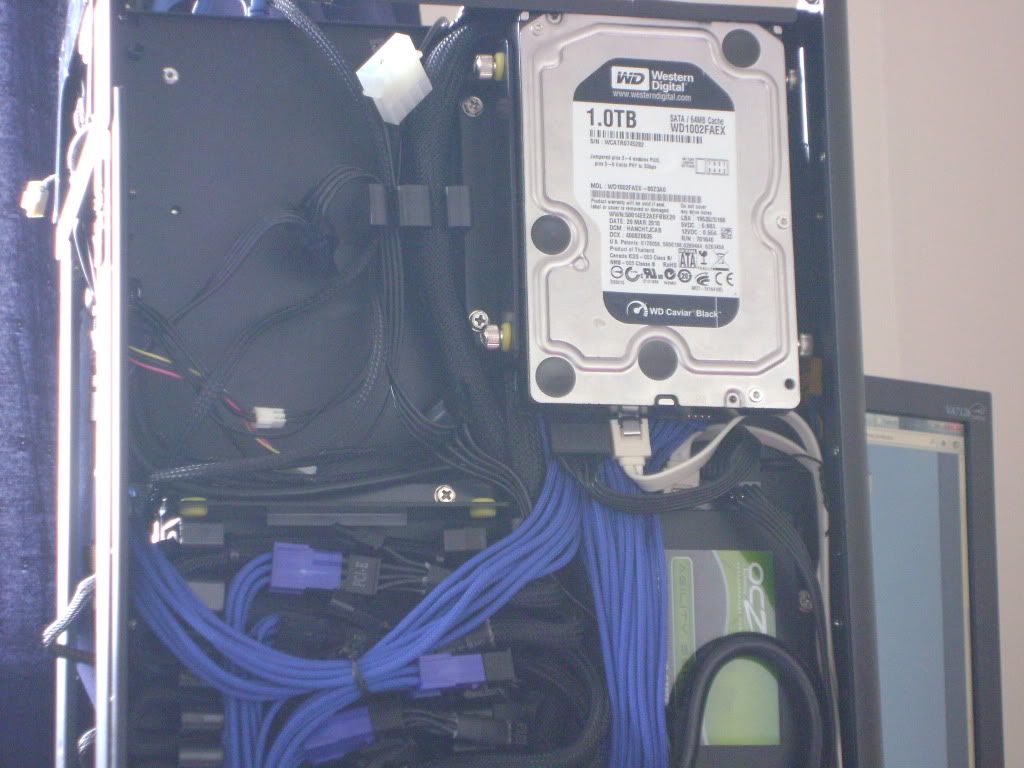
These cable are loose as this is where i plan to mount the fan controller
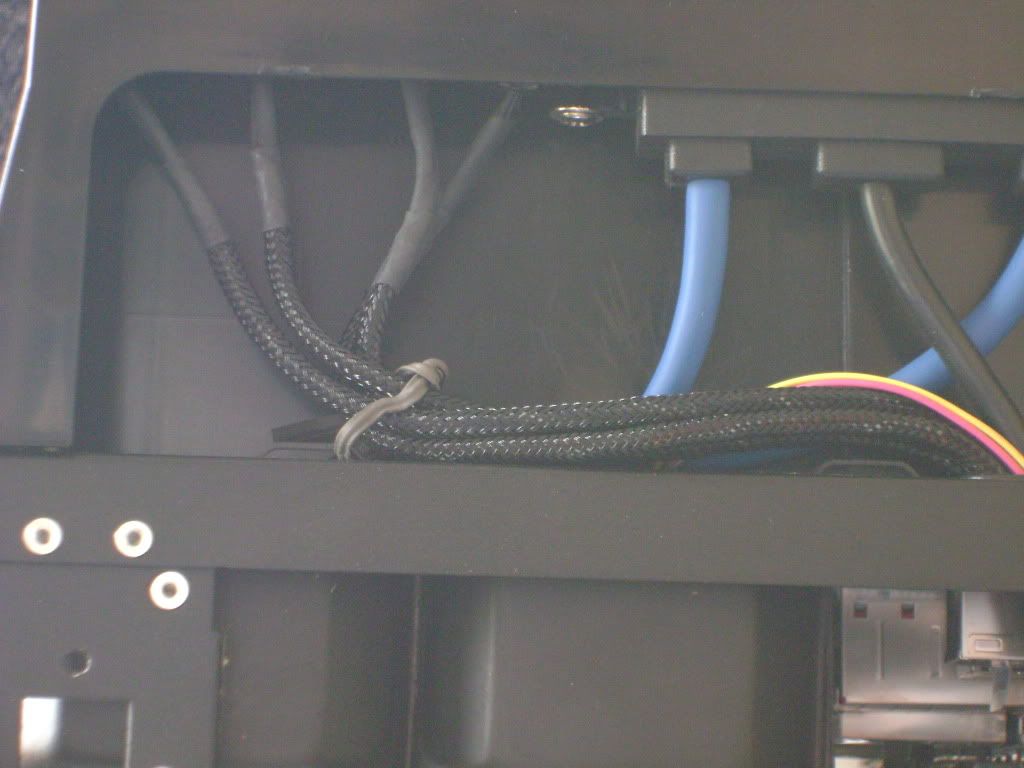
I black sleeved the front panel connections too
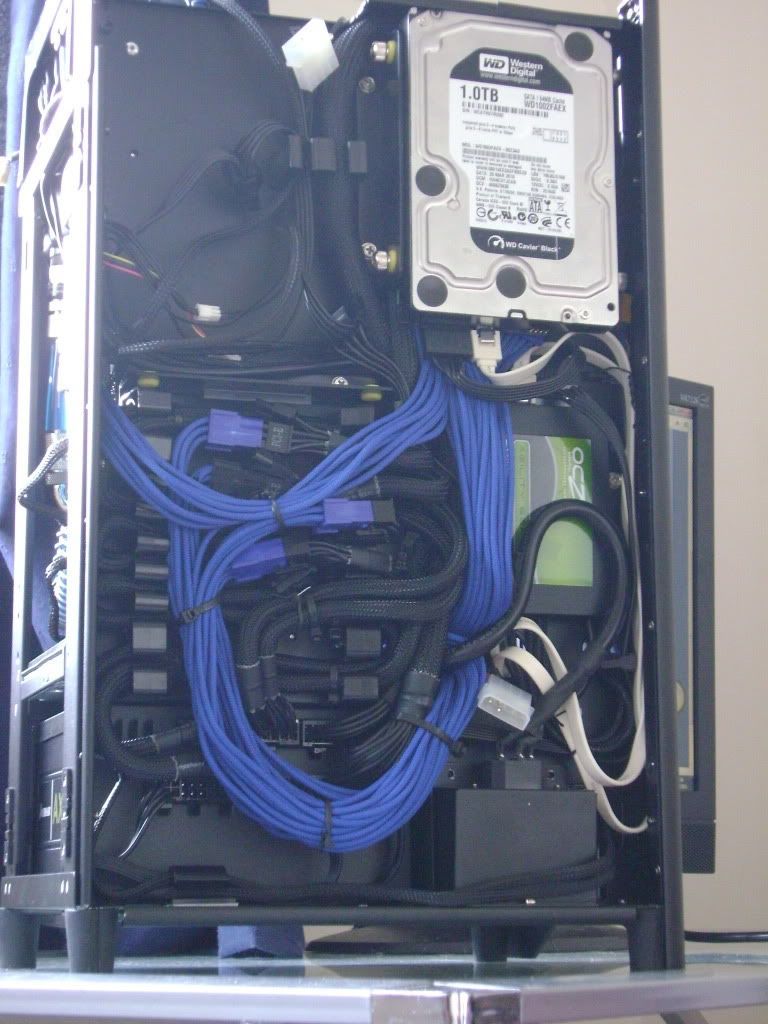
Well its not briliant but at least the back panel doesnt put up a fight when i put it on now and I rly cba anymore to try and find more nooks and crannies to hide cables, I'm gonna concentrate on workign out an effective way so I dont have to use any of the standard corsair cables.
Whateva you say dude but hats off to the stunning use of the space you got there in the case, looks very high-tech and awesome. Nice machinery, nice build.
very nice setup m8
Very cool - that cable management must have taken hours. Really good job.
Looks amazing
Hi,Found this build thread when it was mentioned in another topic, glad I did! What a fantastic build!Also I'm amazed how good your temperatures are, especially the GPUs, considering you're only using two small rads!I myself have a CoolerMaster 690 II Lite, which can have a thin 240 in the roof and a thicker 240 in the bottom of the case. I didn't think this would be anywhere near enough to effectively cool my 2500k @ 4.6 and a pair of GTX 570's (2nd one on the way) however it seems that I have more rad area than you available potentially!I will run my 2x 570's on their stock air coolers initially, with the CPU on its Antec Kuhler 620. However I might start building my loop with two internal rads and see how I get on. I can always get one of the large free-standing (or bracket mountable) external rads Tom showed me in another thread if it proves less than adequate...then I can use the spares to cool another PCAgain, excellent work and soo much crammed in there yet still looking good and neat.Cheers,Scoob.
I applaud your use of space. It's so much better than anything I could do.
Very nice tidy piece of work.Love the attention to detail, especially the cable management.Need to call it the Tardis, the way you've fitted more in than the laws of physics actually permint.