G-Dubs
New member
Wow thanks for all the great feedback, what a very warm welcome to the forum that was.
Having trouble with the multi quote, every time I clck the multi icon it takes me straight to the response page (me being dim i'm sure but if any sugestions)
Anyways I'll try to answer a few questions.
Planning on using 2x 120.2 in the top rear of the case as going dual loop. If I end up going single loop then may go for one of the square quat rads, as you don't see them used that often. I know Phobya do one but not sure if its only single thickness.
Hardware wise aty present it'll be just the i7 920 that I have in my current rig. It's doing me proud and I can wait for intels next wave for now.
WC kit wise i'm very much undecided and open to advice. I'm torn between very sexy looking cylinder res's such as the Danger den
http://www.specialtech.co.uk/spshop/customer/Danger-Den-RAD-Reservoir-pid-11184.html
I'd attach these to the rads and fans at the top rear. Only problem is the potential for spagetti trying to get the tubing around the place, including somewhere for the pump.
So the other option is a bay type res such as the XSPCs
http://www.specialtech.co.uk/spshop...C-Pumps-Multi-Fascia--DDCBAYTWO-pid-9975.html
but they can be a smidge on the noisy side if not insulated well.
Anyone got any experience of these? http://www.specialtech.co.uk/spshop...-Resevoir-6-Port--Clear--Black-pid-14066.html
Sorry about the loads of pics. the initial post was a catch up. Now you're all up to speed the posts will be smaller.
Oh and as for the loads of money if I mess things up. I wish I had loads, I work for the NHS as a Radiographer. Sure I get to play with Radiaton and a huge great Magnet (MRI scanner) all day, but I'm not going to be getting rich any time soon. I Just work hard, save hard and invest well.
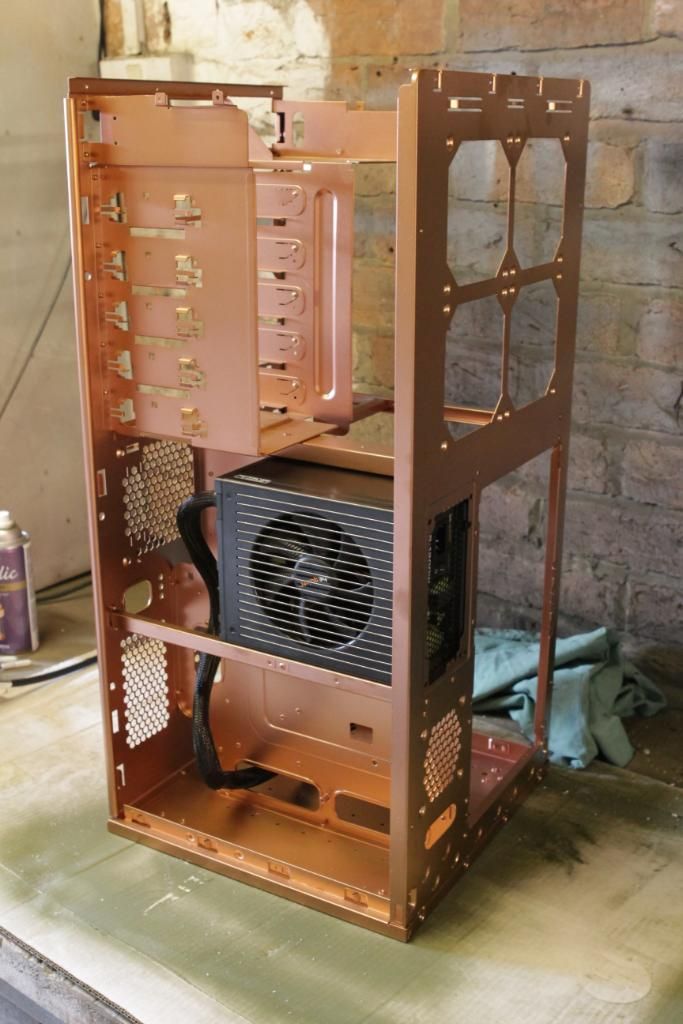
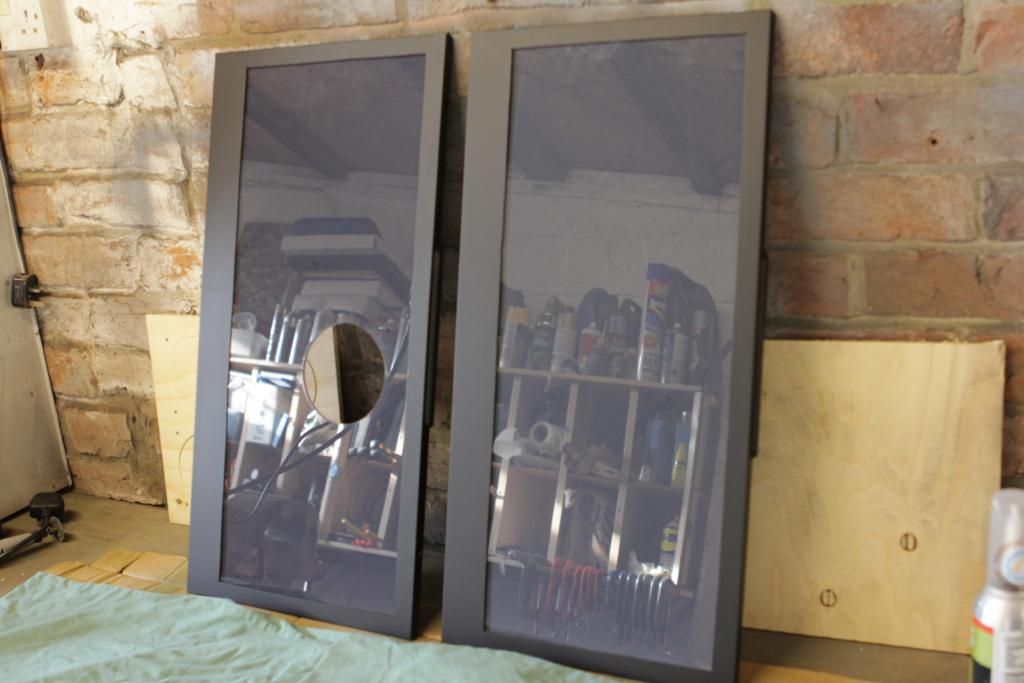
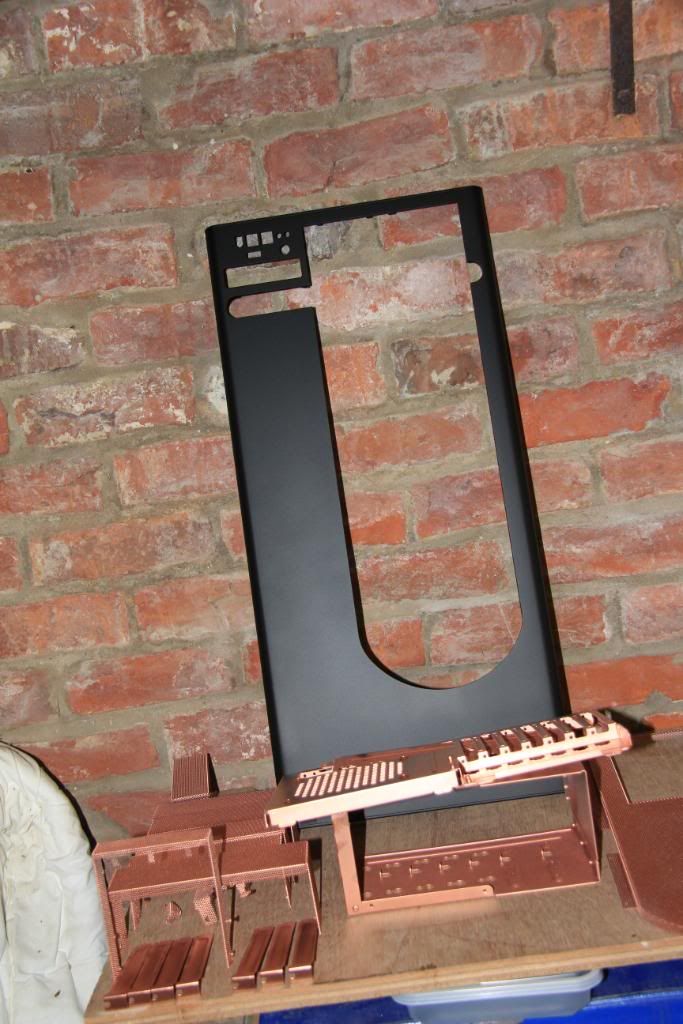
Long week at work but it's the weekend now so I've been able to get on with a bit of modding. Been taking the opportunity to get the top coat sorted on the front fascia which is now done, as well as paint up a lot of the smaller brackets and things (which I won't bore you with.
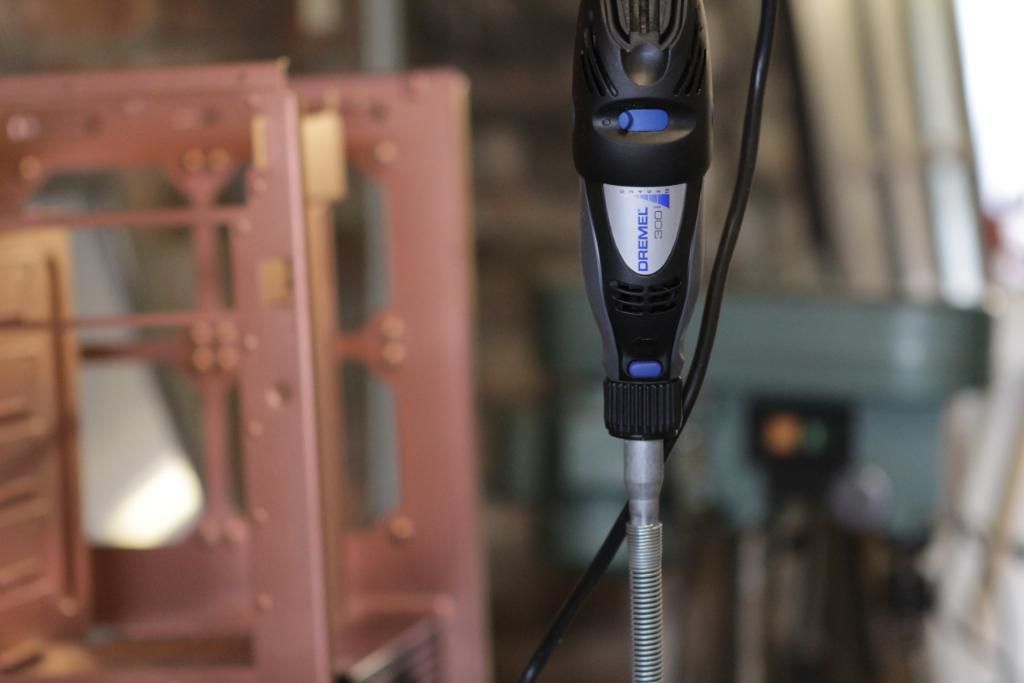
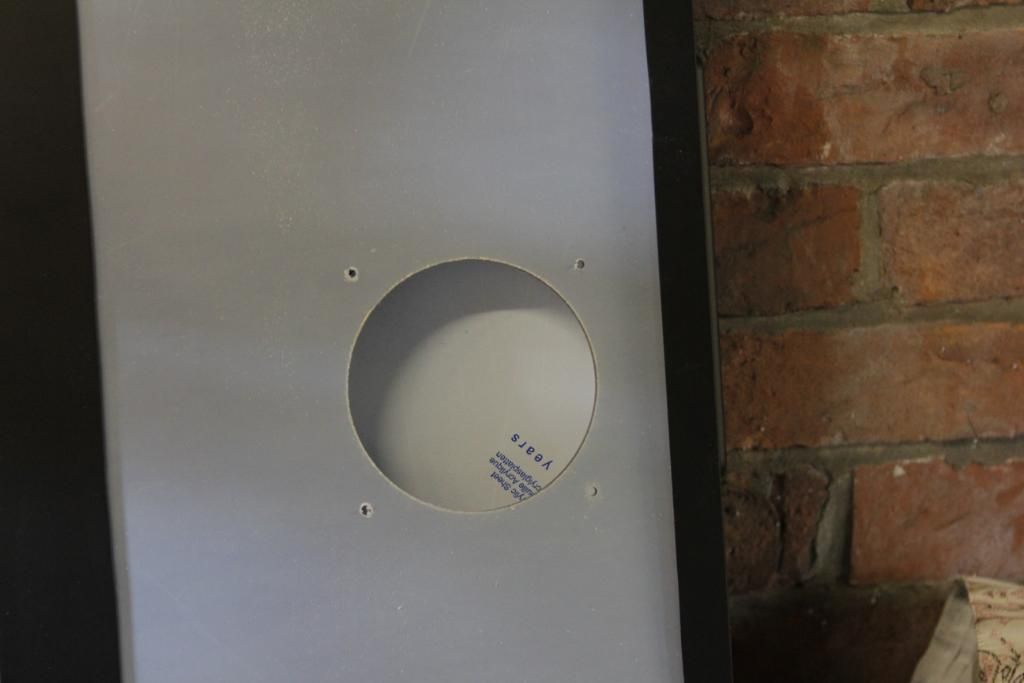
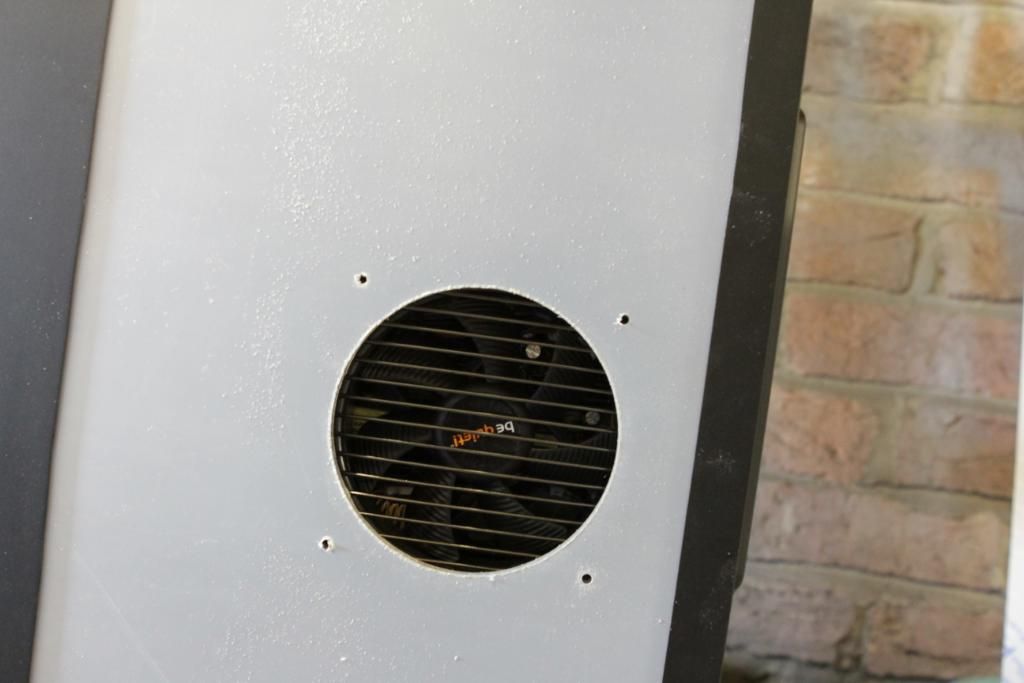
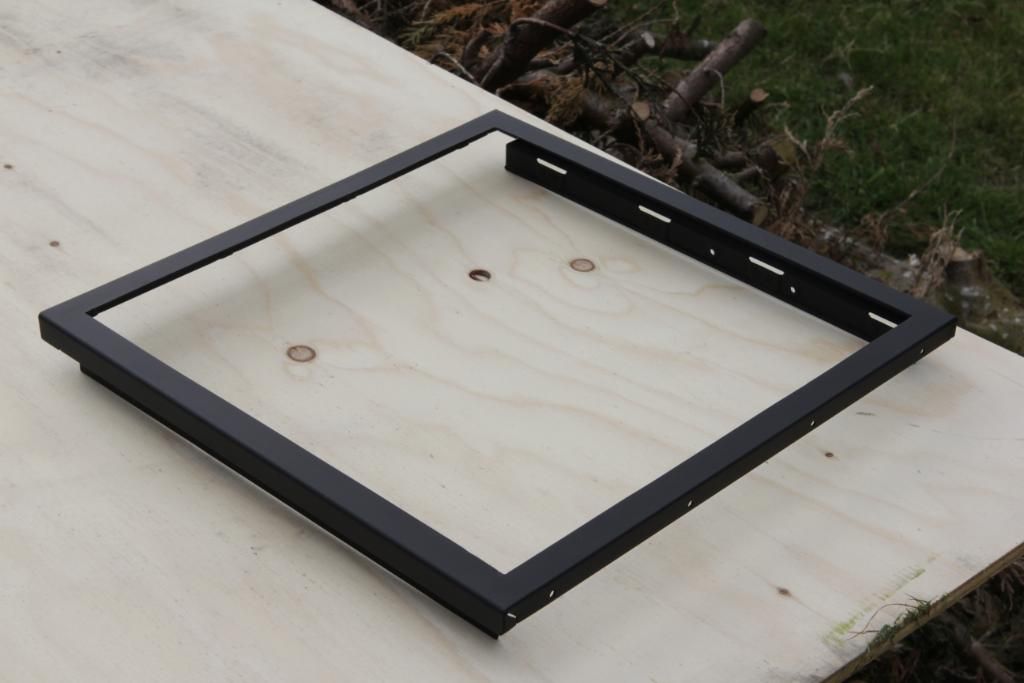
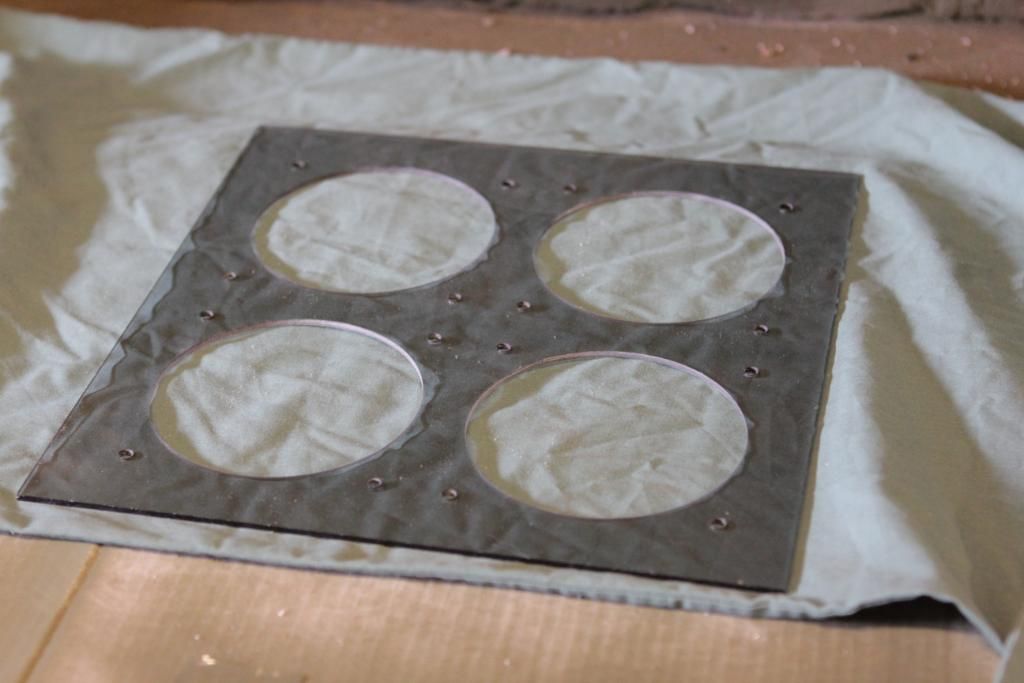
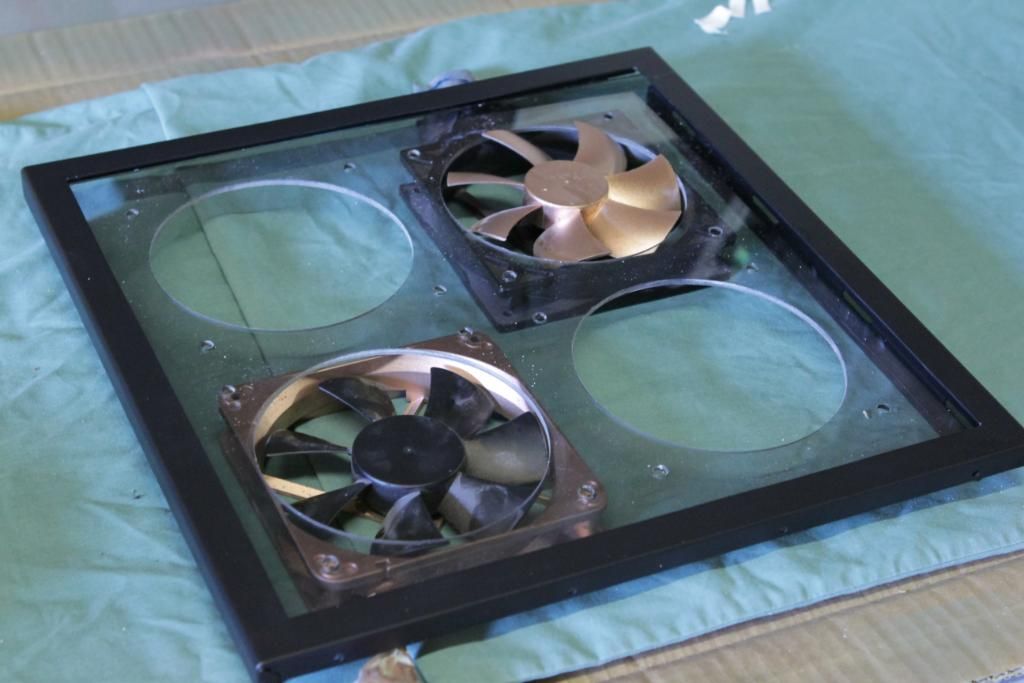
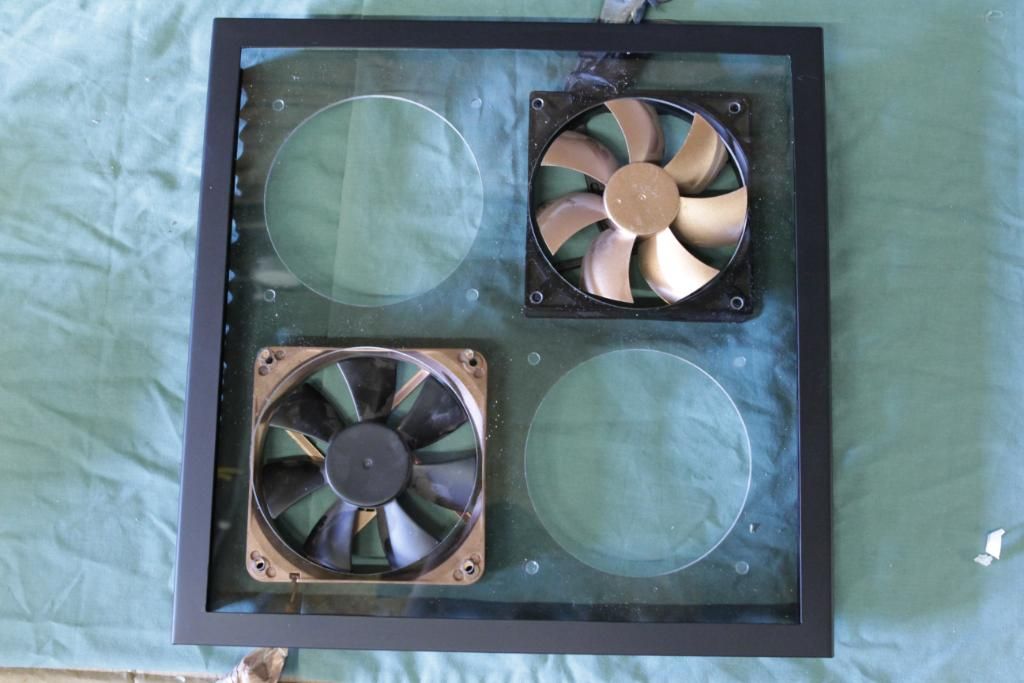
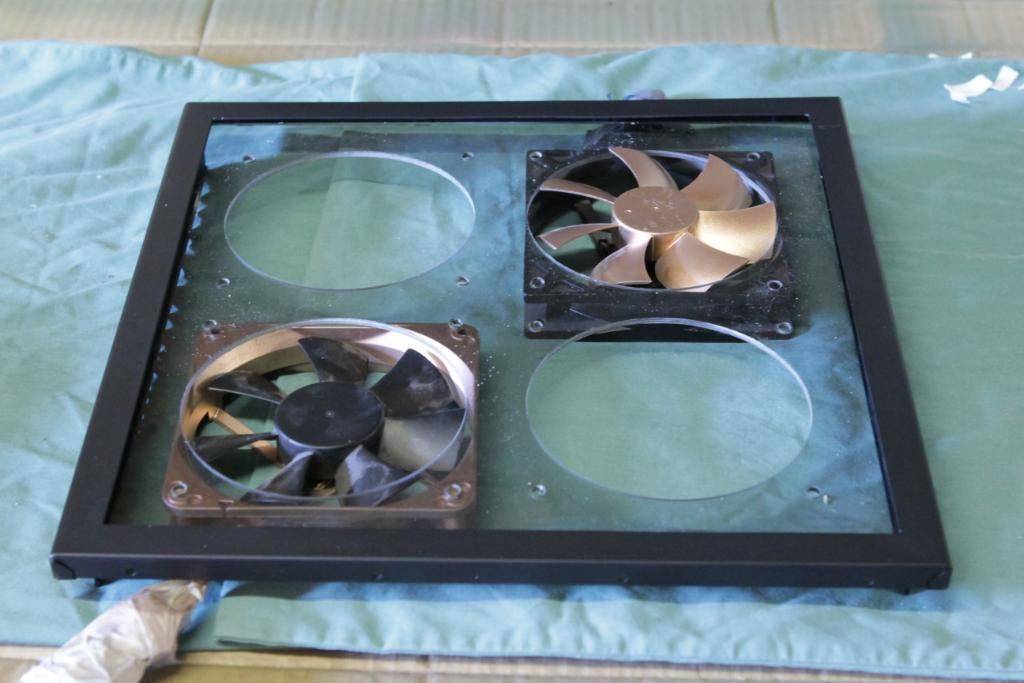
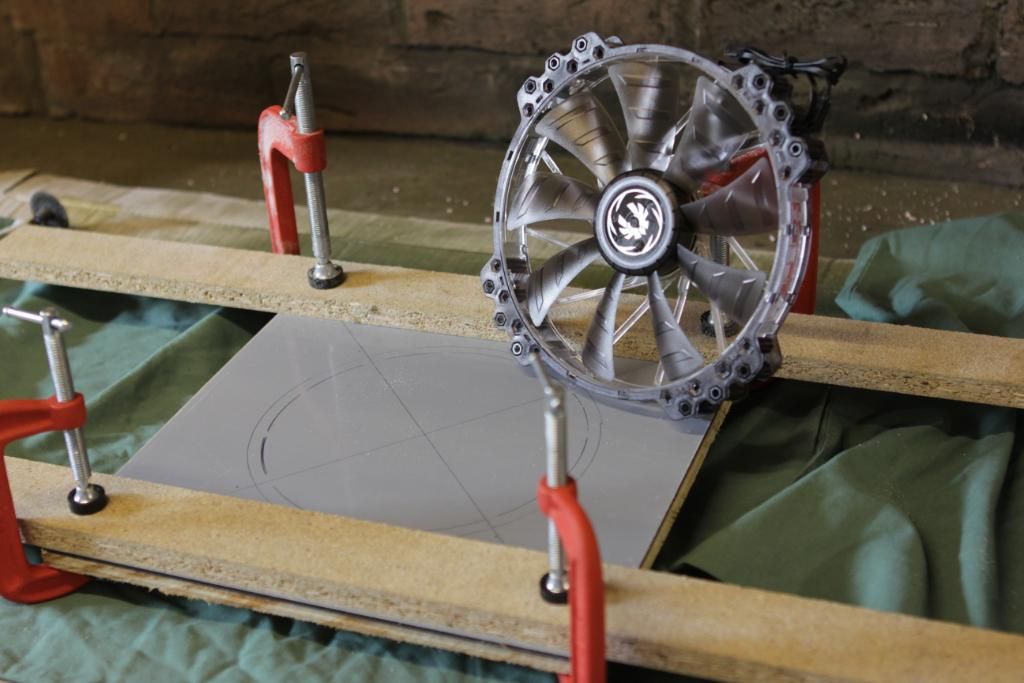
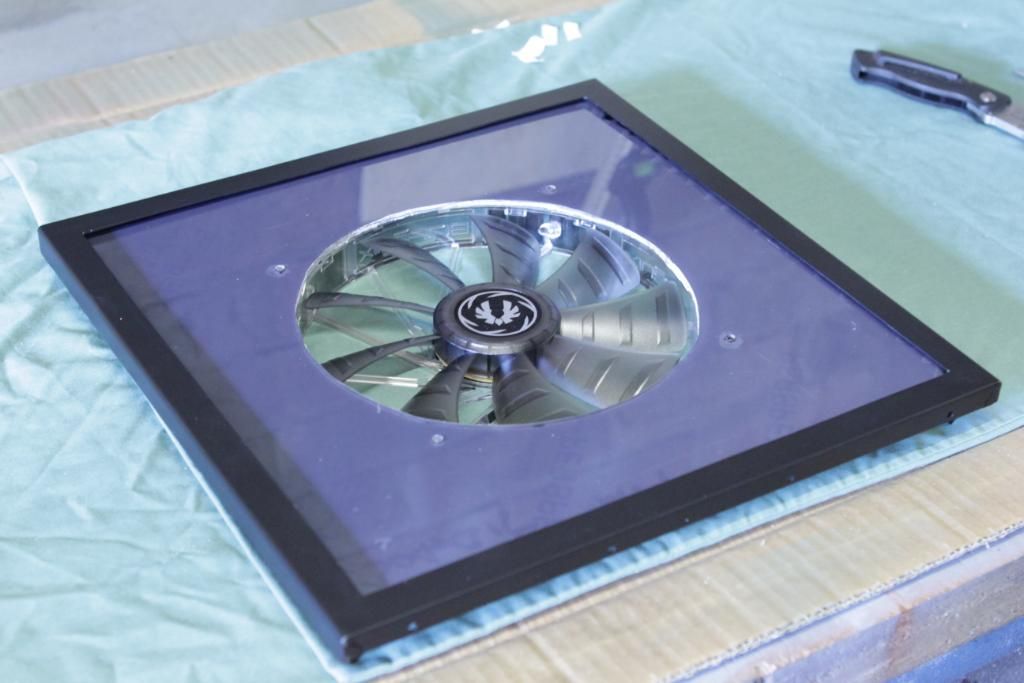
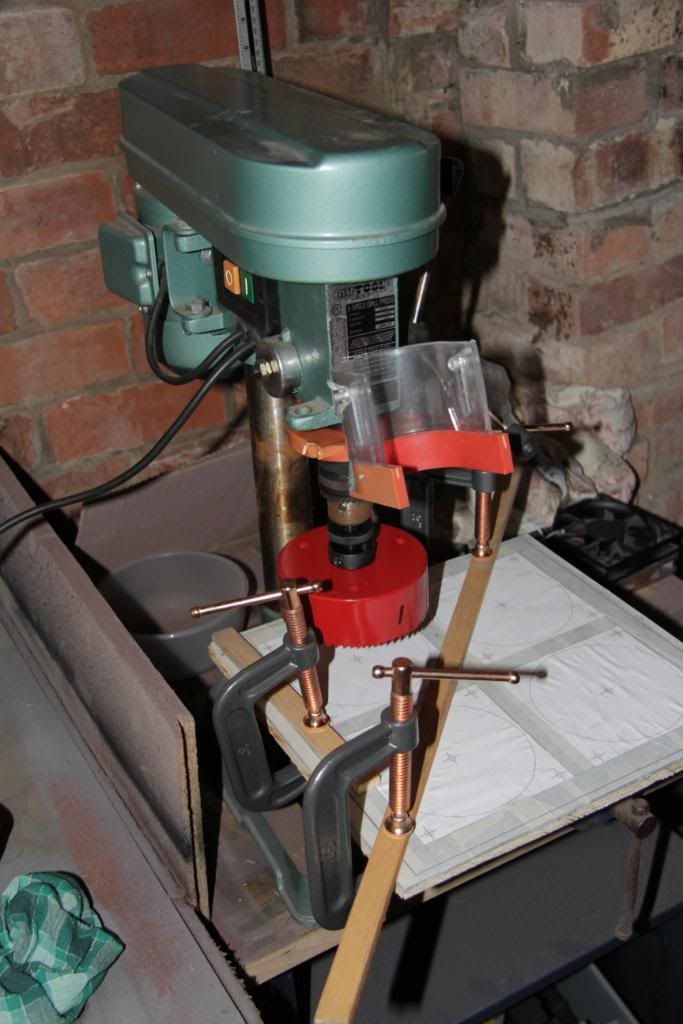
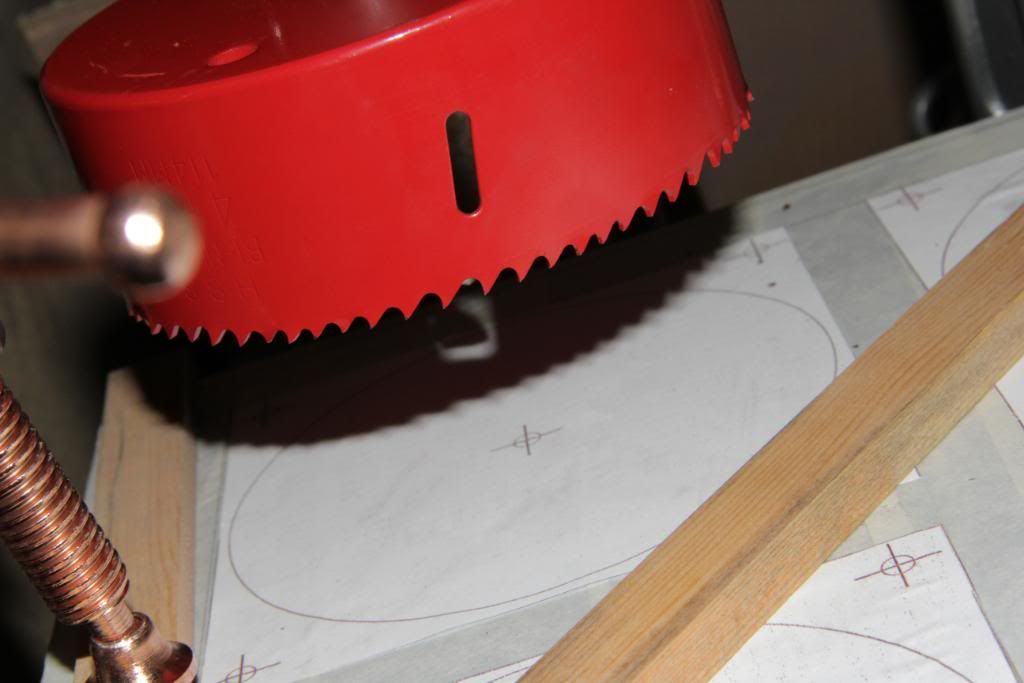
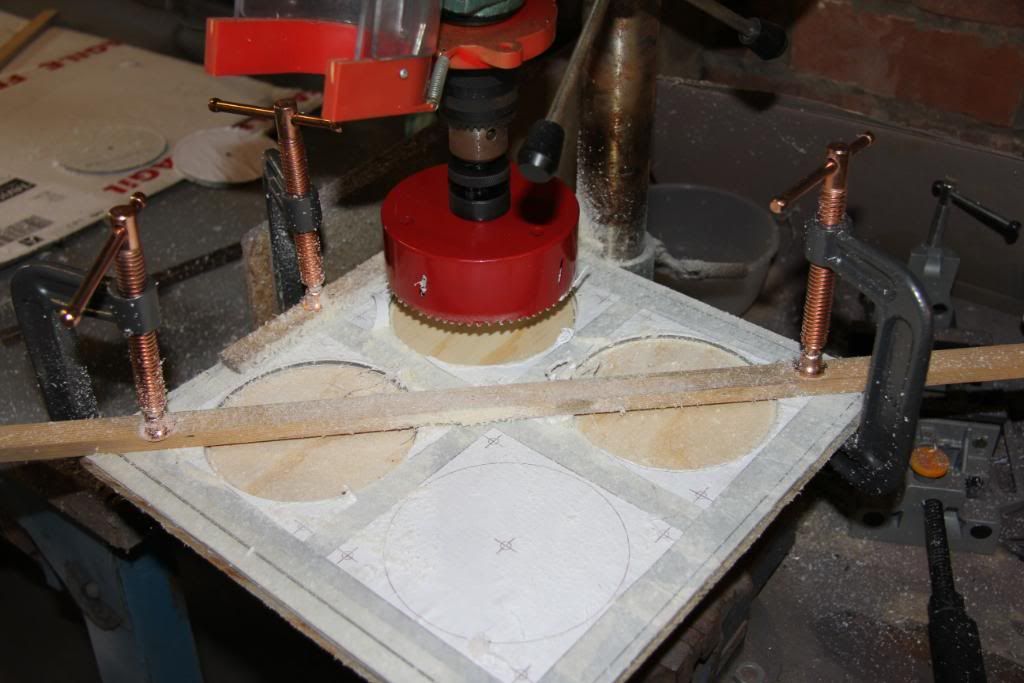
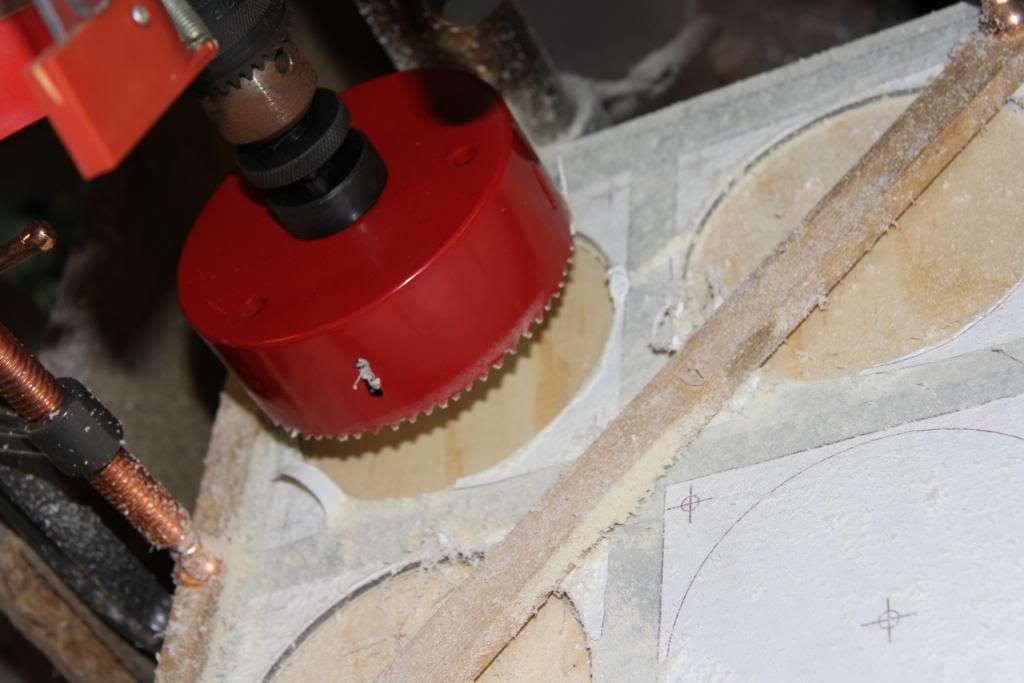
They're also Harvesting in the fields around me at present so Dust is a real problem. So when I haven't been able to paint i've been chopping holes in things and cracking on with the other project I have underway at present which is Project F M J
Anyways a pic of the front of the case now that the final coat is on.
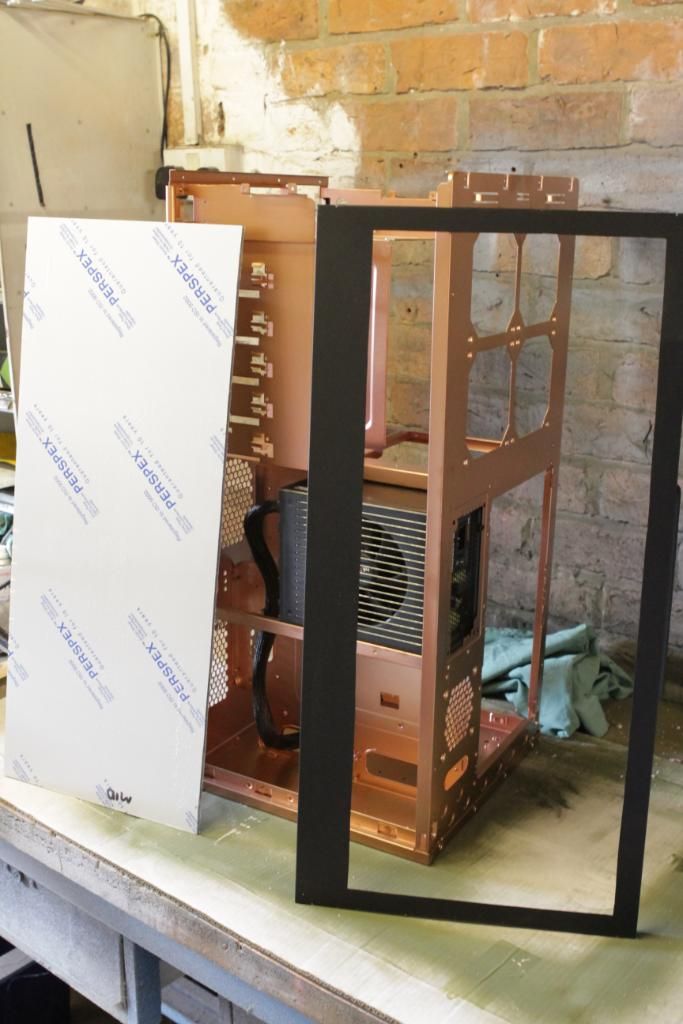
The doors are also finished, but unfortunately when I took the tape off it's left a slight residue on the copper. It's hardly visible, and won't be seen, but for me it's not good enough so I'm going to need to see what I can do with it before I show any pictures.
Having trouble with the multi quote, every time I clck the multi icon it takes me straight to the response page (me being dim i'm sure but if any sugestions)
Anyways I'll try to answer a few questions.
Planning on using 2x 120.2 in the top rear of the case as going dual loop. If I end up going single loop then may go for one of the square quat rads, as you don't see them used that often. I know Phobya do one but not sure if its only single thickness.
Hardware wise aty present it'll be just the i7 920 that I have in my current rig. It's doing me proud and I can wait for intels next wave for now.
WC kit wise i'm very much undecided and open to advice. I'm torn between very sexy looking cylinder res's such as the Danger den
http://www.specialtech.co.uk/spshop/customer/Danger-Den-RAD-Reservoir-pid-11184.html
I'd attach these to the rads and fans at the top rear. Only problem is the potential for spagetti trying to get the tubing around the place, including somewhere for the pump.
So the other option is a bay type res such as the XSPCs
http://www.specialtech.co.uk/spshop...C-Pumps-Multi-Fascia--DDCBAYTWO-pid-9975.html
but they can be a smidge on the noisy side if not insulated well.
Anyone got any experience of these? http://www.specialtech.co.uk/spshop...-Resevoir-6-Port--Clear--Black-pid-14066.html
Sorry about the loads of pics. the initial post was a catch up. Now you're all up to speed the posts will be smaller.
Oh and as for the loads of money if I mess things up. I wish I had loads, I work for the NHS as a Radiographer. Sure I get to play with Radiaton and a huge great Magnet (MRI scanner) all day, but I'm not going to be getting rich any time soon. I Just work hard, save hard and invest well.
Long week at work but it's the weekend now so I've been able to get on with a bit of modding. Been taking the opportunity to get the top coat sorted on the front fascia which is now done, as well as paint up a lot of the smaller brackets and things (which I won't bore you with.
They're also Harvesting in the fields around me at present so Dust is a real problem. So when I haven't been able to paint i've been chopping holes in things and cracking on with the other project I have underway at present which is Project F M J
Anyways a pic of the front of the case now that the final coat is on.
The doors are also finished, but unfortunately when I took the tape off it's left a slight residue on the copper. It's hardly visible, and won't be seen, but for me it's not good enough so I'm going to need to see what I can do with it before I show any pictures.


")