It's Friday, it's deadly hot outside, my shed is now a kiln and I've got a broken tooth throbbing away. That can only mean one thing...... UPDATE TIME!!!!!
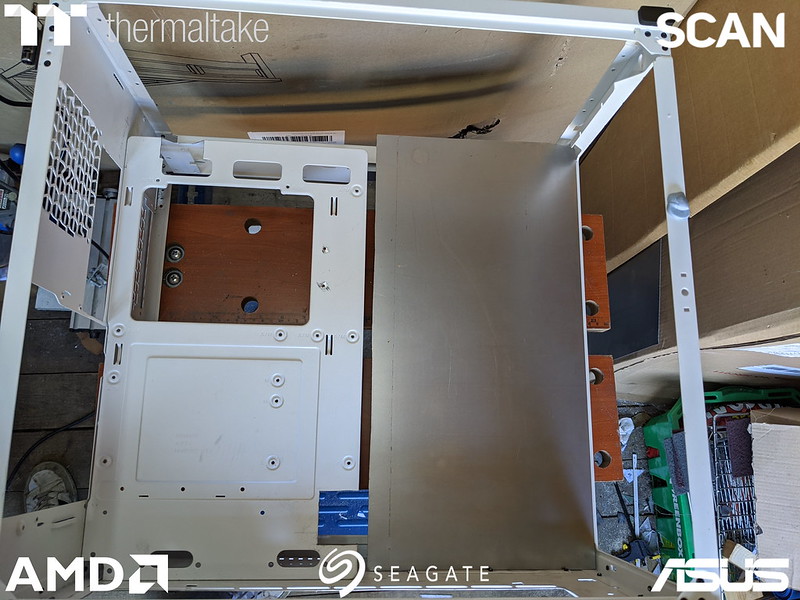
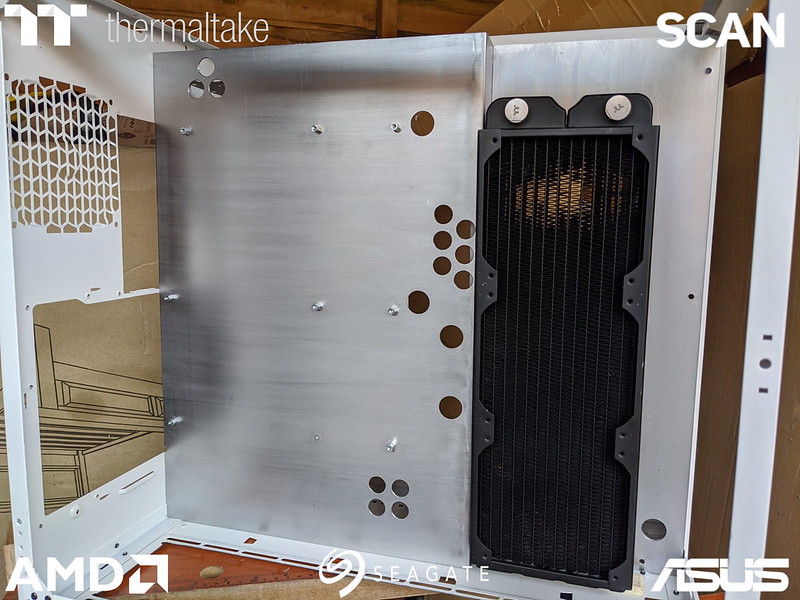
Seems like forever since last time, so much has happened, so many ups and downs, there's a whole load of pictures so I'll try and keep it brief. Maybe.....

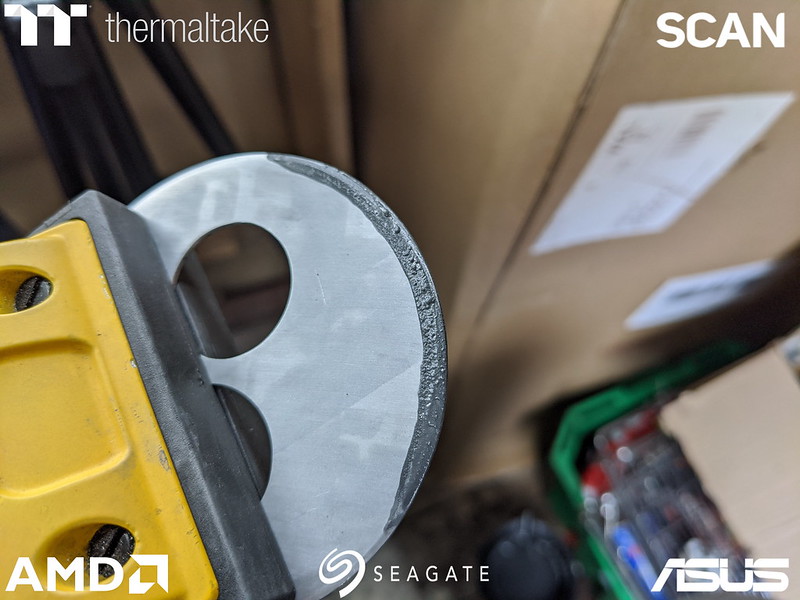
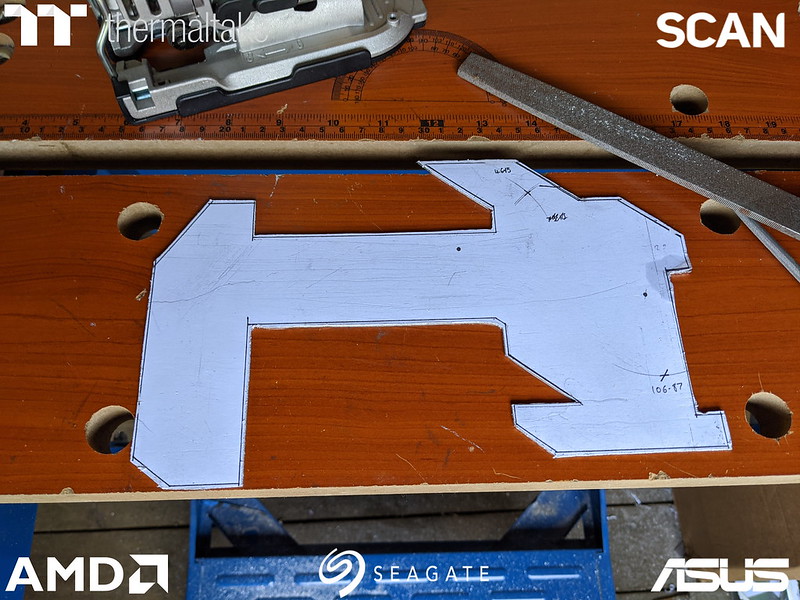
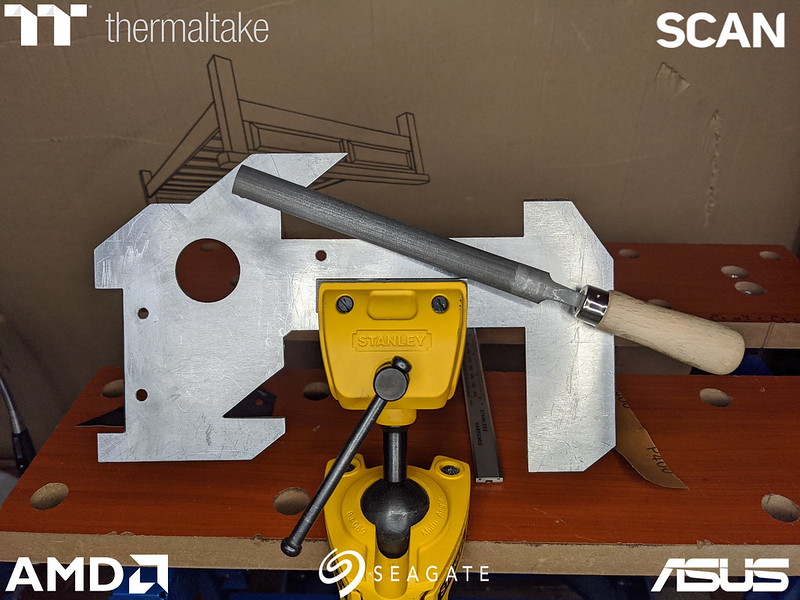
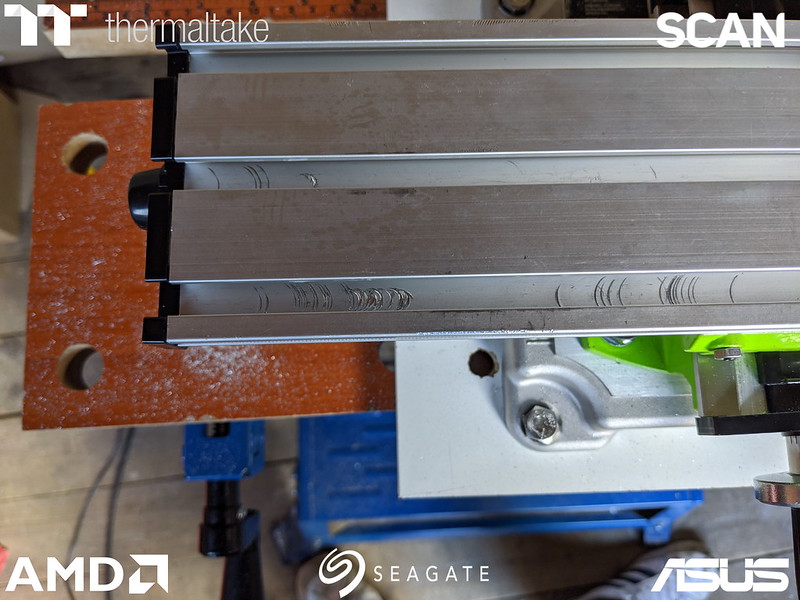
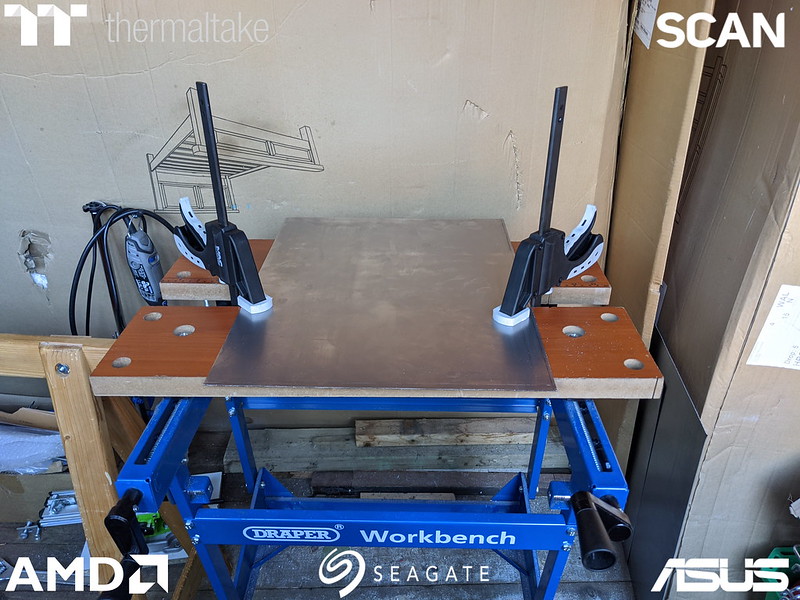
So we left off with the cpu block cover cut, bevelled and a little sanding done, but a lot more needed to be done to finish it off. I strapped some 400grit sandpaper to a piece of furniture board and went to town.

Came out pretty nice.

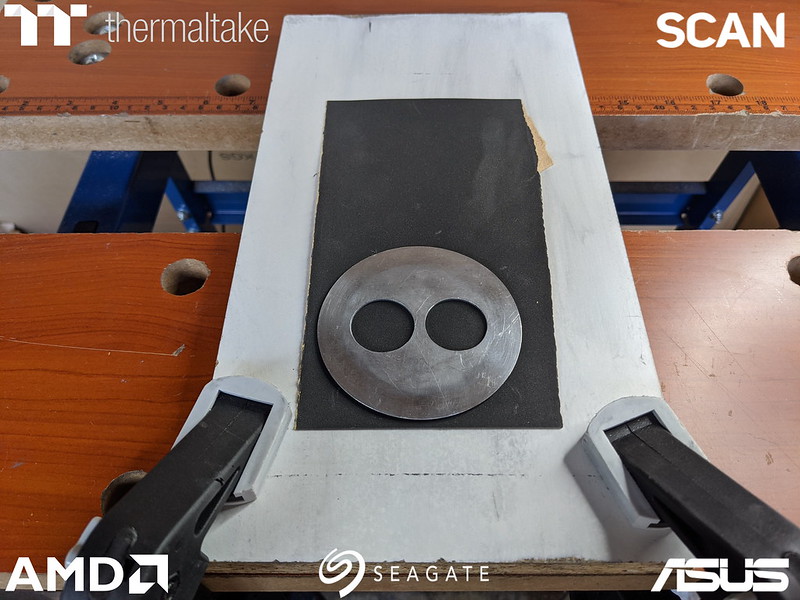
Then moved down to 600 grit, this time with the piece stuck to the wood and the sandpaper on a block. I had finished off and then managed to scratch it again :banghead: So annoyed with myself, but it would likely need refinishing after the next step, need to crack on.
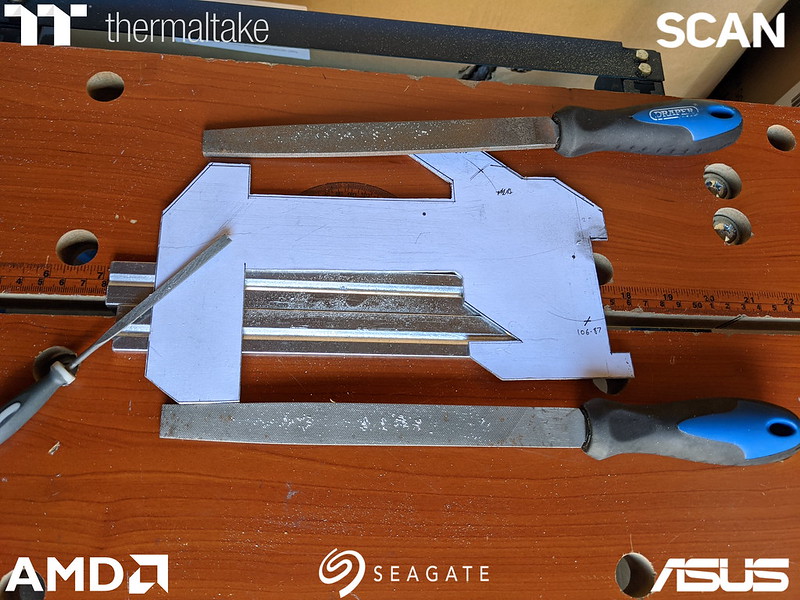
I wanted to try and get a polished look on the bevel, at least have it smooth and shinier than the face. so I dry sanded it with 600 grit, then 1200 grit, then wet sanded with 1200.
Next up came the polishing wheel, I'd do about 1/4 of the edge at a time, then rotate it 1/8 so it overlapped well.

Used some smurf poop polishing compound with it.

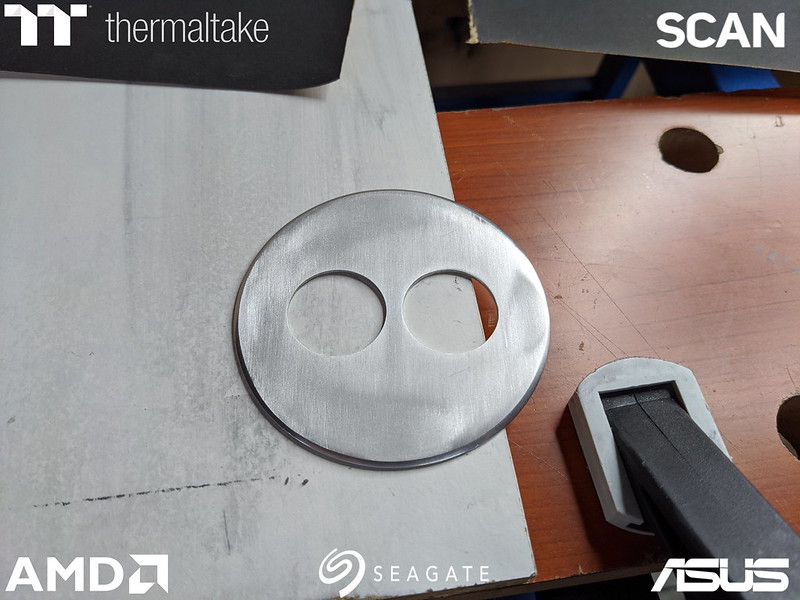
Managed to get it looking pretty nice, some of the polishing had slipped onto the face, but I was expecting that to happen and would be dealt with in a final sanding of the face.

Once again I strapped paper to the flat board (600 this time), this way I figured the 2 flat surfaces together would just do the face and not the bevel.
Whilst I was able to sand the face without the bevel getting scratched, it wasn't sanding evenly, very odd. I thought it might be the janky way I'd stuck the paper down, so I'd go back down to 400 to even it up but I had ran out, as had the 2 Screwfix, a Toolstation, B&Q and Wickes that were local to me. <_<
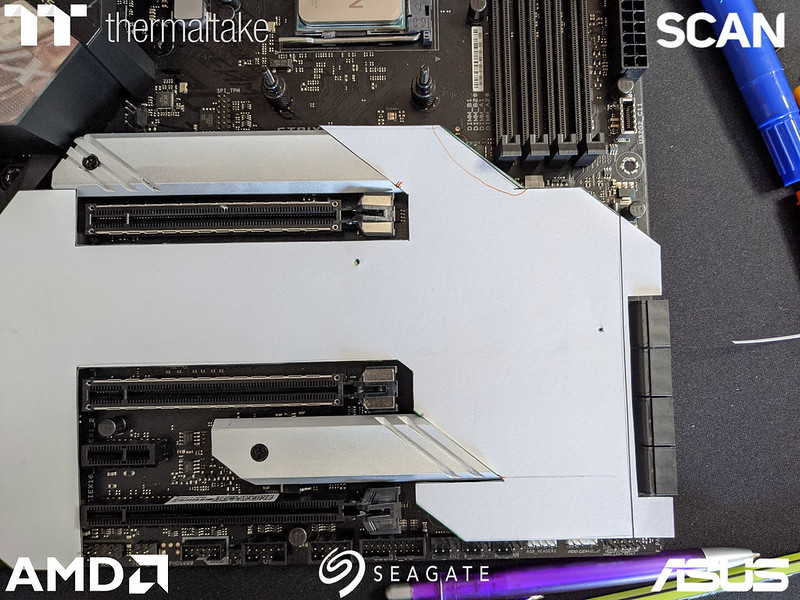
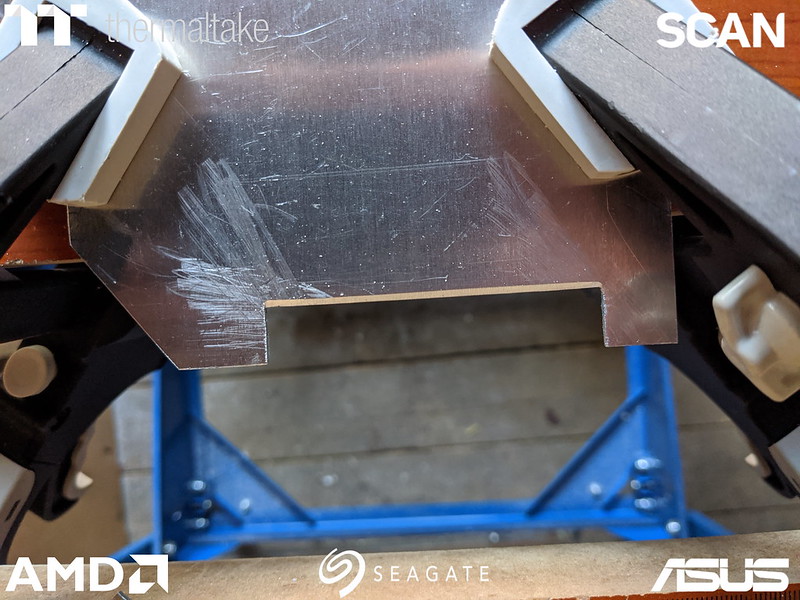
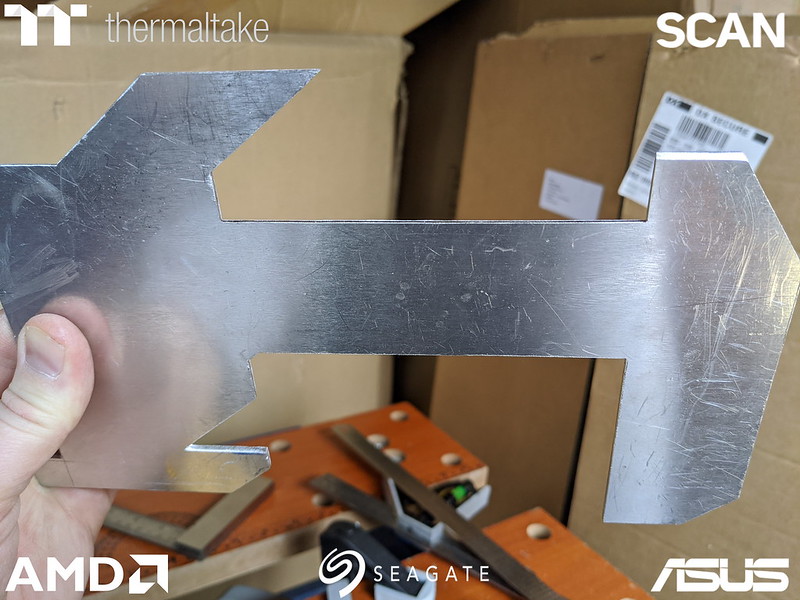
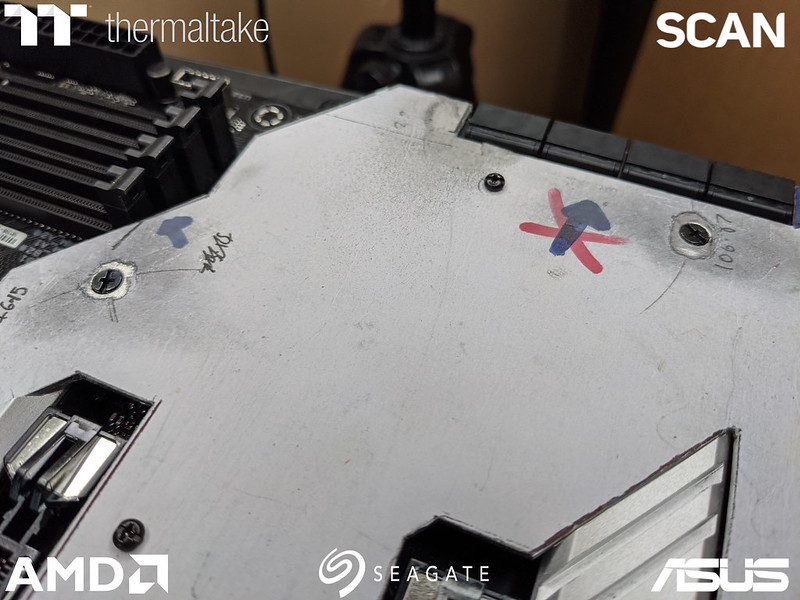
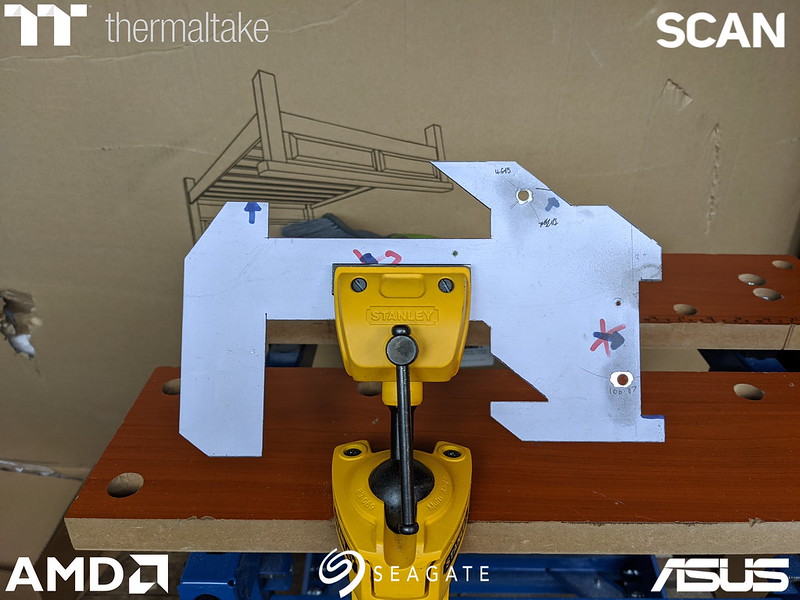
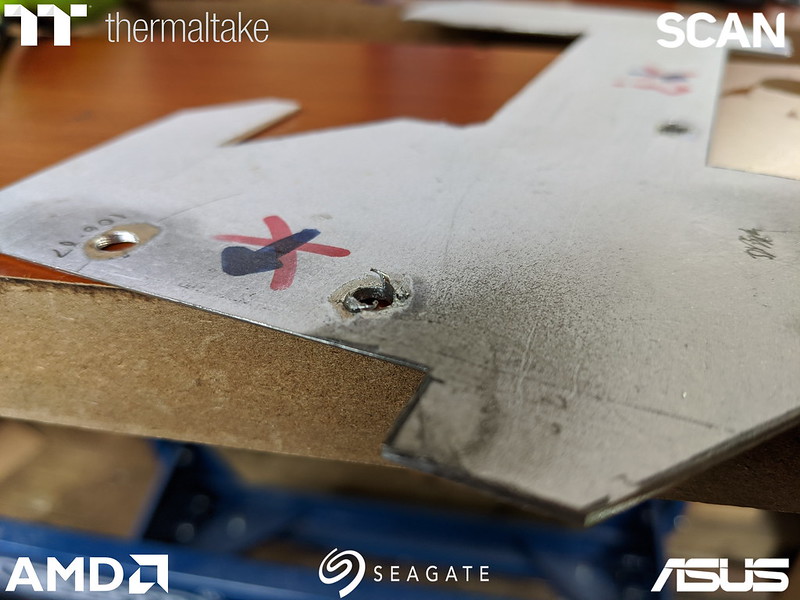
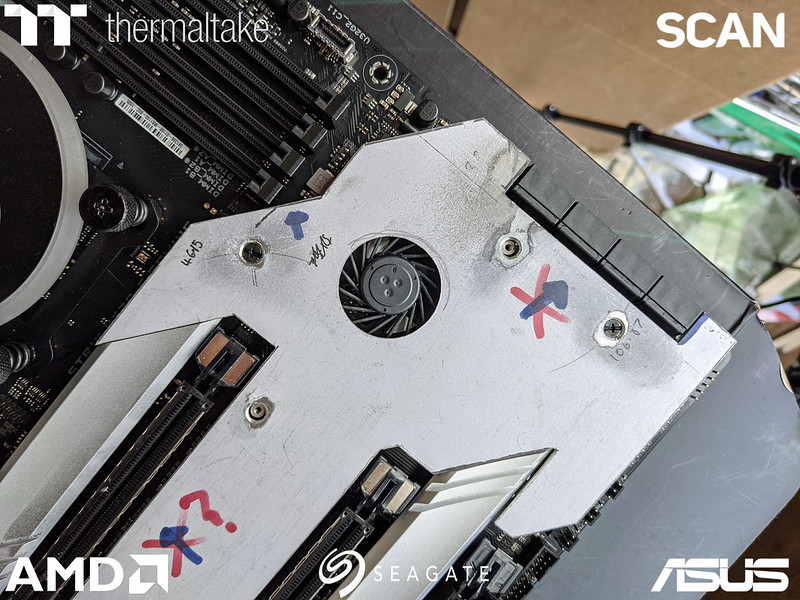
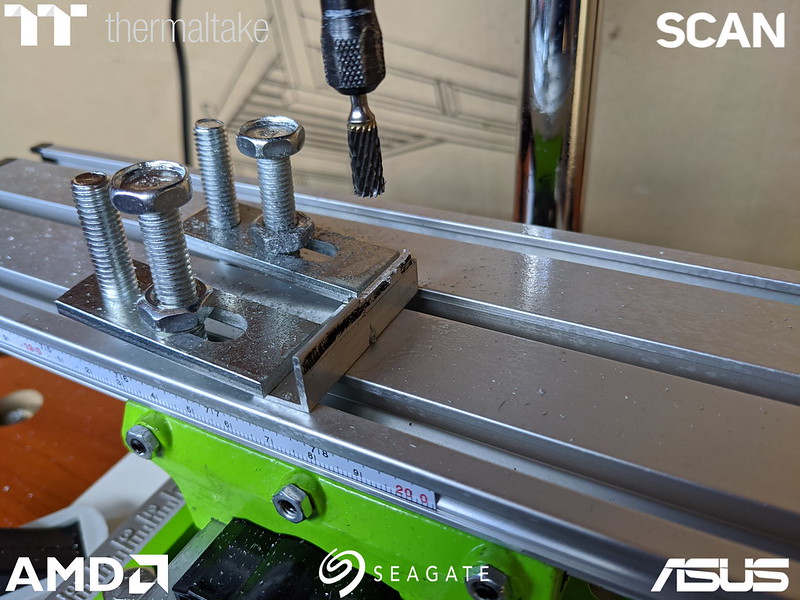
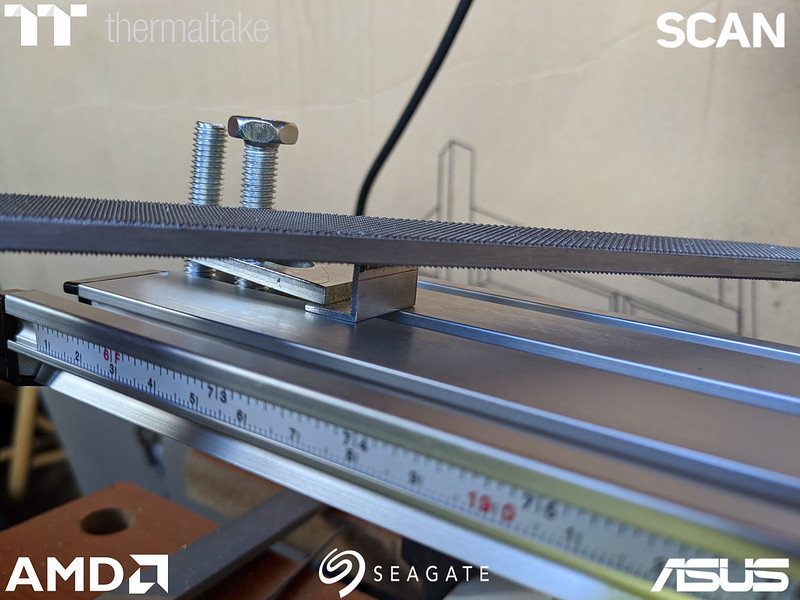
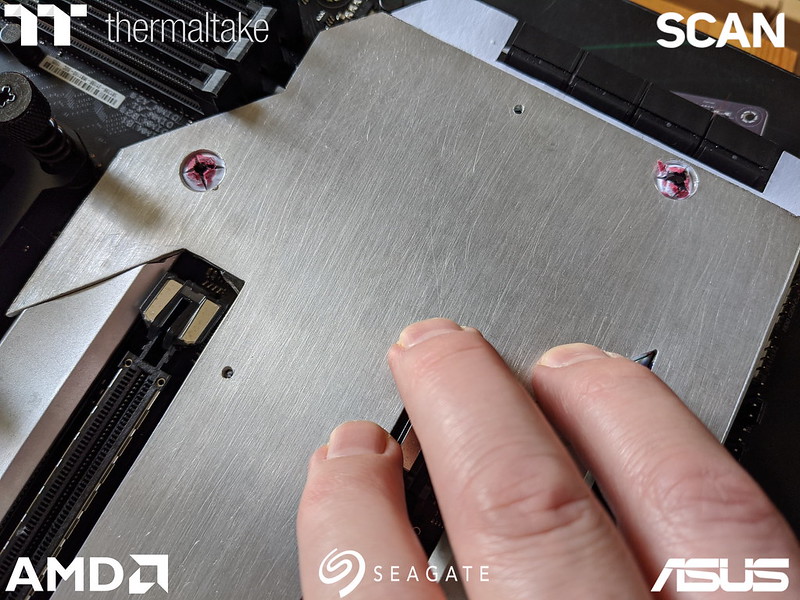
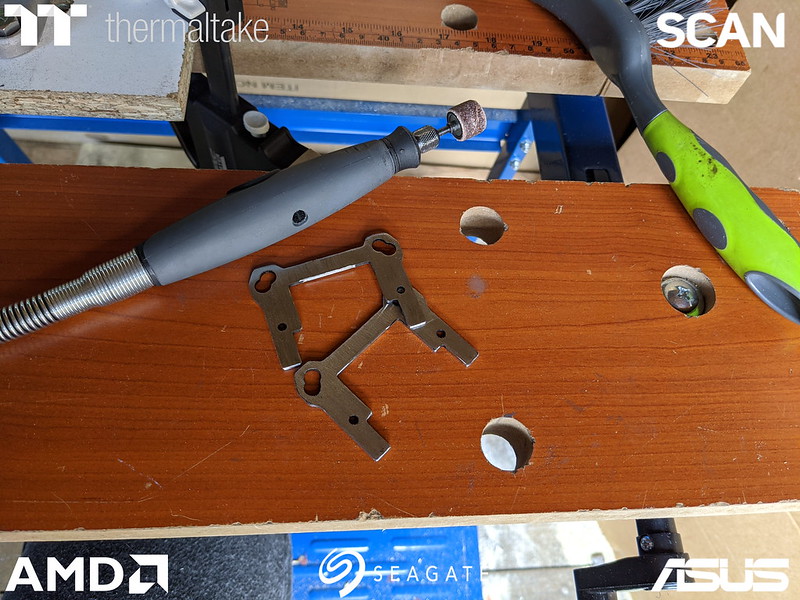
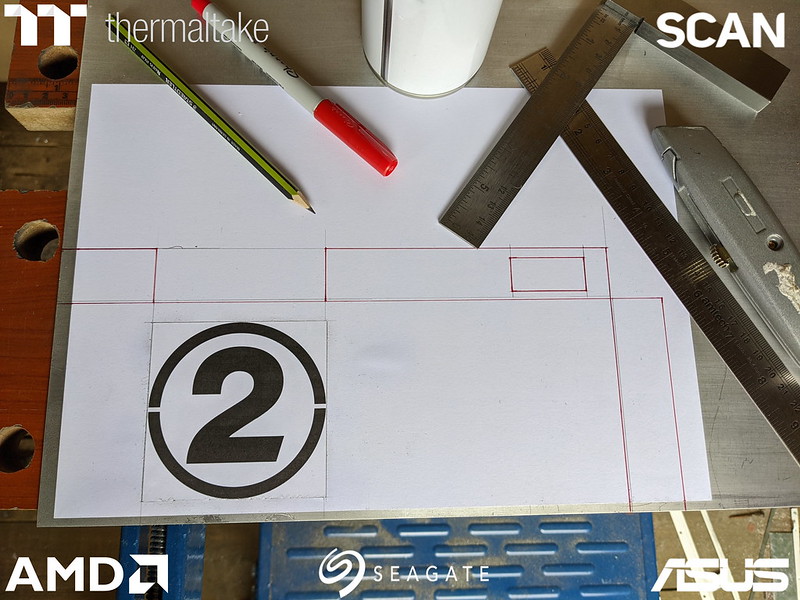
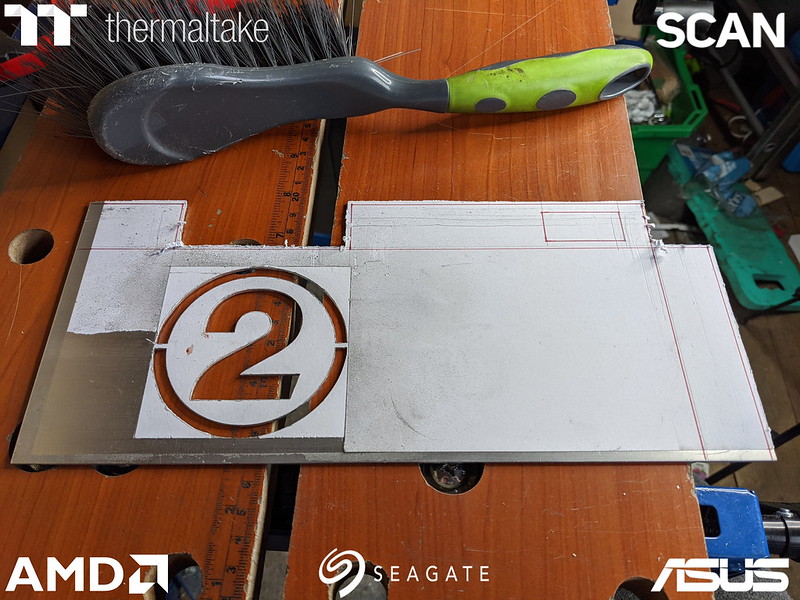
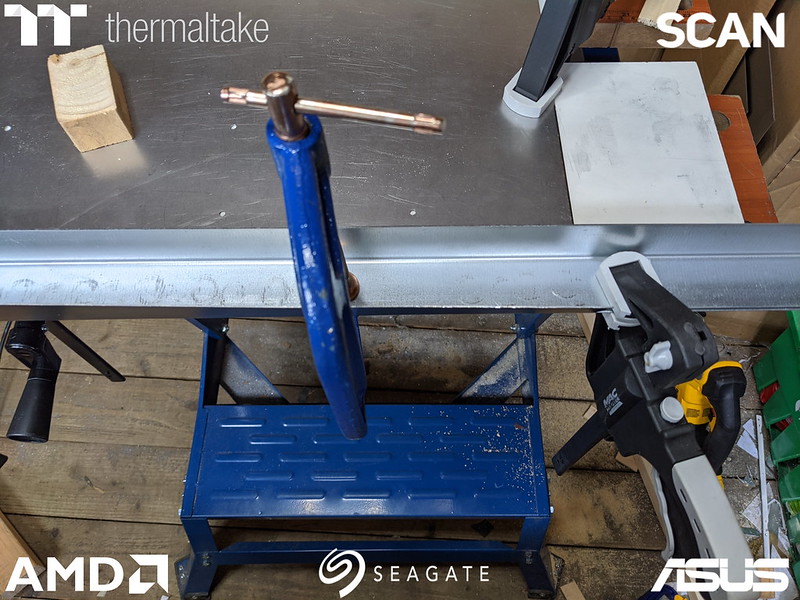
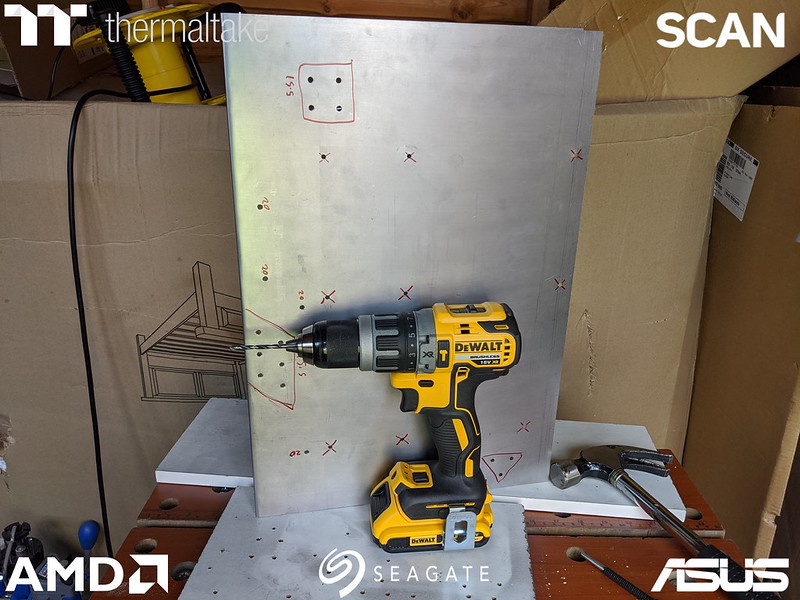
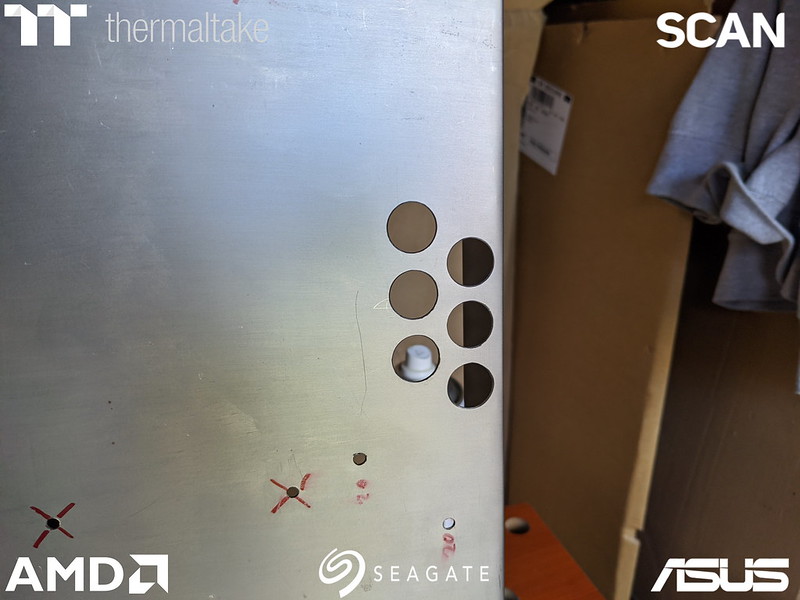
Whilst waiting for replenishment of sandpaper I had lots to do on the motherboard piece. First off was to take some of the back out where this cap was.

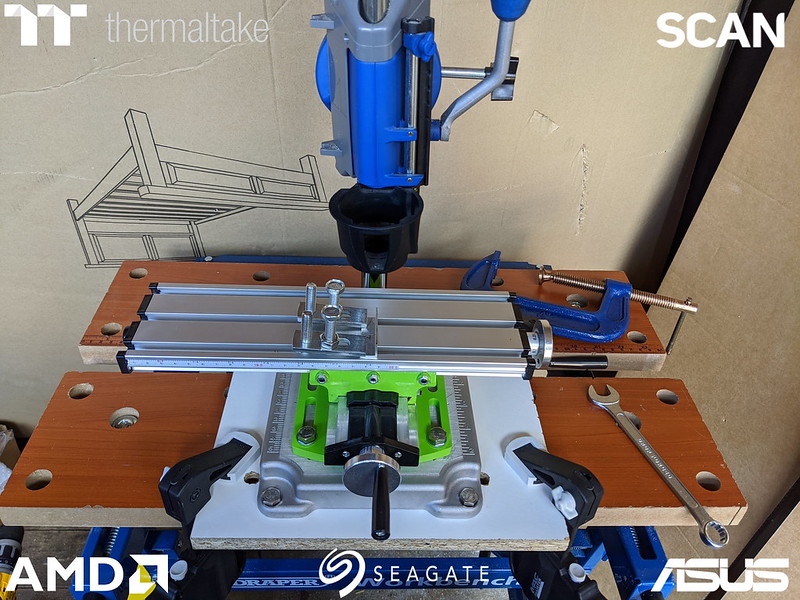
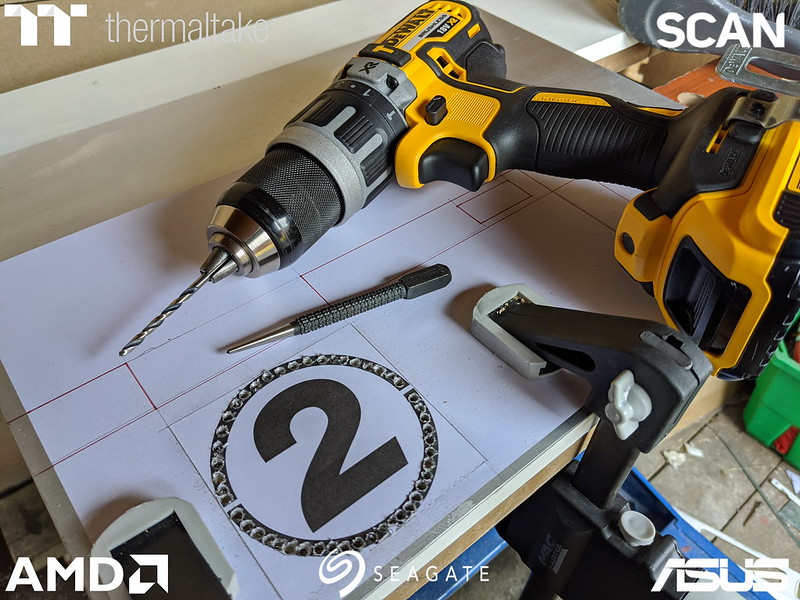
Back to the makeshift milling machine!

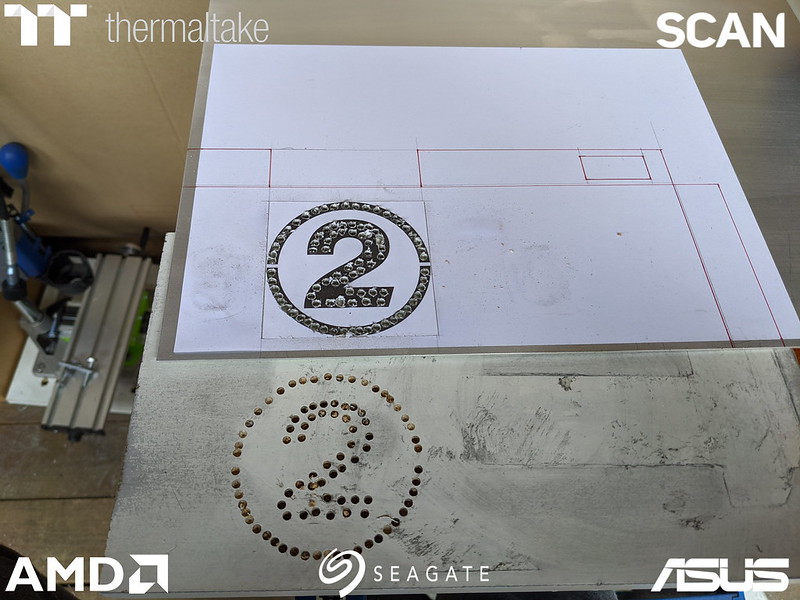
Didn't have too much drama milling it out, had one little wobble, but I gave it regular squirts from the metal cutting lubricant and it smoothed out.

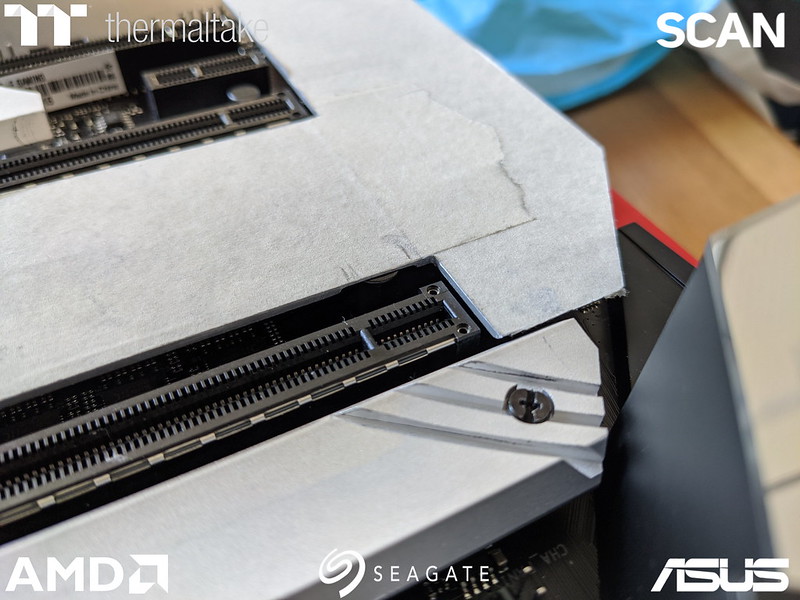
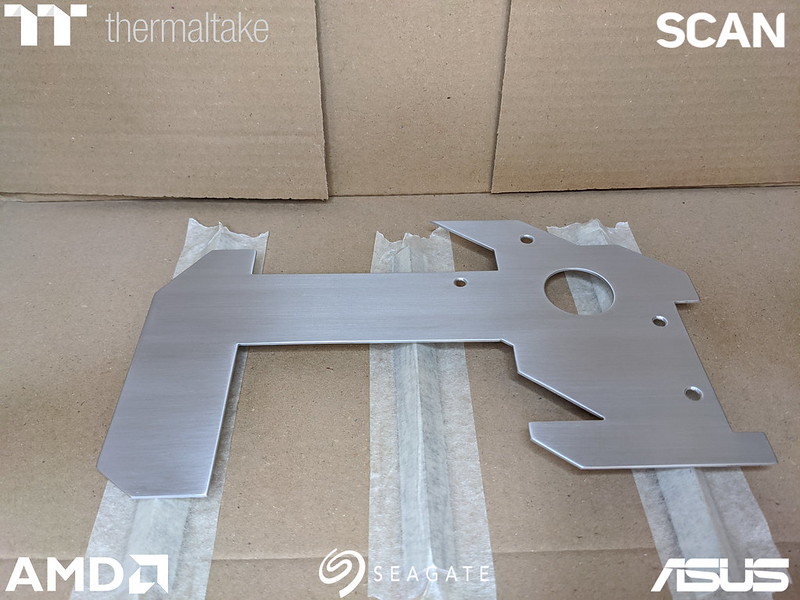
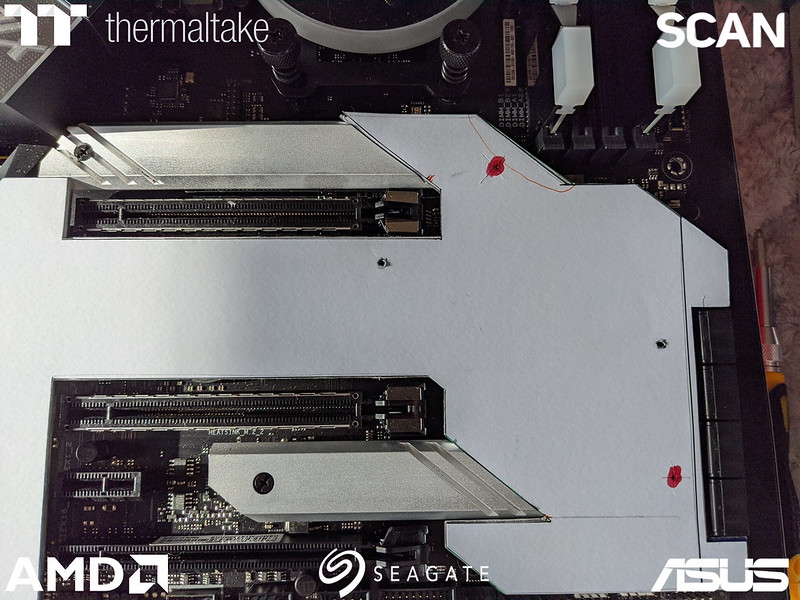
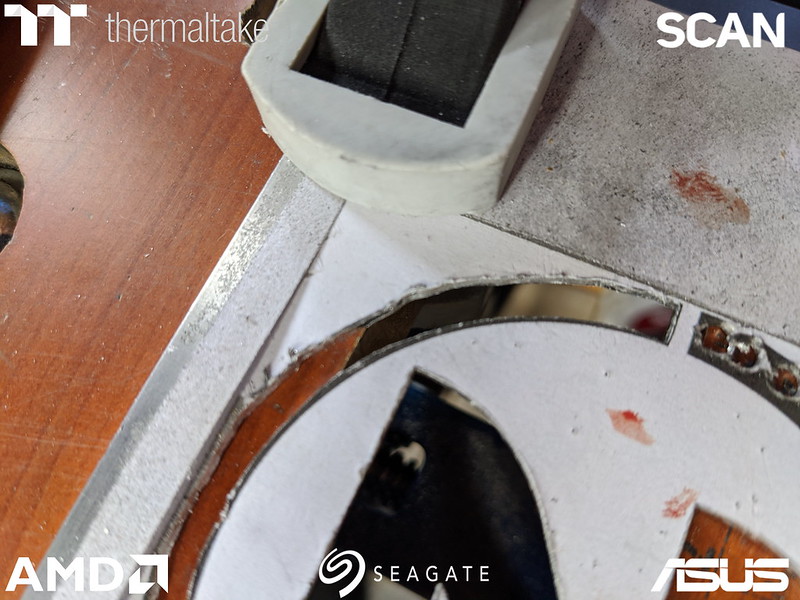
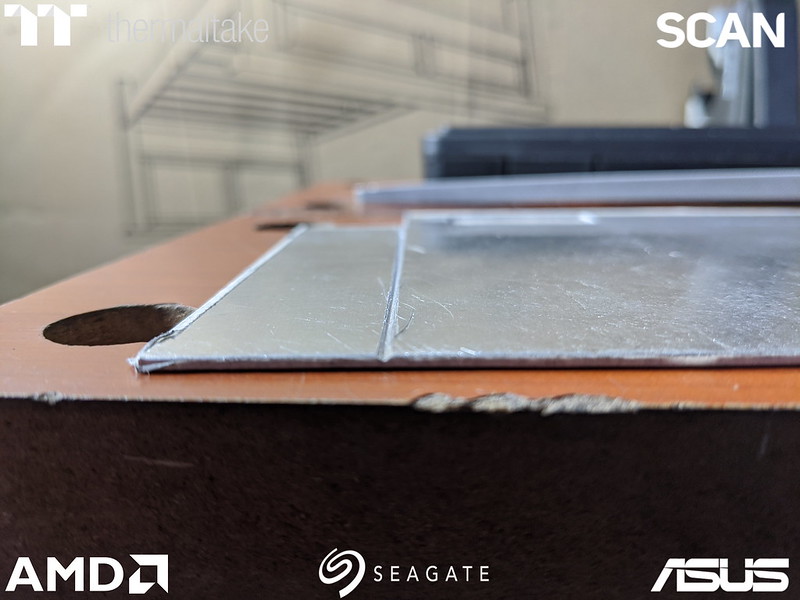
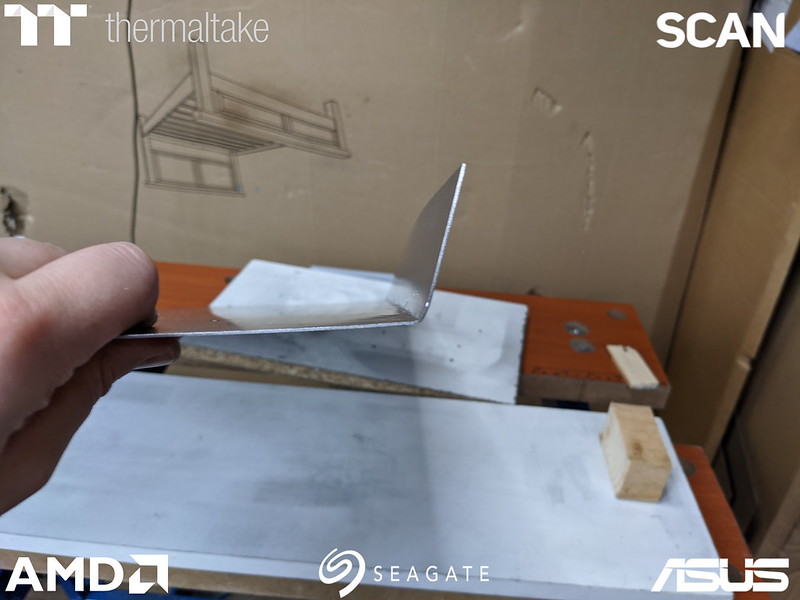
Very nice. But does it fit?

Sure does! :rock:
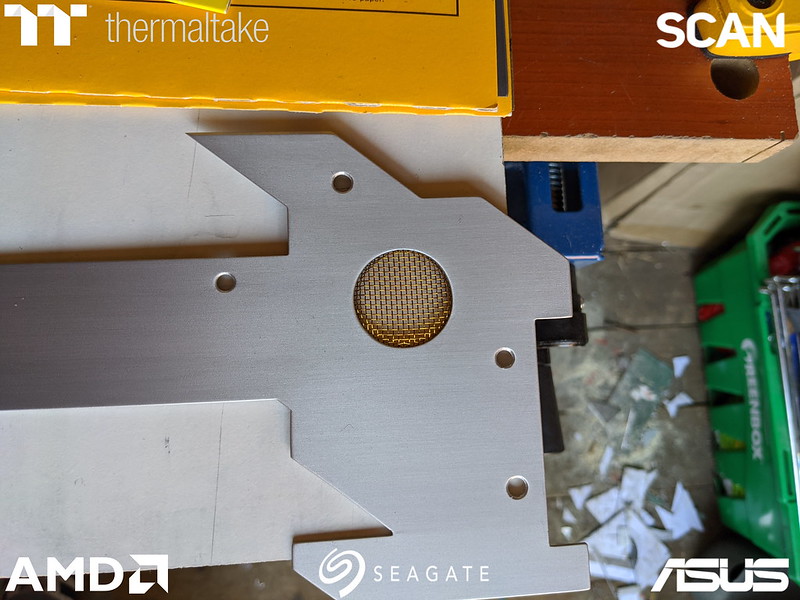
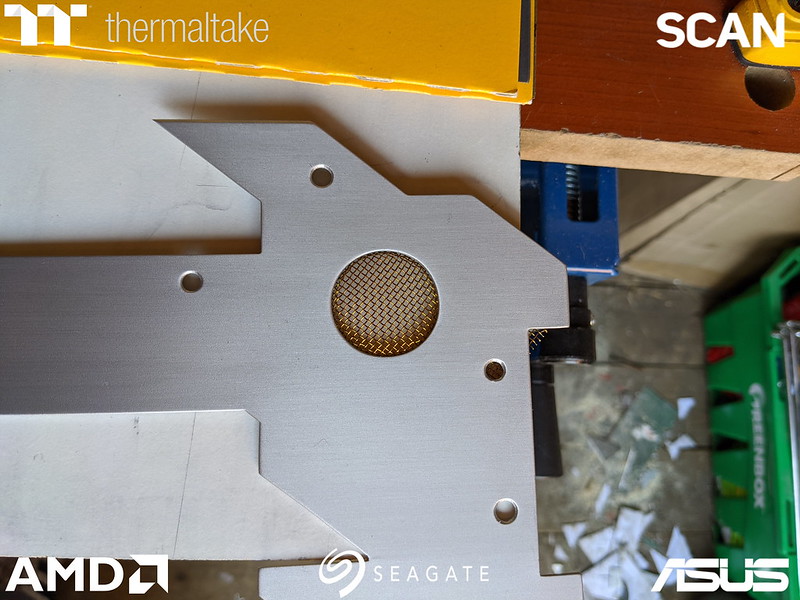
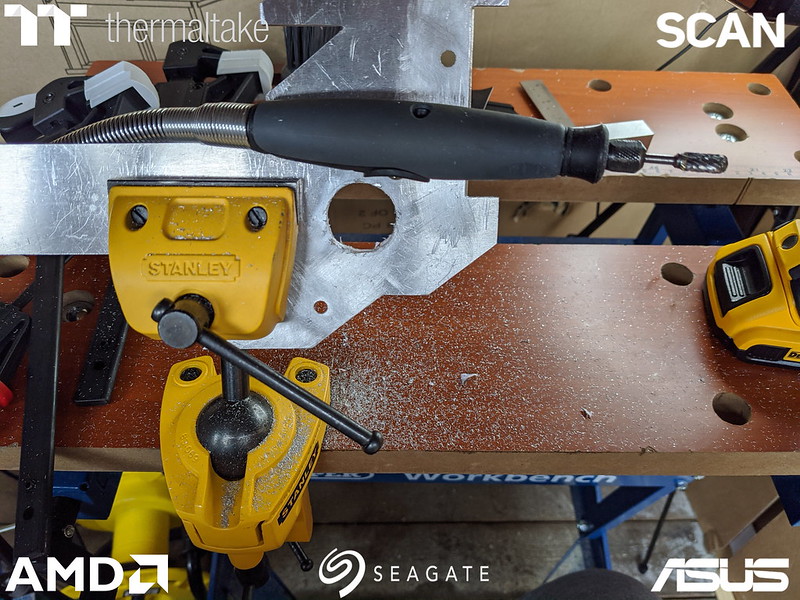
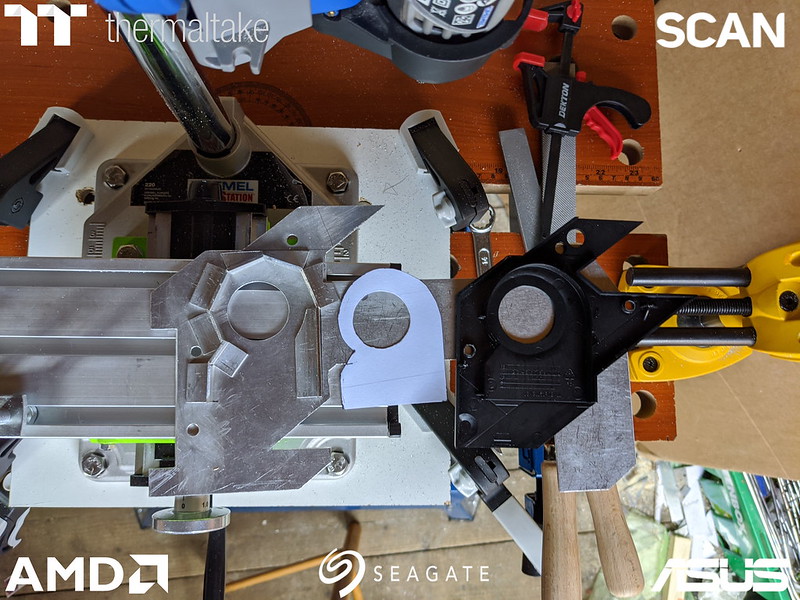
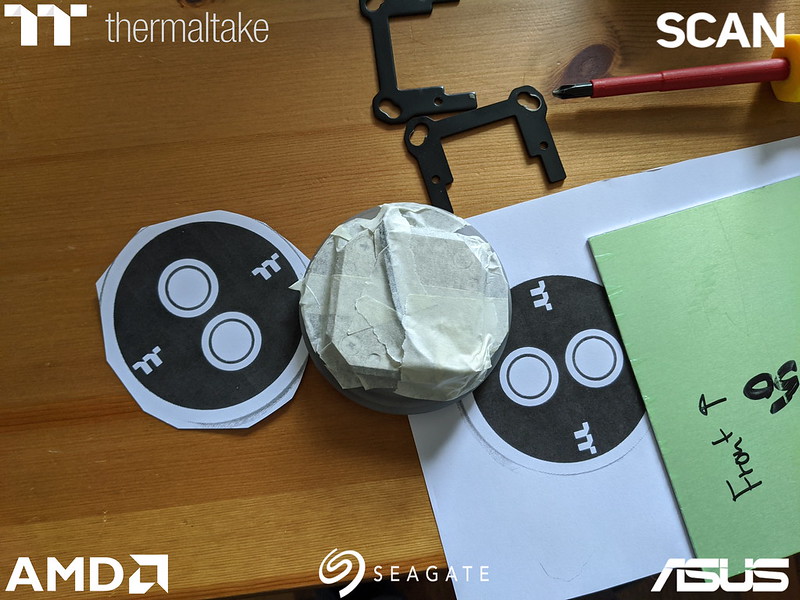
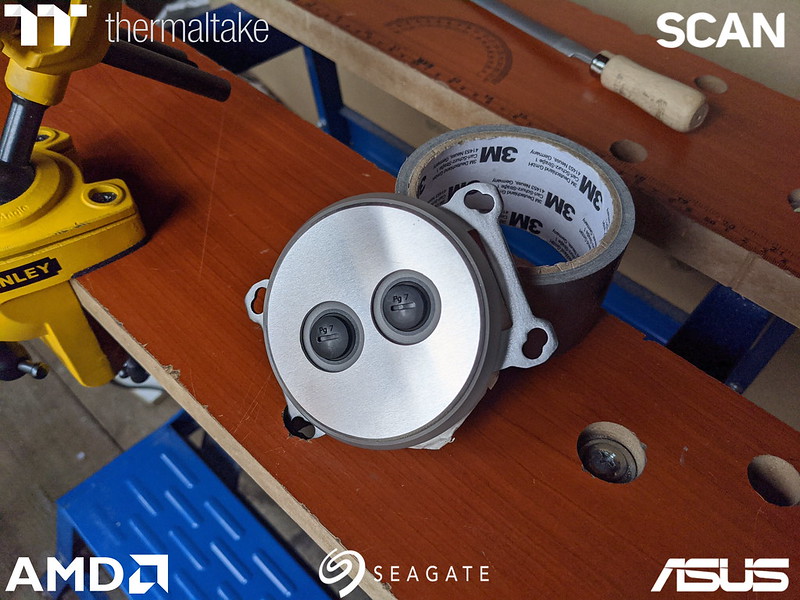
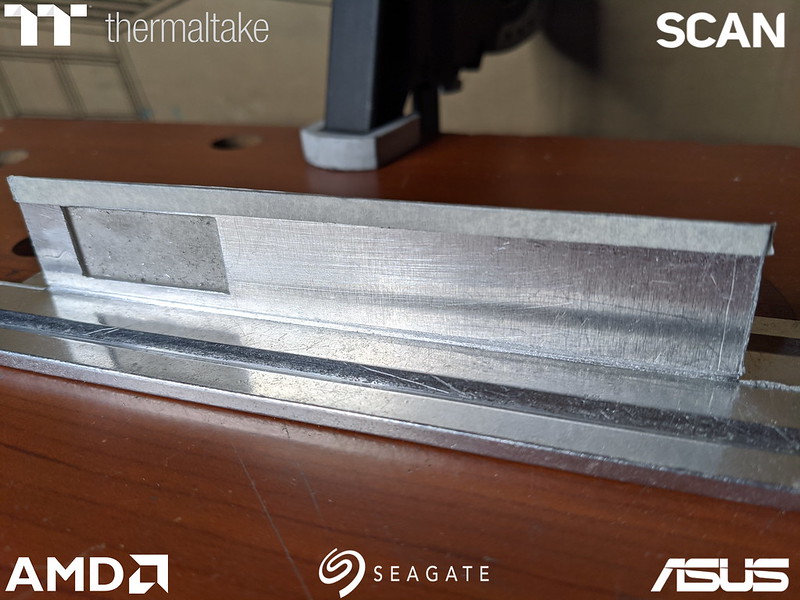
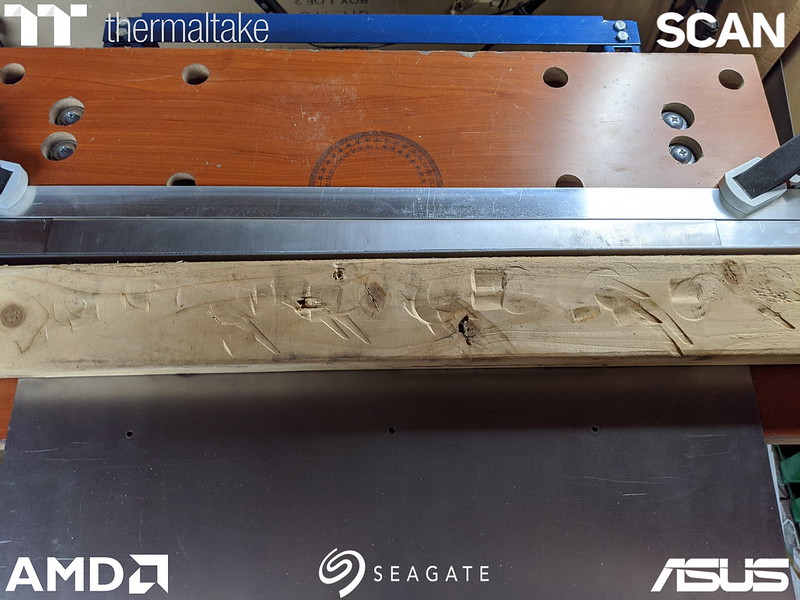
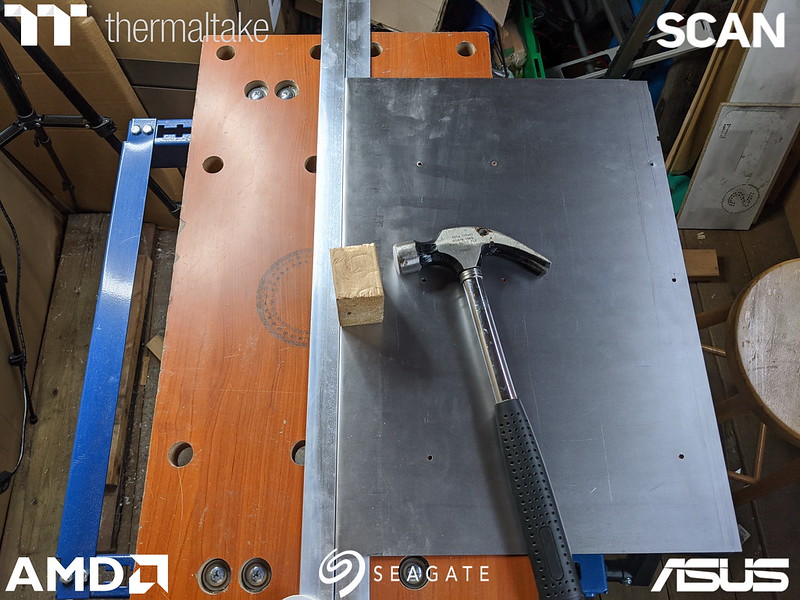
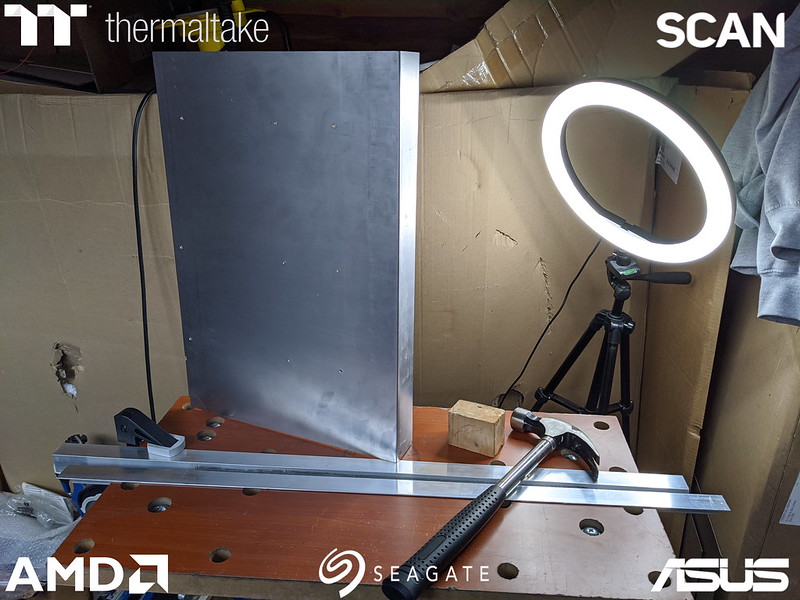
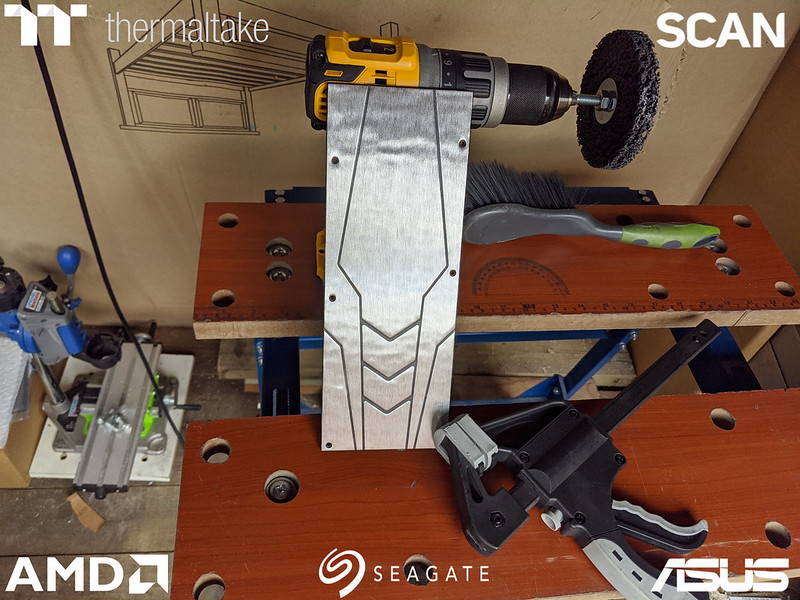
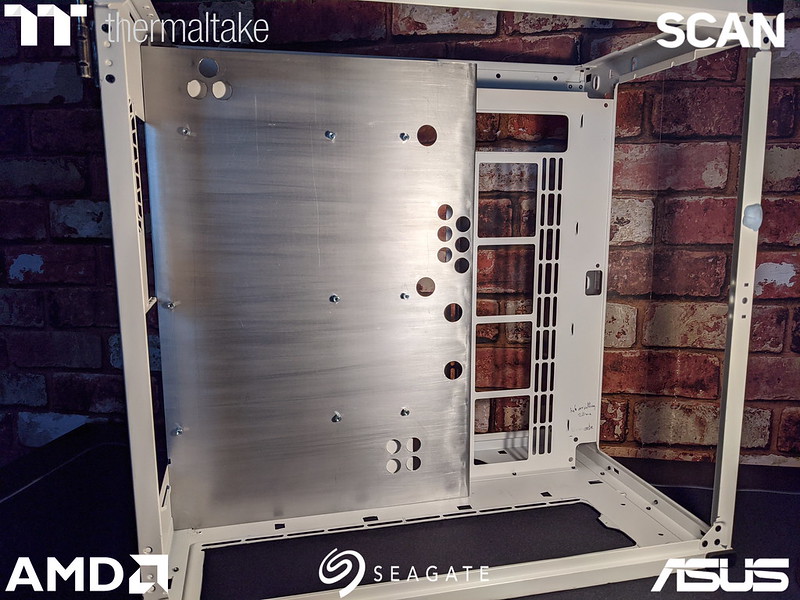
Now I had to tackle the big fan hole, couldn't leave that open and bare. Some nice brass mesh might sit well in there. :wink1:
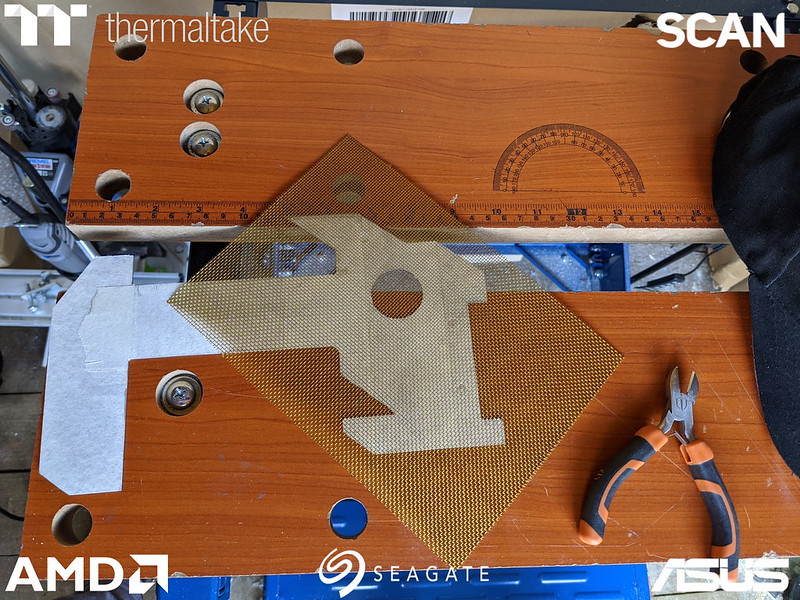
I clamped the armour down with the hole over the gap in the workmate and pushed the mesh into the hole, first with the hammer head face, then using the screwdrivers bit holder to push it into the edge.

Voila!
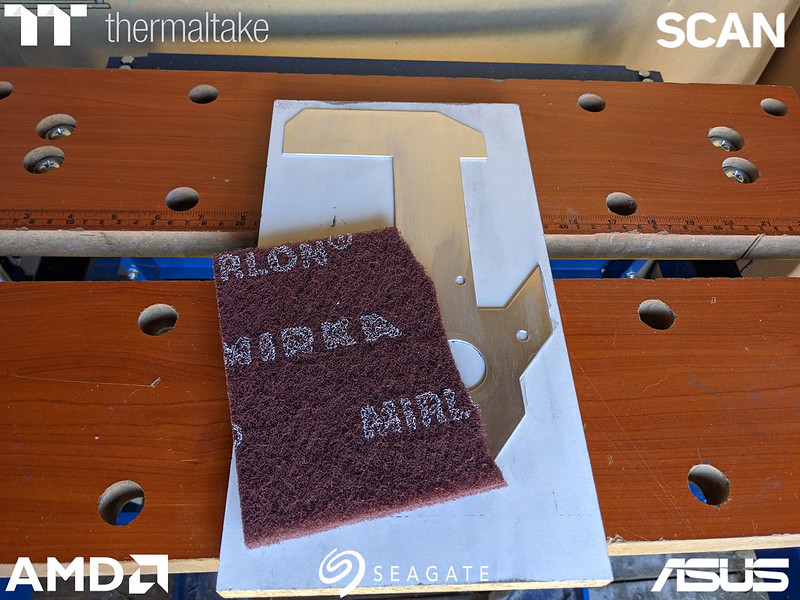
Now it was time to tackle the finishing on the front of the armour, looks lovely, but too shiny to go with the motherboard heatsinks.
With a large awkward shape I decided it would be best to stick it to the wood. When doing the cpu piece in this manner I noticed the bits that didn't have tape on wouldn't get sanded as much as they'd bow with the pressure, so I wanted to make sure it was well covered to get a nice even finish. Maybe a little too much?
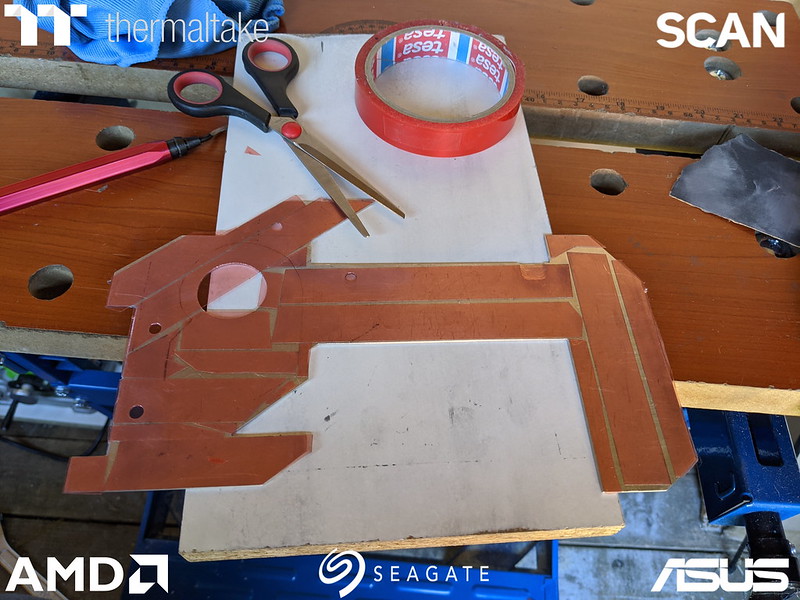
First off was the 320 grit Mirka pad.
Nice. After this I went onto the 1200 grit grey Mirka pad...
Noice.:boink:
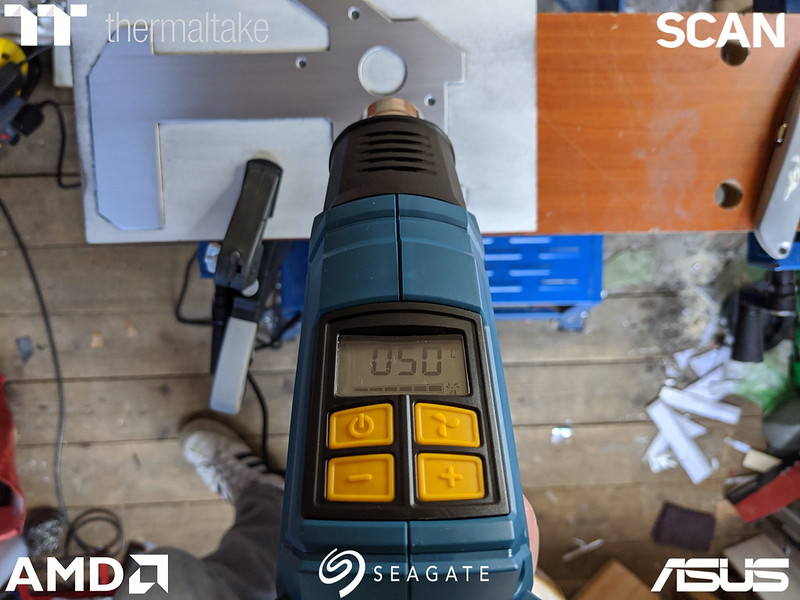
Now time to get it off the board. Just pull it up here, just pluck it, oh, hmm. It seems to be a bit stuck. Thought I'd heat it up with a heatgun to ease it up. Started at 50, think i went up to 100C in the end.
It began to pull up a little, a corner here, a corner there, finally got an edge going. I was using a thin metal scrapper to get under where I can, using a chisel to leaver it up. Yeh a chisel. You can see where this is going can't you..... :banghead:
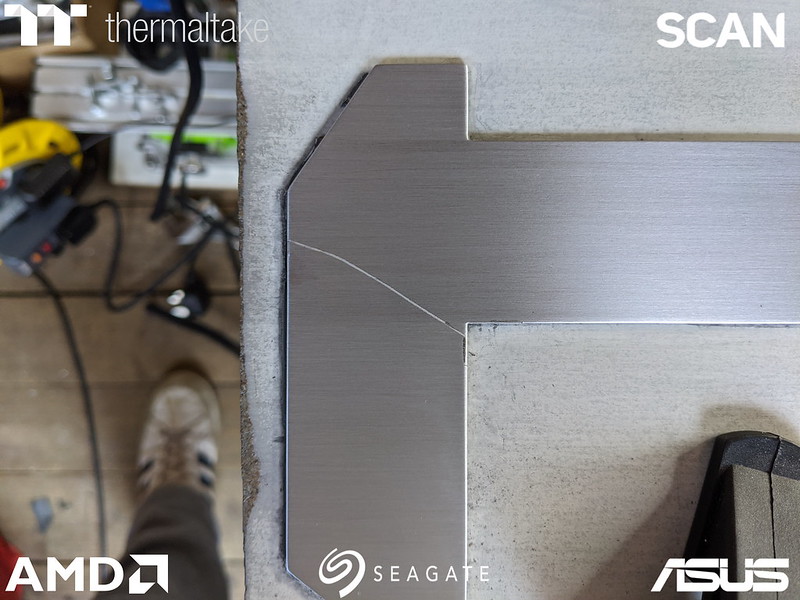
Devastation.:sad: Looked quite deep, felt deep too. I swore a lot, managed to get the metal off the wood, swore a bit more, almost cried, I thought it was game over, but managed to bring it back from the brink and sand it out. Think it felt deeper than it was as the edges of the gouge would have protruded from the displaced material. Such I heart stopping moment though. I needed a cigarette after and I haven't smoked in 4 years! :lol:
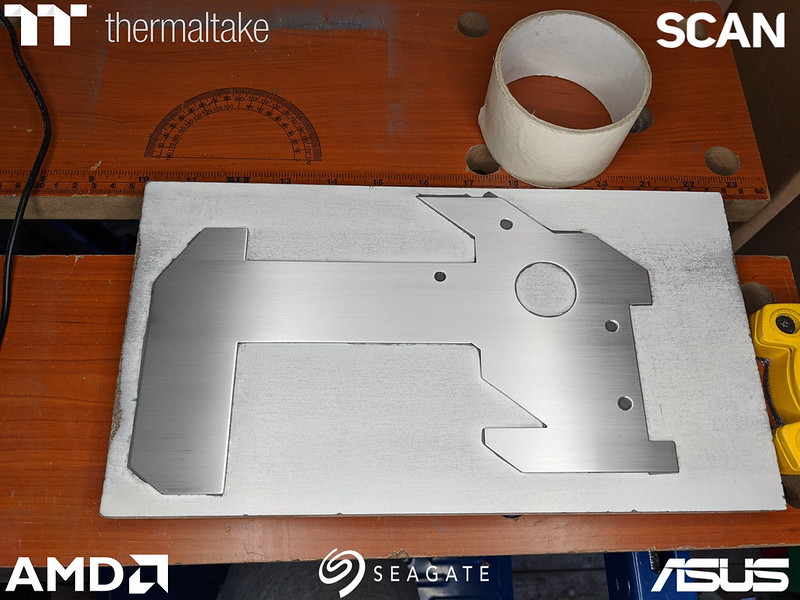
It was then very carefully cleaned and quickly sprayed. It was looking good, added a second light coat, still good, one bit looked like it wasn't quite as covered so did a third coat, at which point I got a couple of spitty bits from the spray can :angry: It would probably be fine once it dries, but I should have left it. Always have to overdo things when they aren't quite perfect and then they get worse. It's so annoying. (this is pre-spray)
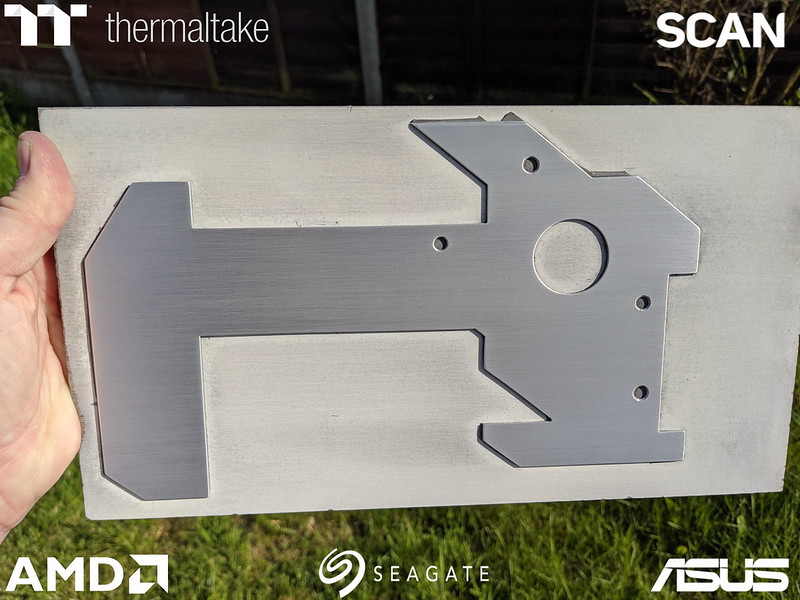
Luckily it turned out absolutely stunning :drool:
(Larger expandable pic)
Unluckily it was when the heatwave kicked off and it had got so hot in the shed that the clear coat had got soft and a little tacky and I got finger print impressions in it. I had to remove the whole lot. :sad: To be honest I'm not entirely convince the clear-coat I got is suitable for bare aluminium. When I first got it I contacted Rustoleum to check and they said it would be fine to use on it's own. Maybe it was the heat, maybe it's just not the right stuff, but I don't really have the time and funds to be experimenting with that kind of thing at the minute, so I'll leave it bare for now and maybe look at it again towards the end if I have time.
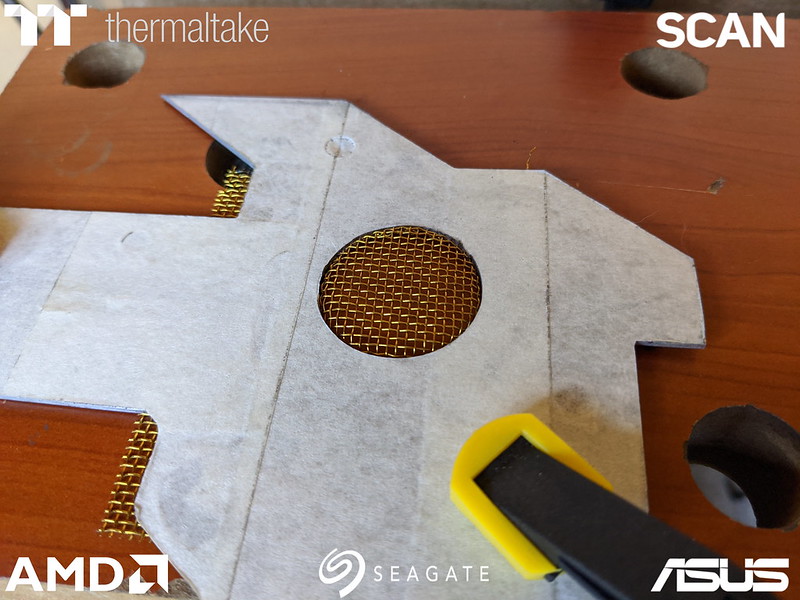
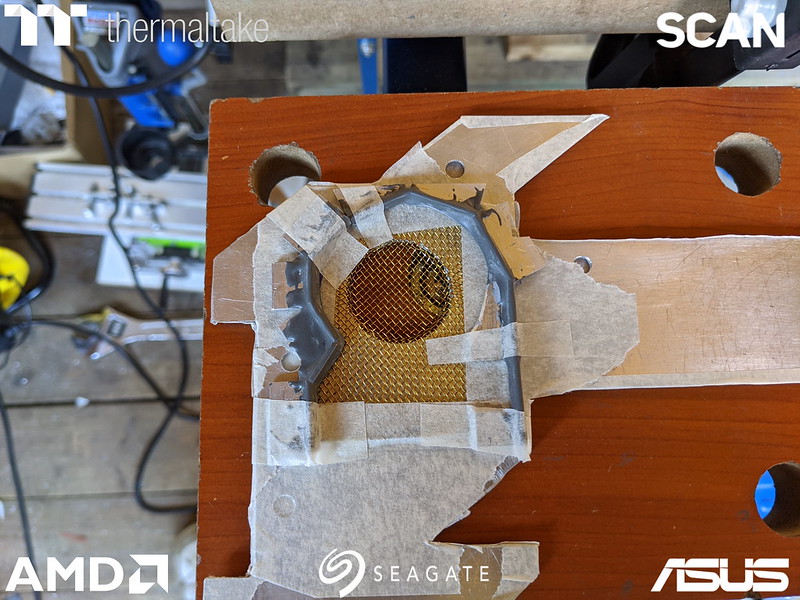
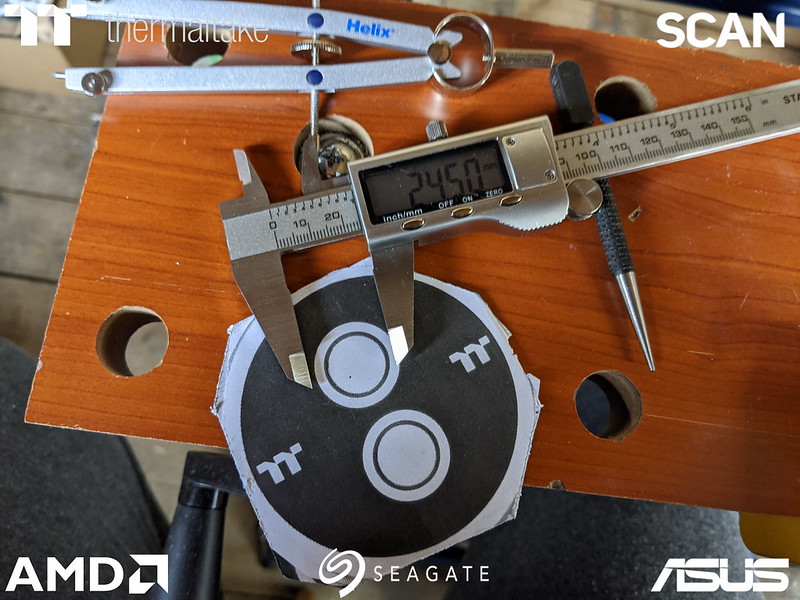
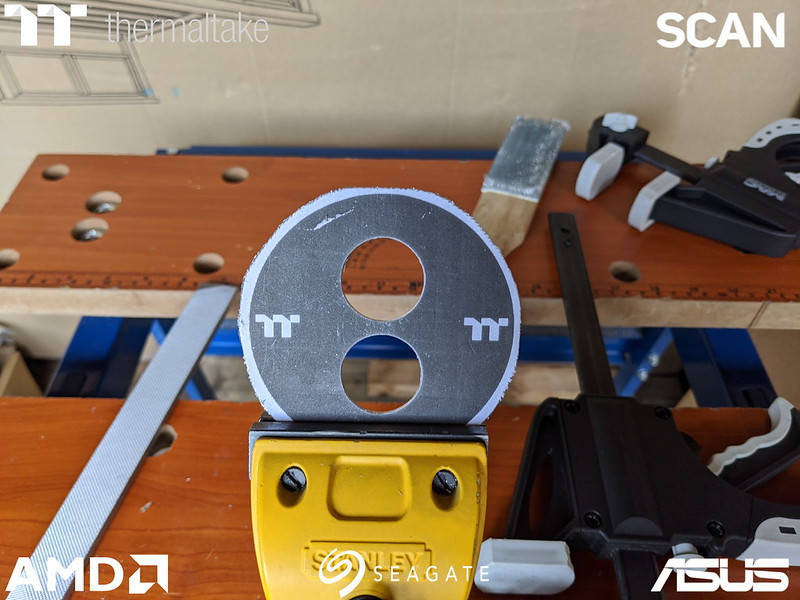
Now onto the the brass hole cover. It looked good, but something wasn't quite right.
Should have had the wire in the mesh align with the angled edges of the armour of course. I even set it like that in the first pic I showed of it. Silly me. <_<
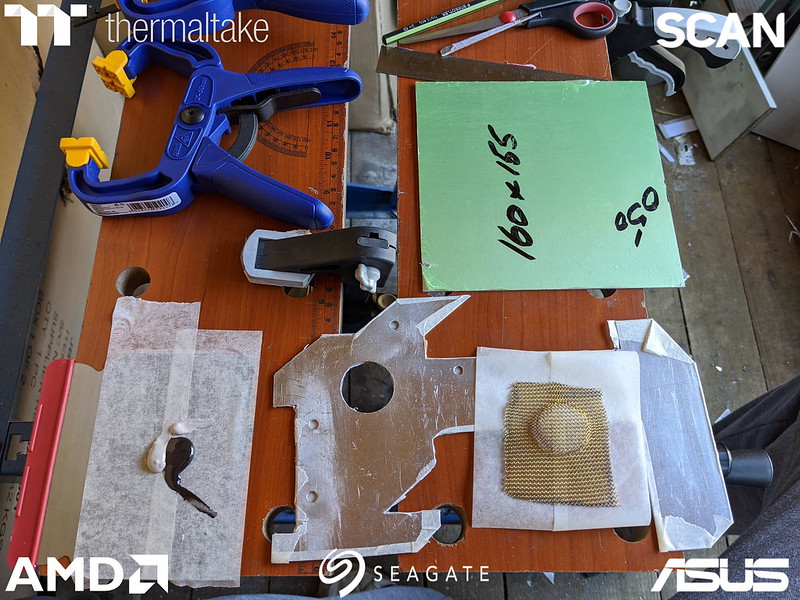
I quickly knocked up a new piece with the mesh lining up at the right angle and then taped the bejesus out of it with the fan guard I'd made earlier for a test fit.
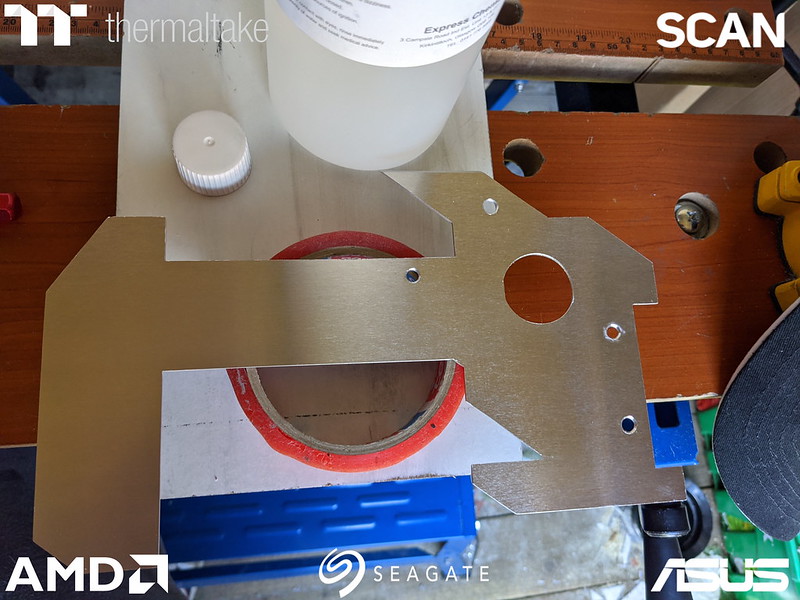
It did not fit. :headscratch: I'd forgotten that I'd ended up getting mesh with larger holes than originally planned as I didn't want it to be too restrictive. Larger holes meant larger diameter wire and quite the difference in mesh height. I had been waiting an age for the mesh and had made the fan shroud before the mesh came. I thought about attaching it all to the armour anyway and then milling it down (I did think that might have to happen anyway to get the right height), but I wasn't confident in the strength of the bonds in the pieces of the shroud, Since it had broke in 2 already, I did not want odd pieces flying across the shed while milling, so I resided to leaving the shroud out for now. I might try again later with a small strip bent to shape, but I've got to crack on for now.
To attach the mesh I returned to our good friend JB Weld. I covered the back of the mesh in masking tape, spread the JB weld onto the mesh leaving a gap around the raised hole section so non would go into that space from any spread. I then placed the mesh on the armour and lined it up with the angled edges before pressing the tape down and clamping a piece of aluminium sheet over it to keep it flat and the pressure even.

Worked pretty well. There wasn't any ingress into the main hole, but there was some into one of the screw holes.

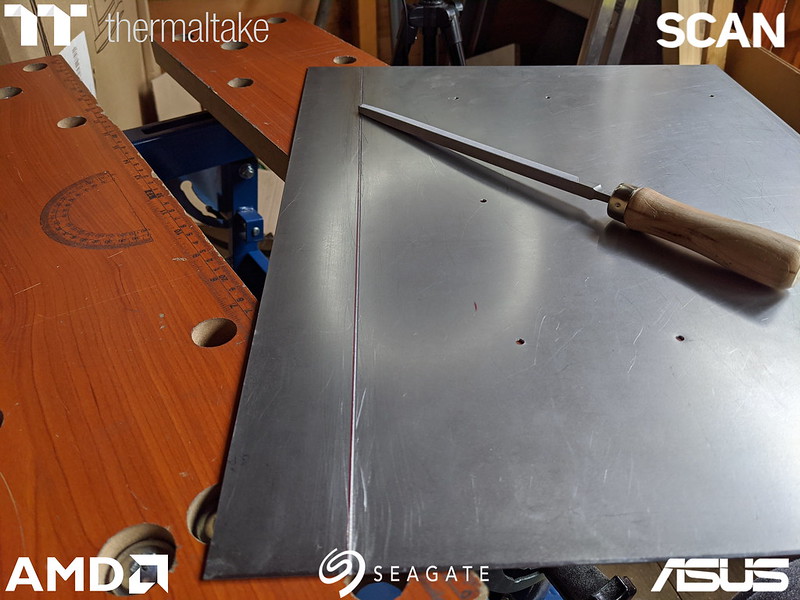
Soon had that cleared out. Cut the back with a stanly knife then cleared to hole with a file and deburring tool.

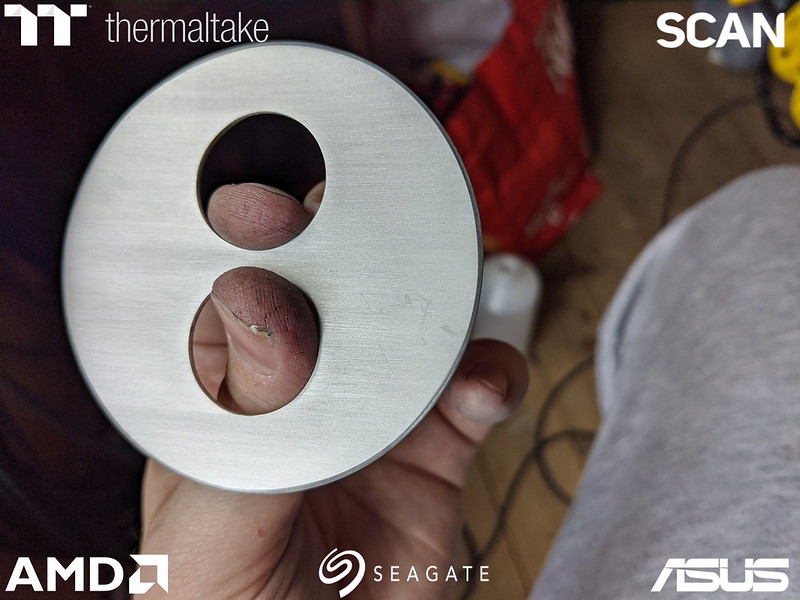
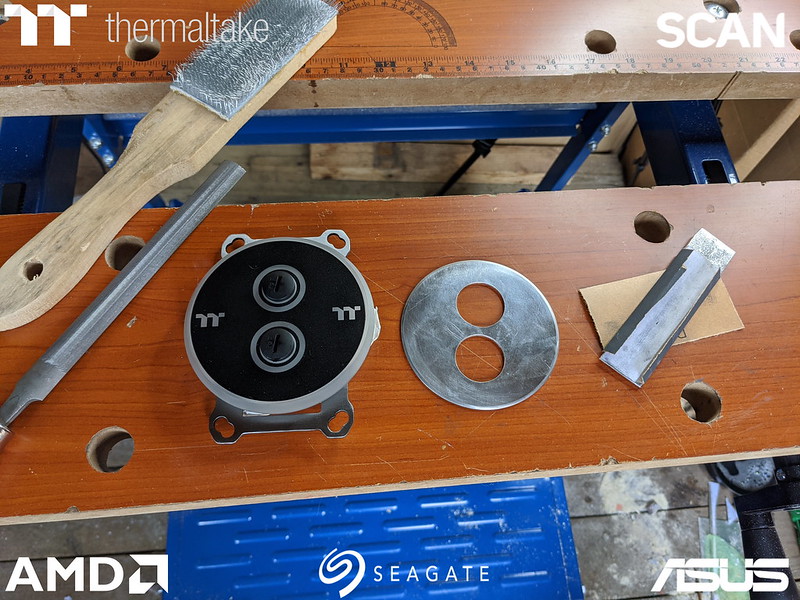
The holes for the screws that actually attach it to the board would need some washers underneath so the 2 surfaces would meet properly. For this I will use some brass washers; an M4 the screw would actually pass through, then and M3 and M2 for the screw to sit on and put pressure onto and make it up to the right height. This should give a nice little brass edge to them to match the mesh. I decided to glue them together before glueing them to the armour.
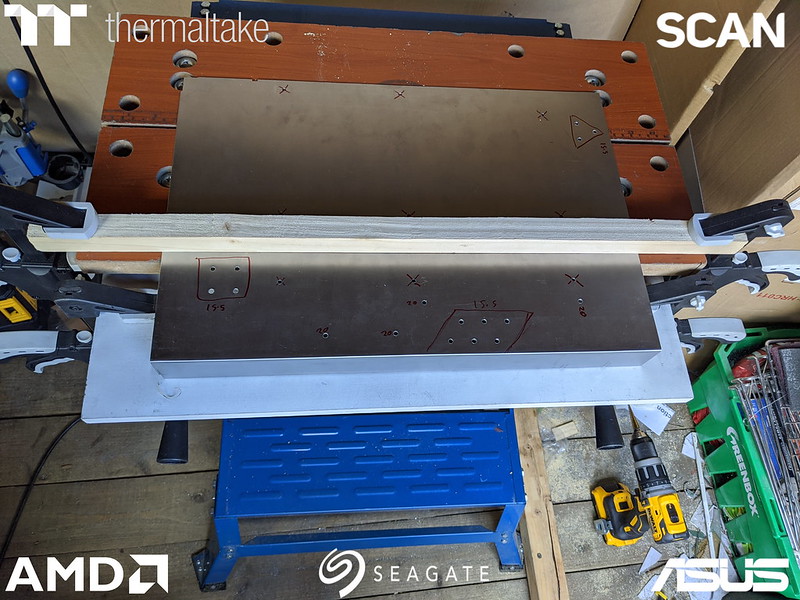
While they were drying I went back to the CPU block cover. I'd managed to get some more 400 grit sandpaper from Halfords, got it taped to some wood and started sanding it carefully. But it still wasn't sanding evenly, was the wood flat? Yes. Sandpaper ok? Yep. Hmmmm. Oh, is the cover flat? Nope. Definitely bent. :duh: Seems because of the shallow jaws of my clamp and the pressure of the polishing had got it quite out of shape. I did my best to get it flat and for the best part it was, but also not quite. In the end I had to abandon the polished edge and use the Mirka pads to brush it. Disappointing, but not the end of the world. I had been told by someone in the know (a lecturer of art who specialises in metalwork and such) that what I was attempting was very difficult, but I gave it a shot anyway. Still looked good. Shame I forgot to take any pictures of the entire process :blush: :slap:
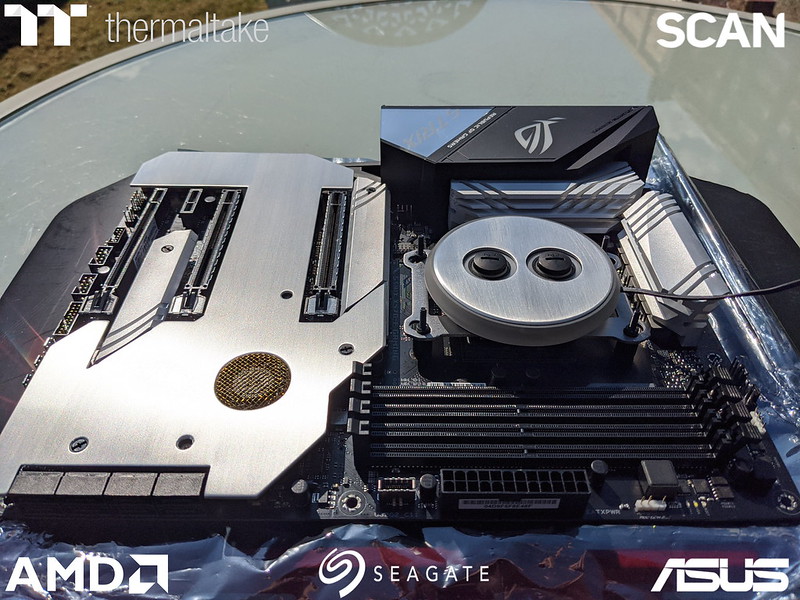
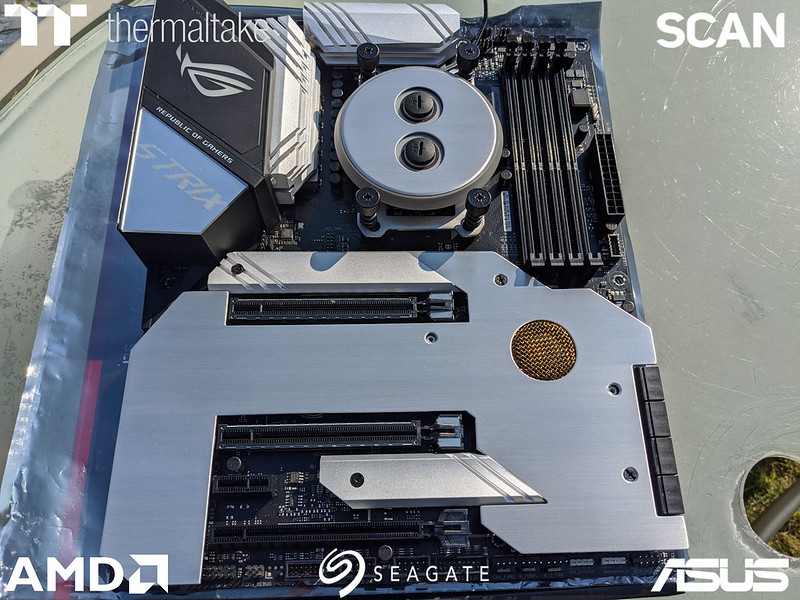
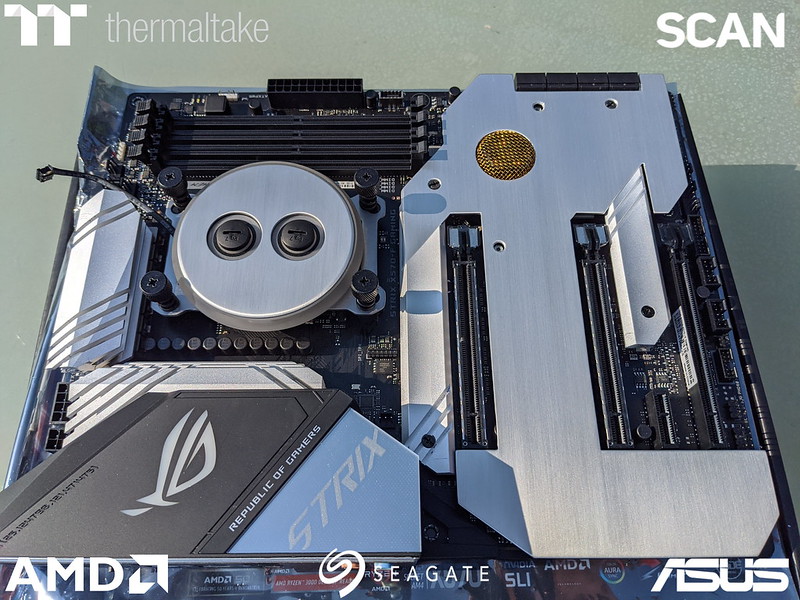
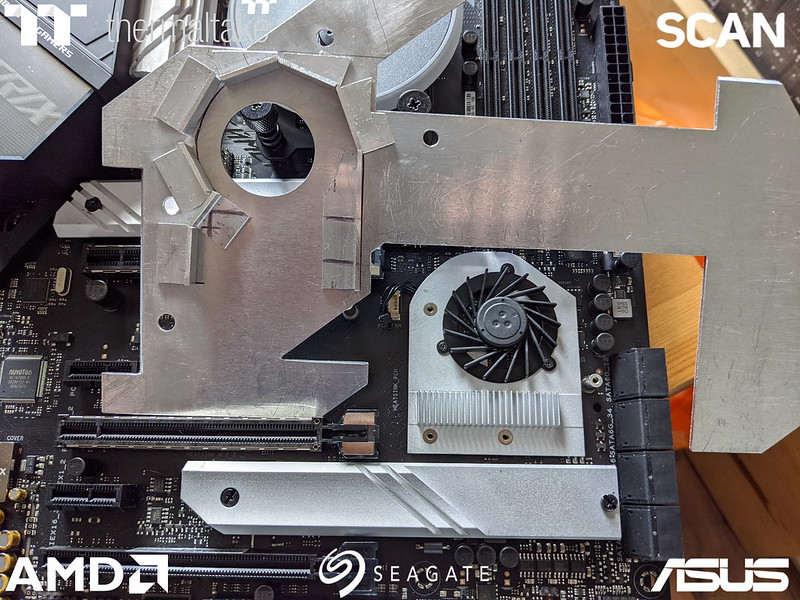
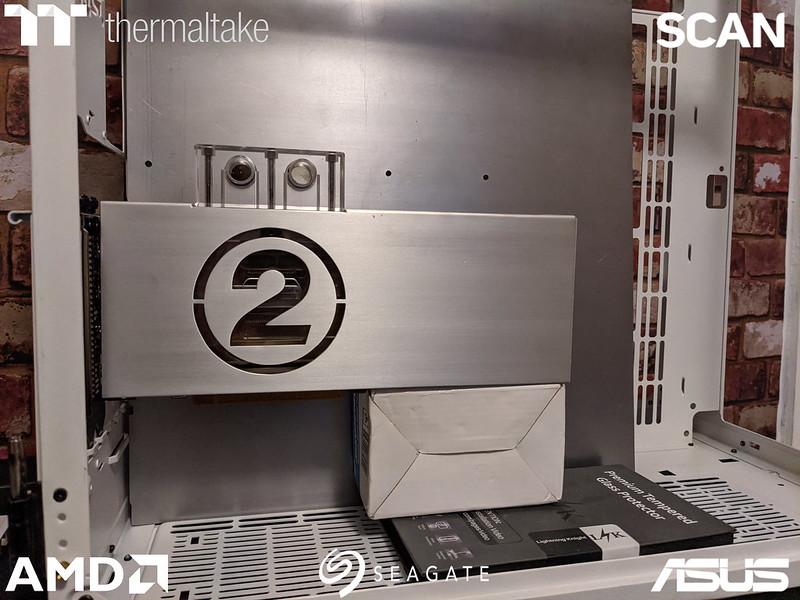
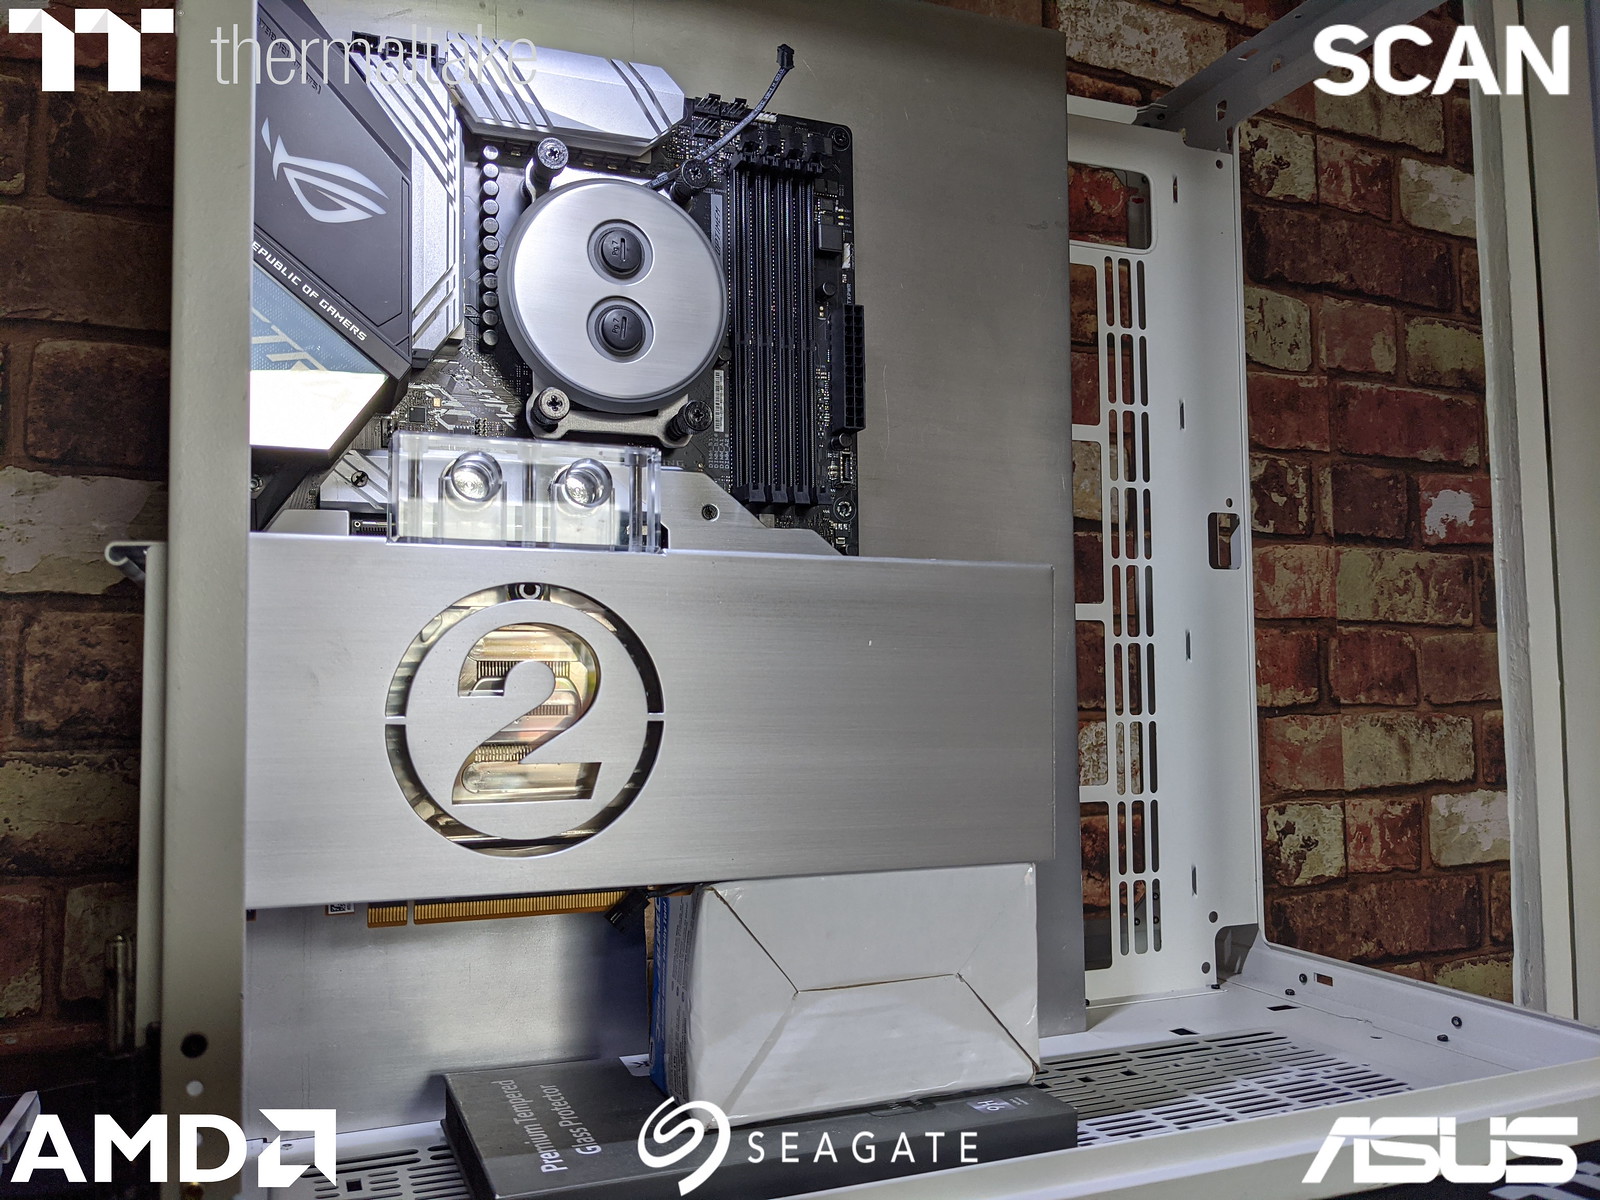
With that done and the glued washers drying I thought it was time for a sneak peak
Maybe less sneaky?

Happy with the result I went in to cool off and do some physio. After I was looking back at the pictures I'd taken and I wasn't happy with the cpu block cover. I'd brushed it with the same pads I'd already used on the motherboard armour and it hadn't quite come out as well. So I went back and cut some new pads and did again with fresh 320 and 1200 pads.

MUCH better. Shame I can't rid the armour of streaks entirely. Used isopropyl alcohol which I would have thought would leave it streak free, but would still leave some. But it does look so good. At least I think so anyway.

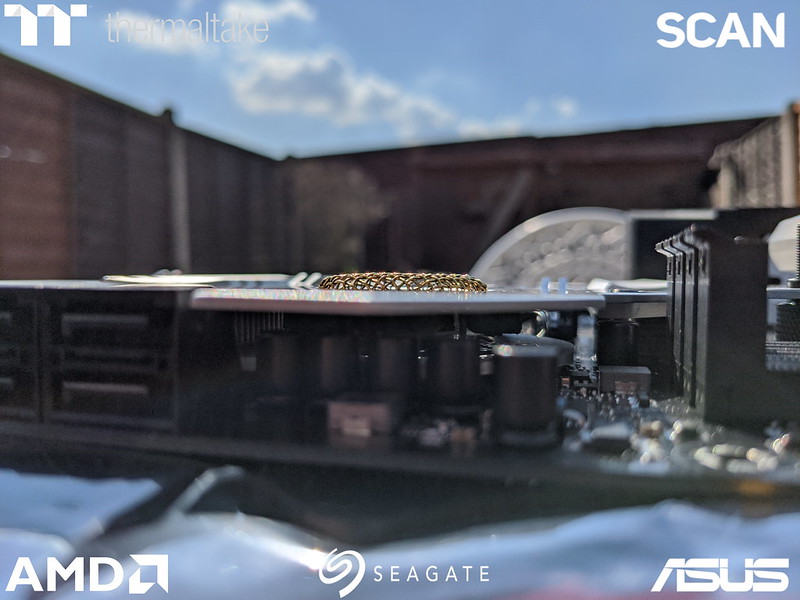
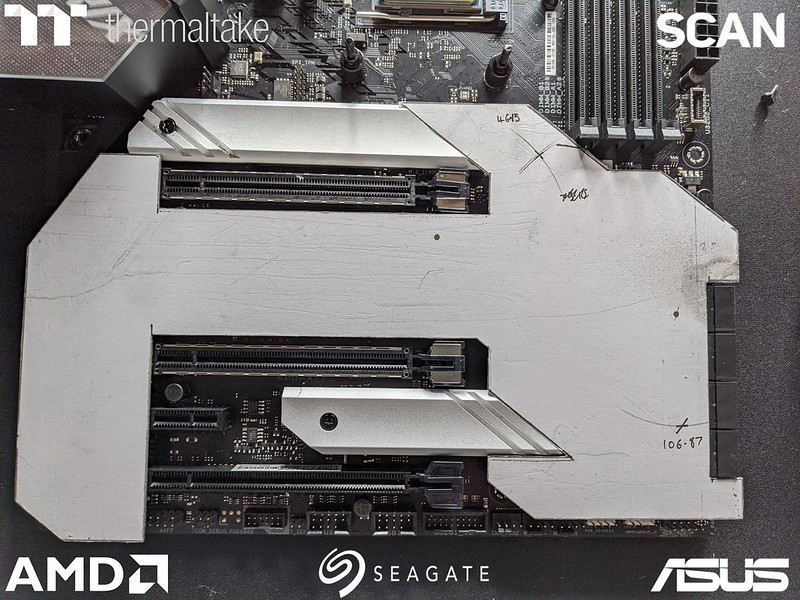
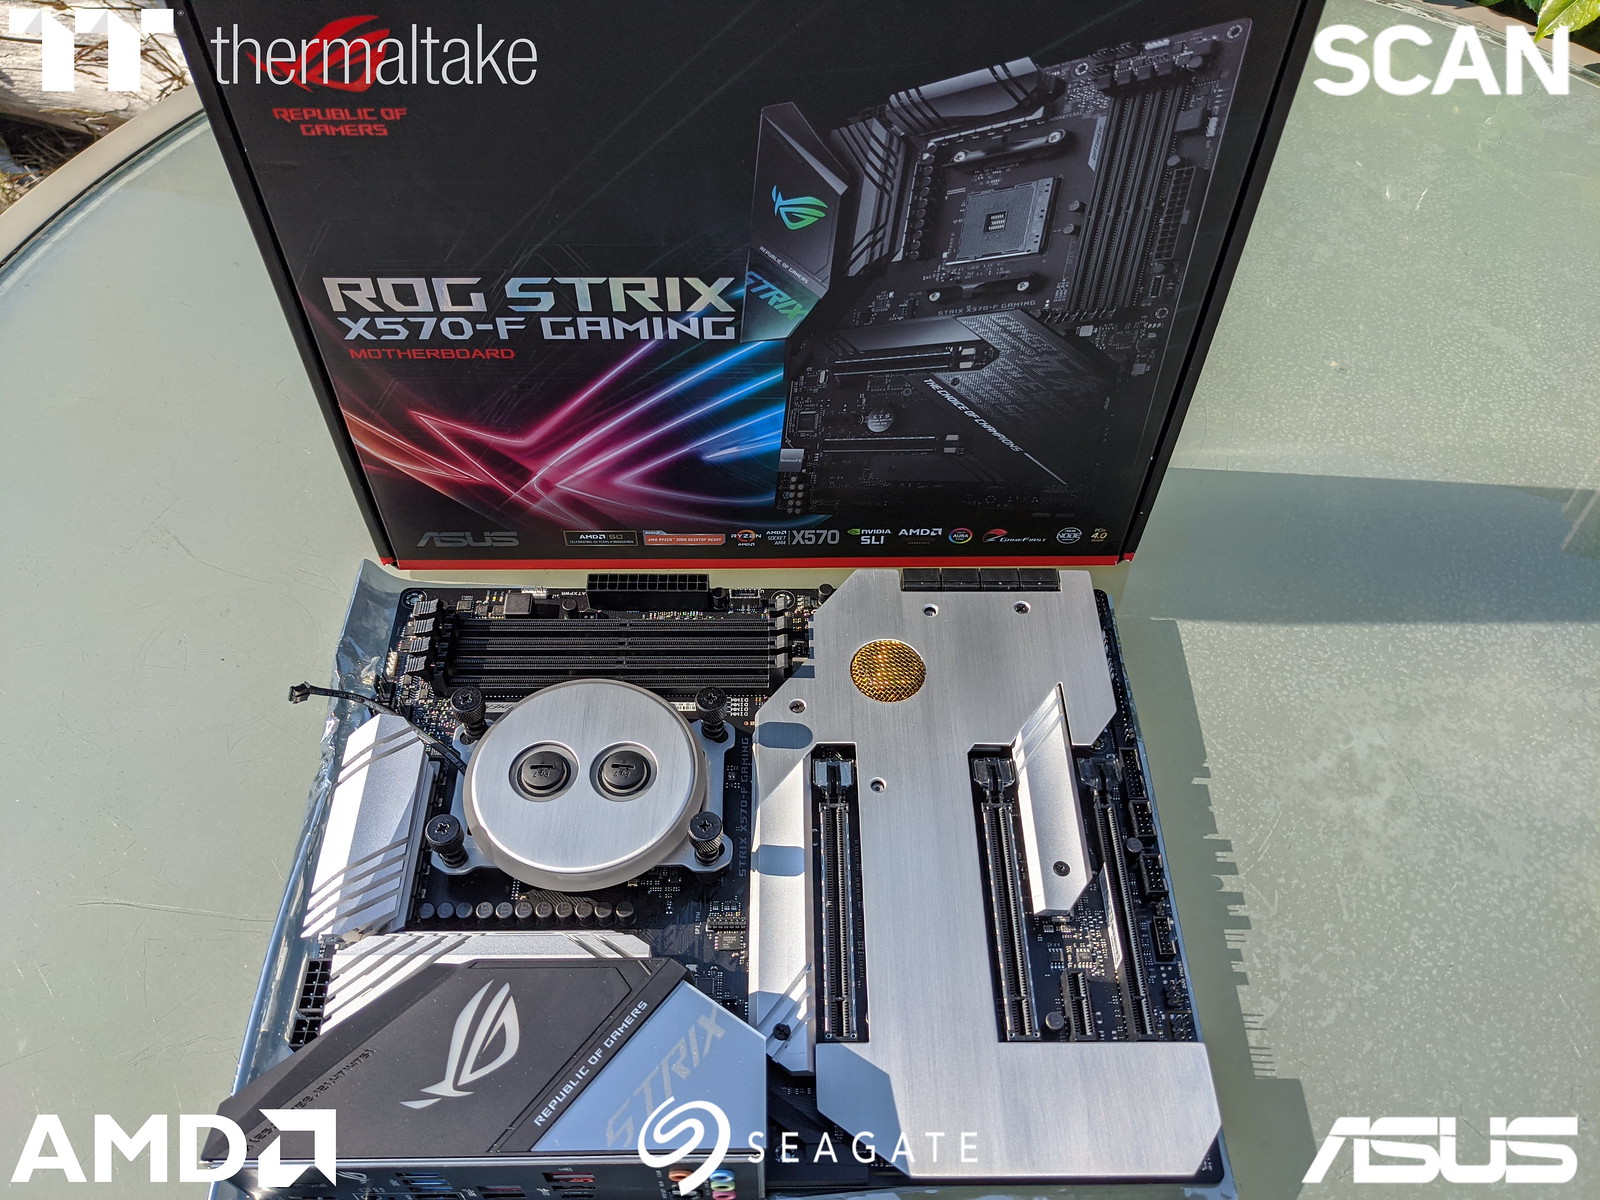
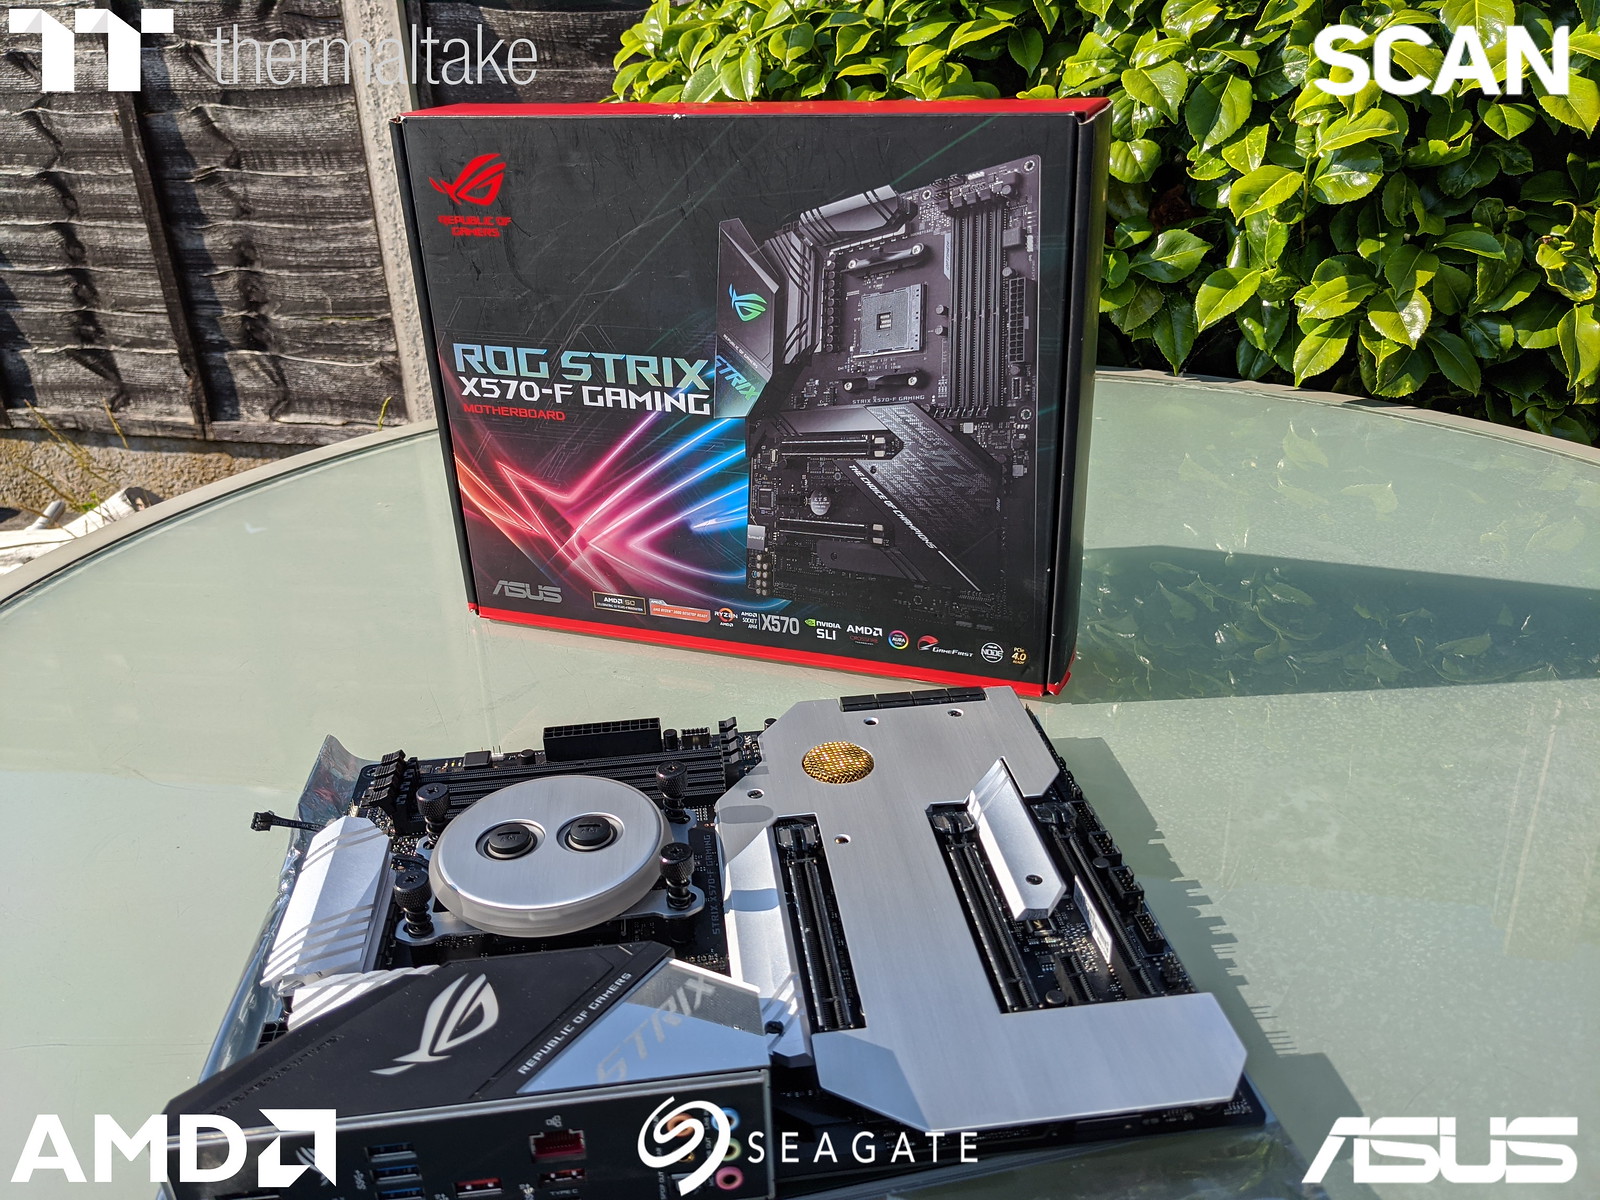
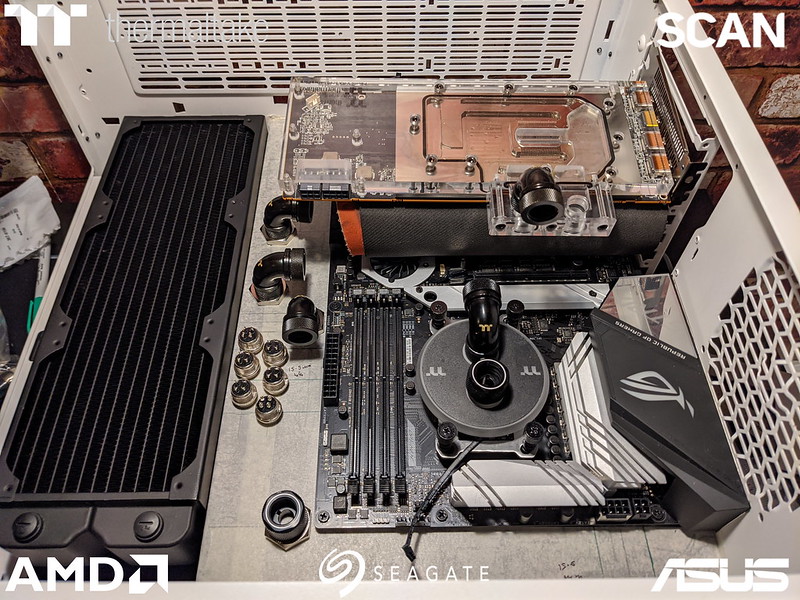
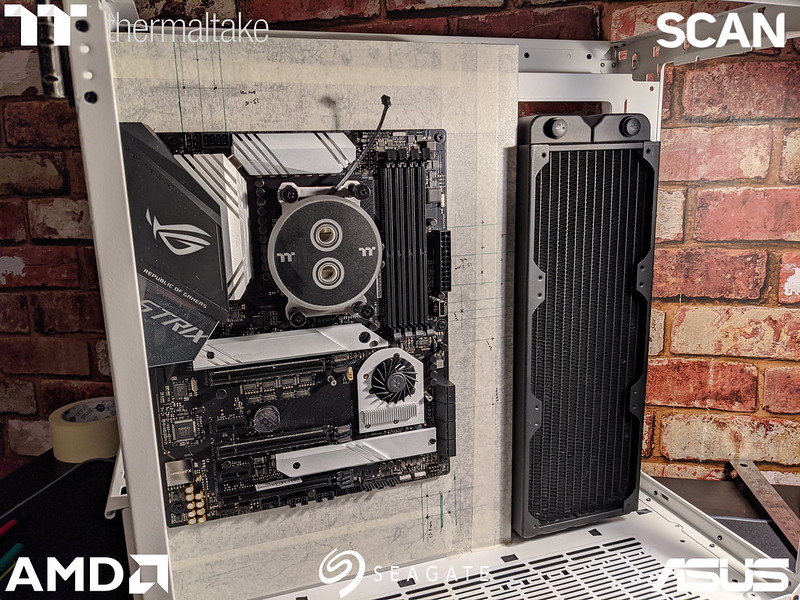
Just got to glue those washers on and they're all done and it's time to move back to the case. With that it's all over for this update Crapfans. I'll leave you with a few more pics of the finished motherboard, which I'll post without the URL link and a larger size for you all to ogle at :dribble: Stay tuned for the next enthralling roller-coaster ride that is Project ISAC. Same Crap time, same Crap channel. Until then Crapfans....
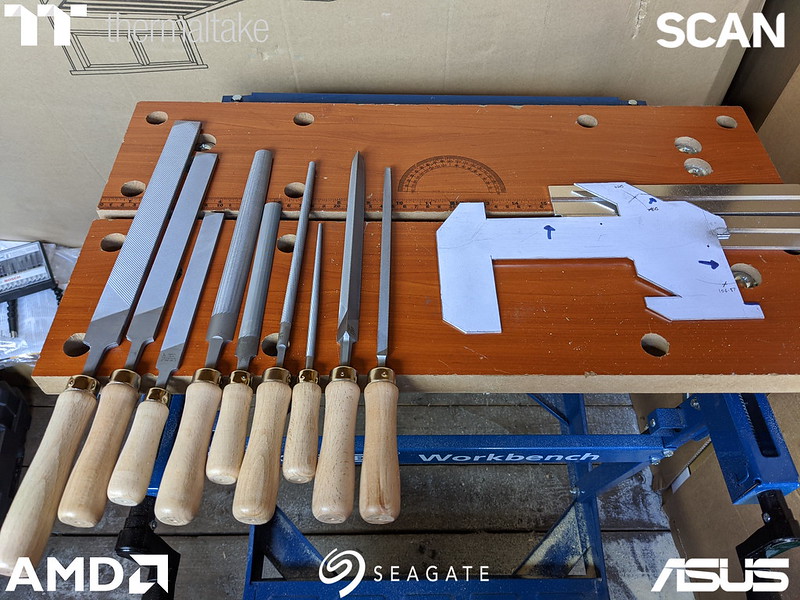
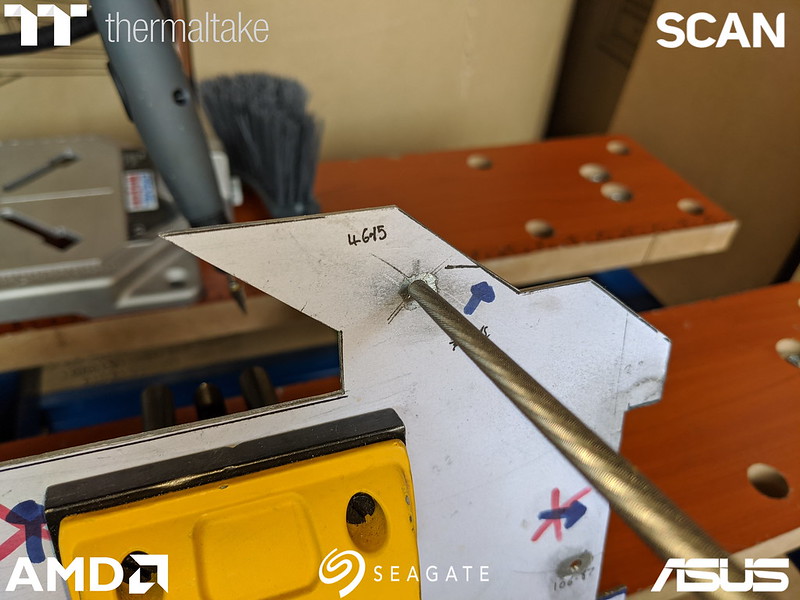
 So I went to take them back but they're not accepting returns at the minute with all the pandemic shenanigans. I ordered myself a nice set of Bacho files and while I waited I thought a little more use of the Magnusson ones won't hurt, I'd almost finished when the file brush broke so I'll get the basic outline done, leave a smidge to finish with my new one's once they arrive. The edge next to the SATA ports would need to slope with their profile.


 :lol: So stay tuned Crapfans! Same Crap time, same Crap channel. Until next time.....


")
") Don't be sad boy, I'll take you modding later. ^_^
Don't be sad boy, I'll take you modding later. ^_^