Project - Alternate (Custom PC Desk Build)

Love the lighting! And the entire desk!

Glad you & the other are liking it :D


So much progress in so short a time , I'm very impressed with he amount of work done , Shaping up to be an epic desk build Deblow . I for one have enjoyed looking though your build log .
I have to be honest this is certainly one of the best desk build's I've seen in a very long time . Congrats dude I wish you the best on the rest of the build

Thanks mate, :)
things have been moving along very well, but the past week has been a bit slower due to family events & lots of the components all arriving at the same time
I have 90% of the watercooling gear, the MB & some other little bits
so Iv moved from the outside to working on the internal layout for a bit.

I had 3 main ideas for the inside, im now working on my 2nd idea as the 1st was no longer a option due to repossession the pumps.

I'm trying my best to have the desk as symmetrical as possible.

Oh!, forgot to say that the GTA 5 release on PC has also played a part in slowing me down a bit lol
 
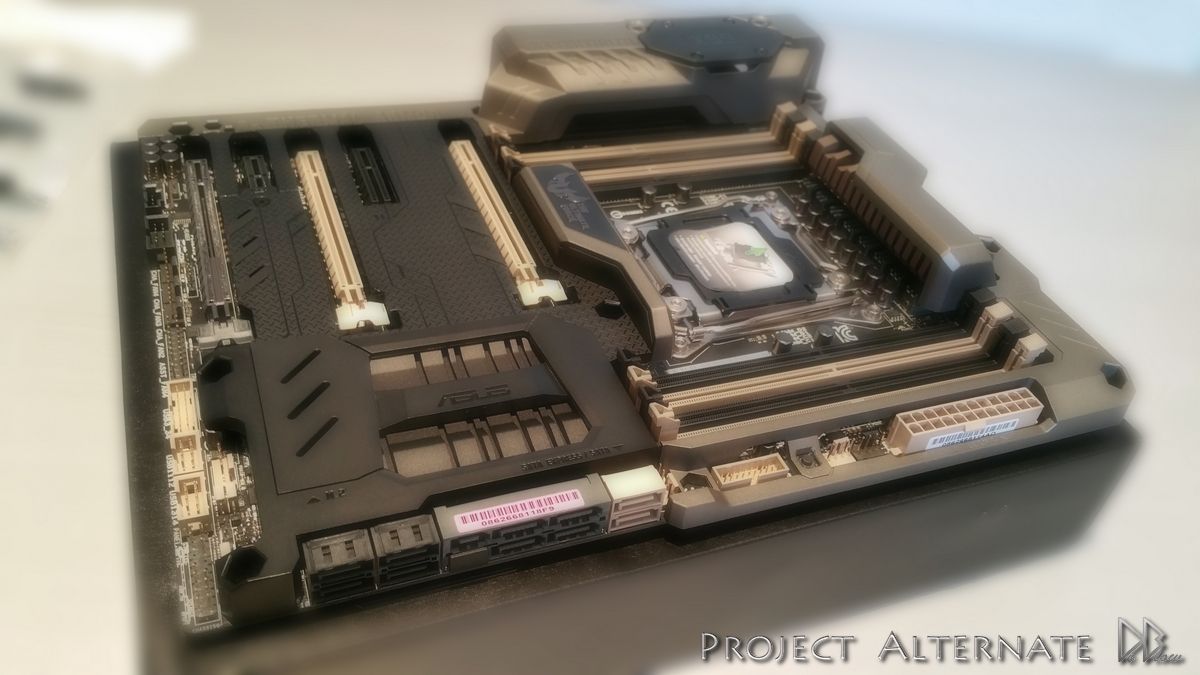
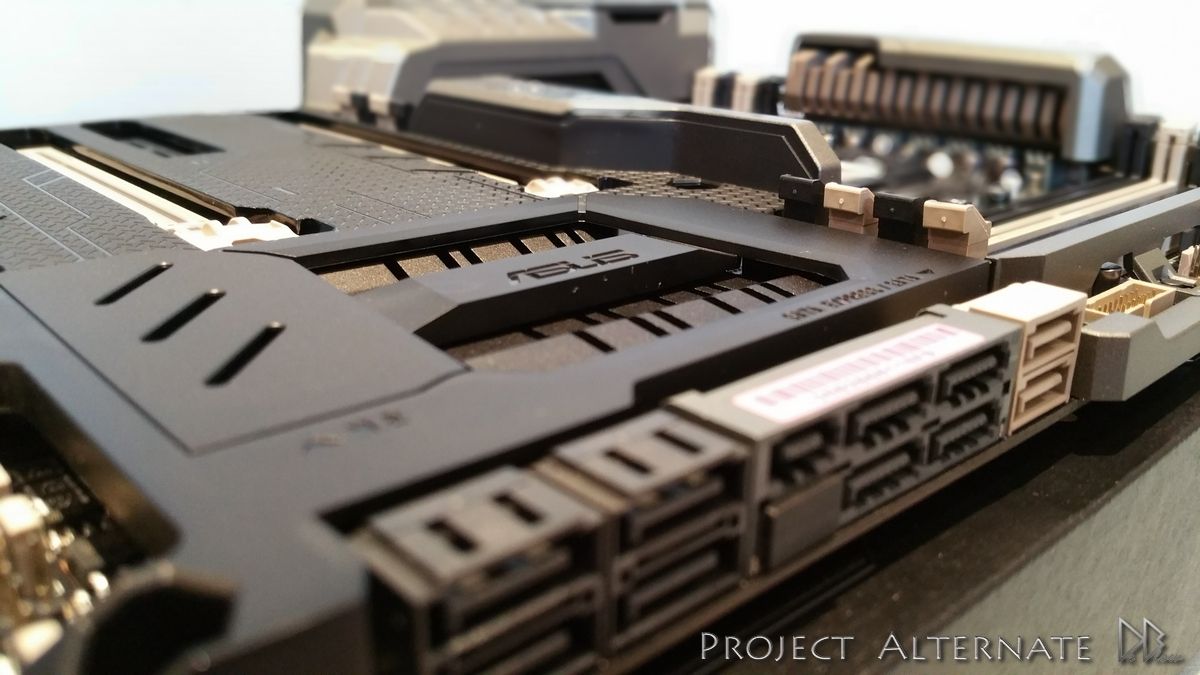
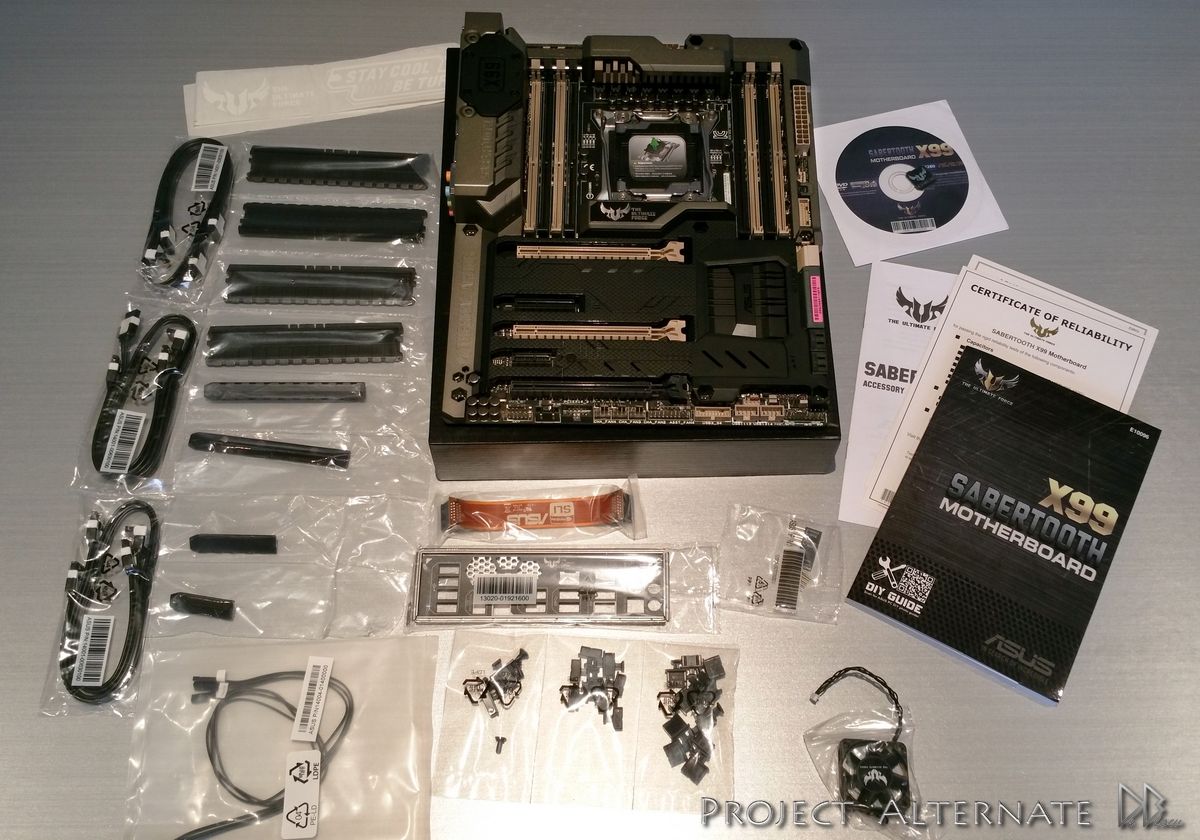
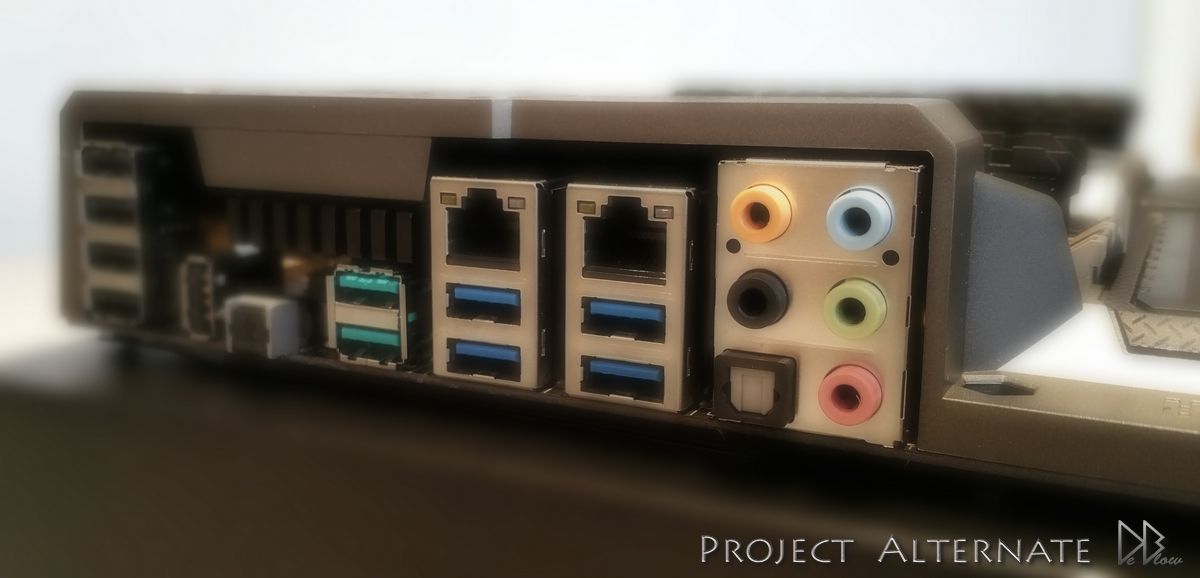
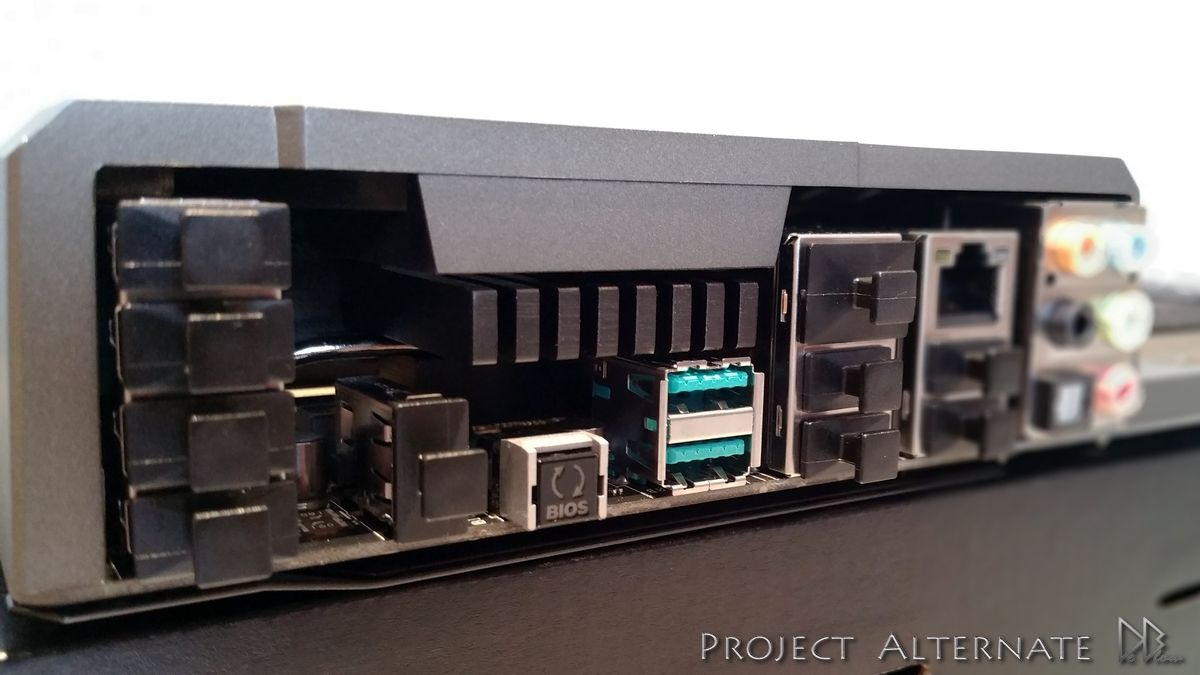
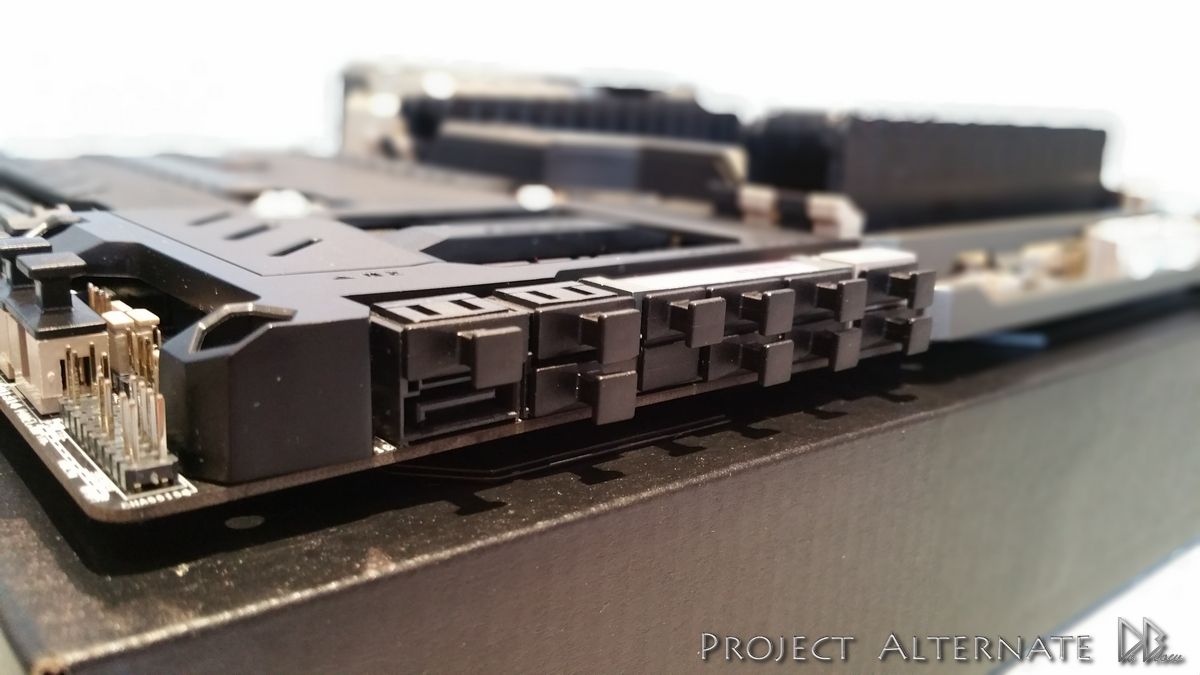
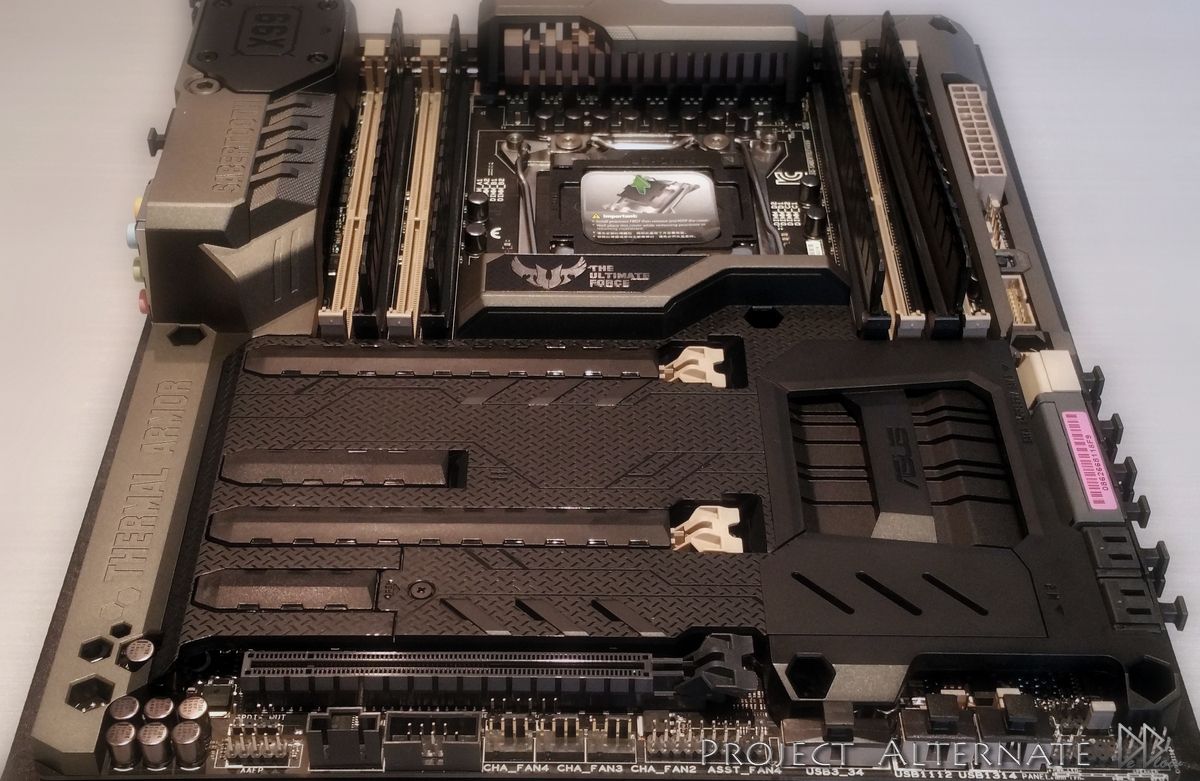
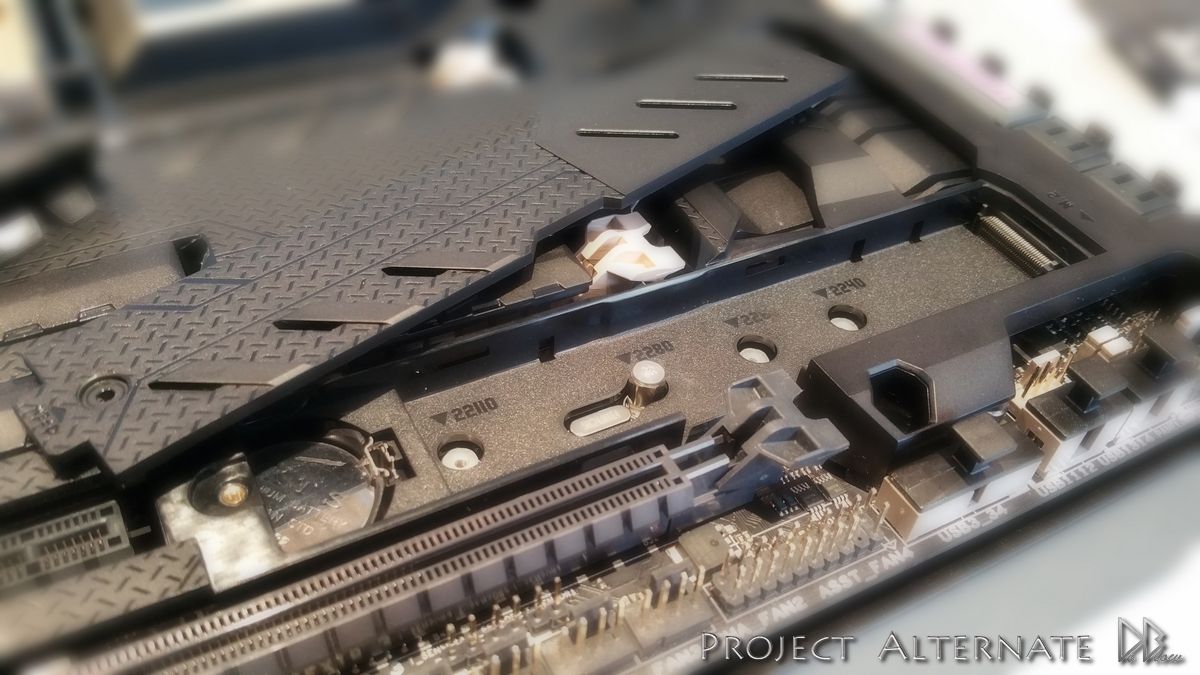
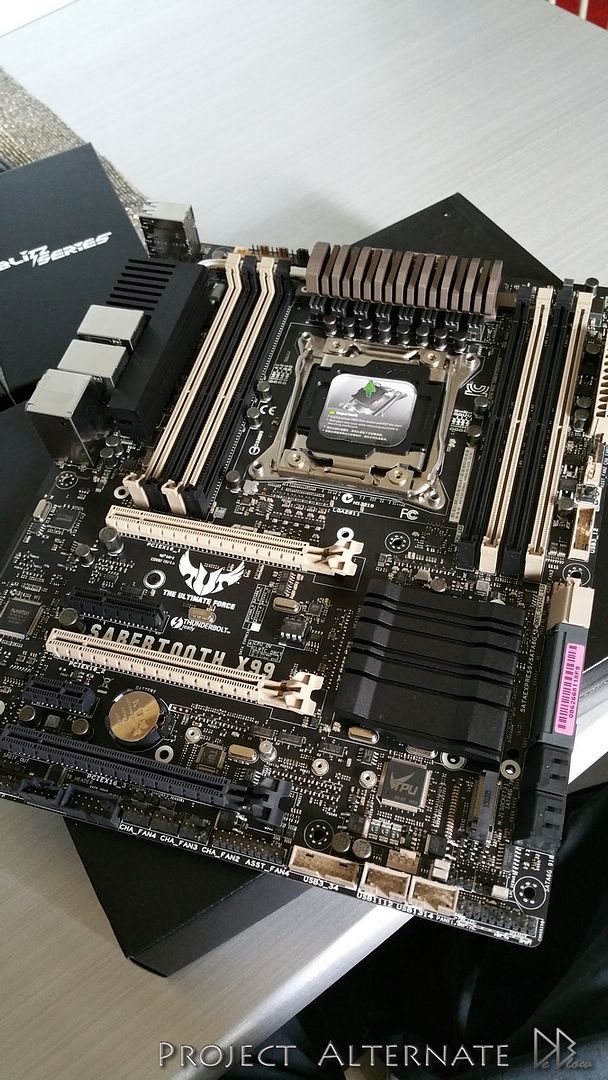
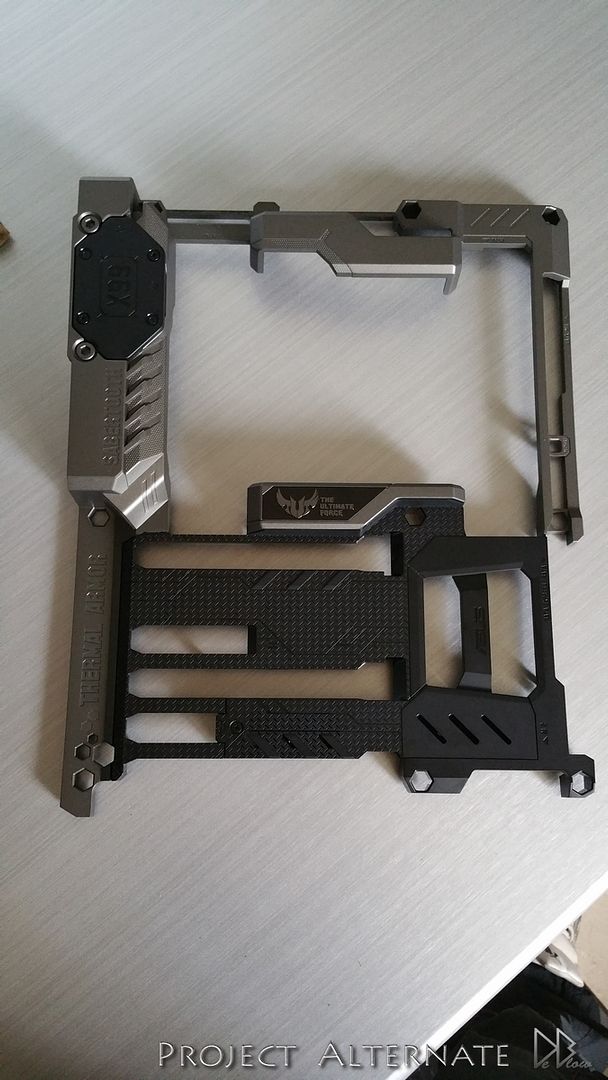
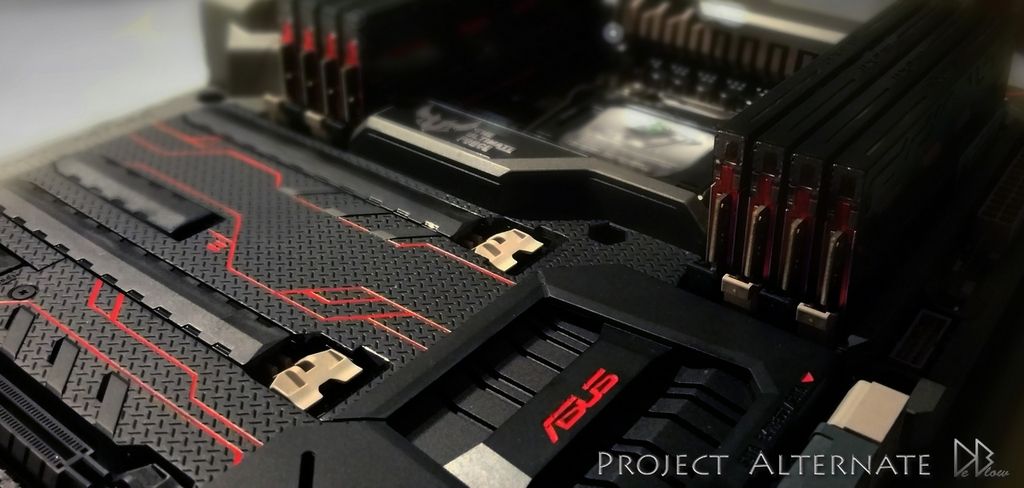
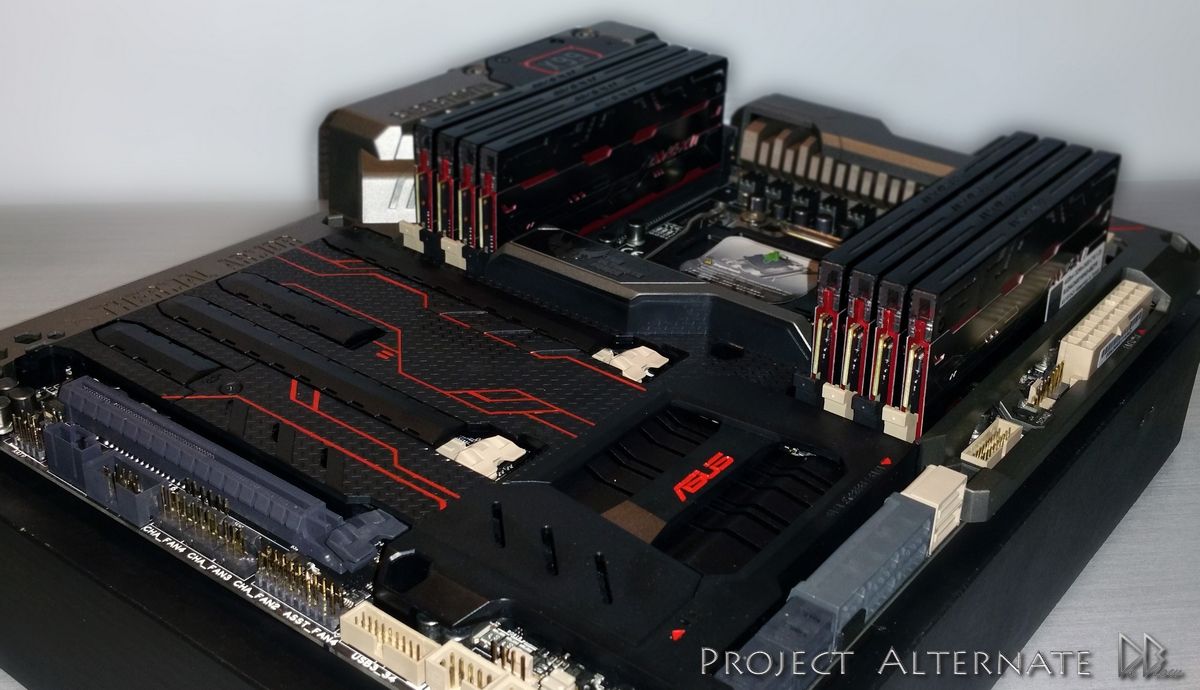
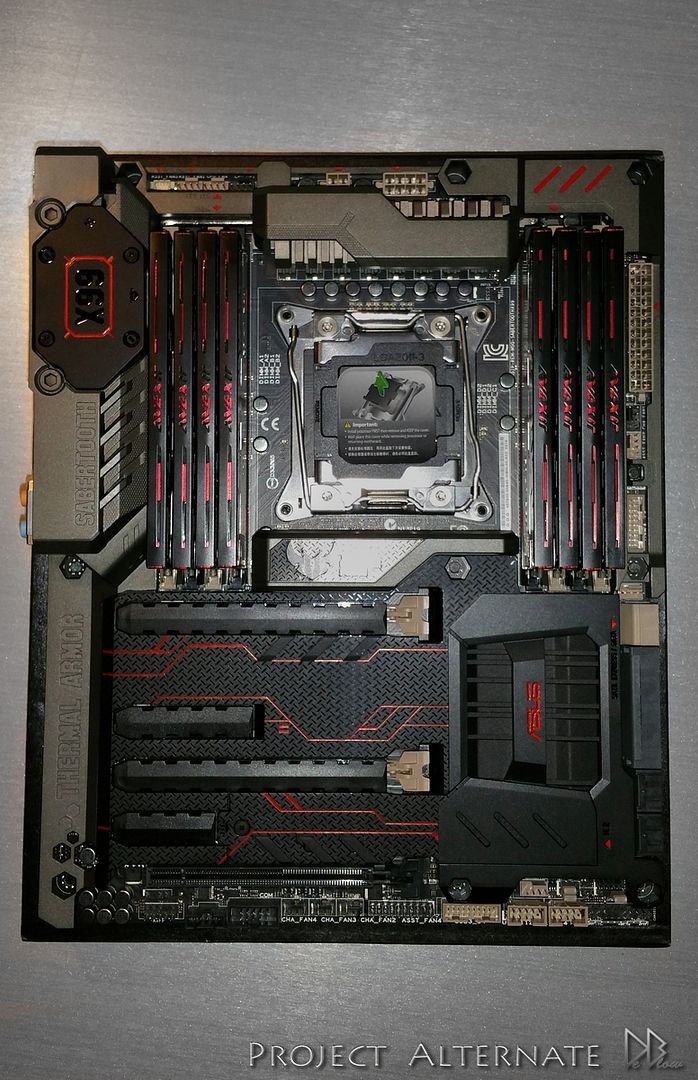
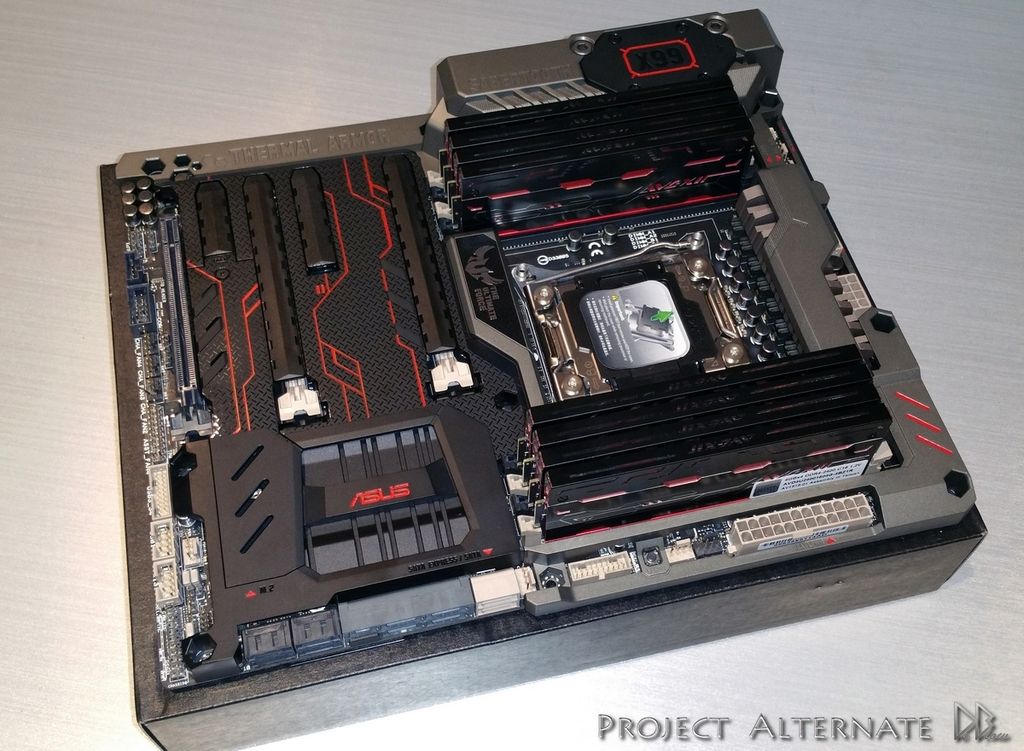
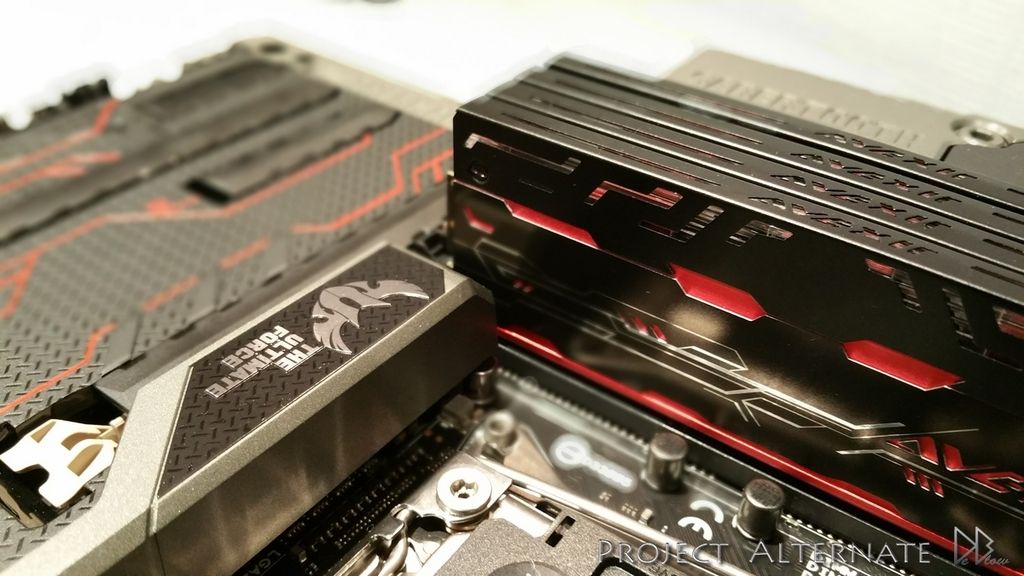
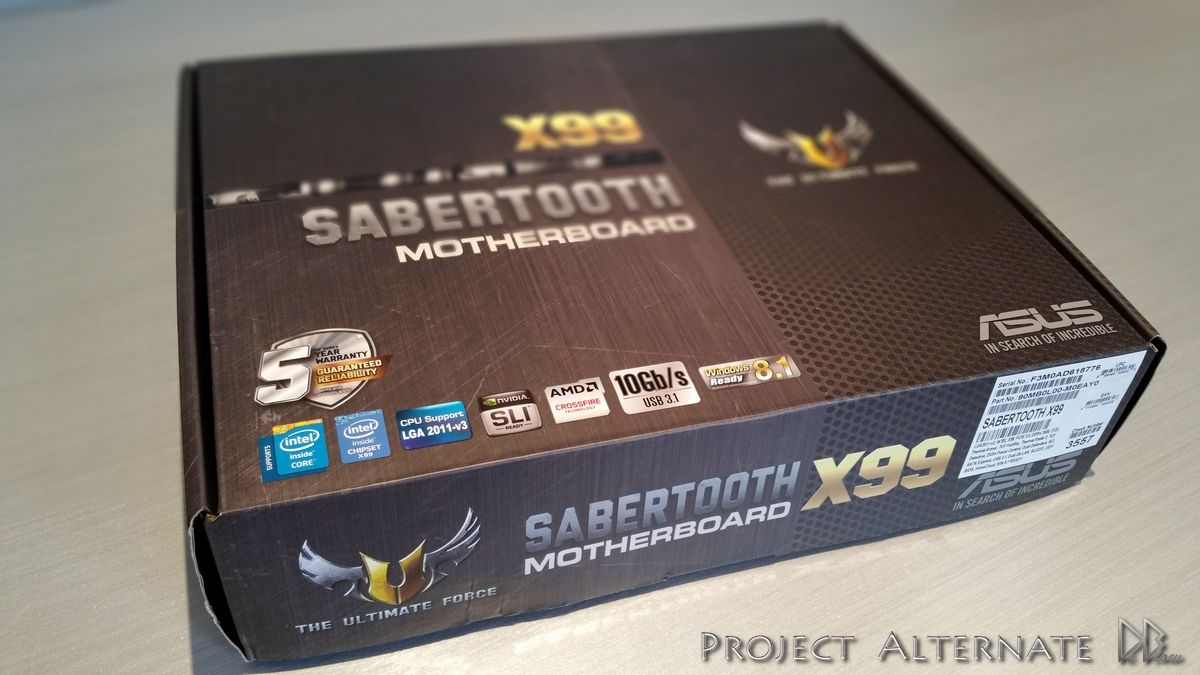
The ASUS Sabertooth X99, the most tidy looking motherboard iv ever seen, should be quite easy to mod to my colour scheme.
Will be using this MB along with some DDR4 & the Intel i7-5820k.

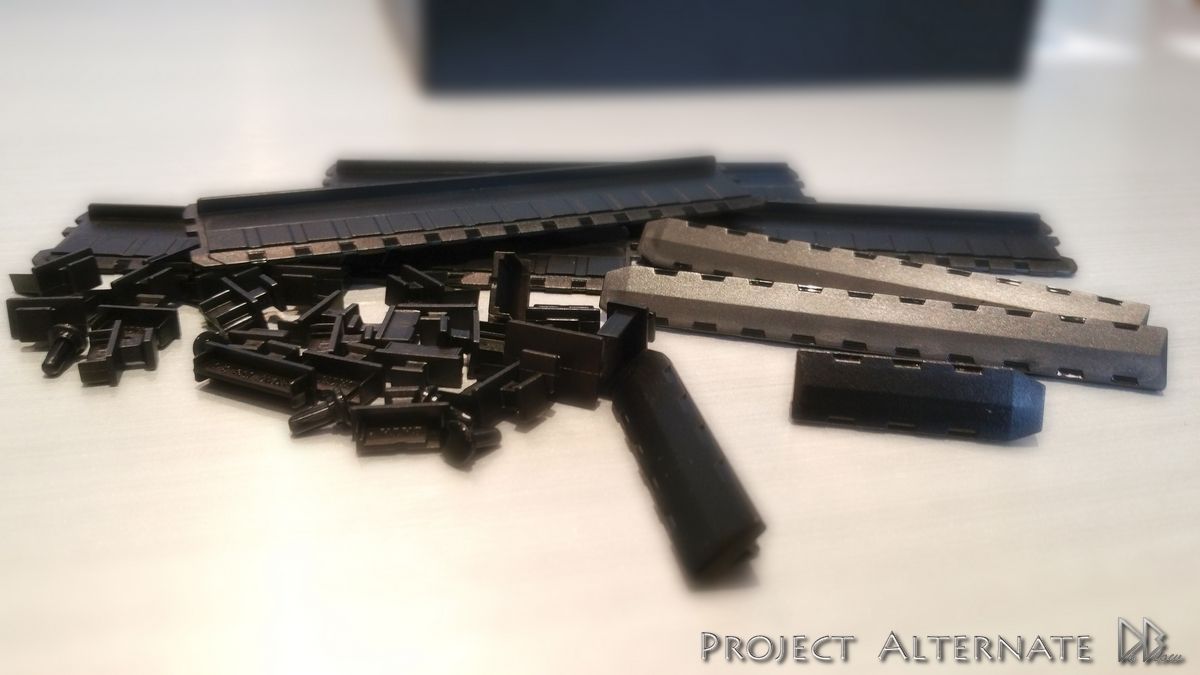
Done some shots with & without the caps/covers

20150416_143340_zps5xdedqdl.jpg
20150416_143720_zpsxpgi9fbi.jpg
20150416_143808_zpseqc9i11m.jpg
20150416_143934_zpsx4lsfviq.jpg
20150416_144250_zpsyz8klmh8.jpg
20150416_144456_zpsx5lm8igv.jpg
20150416_145158_zpson7ifka1.jpg
20150416_145133_zpscbeeelr3.jpg
20150416_145304_zpseozb4ah2.jpg
20150416_145523_zps8uojhuev.jpg


P.S 1st page has been updated with some specs
 
Last edited:
Well that motherboard is just the sex dude!... I myself have an ASUS Gryphon Z97 Armor Edition and all of them are just bad ass, sex to the eyes, candyness!

Really liking where this is going, keep up the good work! :)
 
Well that motherboard is just the sex dude!... I myself have an ASUS Gryphon Z97 Armor Edition and all of them are just bad ass, sex to the eyes, candyness!

Really liking where this is going, keep up the good work! :)

I was wanting to use the word "sexy", but wasn't sure we was allowed to, as you have done it I guess im ok :D
 
Iv stopped working on the outside of the desk for the moment as Im awaiting the reservoirs so I can complete the top shelf
& start to fasten things into place,
but with the arrival of most of the other Phobya & OCOOL parts & the X99 motherboard, I could start working in the inside,
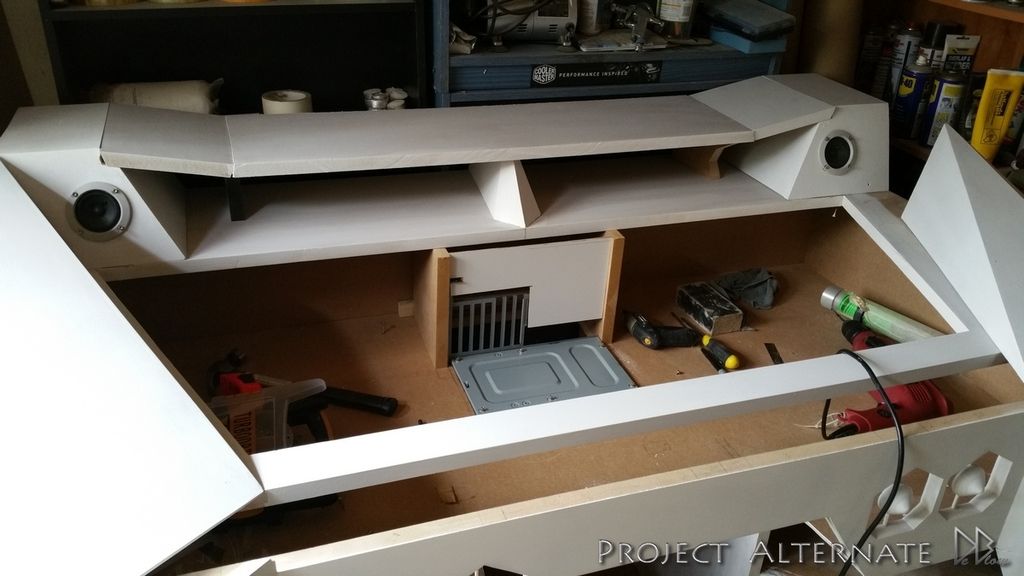
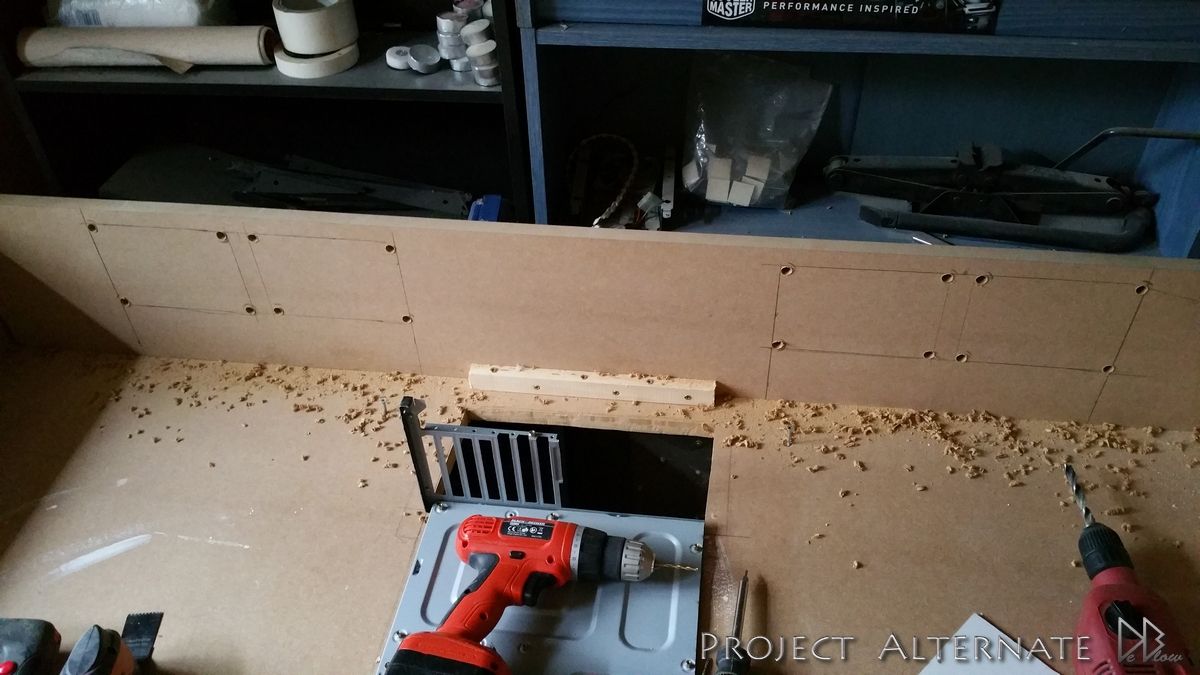
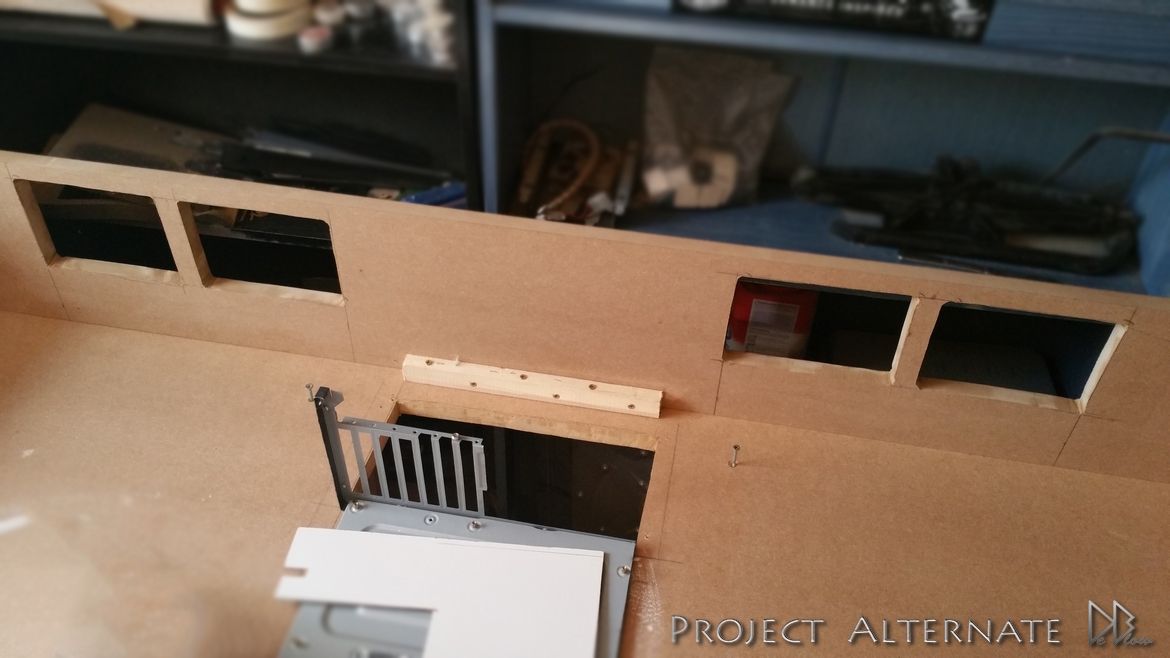
so Iv fitted a motherboard tray & sorted the housing for the 2X RADs.

I'm not following a design for the inside so I tend to spend hours just sitting looking at the empty cavity & trying
to picture ideas in my head lol
however I have worked out where the main components will be going.


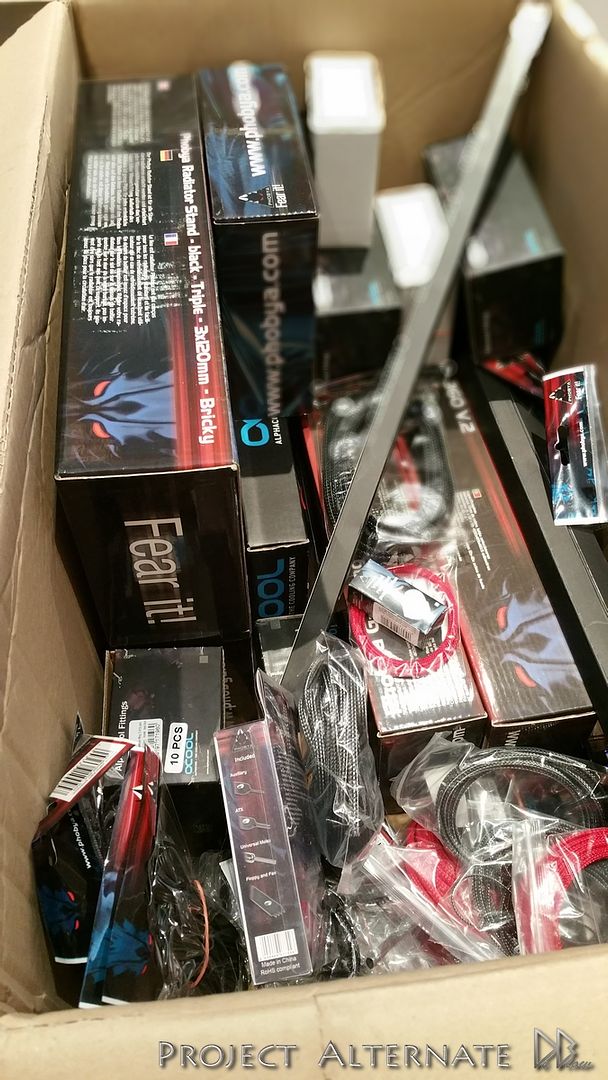
here's one of the packages I received thanks to Phobya & OCOOL (Alphacool)
All sorts of goodies, RADs, controllers, cables, hard tubes, switches, GPU & CPU blocks & many more that I will show in more detail
as the build progresses :)

20150416_122307_zps8bw0phex.jpg


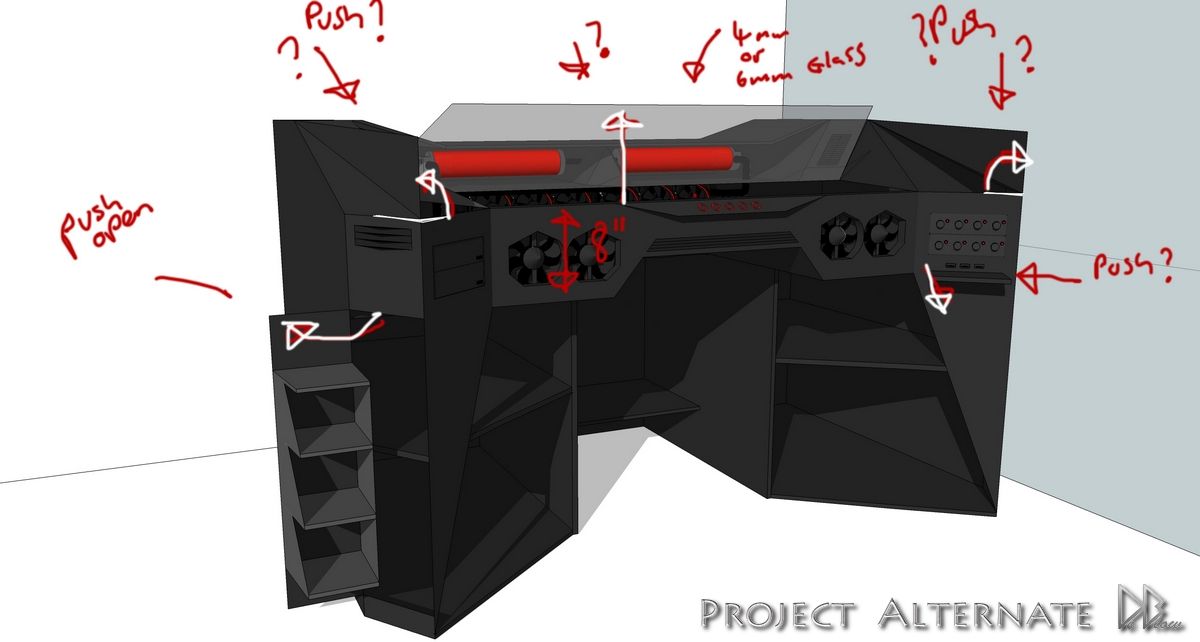
Another secret I keep to myself & a couple of people was the idea to have the sides lift away from the desk to make room for
storage & also make use of all the available space...

As both the secret ideas worked out ok I will show you one of the original designs for the desk, kept them a secret encase things
went wrong with the plan.

Speaker%20OPEN%202_zpsb7c2ljqr.jpg


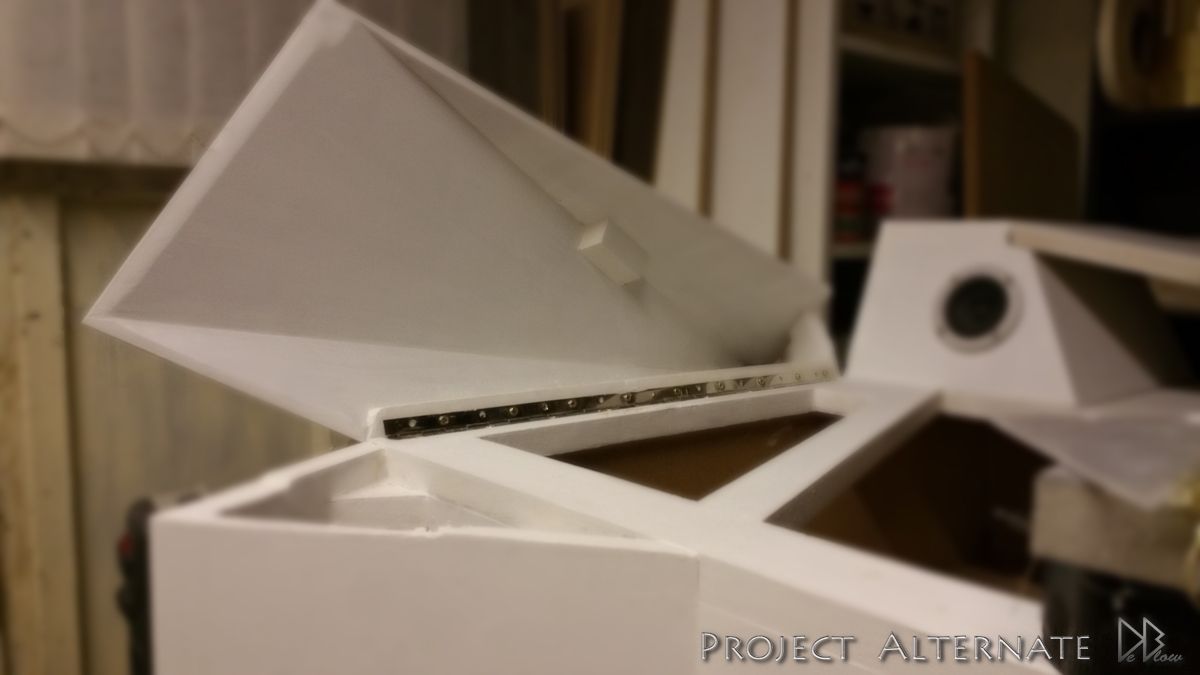
I played with lots of ways to accomplish the task, the first two ideas FAILED :(
but after one more attempt I cracked it :D

So now the side will lift up & out to the side making room for my gamepads & other bits that make desks look a bit untidy.

20150415_233537_zpsletepshw.jpg


Almost all the parts inside the desk are removable, no screws used so as to make it easyer to MOD at a later date & also reduce the
weight when moving.

This double platform will hold the pads & bits, can be lifted out from the top or from the side.

20150420_141643_zpsme3bjddy.jpg


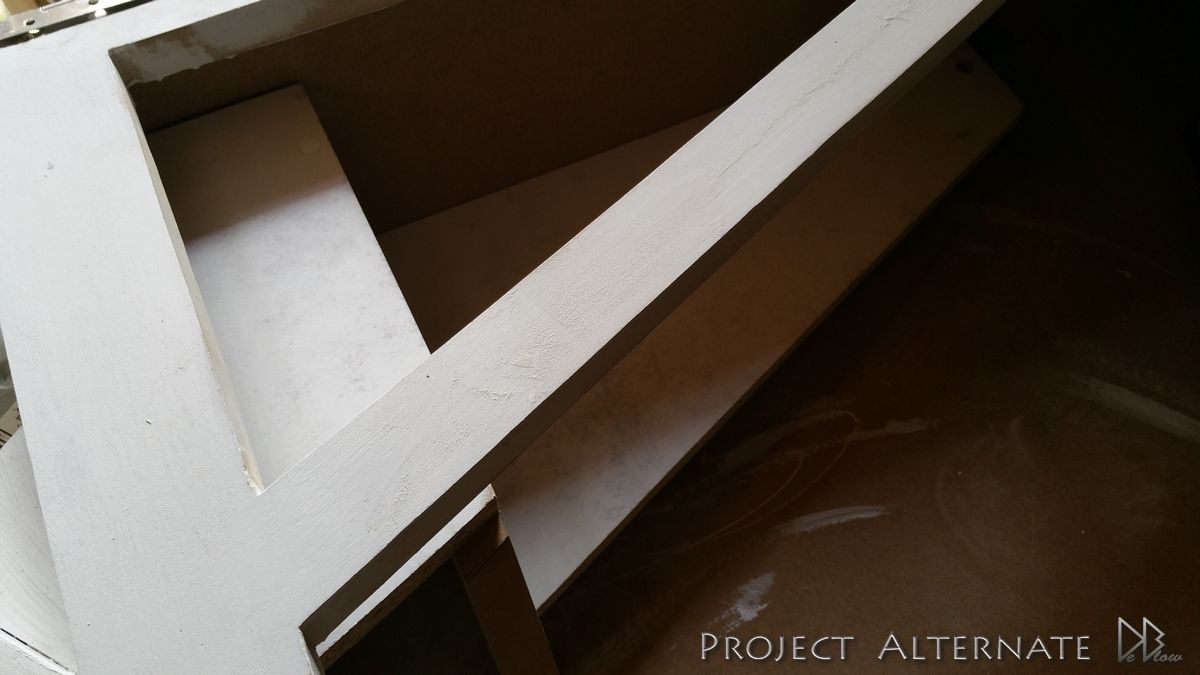
They all still need tidying up a bit & sanding down,
waiting until most of the desk is complete so if anything gets damaged as im working I wont have wasted too much time.


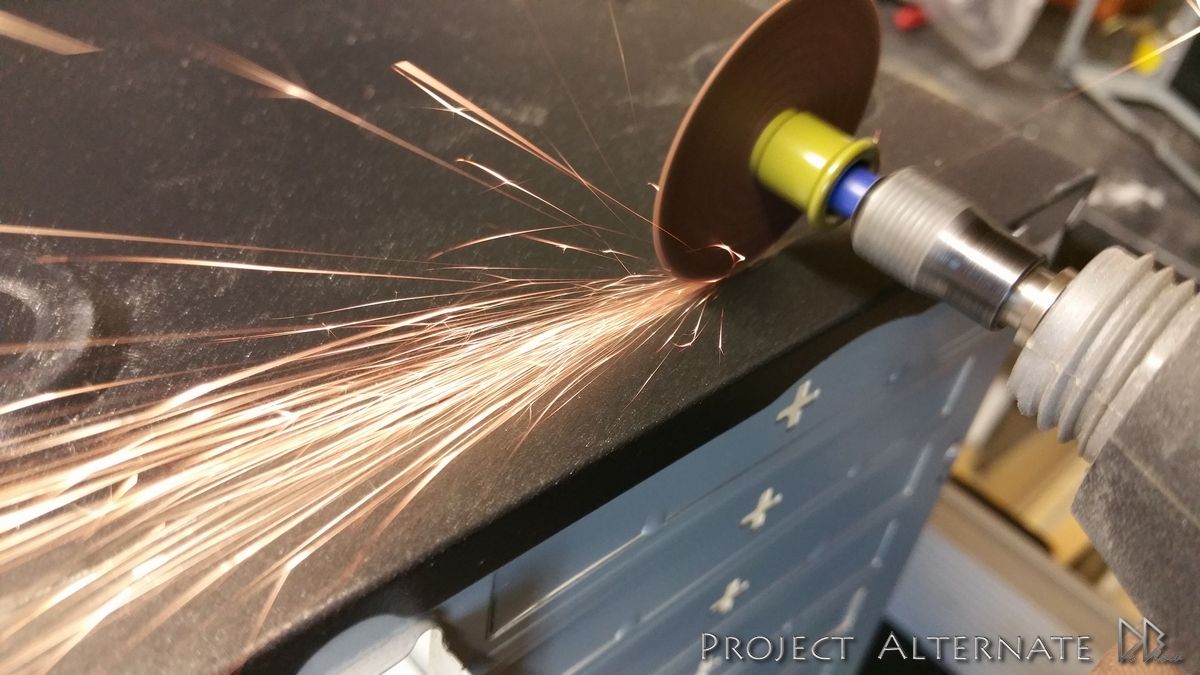
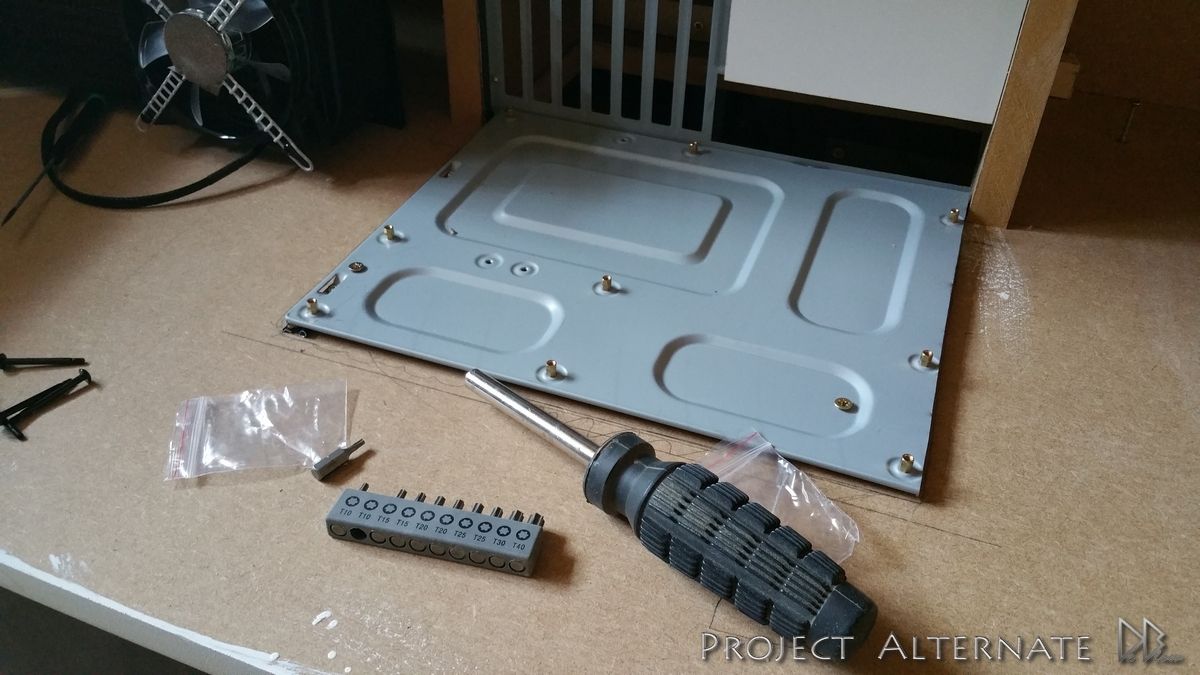
Cutting up a cheap old case for the parts, MB tray & front drive bays.

20150416_162213_zpsjir9ypzt.jpg


MB in place, will MOD more at later date.
For now I just want to make sure everything has a place.

20150417_155608_zpsbwsas2oa.jpg


MB back plate is just temp & will also be changed later in the build.

20150417_140623_zpsoftw8neu.jpg


Cutting 4 holes for the RADs exhaust.

20150417_173259_zpsgsj9vz32.jpg


20150418_131210_zpshysul0oz.jpg


I will be using 2X Phobya RAD mounts to fasten the RADs to the underneath of the desktop.

20150417_162217_zps8gmpsryk.jpg


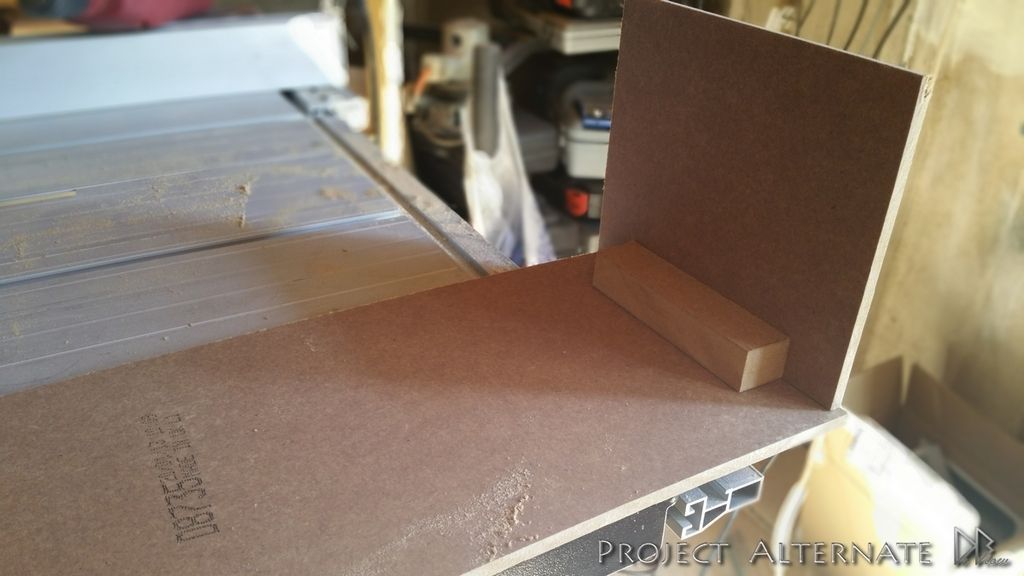
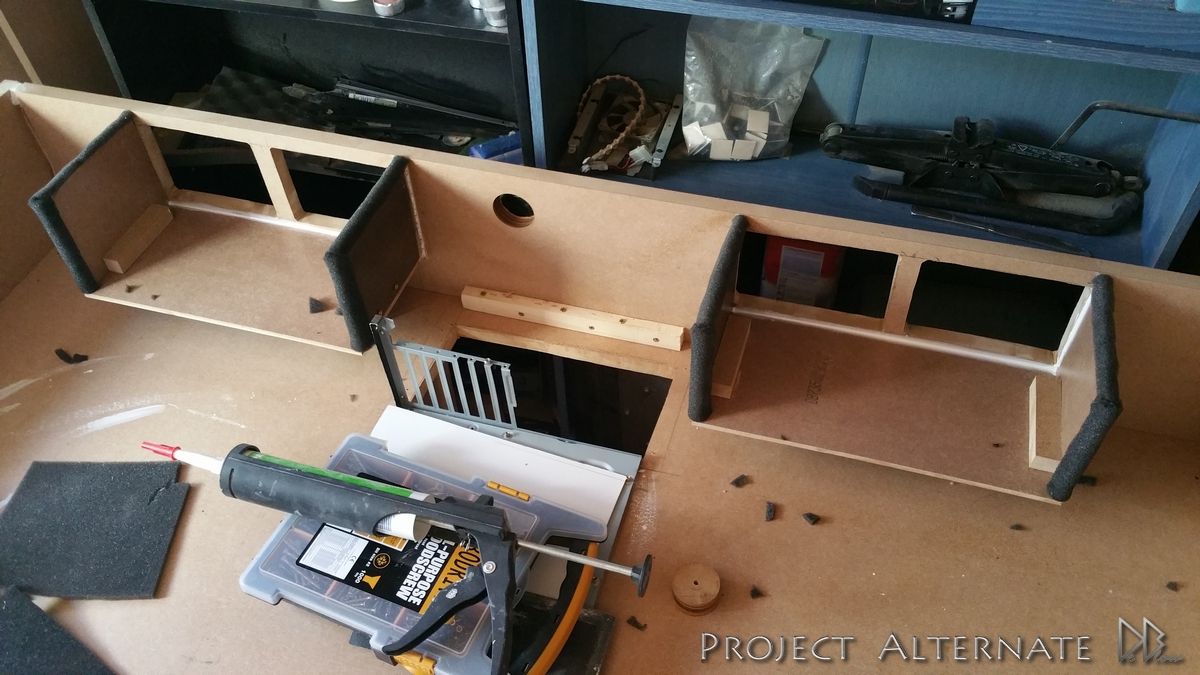
As Im wanting the RADs further away from the back I added some barriers for the hot air, raised as high as possible.

20150418_140542_zpsr5gi0w76.jpg


20150418_142210_zpss1l6sdpg.jpg


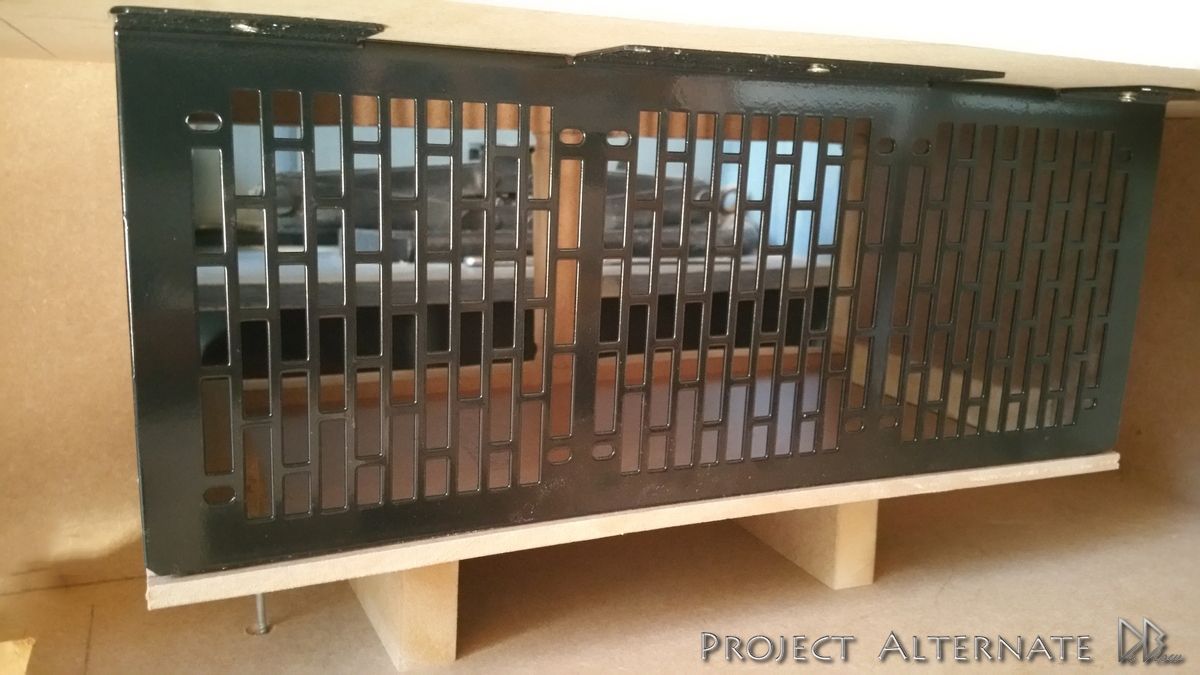
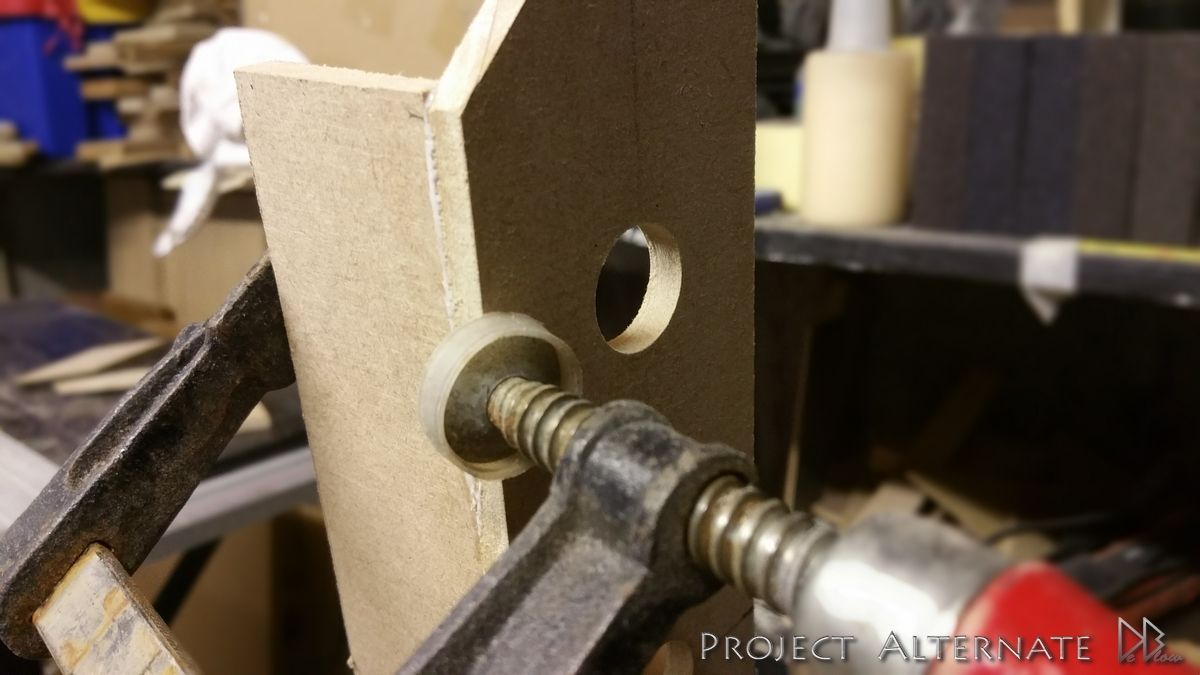
The RADs are attached to the desktop but the exhausts are attached to the back of the desk, I made the fittings as tight as possible
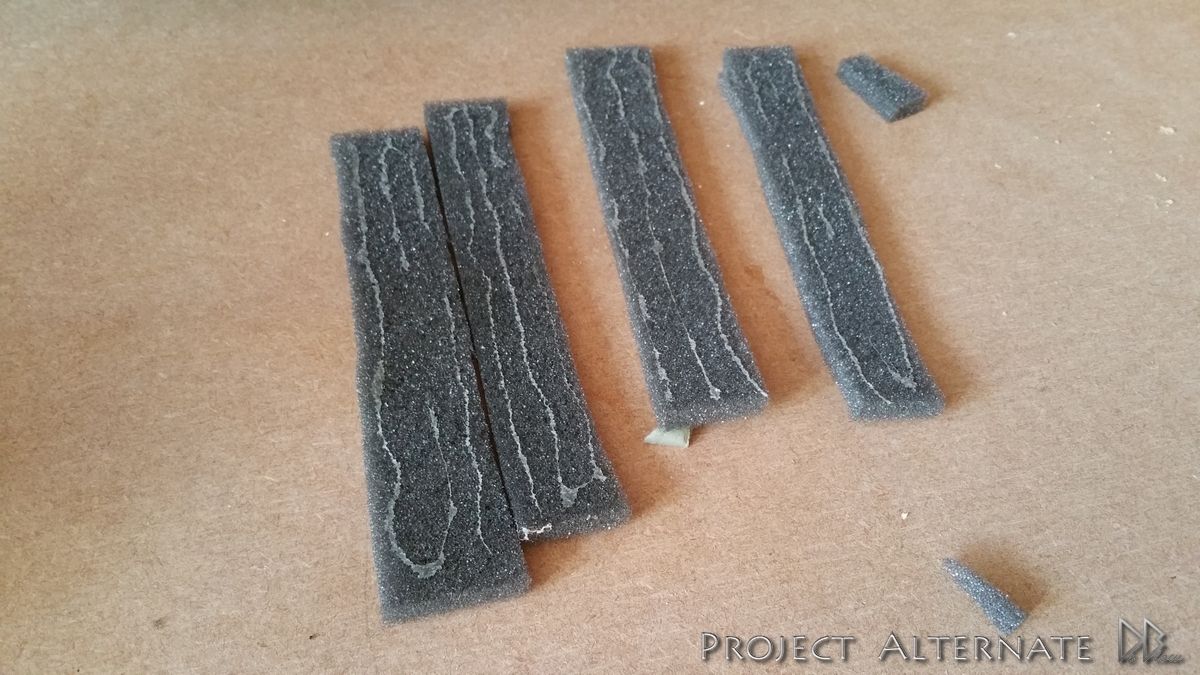
but to eliminate any small gaps that hot air could escape though Iv added some padding that's been coated to help keep the softness but also create a thin skin.

20150418_152804_zpsnyzzxn9y.jpg


20150418_160039_zpsmajoxjtd.jpg
 
I was wanting to use the word "sexy", but wasn't sure we was allowed to, as you have done it I guess im ok :D

Haha, if you had only seen what people have written on this forum, then I would be surprised if "sexy" wasn't allowed :lol:... but go for it! :D
This project is sexy indeed and keep up the goodness! :)
 
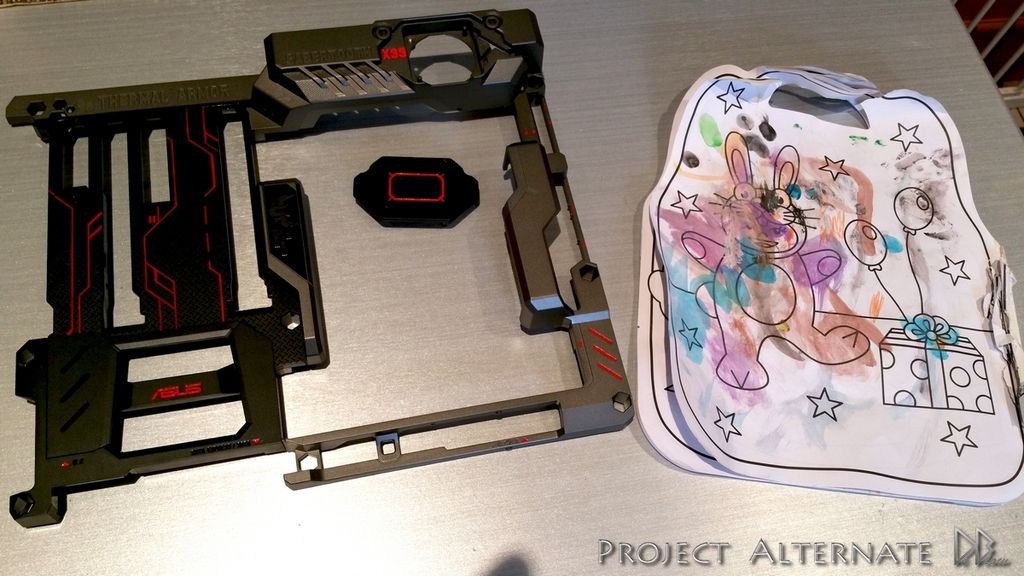
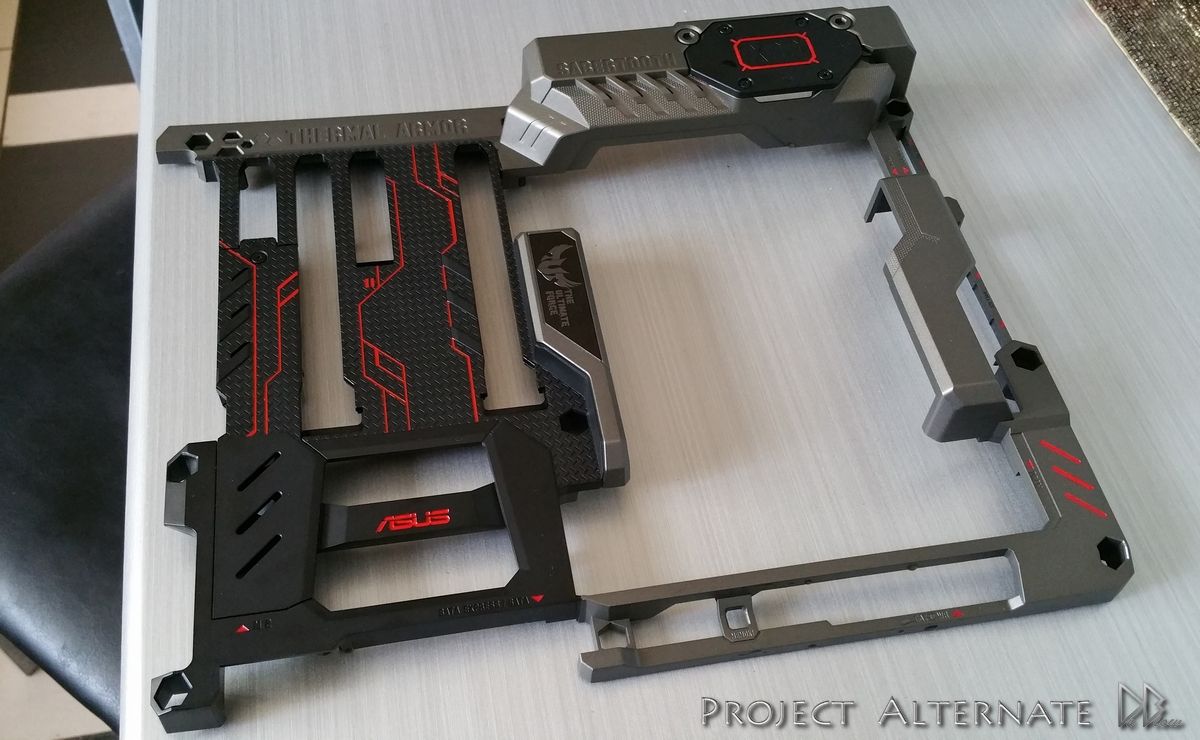
Me & my daughter have been doing a spot of painting :D

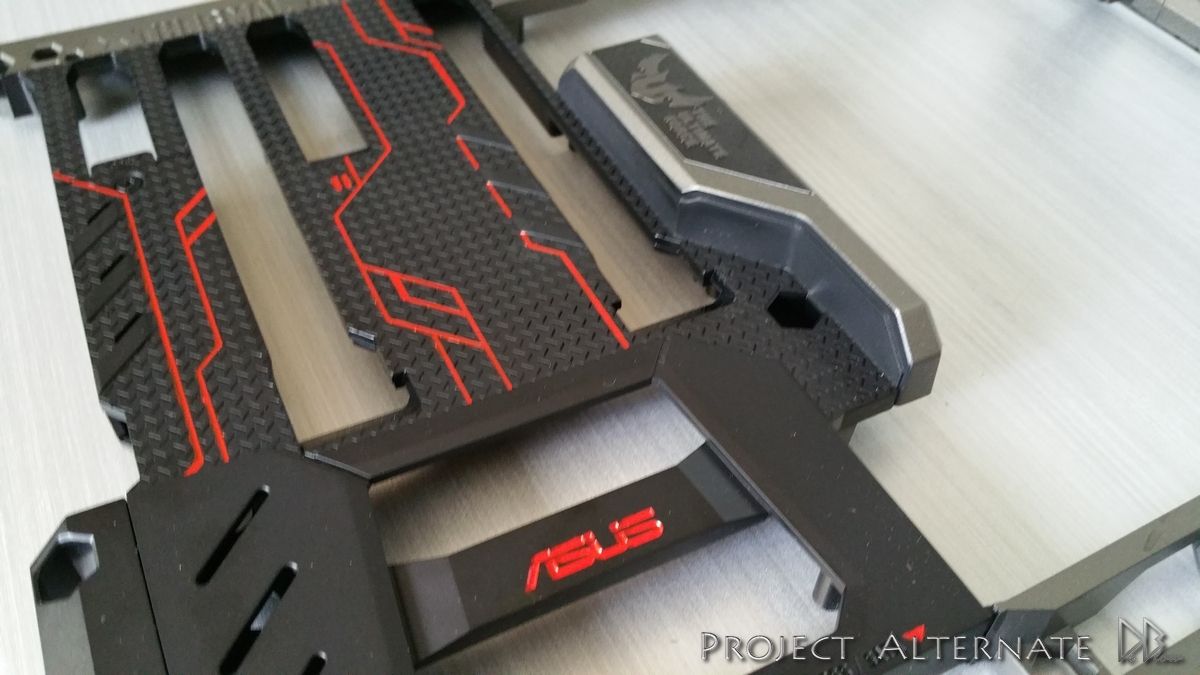
Added some red to the Sabertooth x99 MB to tie in with my desk colours a bit better..

Mine is the one on the left!

1_zpsfd8e4zz4.jpg


Top plate off

2_zpssffzv9si.jpg


3_zpsg4zigbag.jpg


20150427_173037_zpsiublctcq.jpg


20150427_173043_zpsiufzo7tp.jpg


20150429_213126_zpsn37ganbk.jpg


20150429_213204s_zpsqpfinmco.jpg


20150429_213219_zpslojnteeo.jpg


20150429_213240_zpses8xyrn7.jpg


20150429_213312_zpsenvwuqmj.jpg
 
That board looks amazing. Something uncommon and well done. I love the style

Thanks mate, the design on both the ram & MB will be very much considered when i start to paint/wrap the inside of the desk.


it kinda looks like what the lamborghini sesto elemento would look like if it was a desk and not a car

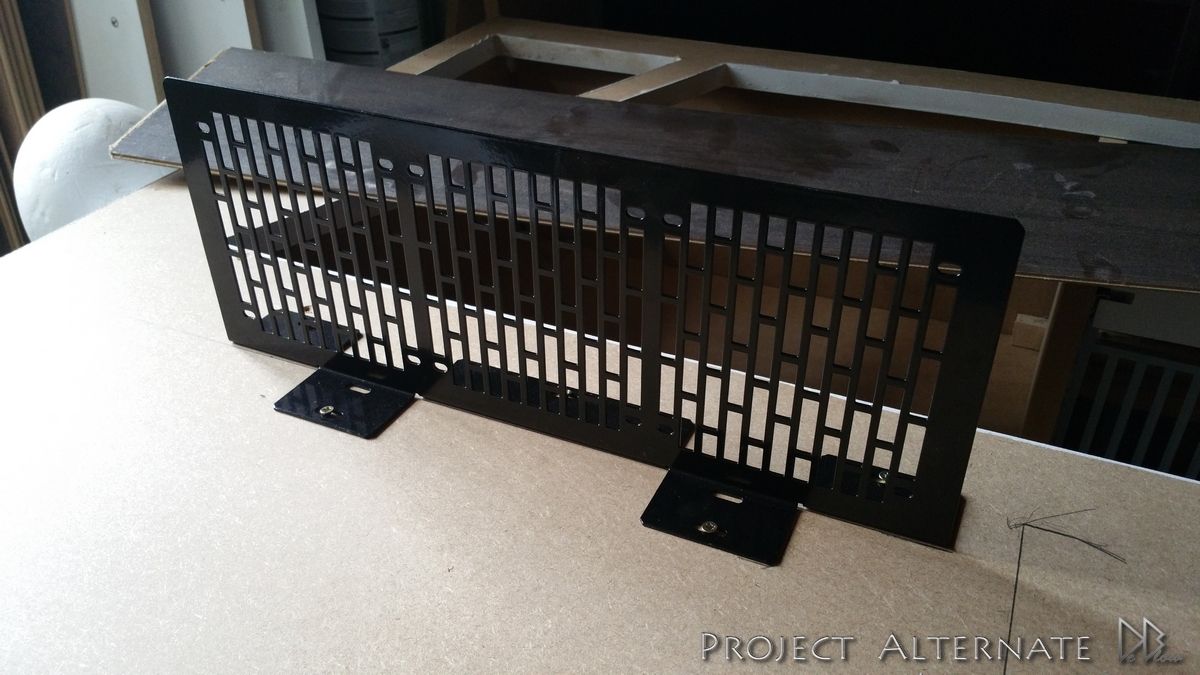
As the design changed over time it started to look more like a Lambo, & the sesto elemento is one of the best looking cars iv ever seen,
so i used the air-vent design on the back of the car for my desk fan holes, :D

I'm also working on a way to add some fans that can be seen on the inside, I wont know for sure about the positions until I fit the pumps.
Going to need to add 3 more fans to the inside as I only have 4 atm & 6 pushing out of the rads.
 
Nice work! Thats definately hard work and perseverance right there, no doubt. Cant wait to see more. Looks damn epic
 
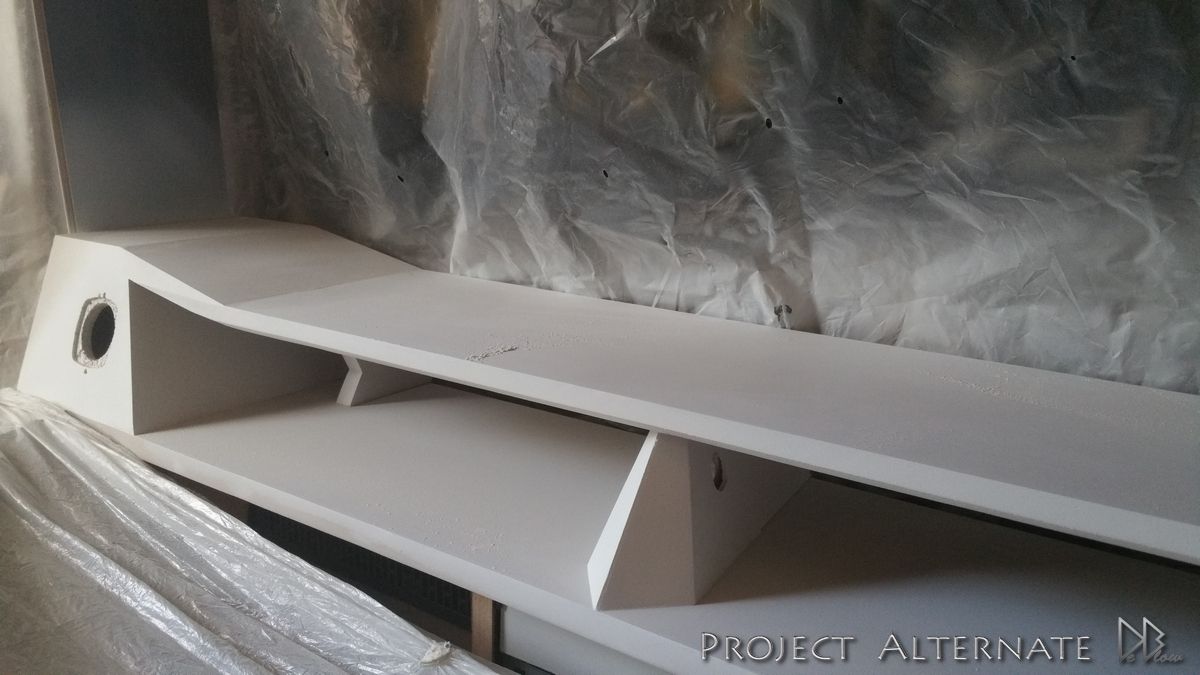
With the arrival of my reservoirs I could start fastening down the top shelf & shape it better,

20150503_183505_zpsmto3veij.jpg


I also did some work on the inside but had to stop for a bit as I await the pumps so I can make the cuts
needed before working on the layout a bit more.

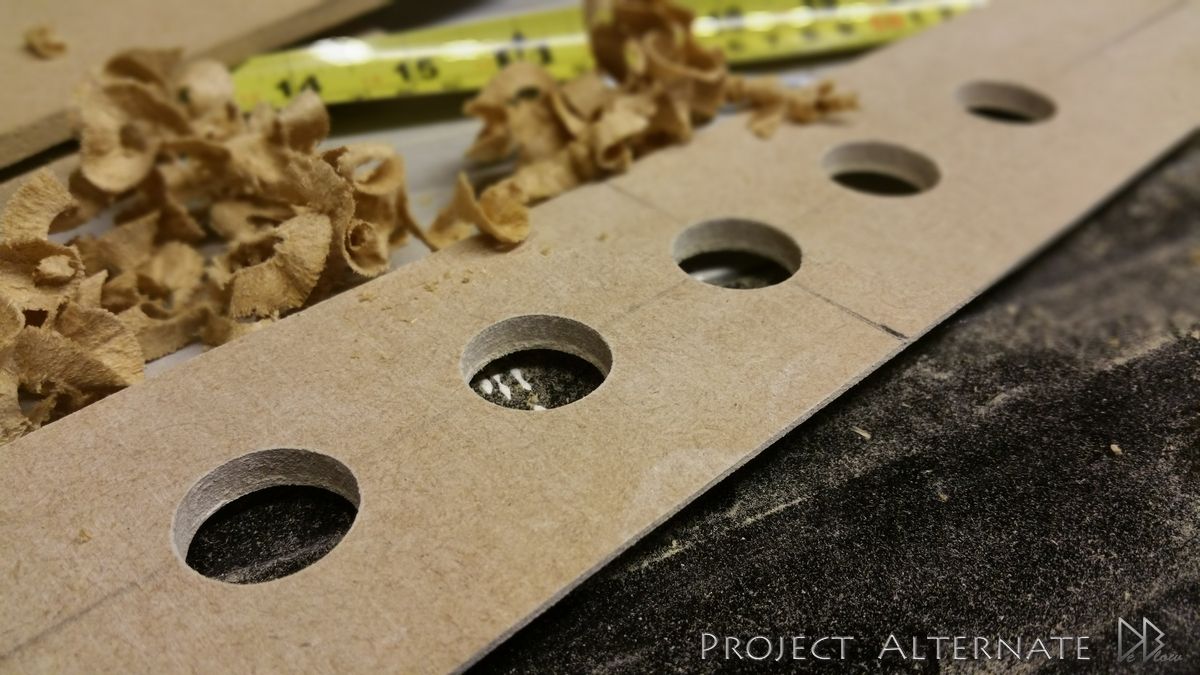
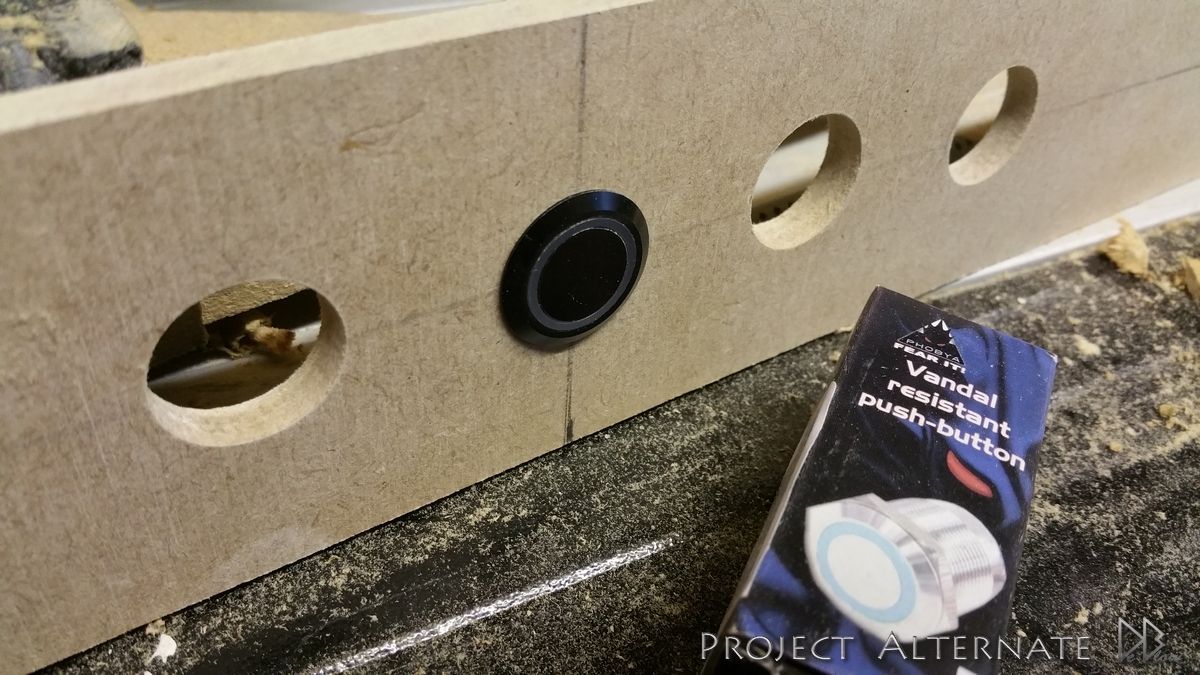
while I wait I'm getting on with other bits, painted the MB last week & this week iv been making the
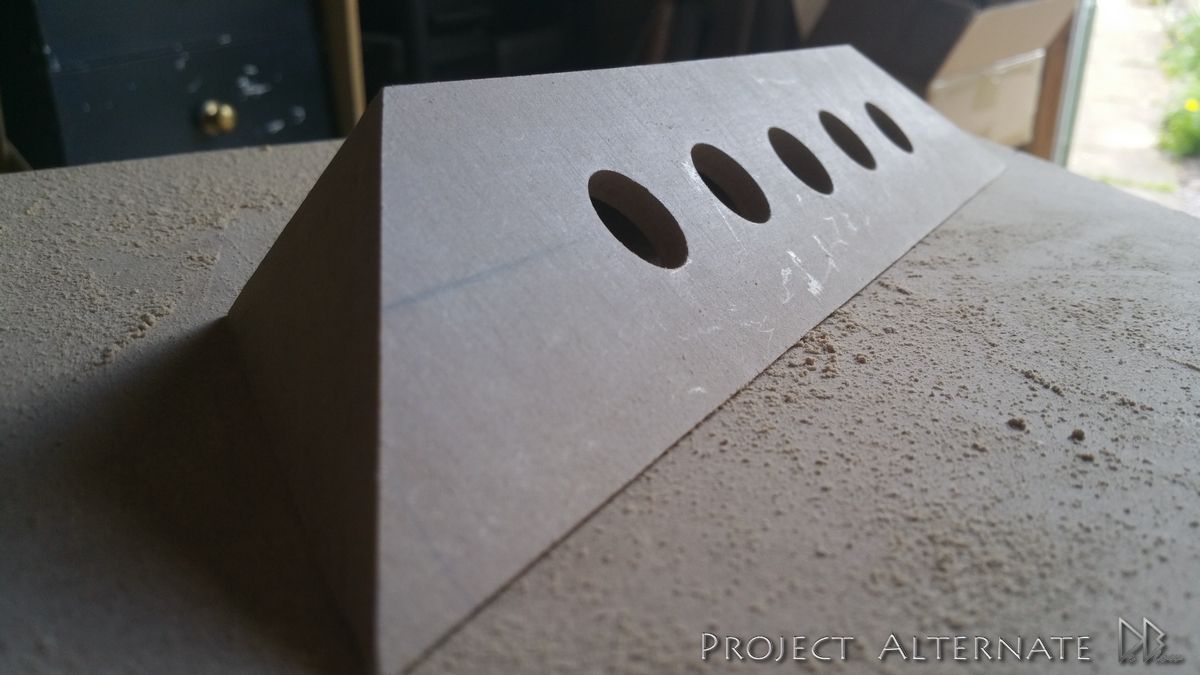
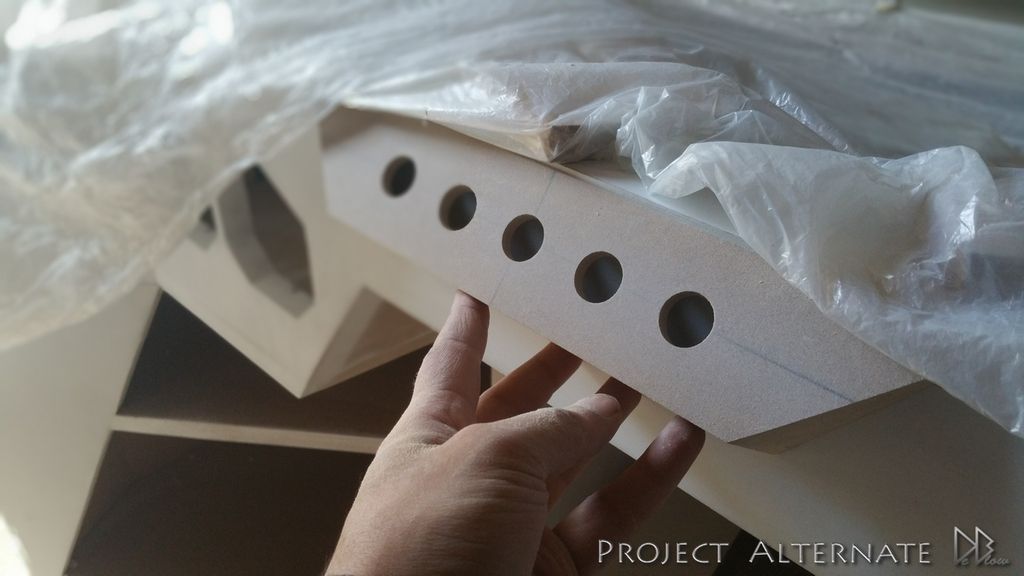
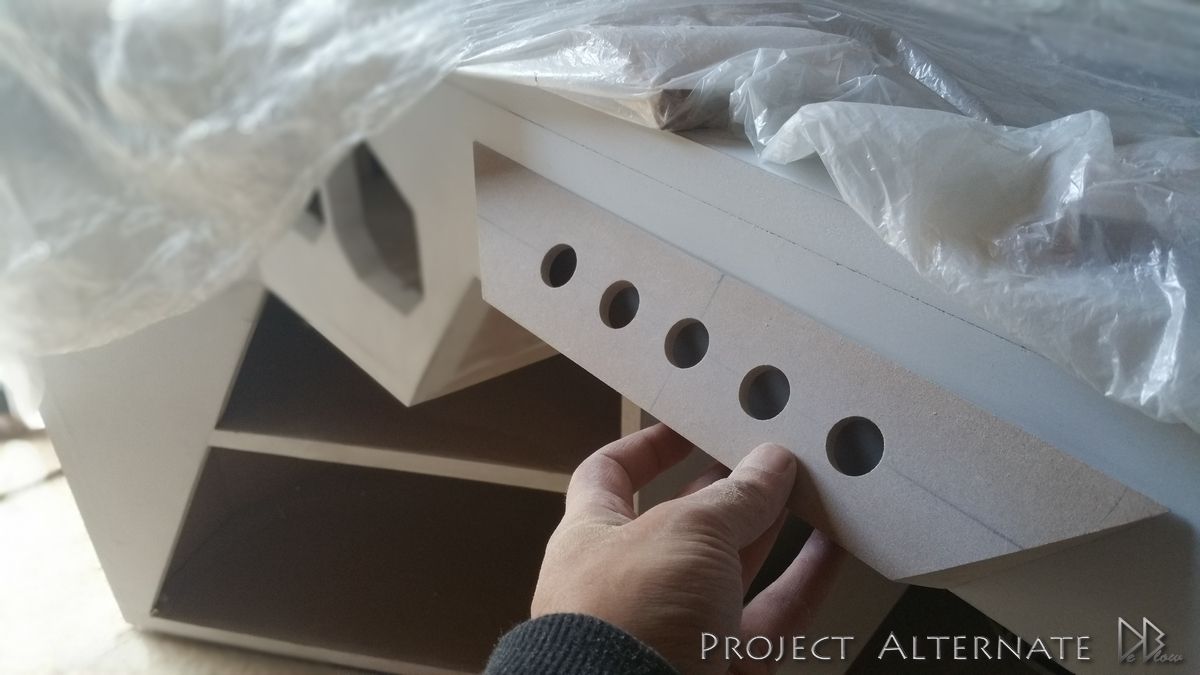
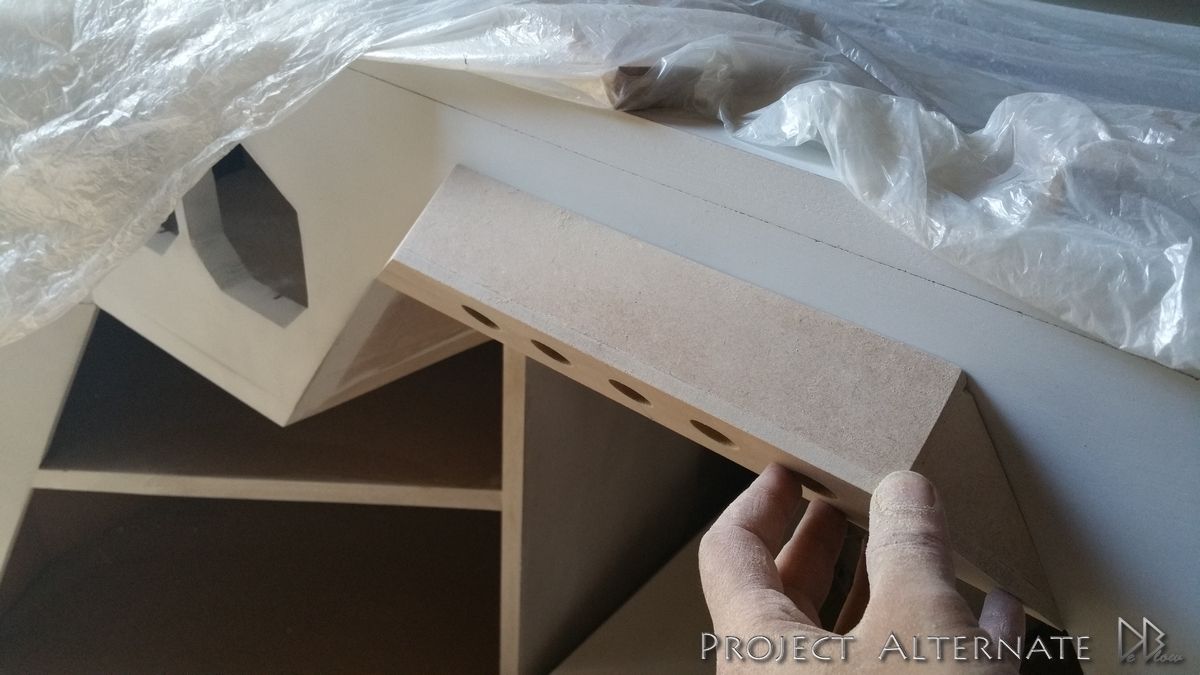
front switch panel to house 5 Phobya push switches..

20150502_165013_zpsoicebgns.jpg


20150502_165158_zpspfibmgtt.jpg


20150502_170658_zpsb3rk8ynn.jpg


20150503_183335_zpsr9kcirwb.jpg


could have the switch holder in a couple of different positions.
feel free to add your thoughts on what you think looks best :)

1

20150503_183436_zpsq8y3h6rp.jpg


2
20150503_183451_zpspys3fqtx.jpg


3
20150503_184155_zpsjo5zx2bs.jpg
 
Last edited:
Back
Top