Hi guys!
This is my first project log on Overclock3d, so, err, woot!
The build centers around a modded NZXT Phantom, with a few hardware changes along the way. So let the trials, tribulations and terror commence. I think.
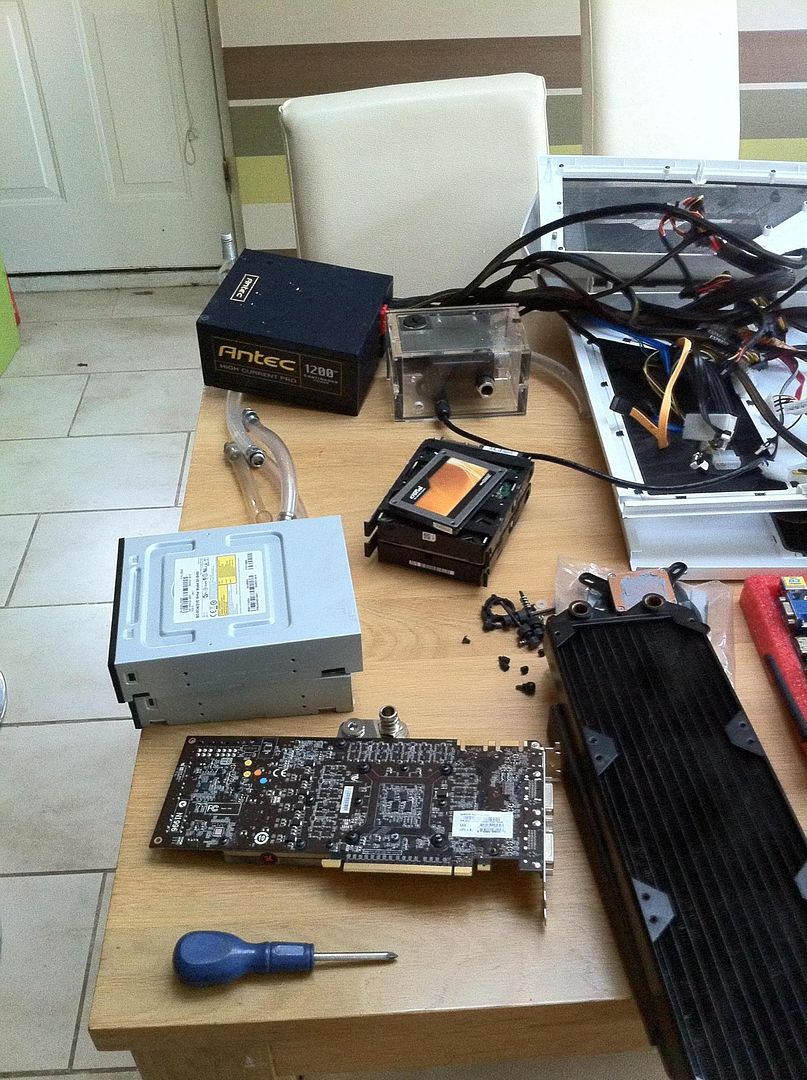
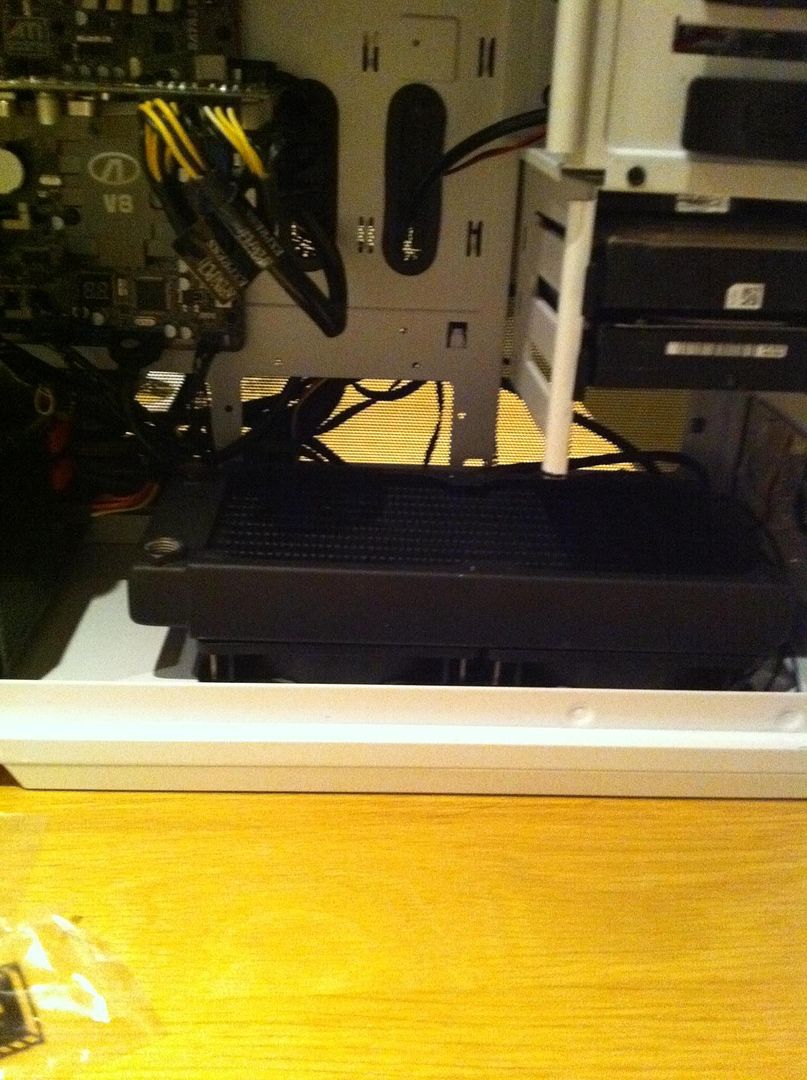
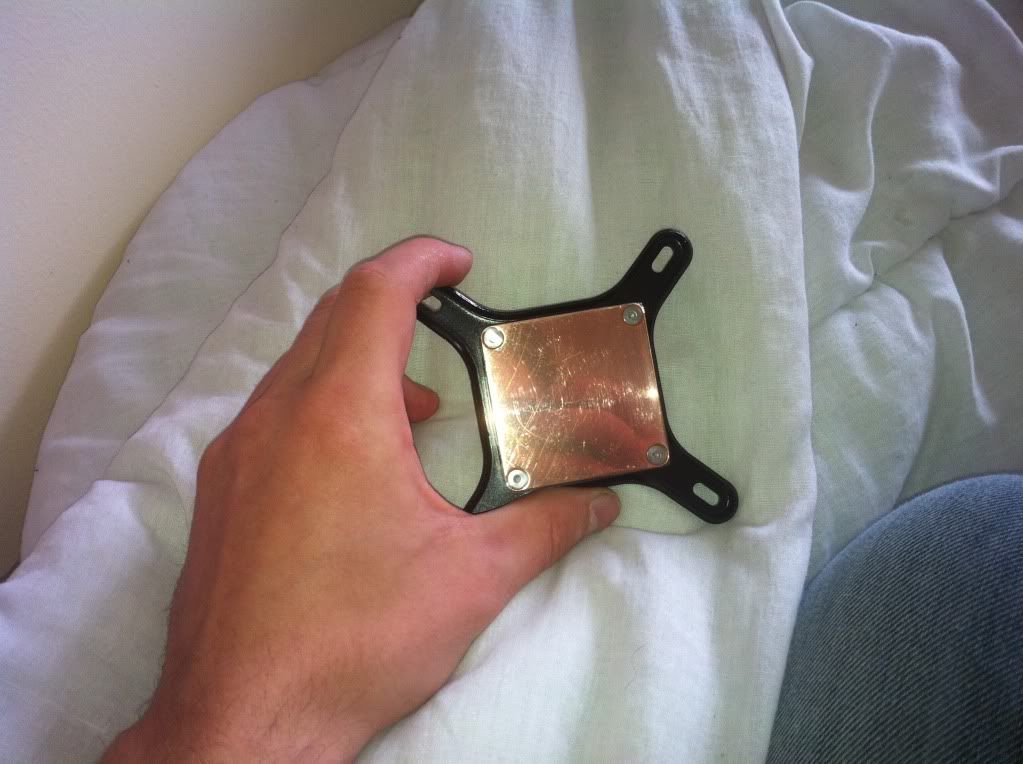
So, first things first, We have the case in all its brand spanking originalityness. At this point I have an i7 860, and a couple of 6950's. Nothing really exciting, especially the CPU cooler, an Antec Kuhler 620.
PS ignore the poor quality images, if I could afford a decent camera then I would have spent it on PC parts, in which case I wouldn't be able to afford a camera. Or something.
So yeah, so far pretty bog standard really. "So where is the mod?" I hear you cry! Well, who am I to disappoint!
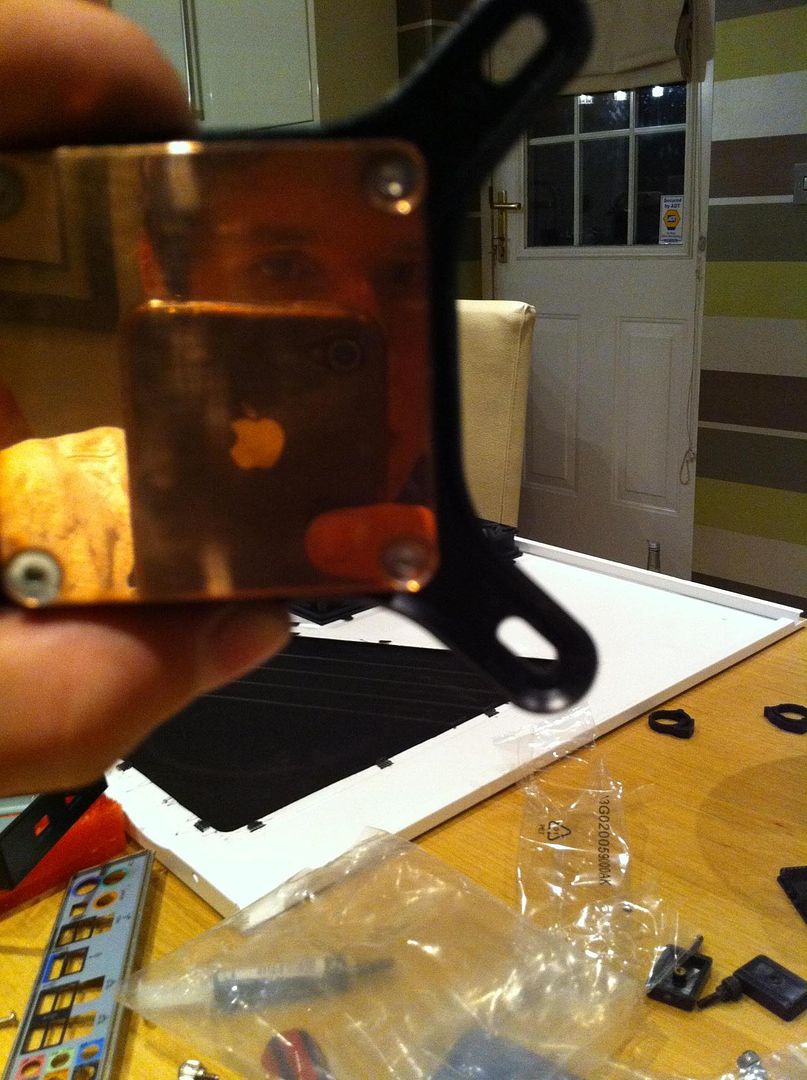
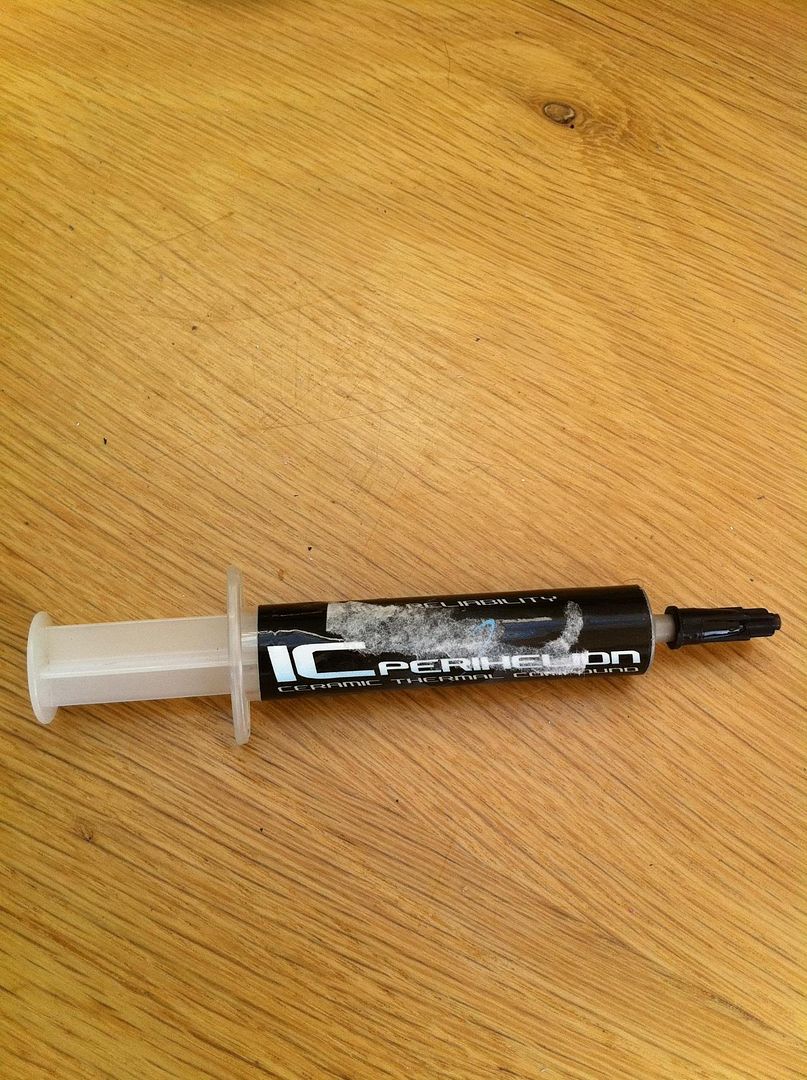
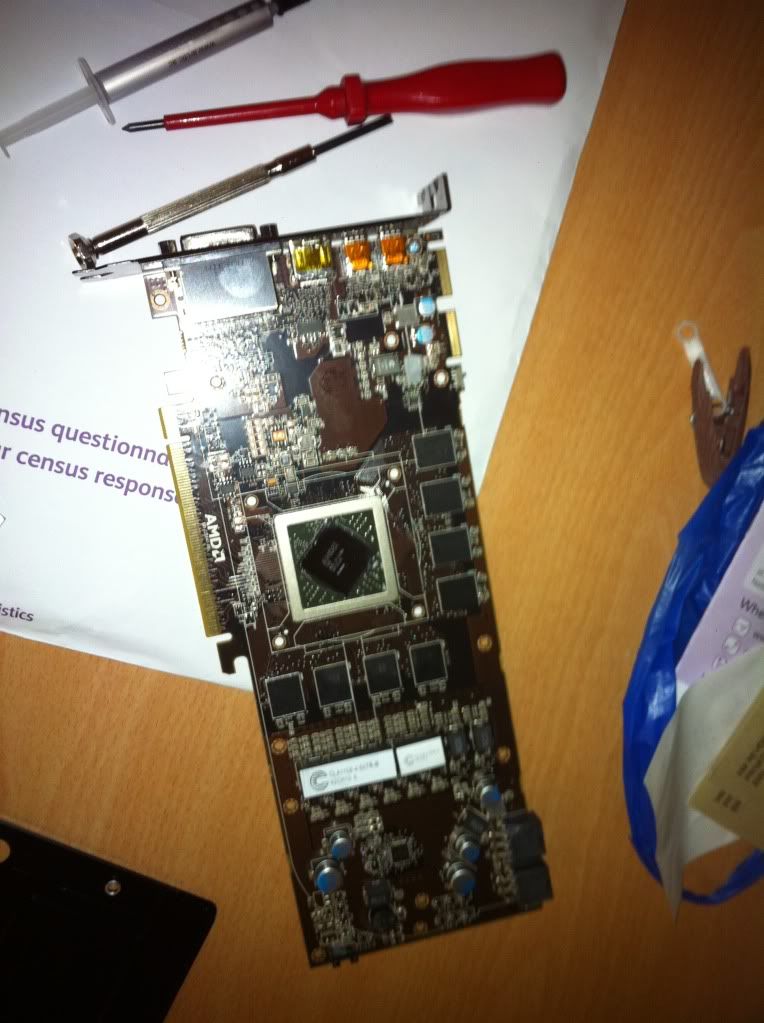
Well, I got bored of ridiculous Xfire temps, so I decided to dismantle the lovely little GPUs. And reapply the thermal paste.
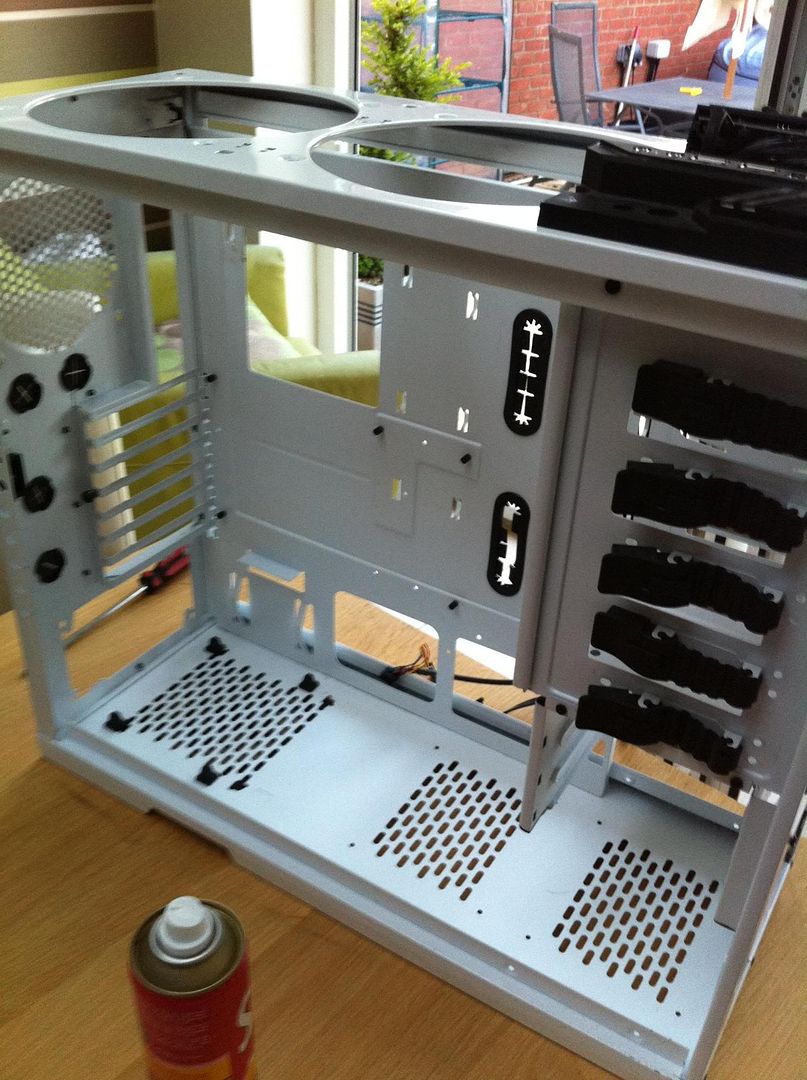
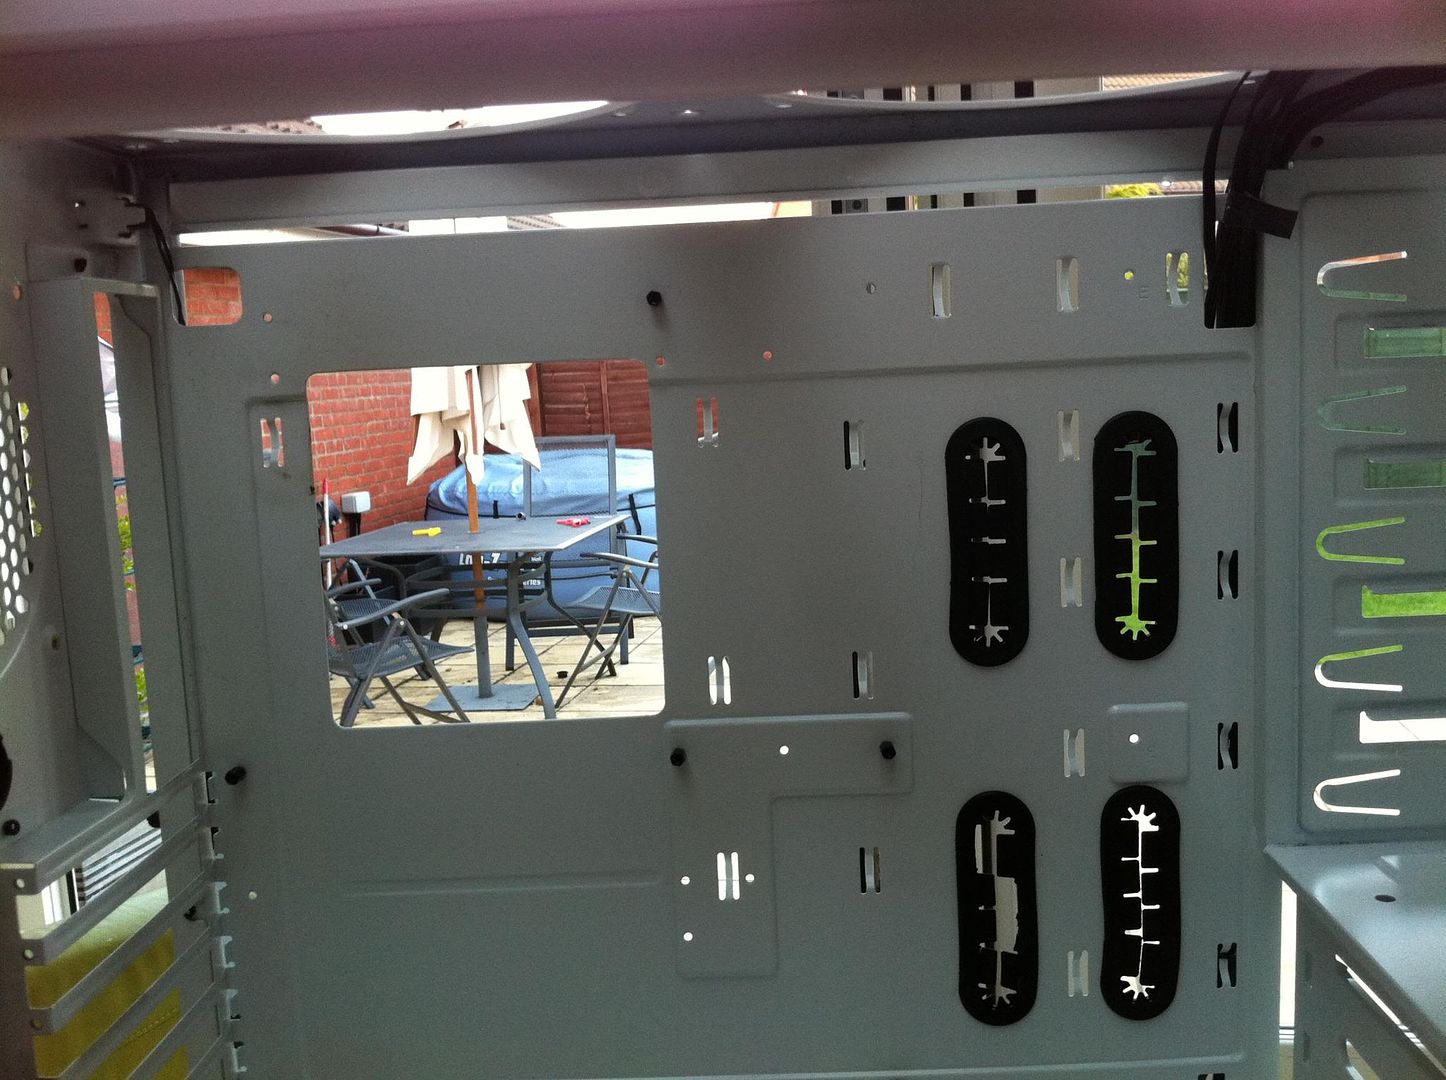
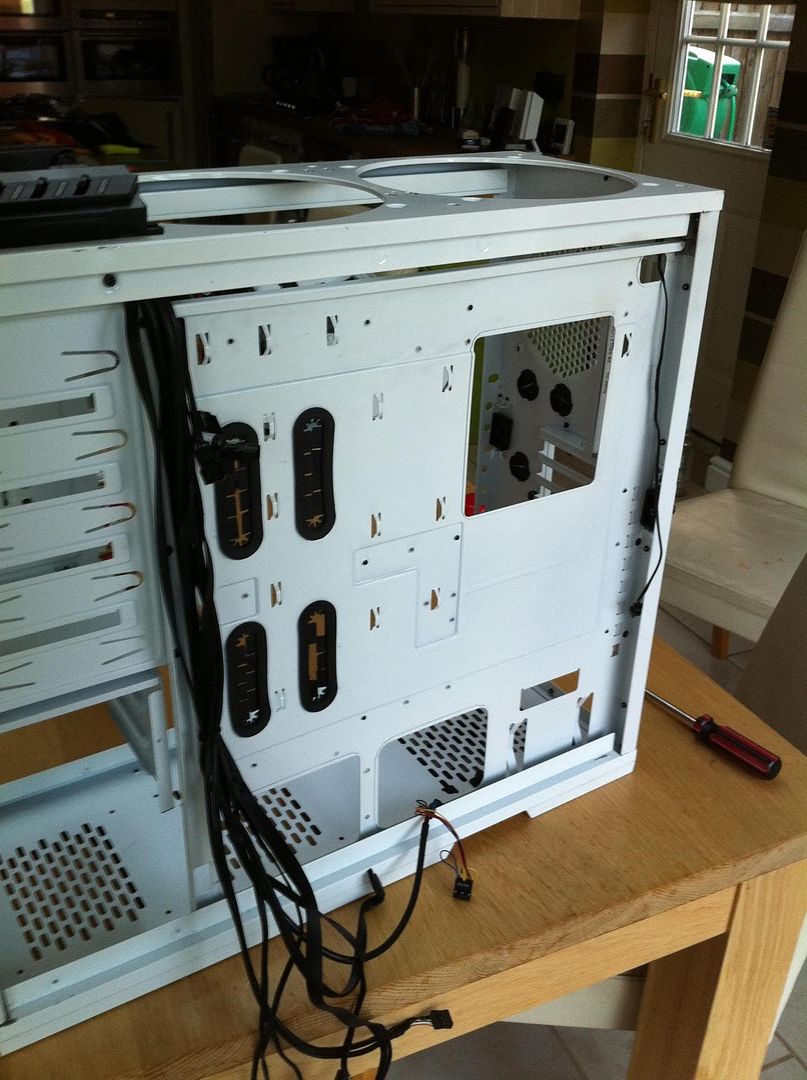
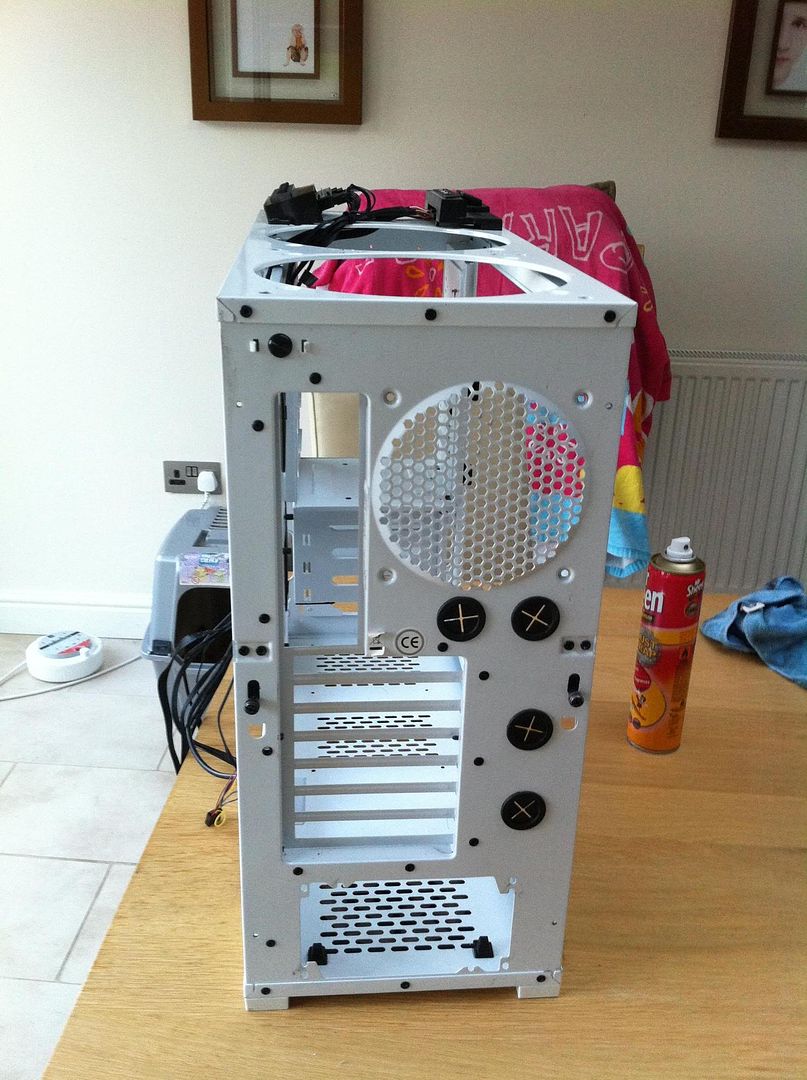
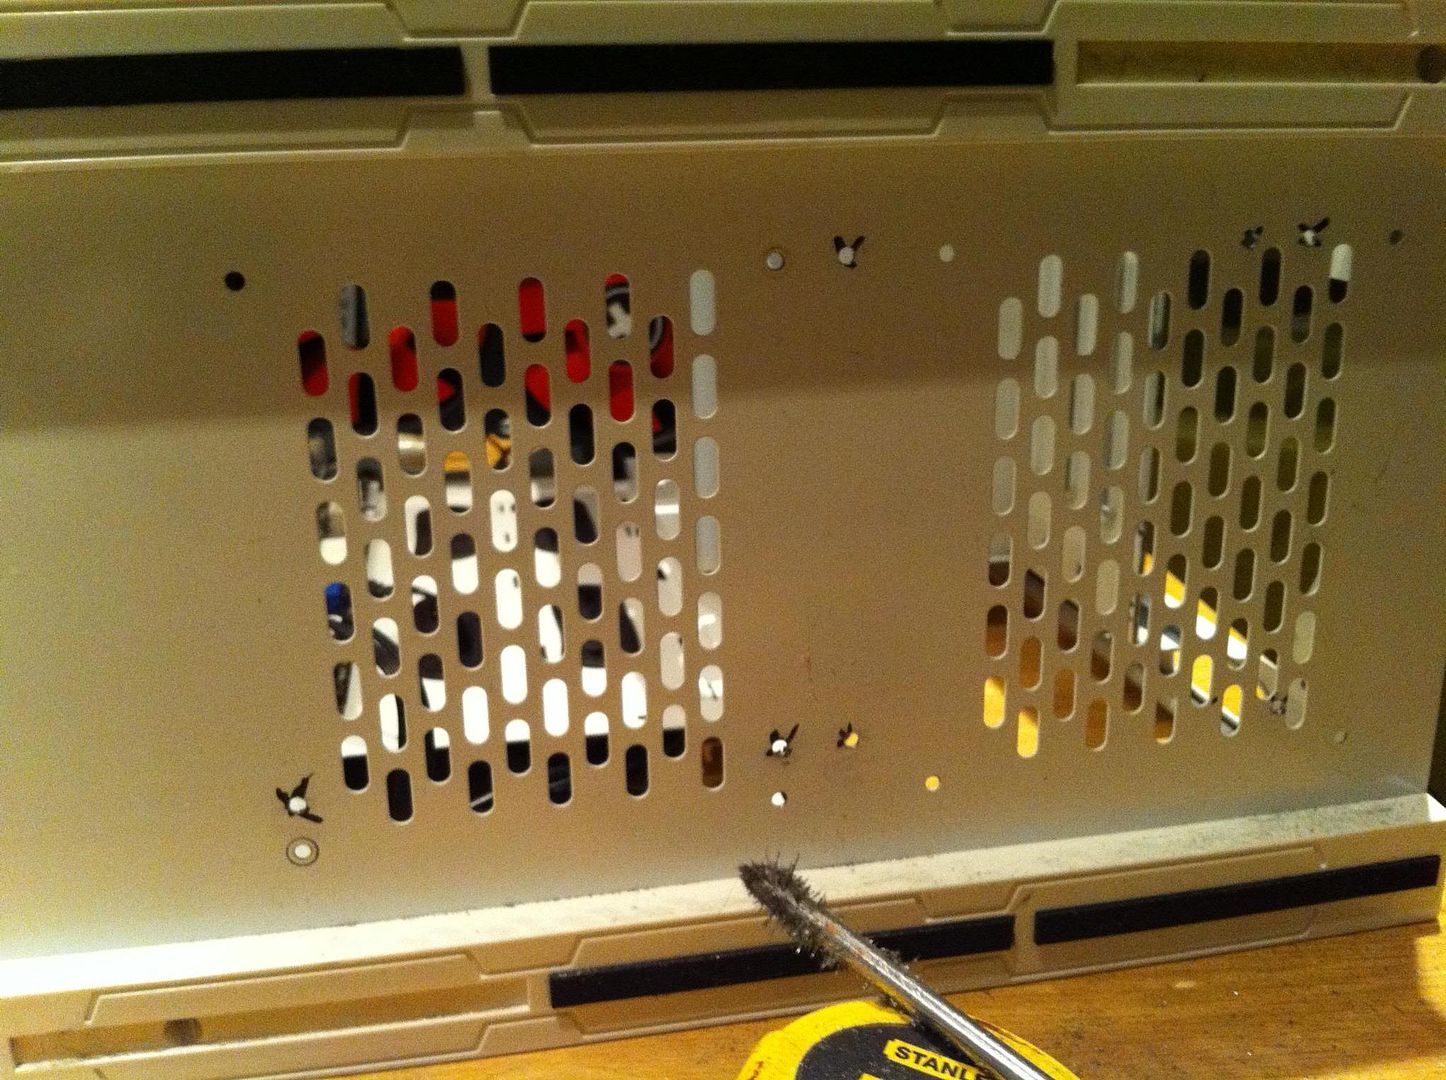
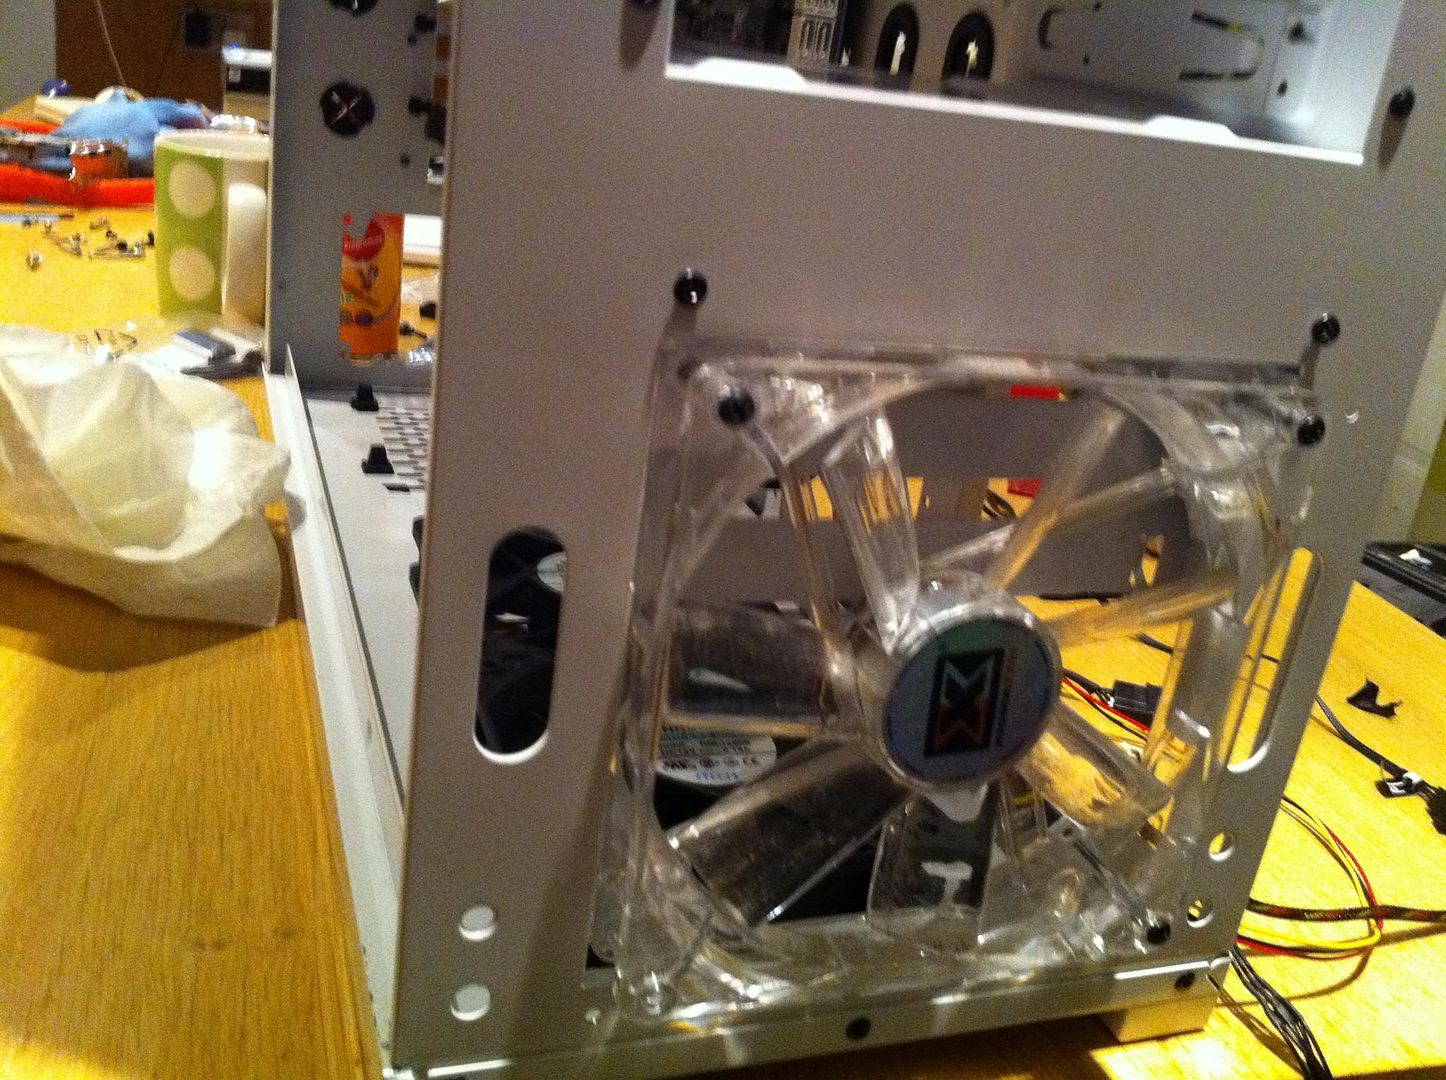
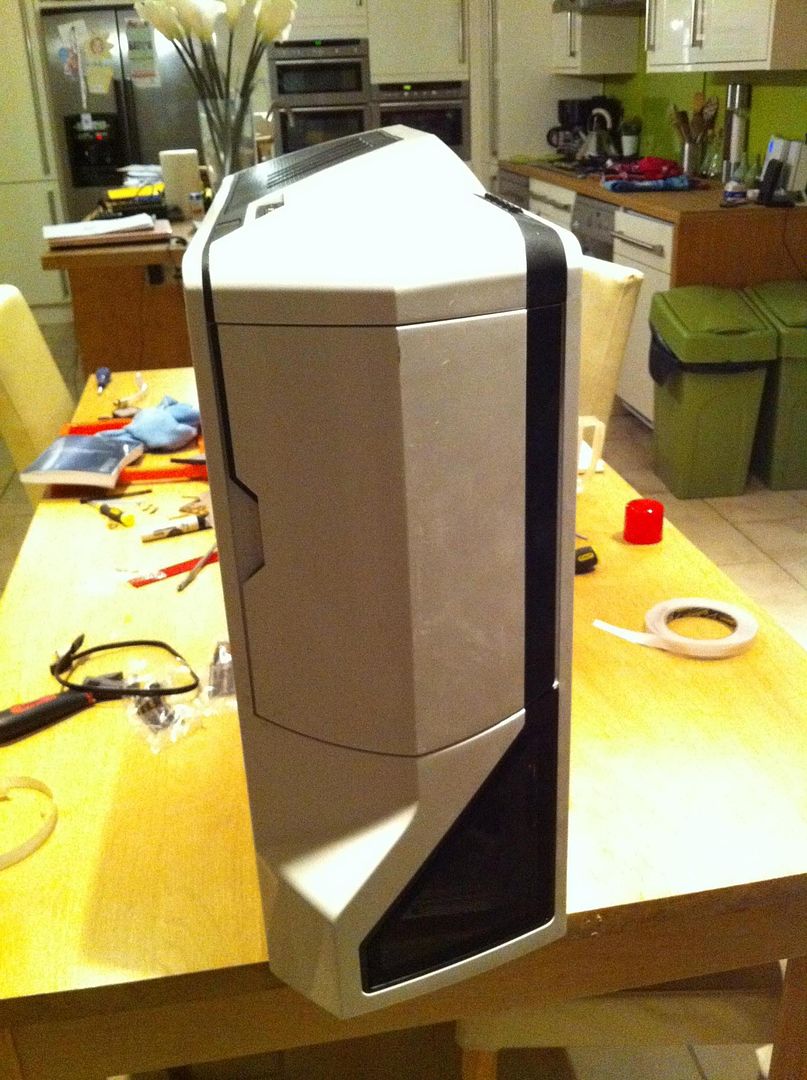
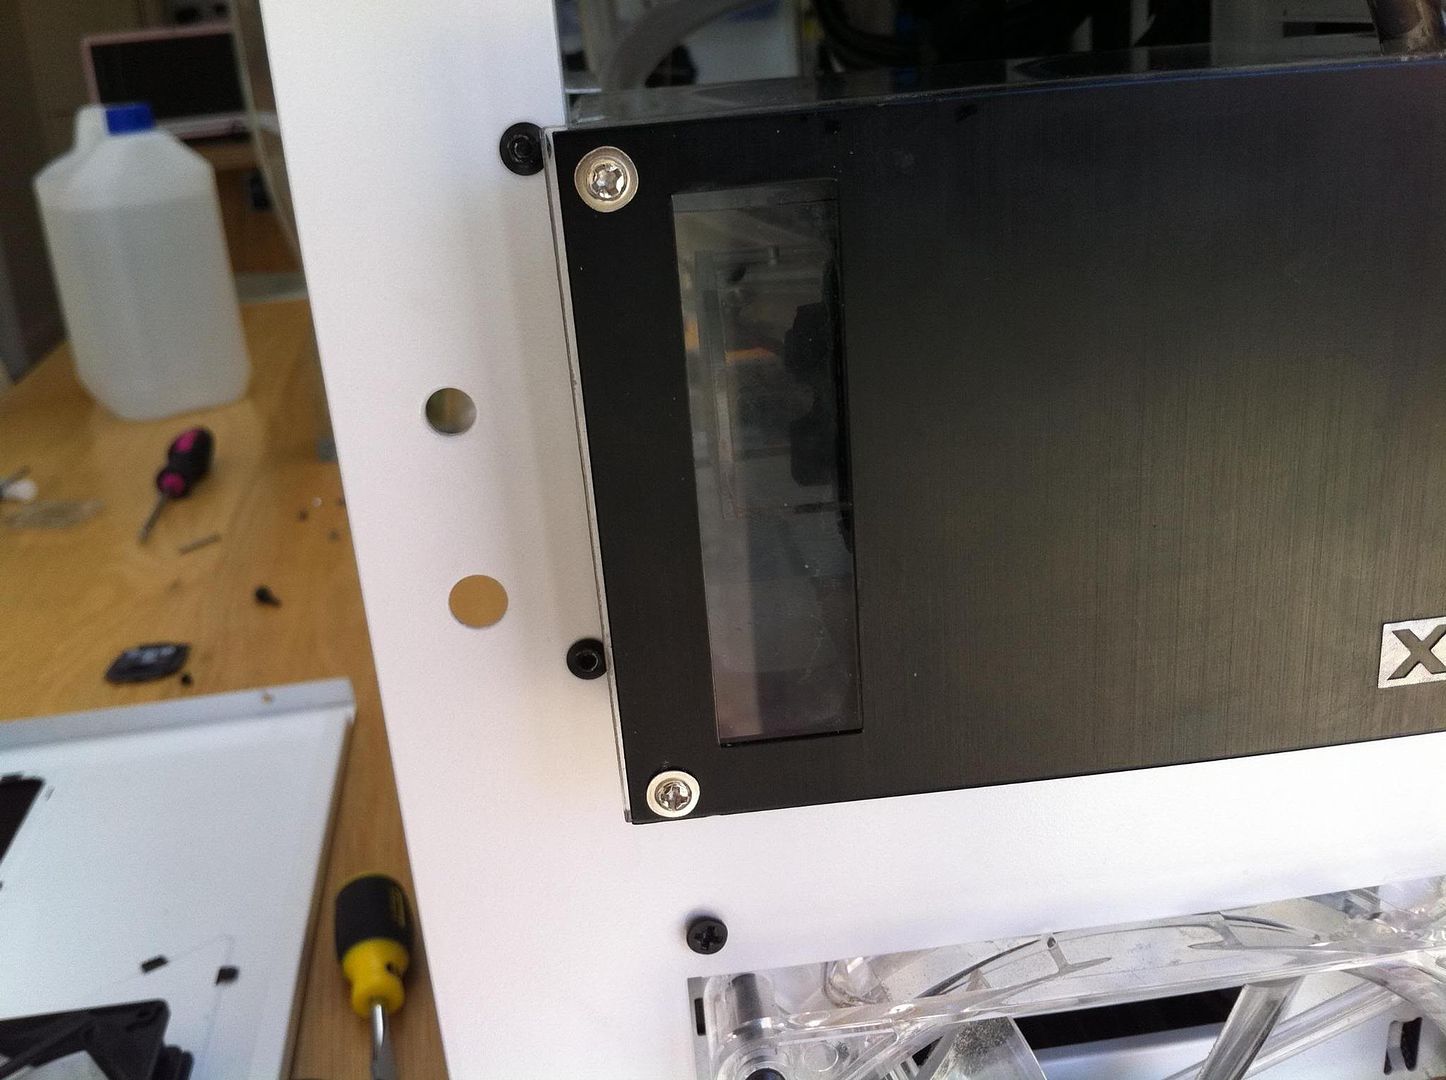
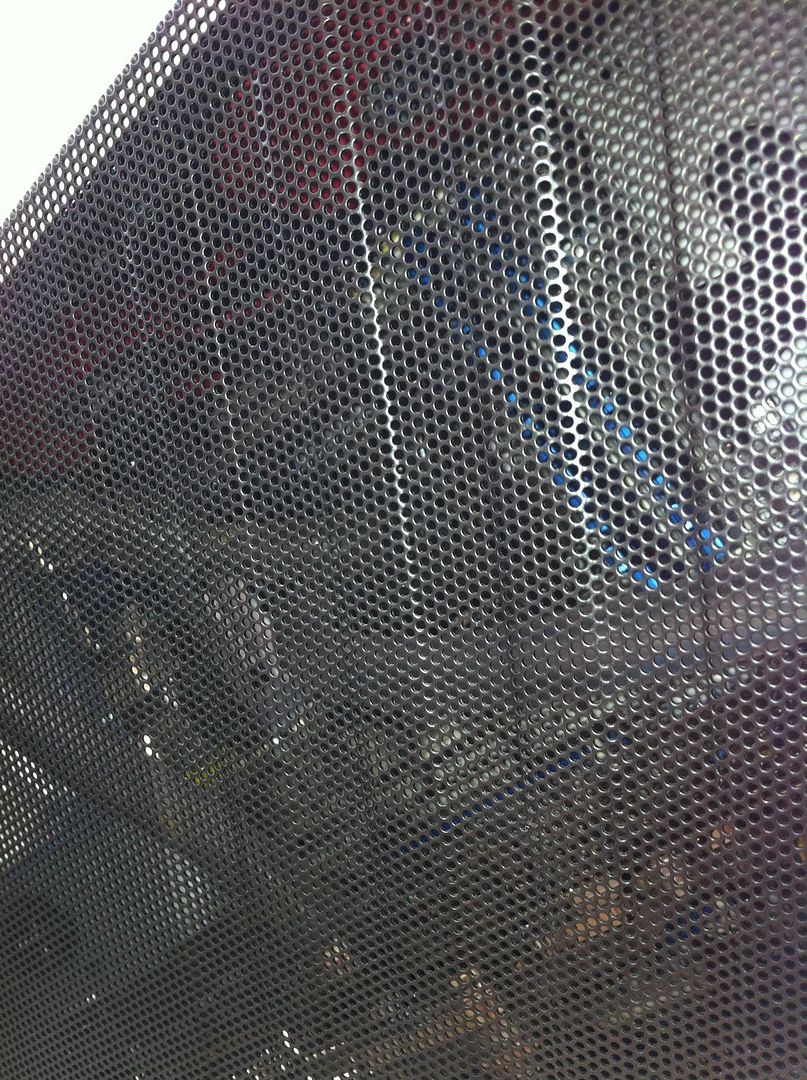
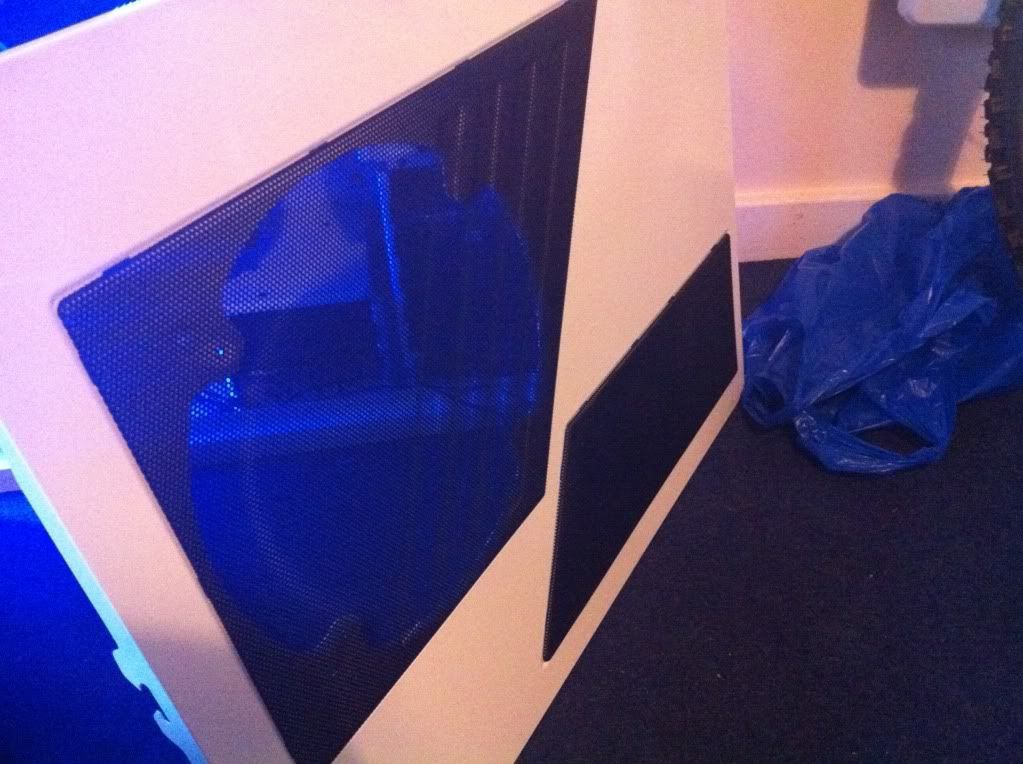
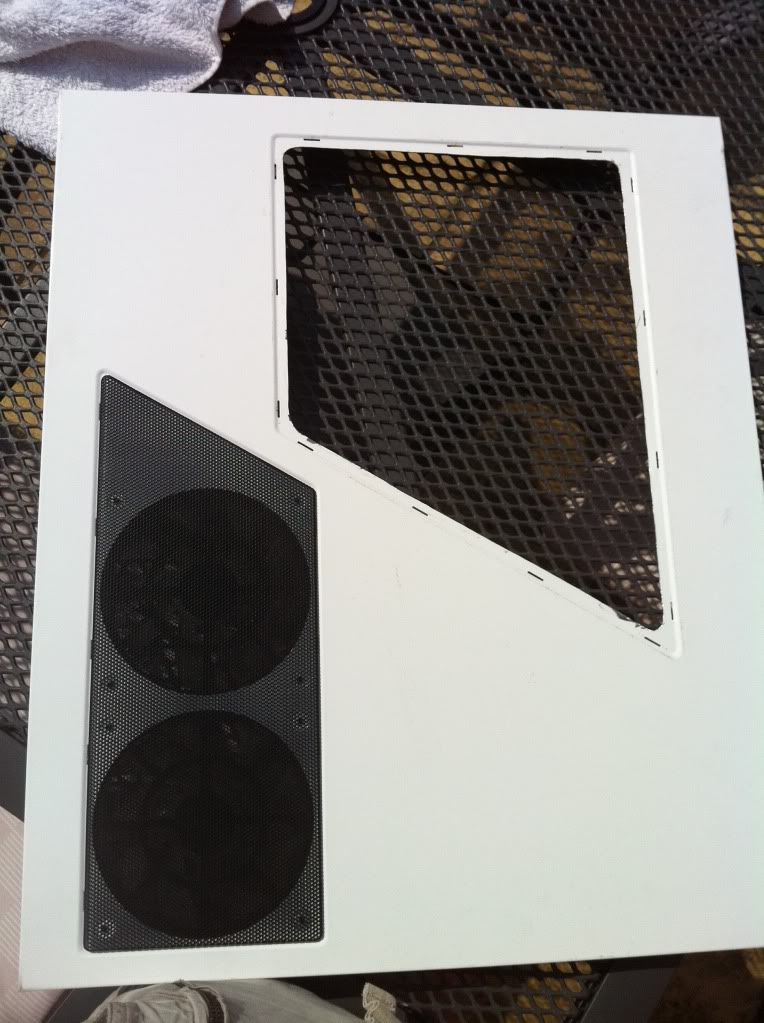
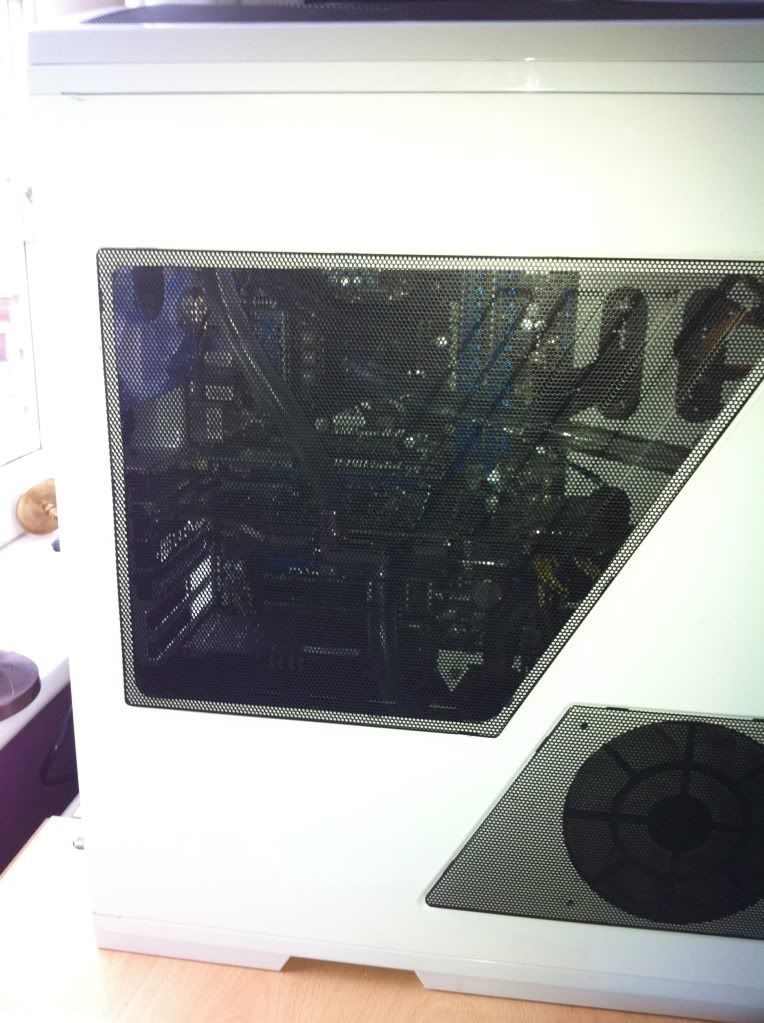
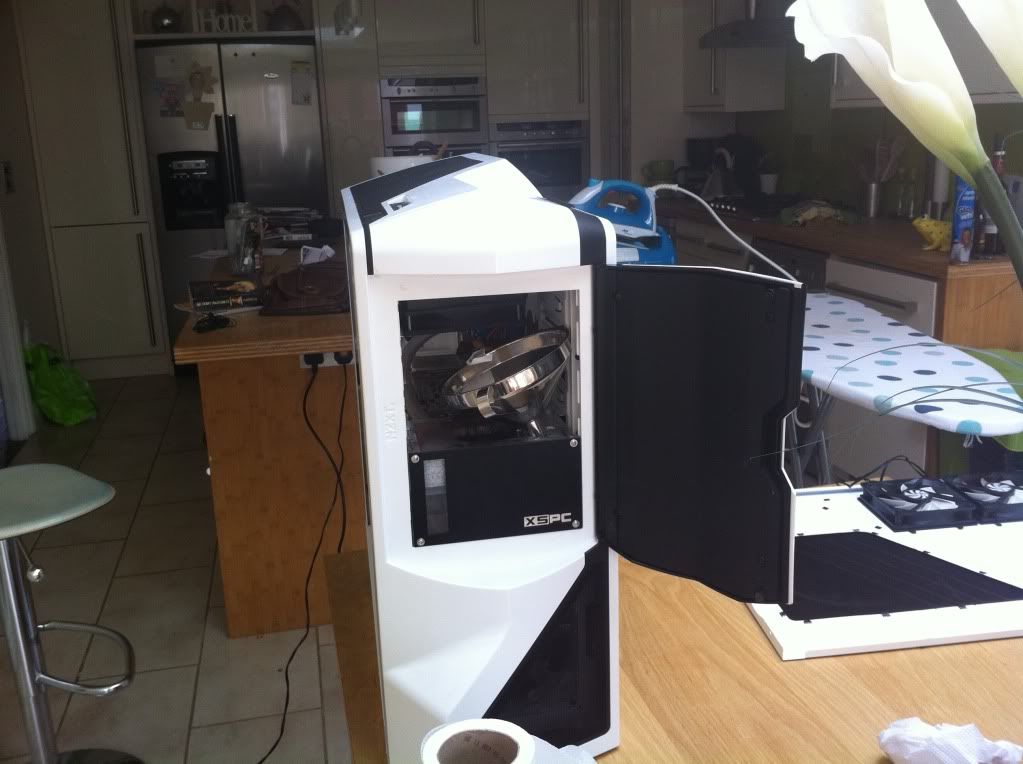
And then I got REALLY bored, and decided to steal my mum's Dremel. Now, NZXT made a huge booboo in my opinion by failing to produce this case with a decent side window to start. A 200mm fan space is all well and good, but you cannot use it with a decent sized CPU cooler. And if you take the fan off it is **** ugly. So I cut a **** off sized window into it.
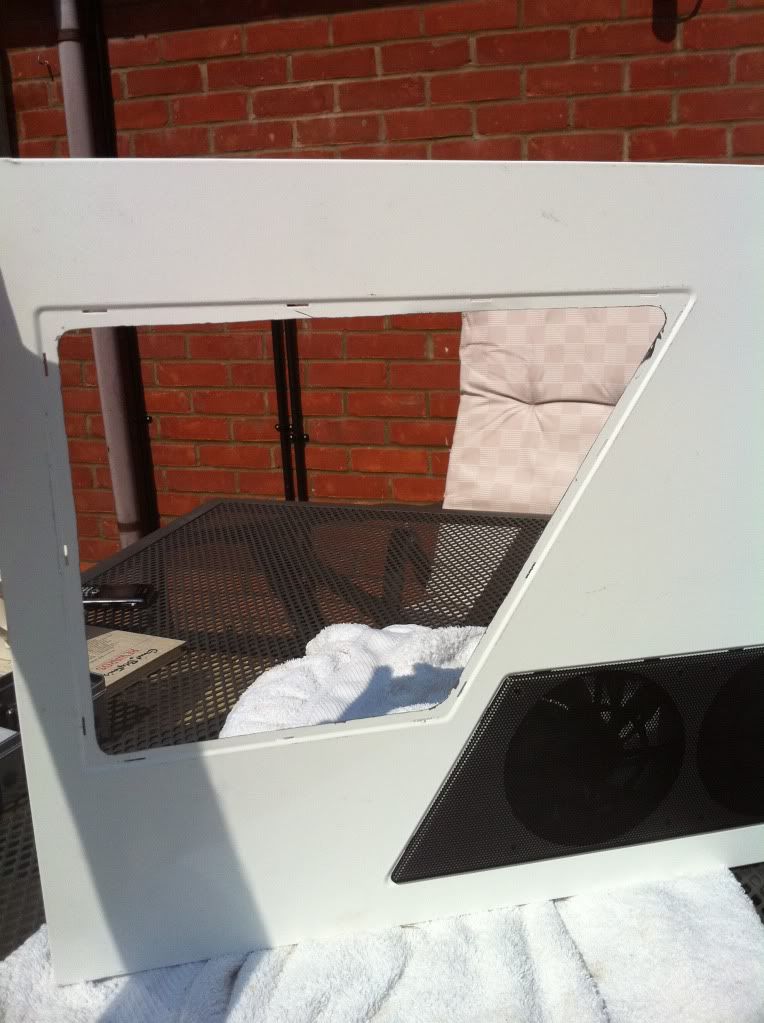
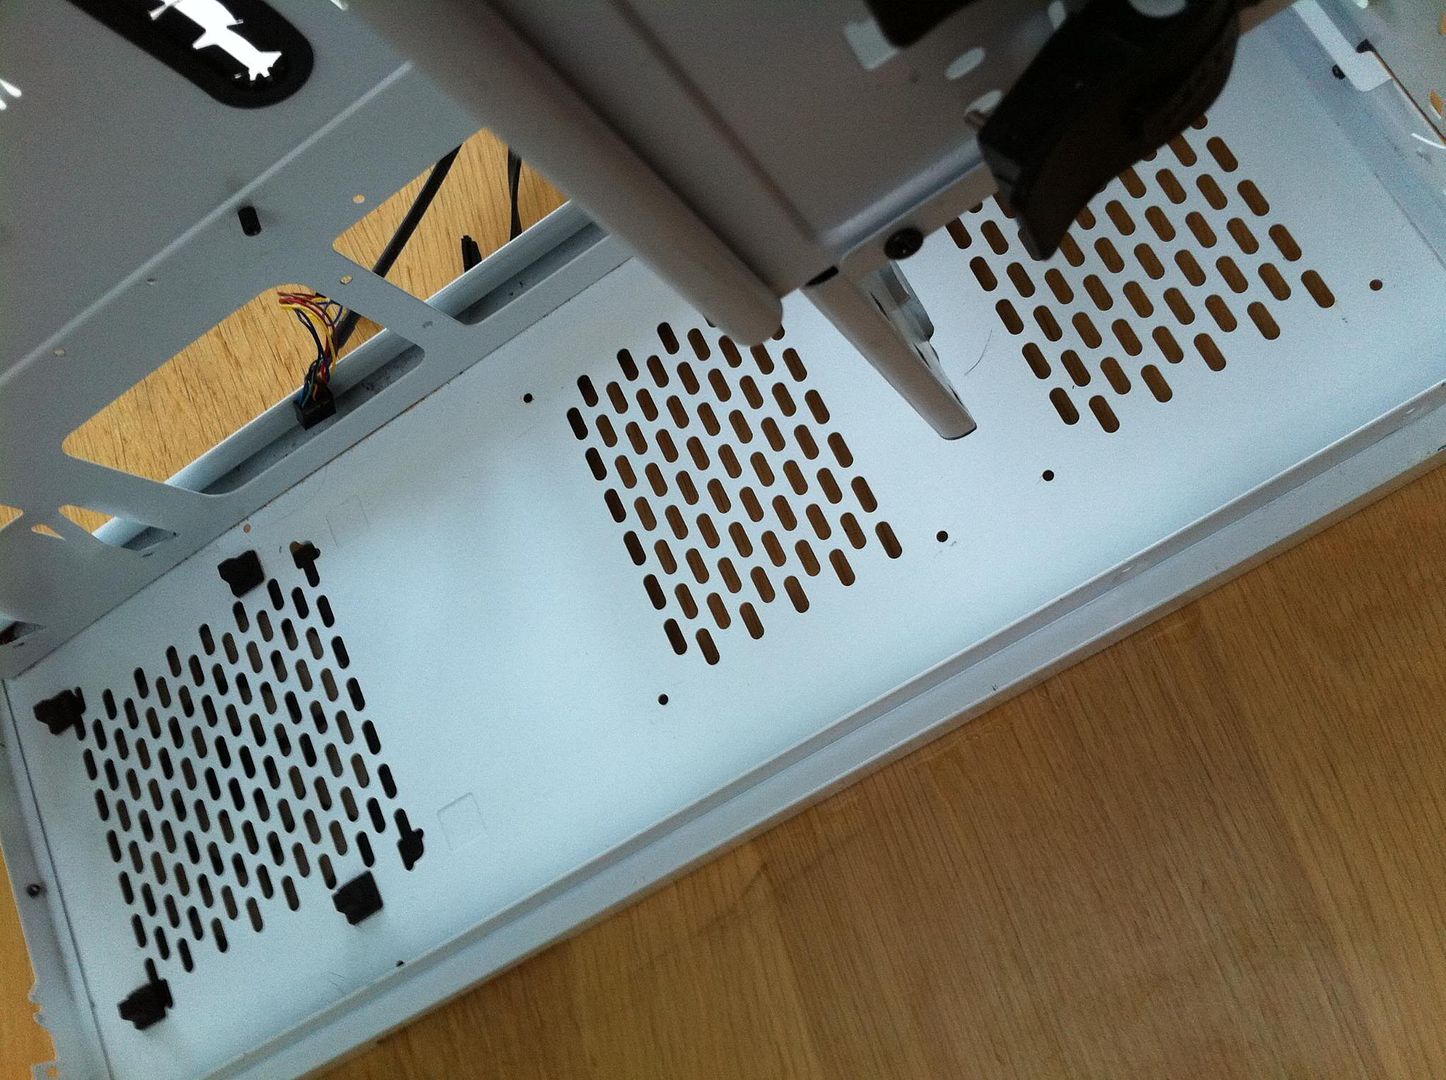
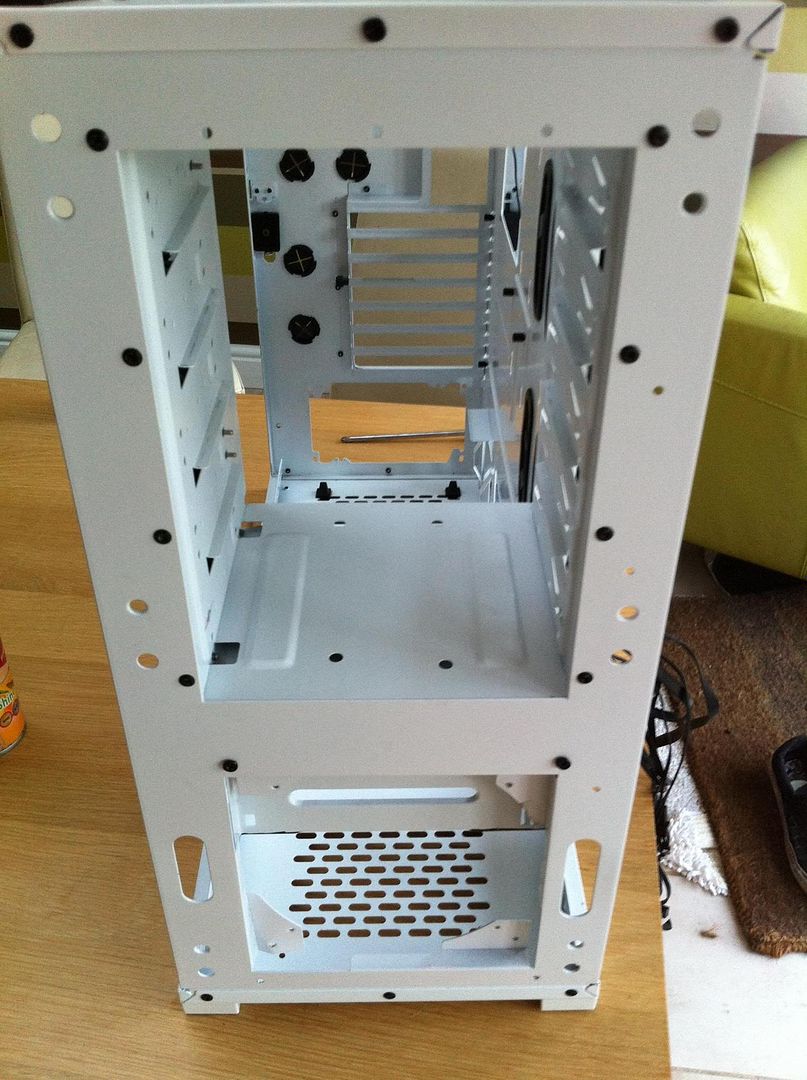
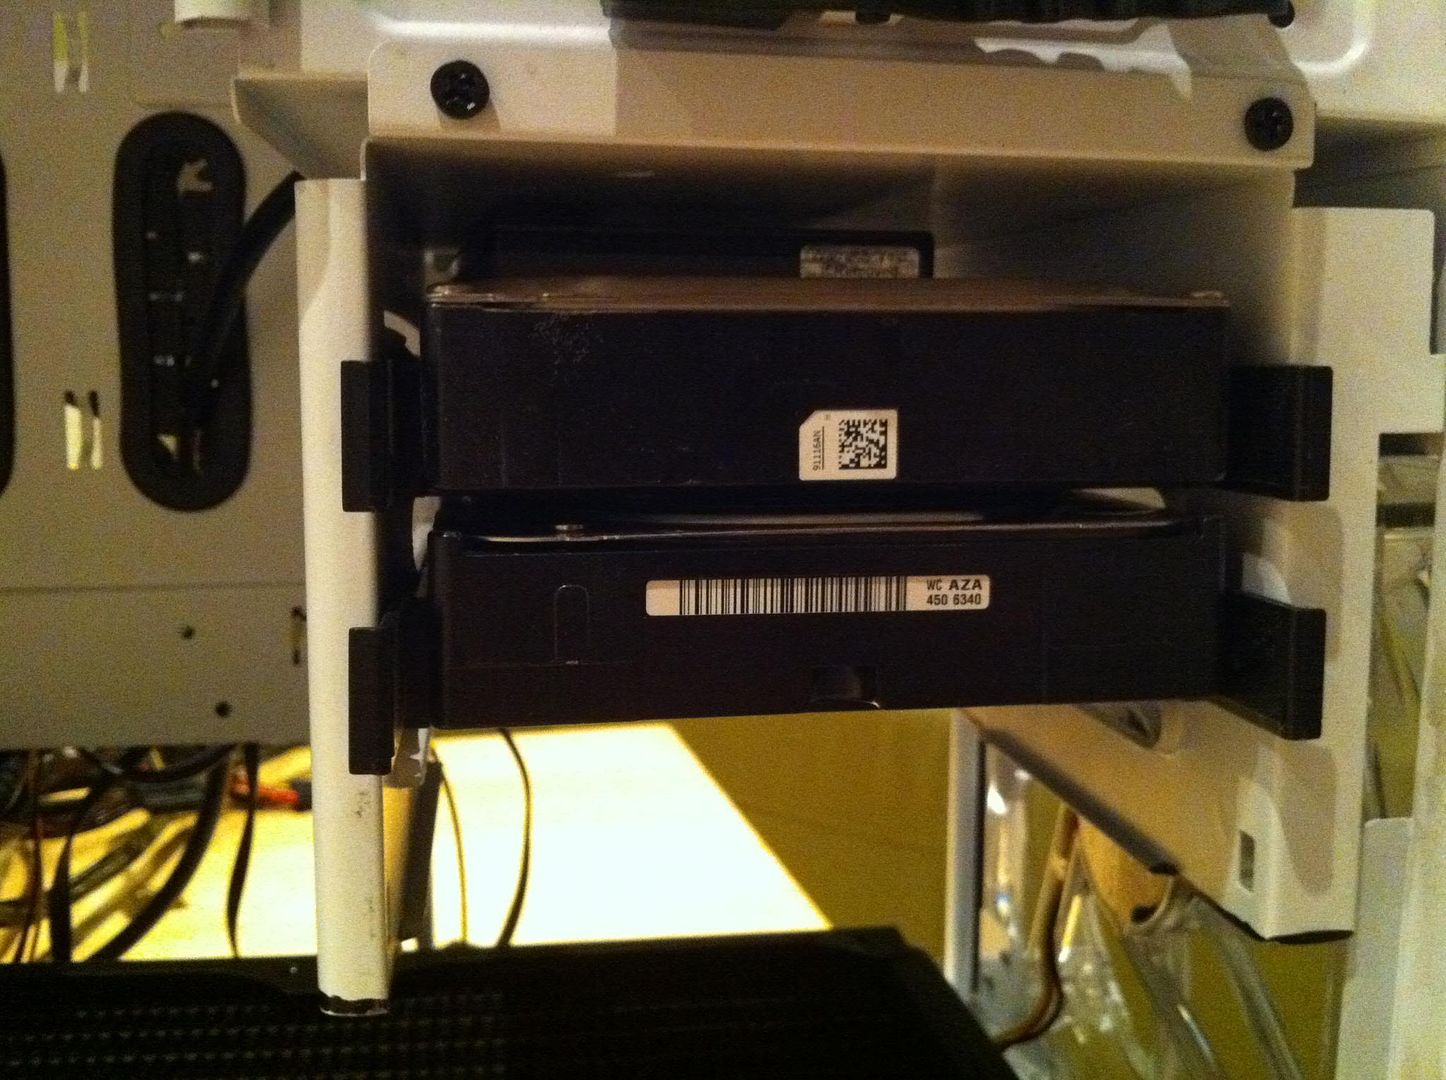
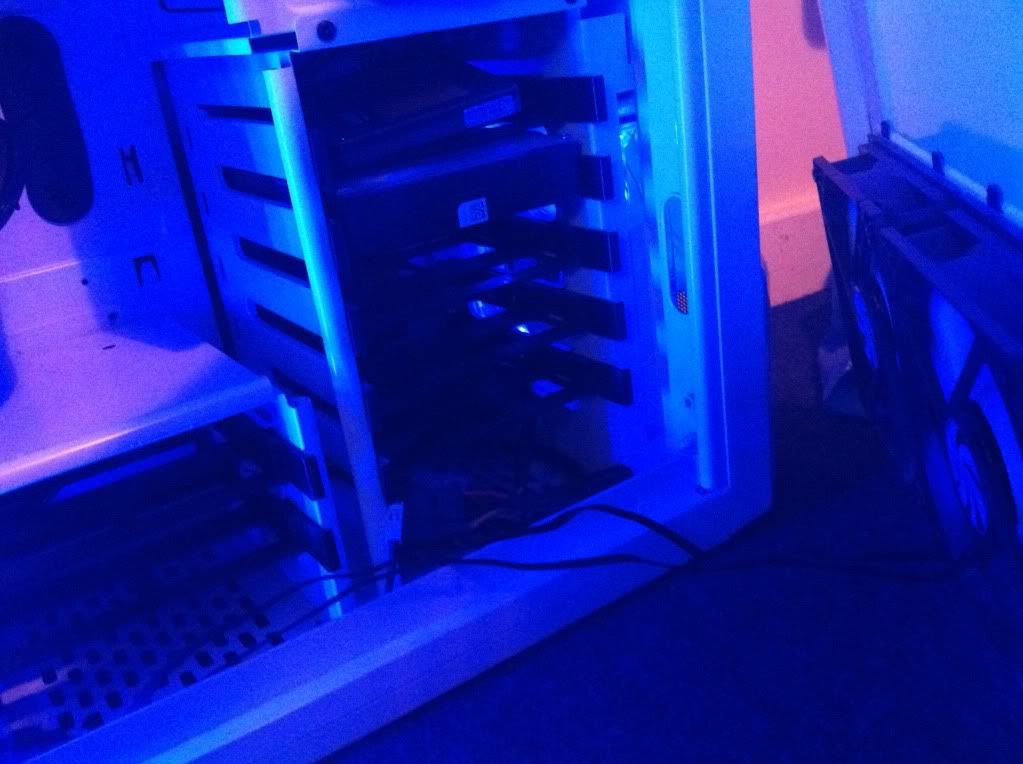
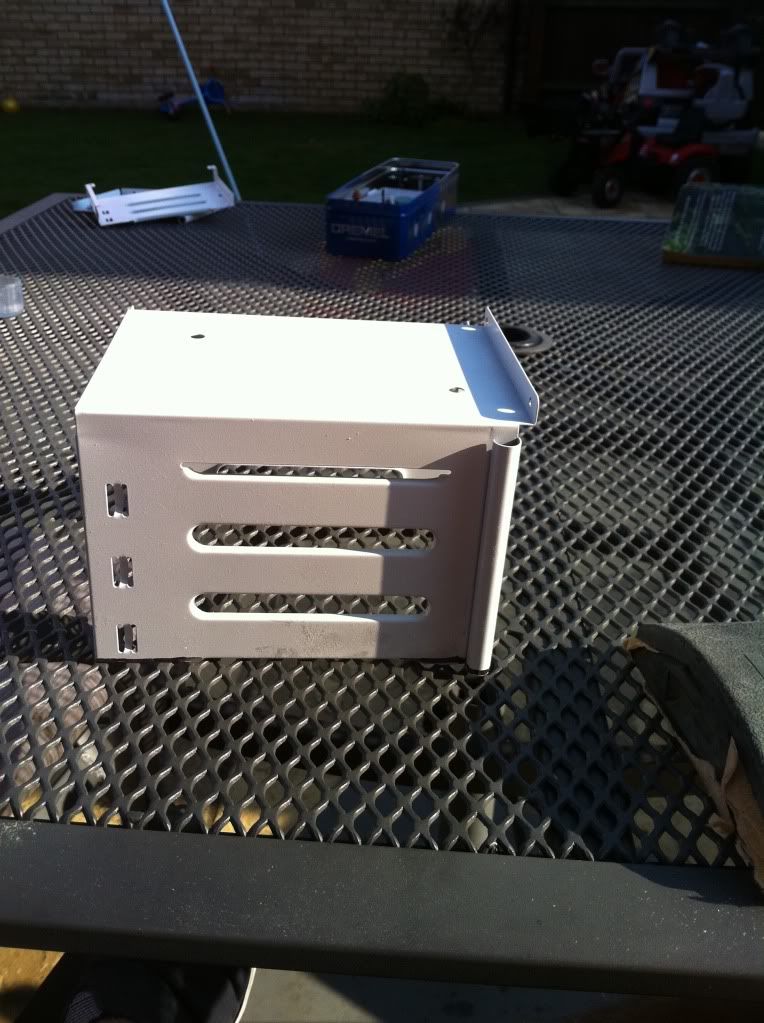
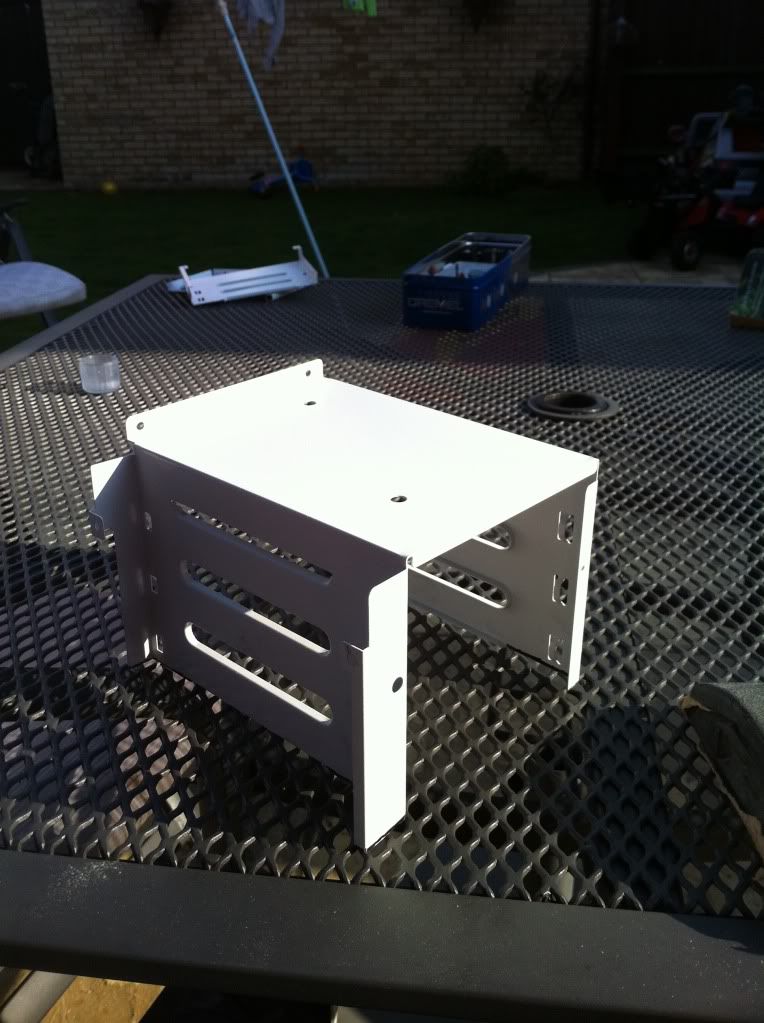
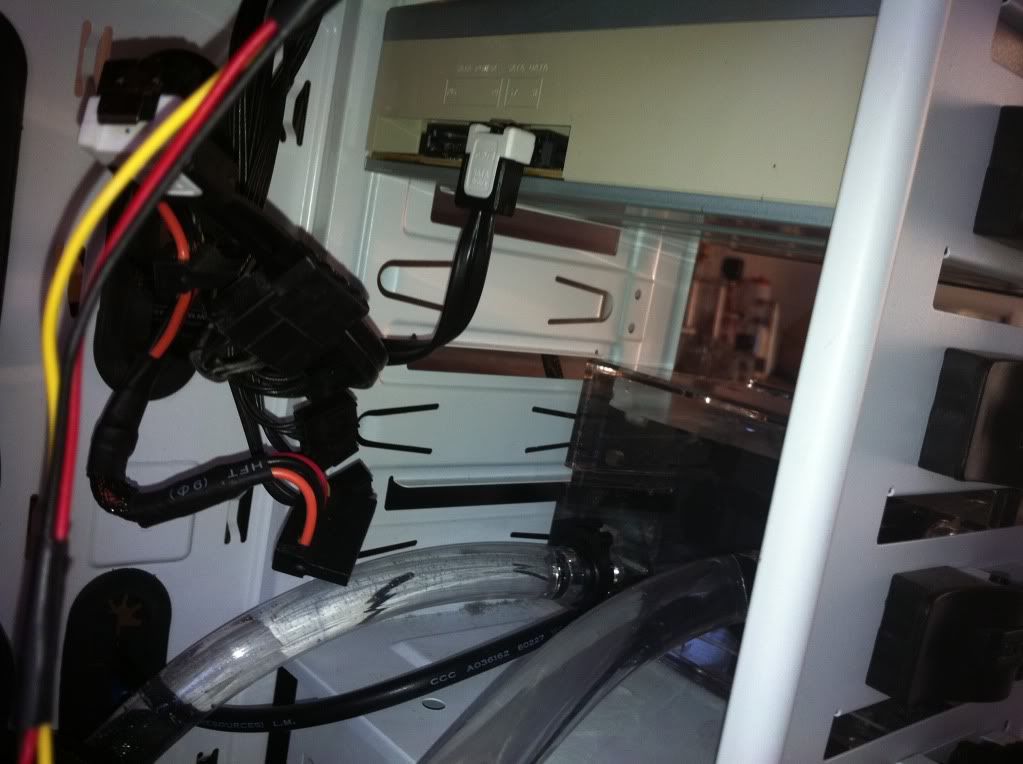
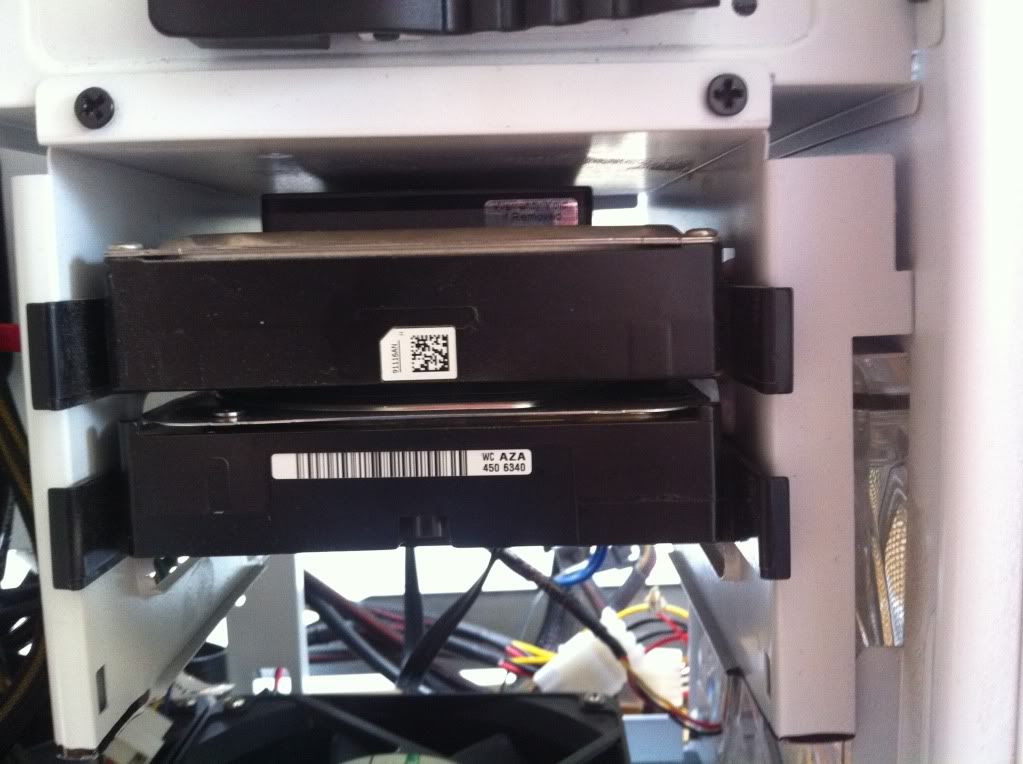
Now these pictures were before filing, so please, laugh at my ineptitude with rotary tools. Anyway, I was at this point staring deep into that money grabbing abyss that is watercooling, and decided "Who on earth needs that many HDD bays? Surely 2 is enough? You can chuck an SSD anywhere in any case!" So I mutilated the case some more, removing one of the hard drive caddies completely, and dremeling the other in half.
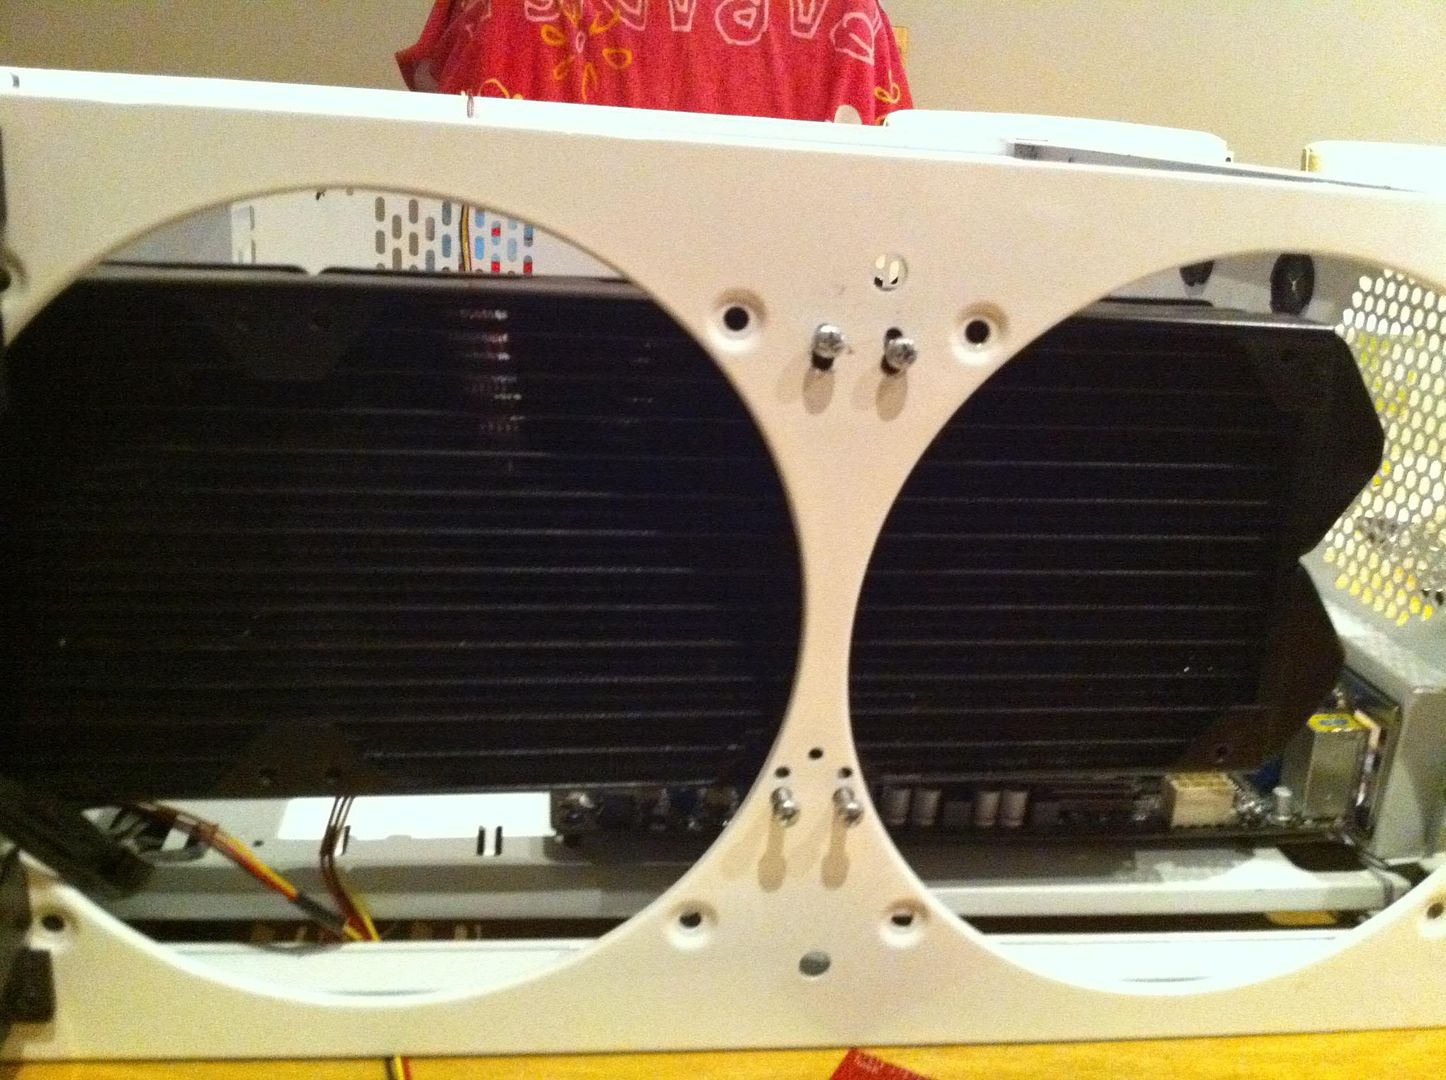
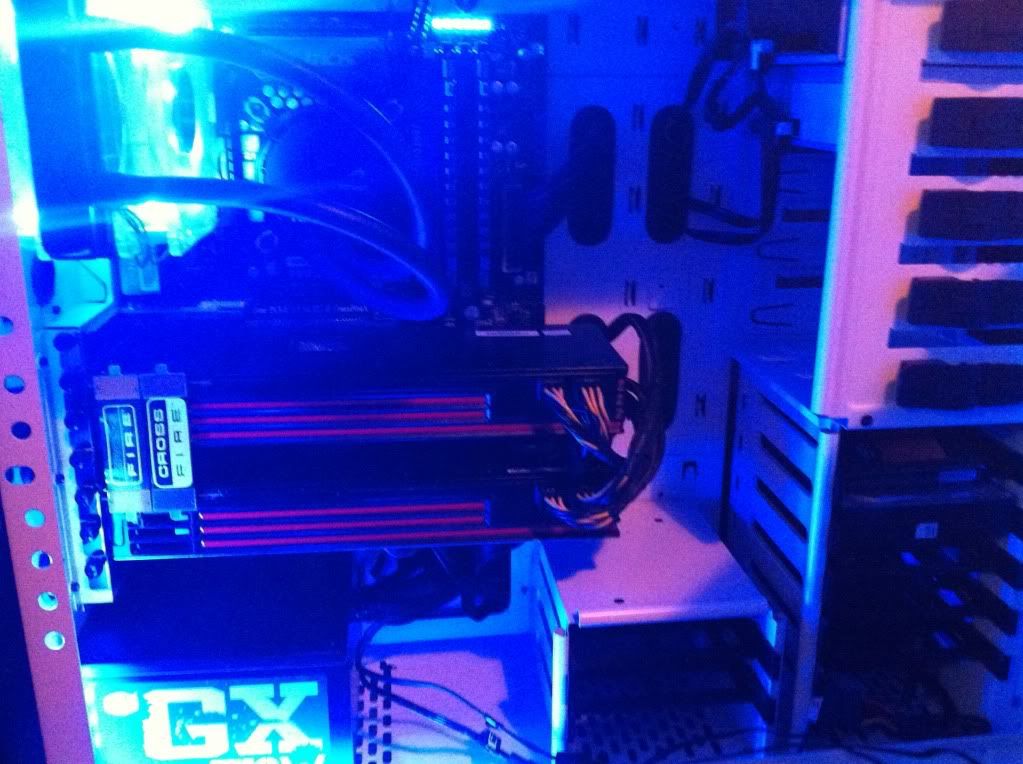
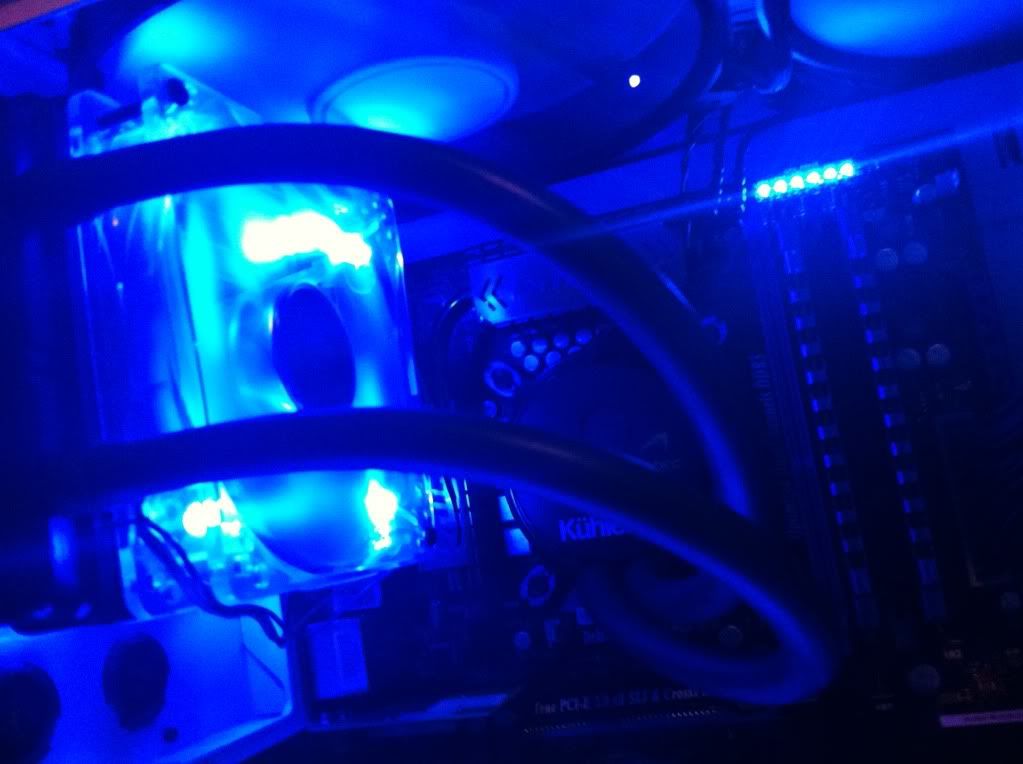
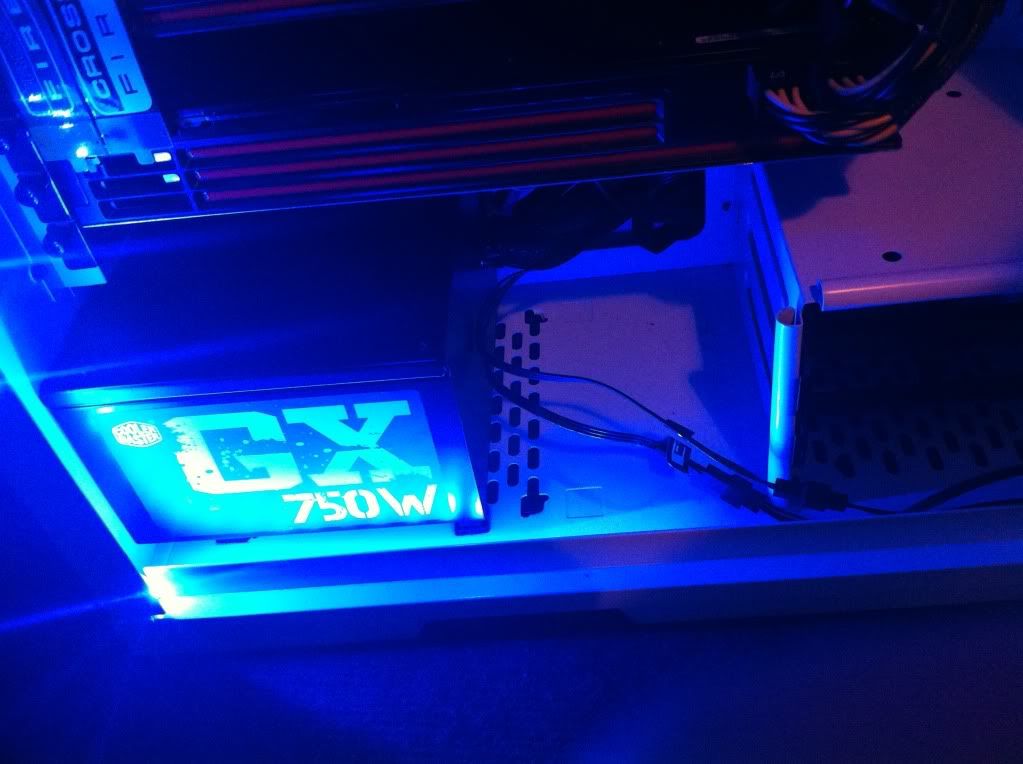
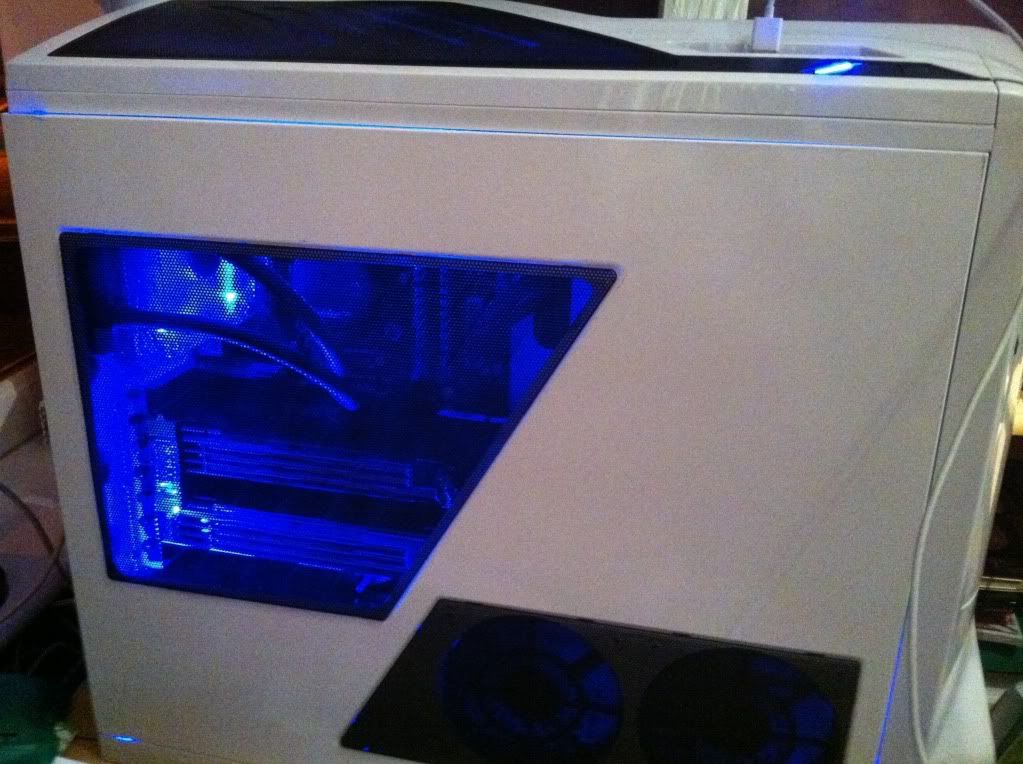
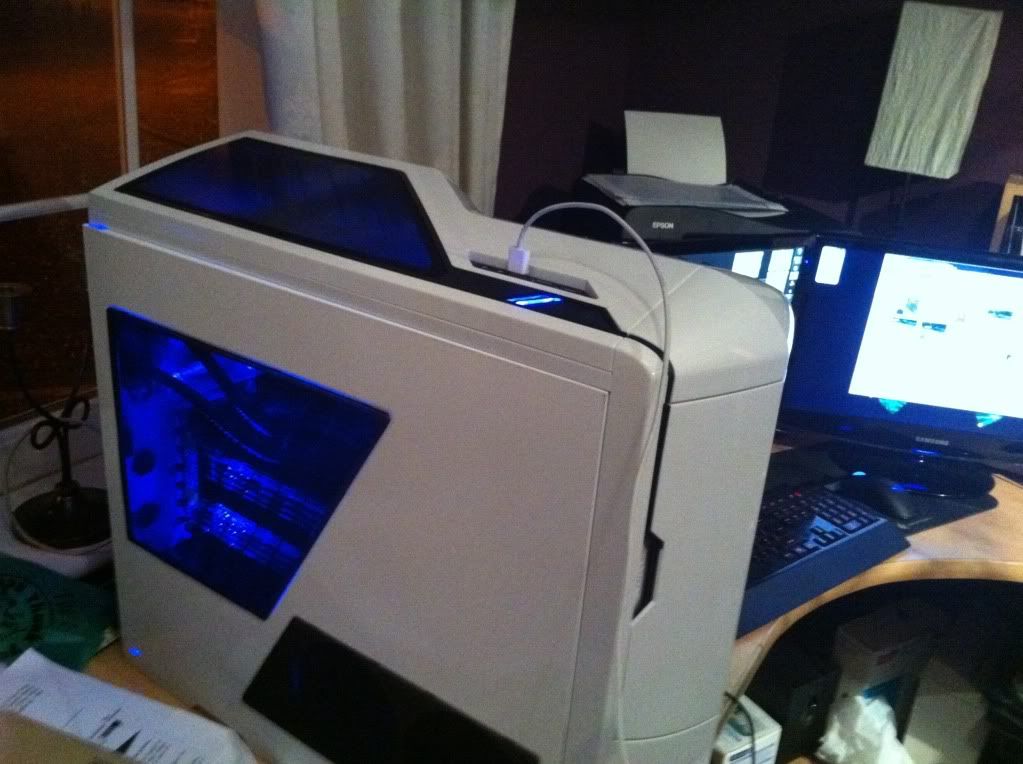
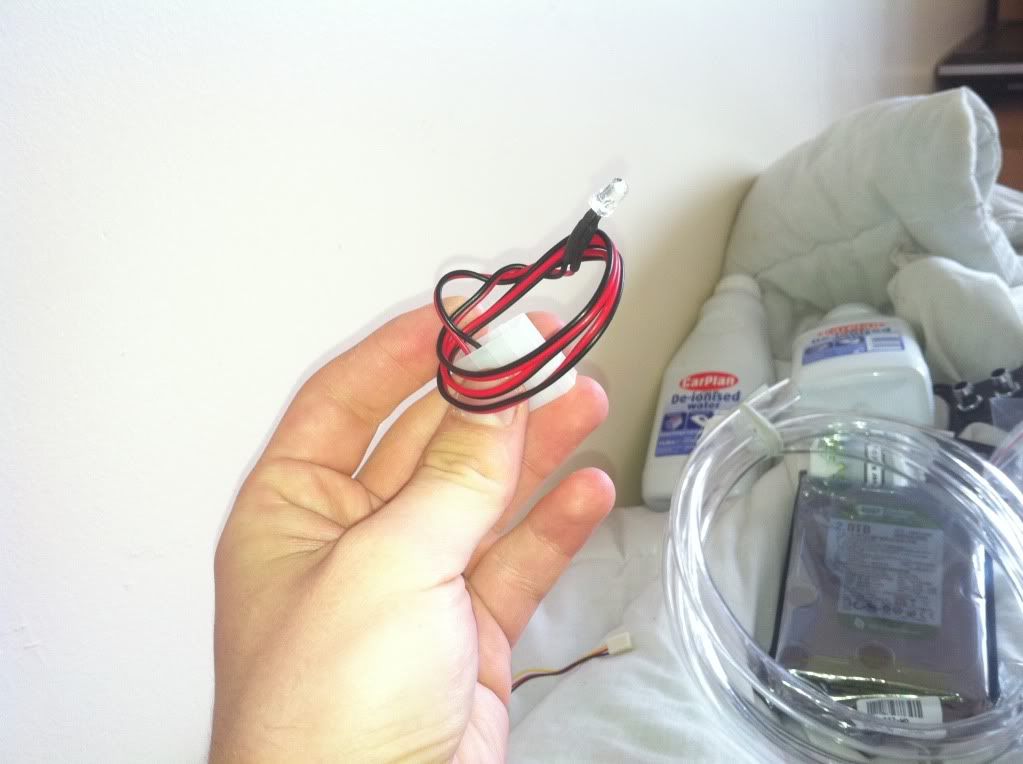
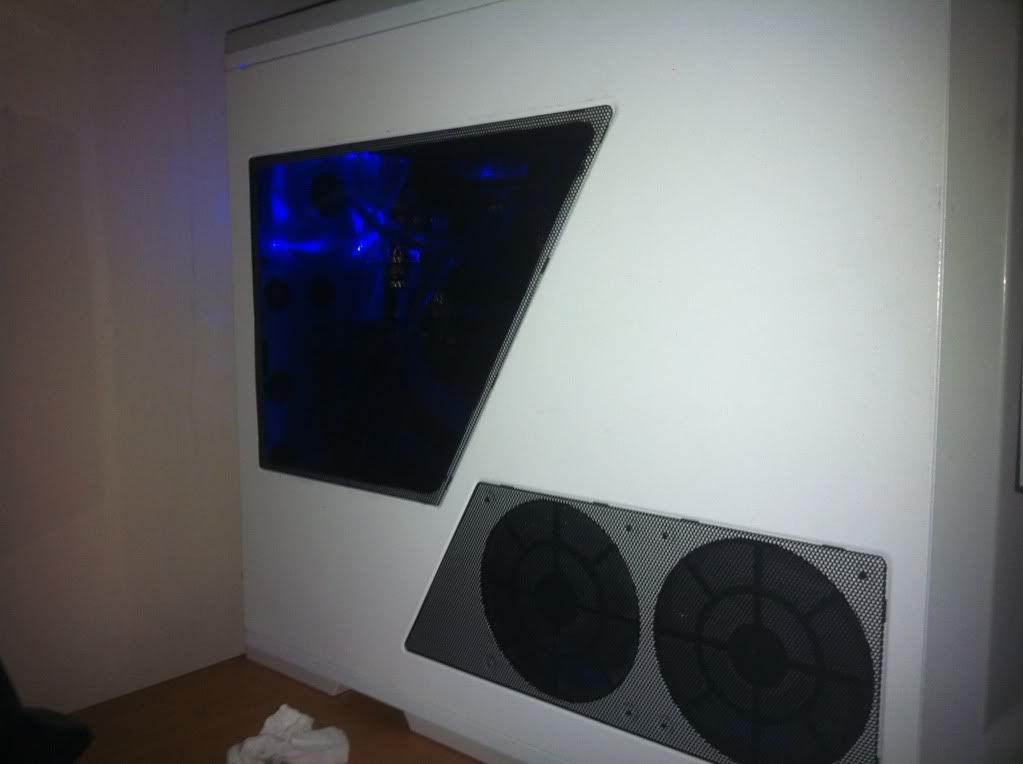
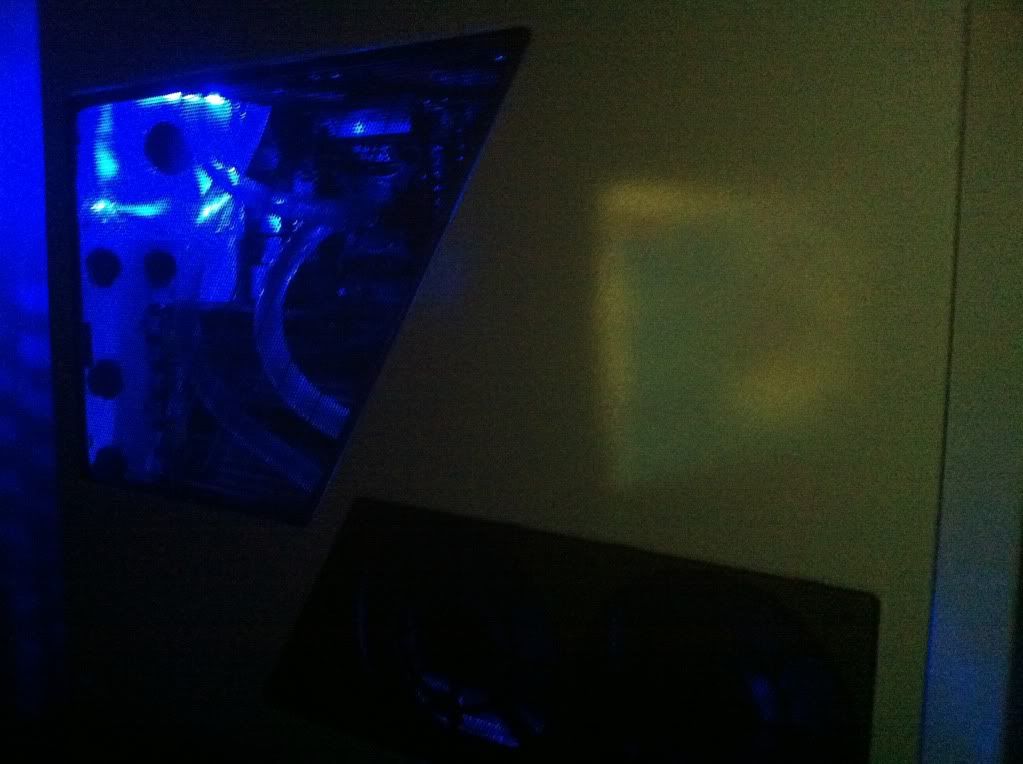
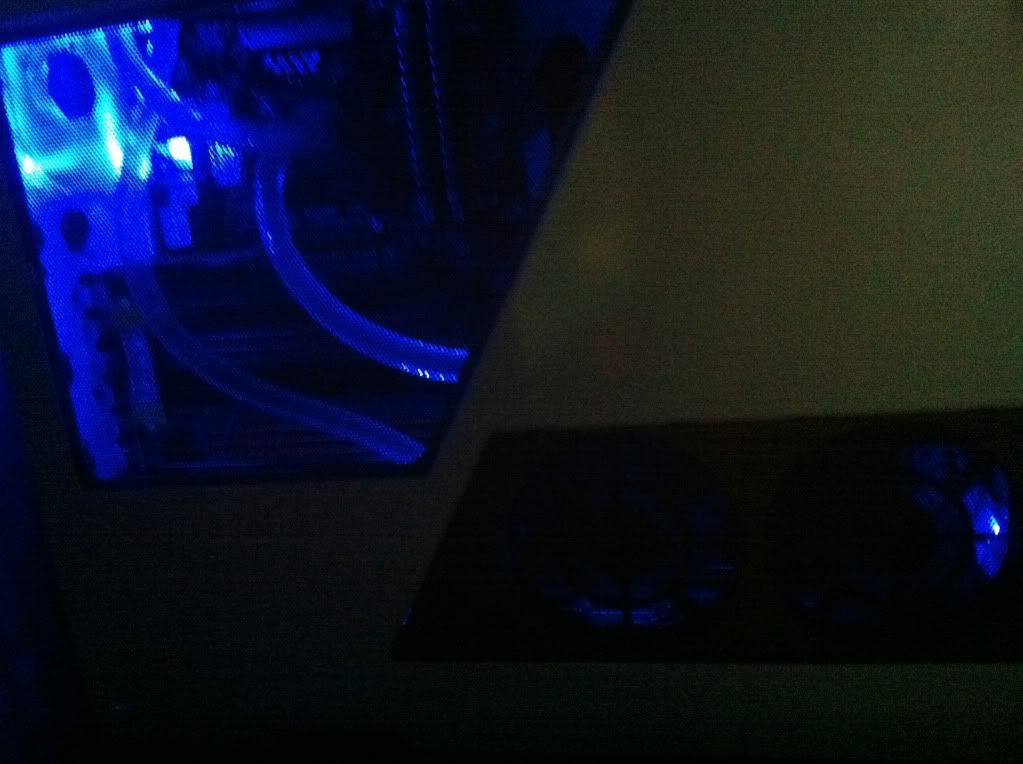
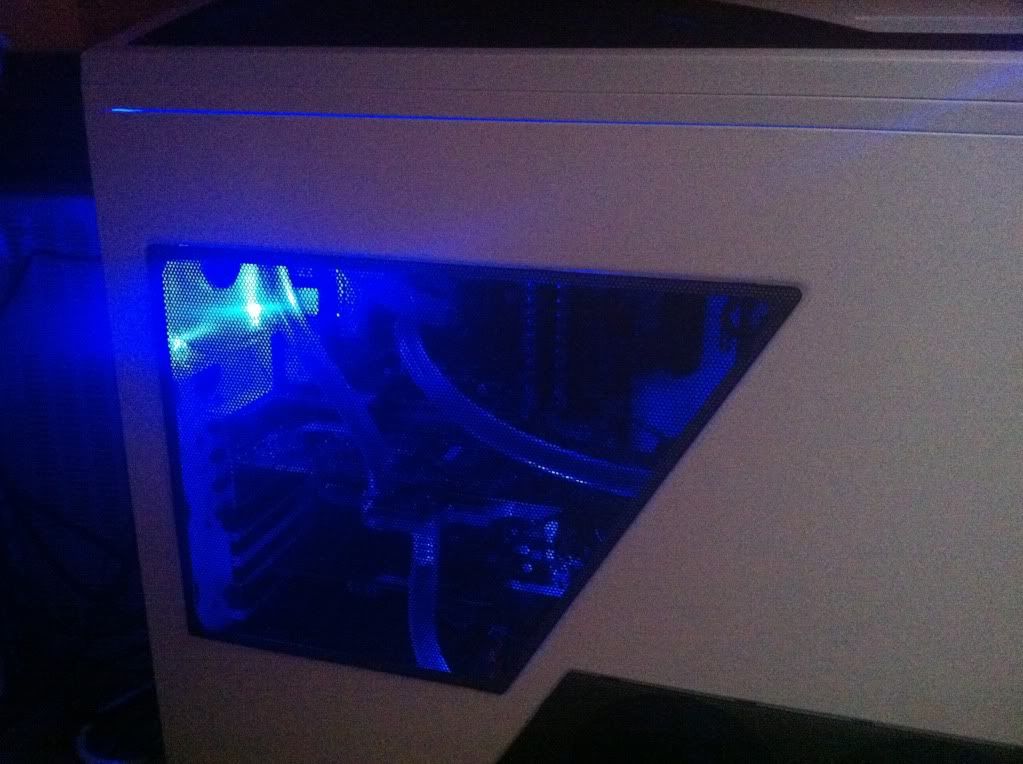
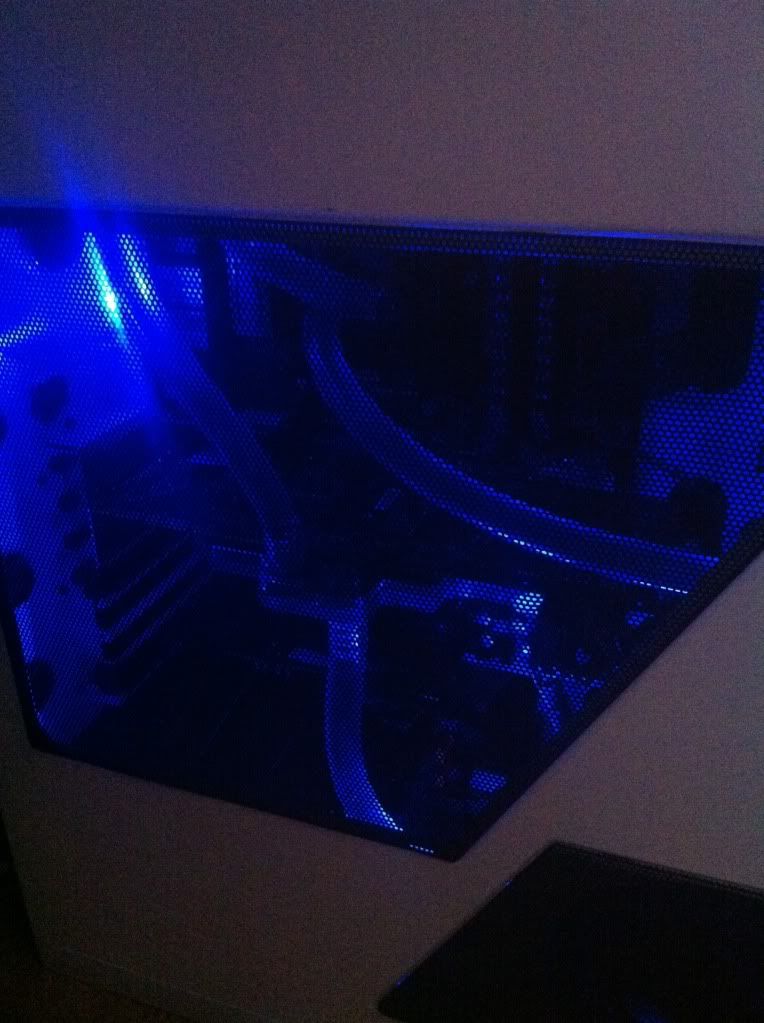
And then realised it was night time. And that I had a lot of blue LEDs. And a brand spanking new side window. So my iPhone decided to be a little ******* and take god awful pictures. In exemplis:
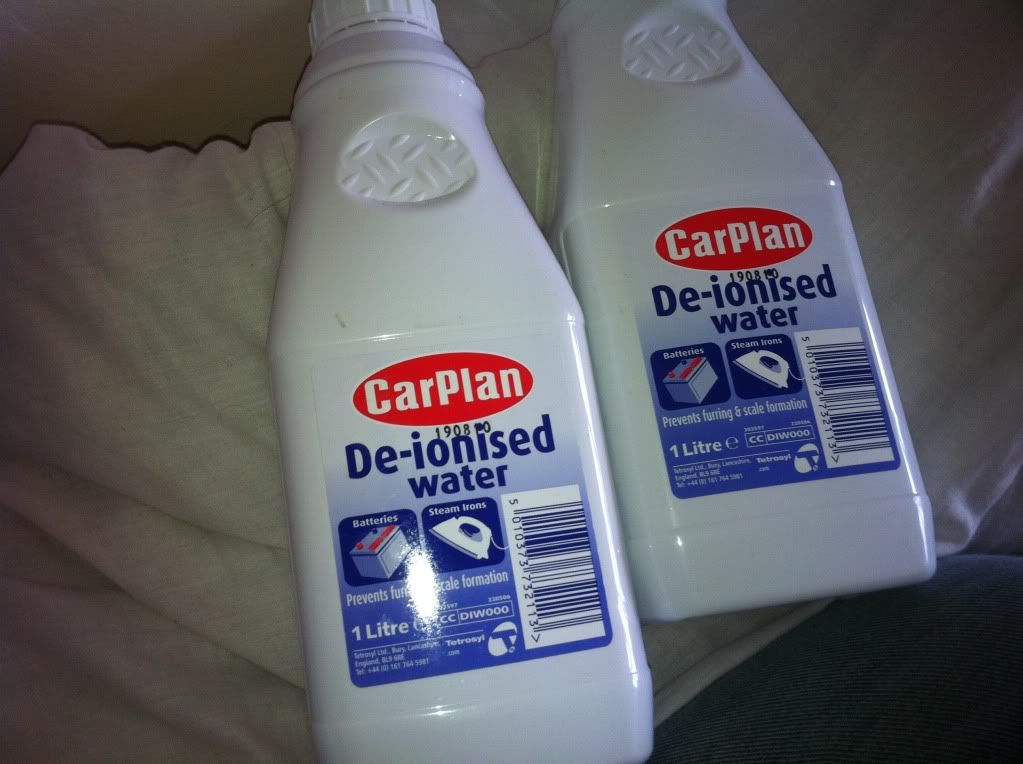
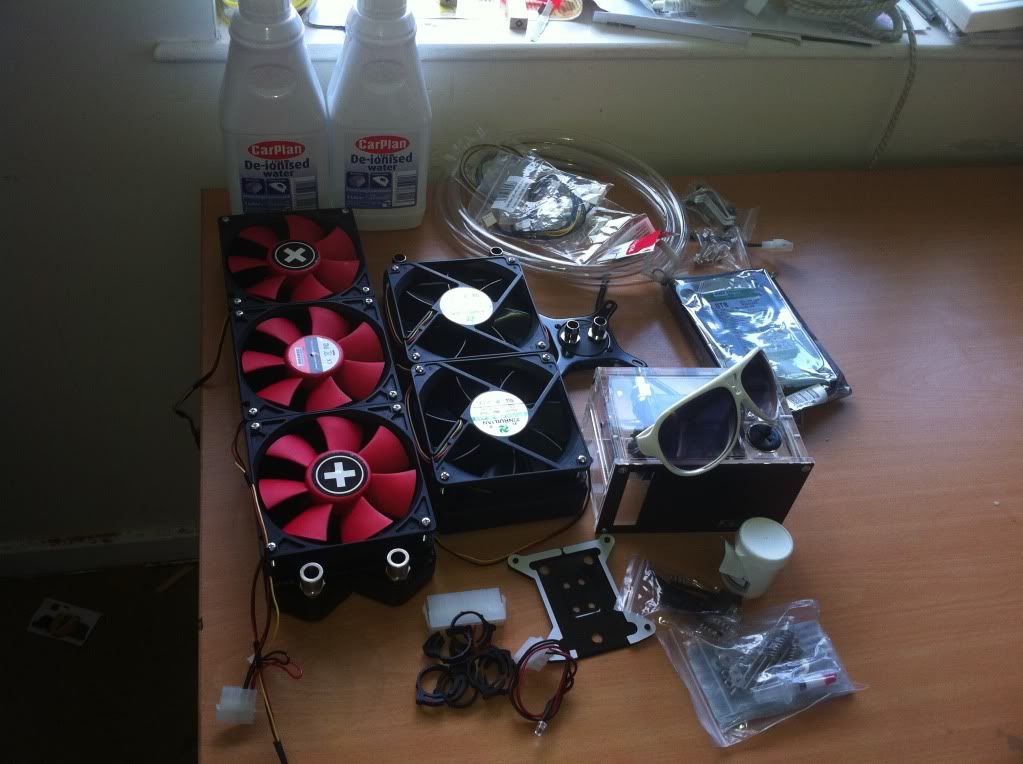
Which is all well and good, but after looking at the Kuhler for a while, it is pretty easy to realise "Damn, that thing is **** ugly! And it's pretty shite at cooling!" Which led me to jump. Into the aforementioned abyss. So I went and gave Specialtech quite a bit of money. And what did I get in return? Nothing for about a week, as I had given them the wrong postcode :wallbash:. So, one week later, and this fanbloodytastic package arrives.

Now this is separate, ordered from OcUK after the lovely people at DX Secure decided that giving me the package I had paid for was probably a good idea...

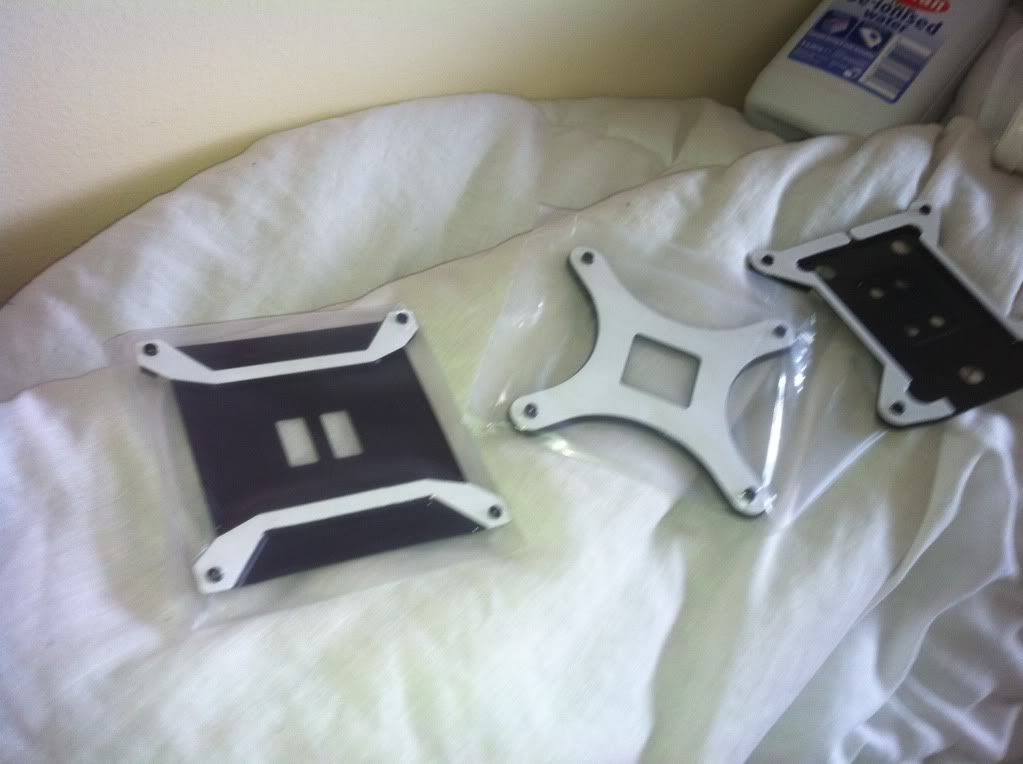
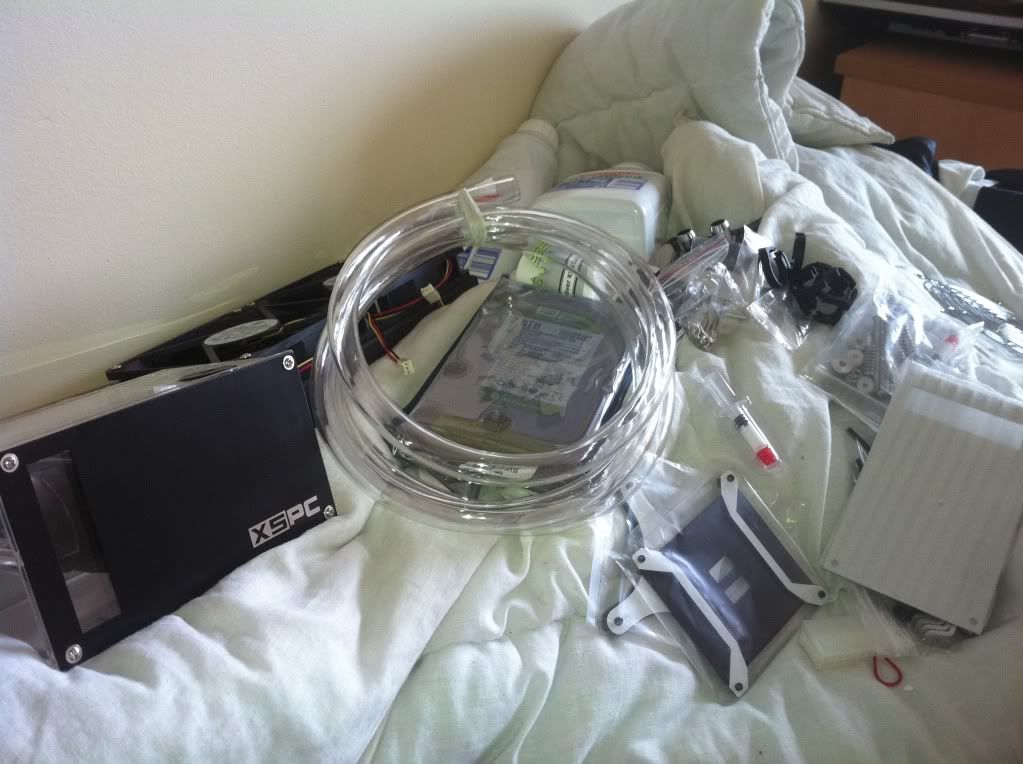
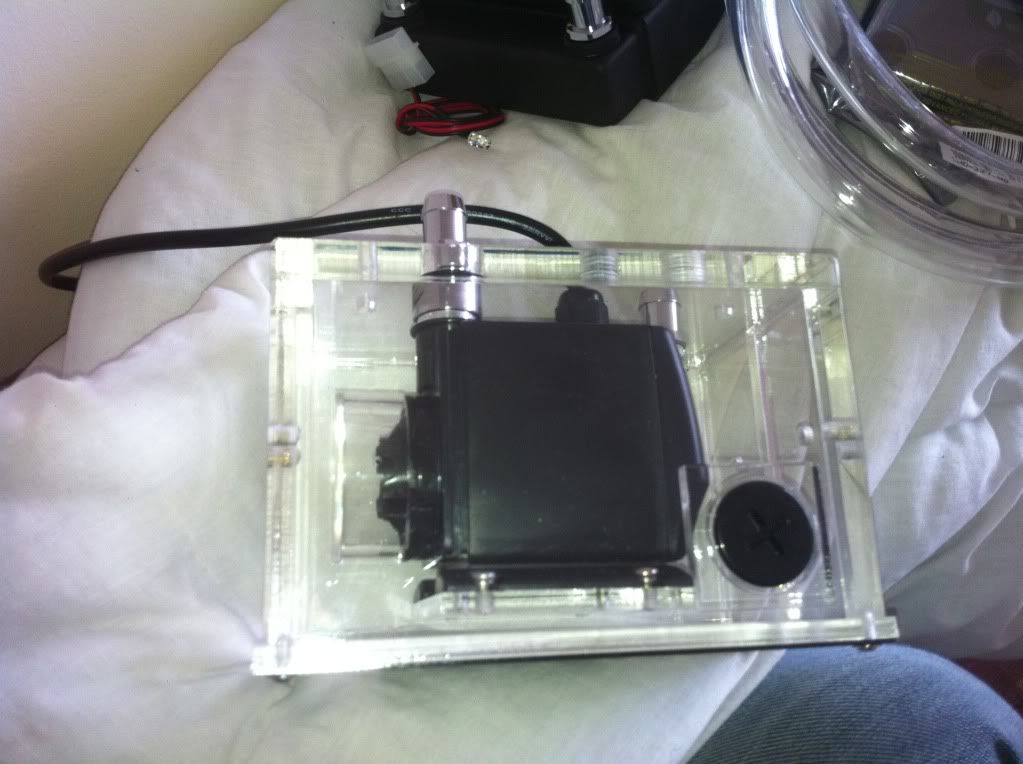
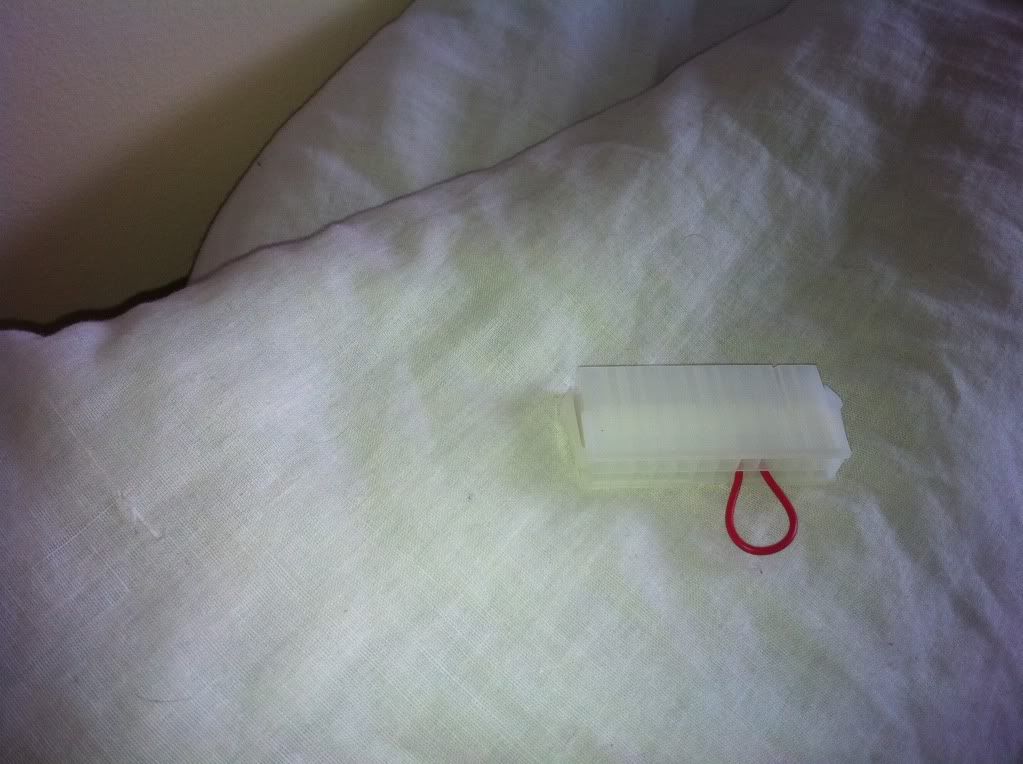
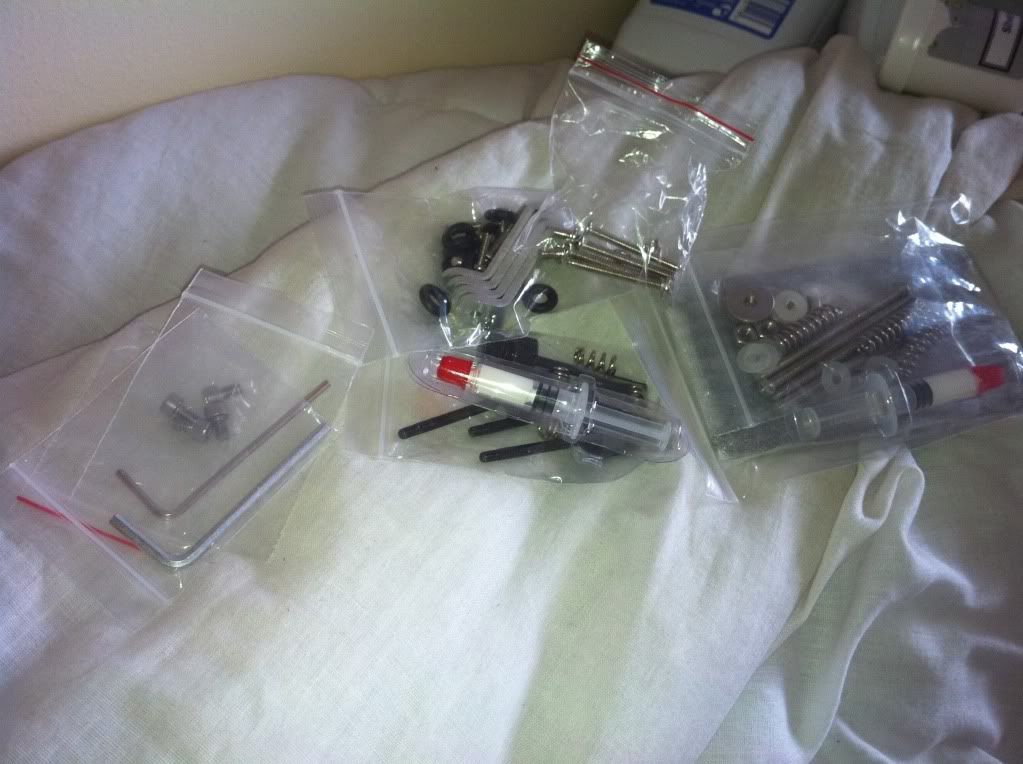
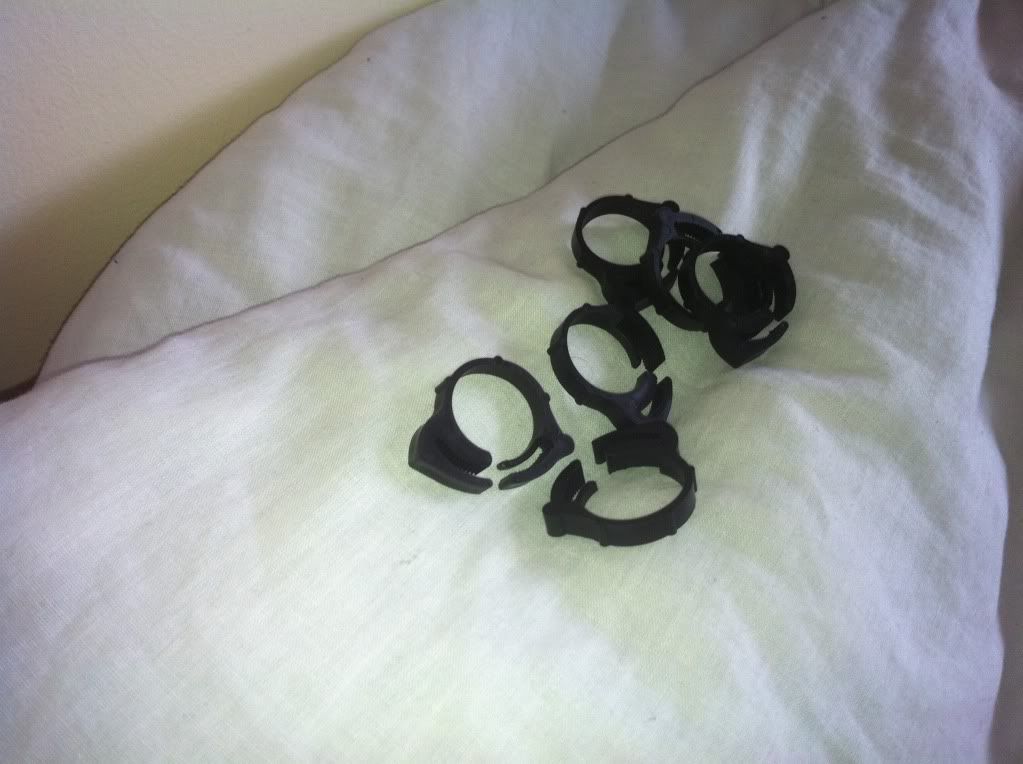
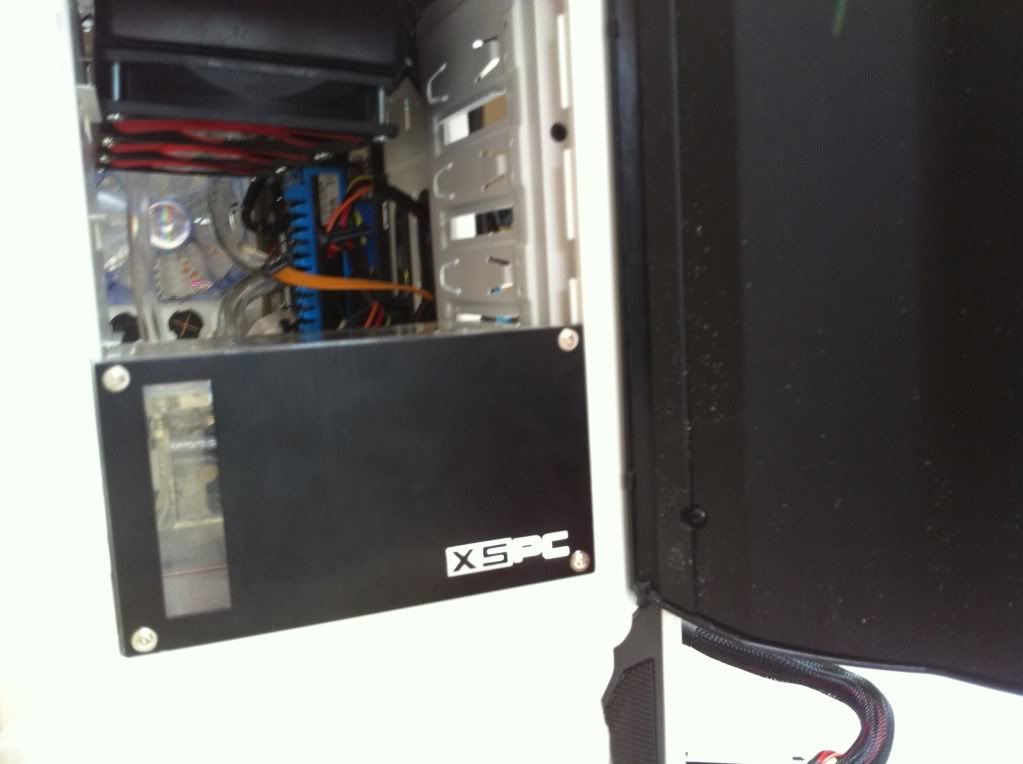
Those people at XSPC really do think of everything...

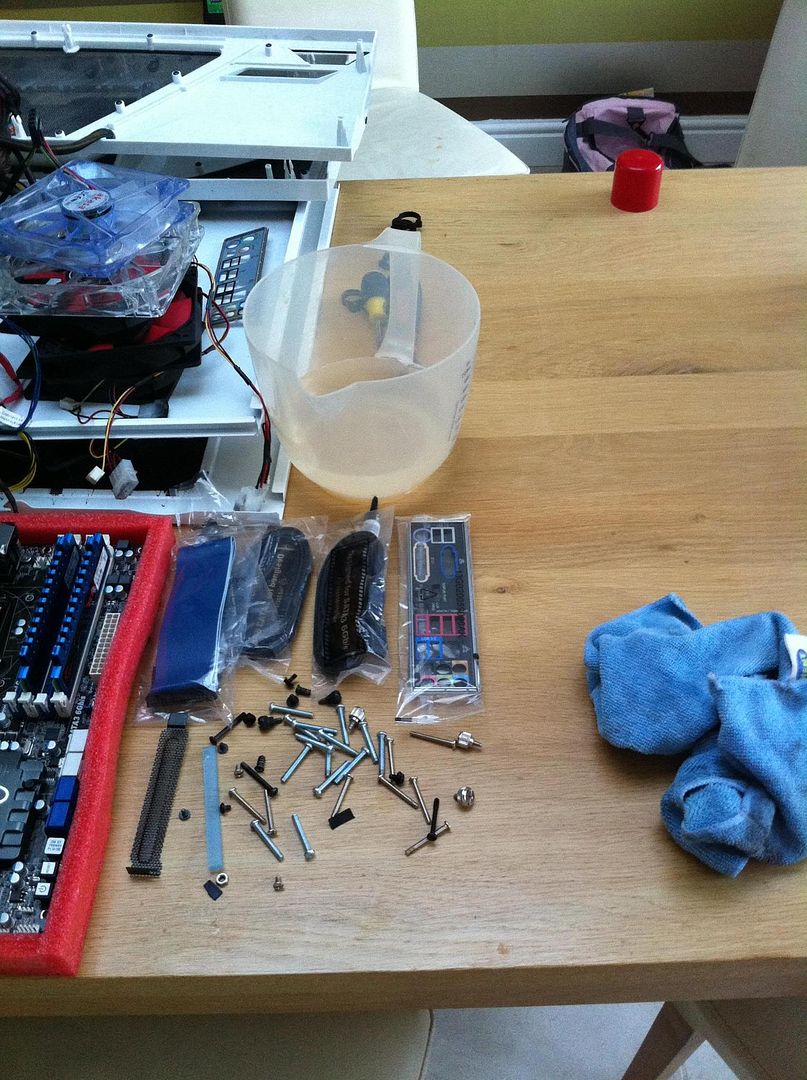
And now for all of the lovely shiny new stuff to be displayed in one of those clichéd shots with a personal belonging. In this case, my sunglasses...
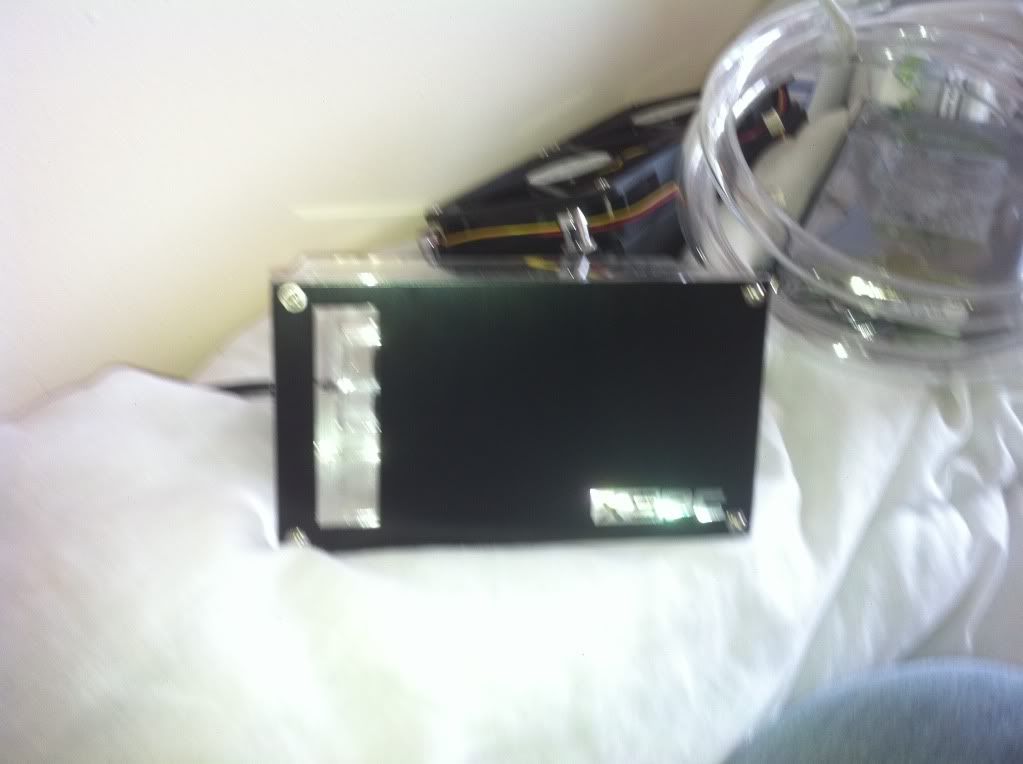
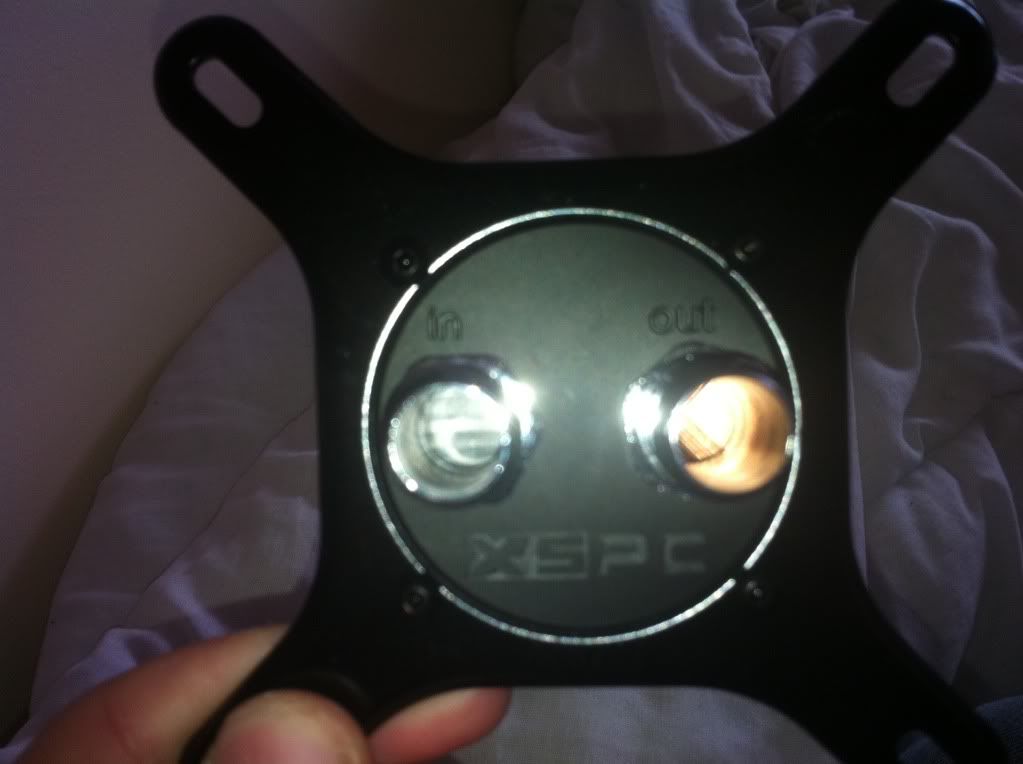
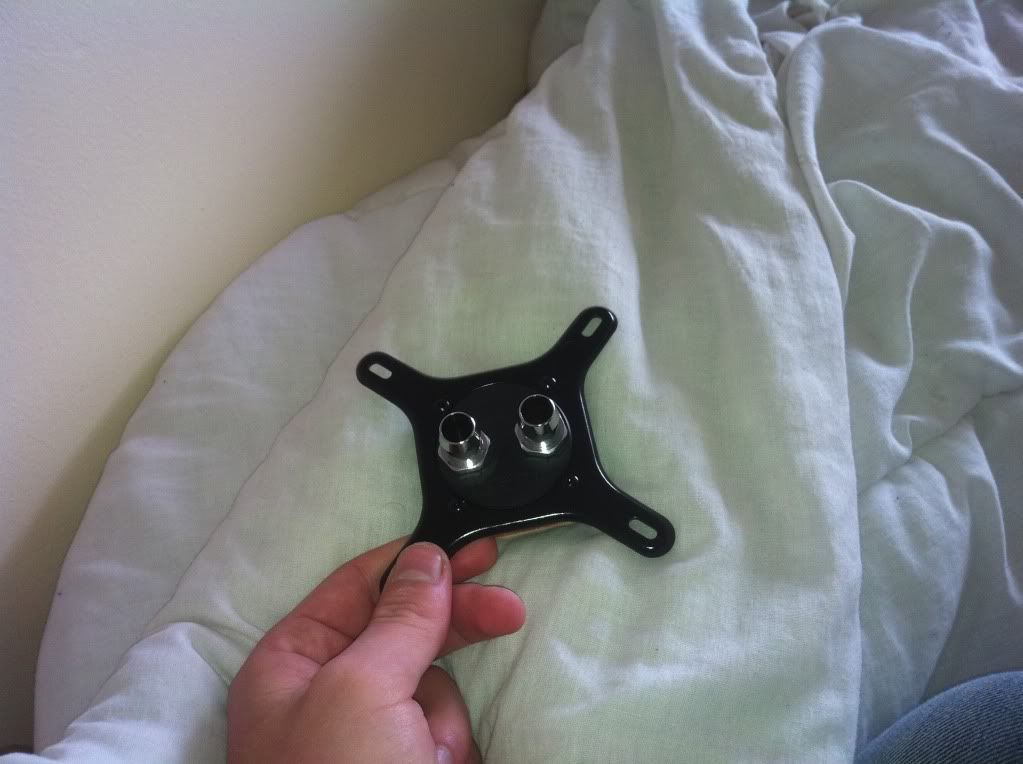
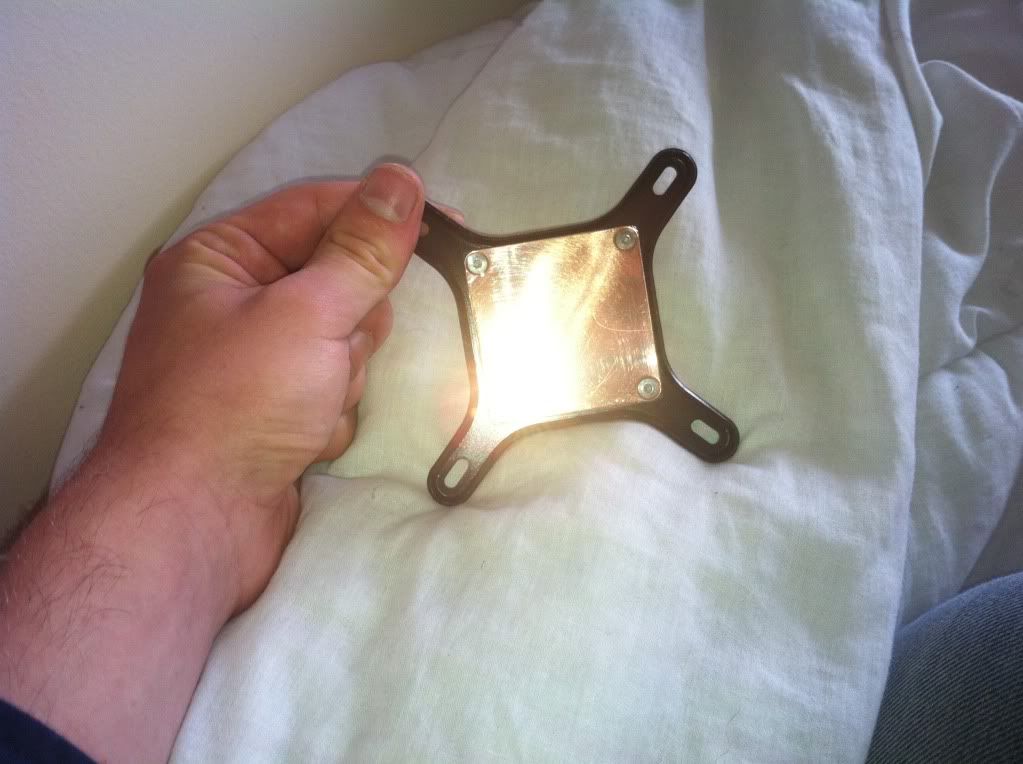
Block installed:

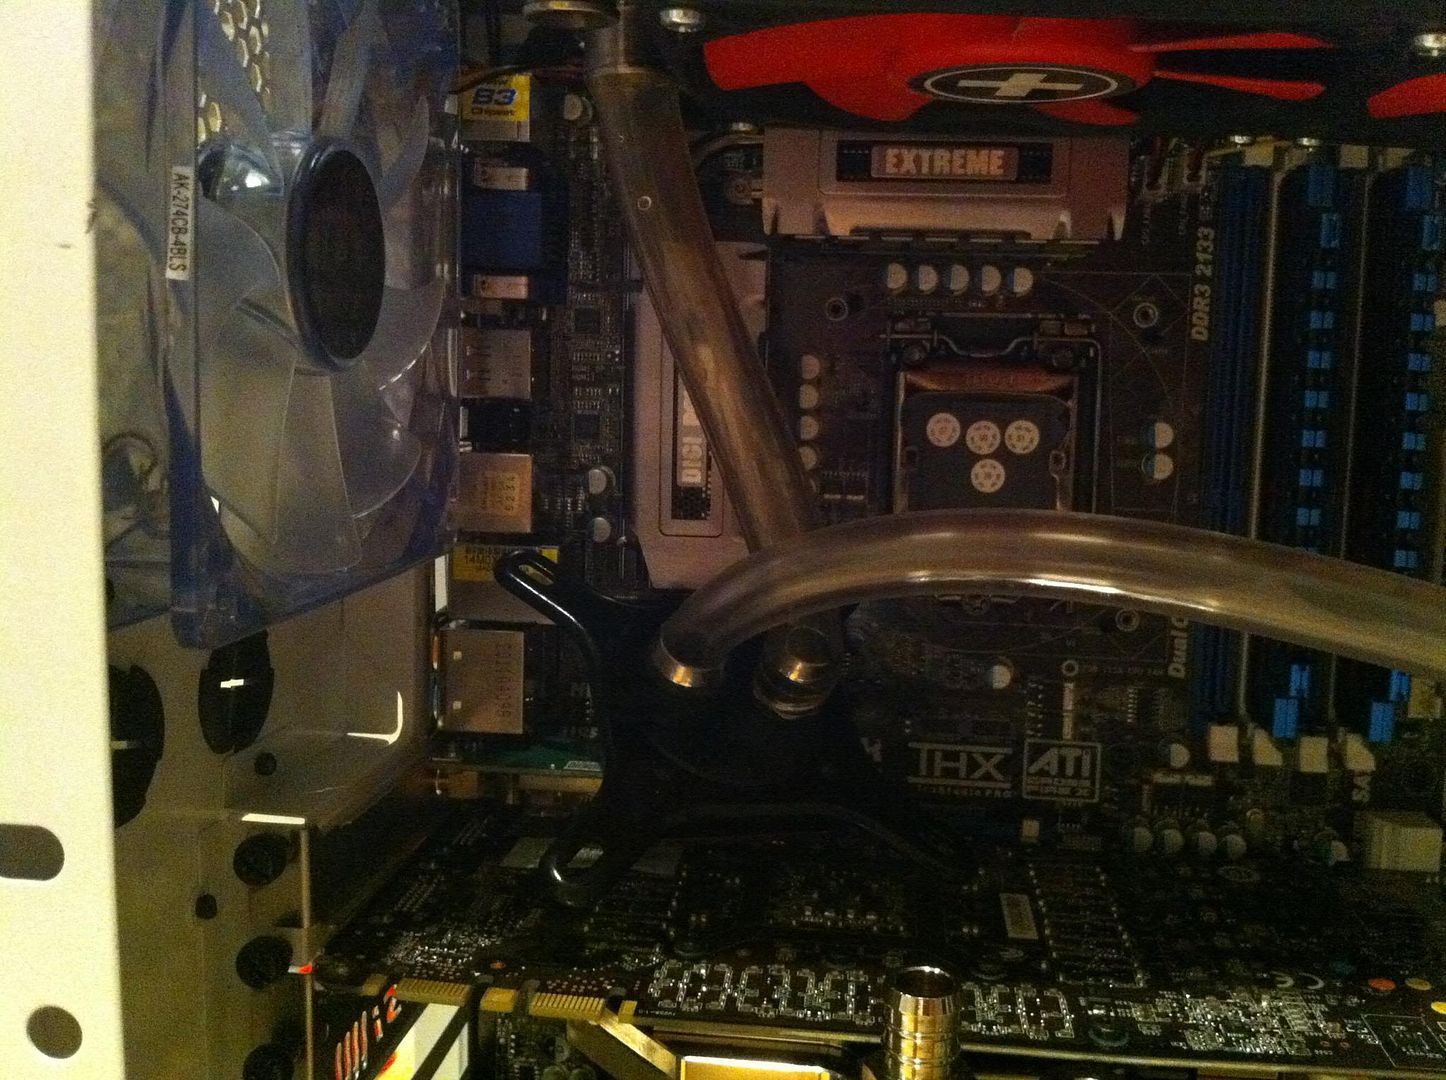
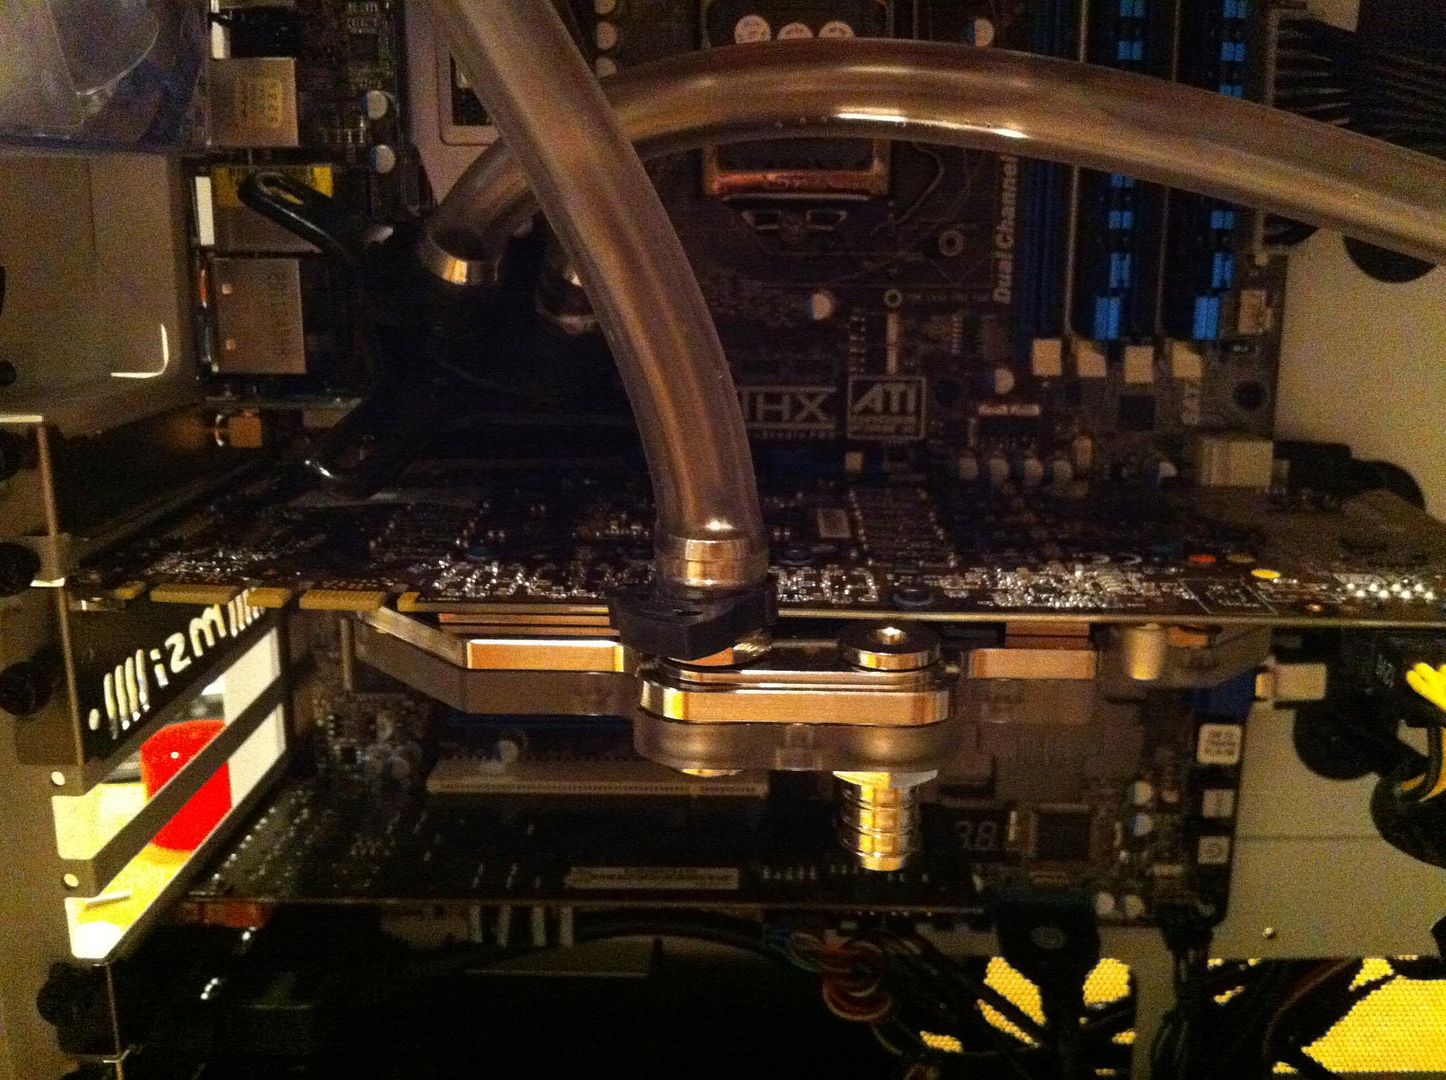
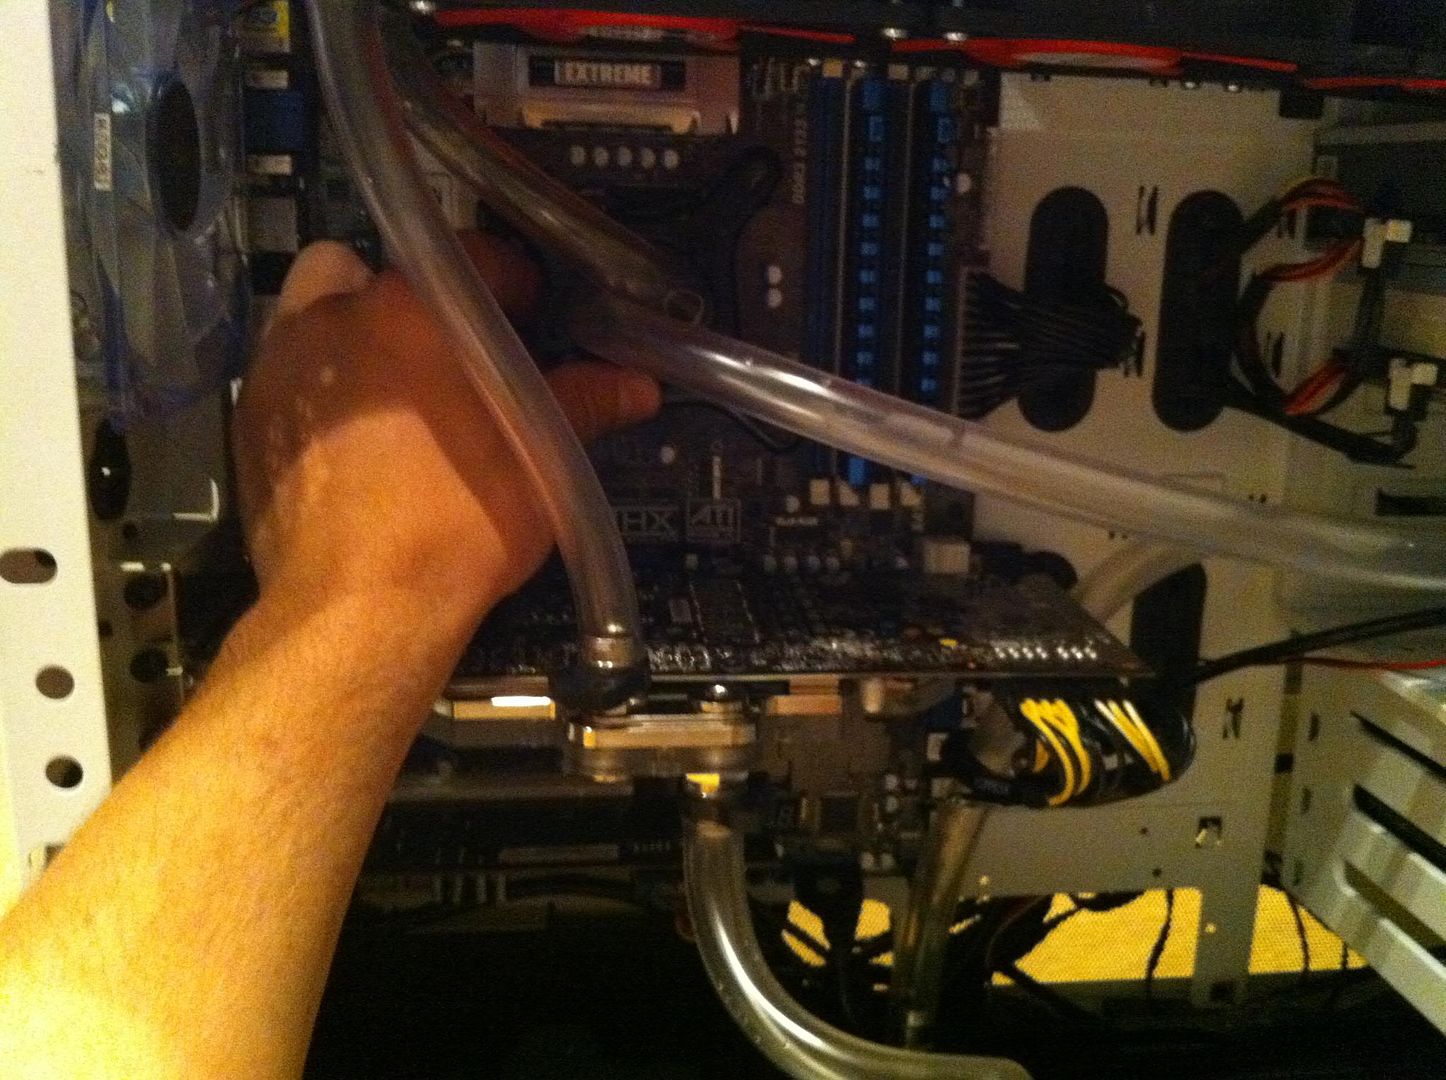
And all piped up, along with my good friend Guy


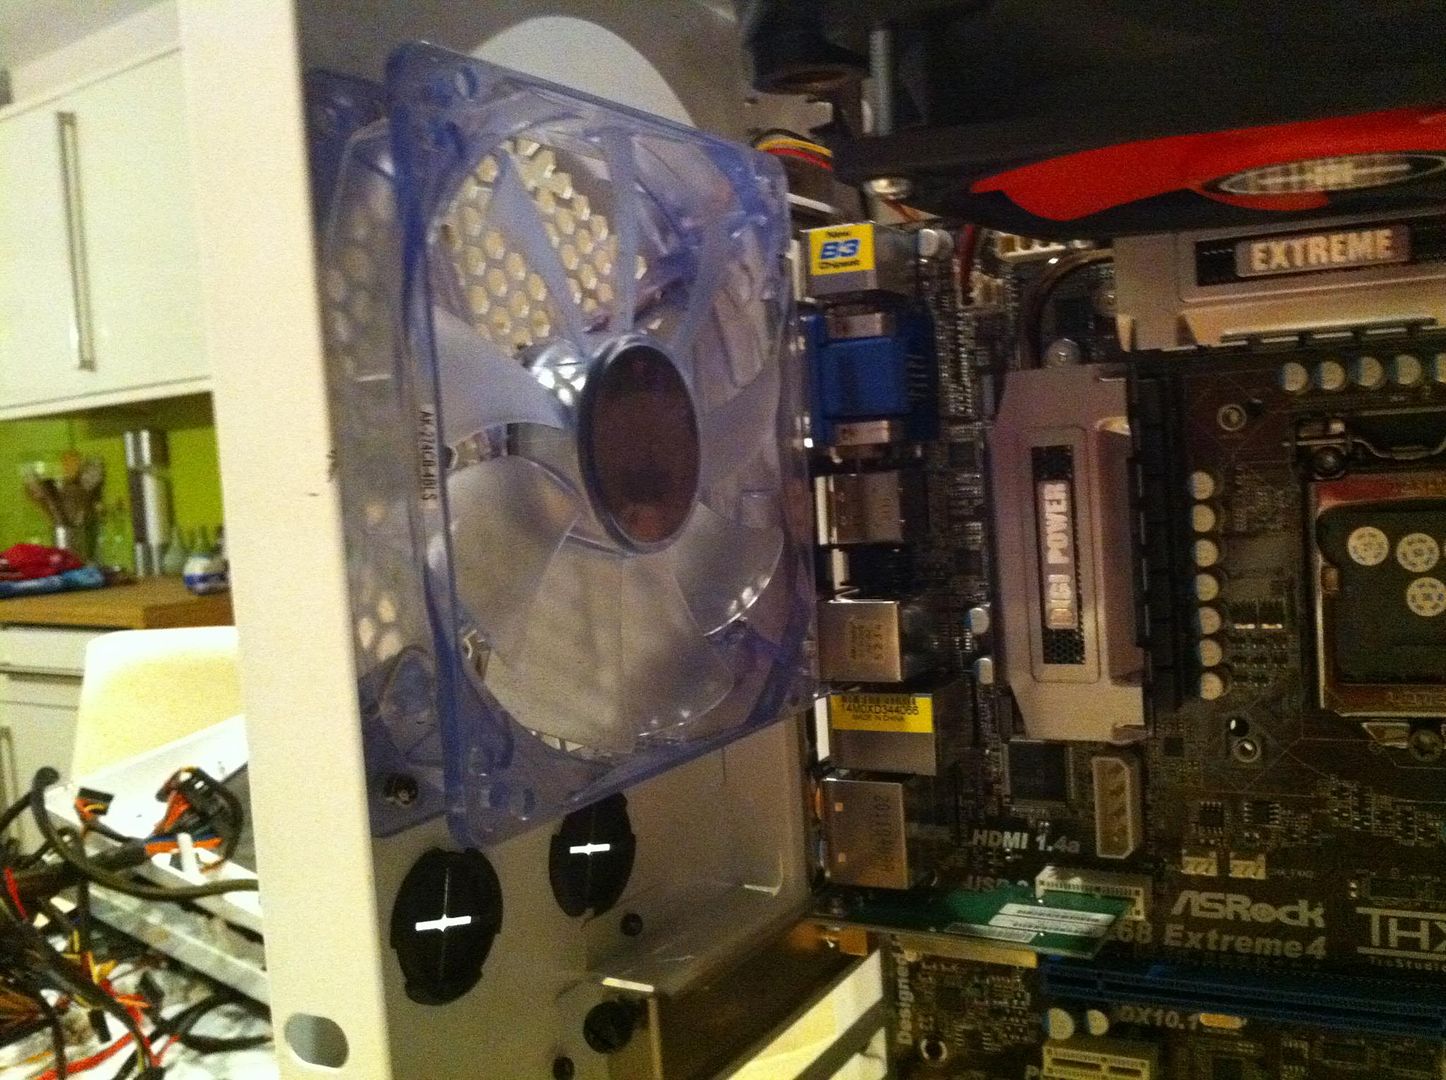
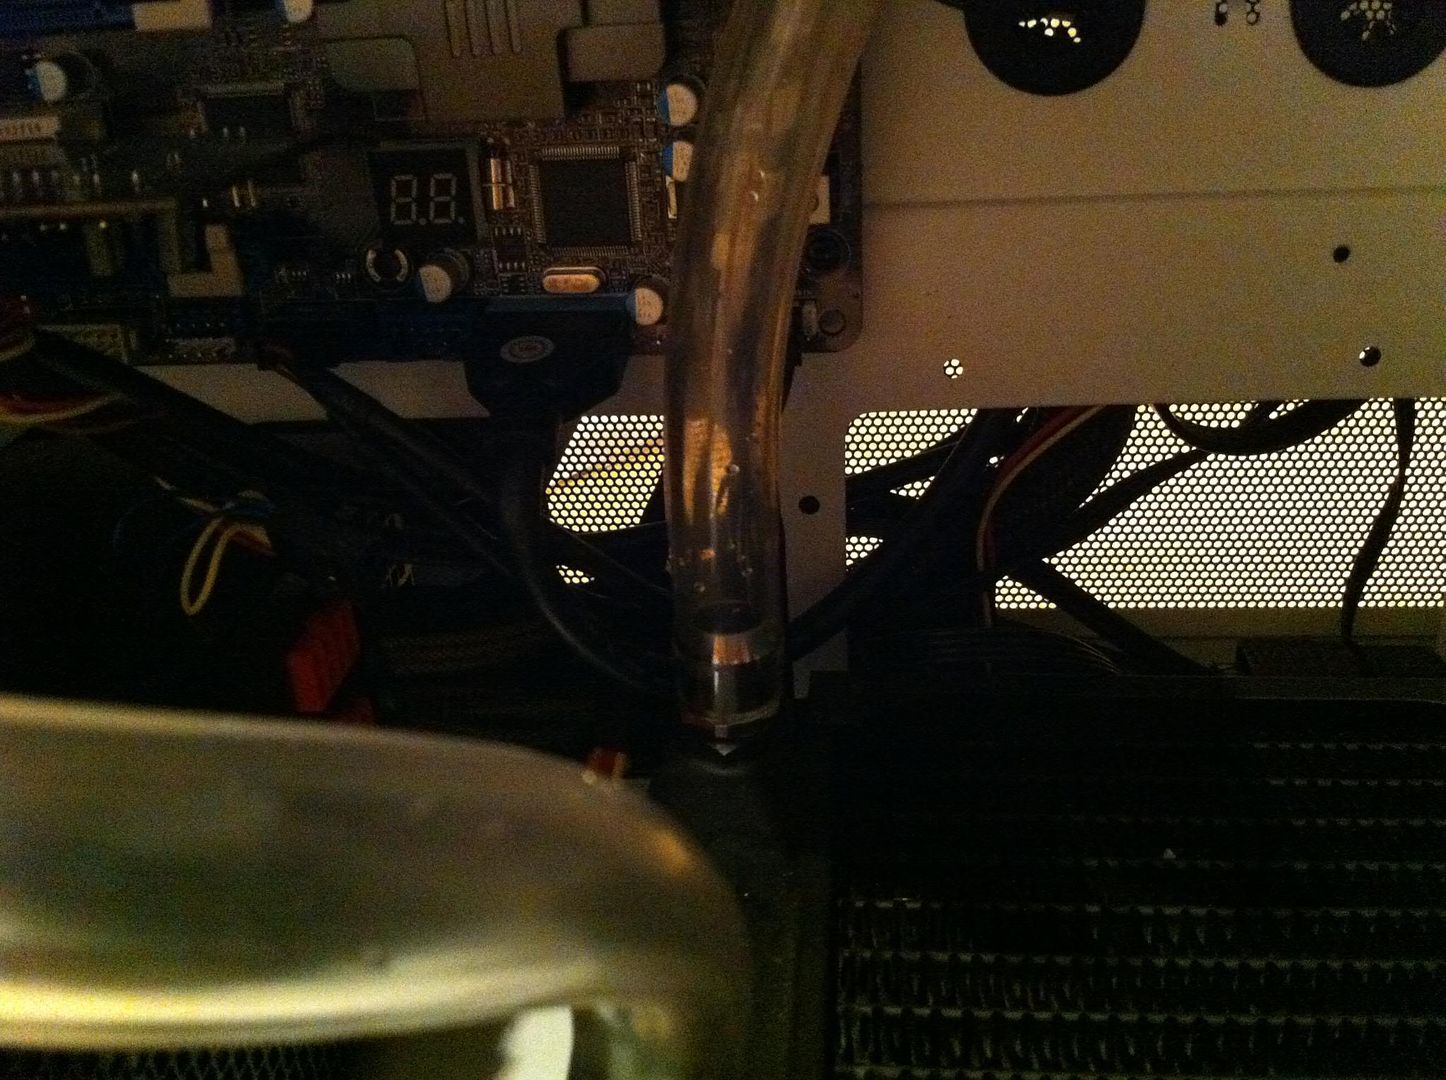
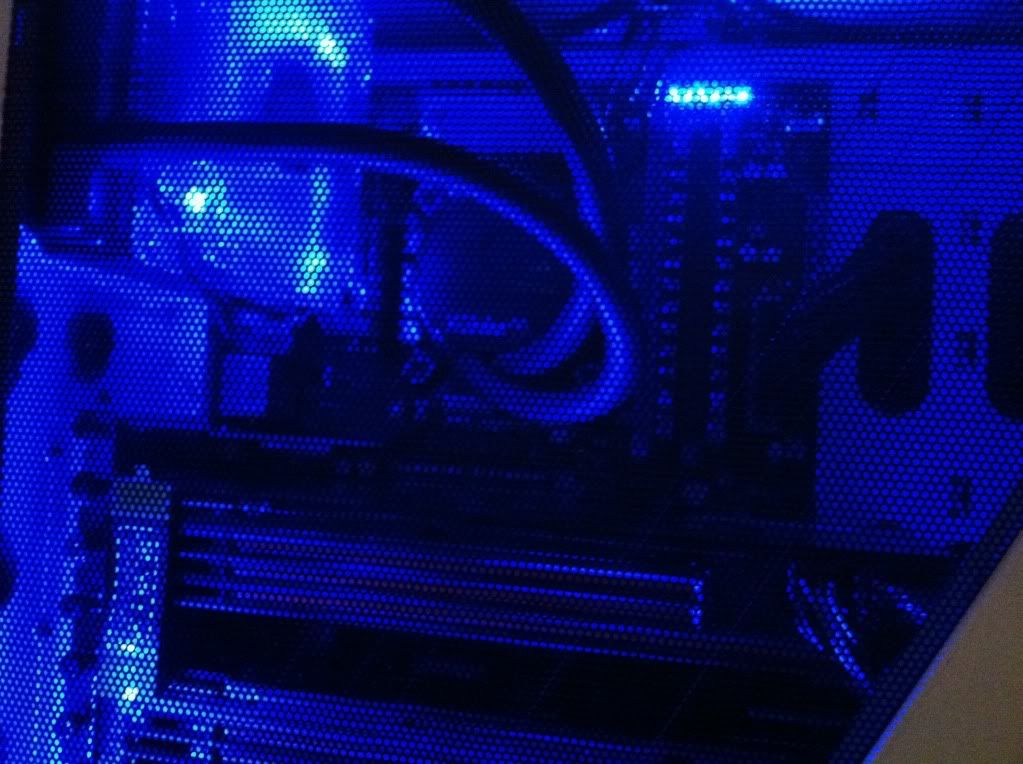
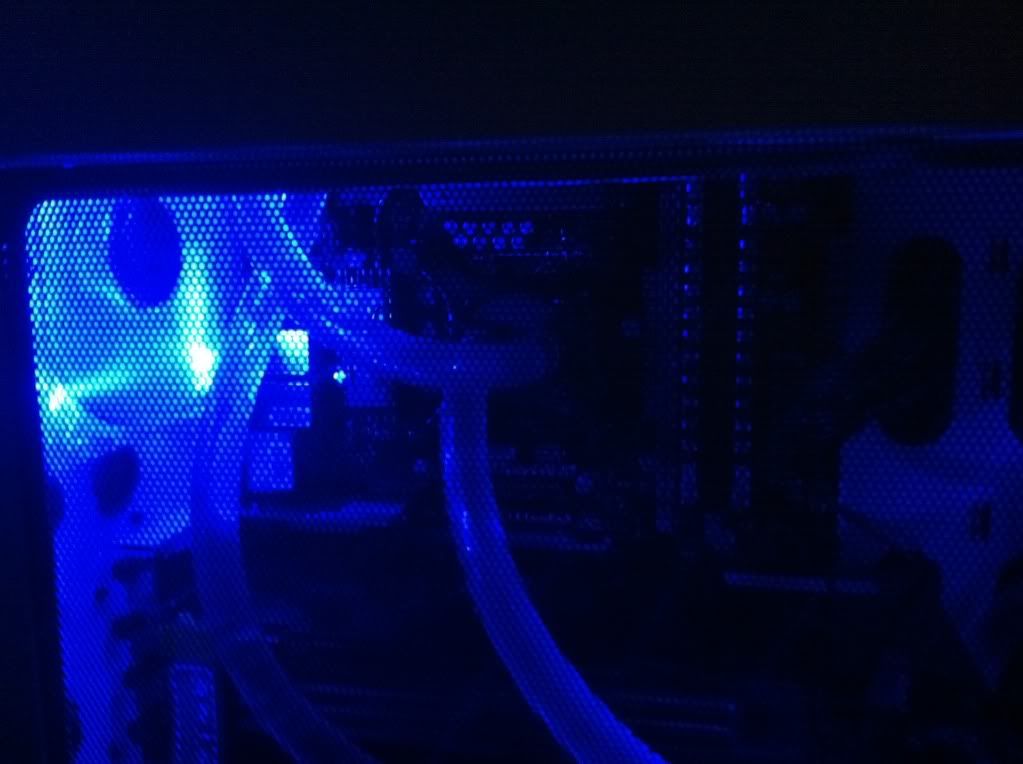
And so the evil iPhone camera strikes again with it's completely terrible low light capabilities:

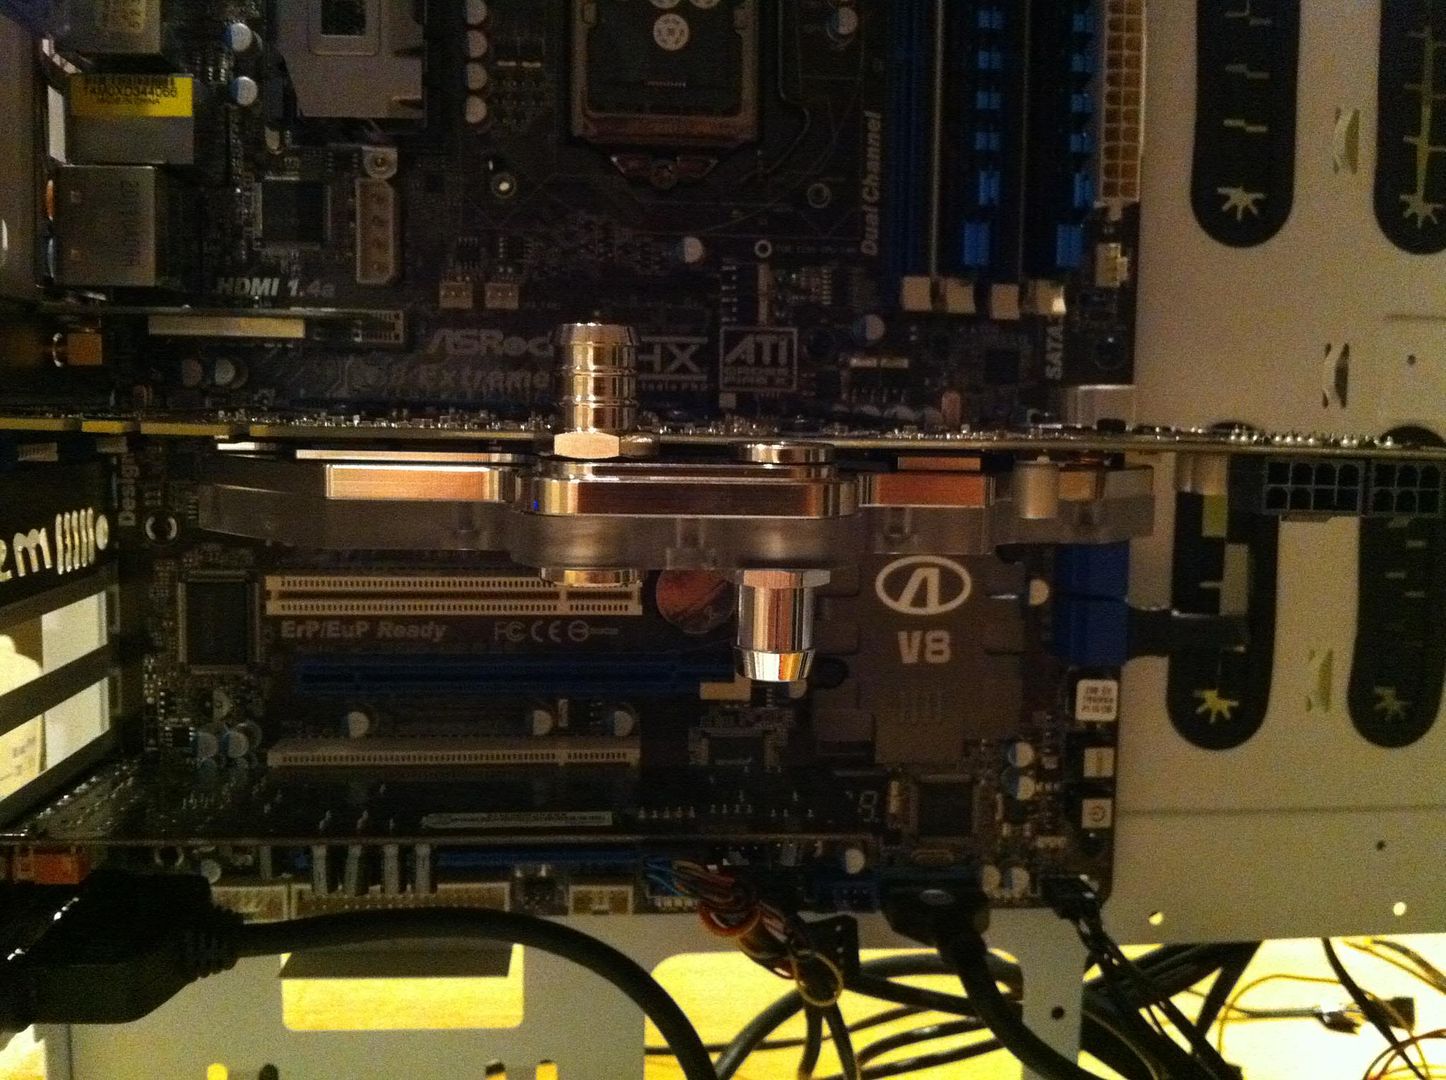
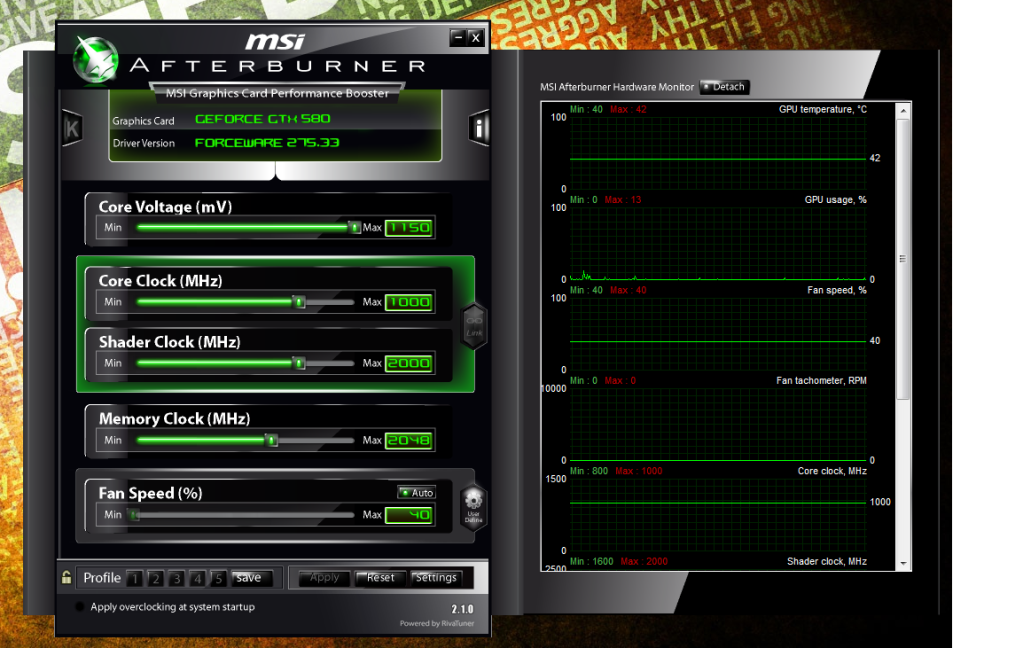
All well and good, I hear you cry. But no! ATi decided that the drivers they produce were going to be a massive embuggerance, and prevent crossfire from ever working ever. Ever. So, I decided to sell my two little pieces of fail and buy one beast of a card, and overclock it like a biiaatch. So, one GTX 580...
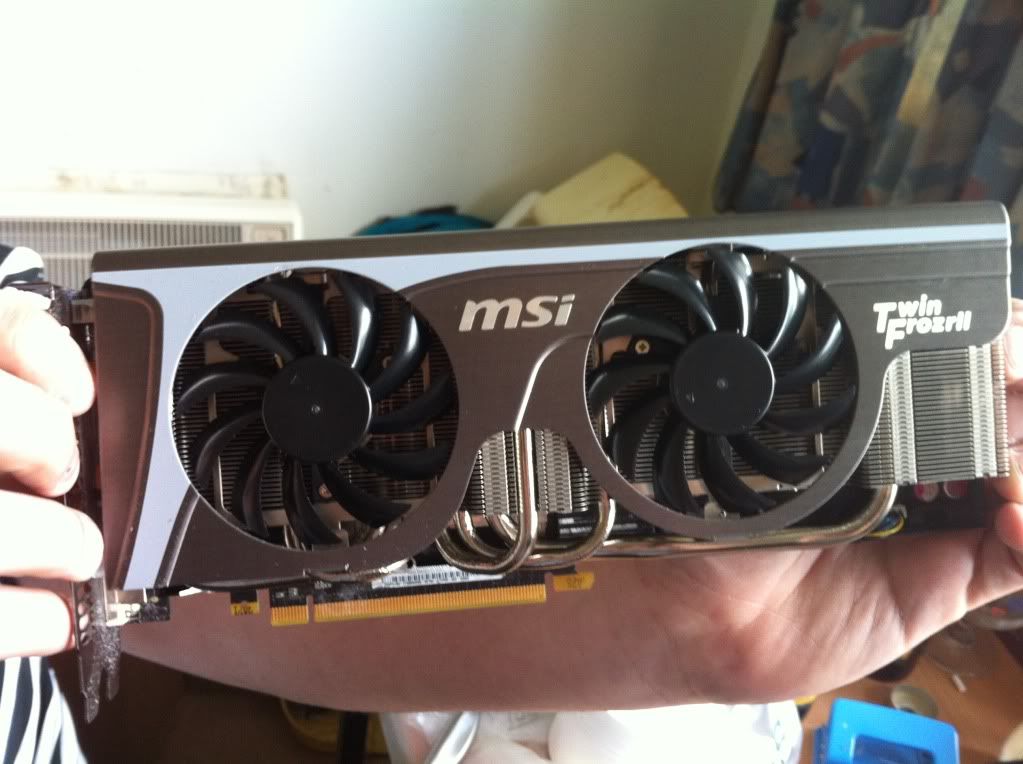
Ordered the OcUK Value model and received the MSi TF2, go figure...
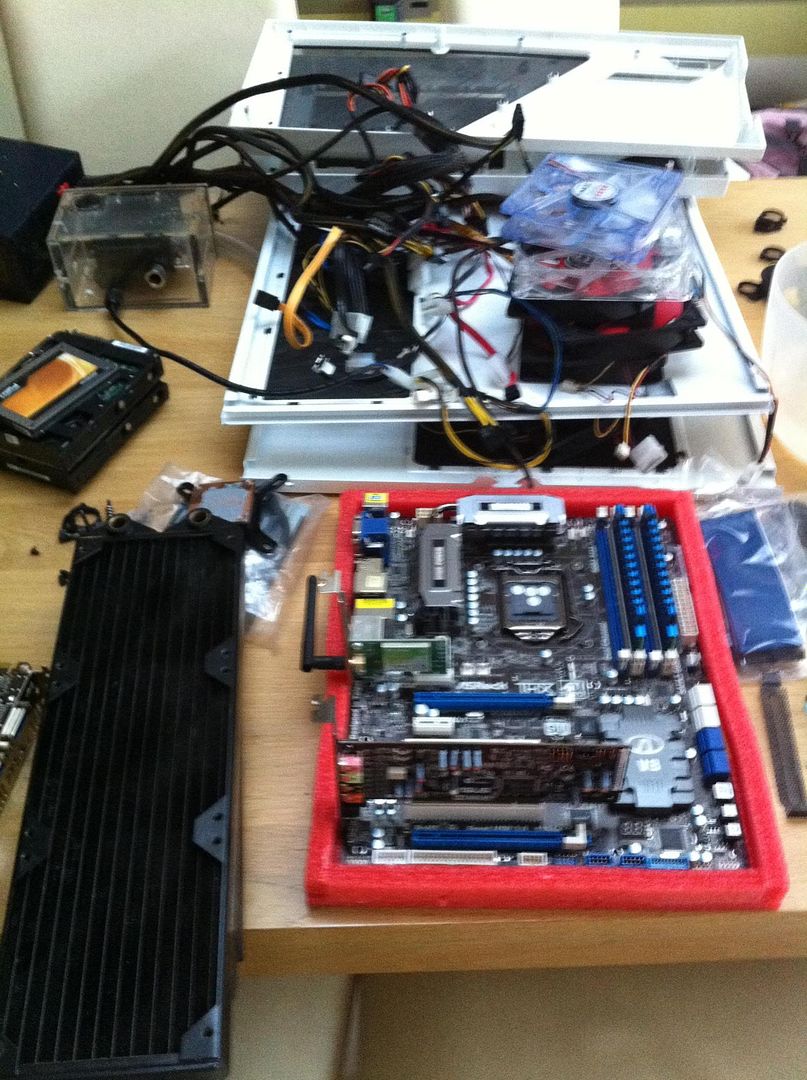
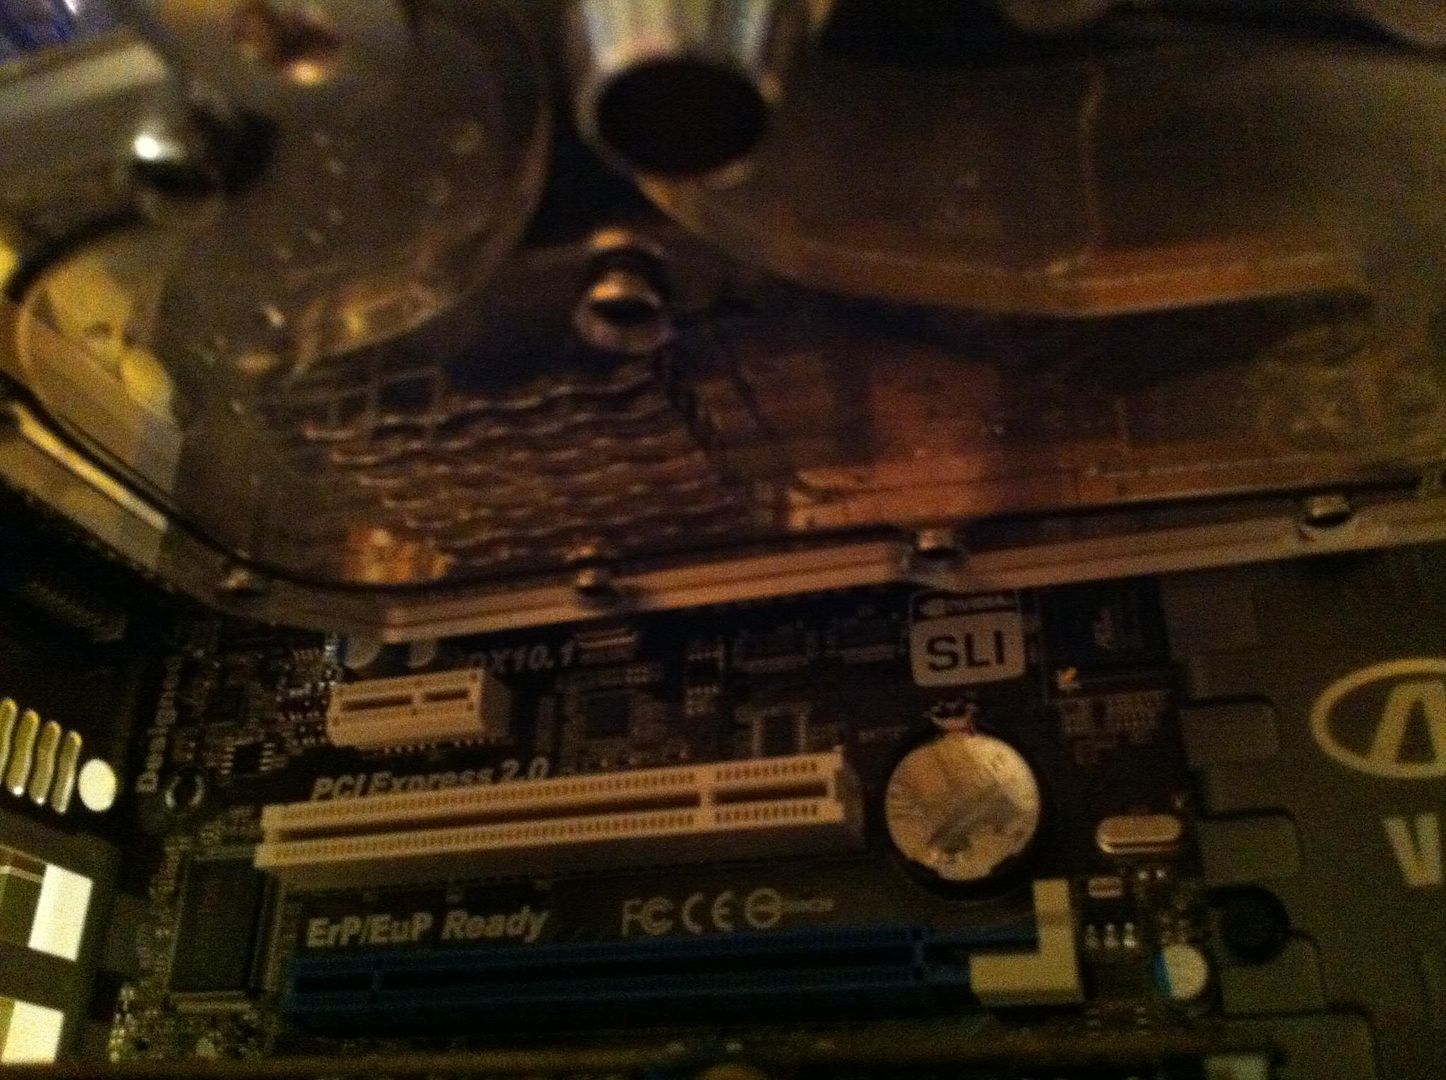
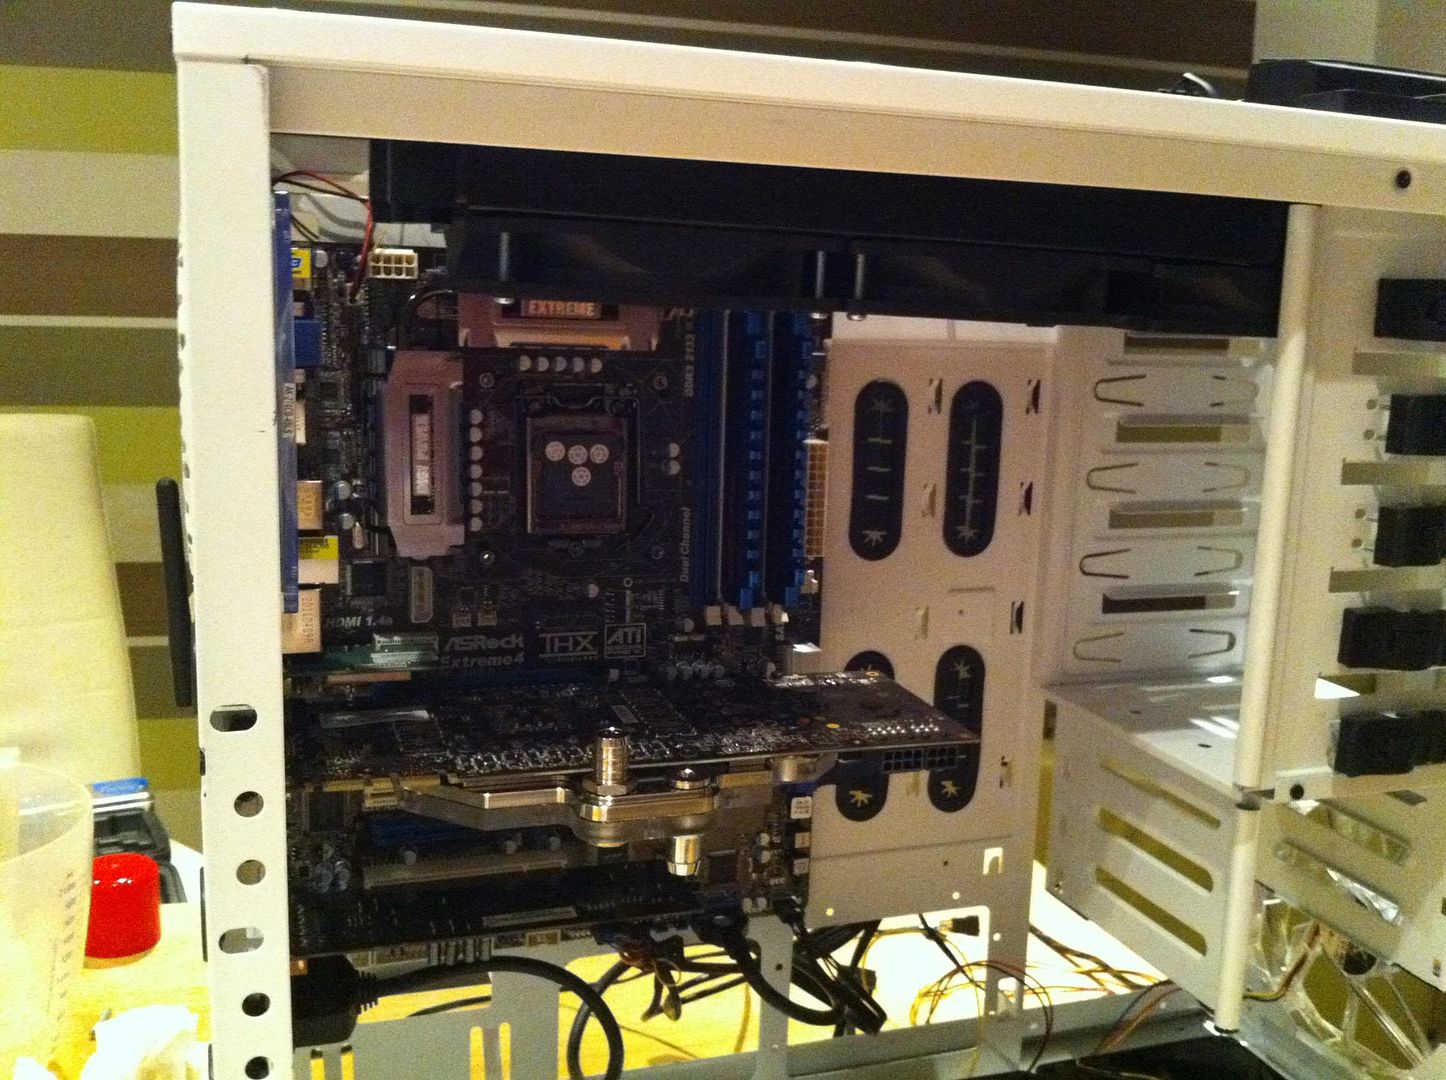
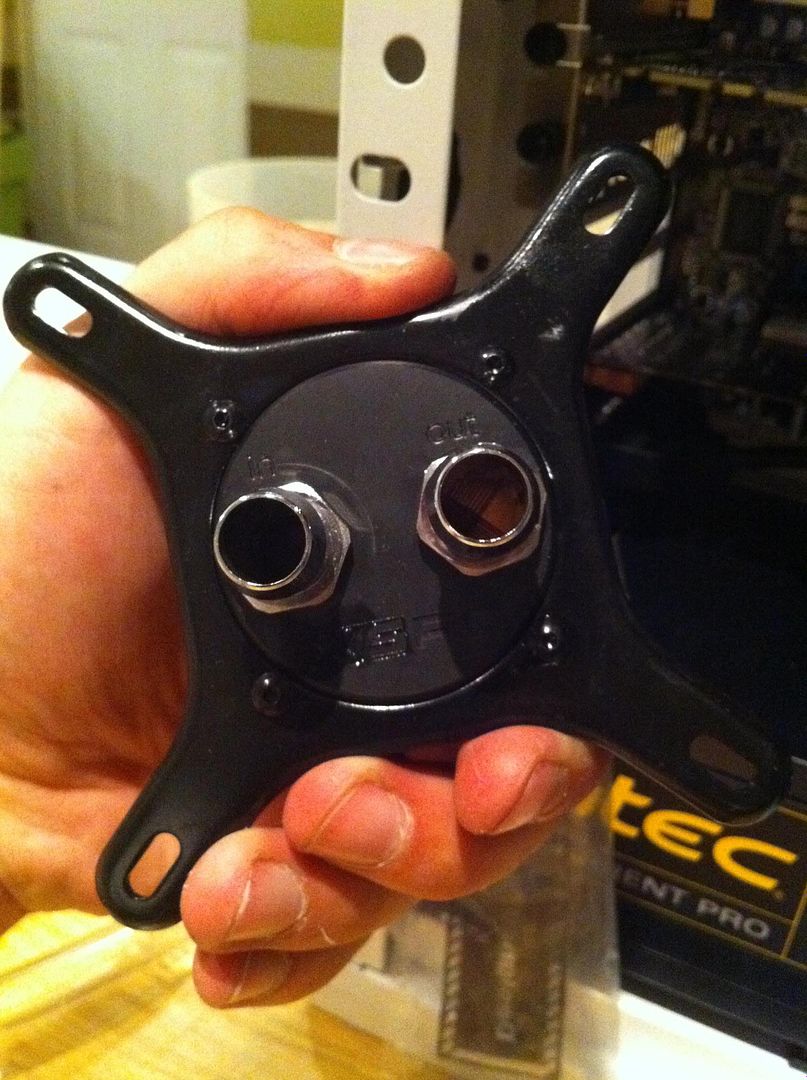
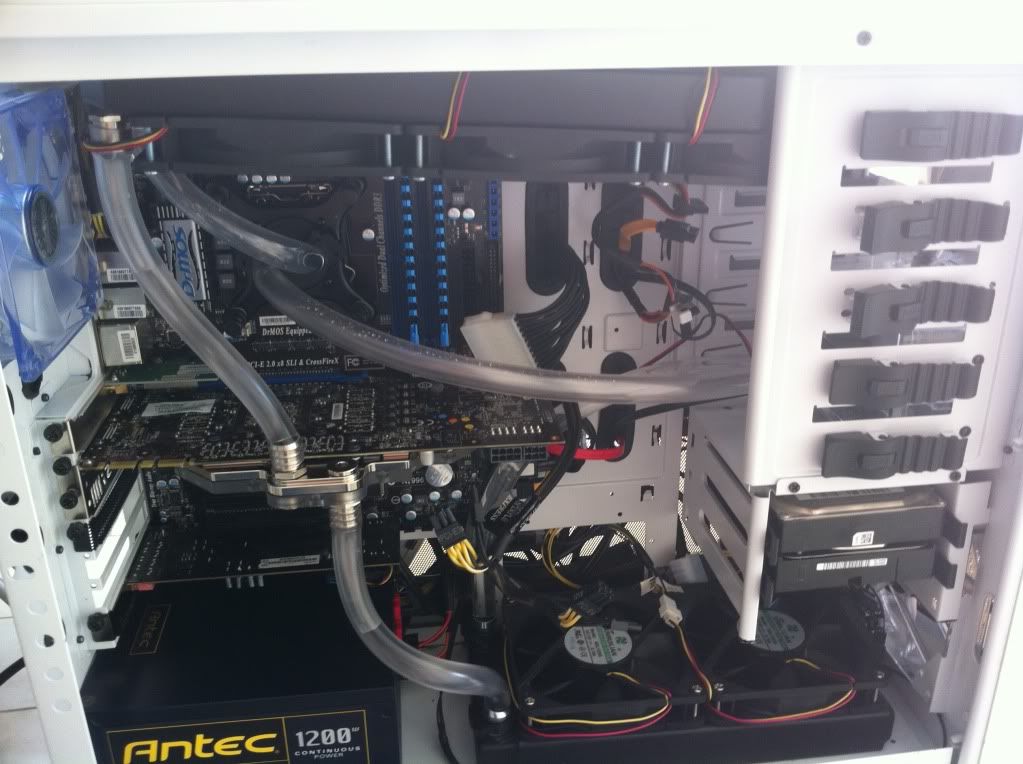
And as I ordered a GTX 580 block, thought it would be a nice idea to get plumbing again.
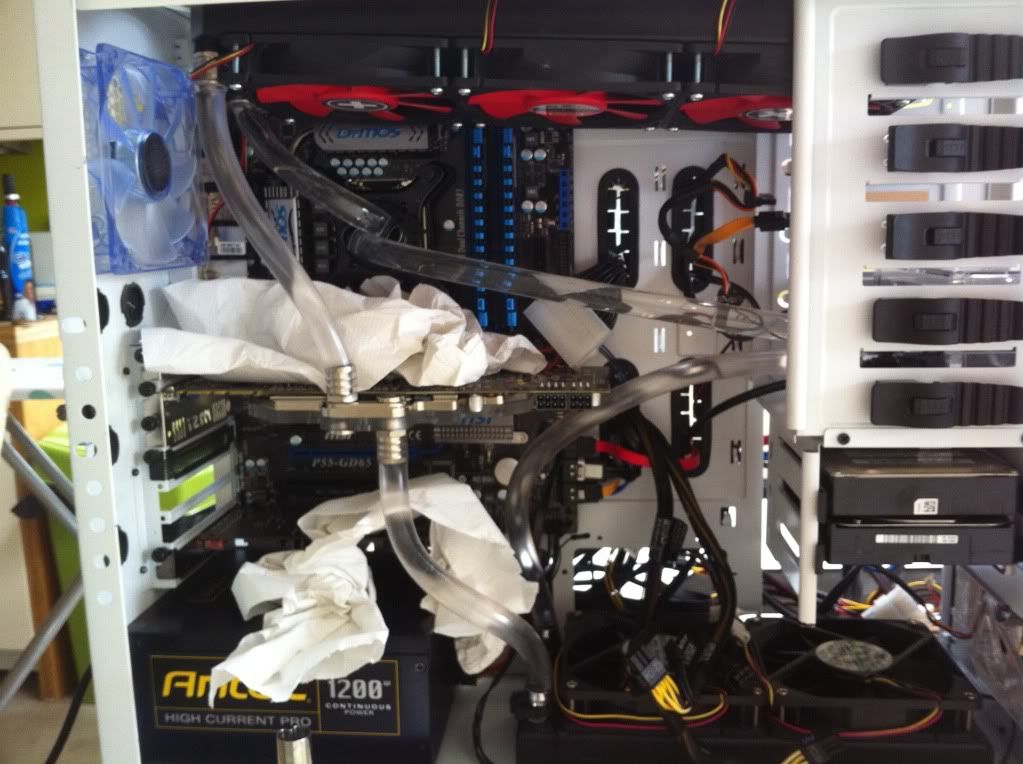
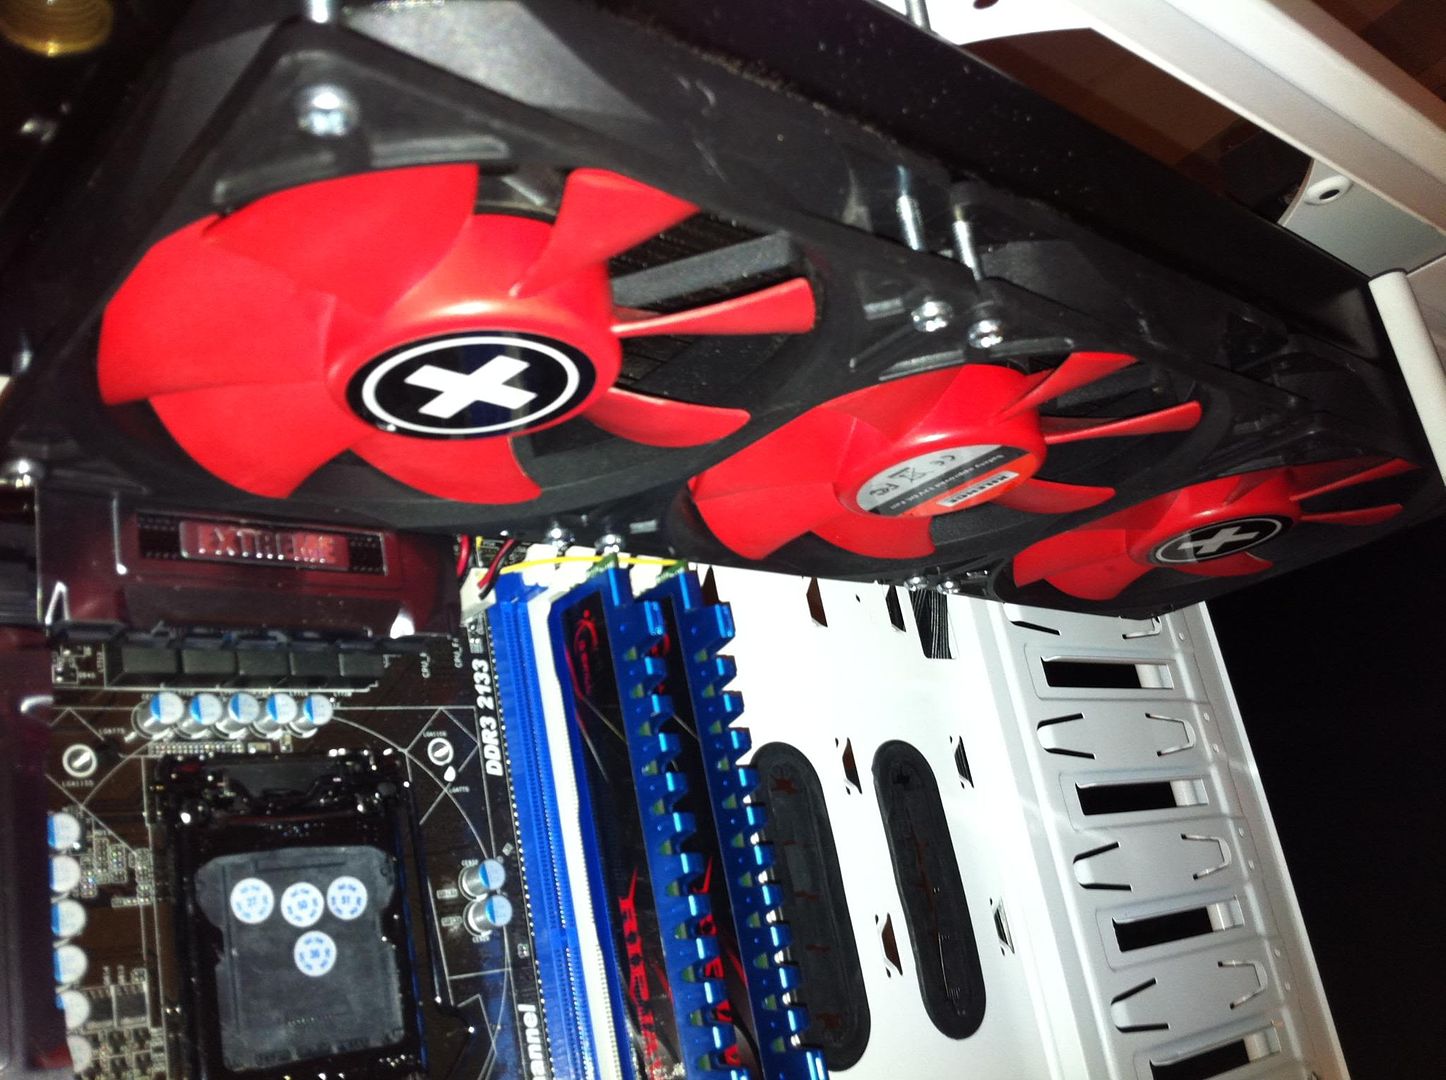
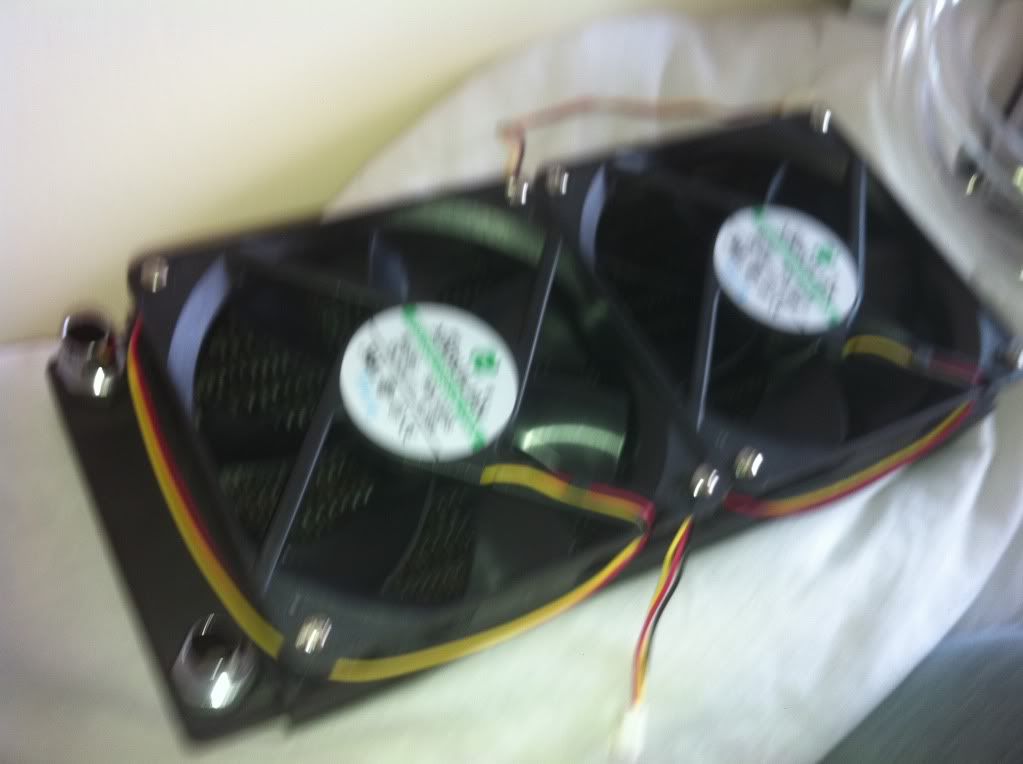
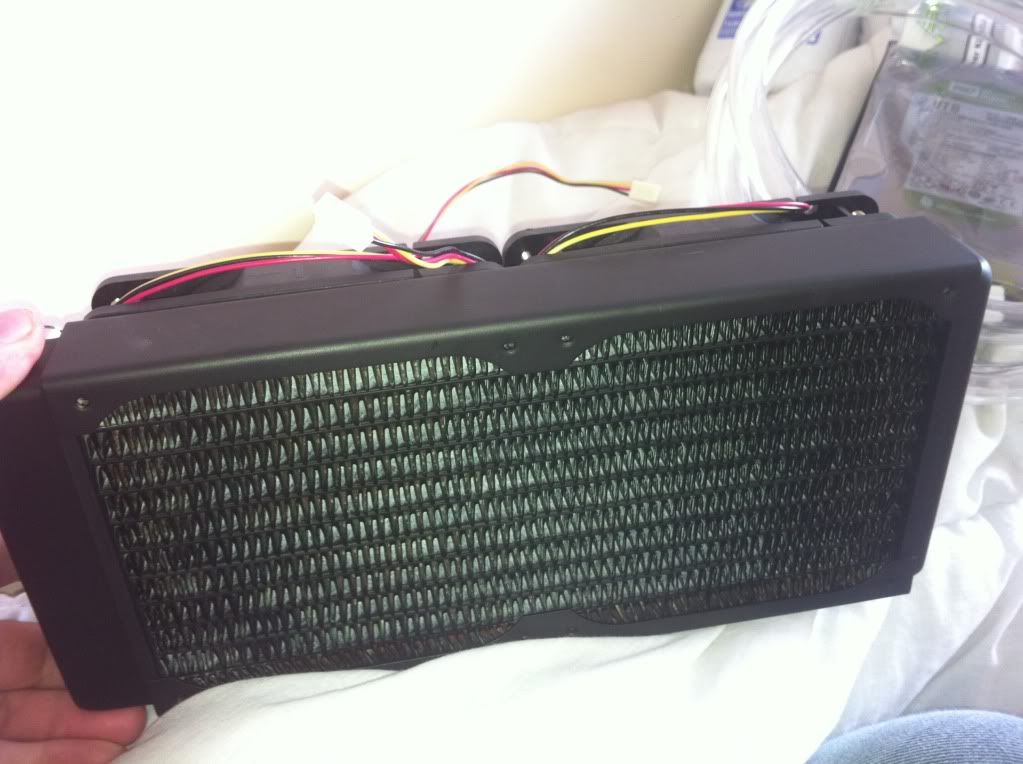
Nice red Xilence fans and 360 rad, courtesy of OLDPHART over on OcUK

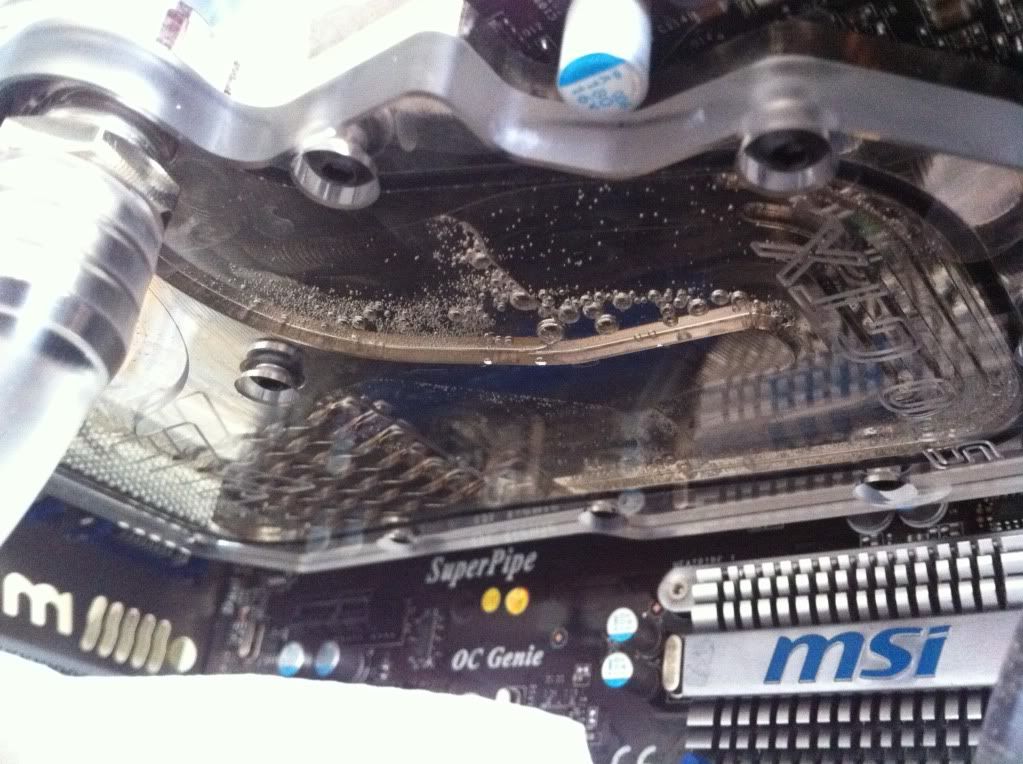
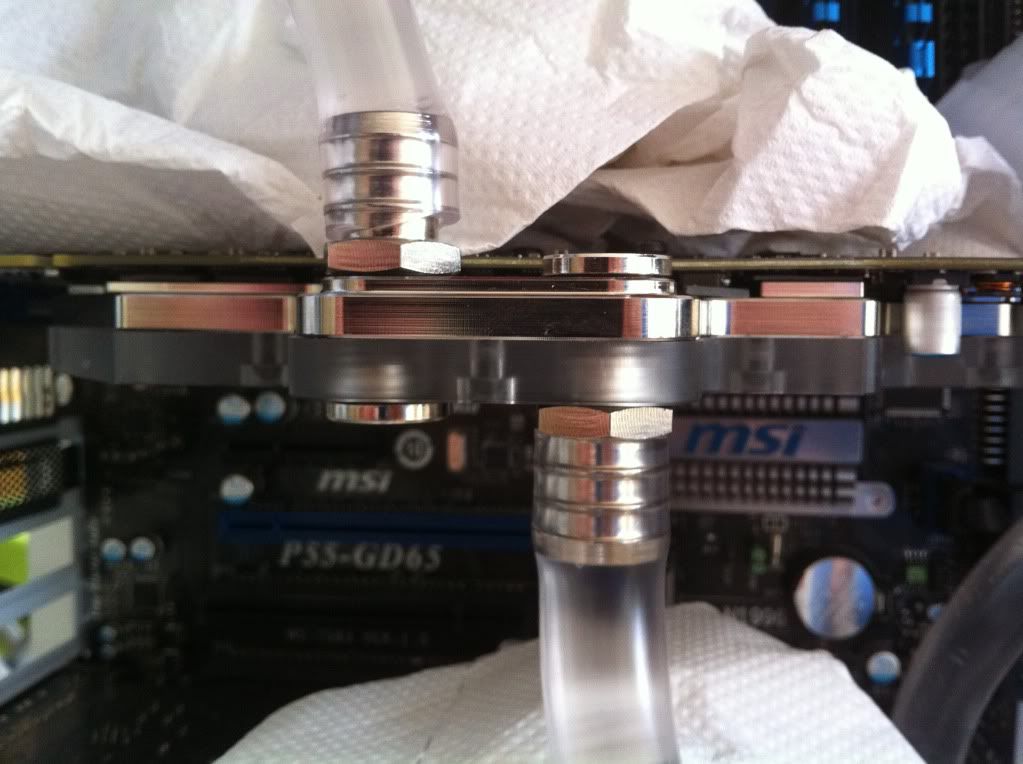
Note the tightness of this pipe, I shall return to this later

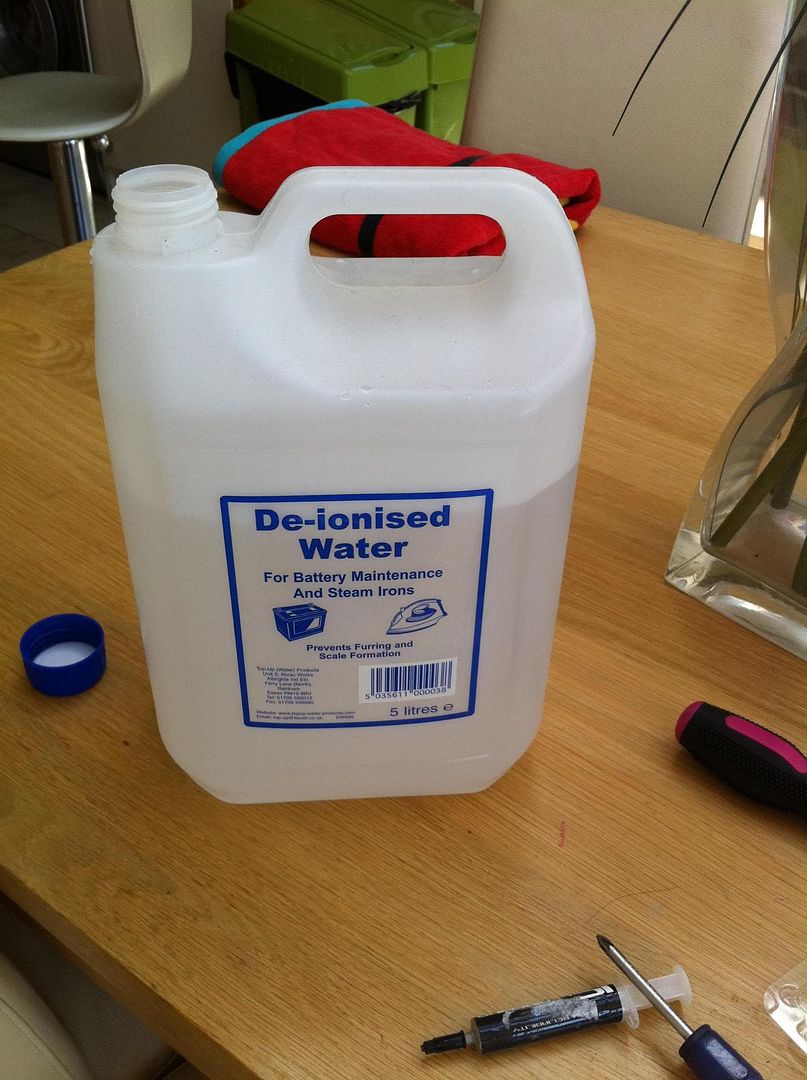
Some legal pr0n
And the best picture I have ever taken. Not saying much but hey.
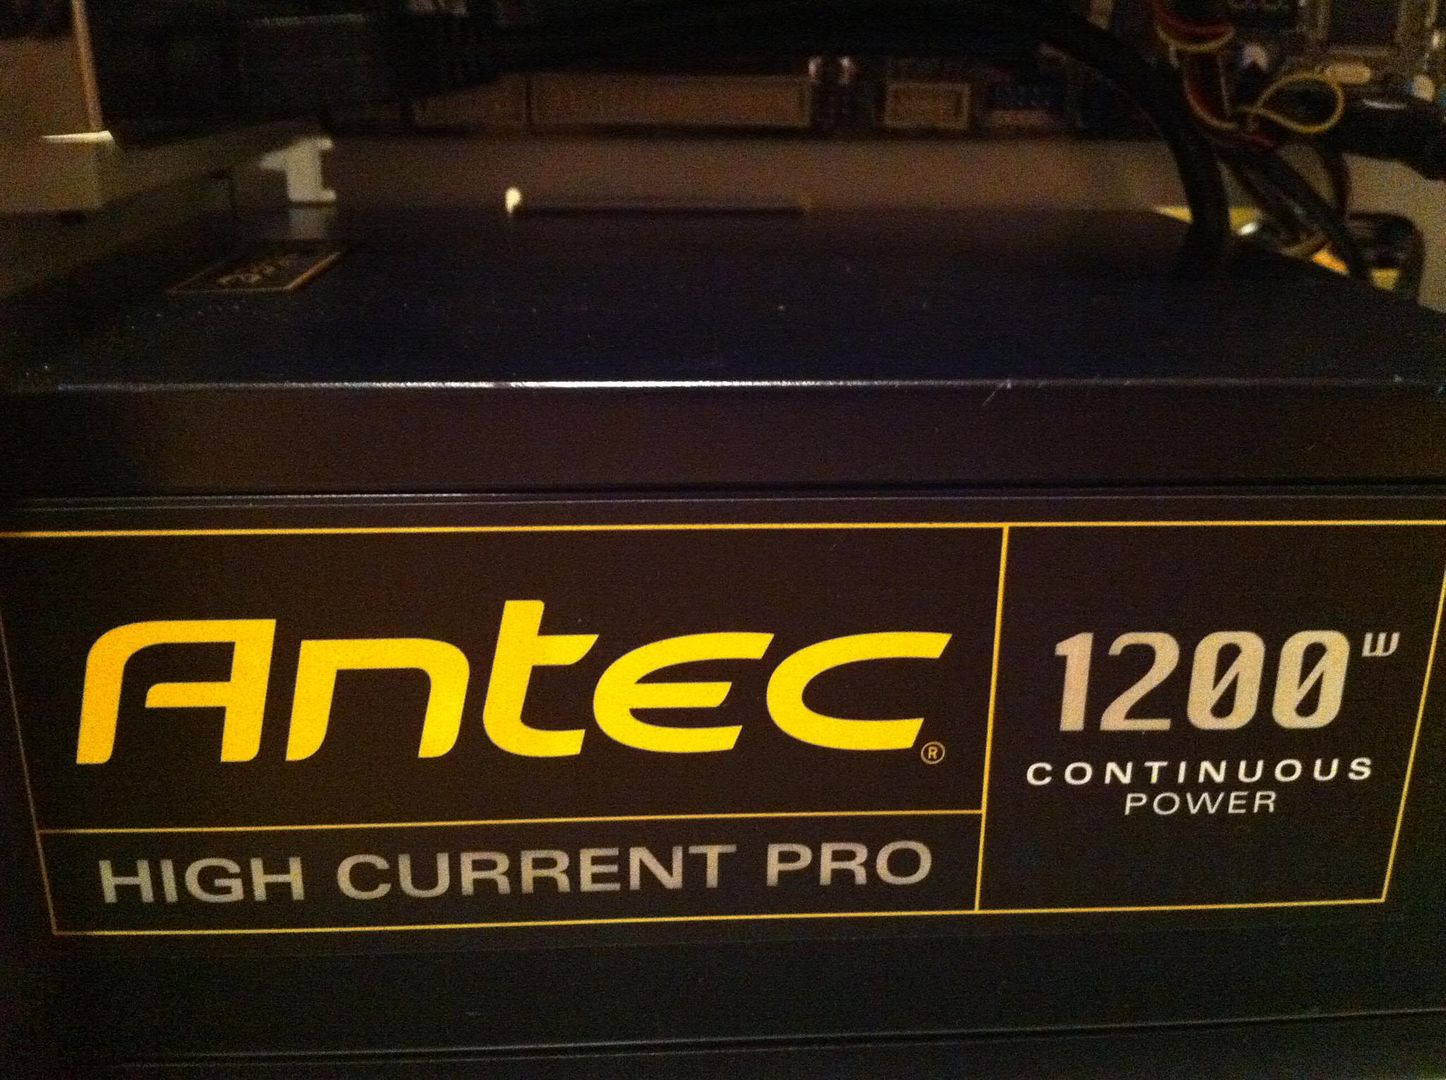
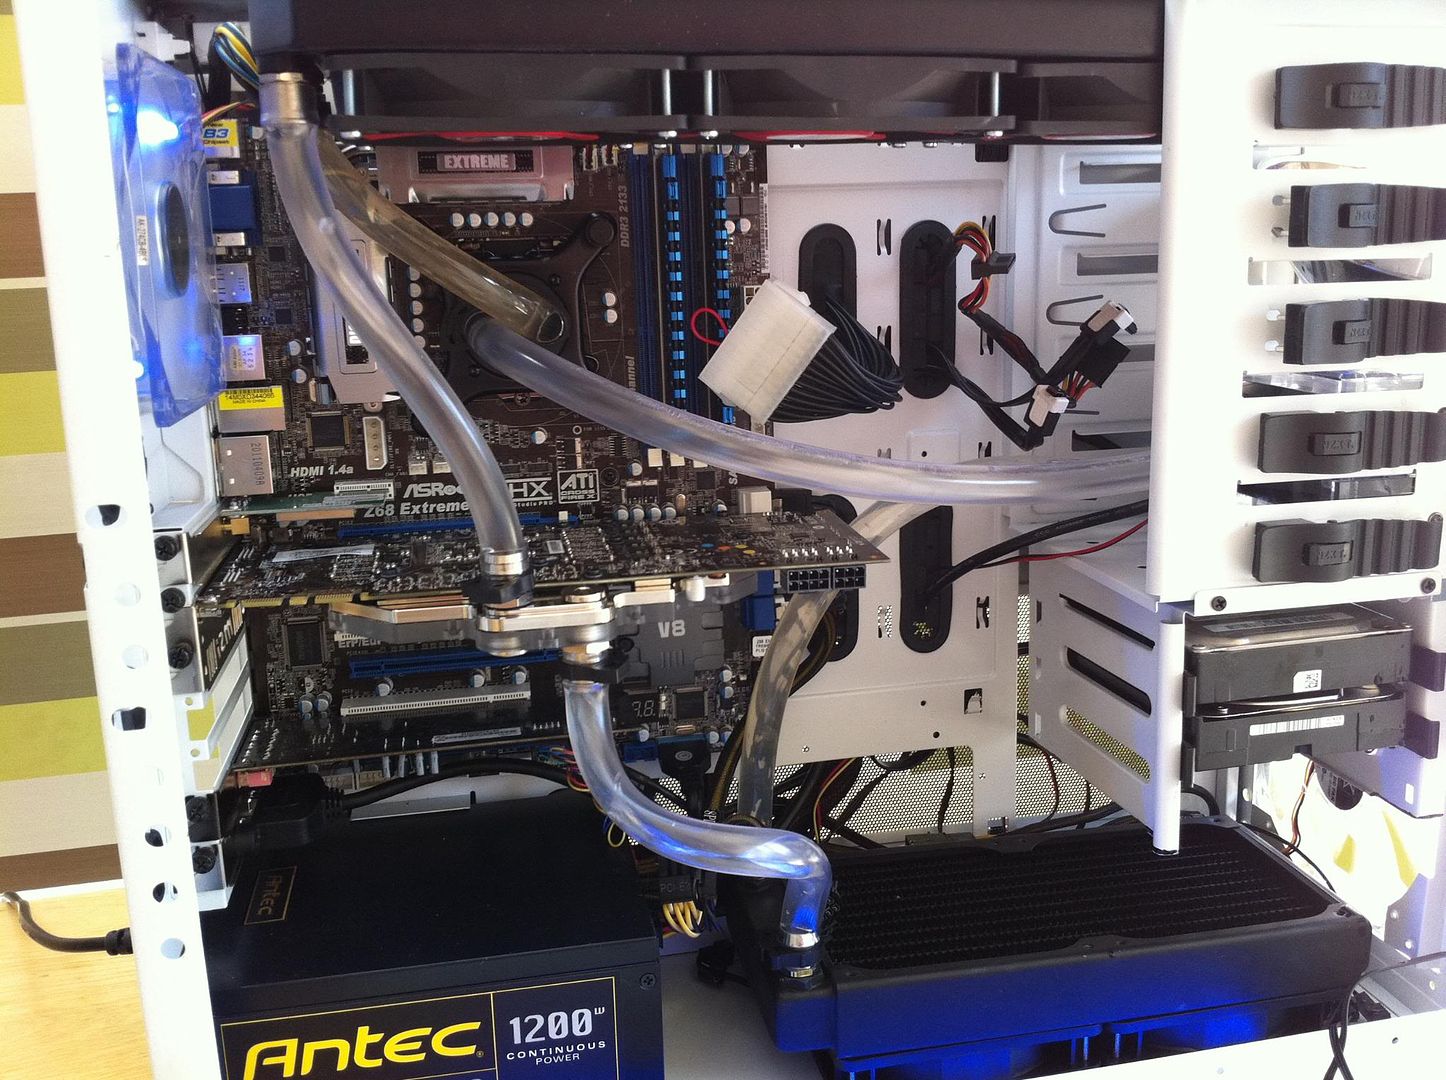
Needed a replacement for that POS corsair, so got a 1200w courtesy of Ace Modder from OcUK
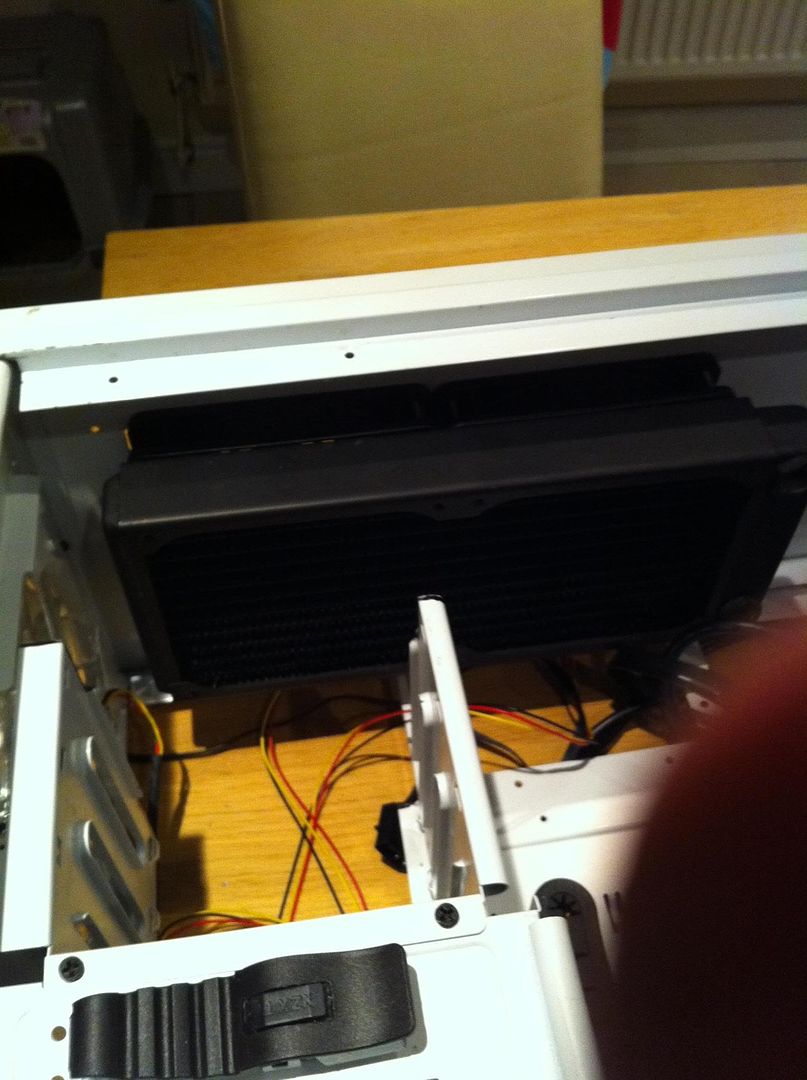
240 Rad
Cozy
Again, tight tubing is tight.
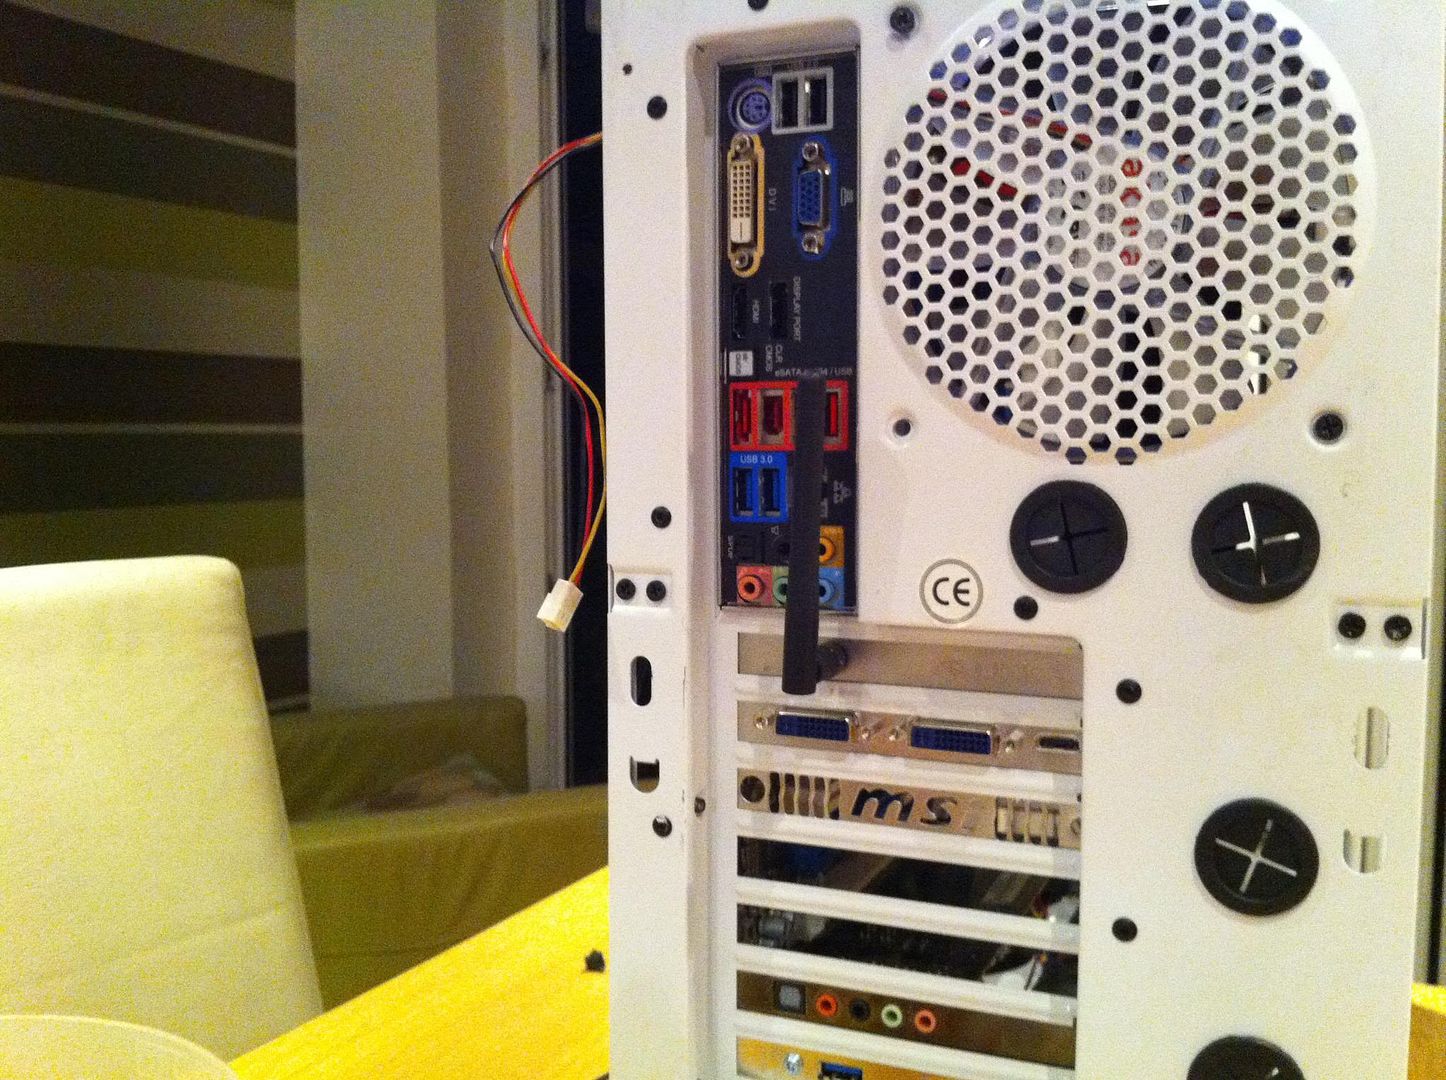
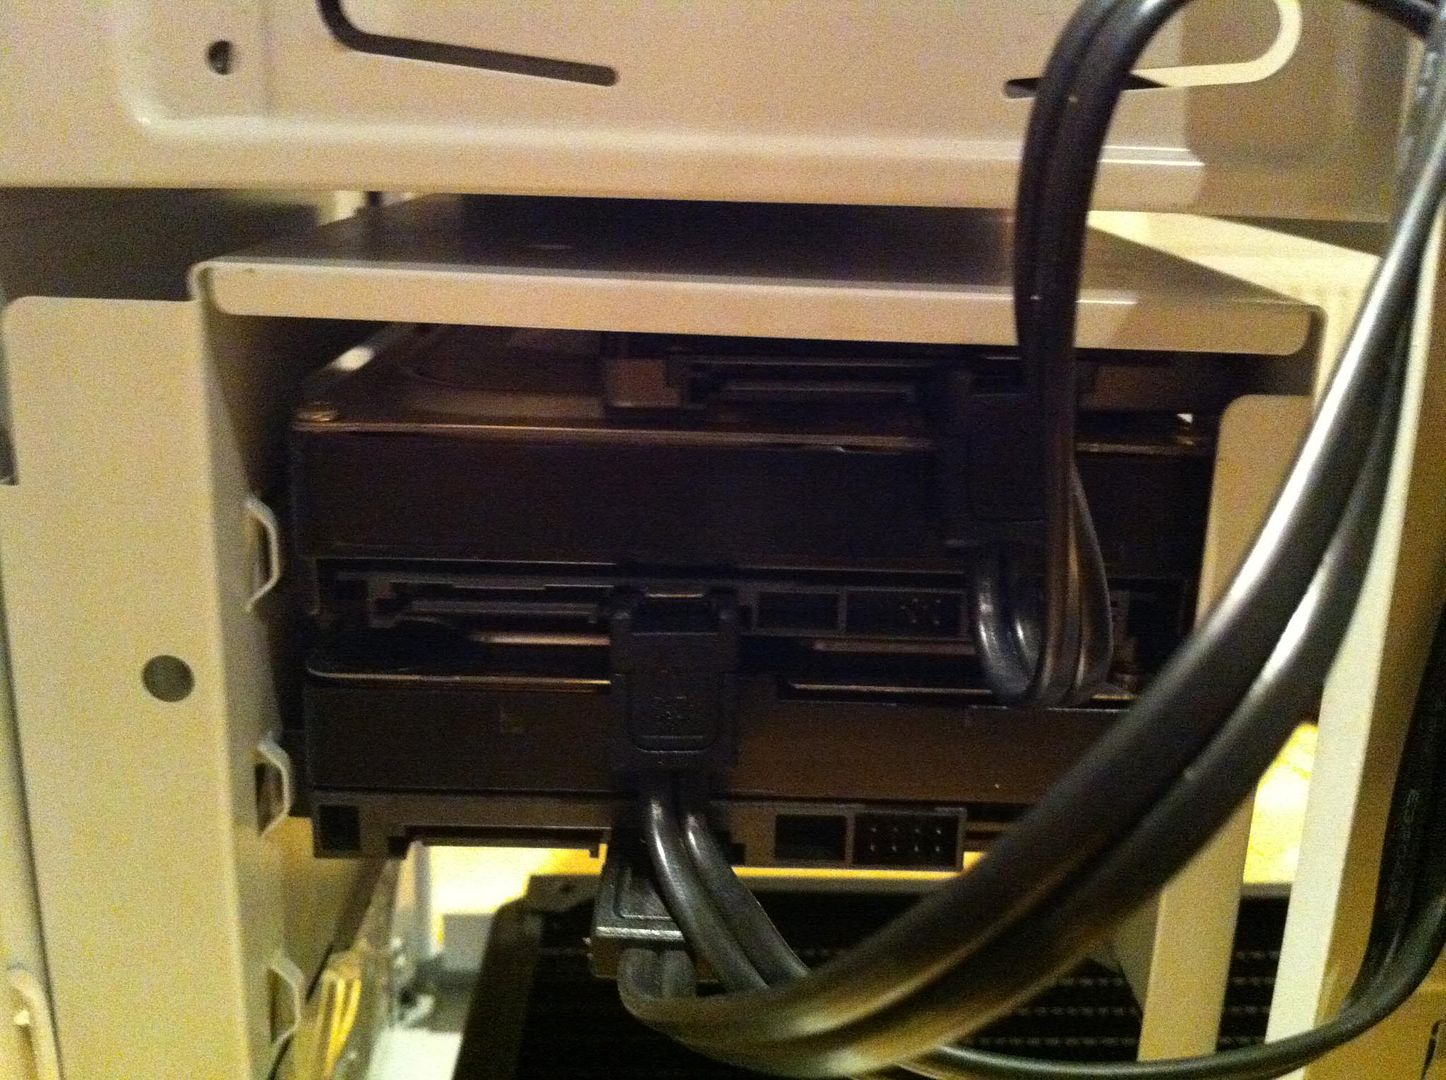
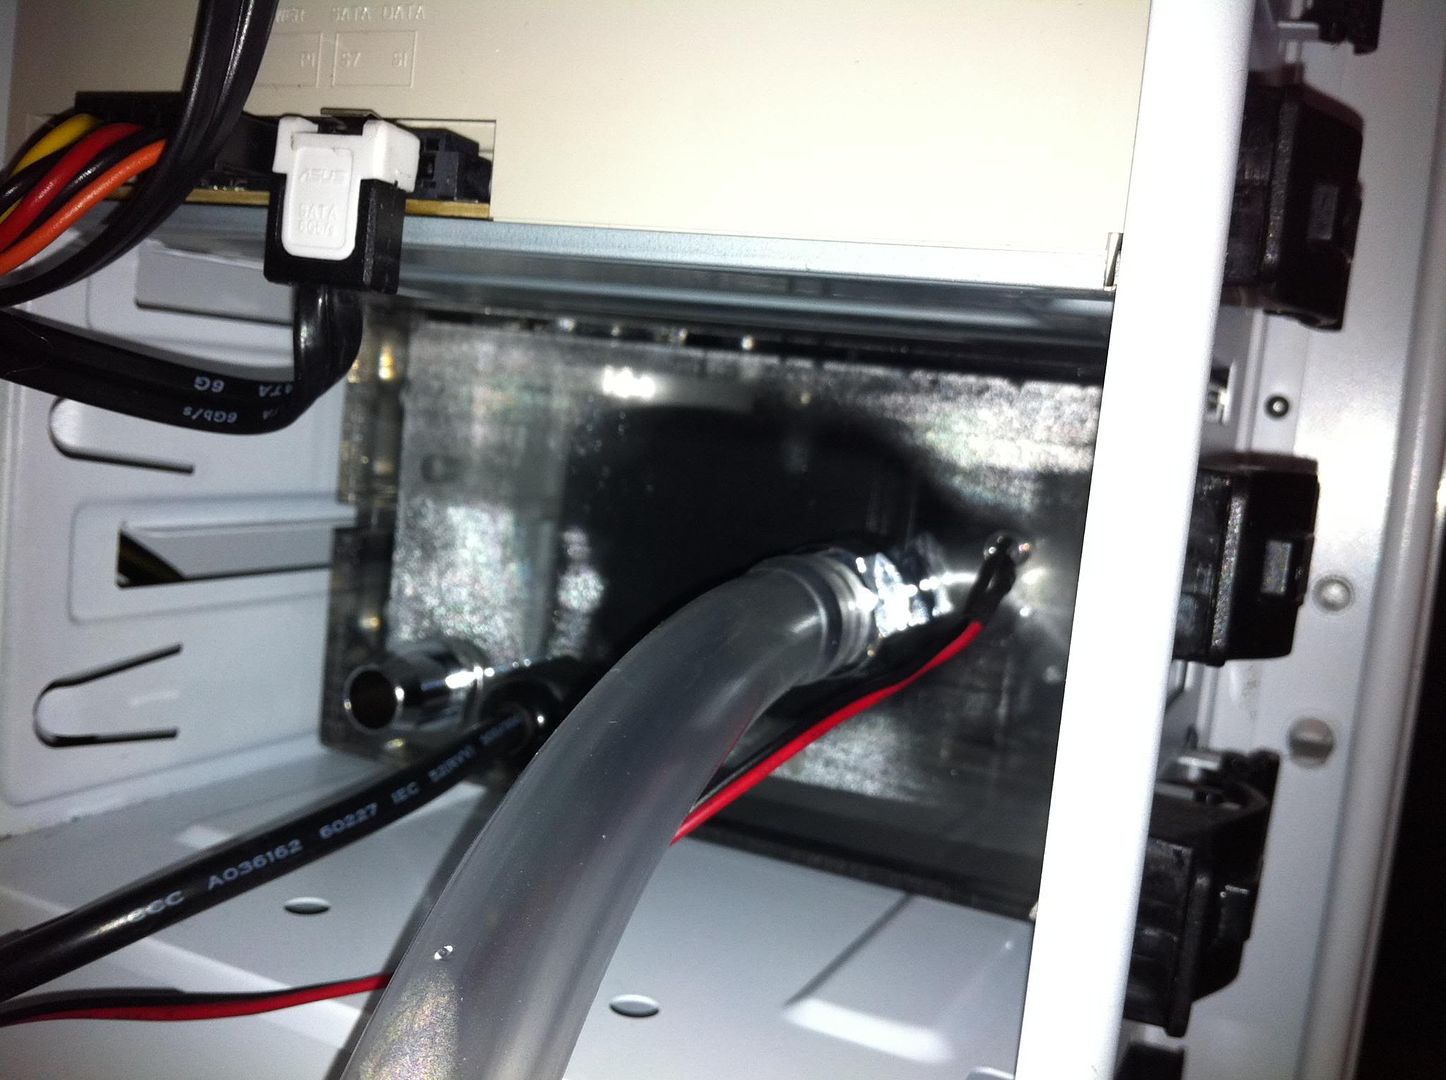
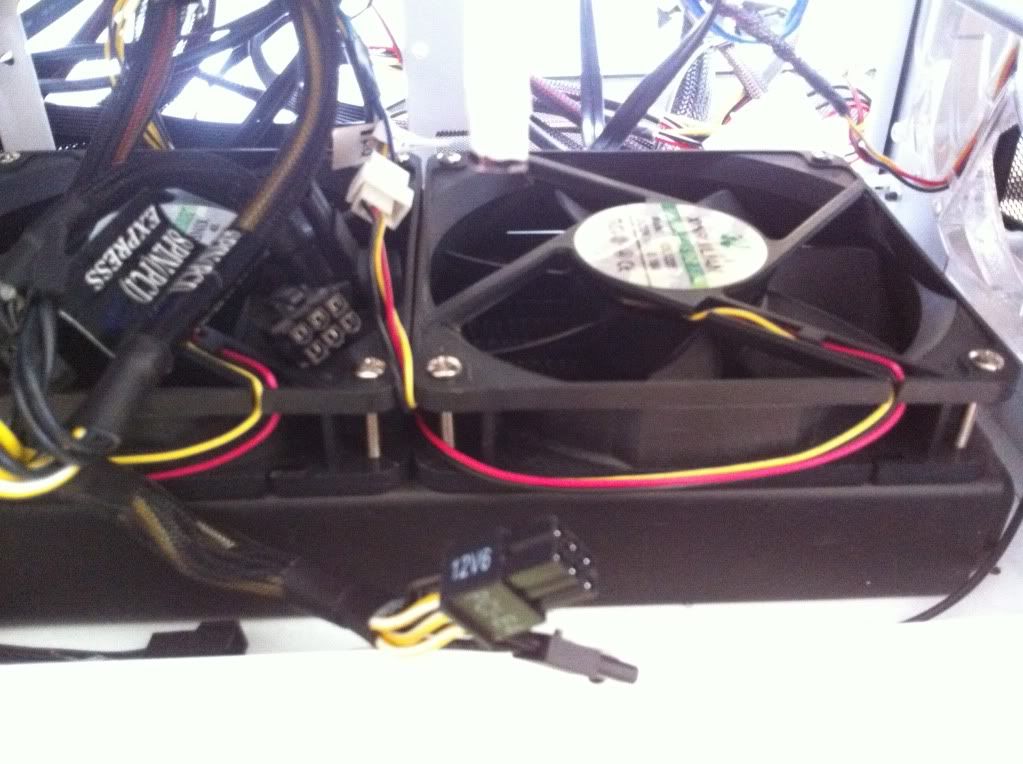
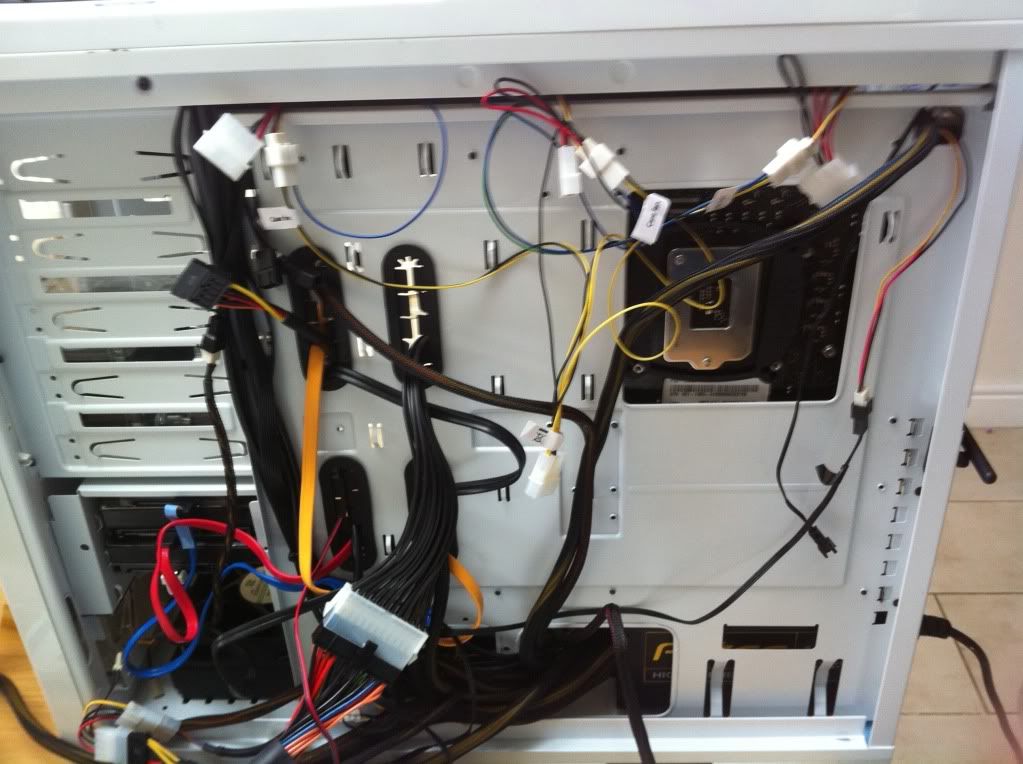
And the rear of the case
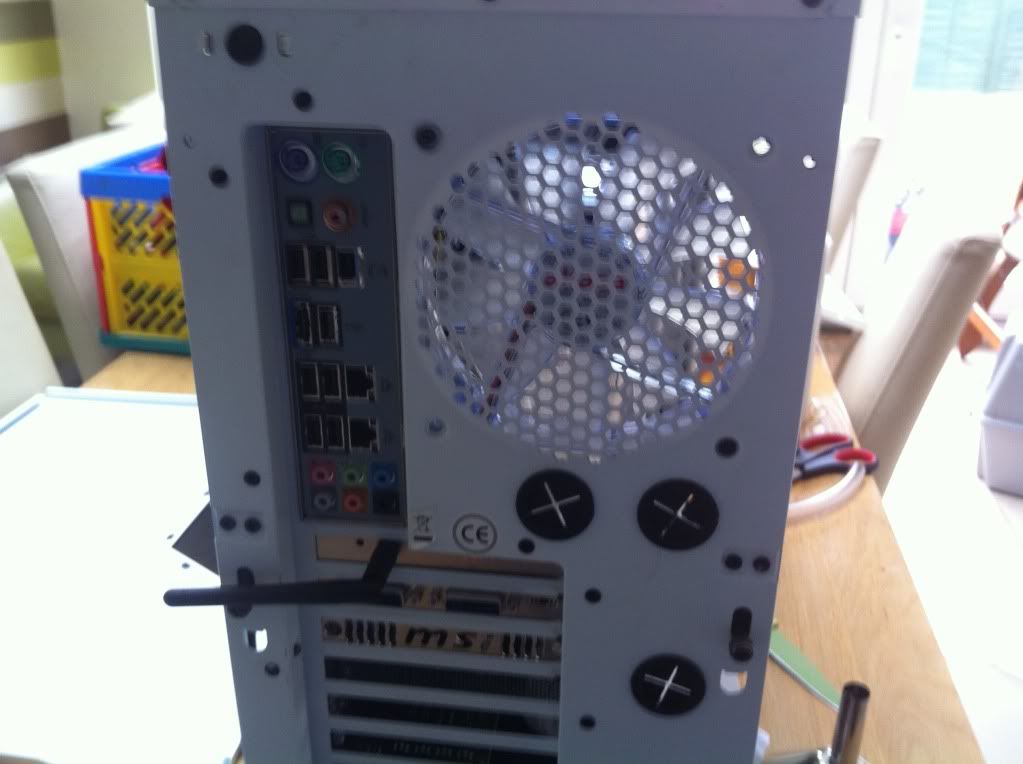
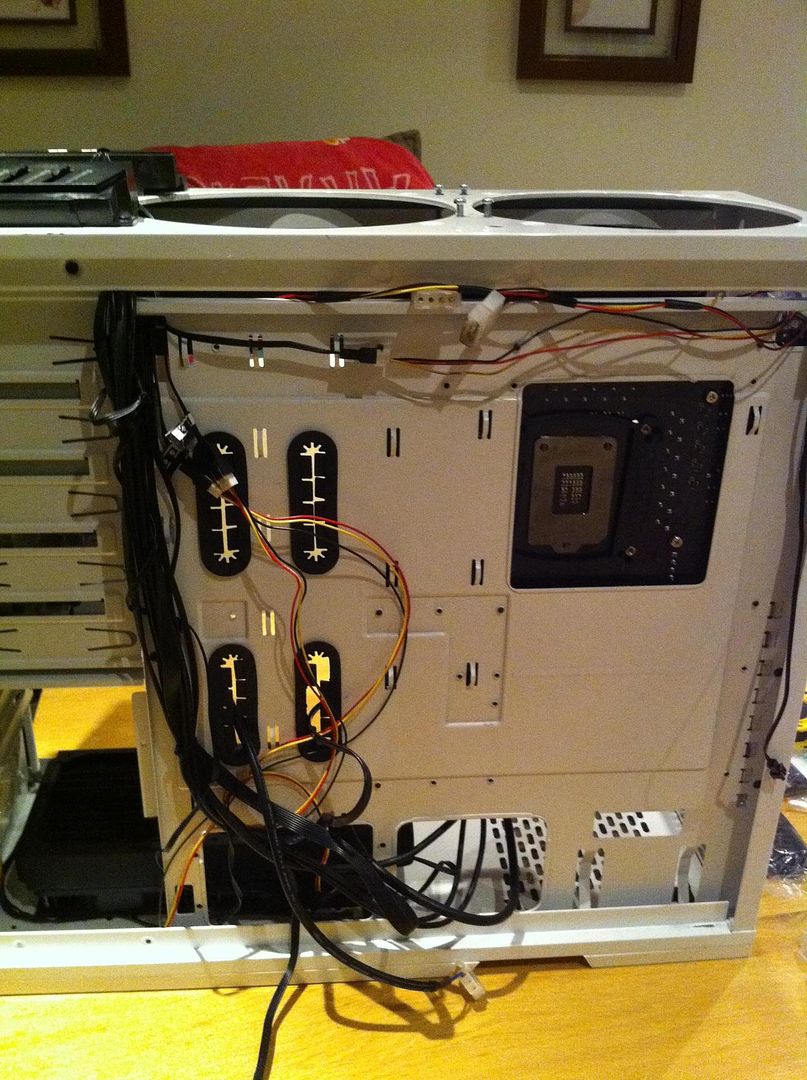
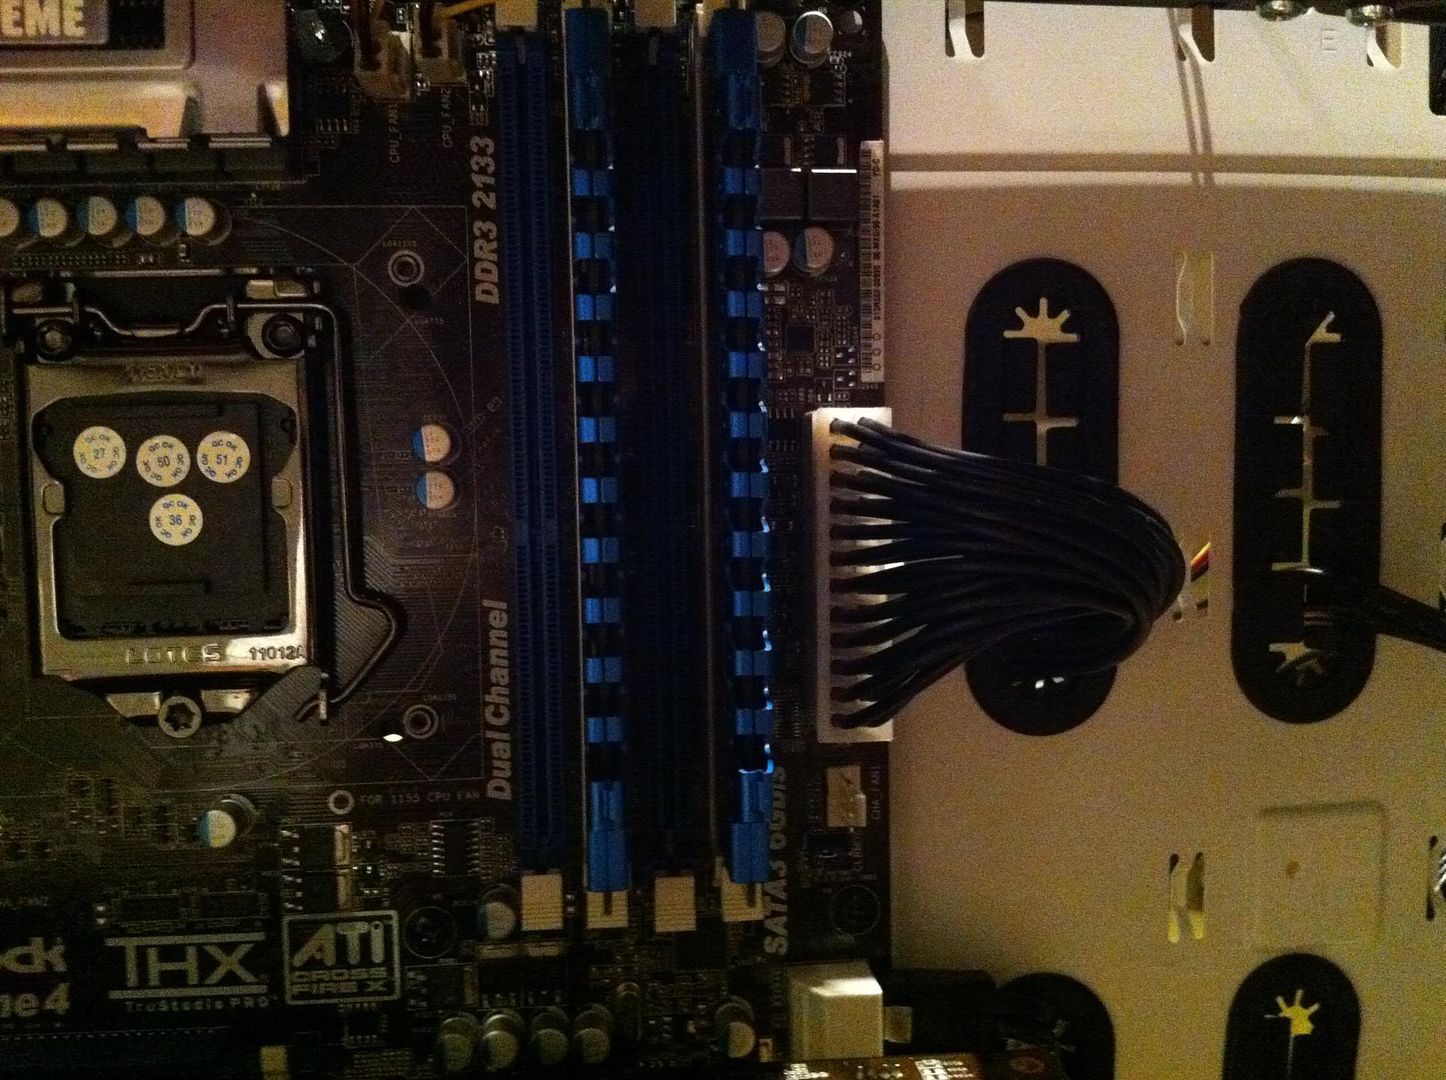
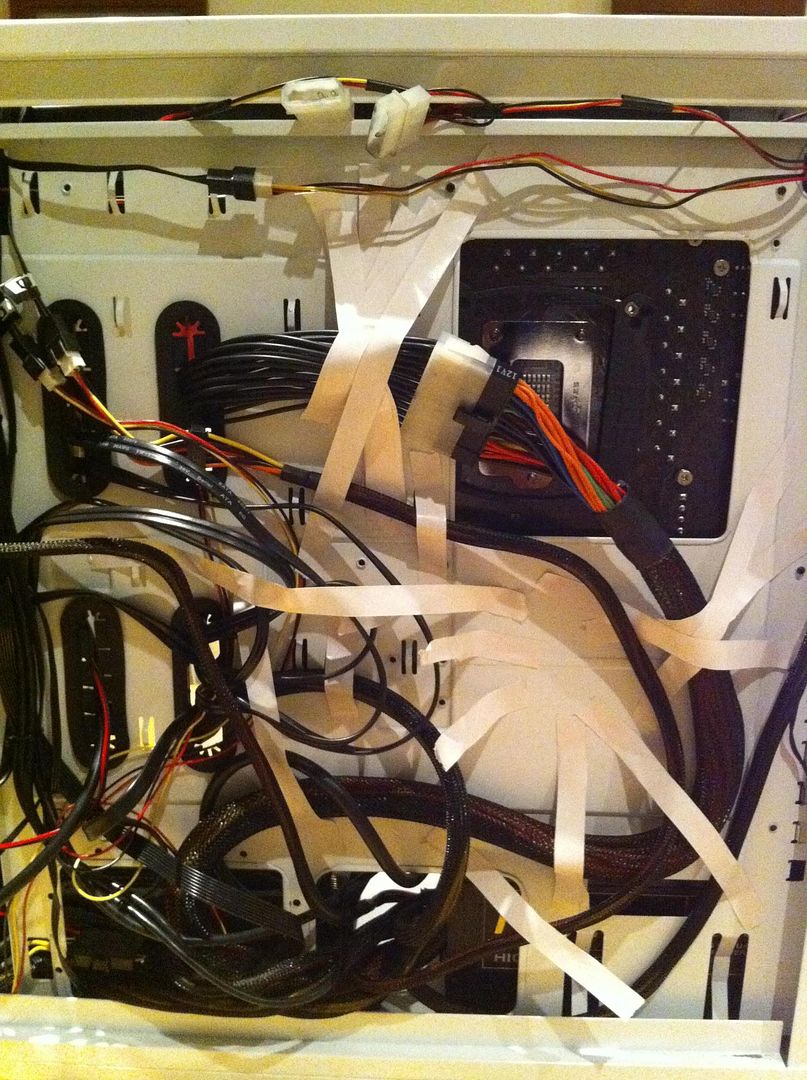
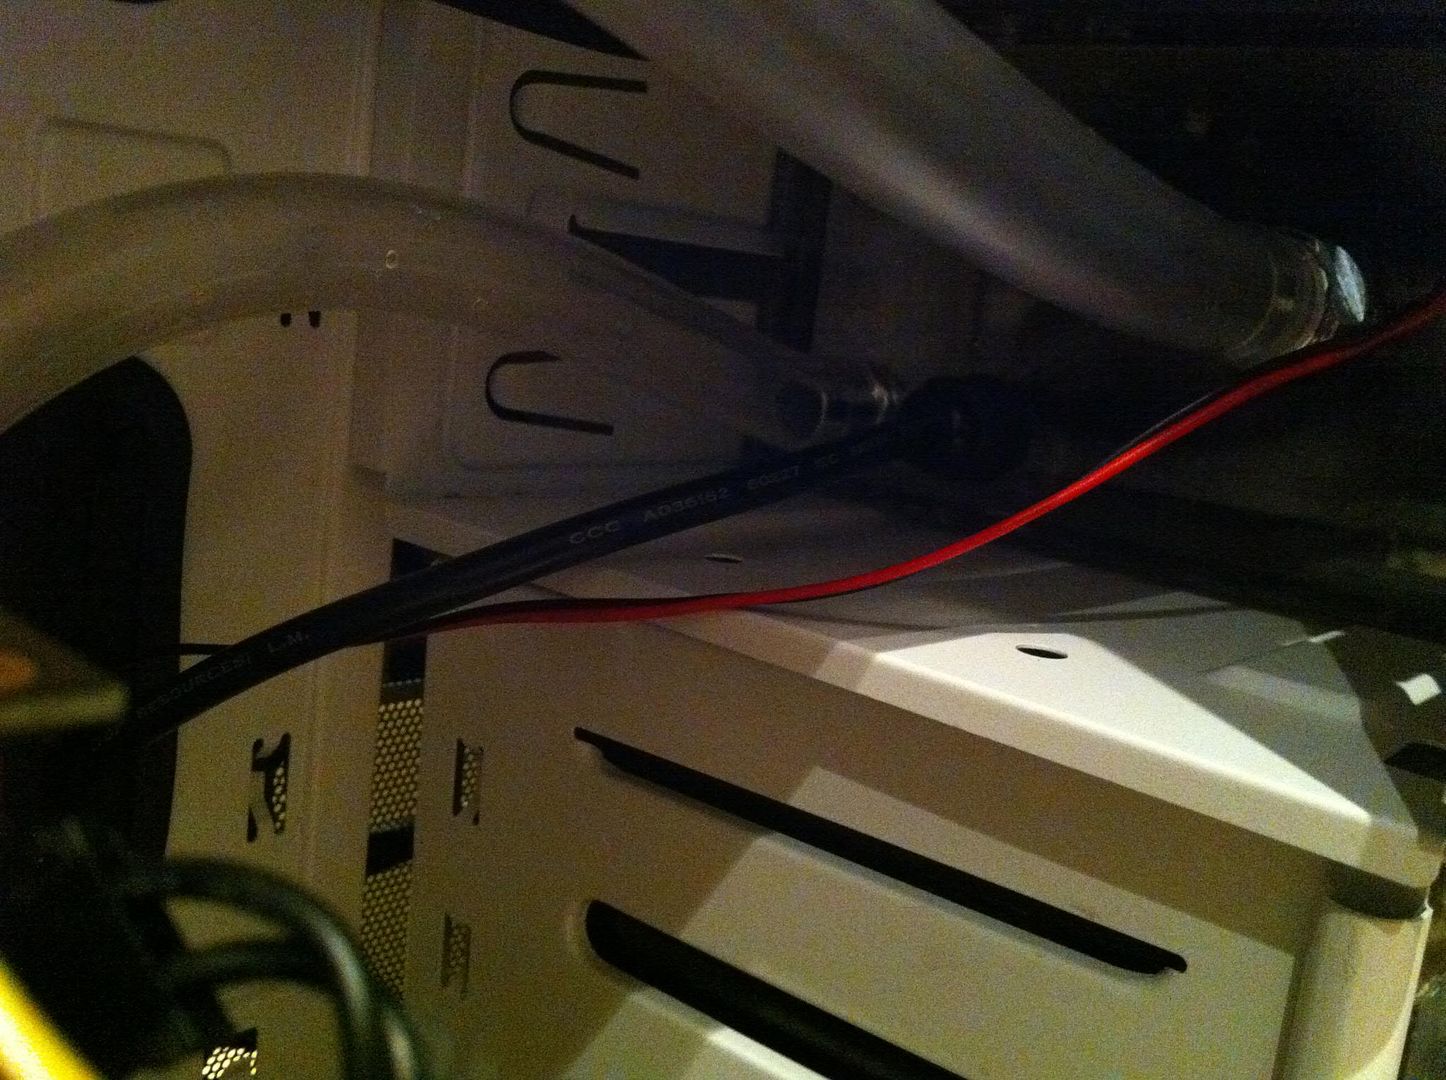
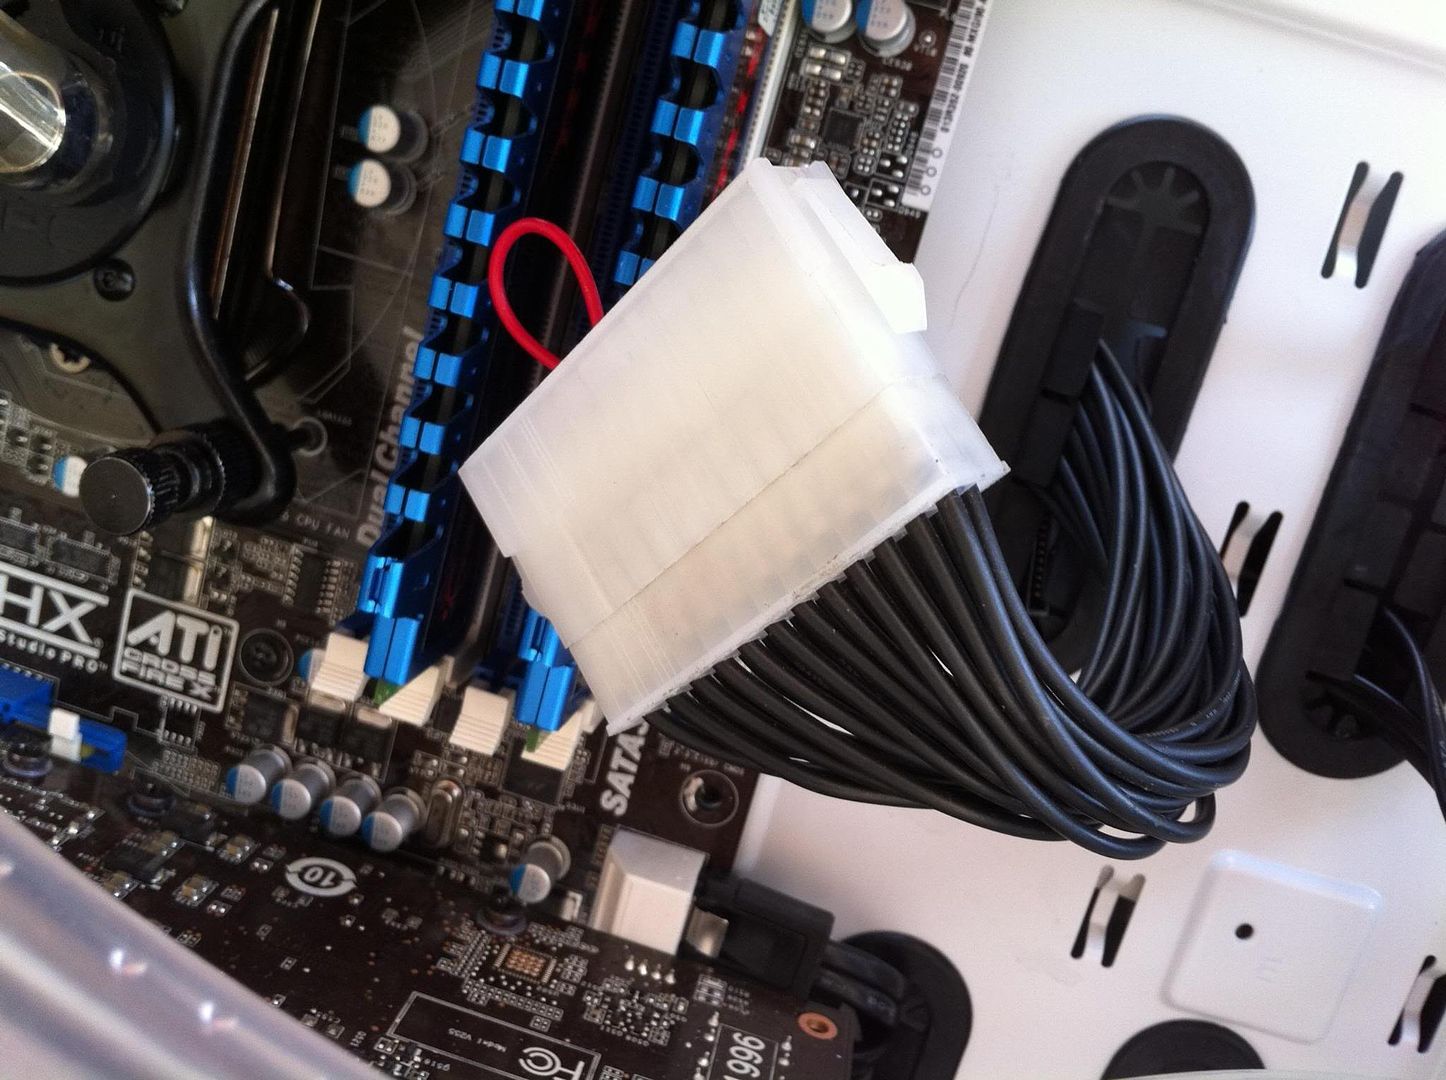
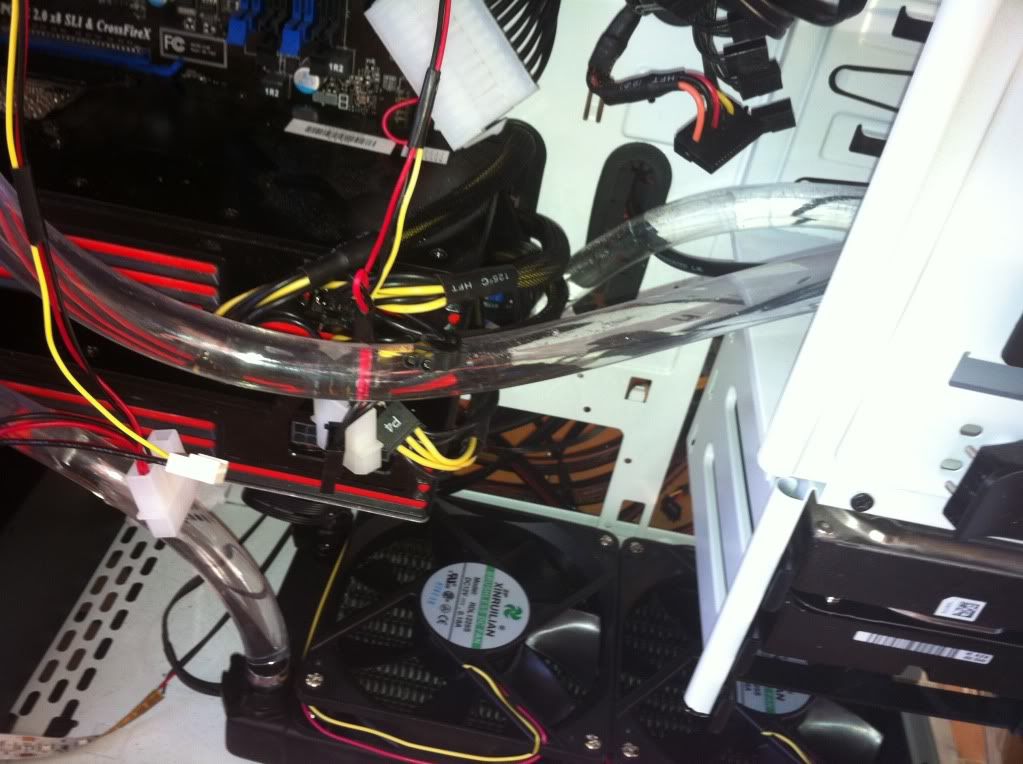
MY EYEZZZ!!111 TEH CABLEZZZ!!!11
Another nice picture
And the best GTX 580 I have seen
But came across a bit of an embuggerance that night, in the shape of a Slightly very major leak. Due to the fact that I may have put that pipe on a bit too tight. So, redone with slacker piping.

Teh Funnelzzz
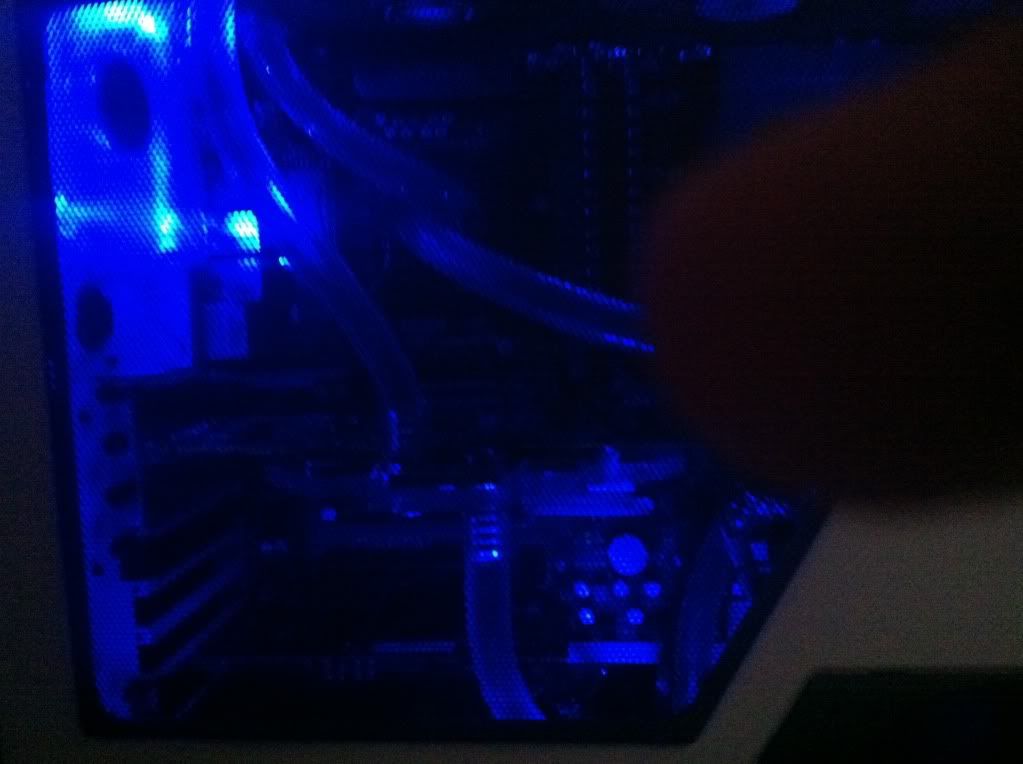
And it's The AwfuliPhonecamera Strikes Back!
And my thumb.
So, there we are, hope you enjoyed the ride, and I shall try to acquire a better camera and some actual photography talent. In the meantime though, Let me know what you guys think, and if you have any suggestions, ideas or just insults at my lack of skill, please don't hesitate to share.
Many thanks for both your initial interest, and the time taken to scroll through the many MANY pictures and the drivel in between
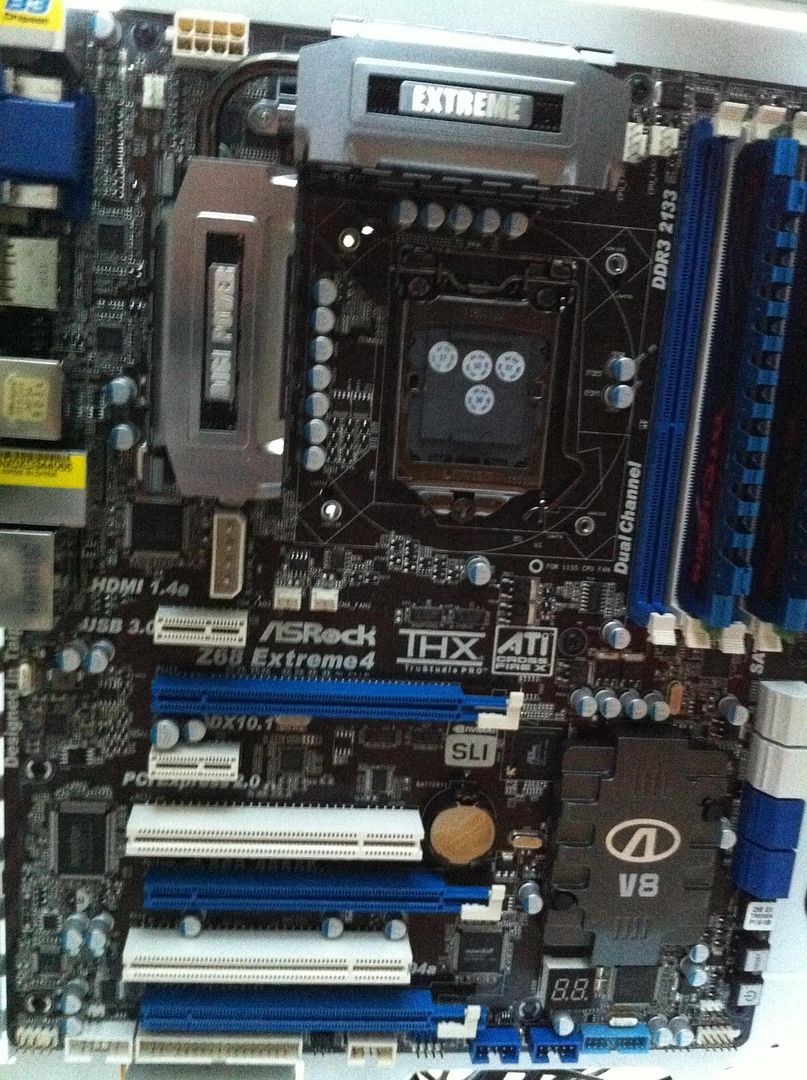
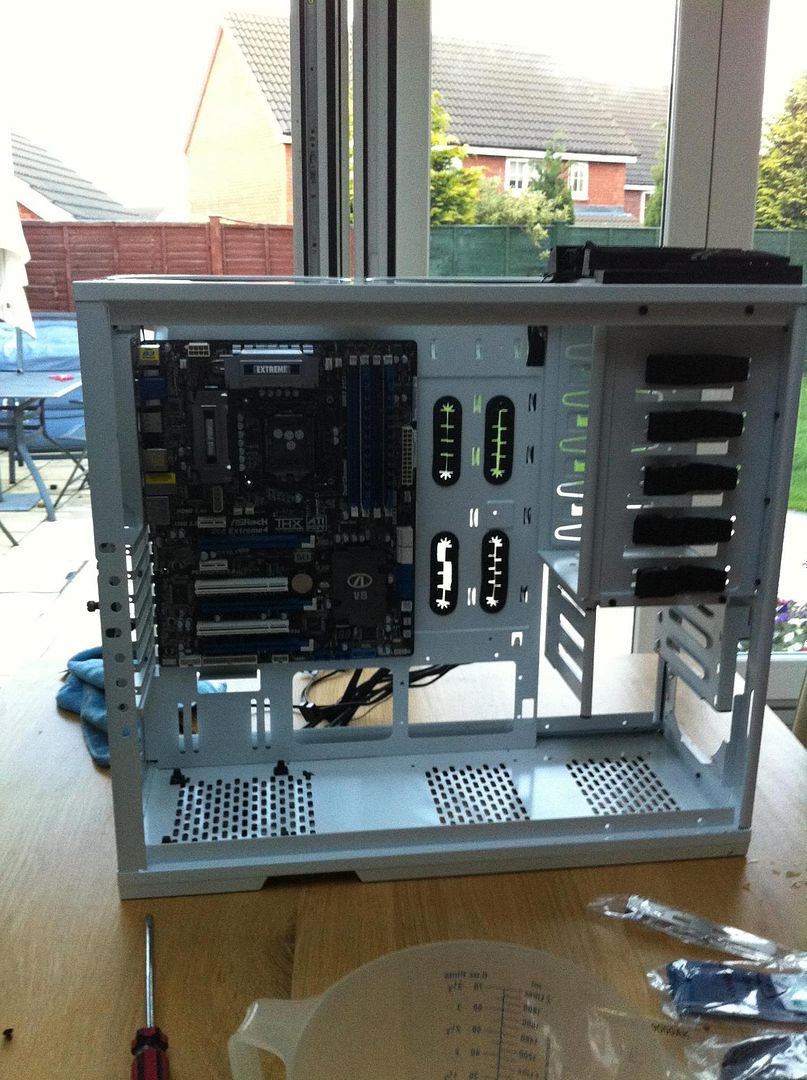
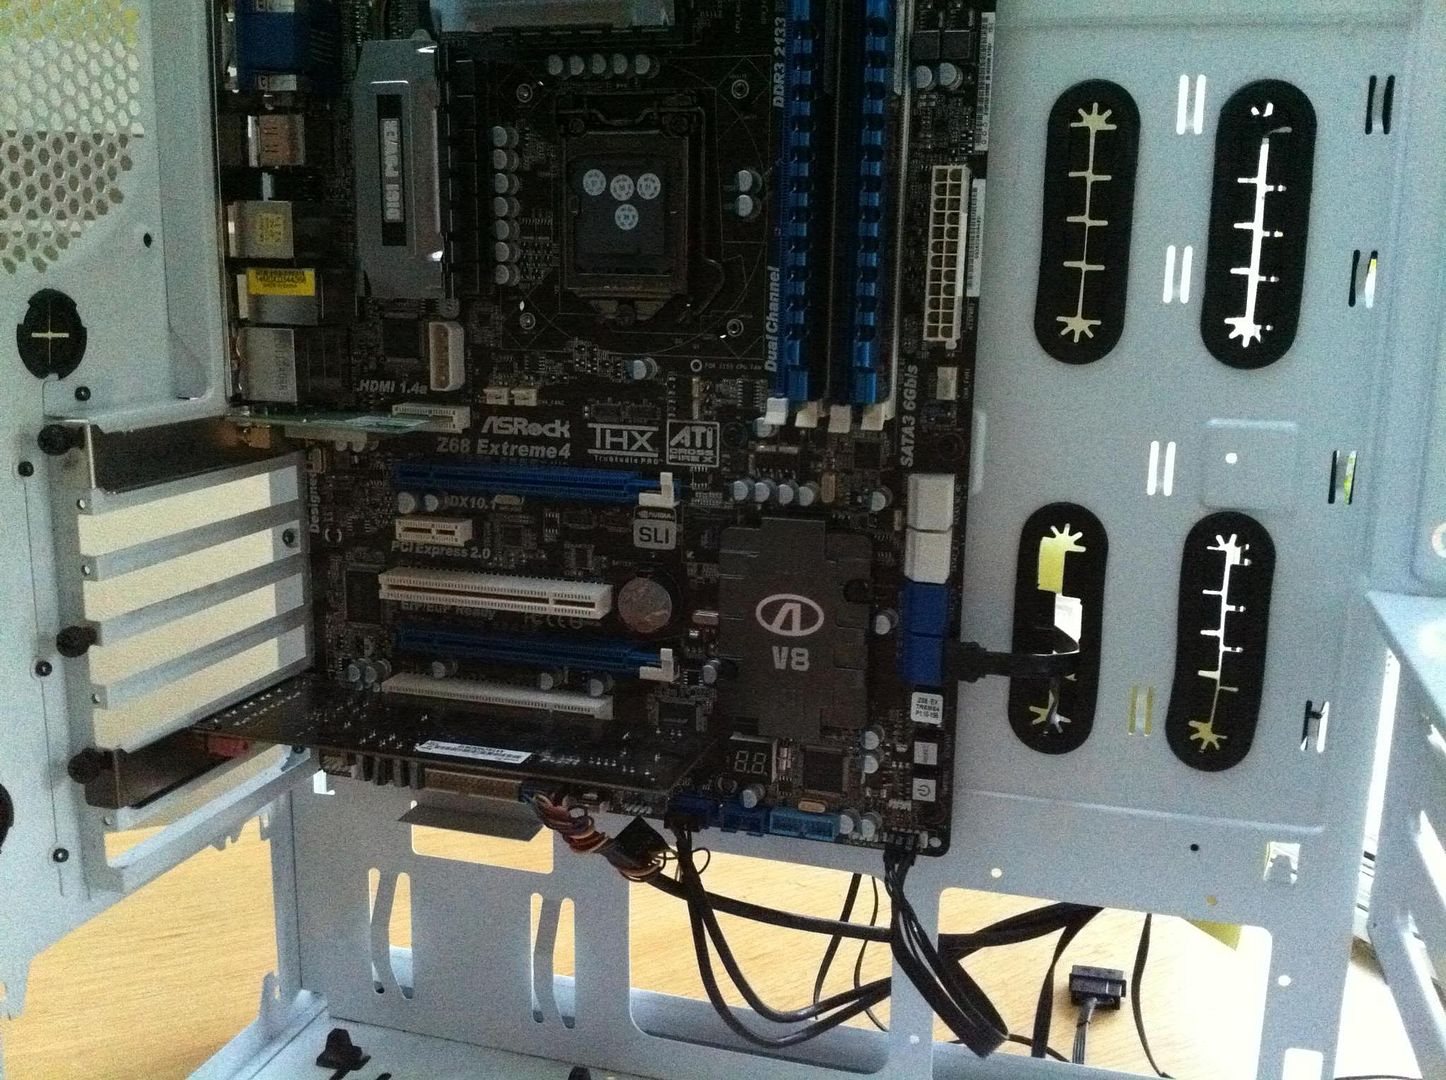
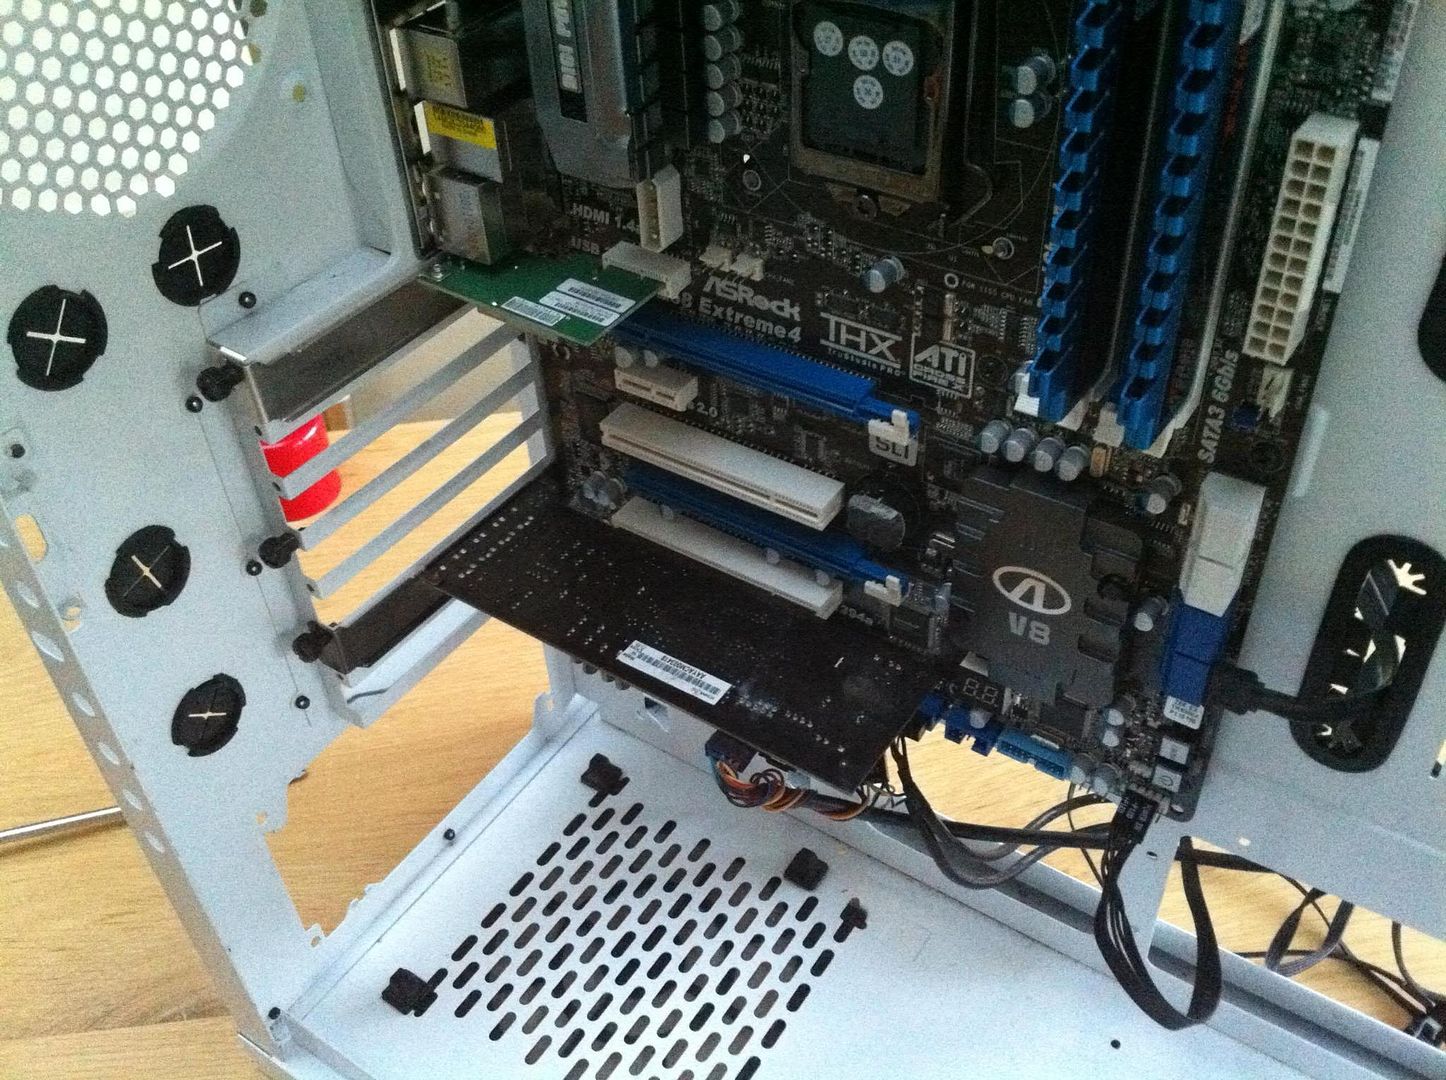
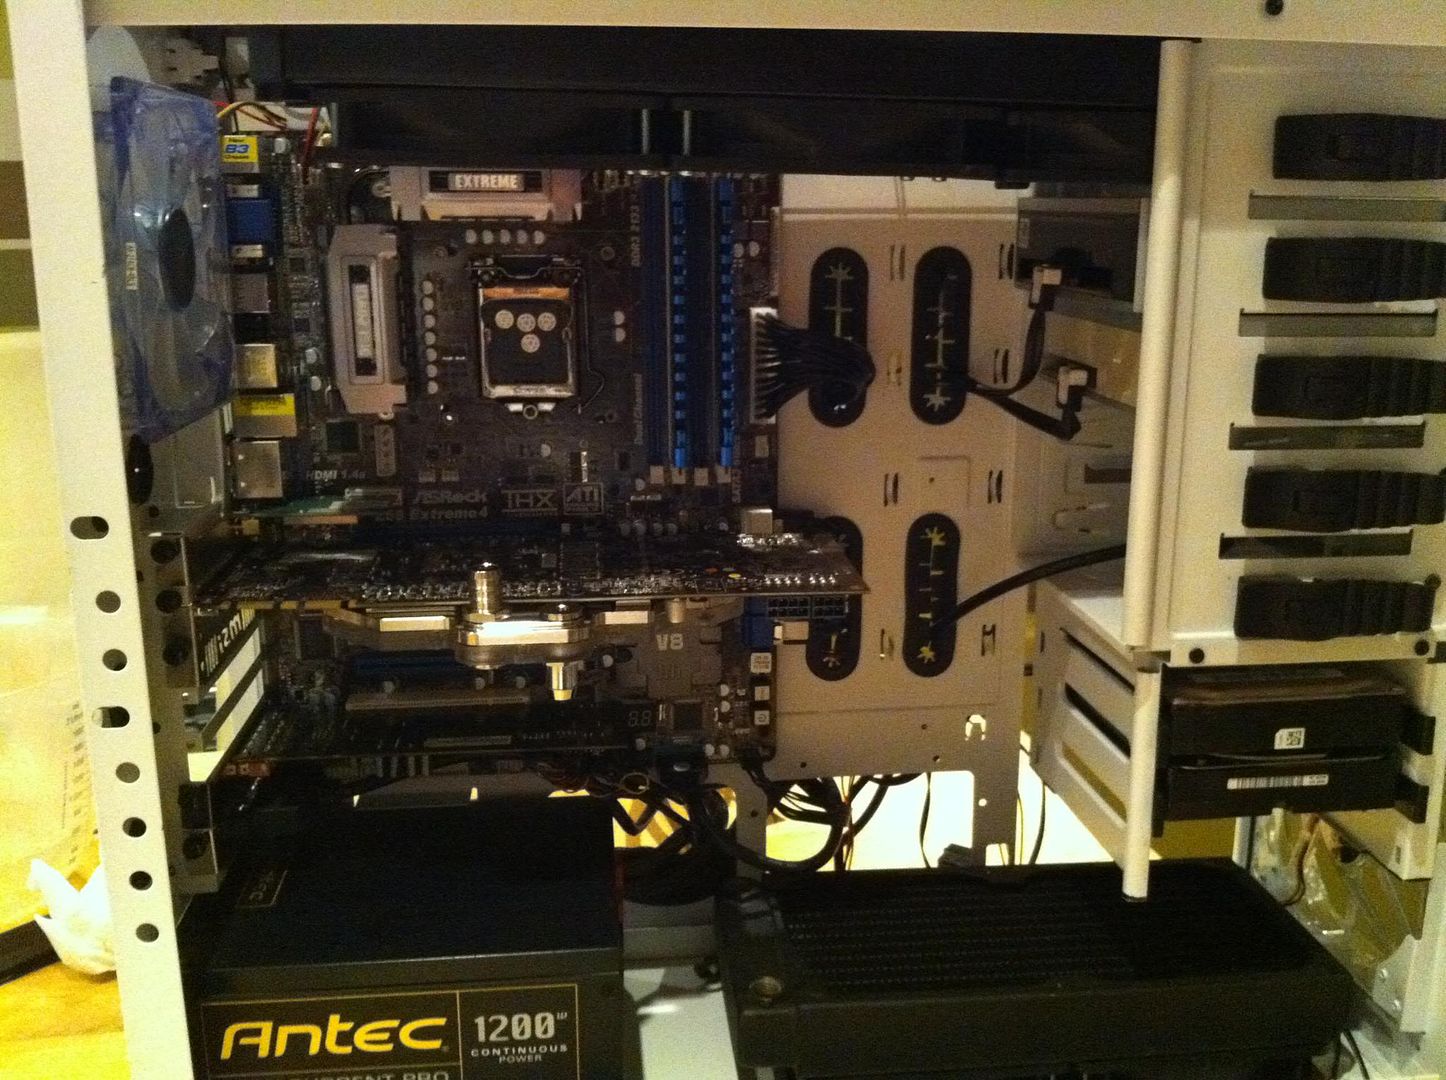
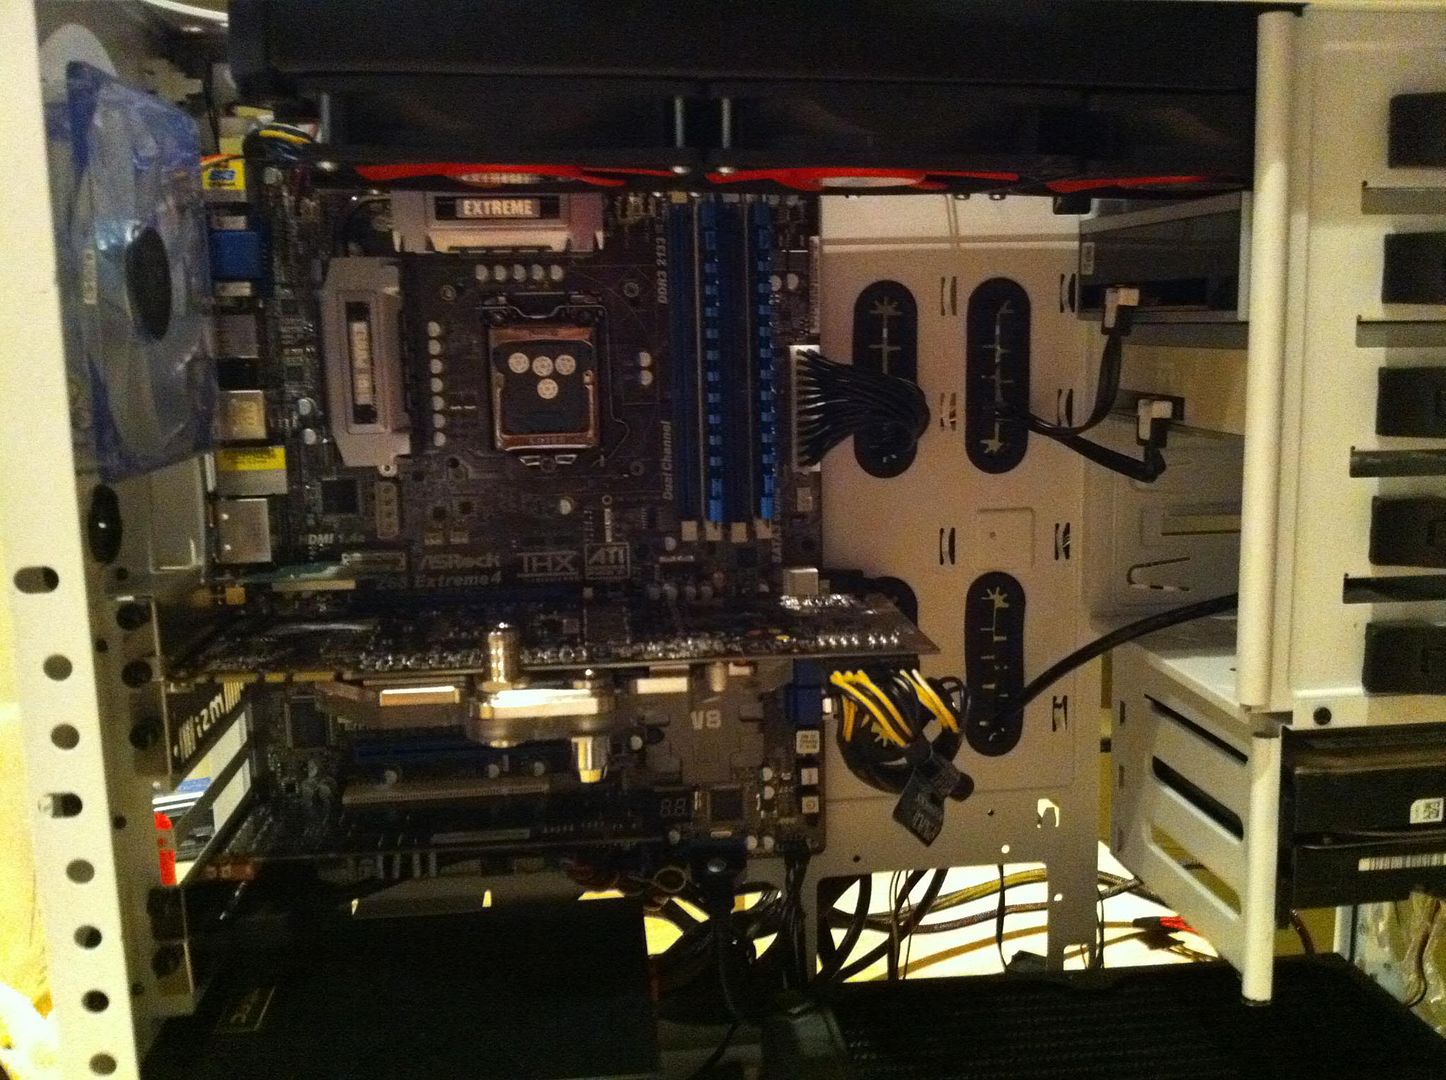
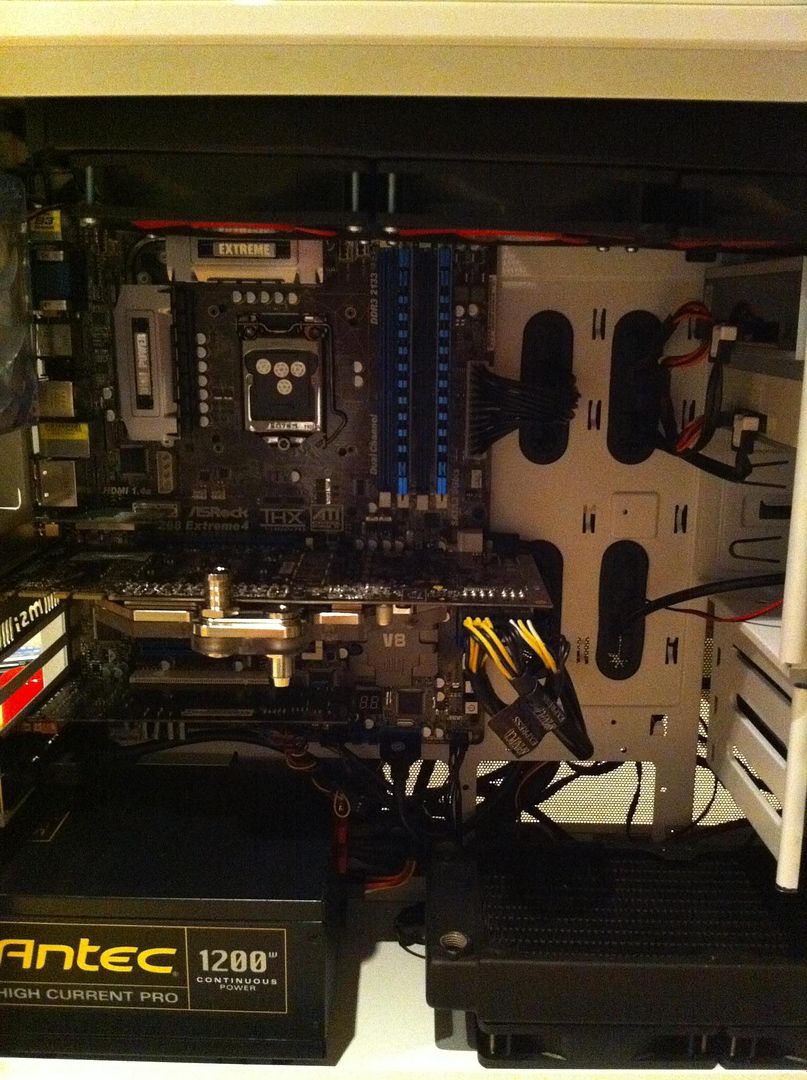
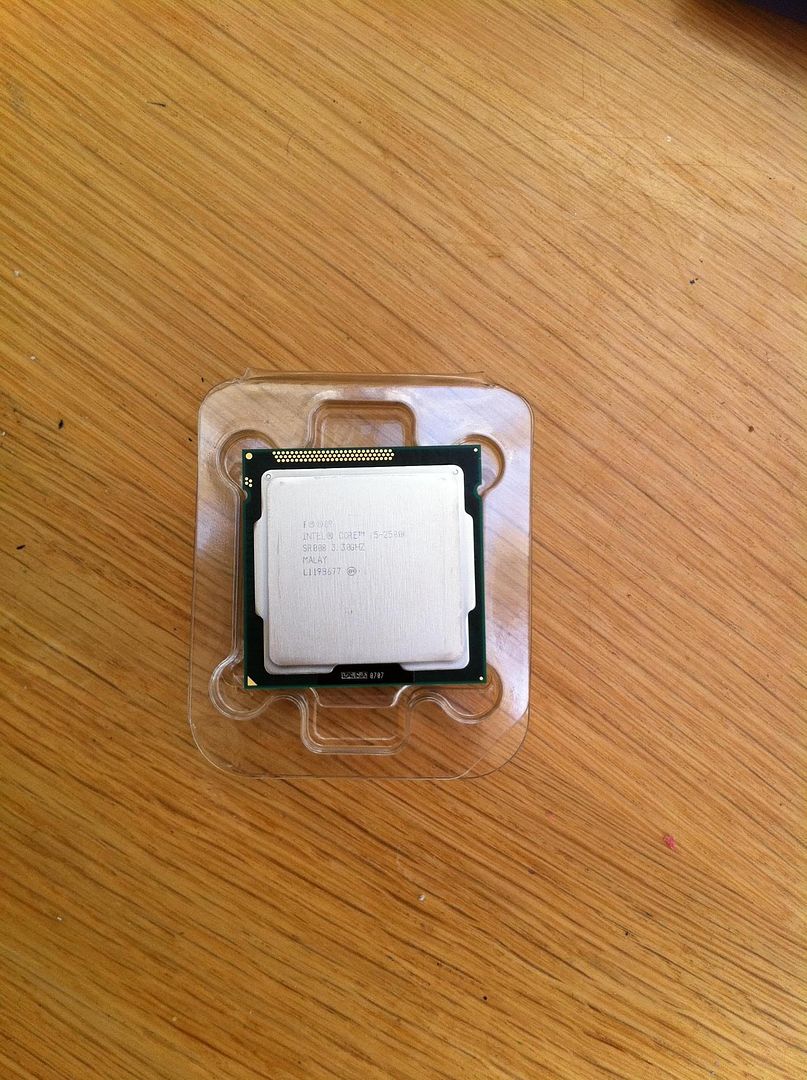
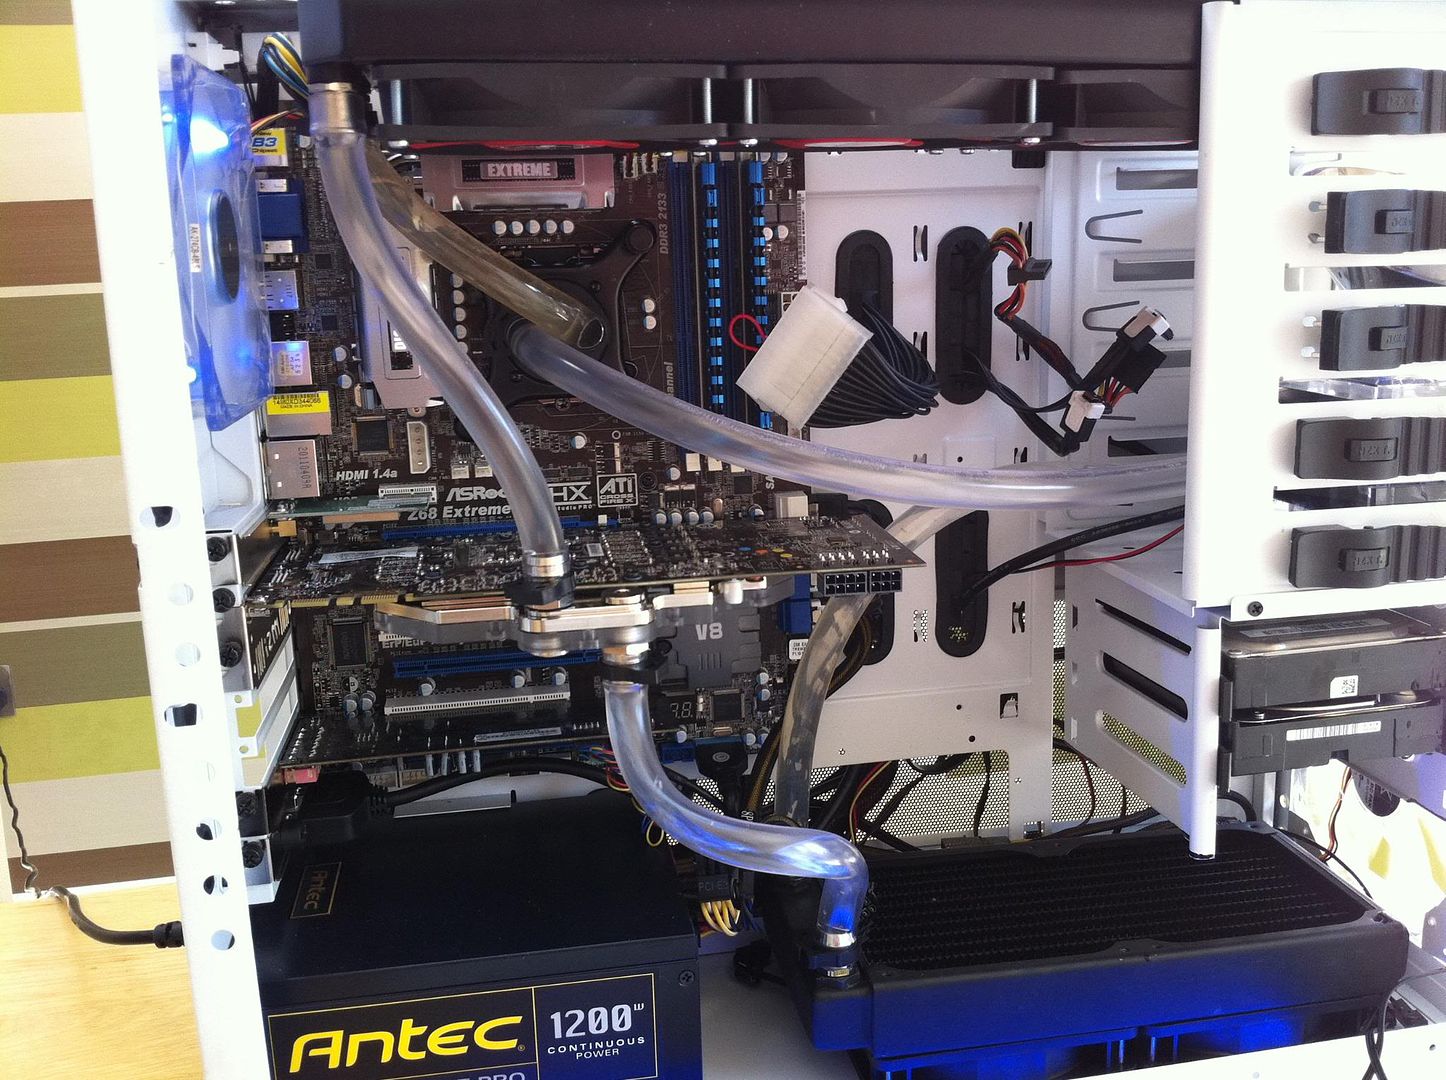
Just so you know, the motherboard died not long after I finished writing this, so I have an ASRock Z68 Extreme4 and an i5 2500k on the way now
This is my first project log on Overclock3d, so, err, woot!
The build centers around a modded NZXT Phantom, with a few hardware changes along the way. So let the trials, tribulations and terror commence. I think.
So, first things first, We have the case in all its brand spanking originalityness. At this point I have an i7 860, and a couple of 6950's. Nothing really exciting, especially the CPU cooler, an Antec Kuhler 620.
PS ignore the poor quality images, if I could afford a decent camera then I would have spent it on PC parts, in which case I wouldn't be able to afford a camera. Or something.
So yeah, so far pretty bog standard really. "So where is the mod?" I hear you cry! Well, who am I to disappoint!
Well, I got bored of ridiculous Xfire temps, so I decided to dismantle the lovely little GPUs. And reapply the thermal paste.
And then I got REALLY bored, and decided to steal my mum's Dremel. Now, NZXT made a huge booboo in my opinion by failing to produce this case with a decent side window to start. A 200mm fan space is all well and good, but you cannot use it with a decent sized CPU cooler. And if you take the fan off it is **** ugly. So I cut a **** off sized window into it.
Now these pictures were before filing, so please, laugh at my ineptitude with rotary tools. Anyway, I was at this point staring deep into that money grabbing abyss that is watercooling, and decided "Who on earth needs that many HDD bays? Surely 2 is enough? You can chuck an SSD anywhere in any case!" So I mutilated the case some more, removing one of the hard drive caddies completely, and dremeling the other in half.
And then realised it was night time. And that I had a lot of blue LEDs. And a brand spanking new side window. So my iPhone decided to be a little ******* and take god awful pictures. In exemplis:
Which is all well and good, but after looking at the Kuhler for a while, it is pretty easy to realise "Damn, that thing is **** ugly! And it's pretty shite at cooling!" Which led me to jump. Into the aforementioned abyss. So I went and gave Specialtech quite a bit of money. And what did I get in return? Nothing for about a week, as I had given them the wrong postcode :wallbash:. So, one week later, and this fanbloodytastic package arrives.
Now this is separate, ordered from OcUK after the lovely people at DX Secure decided that giving me the package I had paid for was probably a good idea...
Those people at XSPC really do think of everything...
And now for all of the lovely shiny new stuff to be displayed in one of those clichéd shots with a personal belonging. In this case, my sunglasses...
Block installed:
And all piped up, along with my good friend Guy
And so the evil iPhone camera strikes again with it's completely terrible low light capabilities:
All well and good, I hear you cry. But no! ATi decided that the drivers they produce were going to be a massive embuggerance, and prevent crossfire from ever working ever. Ever. So, I decided to sell my two little pieces of fail and buy one beast of a card, and overclock it like a biiaatch. So, one GTX 580...
Ordered the OcUK Value model and received the MSi TF2, go figure...
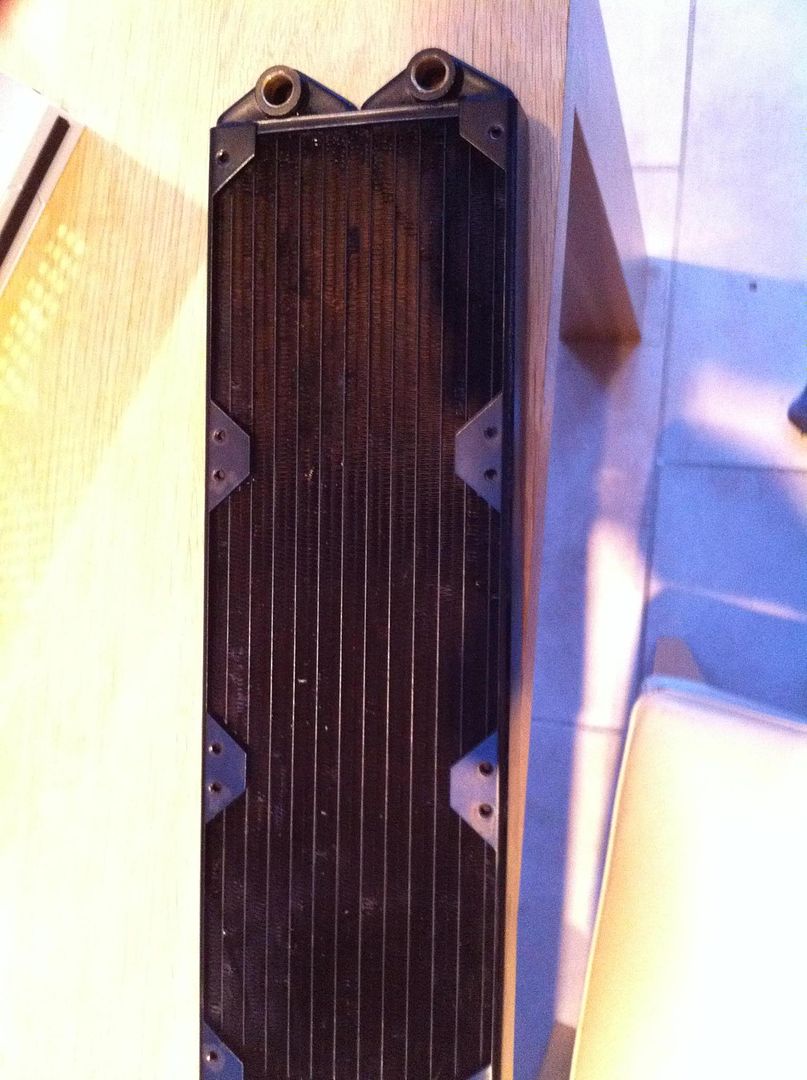
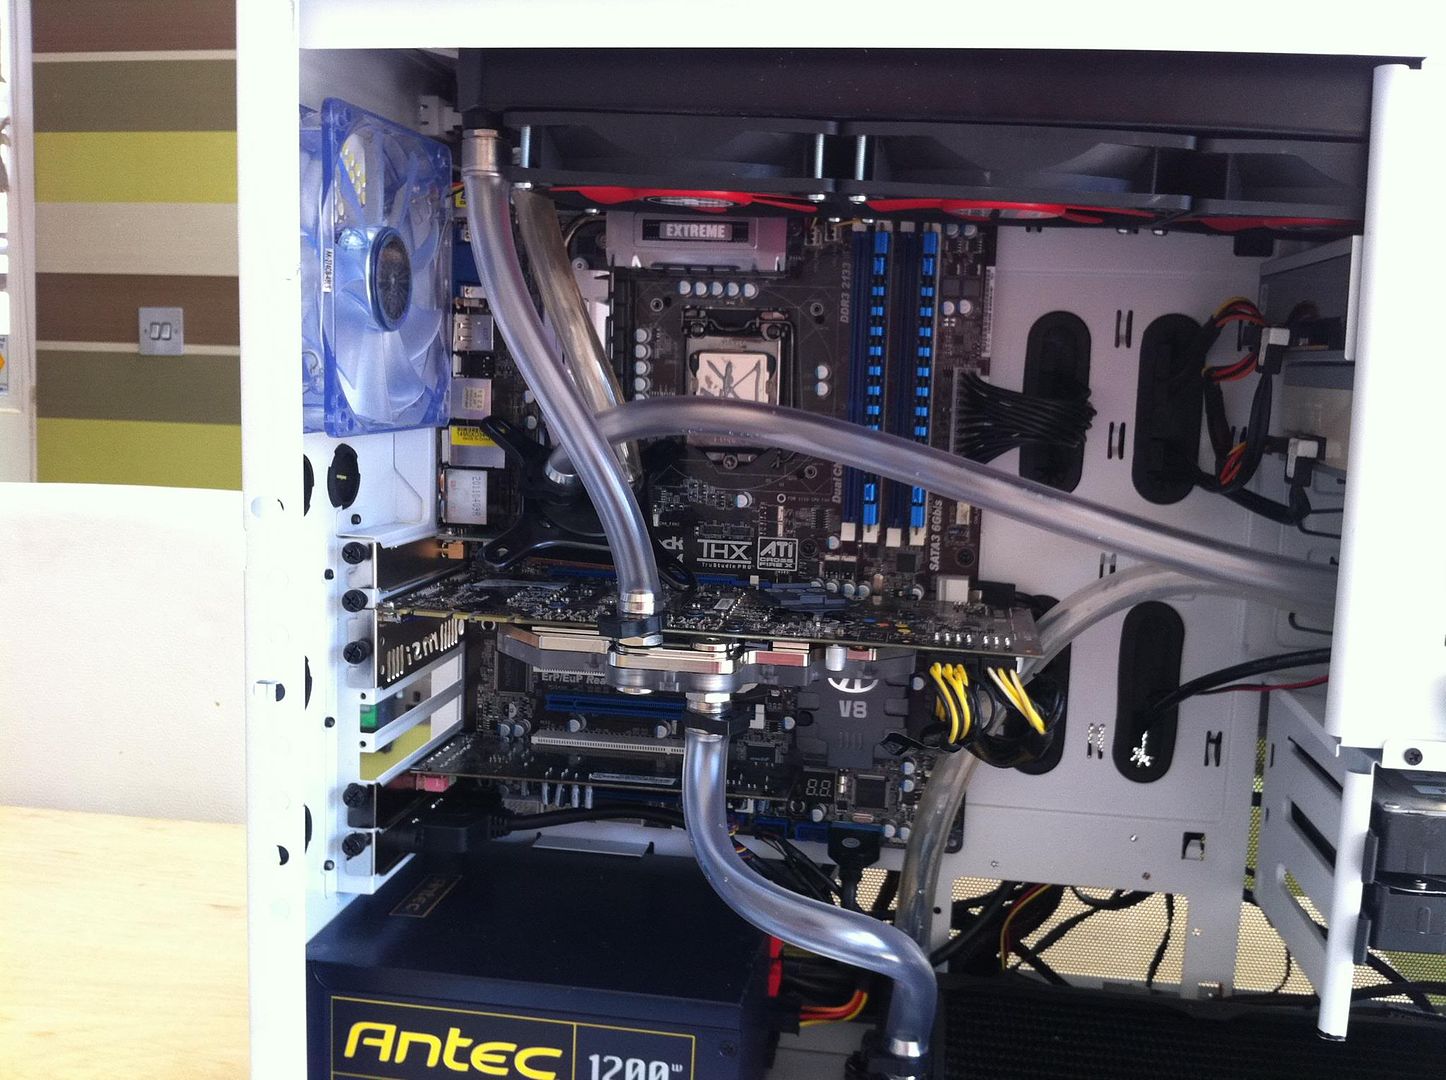
And as I ordered a GTX 580 block, thought it would be a nice idea to get plumbing again.
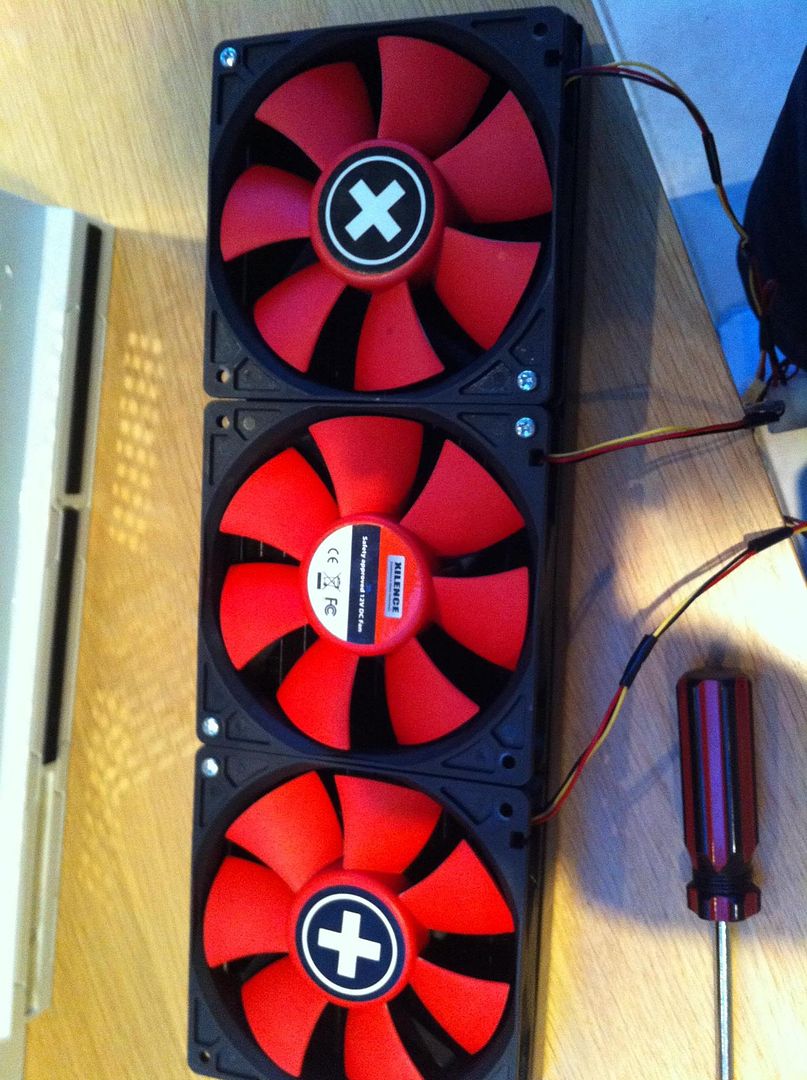
Nice red Xilence fans and 360 rad, courtesy of OLDPHART over on OcUK
Note the tightness of this pipe, I shall return to this later
Some legal pr0n
And the best picture I have ever taken. Not saying much but hey.
Needed a replacement for that POS corsair, so got a 1200w courtesy of Ace Modder from OcUK
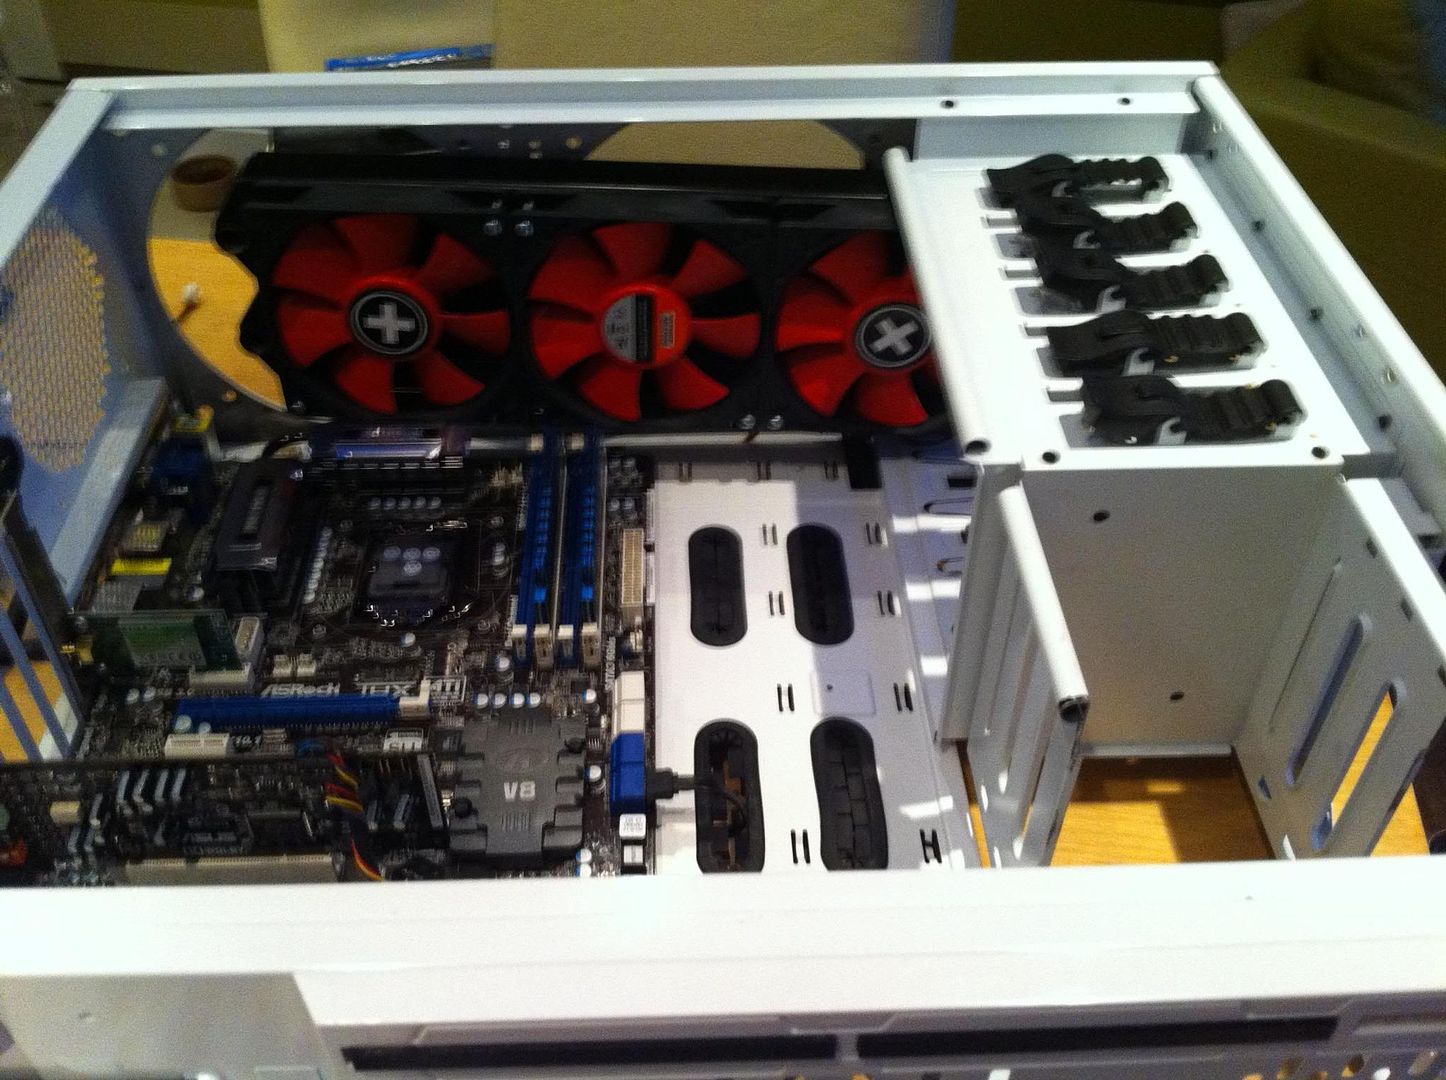
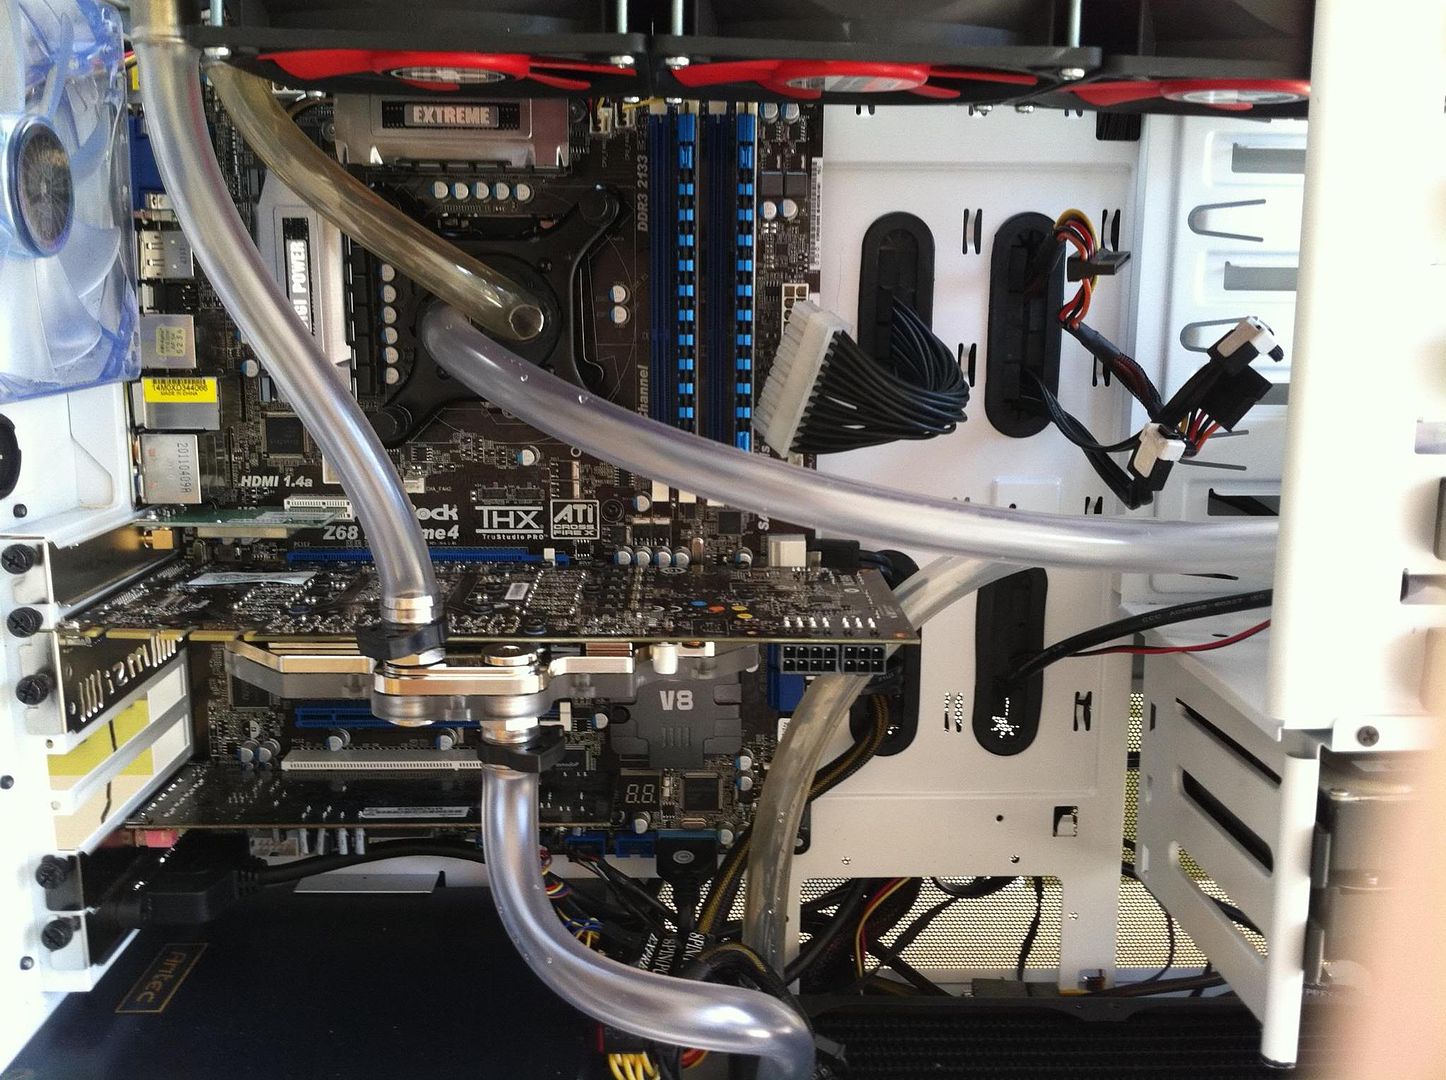
240 Rad
Cozy
Again, tight tubing is tight.
And the rear of the case
MY EYEZZZ!!111 TEH CABLEZZZ!!!11
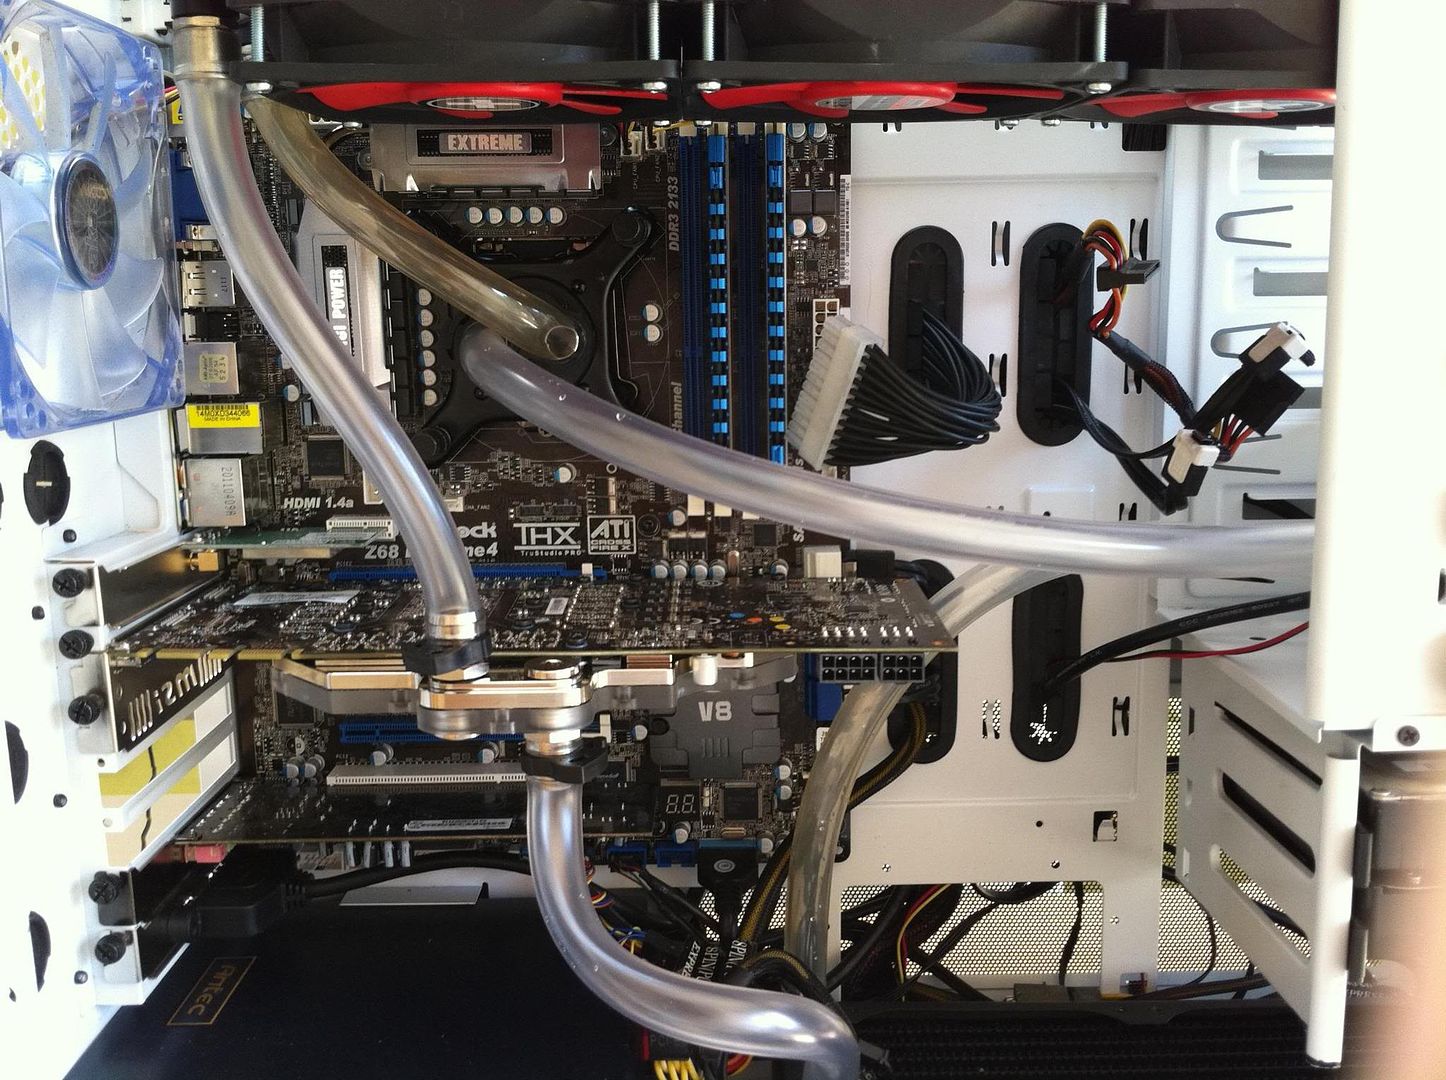
Another nice picture
And the best GTX 580 I have seen
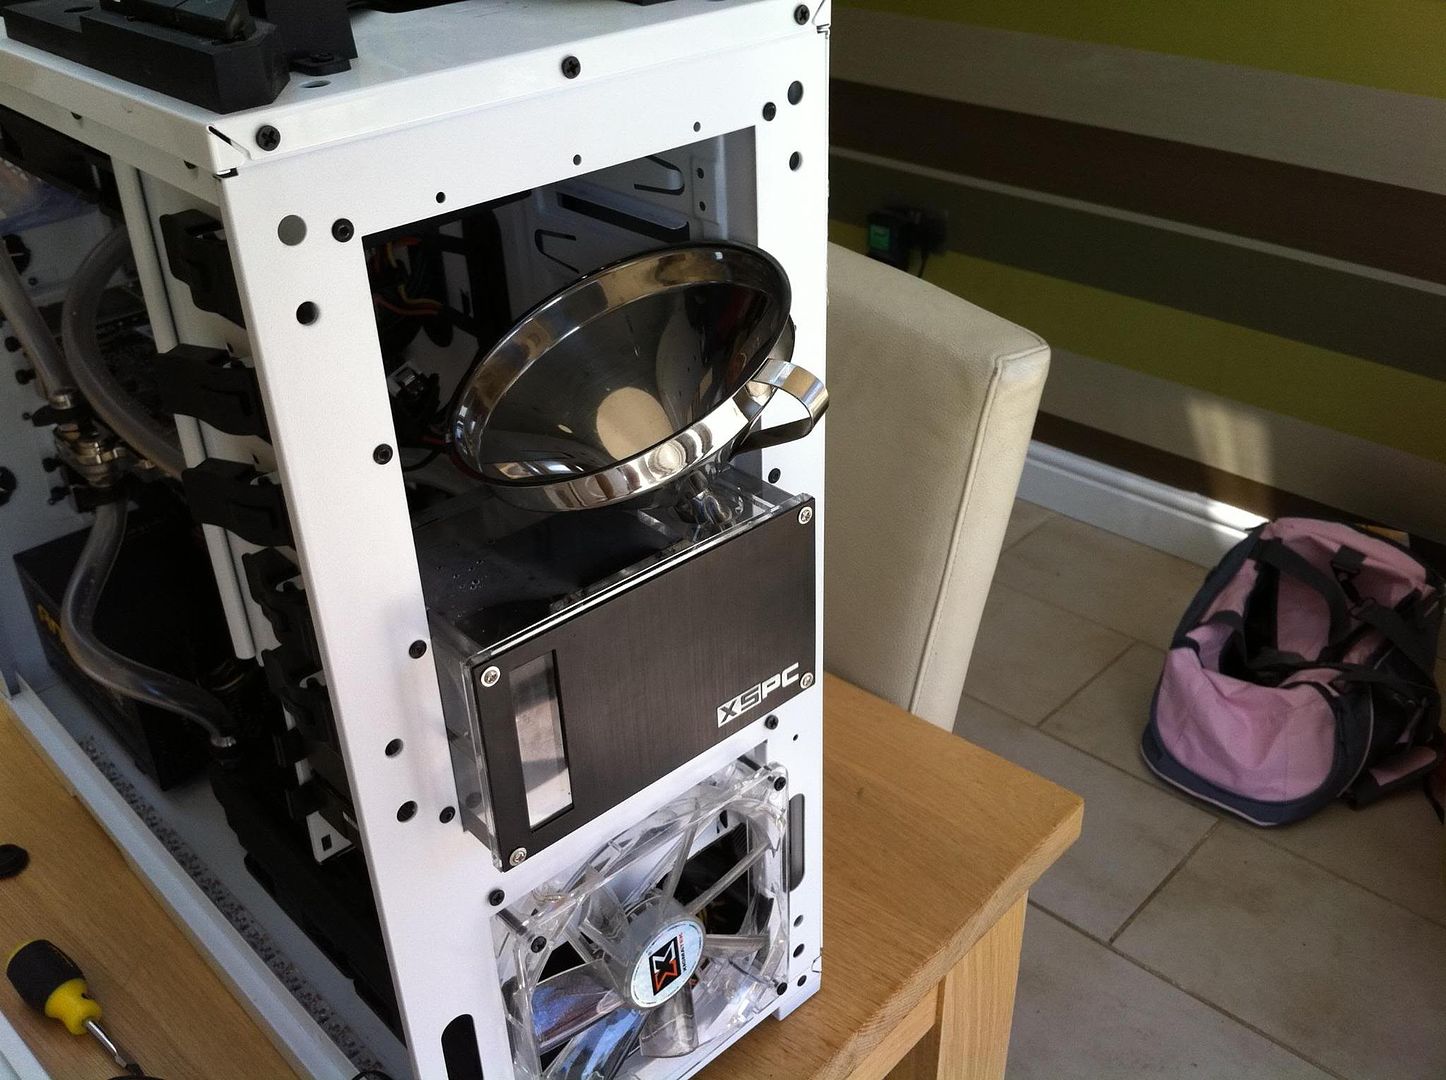
But came across a bit of an embuggerance that night, in the shape of a Slightly very major leak. Due to the fact that I may have put that pipe on a bit too tight. So, redone with slacker piping.
Teh Funnelzzz
And it's The AwfuliPhonecamera Strikes Back!
And my thumb.
So, there we are, hope you enjoyed the ride, and I shall try to acquire a better camera and some actual photography talent. In the meantime though, Let me know what you guys think, and if you have any suggestions, ideas or just insults at my lack of skill, please don't hesitate to share.
Many thanks for both your initial interest, and the time taken to scroll through the many MANY pictures and the drivel in between
Just so you know, the motherboard died not long after I finished writing this, so I have an ASRock Z68 Extreme4 and an i5 2500k on the way now