You are using an out of date browser. It may not display this or other websites correctly.
You should upgrade or use an alternative browser.
You should upgrade or use an alternative browser.
Fallen Angel
- Thread starter w3bbo
- Start date
killablade
New member
What brand 470's did you get? Asus for the carbon look on the heatsink?

Glad we agree on the red/black theme though and don't worry - the cards will match the build I assure you m8.
U sir have an absolutely devious mind makes me wonder what your gonna do to those poor cards. Just kiddin, great work so far hope to see more pics.
And so it begins....
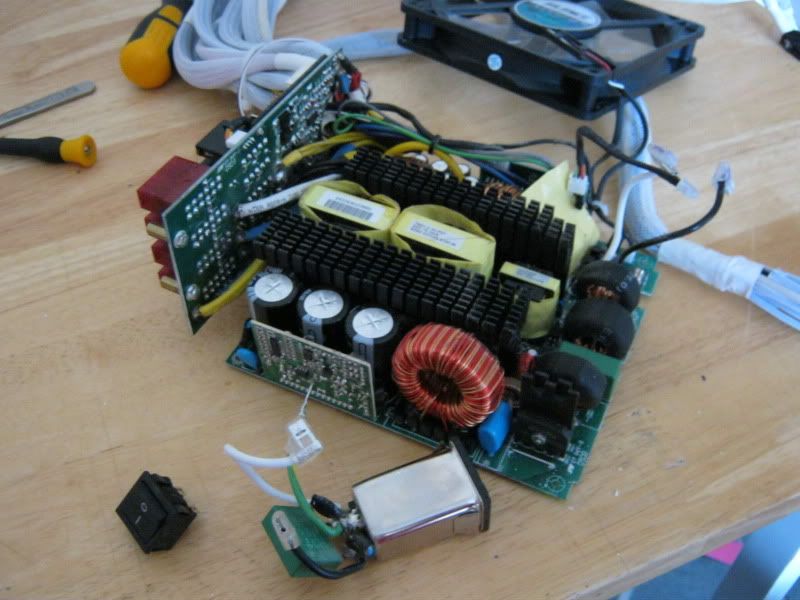
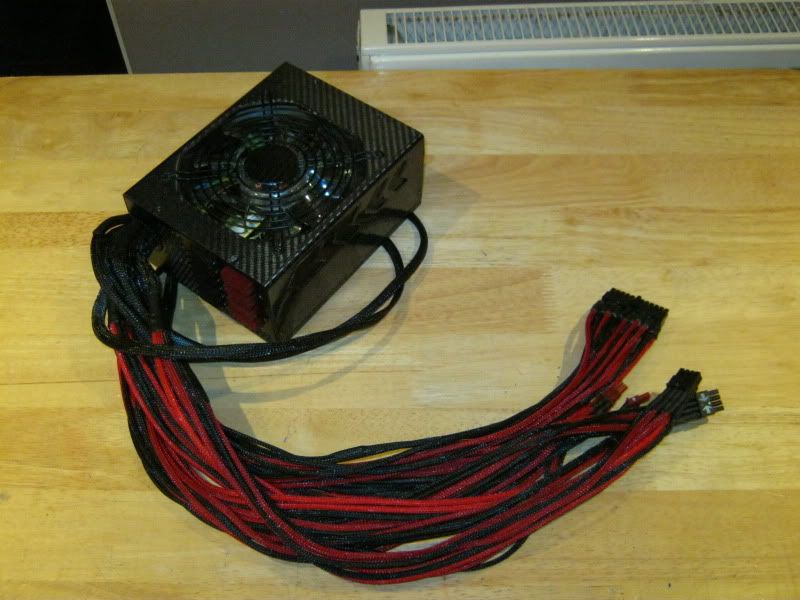
First off I had to strip down the PSU ready for braiding.
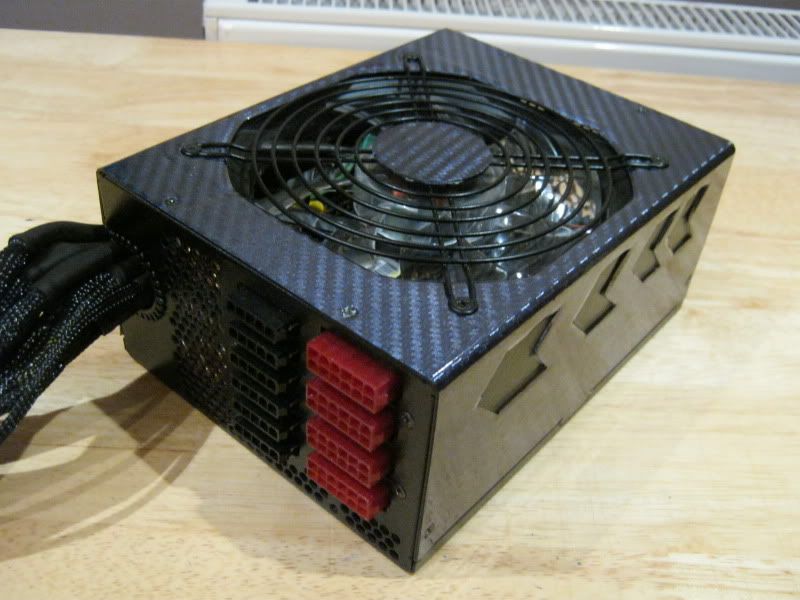
Here's a quick reminder of the PSU as it looked:
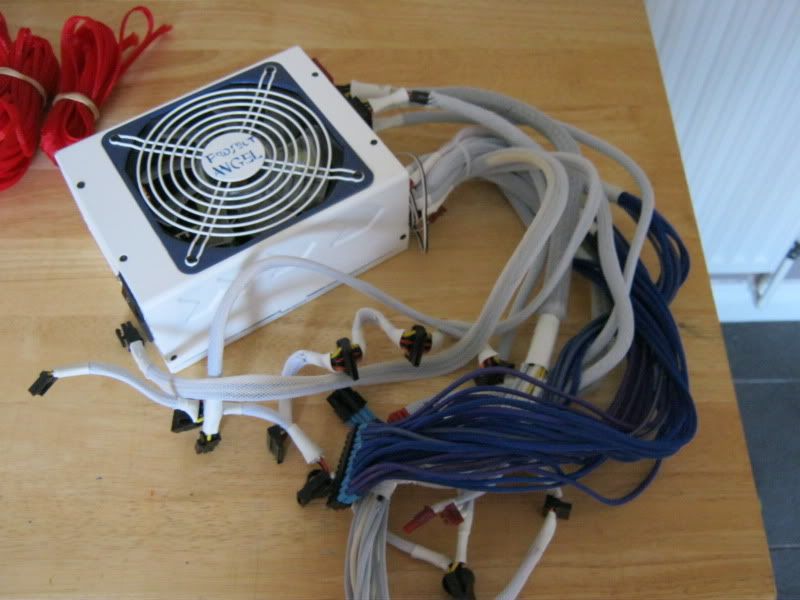
Looked great in my Angel build but hardly becomming of something a little more devilish so time for a complete colour change.
I'm no electrician but it goes without saying that you should not do this while it's plugged in. The coils/capacitors can also harbour some residual current after switching off too so be careful if you intend on doing this.
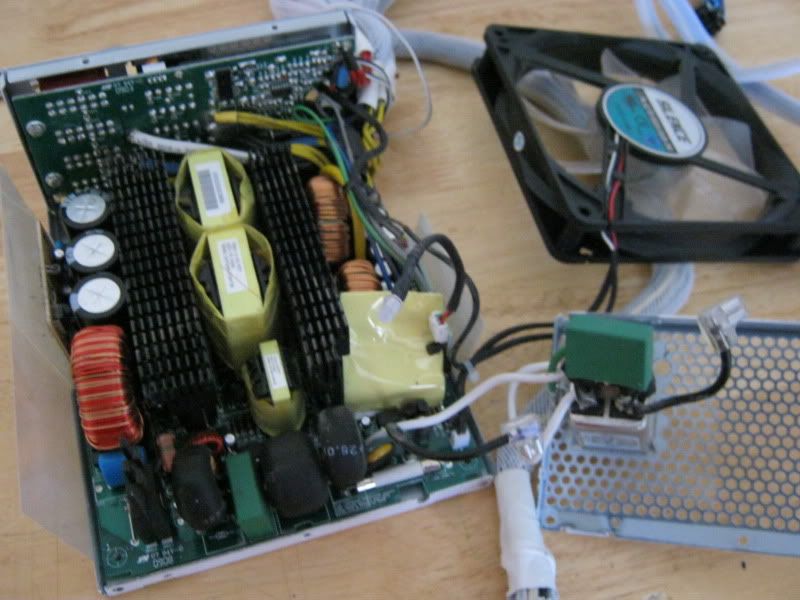
It helps to take photos of the internals for an aide memoire when putting it all back together:
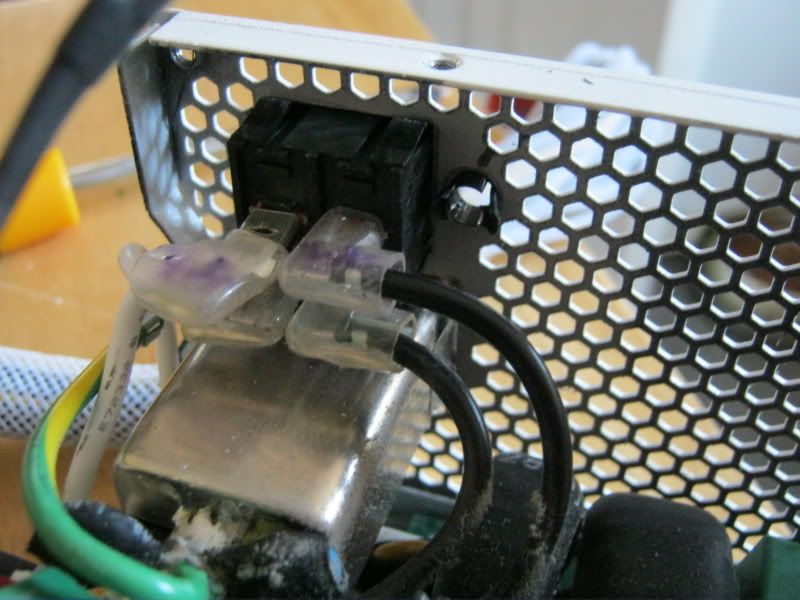
Perhaps the most difficult thing when stripping down the psu was removing the on/off switches and power socket:
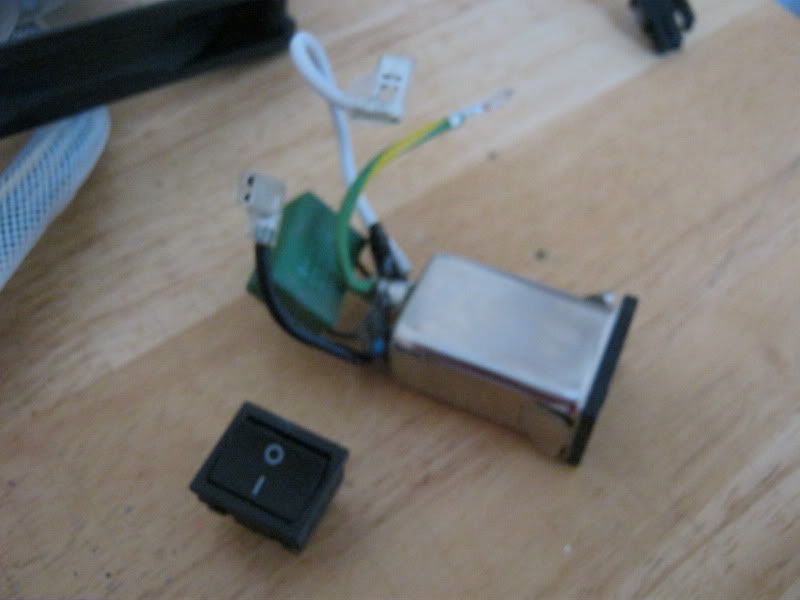
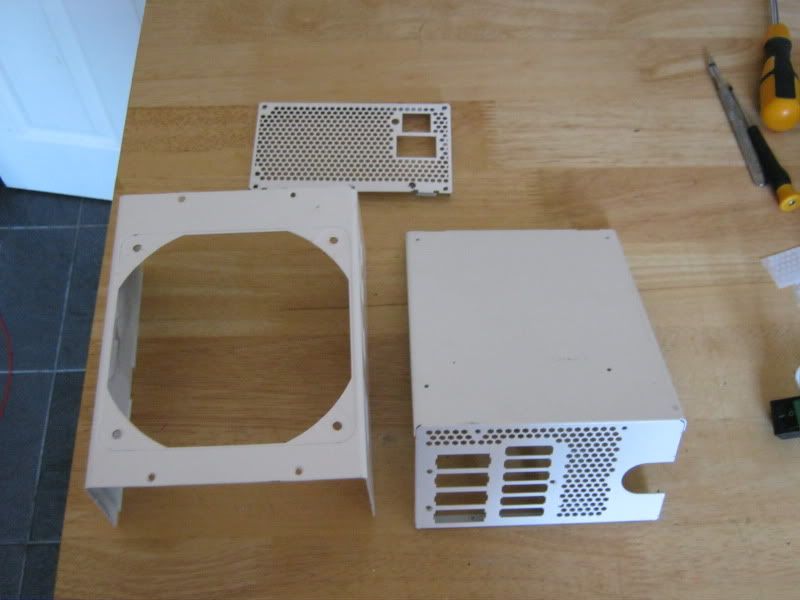
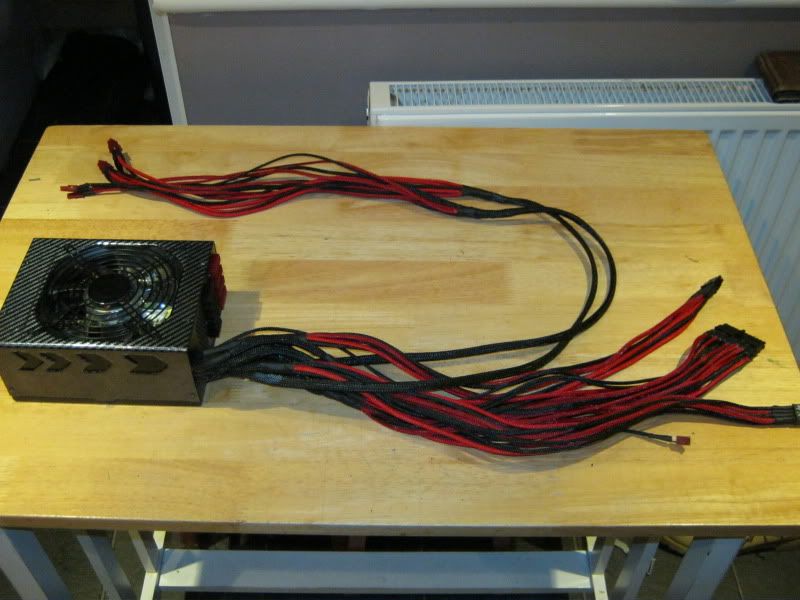
With those removed the rest was pretty much plain sailing and self explanitory, right down to the bare psu itself:
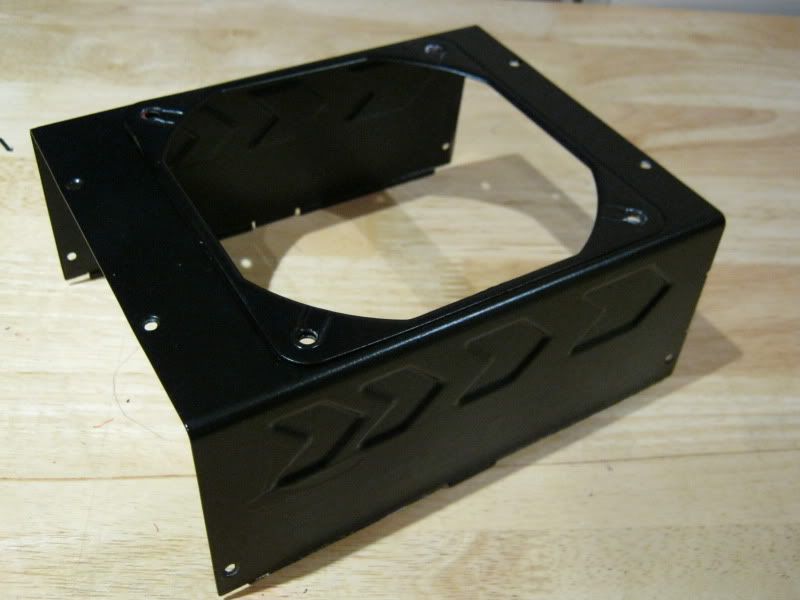
...and the psu frame which needs a spruce up:
next up pt.2
First off I had to strip down the PSU ready for braiding.
Here's a quick reminder of the PSU as it looked:
Looked great in my Angel build but hardly becomming of something a little more devilish so time for a complete colour change.
I'm no electrician but it goes without saying that you should not do this while it's plugged in. The coils/capacitors can also harbour some residual current after switching off too so be careful if you intend on doing this.
It helps to take photos of the internals for an aide memoire when putting it all back together:
Perhaps the most difficult thing when stripping down the psu was removing the on/off switches and power socket:
With those removed the rest was pretty much plain sailing and self explanitory, right down to the bare psu itself:
...and the psu frame which needs a spruce up:
next up pt.2
So with the psu now stripped down it was time to kiss my fingers goodbye. I thought I'd do a mini guide to braiding but there are more comprehensive ones on the net if you wanna search around.
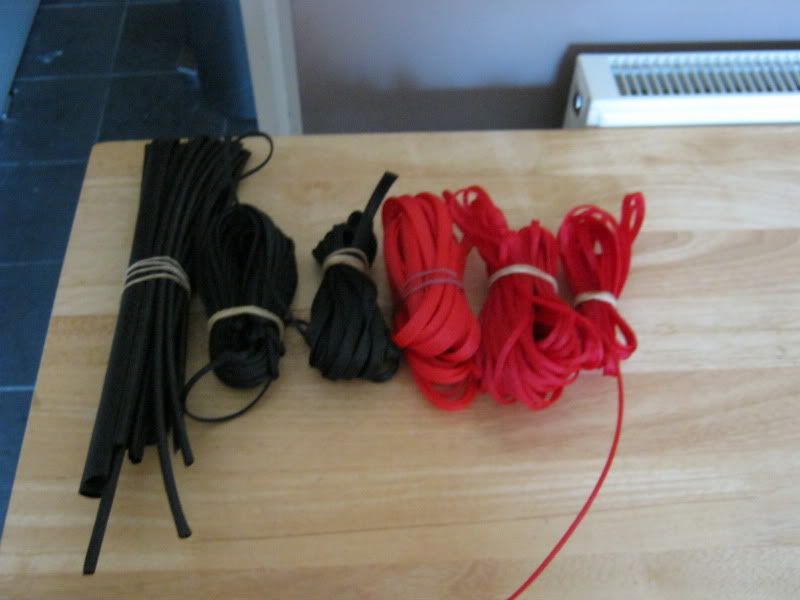
The braiding I have gone for is red and black to match the theme. I was undecided over the red and black mix braid you can get but I think that looks a bit dull and much prefer the brighter, separate colours:
First step really was the strip all the old braid off. This was actually quite painfull considering the amount of time it took to do the first time around...knowing I got it all to do again lol.
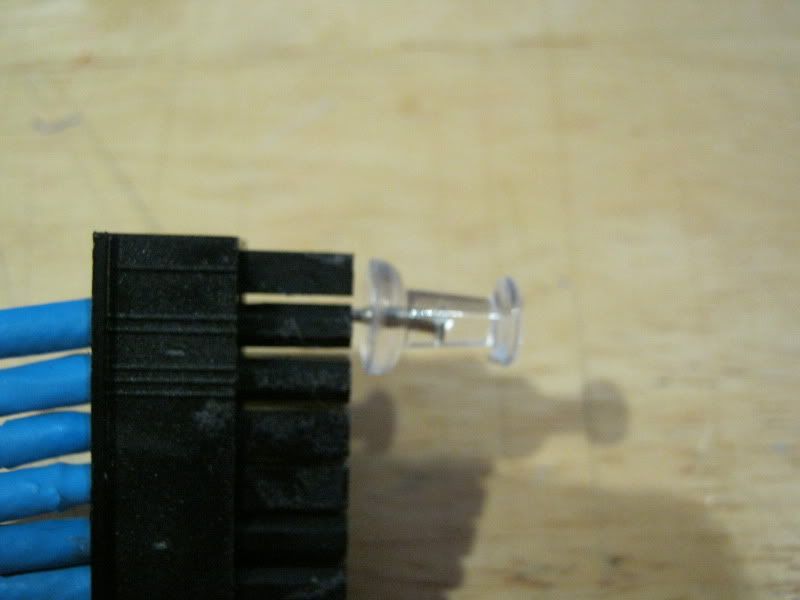
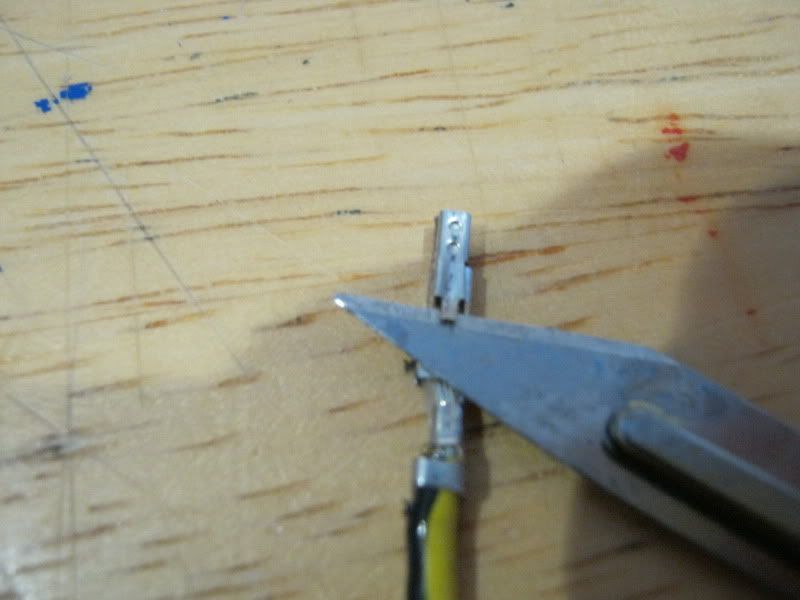
I must have tried every tool going to remove female pins from PCIe/24 pin ATX. Most snapped after a few uses but the good 'ol cork pins are by far the best tool I have used for this. Just slide it down one edge of the pluf, then the other and a gentle tug frees the cable

Same for the 24 pin
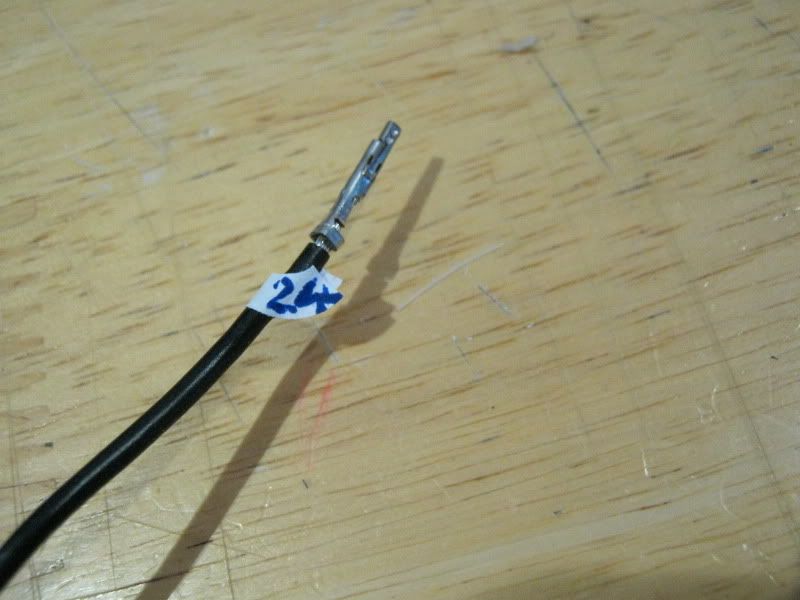
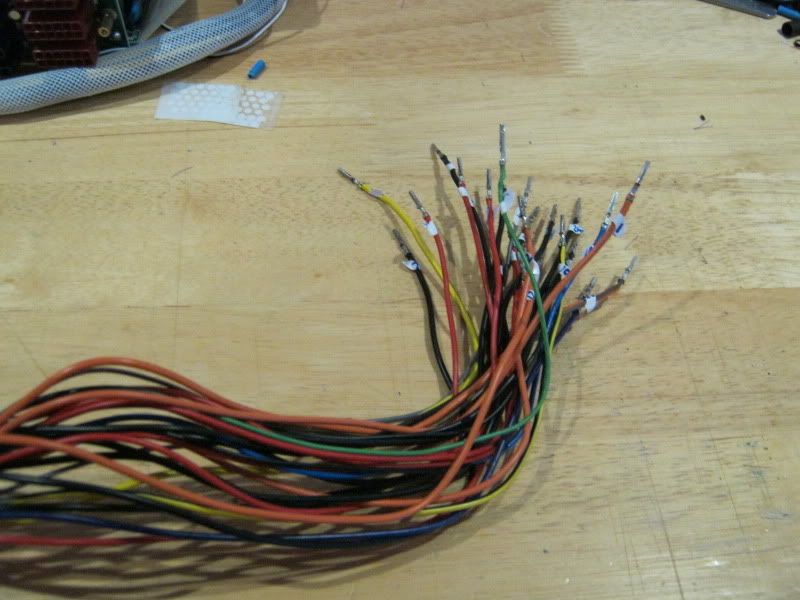
1 word of warning before you go stripping yours down, make sure you number your cables.
There are pin out guides on the net which can also be used but I find this just as easy and less confusing as you put the cables back.
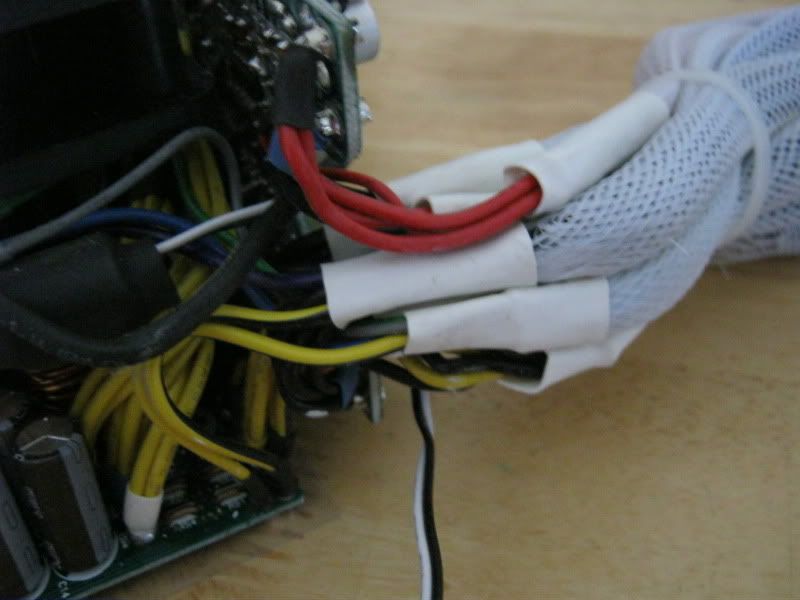
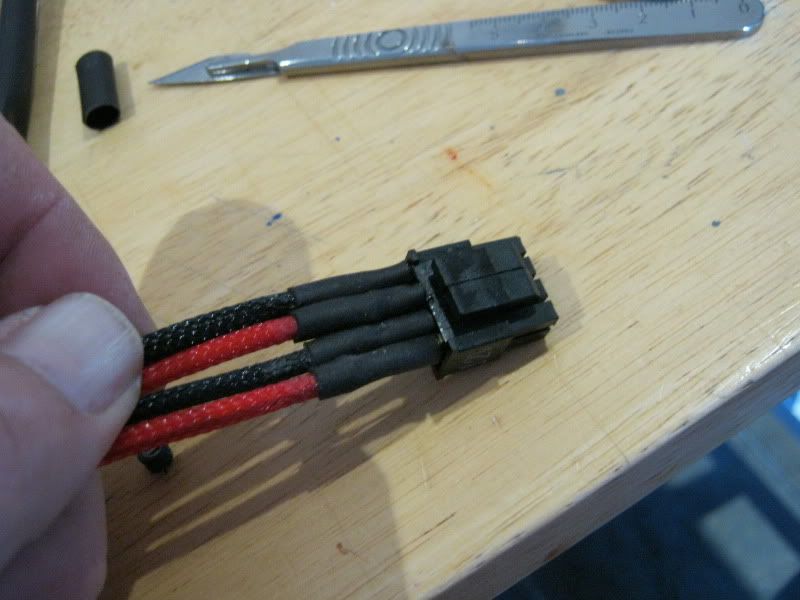
Another problem I encountered with this psu was that not all of the cables were single. Alot of them were spliced so the braid could not be done singulary all the was to the psu. Not to worry though because I doubt the hole in the psu would take all of the cables when braided anyway.
Here's the solution I used:
Still very neat and tidy and won't look like a rats nest coming out of the PSU
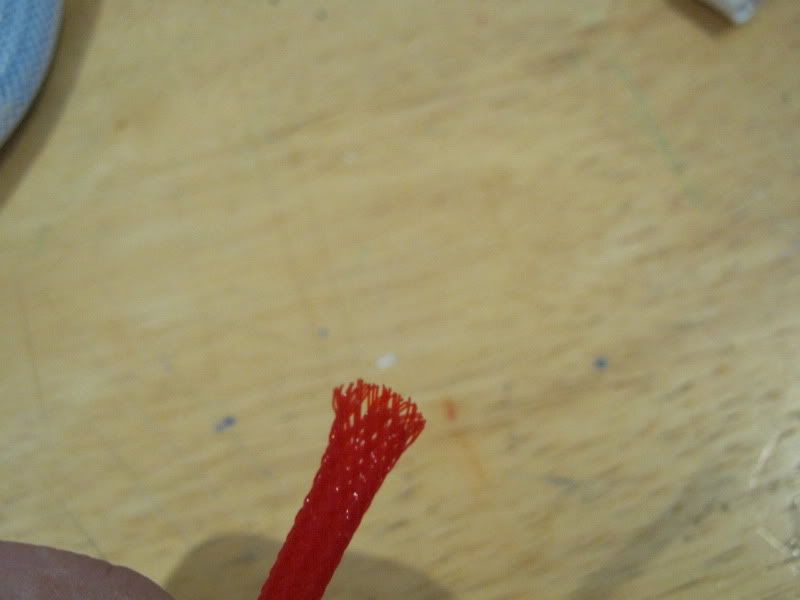
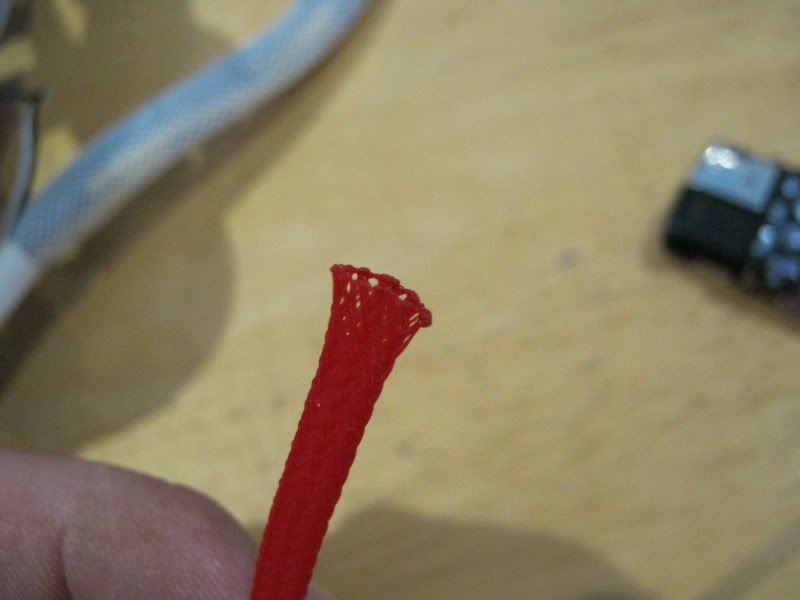
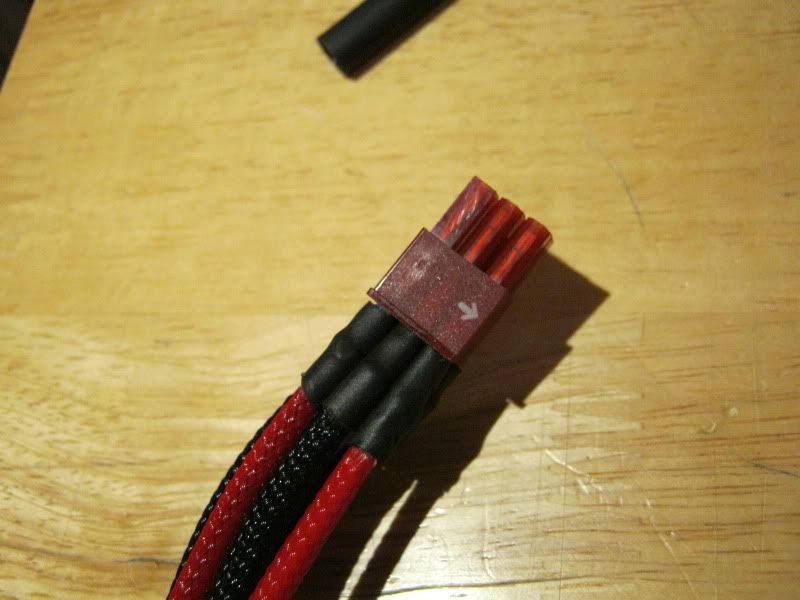
When cutting the braid melt the frayed ends so they don't...er....fray!
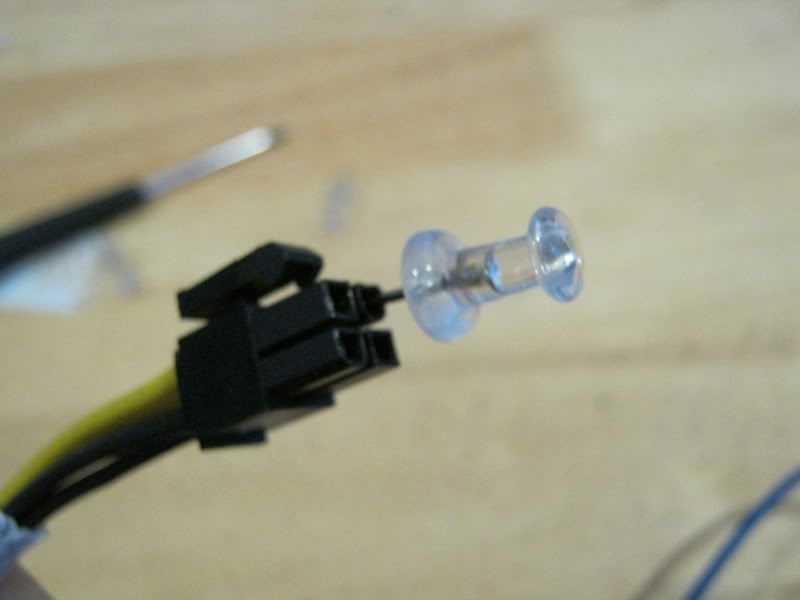
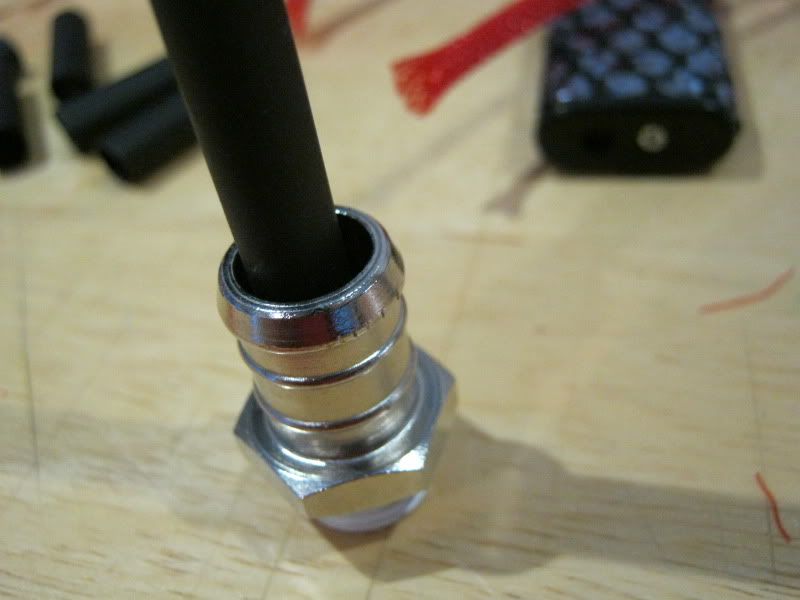
Don't forget to re-lift the metal slithers up as the cable won't latch into the plug.
The braiding I have gone for is red and black to match the theme. I was undecided over the red and black mix braid you can get but I think that looks a bit dull and much prefer the brighter, separate colours:
First step really was the strip all the old braid off. This was actually quite painfull considering the amount of time it took to do the first time around...knowing I got it all to do again lol.
I must have tried every tool going to remove female pins from PCIe/24 pin ATX. Most snapped after a few uses but the good 'ol cork pins are by far the best tool I have used for this. Just slide it down one edge of the pluf, then the other and a gentle tug frees the cable
Same for the 24 pin
1 word of warning before you go stripping yours down, make sure you number your cables.
There are pin out guides on the net which can also be used but I find this just as easy and less confusing as you put the cables back.
Another problem I encountered with this psu was that not all of the cables were single. Alot of them were spliced so the braid could not be done singulary all the was to the psu. Not to worry though because I doubt the hole in the psu would take all of the cables when braided anyway.
Here's the solution I used:
Still very neat and tidy and won't look like a rats nest coming out of the PSU
When cutting the braid melt the frayed ends so they don't...er....fray!
Don't forget to re-lift the metal slithers up as the cable won't latch into the plug.
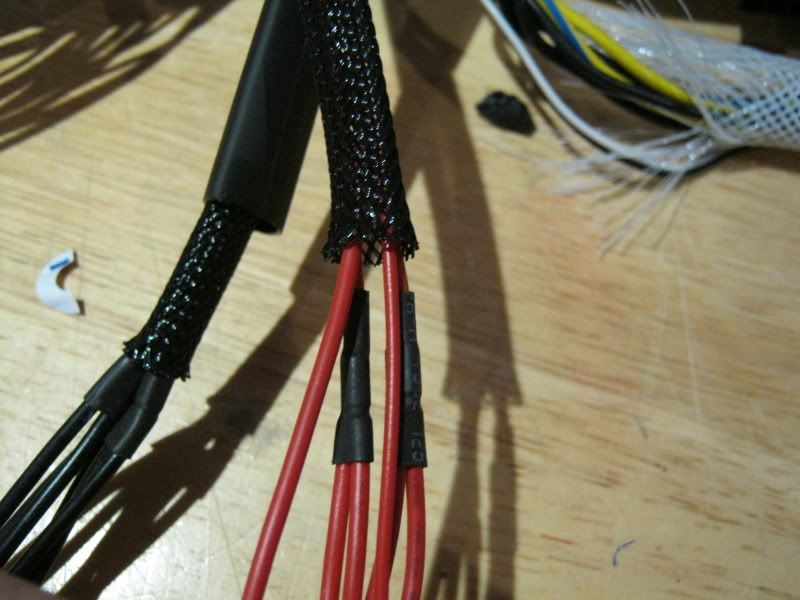
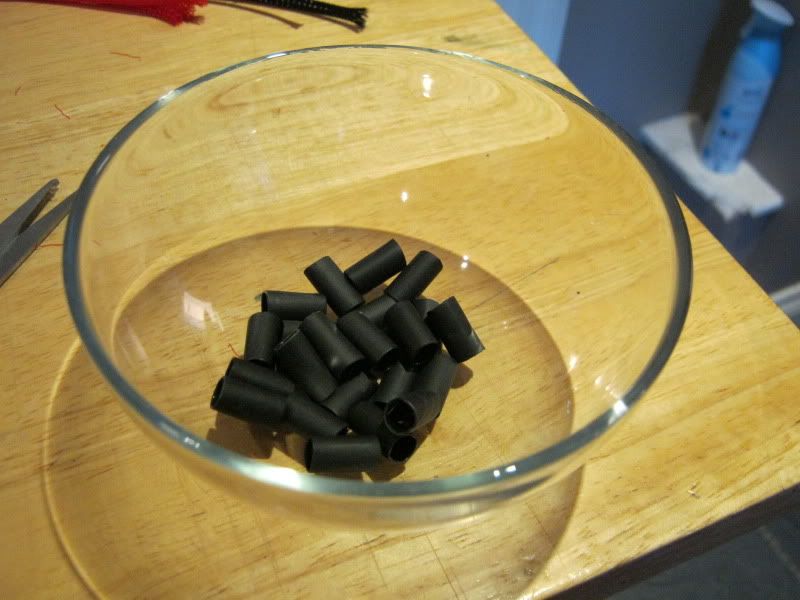
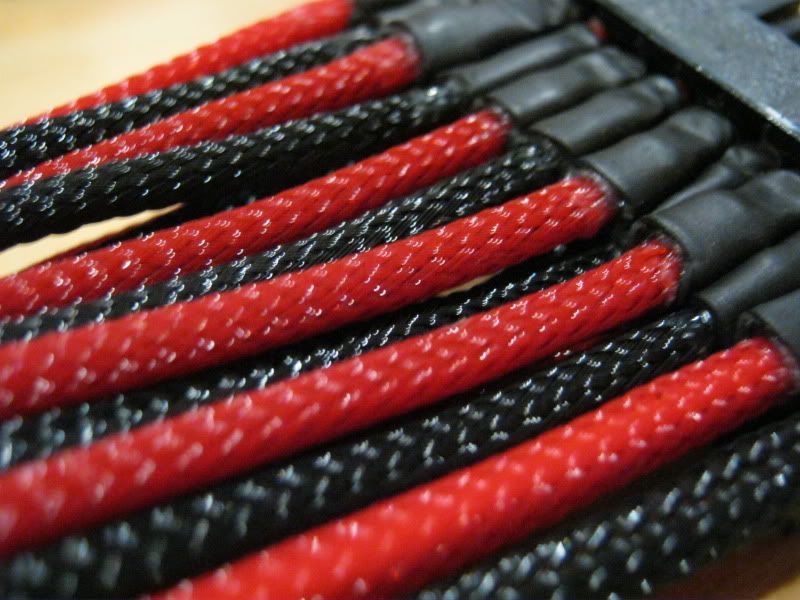
You can get heatshrink in different shrink ratios. I chose 3:1 as that gives a good tight fit without too much 'shrinkage', if that makes sense. You can also get it with adhesive on the inside which provides fantastic grip to the braid/cable. The last heatshrink I used was not adhesive and while it gave a tight fit, it lost it's grip when bent, resulting in the braid coming loose.
To get an even measure on the braid I used a custom measuring tool...a spare watercooling barb

The 'measured' heatshrink tubes were then cut again in half for the 24 pin.
Keeping everything neat and tidy speeds thinks up when braiding and after a while it becomes pretty much like an assembly line allowing you to braid methodically rather than stopping and starting all the time to use different tools.
Here's a shot of the heatshrink while still maleable after heating up with a hairdryer. You can use a heatgun but a decent hairdryer is just as effective on full heat:
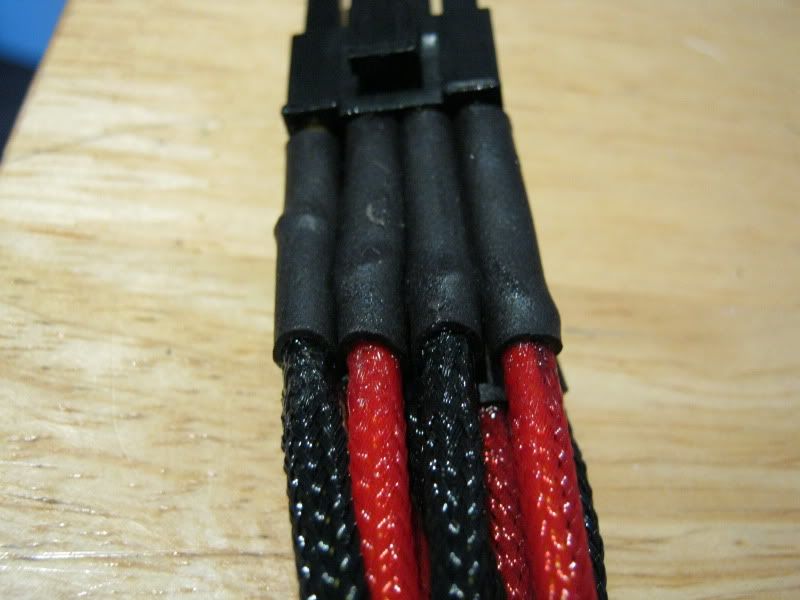
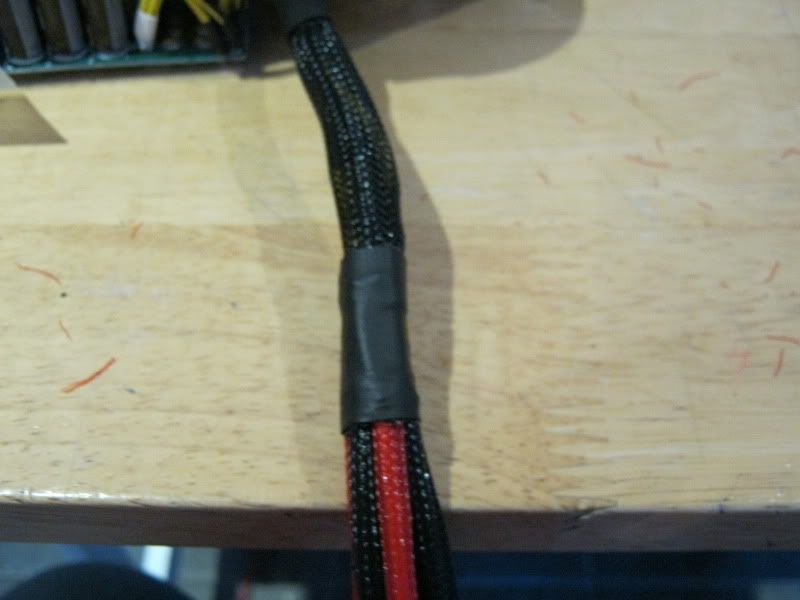
8pin ATX:
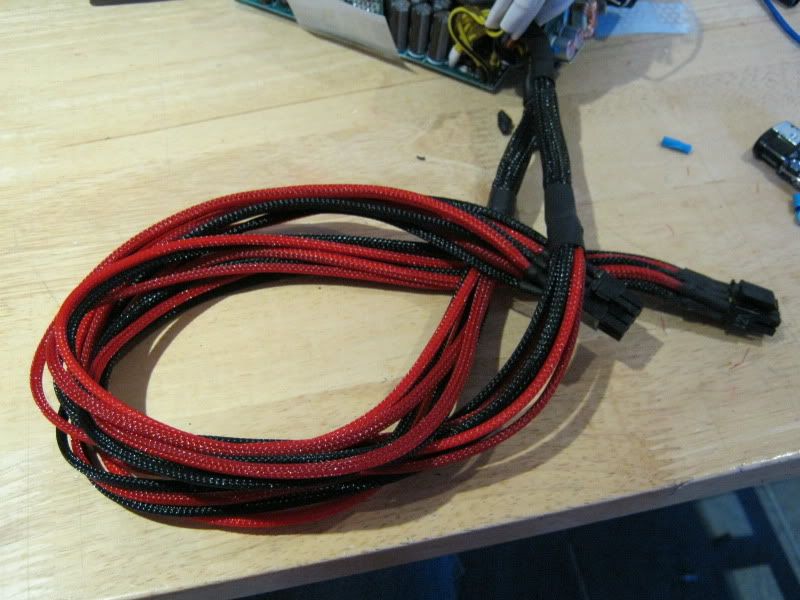
Because my case is large and the PSU being at the top of the case I extended the PCIe cables by 50cm, easy enough to do and looks neater than using some of the pre-braided cable extensions available.
All done.
Rinse and repeat for the 24pin:
Next up PSU frame mod...
To get an even measure on the braid I used a custom measuring tool...a spare watercooling barb
The 'measured' heatshrink tubes were then cut again in half for the 24 pin.
Keeping everything neat and tidy speeds thinks up when braiding and after a while it becomes pretty much like an assembly line allowing you to braid methodically rather than stopping and starting all the time to use different tools.
Here's a shot of the heatshrink while still maleable after heating up with a hairdryer. You can use a heatgun but a decent hairdryer is just as effective on full heat:
8pin ATX:
Because my case is large and the PSU being at the top of the case I extended the PCIe cables by 50cm, easy enough to do and looks neater than using some of the pre-braided cable extensions available.
All done.
Rinse and repeat for the 24pin:
Next up PSU frame mod...
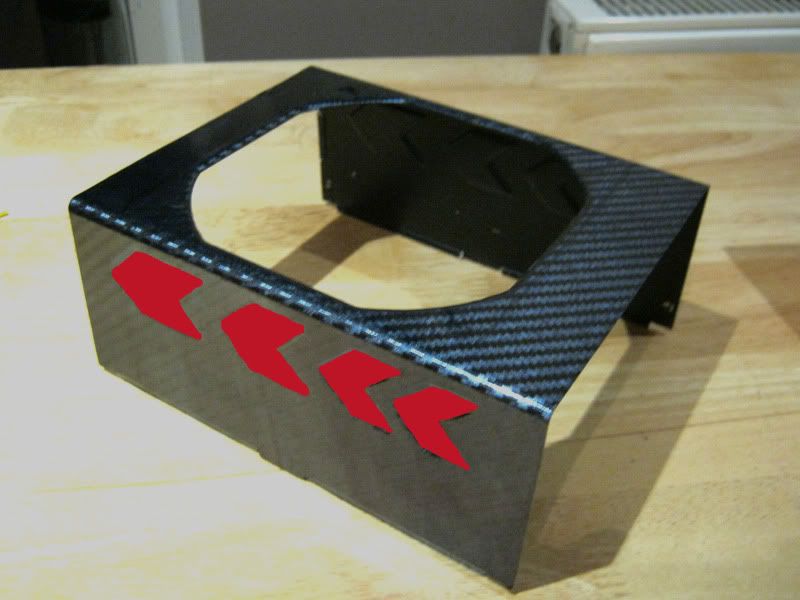
Remember the white frame? Sanded down, primed and then sprayed black:
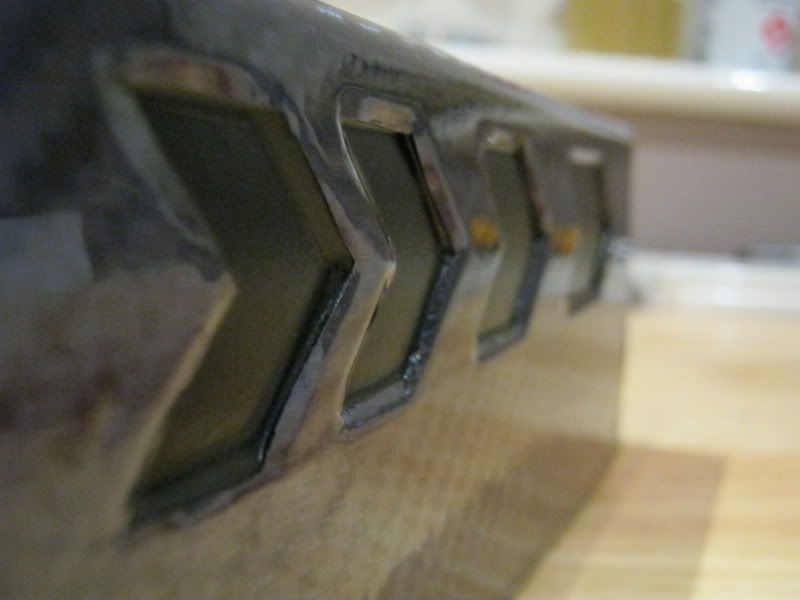
Carbonised
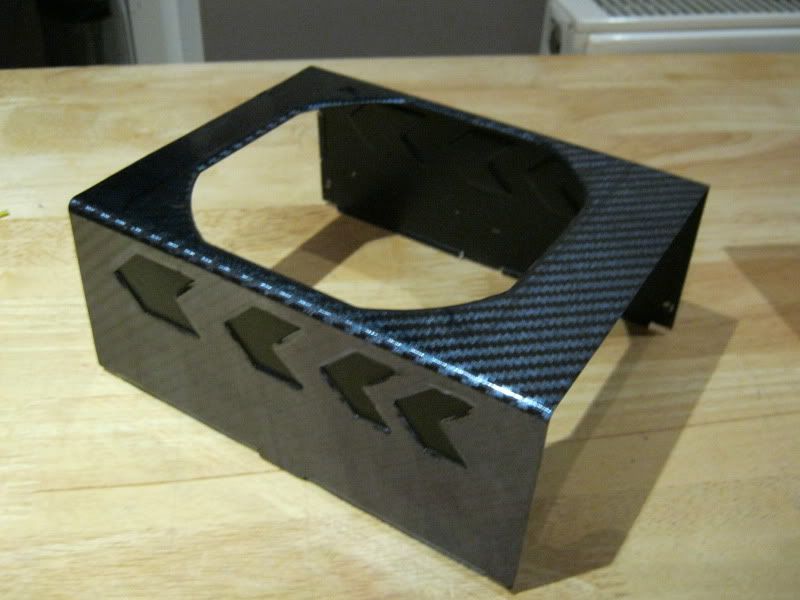
I decided to keep the revolution 'arrows, if somewhat a little more descreet than stock :
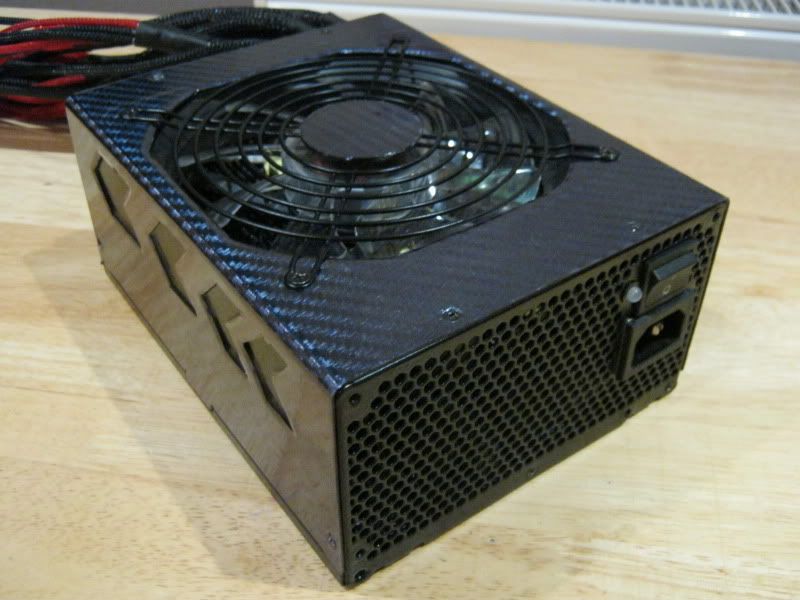
Thats the psu done with now. I just have to sleeve all the modular cables but that can wait till I get some feeling back into my finger tips!
Hope you like. I'm rather chuffed with how it's turned out and matches my build a treat.
Carbonised
I decided to keep the revolution 'arrows, if somewhat a little more descreet than stock :
Thats the psu done with now. I just have to sleeve all the modular cables but that can wait till I get some feeling back into my finger tips!
Hope you like. I'm rather chuffed with how it's turned out and matches my build a treat.
killablade
New member
epiiiiiiiic
Does look really Nice Webbo, think Id have stummped for red under the carbon on the PSU though just for a small flash of colour.
Stromatolites
New member
Excuse my leet paint skills
Better or worse?
I think it would look quite cool having the red set like that. Will add some depth and texture to the PSU.
Decided to stick with the black/carbon look for the psu as it looks more pro rather than cheesy.
Minor update: Memory
Here's how the sticks look stock:
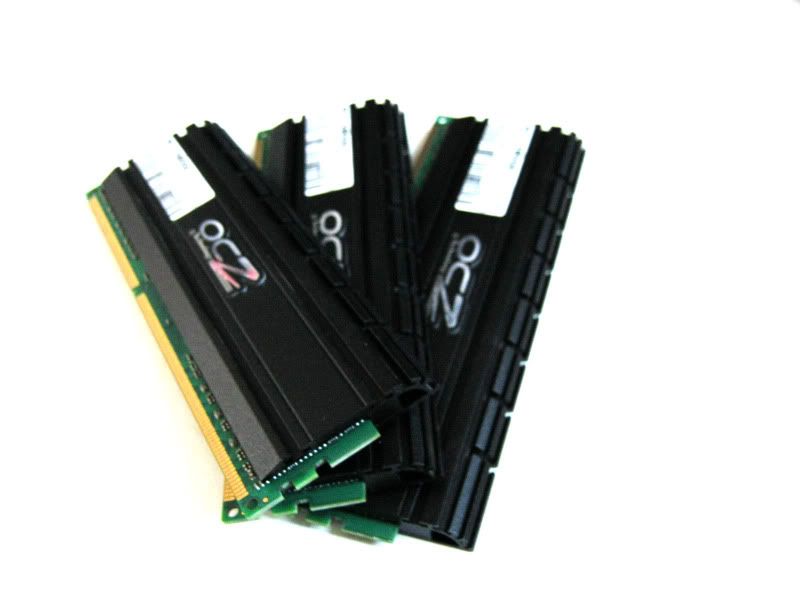
Time for a bit of domination
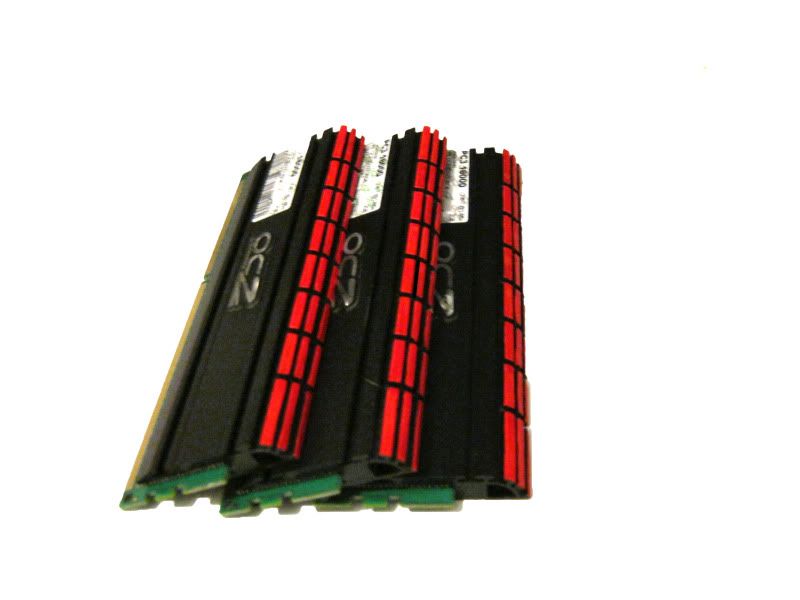
Now I could have just sold these and bought a set of dominator GT's for the same aesthetic effect but this kit out performs the dominators by a fair margin (I know because I have reviewed both
).
The edges need sharpening up a tad but thats an easy enough job.
Minor update: Memory
Here's how the sticks look stock:
Time for a bit of domination
Now I could have just sold these and bought a set of dominator GT's for the same aesthetic effect but this kit out performs the dominators by a fair margin (I know because I have reviewed both
The edges need sharpening up a tad but thats an easy enough job.
Now for the fans:
I innitially bought some of these in 120 & 140mm guise:
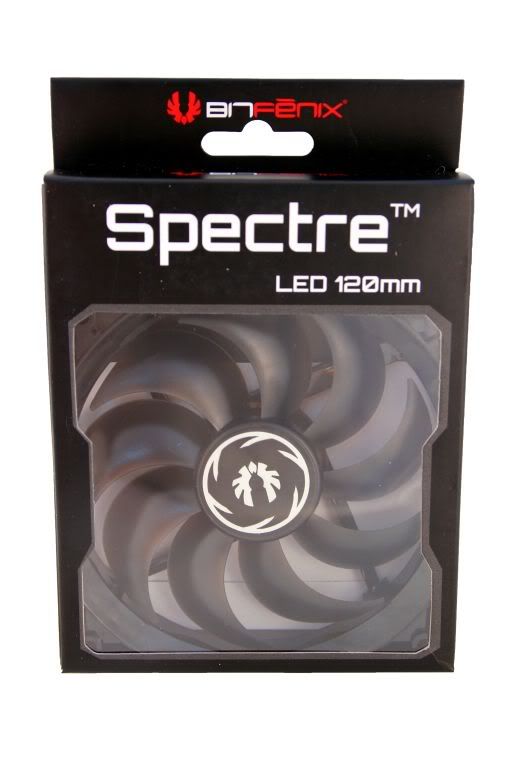
and while they are good fans, I really wanted some with red fins. Choices were a bit thin on the ground. Phobya Nano-G fans had the look but not the performance. Enermax Apolish fans also would have fit the bill but the cfm was dire and clearly these put looks over performance.
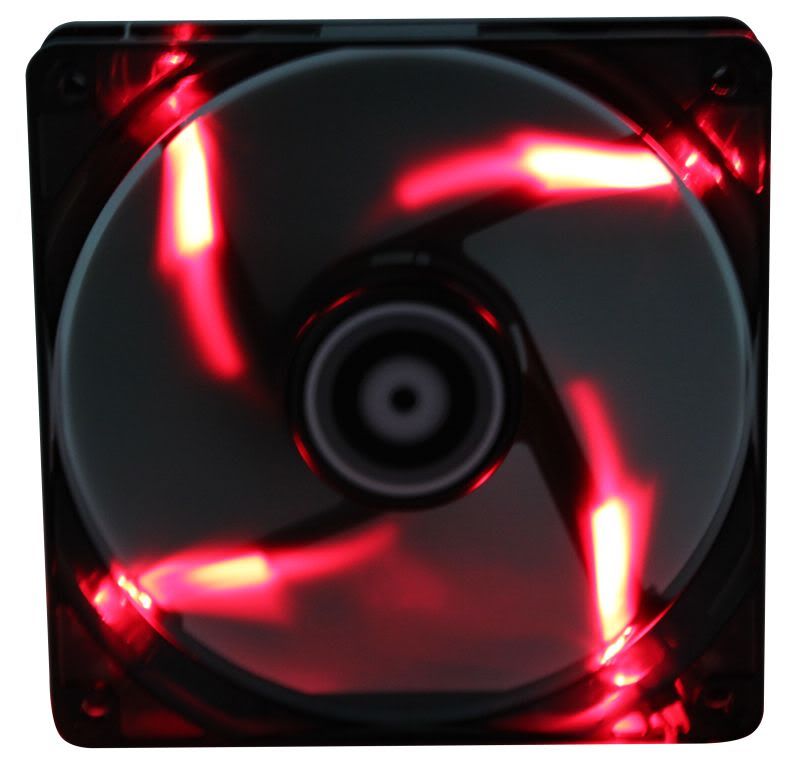
Enter the Prolimatech Vortex
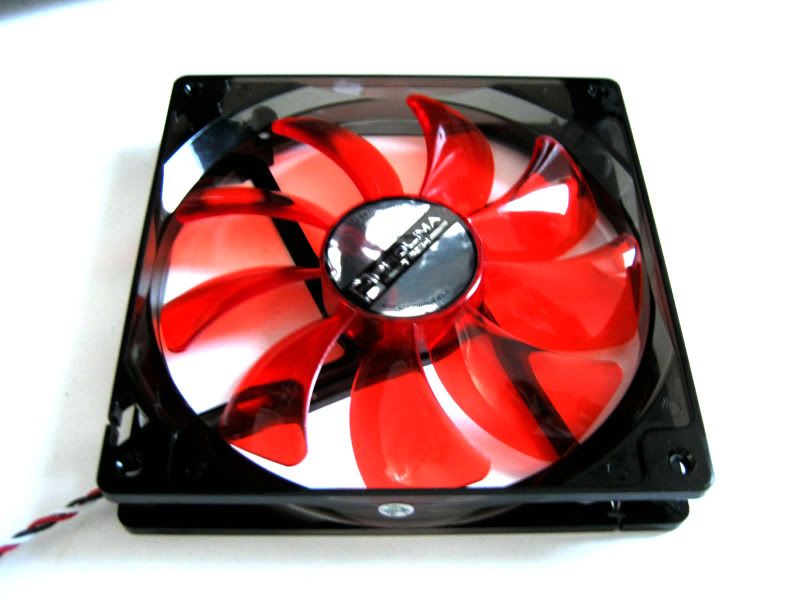
These were perfect (apart from the price!) high cfm, low noise with great looks. Only problem was the cables wern't braided. Did I mention I hate braiding? Grrrr. Had to be done though:
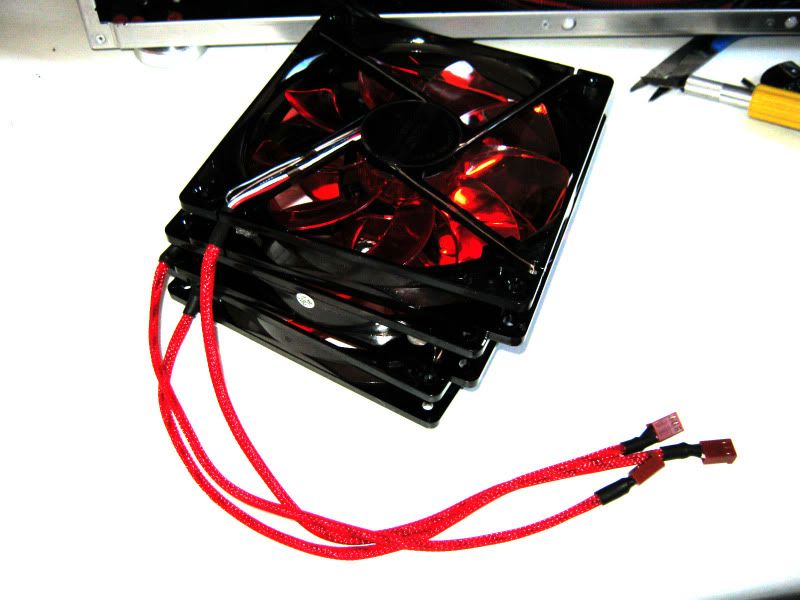
Another 3 on order along with a 120mm Coolermaster sickleflow as the exhaust fan.
The plan is to have 3x140mm intakes along with another 140mm roof exhaust and 2x 140mm on the Super Mega HSF.
I innitially bought some of these in 120 & 140mm guise:
and while they are good fans, I really wanted some with red fins. Choices were a bit thin on the ground. Phobya Nano-G fans had the look but not the performance. Enermax Apolish fans also would have fit the bill but the cfm was dire and clearly these put looks over performance.
Enter the Prolimatech Vortex
These were perfect (apart from the price!) high cfm, low noise with great looks. Only problem was the cables wern't braided. Did I mention I hate braiding? Grrrr. Had to be done though:
Another 3 on order along with a 120mm Coolermaster sickleflow as the exhaust fan.
The plan is to have 3x140mm intakes along with another 140mm roof exhaust and 2x 140mm on the Super Mega HSF.
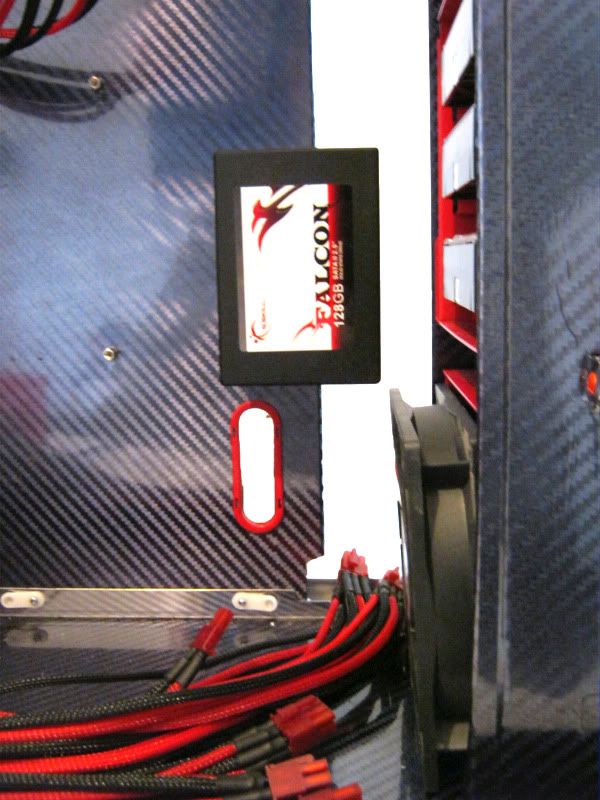
So as this case doesn't have inbuilt SSD holders I decided to mount the drive to the motherboard tray.
Sticking the SSD to the tray would have been the easiest option however plugging the cables in could dislodge the drive and make a mess of the vinyl so I used some old extended motherboard risers:
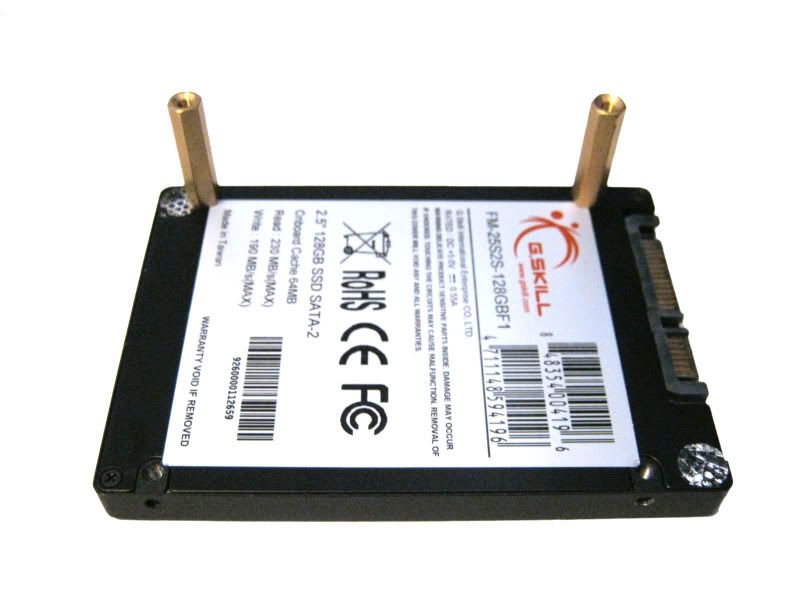
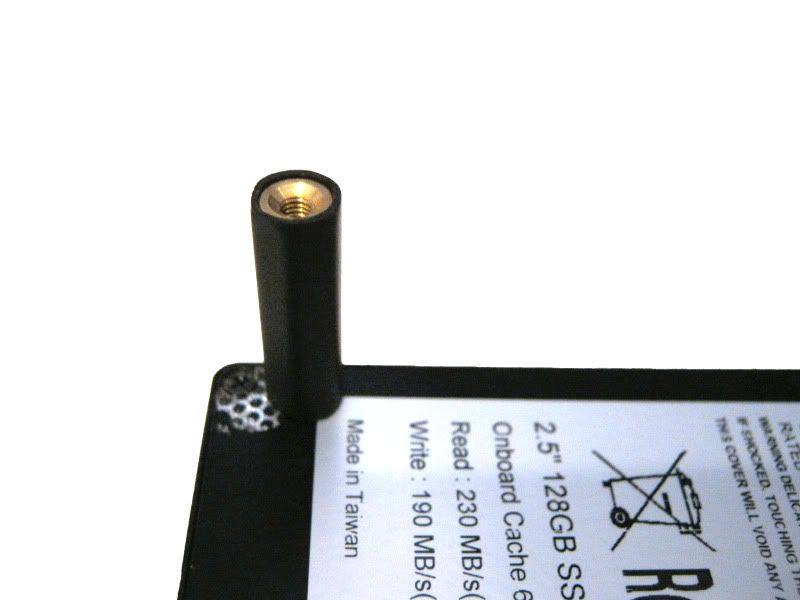
Didn't like the look of brass (not that anyone will see) so I heat'shrunk' those:
...and mounted it to the motherboard tray:
Sticking the SSD to the tray would have been the easiest option however plugging the cables in could dislodge the drive and make a mess of the vinyl so I used some old extended motherboard risers:
Didn't like the look of brass (not that anyone will see) so I heat'shrunk' those:
...and mounted it to the motherboard tray:
The hard drives should go connector side showing, however I don't like looking at cables and prefer to keep the look as clean as possible so placed them this side around. Attaching the HD rack might take a little modding but thats the price I'll pay for a cleaner look.
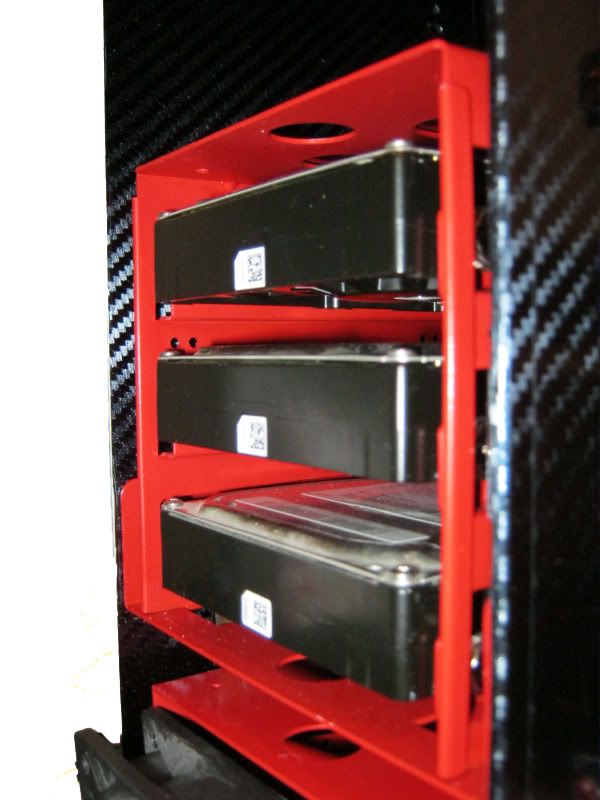
The SATA cables were fiddly to do , especially as the connectors needed re-alligning to match up to the spacing of the HD's but I think they came up a treat:

and here's how they look attached:

Shame that they won't be seen....might change my mind about the clean look!
The SATA cables were fiddly to do , especially as the connectors needed re-alligning to match up to the spacing of the HD's but I think they came up a treat:
and here's how they look attached:
Shame that they won't be seen....might change my mind about the clean look!