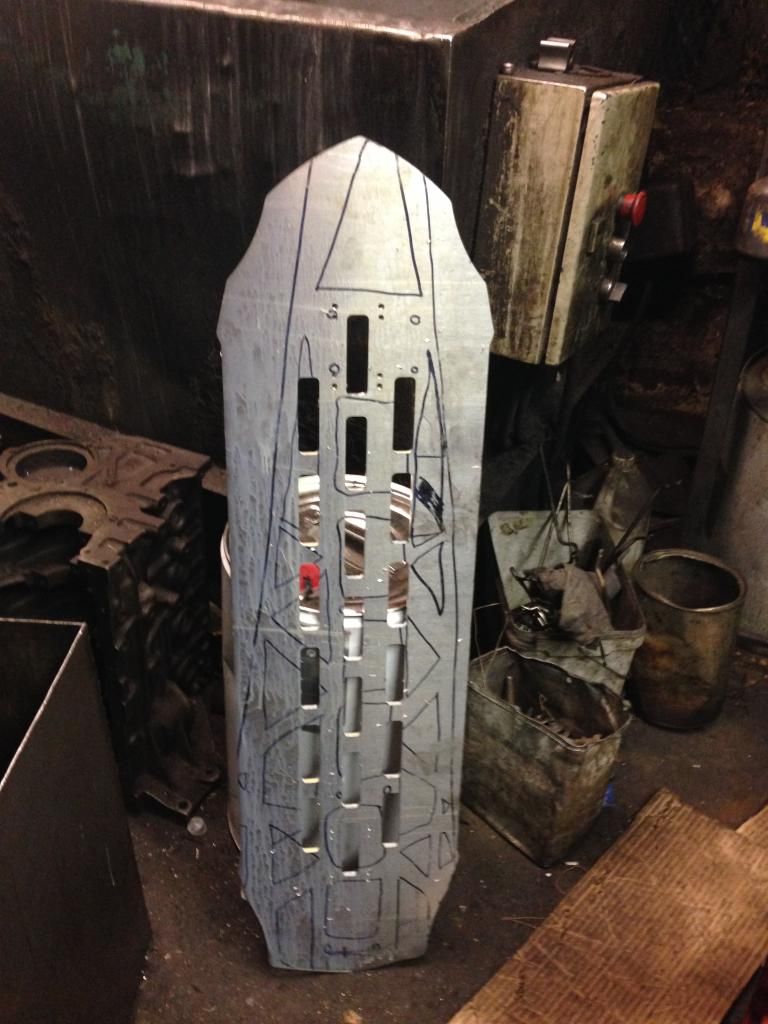
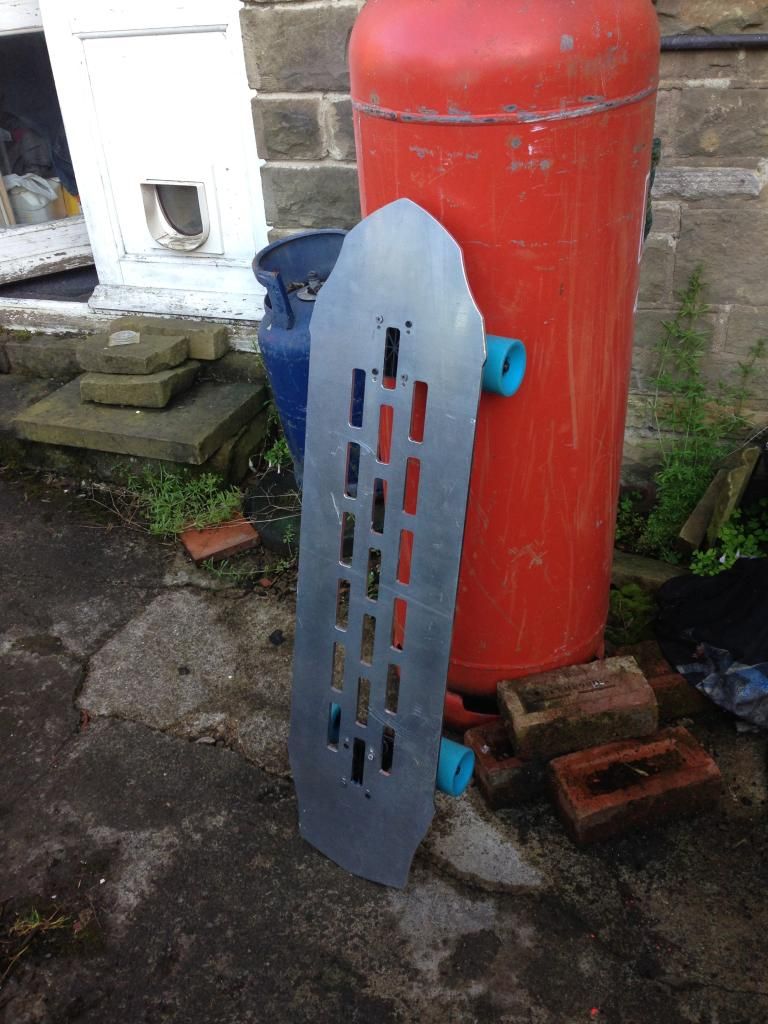
In the last 2/3 months I have fallen completely in love with skating and more specifically, longboarding. The thrill of hitting 25mph on what is essentially a glorified plank of wood is something one has to physically do themselves to fully experience it. In fact, I have convinced 5 or 6 people to buy longboards just from riding on mine for 10 minutes or so.
My ambition was to build my own longboard by hand that I could be proud of and that I could truly call my own with an original design. I began by looking into getting some wood and seeing how I could press it into any shape etc. I had found some wood that I wanted and the design I wanted so I approached my dad with the intention of him helping me with making it. I showed him what I wanted to do and he said he had thought of a good idea, "Well, why don't we make it out of aluminium. No one will have one like that!". I told him that It would be a really good idea but wouldn't be very practical because of weight and how brittle metal is compared to wood.
Later, he showed me that he has some aluminium alloy that had flex to it and was a reasonable weight. I began to design and came up, very quickly, with a simple design that I could base my later revisions on.
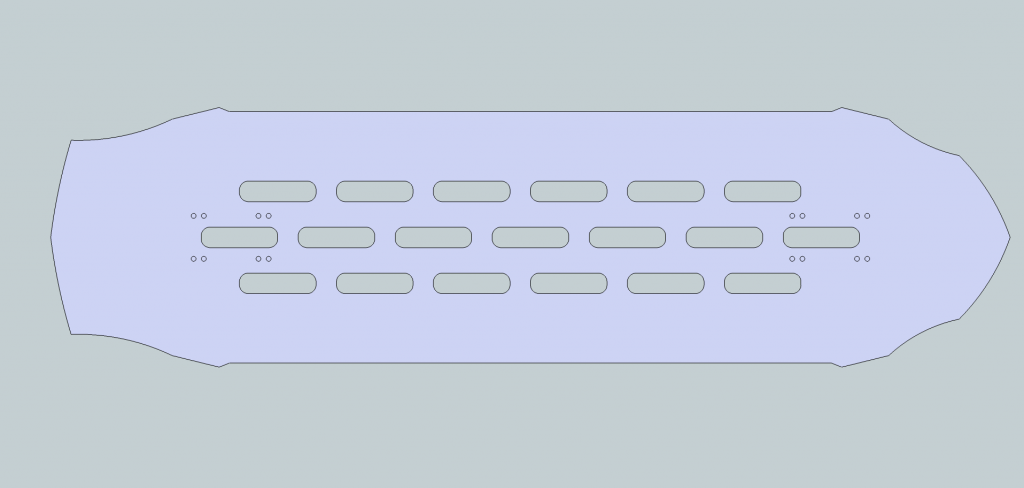
A 49"x11" monster pintail longboard.
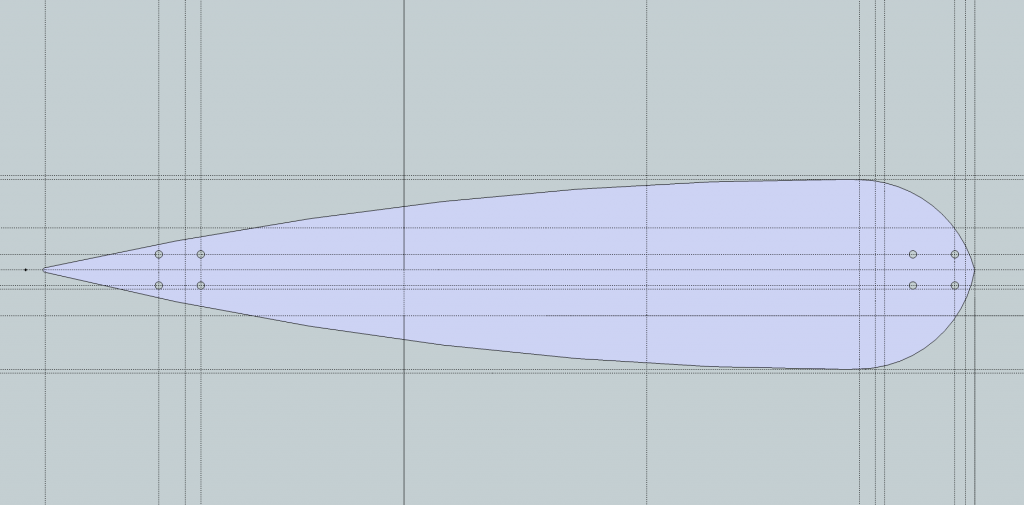
From here I figured ways to keep the strength of a solid longboard but with milled chunks taken out which lead to 4 further revisions of my basic design. Each revision became more aesthetically pleasing and lighter while retaining the key strength that I needed.
Rev.2
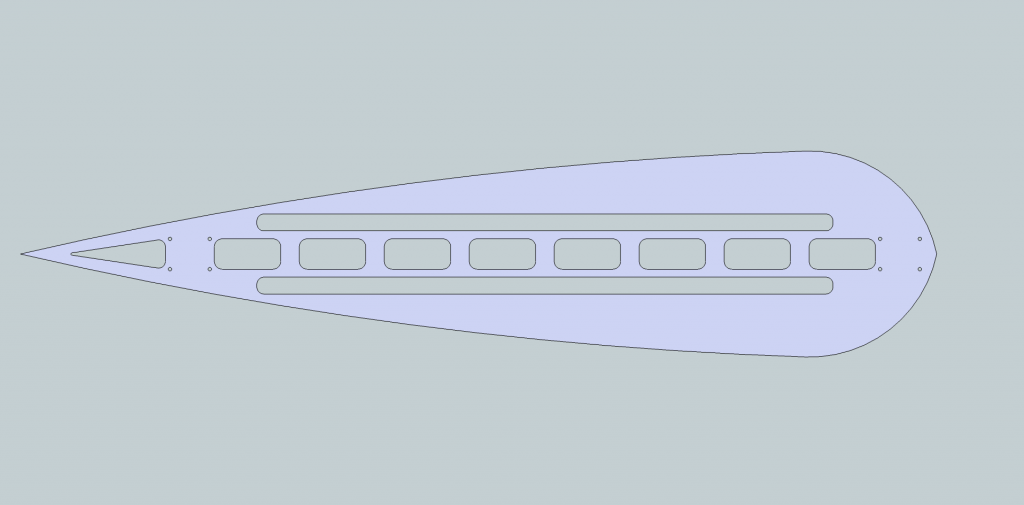
In this revision I had begun to remove sections of material to see how it effected weight and to see if it would be strong enough.
Rev.3
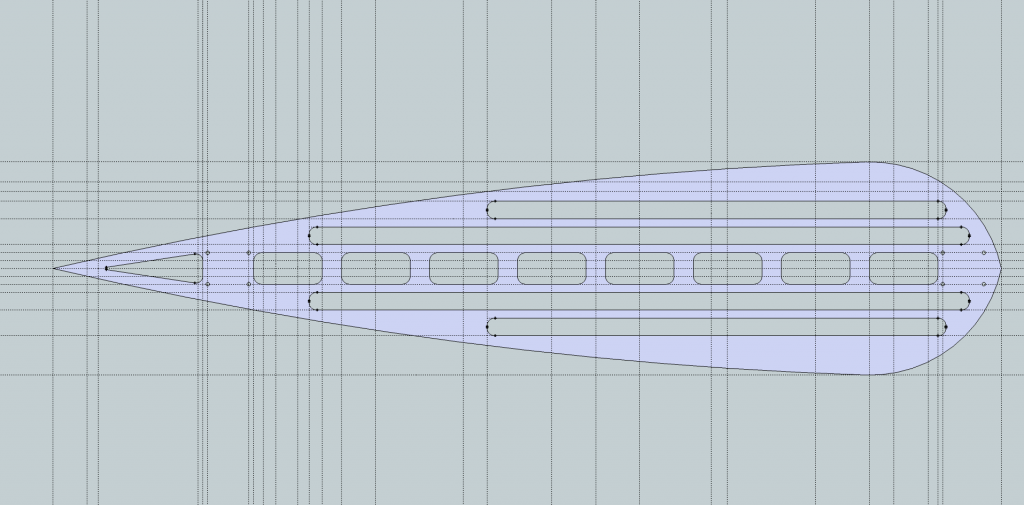
This was a continuation of the design I was trying to use in Rev.2 however my dad later told me that the holes would be on realistic because I would be losing too much strength by having long, unstructured holes.
Rev.4
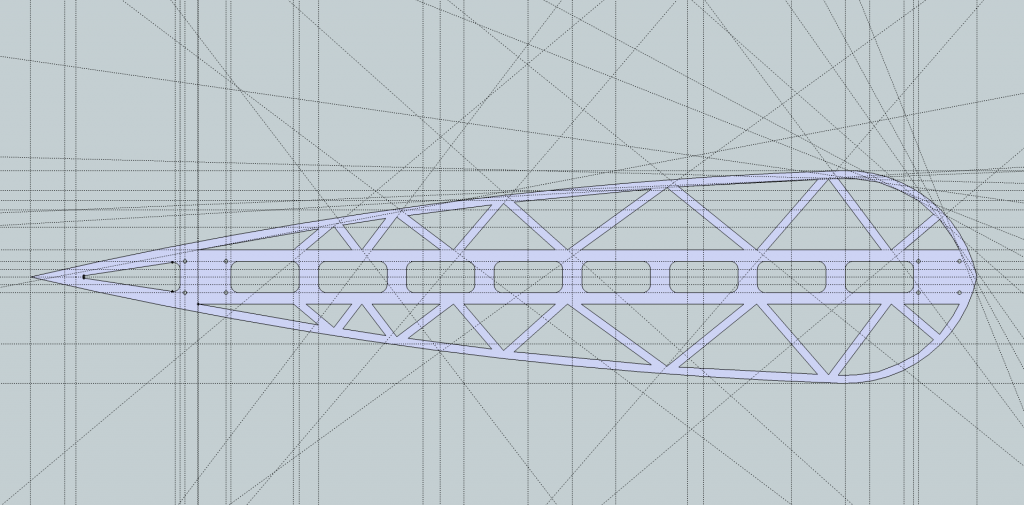
This revision was inspired by a design I saw on the internet. It has not too large holes but dumps lots of material while keeping most strength. This stage was the original final design but I later realised that the largest holes would be over 8cm in diameter!
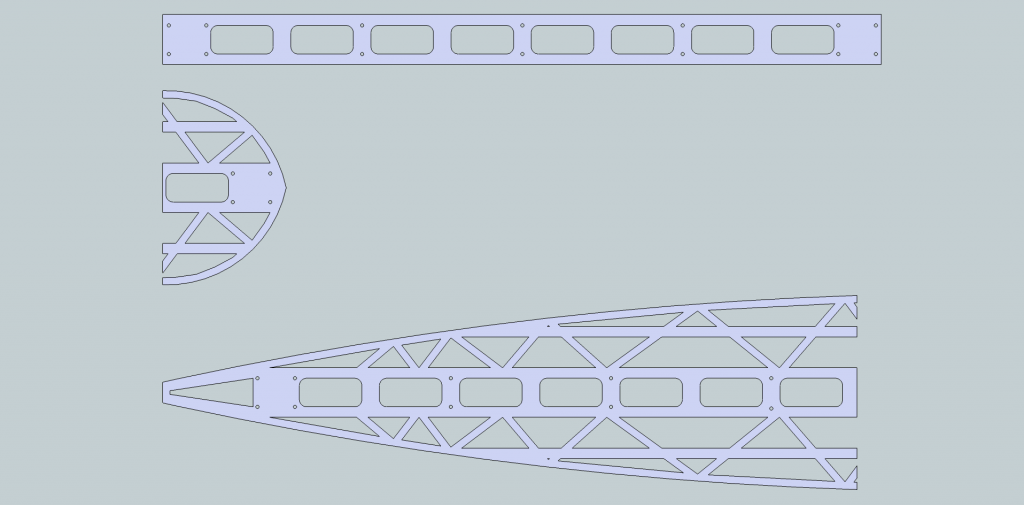
Rev.5 - Final Revision and Potential Design
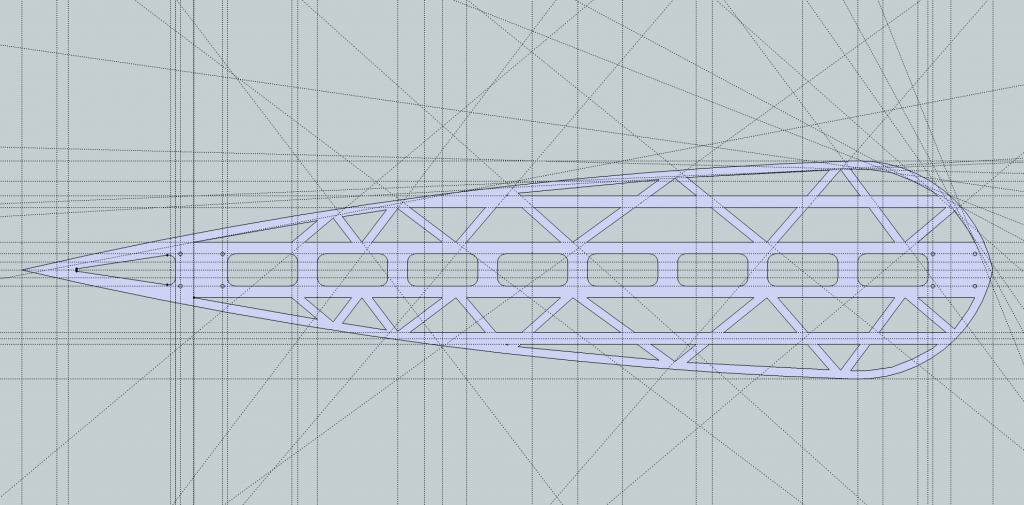
This is a much improved Rev.4 and is more of a Rev.4.2 if anything because the only change that has actually been made is that supports have been added to add strength without adding much mass at all.
Full render in SketchUp
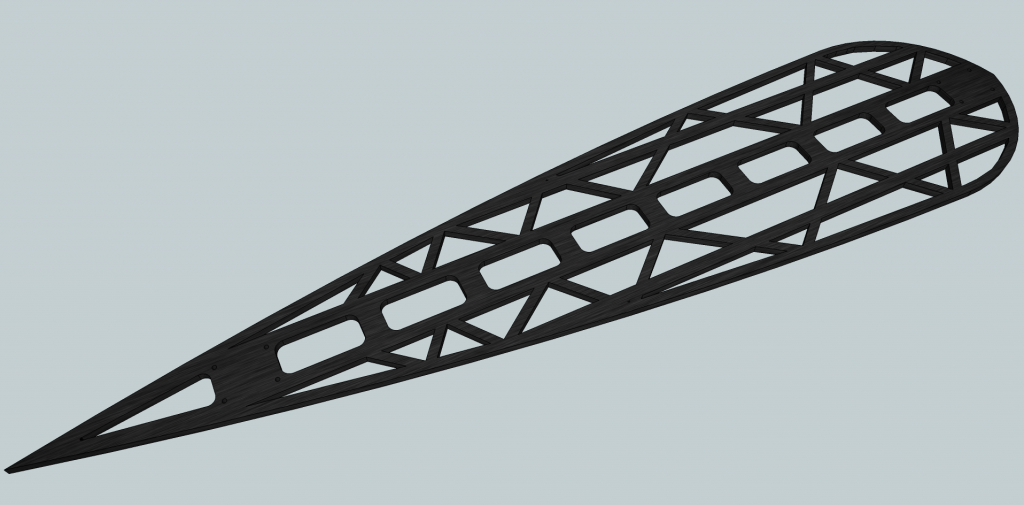
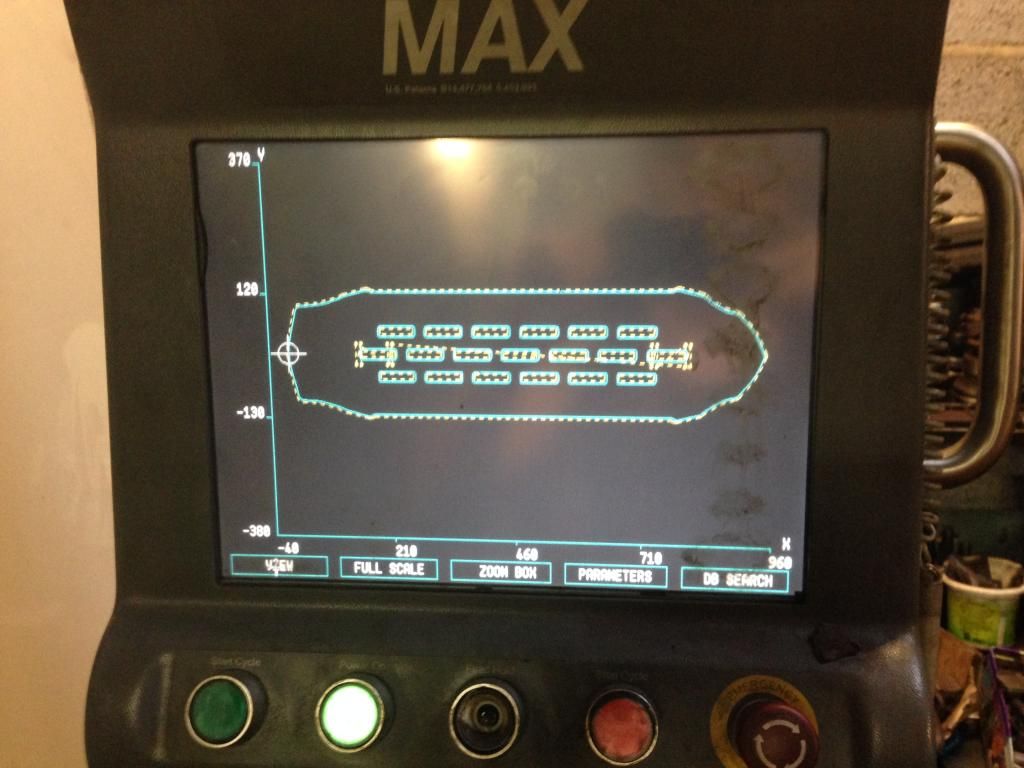
As I write this I am writing the coordinated that the CNC will have to follow and at them moment with about 1/3 of the coordinates written, I have written a full A4 of coordinates!
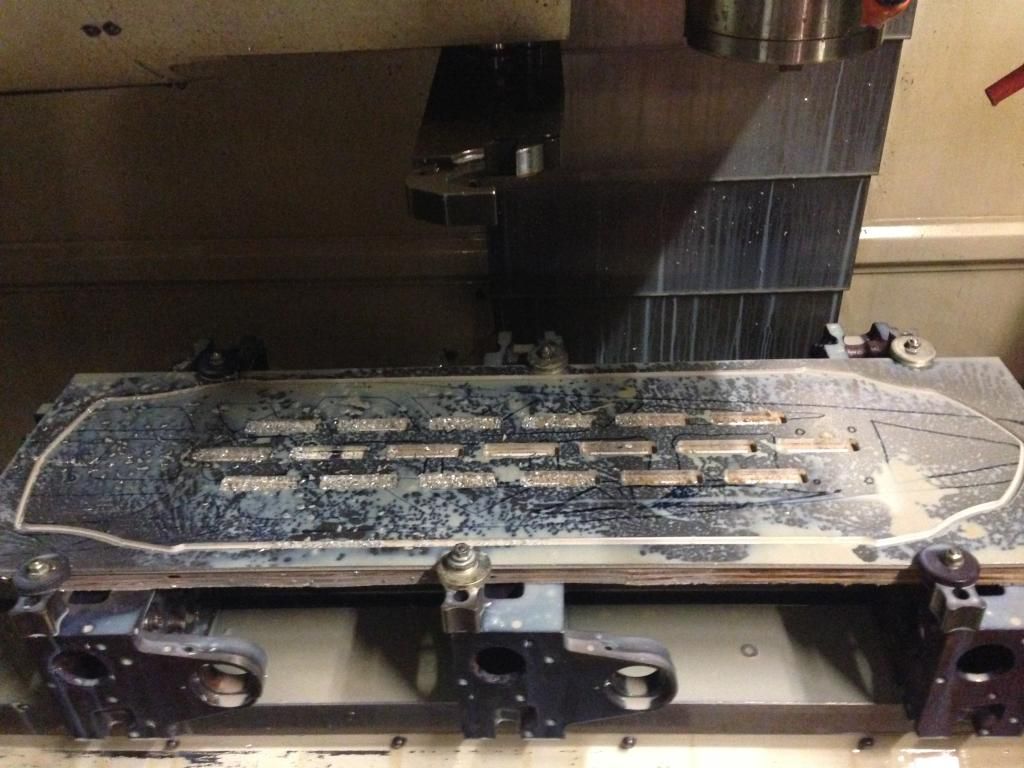
On Saturday I will be going down to my dads workshop and dialing in all of the coords and first testing on a piece of wood before hopefully getting it done in ally on Saturday evening.
I will post my updates on here as the project progresses. Any suggestions, comments or criticisms are welcomed (as long as they are justified ^_^)
Thanks for reading I hope you enjoy.
Joe
My ambition was to build my own longboard by hand that I could be proud of and that I could truly call my own with an original design. I began by looking into getting some wood and seeing how I could press it into any shape etc. I had found some wood that I wanted and the design I wanted so I approached my dad with the intention of him helping me with making it. I showed him what I wanted to do and he said he had thought of a good idea, "Well, why don't we make it out of aluminium. No one will have one like that!". I told him that It would be a really good idea but wouldn't be very practical because of weight and how brittle metal is compared to wood.
Later, he showed me that he has some aluminium alloy that had flex to it and was a reasonable weight. I began to design and came up, very quickly, with a simple design that I could base my later revisions on.
A 49"x11" monster pintail longboard.

From here I figured ways to keep the strength of a solid longboard but with milled chunks taken out which lead to 4 further revisions of my basic design. Each revision became more aesthetically pleasing and lighter while retaining the key strength that I needed.
Rev.2

In this revision I had begun to remove sections of material to see how it effected weight and to see if it would be strong enough.
Rev.3

This was a continuation of the design I was trying to use in Rev.2 however my dad later told me that the holes would be on realistic because I would be losing too much strength by having long, unstructured holes.
Rev.4

This revision was inspired by a design I saw on the internet. It has not too large holes but dumps lots of material while keeping most strength. This stage was the original final design but I later realised that the largest holes would be over 8cm in diameter!
Rev.5 - Final Revision and Potential Design

This is a much improved Rev.4 and is more of a Rev.4.2 if anything because the only change that has actually been made is that supports have been added to add strength without adding much mass at all.
Full render in SketchUp

As I write this I am writing the coordinated that the CNC will have to follow and at them moment with about 1/3 of the coordinates written, I have written a full A4 of coordinates!
On Saturday I will be going down to my dads workshop and dialing in all of the coords and first testing on a piece of wood before hopefully getting it done in ally on Saturday evening.
I will post my updates on here as the project progresses. Any suggestions, comments or criticisms are welcomed (as long as they are justified ^_^)
Thanks for reading
Joe

