You are using an out of date browser. It may not display this or other websites correctly.
You should upgrade or use an alternative browser.
You should upgrade or use an alternative browser.
HELIOS (Caselabs SMH10 | black/copper | EVGA SR-2 | Geforce Titan) - by alpenwasser
- Thread starter alpenwasser
- Start date
alpenwasser
New member
Quick and Messy Update
Thanks mate, I appreciate the support!")
Quick Status Shots
Somebody on LTT requested some current status shots. It's not pretty and mostly disassembled, but since I've shot and
uploaded the pics I thought I might as well post them here, too. Yes, things are slightly messy ATM.
[size=-2](click image for full res)[/size]

[size=-2](click image for full res)[/size]

I'm currently painting the fans. Should have an update on that either Sunday or Monday, if all goes to plan.
Awesome attention to detail. Following
Thanks mate, I appreciate the support!
Quick Status Shots
Somebody on LTT requested some current status shots. It's not pretty and mostly disassembled, but since I've shot and
uploaded the pics I thought I might as well post them here, too. Yes, things are slightly messy ATM.
[size=-2](click image for full res)[/size]

[size=-2](click image for full res)[/size]

I'm currently painting the fans. Should have an update on that either Sunday or Monday, if all goes to plan.
alpenwasser
New member
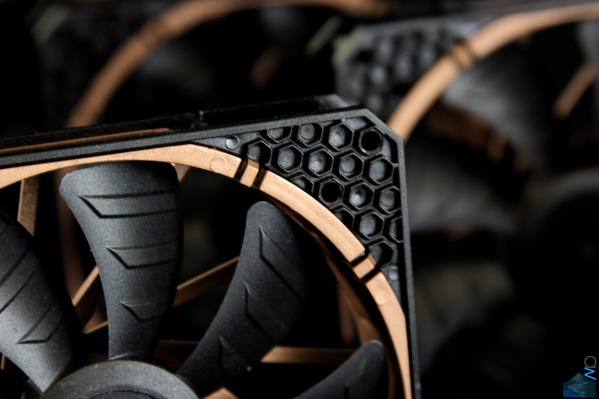
The Bitfenix Spectre Pro Copper Edition
The Bitfenix Spectre Pro Copper Edition
I'll let the pictures do the talking for the most part.
I hung the frames on a thread (still had to rearrange them to cover all the angles).
(click image for full res)

The masking took about two and a half hours for all fans...
(click image for full res)

...because I had the genius idea to paint them both front and back, even though
nobody will ever see the back side again, ever. But the perfectionist inside me
just wouldn't shut up. You can also see that I desoldered the wires. Considering
how close together the contacts are on the PCB that's going to be a bitch to solder
back on. Ah well...
(click image for full res)

First coat of copper paint applied. The paint I'm using is Weicon Copper Spray.
The copper colour comes from actual copper particles (so, it's a metal spray, not
just something that looks like copper). The upside: It's copper! The downside:
It's conductive (most likely, I don't have a multimeter to test this, but I doubt
the epoxy matrix in which the copper particles are embedded serves as a good
enough insulator to make it non-conductive).
I found the paint on eBay, if you google "Weicon copper paint" you should be able
to find more info on it.
(click image for full res)

Aaand we're done. To be perfectly honest, the paint job could be improved upon.
But considering I don't have a spray booth and practically all imperfections are
well hidden when they're mounted I'm still very happy with the results. I'll
definitely change my procedure though if I ever do this again. It's a learning
process.
Also, to prevent the paint from tarnishing, I gave all the painted parts a clear
coat for protection.
(click image for full res)

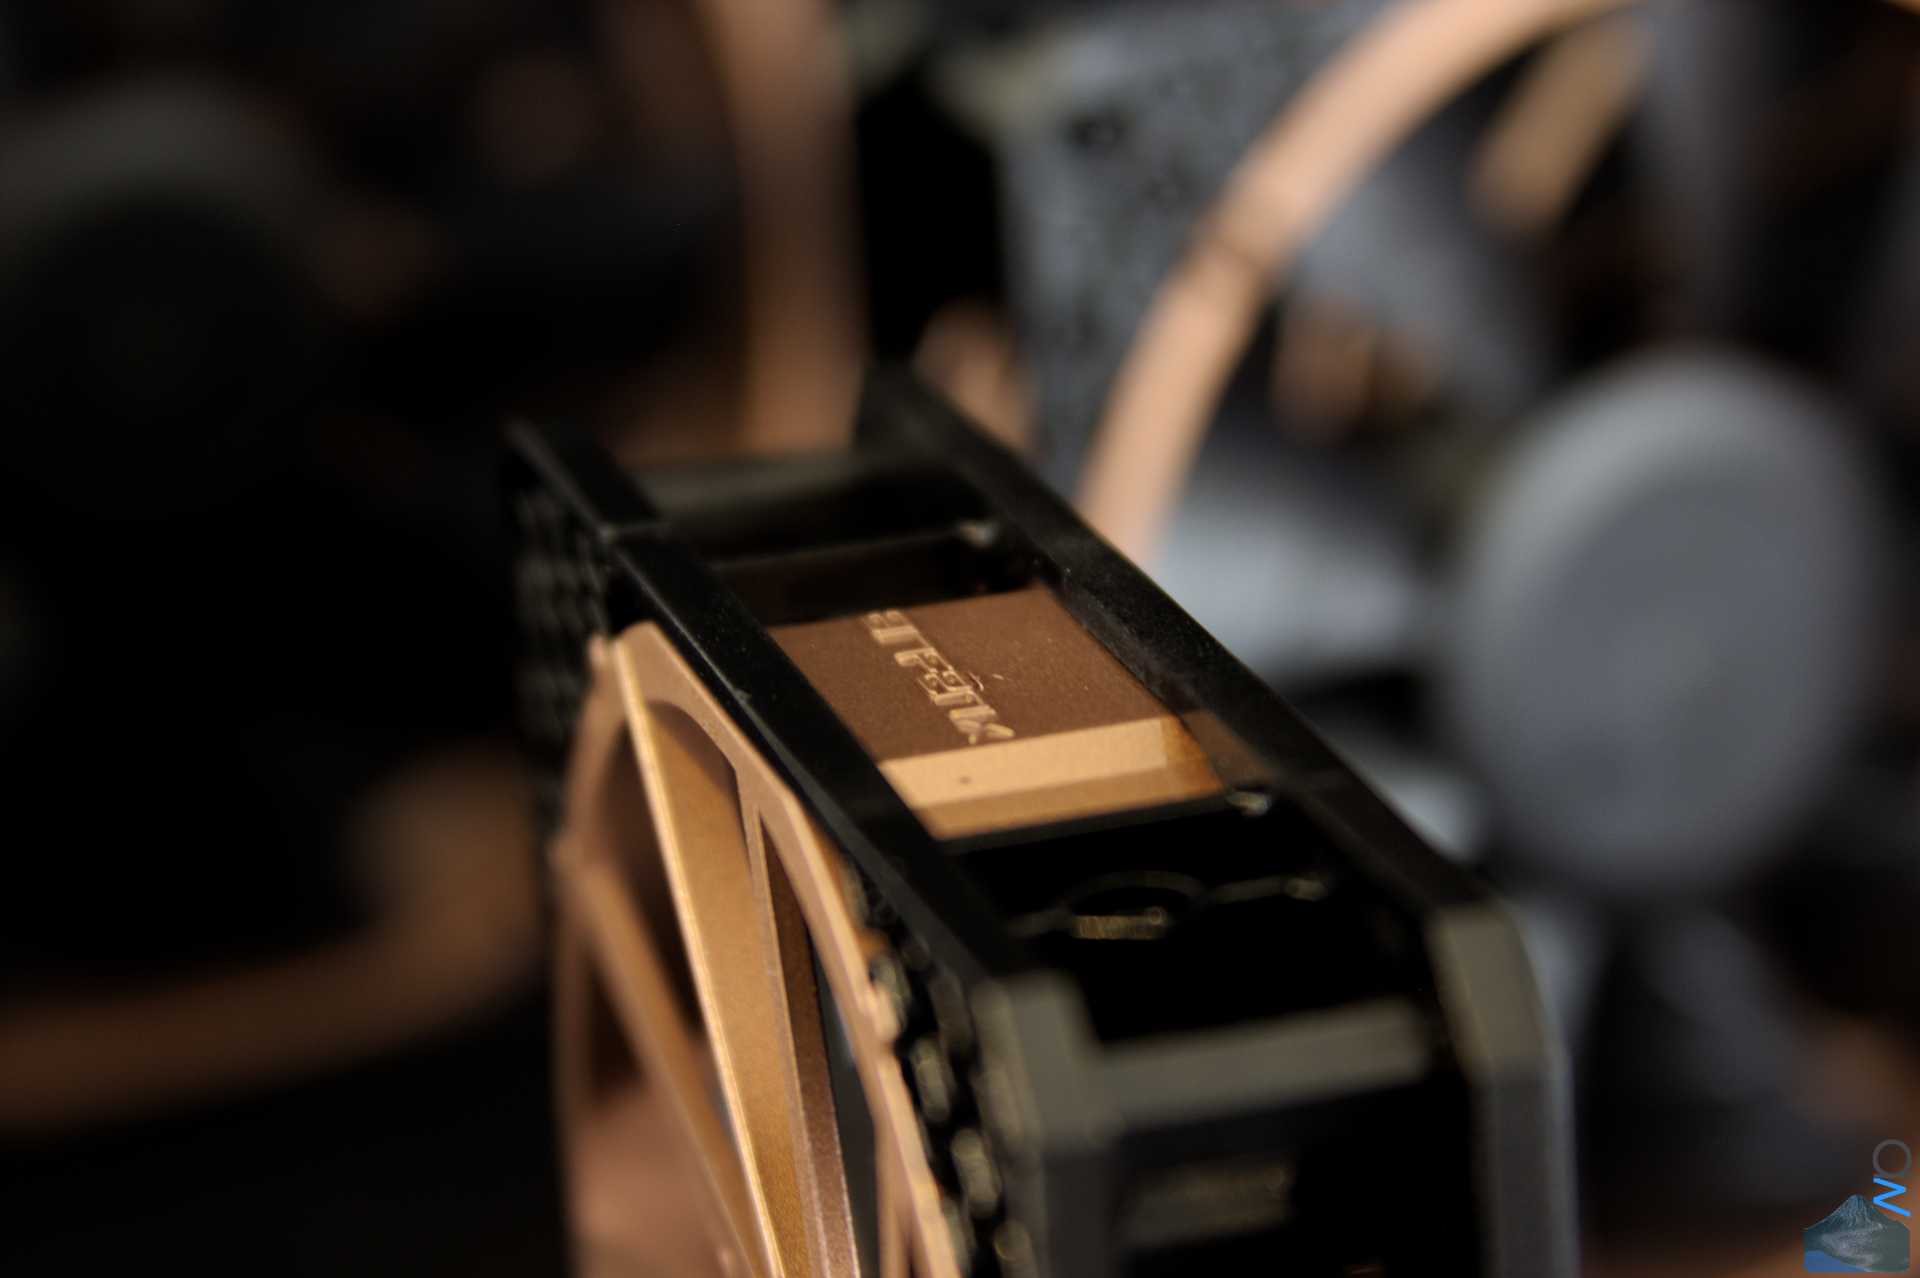
And now, some glory shots:
(click image for full res)

(click image for full res)

Well, at least the masking did its job.
(click image for full res)

(click image for full res)

(click image for full res)
(click image for full res)

I also painted the hex bolts for mounting the fans. They also have a clear coat.
(click image for full res)

(click image for full res)

(click image for full res)

(click image for full res)

That's it for today. Next: Re-wiring the fans.
The Bitfenix Spectre Pro Copper Edition
I'll let the pictures do the talking for the most part.
I hung the frames on a thread (still had to rearrange them to cover all the angles).
(click image for full res)

The masking took about two and a half hours for all fans...
(click image for full res)

...because I had the genius idea to paint them both front and back, even though
nobody will ever see the back side again, ever. But the perfectionist inside me
just wouldn't shut up. You can also see that I desoldered the wires. Considering
how close together the contacts are on the PCB that's going to be a bitch to solder
back on. Ah well...
(click image for full res)

First coat of copper paint applied. The paint I'm using is Weicon Copper Spray.
The copper colour comes from actual copper particles (so, it's a metal spray, not
just something that looks like copper). The upside: It's copper! The downside:
It's conductive (most likely, I don't have a multimeter to test this, but I doubt
the epoxy matrix in which the copper particles are embedded serves as a good
enough insulator to make it non-conductive).
I found the paint on eBay, if you google "Weicon copper paint" you should be able
to find more info on it.
(click image for full res)

Aaand we're done. To be perfectly honest, the paint job could be improved upon.
But considering I don't have a spray booth and practically all imperfections are
well hidden when they're mounted I'm still very happy with the results. I'll
definitely change my procedure though if I ever do this again. It's a learning
process.
Also, to prevent the paint from tarnishing, I gave all the painted parts a clear
coat for protection.
(click image for full res)

And now, some glory shots:
(click image for full res)

(click image for full res)

Well, at least the masking did its job.
(click image for full res)

(click image for full res)
(click image for full res)

(click image for full res)

I also painted the hex bolts for mounting the fans. They also have a clear coat.
(click image for full res)

(click image for full res)

(click image for full res)

(click image for full res)

That's it for today. Next: Re-wiring the fans.
alpenwasser
New member
My god, those look simply brilliant! Me wanty!
Thanks mate!
now they look the dog danglers nice one mate I dont envy you with the resoldering job
Yeah, I'm not necessarily looking forward to that. :mellow:
alpenwasser
New member
Those fans look the S**t!! Gorgeous mate
Thanks mate!
Holy fuuuu-gulp-
That's sexy mate!")
Careful, don't swallow your tongue...
Mate, seriously? Holy shit! Could you, like, maybe tone it down a bit? You're really making the rest of us look bad.
Sorry about that...

To make you feel better, here's a repost of an earlier image showing my previous
rig. I'm not ashamed of it (it worked, and it worked very well), but pretty this wasn't. :wacko:

bitfenix would do well if they made these haha, looking good mate keep the updates coming
Oh that would be nice. Maybe I'll send them a link to show them what unused
potential they're sitting on.
looking good, those fans look fantastic!
Keep up the good work
I shall do my best, thank you!
Fine job alpenwasser , they look even better mounted with the copper or copper painted screws.
I'll say it again , the detail in this rig is going to be amazing!!!!
Yeah I'm very happy with that small touch the screws add to it, and the fact that
they're hex bolts matches very well with the Spectre Pros (I will have to make sure
the hex heads of the bolts are aligned with the hex pattern on the fans though).
I don't envy you having to solder all those fan wires back on though.
Yeah... I see it as an exercise in meditation... :lol:
I've already spent about eight hours on the fans, I reckon it will be quite a bit more
until I'm done.
Thanks for the support everyone! It is highly appreciated!
Ace_finland
New member
Geez, how many hrs have u spent on this artwork? just read through most of the 30 pages and i am amazed. Such detail on very single bit, i love all the copper details! Not often im speechless but i really don't know what to say
just read through most of the 30 pages and i am amazed. Such detail on very single bit, i love all the copper details! Not often im speechless but i really don't know what to say alpenwasser
New member
Geez, how many hrs have u spent on this artwork?
Thanks for the kind words mate, they are highly appreciated. TBH honest I'm not completely
sure how many hours I've spent on building this so far (let alone do the research, that must
be a few hundred hours by itself). A rough estimate gets me at somewhere north of 100 actual
work hours, but less than 200.
Now, if you'll excuse me, I need to go check if the GPU block is ready for taking some
pictures.
alpenwasser
New member
Colour-Coordinating the Kryographics Titan
Colour-Coordinating the Kryographics Titan
I really like this block, but it's not black and copper. Can't have that now, can we?
The block comes in a nicely sealed bag:
(click image for full res)

...and without the plastic wrapping. You can see the steel bracket which is used to hold down
the acrylic cover. It really is a very nice concept because you're almost certain not to crack
the acrylic with this method of bolting it down. Plus, it allows for some subtle modding...
(click image for full res)

The bracket itself. I just so happened to have exactly as many copper screws left over as I
needed for this mod. I did have to shorten them with the cutting wheel though.
(click image for full res)

The acrylic itself looks like this below the bracket:
(click image for full res)

TADA!

(click image for full res)

Some glory shots...
(click image for full res)

(click image for full res)

Naturally, I needed to paint these screws as well:
(click image for full res)

I really like the rough powder coat finish on the Caselabs cases, so I tried to approximate
that with a simple spray can. First I gave it a coat of etch primer, then three coats of black.
I let it dry and sanded it (wet) with 5000 grit. Finally, I gave it one last coat of black, but from
rather far away (~50 cm/20", as opposed to the manufacturer-recommended 20~25 cm),
which results in small droplets instead of one contiguous coat. I'm definitely no paint expert,
but I'm pretty happy with the result, it's certainly a lot closer to CL's powder coat than a
flat coat would have been (plus, I'm painting the Raystorms' alu brackets, which has a texture
that also results in a similar finish to this, so it matches rather nicely that as well).
(click image for full res)

As always, thanks for stopping by.
Colour-Coordinating the Kryographics Titan
I really like this block, but it's not black and copper. Can't have that now, can we?
The block comes in a nicely sealed bag:
(click image for full res)

...and without the plastic wrapping. You can see the steel bracket which is used to hold down
the acrylic cover. It really is a very nice concept because you're almost certain not to crack
the acrylic with this method of bolting it down. Plus, it allows for some subtle modding...
(click image for full res)

The bracket itself. I just so happened to have exactly as many copper screws left over as I
needed for this mod. I did have to shorten them with the cutting wheel though.
(click image for full res)
The acrylic itself looks like this below the bracket:
(click image for full res)

TADA!
(click image for full res)

Some glory shots...
(click image for full res)

(click image for full res)

Naturally, I needed to paint these screws as well:
(click image for full res)

I really like the rough powder coat finish on the Caselabs cases, so I tried to approximate
that with a simple spray can. First I gave it a coat of etch primer, then three coats of black.
I let it dry and sanded it (wet) with 5000 grit. Finally, I gave it one last coat of black, but from
rather far away (~50 cm/20", as opposed to the manufacturer-recommended 20~25 cm),
which results in small droplets instead of one contiguous coat. I'm definitely no paint expert,
but I'm pretty happy with the result, it's certainly a lot closer to CL's powder coat than a
flat coat would have been (plus, I'm painting the Raystorms' alu brackets, which has a texture
that also results in a similar finish to this, so it matches rather nicely that as well).
(click image for full res)

As always, thanks for stopping by.
SparkleDJackson
New member
For my taste the blocks would be nickel with a copper highlight ring. Not to say they dont look amazeballz cos they do I just prefer silvery to coppery
alpenwasser
New member
that gpu block looks the dogs bollox mate
Thanks mate!
For my taste the blocks would be nickel with a copper highlight ring. Not to say they dont look amazeballz cos they do I just prefer silvery to coppery
Nickel block with a copper bracket? Hm, that actually sounds like it has some potential.
It wouldn't fit my build, but there's always the future.
And it's OK, we can't all have the same tastes now, can we?
Very nice little mod on the gpu block mate. These are going to look awesome in you rig!
Yeah, I'm really looking forward to putting it all together.
Similar threads
- Replies
- 11
- Views
- 1K
- Replies
- 5
- Views
- 484