Watery rev. 2
It’s been a good old while since watery has had an update, let alone any progress, and to be honest, I got utterly stuck on how to mount the reservoir to the actual case body, while still being able to remove the case panels to get to the hardware, so it was time to start over anew.
Revision two is going to be the same basic idea, but on a larger scale so I can get in a full ATX motherboard, and dual water loops as I want to go full out this time. There will still be truck loads of milled and laser cut acrylic, but quite a lot more chrome this time, with the back panel, motherboard tray, radiator ‘pods’ and floor all being made from aluminium. This will reduce costs, and hopefully my blood pressure as putting a decent thread in acrylic was doing my head in.
So, going in will be:
ATX Mobo and the usual hardware
GPU or so.
2x HDD/SDD's
External DVD Drive
Dual water loops
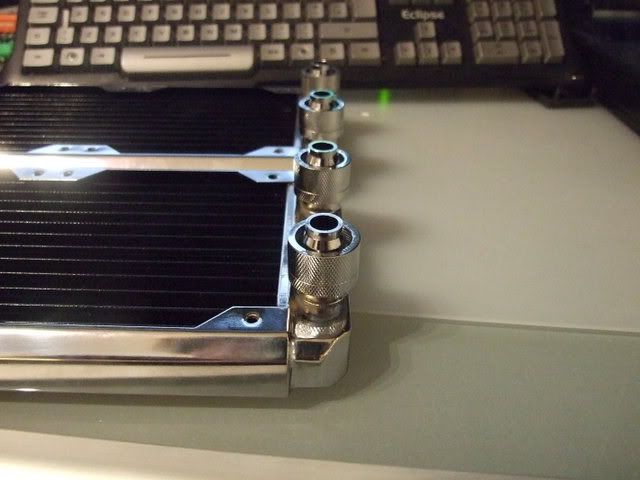
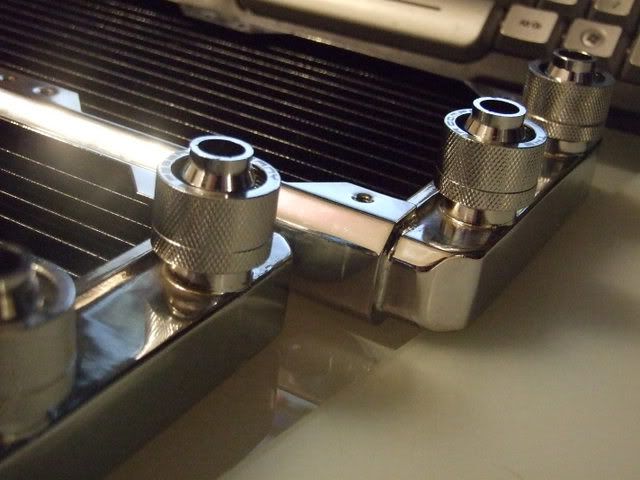
2x120.2 Radiators
Dual DDC's
Dual custom res's
Drain ports
Integrated lighting system (more in this in due course)
This time, I also want to set this project out in stages, so I don’t get confuddled, so here is the basic plan...:
Stage 1 – Manufacture of radiator mounts,
Stage 2 – Manufacture of base, motherboard tray and back panel, feet and support columns.
Stage 3 – Chrome every piece of metal I can find.
Stage 4 – Build the lighting system.
Stage 5 – Hardware modification & cable mods.
Stage 6 – Reveal the reservoir.
Stage 7 – Profit....
Before I give you the first glimpses, I have to give a shout out to a few people on Bit-tech and on Xtreme Systems who have given me a hand with designs and suggest some neat ideas:
Bill Owen, of MNPCtech fame
Cyberdruid
Charles_h
Cheapskate
I am going to be using quite alot of the stuff from the last version of Watery, so thanks to..:
Sponsored By...: HWLabs SpecialTech Feser 1

")