So I thought I'd put together a build log for another upgrade that I'm doing over the winter period.
As we all know, tech moves on at such ridiculous pace, that over the past 3 or so years since I put together my first gaming rig, I've gone through it all... air cooling, liquid cooling, dual cores, quad cores, GeForce 200, 400 and 600 Series graphics cards, SSD caching, dedicated SSD's. You name it, I've experimented with it.
So I finally thought I'd finally take the plunge and go through a *massive* upgrade, to the point where I will (hopefully) be happy with my rig for the forseeable future.
Specs for my current rig are:
Case - Fractal Design Define R3
Motherboard - Asus P8Z68 Deluxe G3
CPU - Core i7 2600K
Cooler - Zalman CNPS9900 MAX
RAM - Corsair Vengeance 8GB (1600MHz)
GPU - EVGA GTX670 4GB Superclocked
HDD - WD Caviar Green 1TB
SSD (Cache) - Corsair Force3 - 60GB
Optical - LG BD-ROM/DVD-RW
PSU - Corsair HX850 Semi-Modular
In weighing up my choices for the upgrade, the four goals are as follows:
1. I've decided firstly that I plan to go back to watercooling. Being the enthusiast, it would be nice to get some decent cooling on my components as I plan to overclock both CPU and GPU.
2. If I'm watercooling, I'd like to have some decent real estate in a new case, so I can house a custom watercooling loop. Last time the watercooling got a bit messy with long hose runs in a small case and it just looked dreadful.
3. In a bid to try and *futureproof* :lol: my rig, I'm planning to get a second GTX 670 and run the two in SLI. Generally speaking, this should suit my needs for the most part. But the crucial question remains - when it's released, will it run Crysis 3?
4. And finally, being a gamer aswell, I've got the parts sitting around for a server that I previously built. That server needs a new motherboard, so I'll be promoting my current MoBo to server duty, and getting a new motherboard that fits the bill in terms of where I'm taking this new build/upgrade.
Specs for the finished product are as follows:
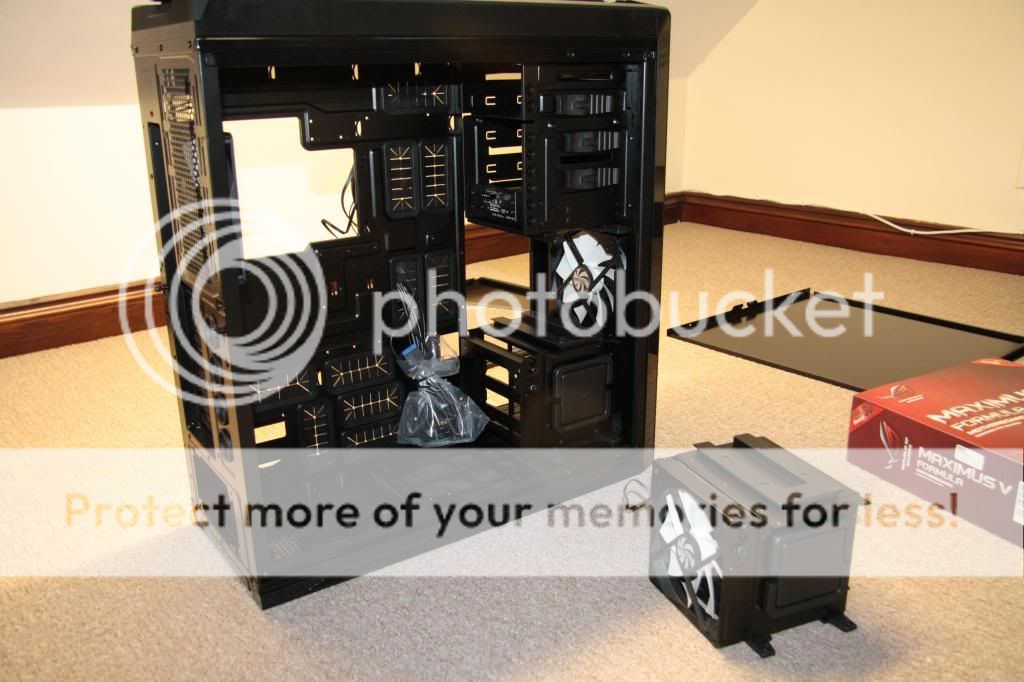
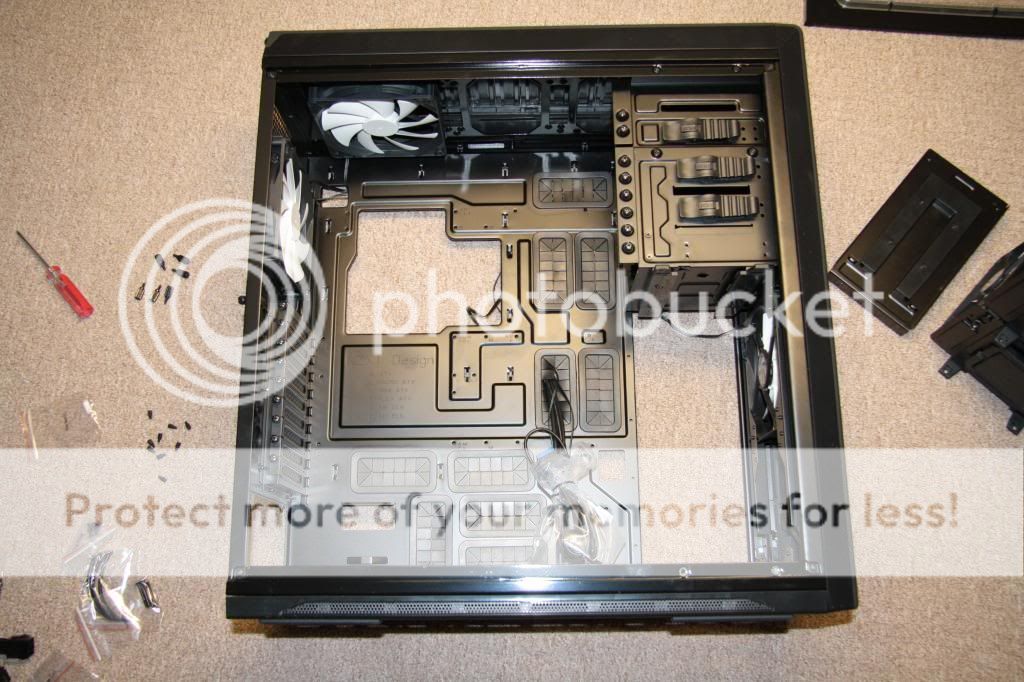
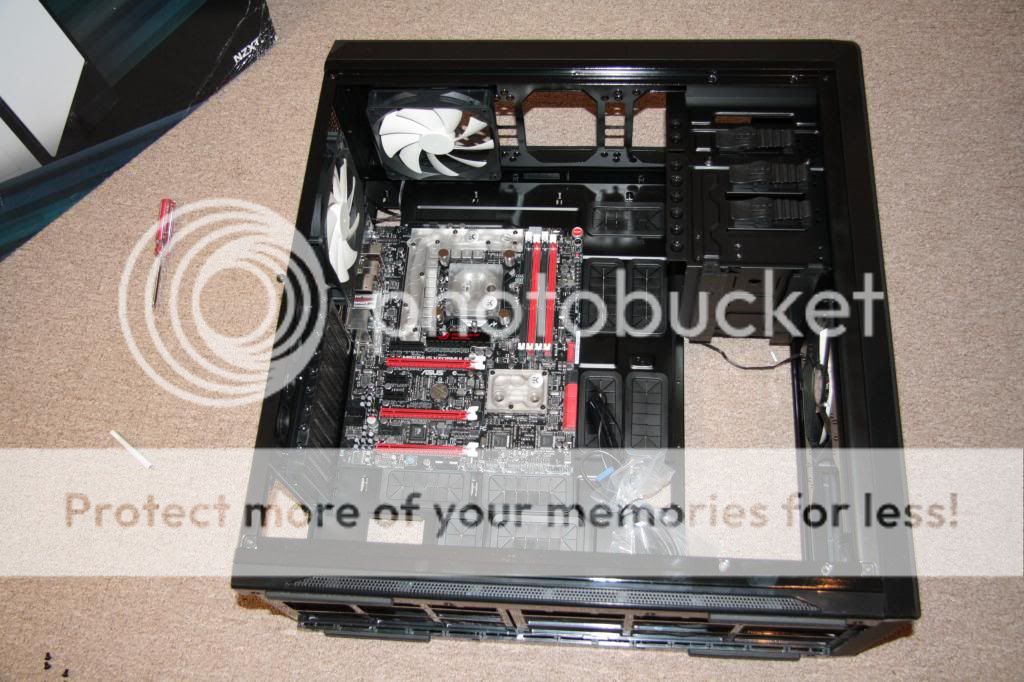
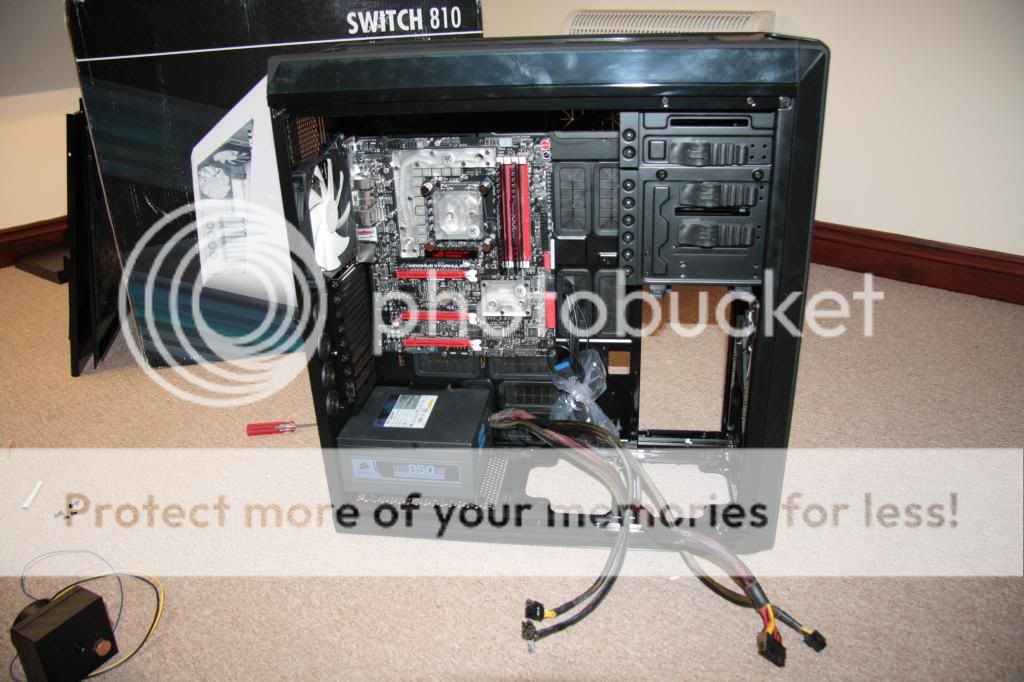
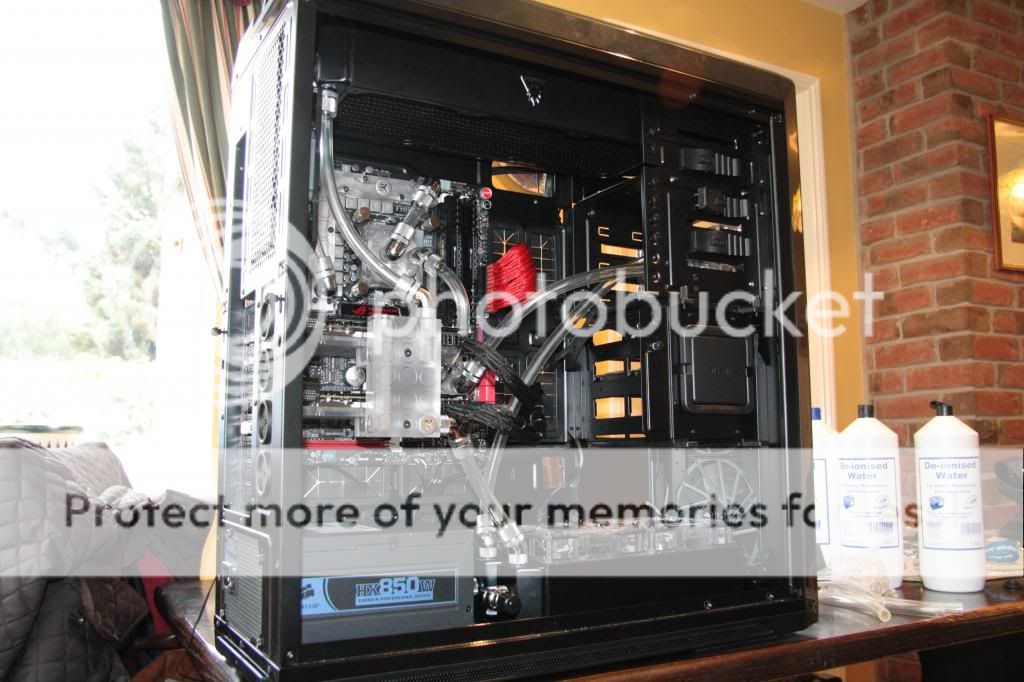
Case - NZXT Switch 810
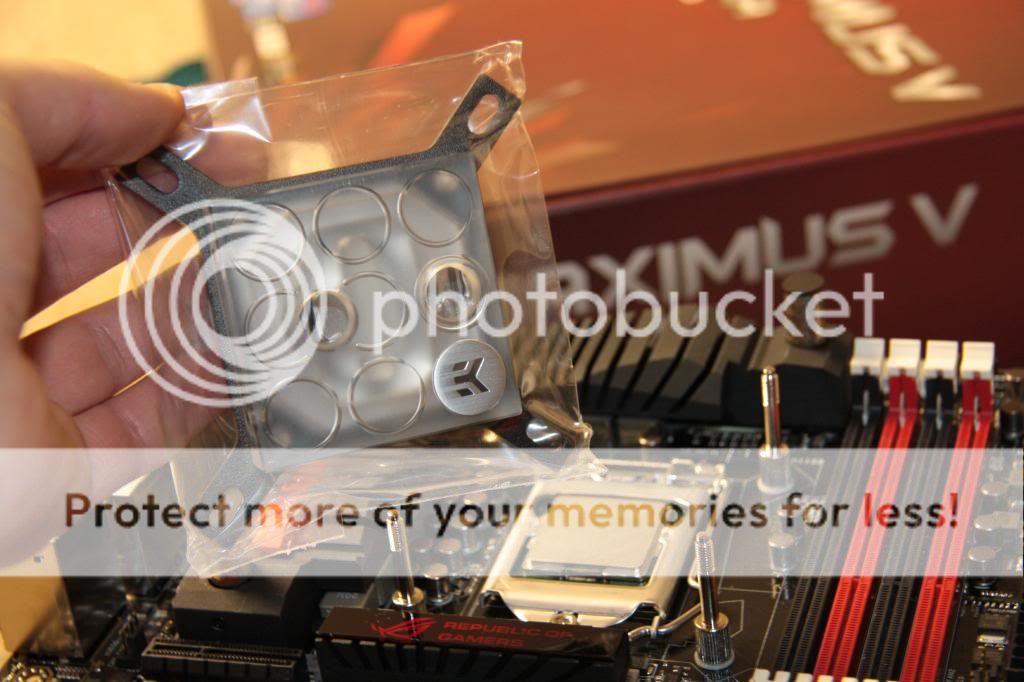
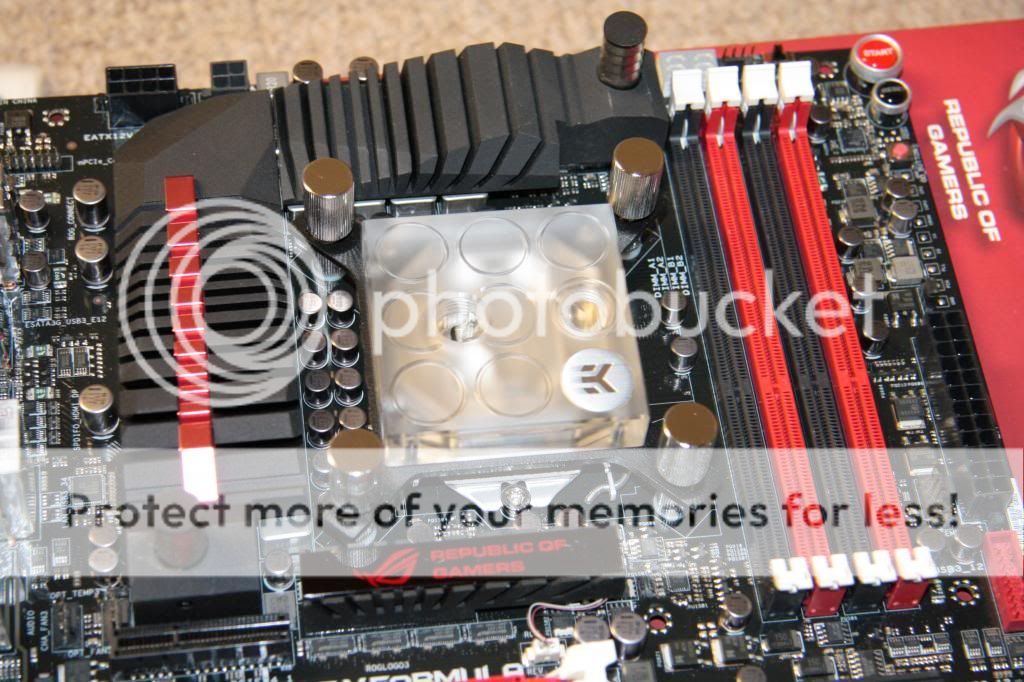
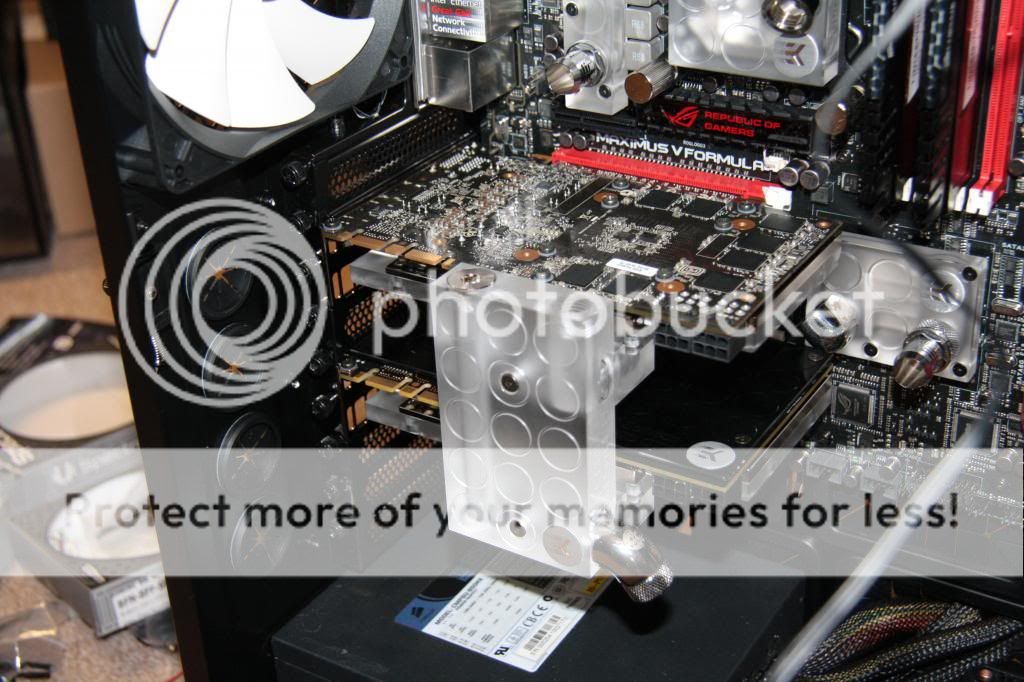
Motherboard - Asus Maximus V Formlua
CPU - Core i7 2600K
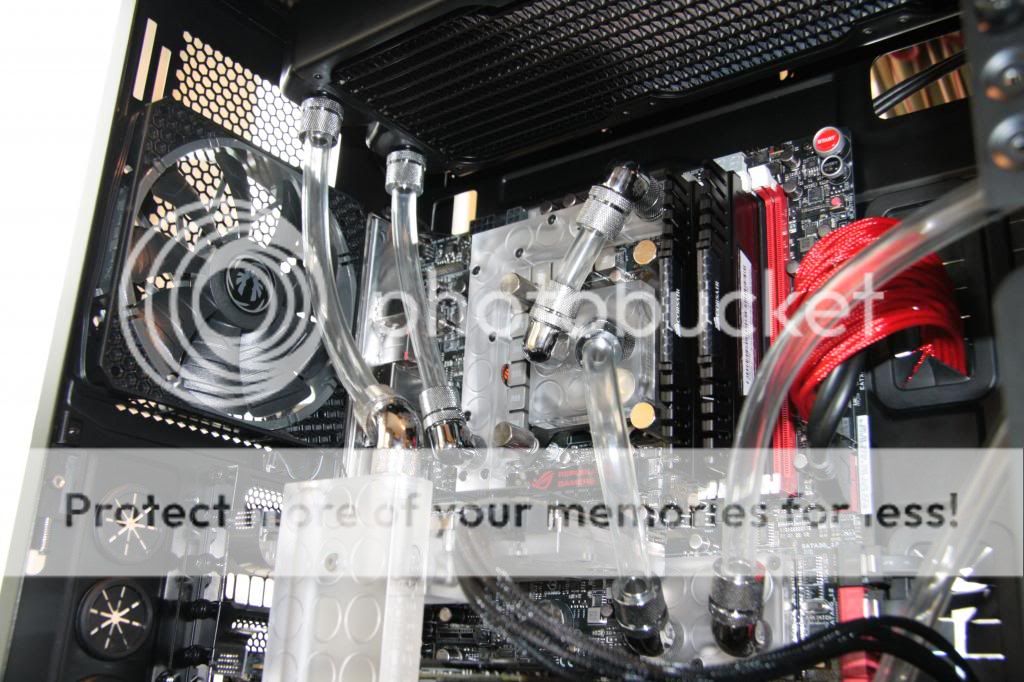
RAM - Corsair Vengeance 16GB (1866MHz)
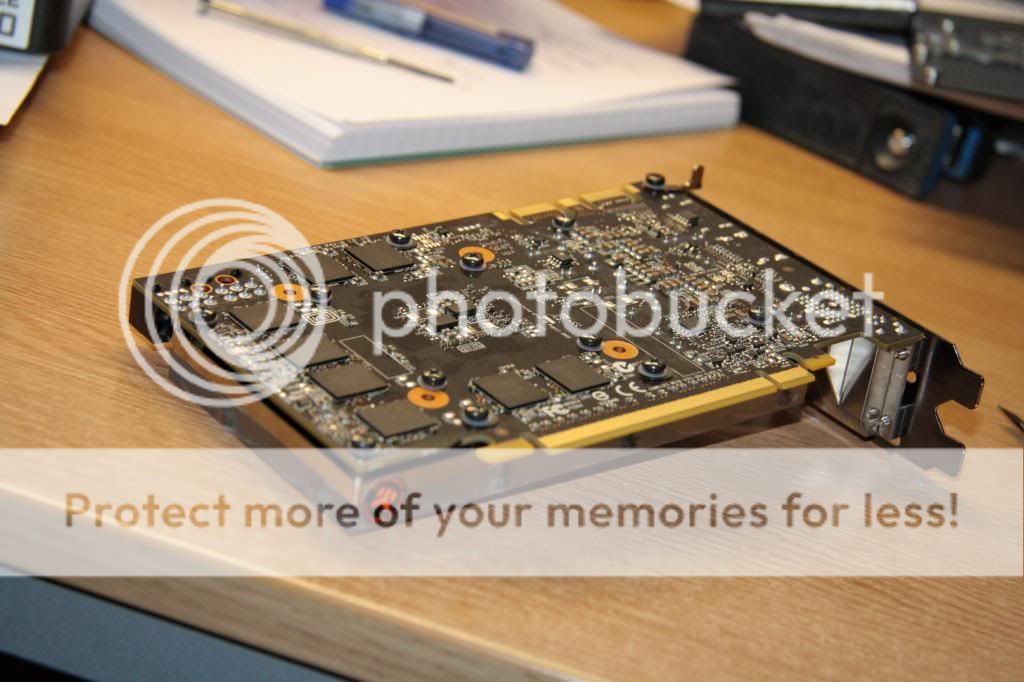
GPU - EVGA GTX670 4GB Superclocked (x2)
SSD - Corsair Force3 - 240GB
HDD (Storage Drive) - WD Caviar Green 1TB
Optical - LG BD-ROM/DVD-RW
PSU - Corsair HX850 Semi-Modular
Watercooling Loop:-
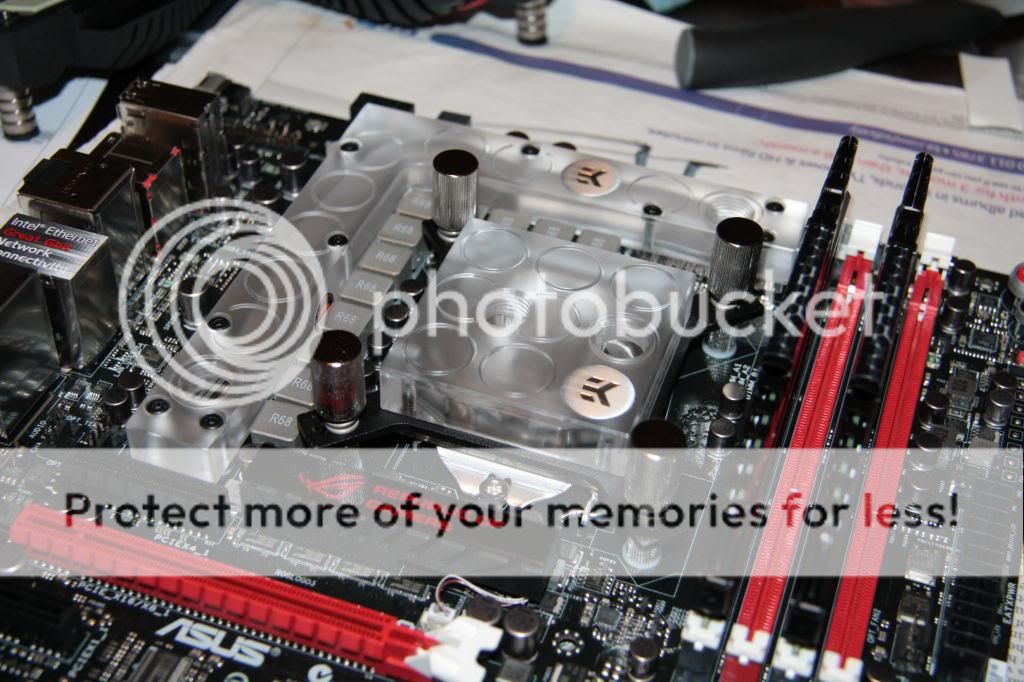
EK Waterblock on CPU
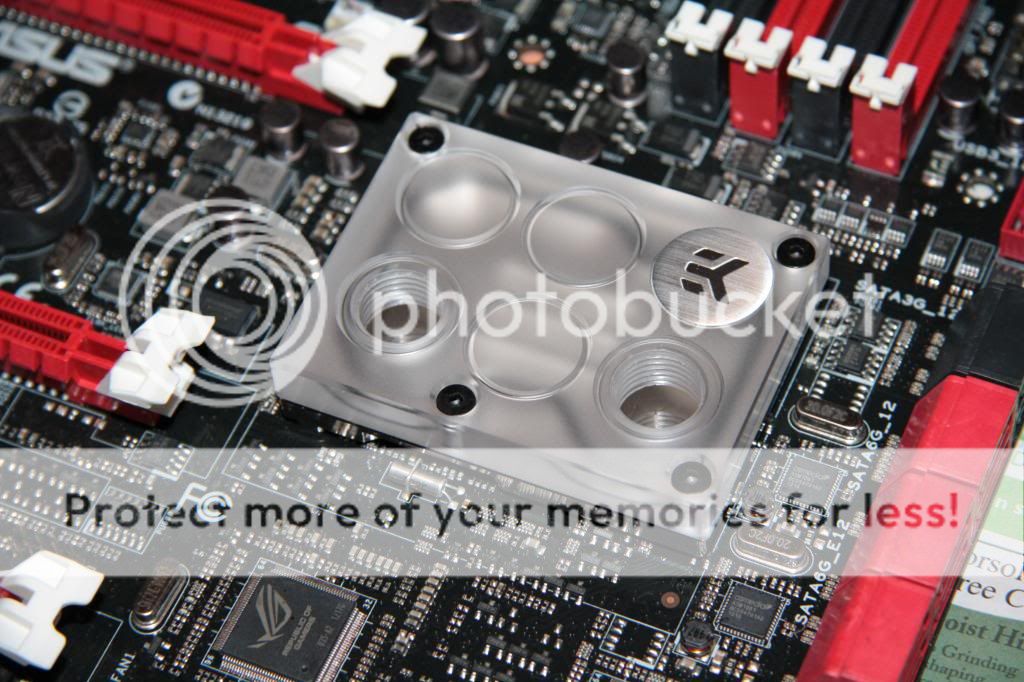
EK Waterblocks on VRM and Chipset
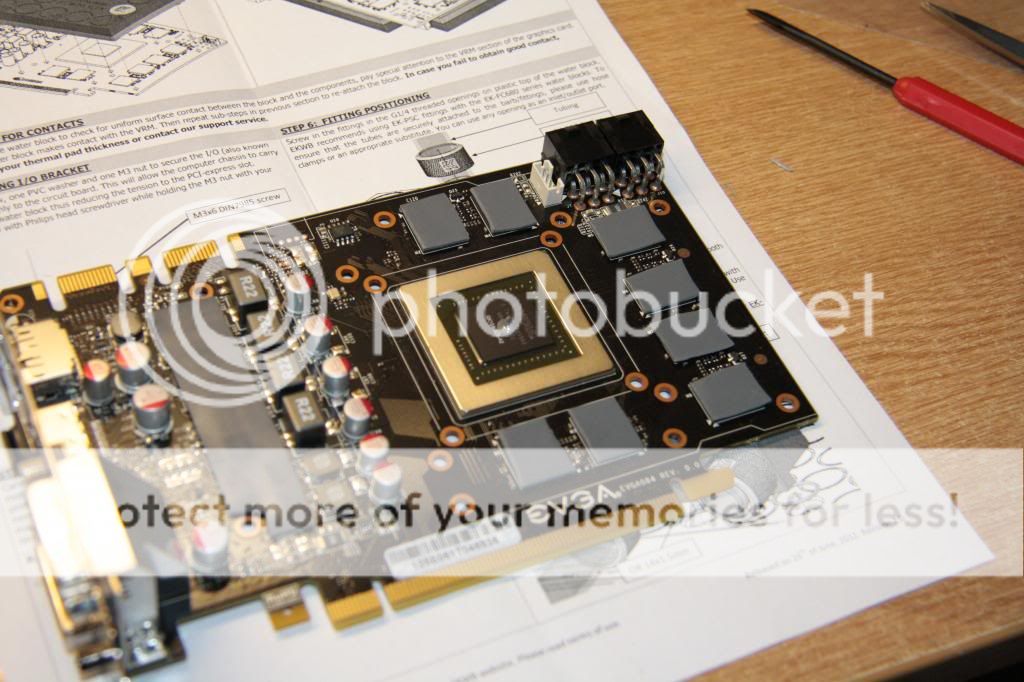
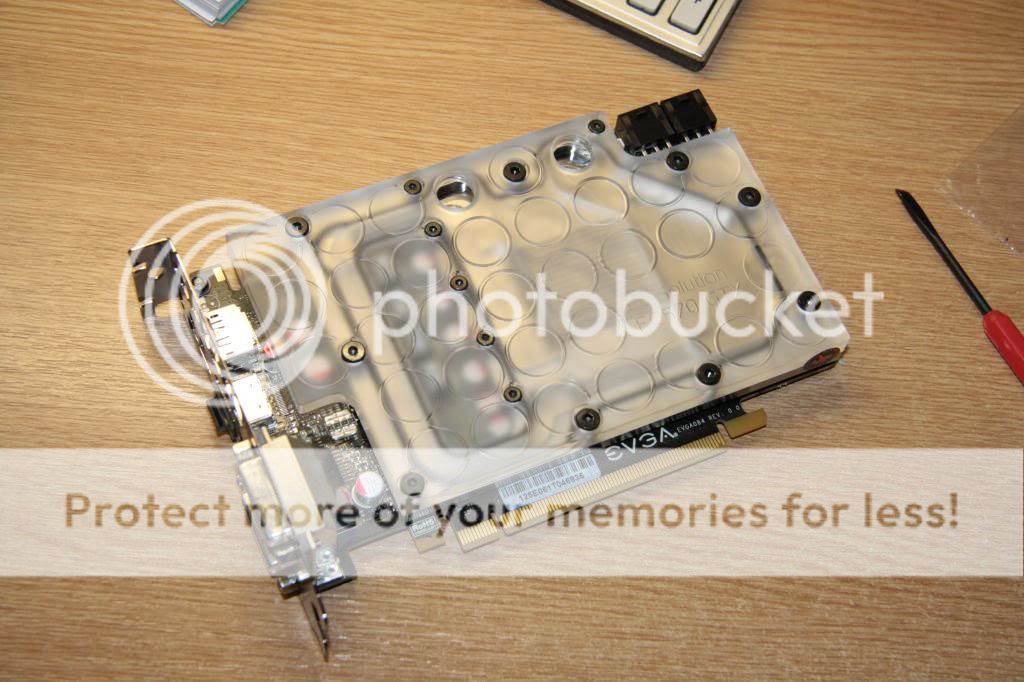
EK Full Cover Waterblocks on GPUs
XSPC D5 Pump
Alphacool XT45 - 420mm (Top) and 240mm (Bottom)
Bitspower Res - 250mm
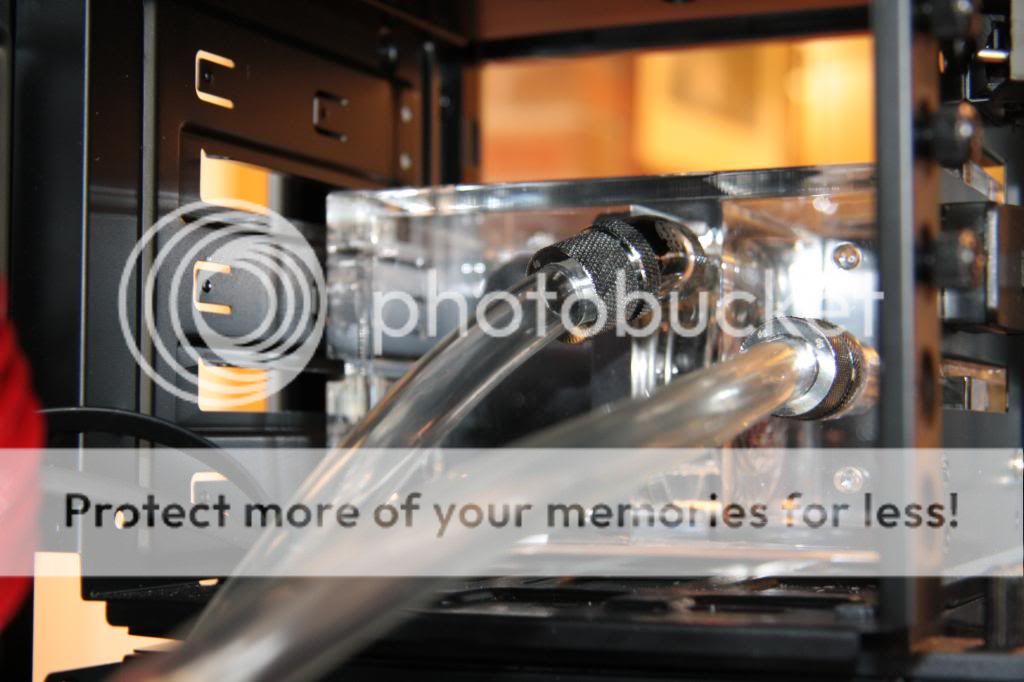
Bitspower Fittings
So why Stealth you ask?
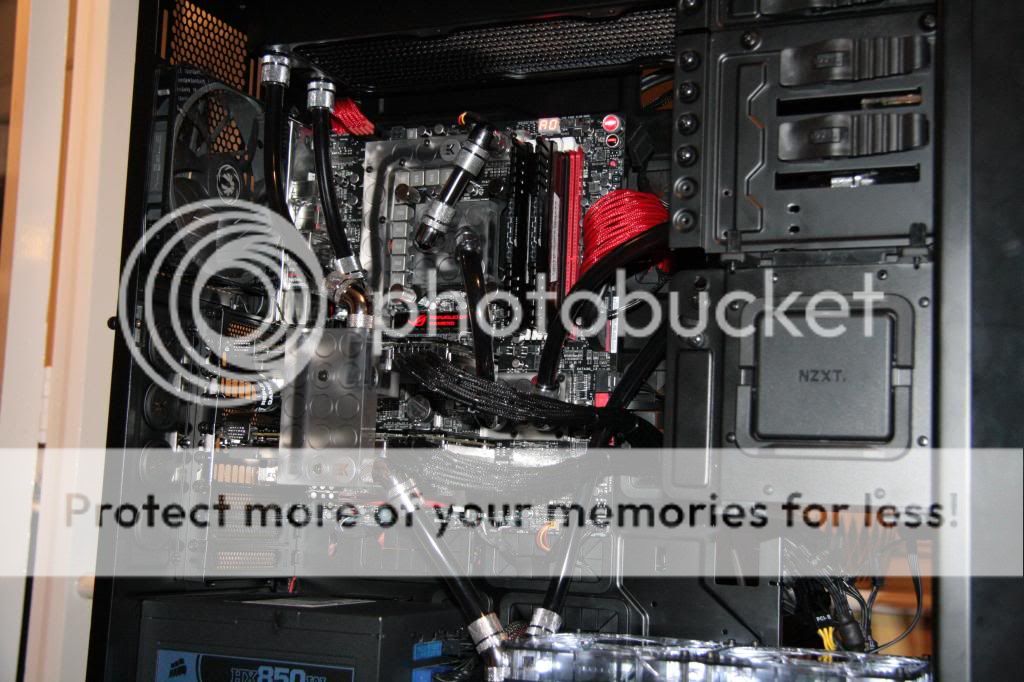
Well, I've opted for a black case, and I absolutely love the look of the Maximus V Formula. A very subtle-looking motherboard, no vivid colours, save a few tasty red accents. Keeping a colour scheme to a 'stealthy-black' nature, as well as keeping the rig near silent when it's complete, will hopefully live up to its stealthy name. So that's that...
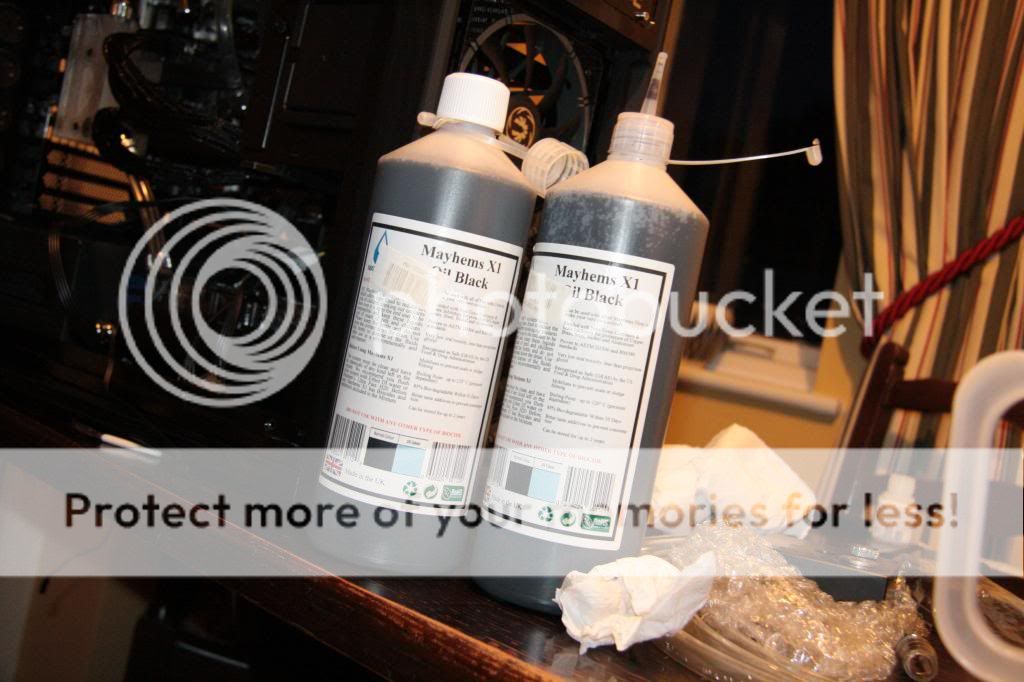
I had been doing myself in over the past few weeks, trying to decide on a colour scheme - red or black coolant?? Anyways, I think black would look better with the MVF, but let me know if you disagree.
A question for you guys...
I did want to pose a question as I haven't yet purchased any fittings or hose. What are your thoughts on tubing size? I'm either going for 10/8mm or 13/10mm, but I honestly can't decide.
Last time I went for 13/10mm but the hose looked somewhat chunky in my case. Bearing in mind this was a pretty small case, it may have just been perspective... so let me know your thoughts, thanks")
I've already started the build and am just in the process of sorting out some photos and stuff, so keep your eyes peeled... there's more to come! :rock:
As we all know, tech moves on at such ridiculous pace, that over the past 3 or so years since I put together my first gaming rig, I've gone through it all... air cooling, liquid cooling, dual cores, quad cores, GeForce 200, 400 and 600 Series graphics cards, SSD caching, dedicated SSD's. You name it, I've experimented with it.
So I finally thought I'd finally take the plunge and go through a *massive* upgrade, to the point where I will (hopefully) be happy with my rig for the forseeable future.
Specs for my current rig are:
Case - Fractal Design Define R3
Motherboard - Asus P8Z68 Deluxe G3
CPU - Core i7 2600K
Cooler - Zalman CNPS9900 MAX
RAM - Corsair Vengeance 8GB (1600MHz)
GPU - EVGA GTX670 4GB Superclocked
HDD - WD Caviar Green 1TB
SSD (Cache) - Corsair Force3 - 60GB
Optical - LG BD-ROM/DVD-RW
PSU - Corsair HX850 Semi-Modular
In weighing up my choices for the upgrade, the four goals are as follows:
1. I've decided firstly that I plan to go back to watercooling. Being the enthusiast, it would be nice to get some decent cooling on my components as I plan to overclock both CPU and GPU.
2. If I'm watercooling, I'd like to have some decent real estate in a new case, so I can house a custom watercooling loop. Last time the watercooling got a bit messy with long hose runs in a small case and it just looked dreadful.
3. In a bid to try and *futureproof* :lol: my rig, I'm planning to get a second GTX 670 and run the two in SLI. Generally speaking, this should suit my needs for the most part. But the crucial question remains - when it's released, will it run Crysis 3?
4. And finally, being a gamer aswell, I've got the parts sitting around for a server that I previously built. That server needs a new motherboard, so I'll be promoting my current MoBo to server duty, and getting a new motherboard that fits the bill in terms of where I'm taking this new build/upgrade.
Specs for the finished product are as follows:
Case - NZXT Switch 810
Motherboard - Asus Maximus V Formlua
CPU - Core i7 2600K
RAM - Corsair Vengeance 16GB (1866MHz)
GPU - EVGA GTX670 4GB Superclocked (x2)
SSD - Corsair Force3 - 240GB
HDD (Storage Drive) - WD Caviar Green 1TB
Optical - LG BD-ROM/DVD-RW
PSU - Corsair HX850 Semi-Modular
Watercooling Loop:-
EK Waterblock on CPU
EK Waterblocks on VRM and Chipset
EK Full Cover Waterblocks on GPUs
XSPC D5 Pump
Alphacool XT45 - 420mm (Top) and 240mm (Bottom)
Bitspower Res - 250mm
Bitspower Fittings
So why Stealth you ask?
Well, I've opted for a black case, and I absolutely love the look of the Maximus V Formula. A very subtle-looking motherboard, no vivid colours, save a few tasty red accents. Keeping a colour scheme to a 'stealthy-black' nature, as well as keeping the rig near silent when it's complete, will hopefully live up to its stealthy name. So that's that...
I had been doing myself in over the past few weeks, trying to decide on a colour scheme - red or black coolant?? Anyways, I think black would look better with the MVF, but let me know if you disagree.
A question for you guys...
I did want to pose a question as I haven't yet purchased any fittings or hose. What are your thoughts on tubing size? I'm either going for 10/8mm or 13/10mm, but I honestly can't decide.
Last time I went for 13/10mm but the hose looked somewhat chunky in my case. Bearing in mind this was a pretty small case, it may have just been perspective... so let me know your thoughts, thanks
I've already started the build and am just in the process of sorting out some photos and stuff, so keep your eyes peeled... there's more to come! :rock:
Last edited:
")