Thermaltake LVL 10 -> Switch 810 WC

Great idea! yours will definitely stand out from the crowd, although i would consider putting some mesh behind the holes to give a little dust protection :D

Thanks. Still will have the original mesh panel that is there behind it, so will see how that does.
 
OK, post some updates, pics, etc. Just starting some basic work. Ran into two issues so far.

#1 - Only going to use the top drive cage, so pulled out the bottom one. Noticed will all the thumbscrew and the bottom cage out, the top one is loose. I had to get a screw driver and reef one of the thumbscrews out. Looks like the threading on the hole on the drive cage a totally messed up and can only get a screw about half a turn in - no where near enough to secure it. So, had to swap cages. Guess it a good thing I am only using one cage.

#2 - Drive rails, although tooless, the little "tabs" meant to go into the screw holes on the drives are a real pain to get in. And they have to be ALL the way in, as there is zero clearance for sliding the drive back in. First did this and went to slid drive in and was jamming up. Took me a minute to figure out one of the little tabs wasn't just all the way in. Had to really play with it a bit to get it to work. Honestly, would have been faster to just screw the drive in. :rolleyes:

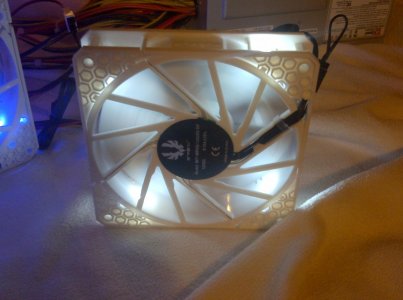
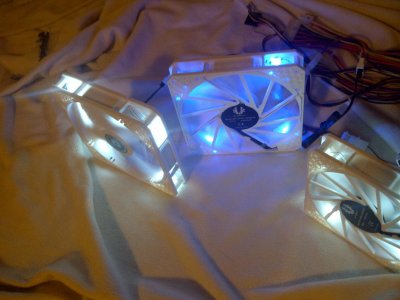
Now, some pics. First off, some of the LED strip and fans. I took every fan out and tested them. Only have 15 days to return them and have gotten some with dead LED in them. Good thing. One 120mm fan was completly missing a LED, all the wiring, everything. Very weird. Took it back next day for a relacement.

LED Fans...
fans1.jpg

fans2.jpg

fans3.jpg

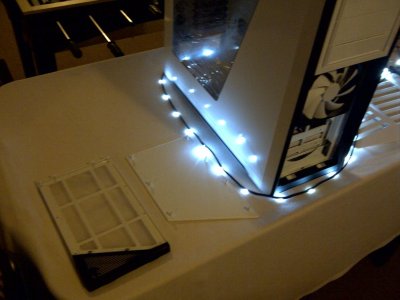
LED Strips
IMG-20121124-02003.jpg

IMG-20121124-02004.jpg

Coolant...
IMG-20121124-02005.jpg

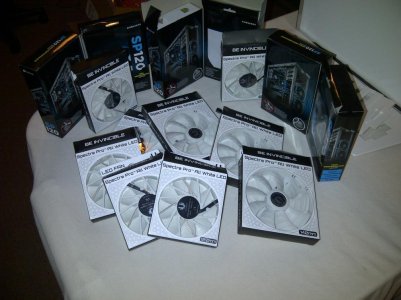
Did someone order some fans??
IMG-20121124-02006.jpg

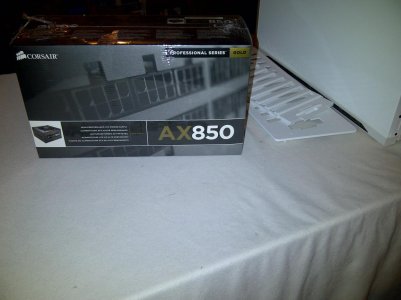
Power Supply...
IMG-20121124-02007.jpg

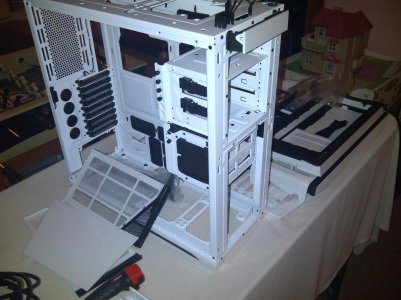
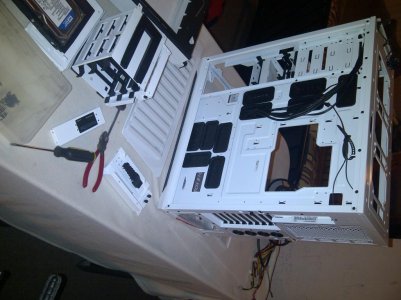
Torn apart. Pretty much everythough "out" of the case that I need. Now, onto dremel and cutting...
IMG-20121124-02009.jpg

IMG-20121124-02010.jpg

That's all for now folks...

Whaler
 
not sure if ya went with the EX up top because you were worried about clearances but I have the same case and mobo and a 60mm thick rad will fit with push pull and clear the mobo no problems at all. I put a 60mm thick 420 in the roof of mine with push pull.
 
I went with the EX because it was part of a kit I got a good deal on - and the EX has much of the same performance of a RX unit.
 
sorta.. you got to run some fan speed at the EX to make it comparible to the RX.
so now you will have to adapt to some fan noise..

the lower fins per inch is the give-a-way for fans and speed usage.
sub 12fpi - up 1200rpm
12-20fpi - 1400-2000rpm
20-35fpi - 1800rpm+

you can run low speeds on the higher fpi rads, but temps will be the prevailing
determination on whether you need more adjusting..

airdeano
 
Yep... will have to run the fans a bit higher... but also have the RX240 in the base to help bleed off heat - which is why I am putting most of the fans in groups on the controller. Very dynamic control... I hope. :)
 
SO fustrating! Have the front panel all marked off. Was planning to cut that up today and cut out a chunk of the plate in the bay. Get the old dremel out and... pphtt... nada. ARRGGG!! :ar:
Looks like I am off to find a replacement....
But, on the bright side, there is apparently a parcel waiting for me at the post office that I can grab tomorrow. Yeah!
 
fan controller? you dont have to, you know..
the RX can run 600-1200 and be quite functional.. buy the right fan and no
controller needed. your EX can run a bit faster in speed.
corsair sp120 perf edition in the roof (if too loud use the fan speed reducers
that are supplied) and sp120 quiet edition on the RX. done no controller.

airdeano
 
Controller is more for the Bitfenix fans I will be running, plus LED controller, in addition to the Corsair SP120's. I may end up swapping some out depending on noise, temps, etc. once everything is built.

Update - few packages arrived today. Yeah!

Got the XSPC Raystorm kit with all it's gear. Might I say, what a package. Both the res/pump and the CPU block come with their own directions and you have this overall book for the whole kit and setting everything up. All in color. Excellent job XSPC!
Also got the EX240 in, the tubing, fan controller, etc... here are some pics of the parts...
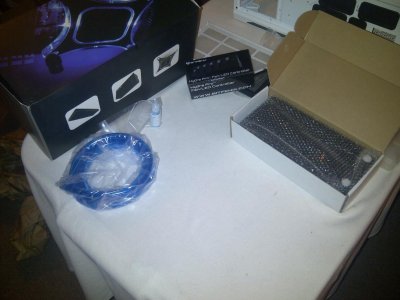
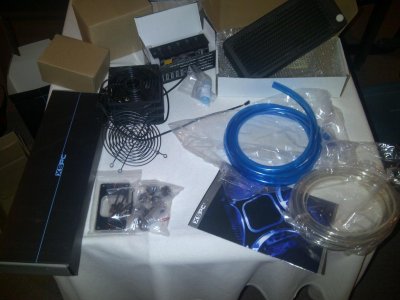
IMG-20121126-02034.jpg

IMG-20121126-02035.jpg

IMG-20121126-02036.jpg

Now, just waiting on:
- White Wrap for the PSU (ya, scrapped the painting idea).
- Few more compression fittings.
- Thermal compound
- Various 2 and 3 pin distribution blocks (for fans and LED's)
- o-rings
- Replacement cables for AX850 - white sleeved edition
- New Sata cables
- 60 mm fans for the Swiftech gear
- GPU blocks and RAM blocks from Swiftech

Should have a Dremel tomorrow night to start some cutting, then can get started on assembling some of this.

Need to get some adive on compression fittings, but will make seperate post for that.

Whaler
 
DESTRUCTION! err.. Progress?? :)

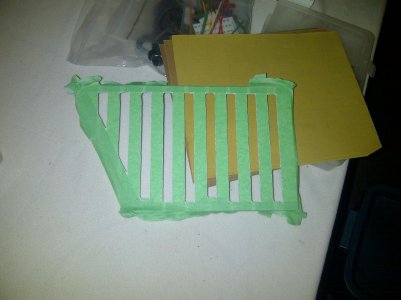
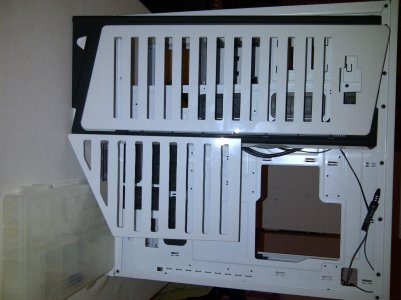
Shot from the top, of the plate with a chunk cut out
IMG-20121127-02044.jpg

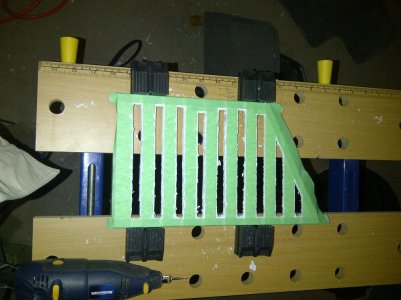
Rought cuts done on the front panel
IMG-20121127-02046.jpg

Now, onto finish sanding...
 
Another night, more work... Back is killing me. Wanted to get that front plate finished up though...

Here we are, back from the bench, four different bits later...
IMG-20121128-02051.jpg

And all sanded down... up against the top panel...
IMG-20121128-02052.jpg

Just now waiting from the Swiftech GPU gear, a few odds and ends from FrozenCPU and should be good to start test fitting. Going to need some 45 degree connectors, but waiting till everything is in before I order to many or to few. And also to see if the compression fittings I have will actually fit on the Swiftech block.

Whaler
 
I hate to be a downer, but the slots aren't even equal length and they all start at different places, could of done better mate
 
One problem was the posts in the rear of it - I had to either have much shorter slots the whole way down, which when I traced it out just looked blocky, versus a couple shorter ones to take into consideration the post holes.

For my first time running the dremel with this kind of material, I am happy with it.
 
Bit of an update. Bunch of the parts came it. Man, I really hate Canada Customs at Xmas time. They still holding up a shipment.

First off, thanks to all the guys who have helped me with various questions I have posted about in regards to this build. Appreciate it.

Decided to not carry as much over from the ThermalTACKY (happy Tom? :) ) as originally intended. Going to use the parts to upgrade one of my sons systems. So picked up a MSI Z77A GD65 board, a Core i5 3570k and 16GB kit of Corsair Dominator Platinums. Will still us the 6870's though.

Bunch of parts that came in; 2 and 3 pin distribution blocks, the sleeved PSU cable kit from Corsair, in white. This looks amazing. The GPU blocks from Swiftech and the RAM blocks. Some MX-4 and new O-rings.

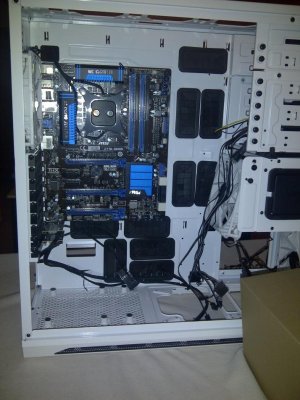
Here is a pic of the system with the board and GPU block installed as well as some other components fitted in. Hope to flush the rads tonight and really start a push on getting everything installed.

Still not sure about the PSU and wrapping it white. The black may be a nice contrast. Have to wait and see till more is installed...
 

Attachments

  • IMG-20121205-02113.jpg
    IMG-20121205-02113.jpg
    104.2 KB · Views: 32
id stick with the black psu, will make good contrast but more importantly, black is a dull colour... your psu isnt really supposed to be a feature of the build (unless you particularly want it to be) :p
 
Few more parts installed so I can start tidying up some cables and figure out where everything will fit. Still cannot connect up the fans, messed up on one of the parts I ordered, so waiting for replacement to come in. One that is here, then can start finishing final assembly.

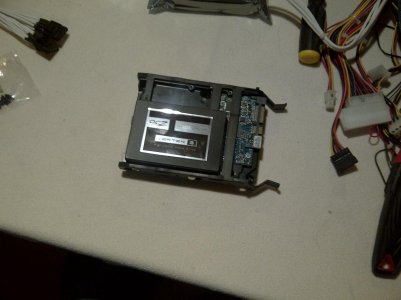
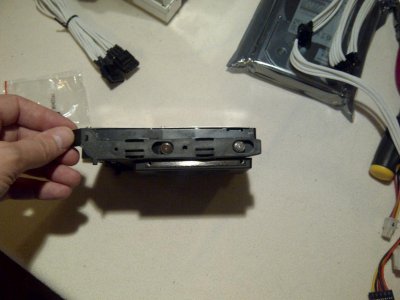
First up, hard drives. Based on a suggestion from another user's idea, was able to mount my SSD on the underside of the drive cages and was able to get alll 5 drives installed.

IMG-20121208-02123.jpg

IMG-20121208-02124.jpg

IMG-20121208-02125.jpg

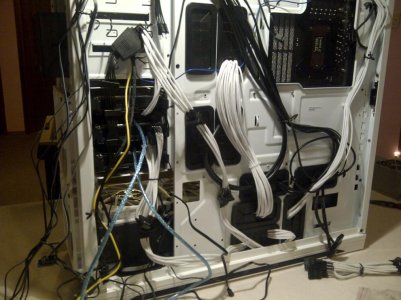
Hmmm... Rats next of cables...

IMG-20121208-02126.jpg

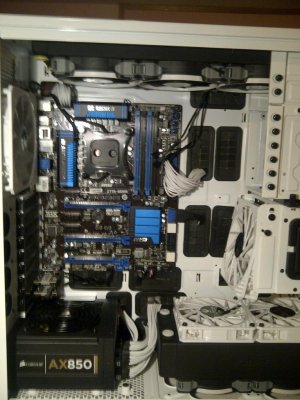
Couple of interior shots....

IMG-20121208-02127.jpg

IMG-20121208-02130.jpg
 
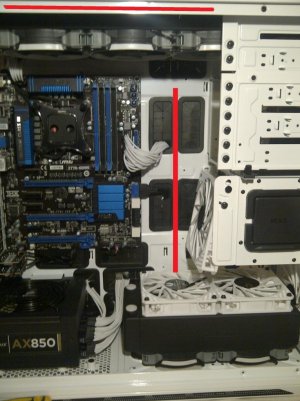
Wondering where to put the UV CCT's to the best effect. I thought about (marked in red)...

cold_cathod.jpg

Mouted onto the mobo, in the center, runs down in behind bottom rad. Top one, mounted on roof, towards the front, in between the rad and the edge, so you wouldn't actually see it. :)

The controller and such can then all tuck neatly in behind the fan controller, mounted in the top 5.25" bay...
 
Back
Top