The YAPP - Yet Another Prodigy Project

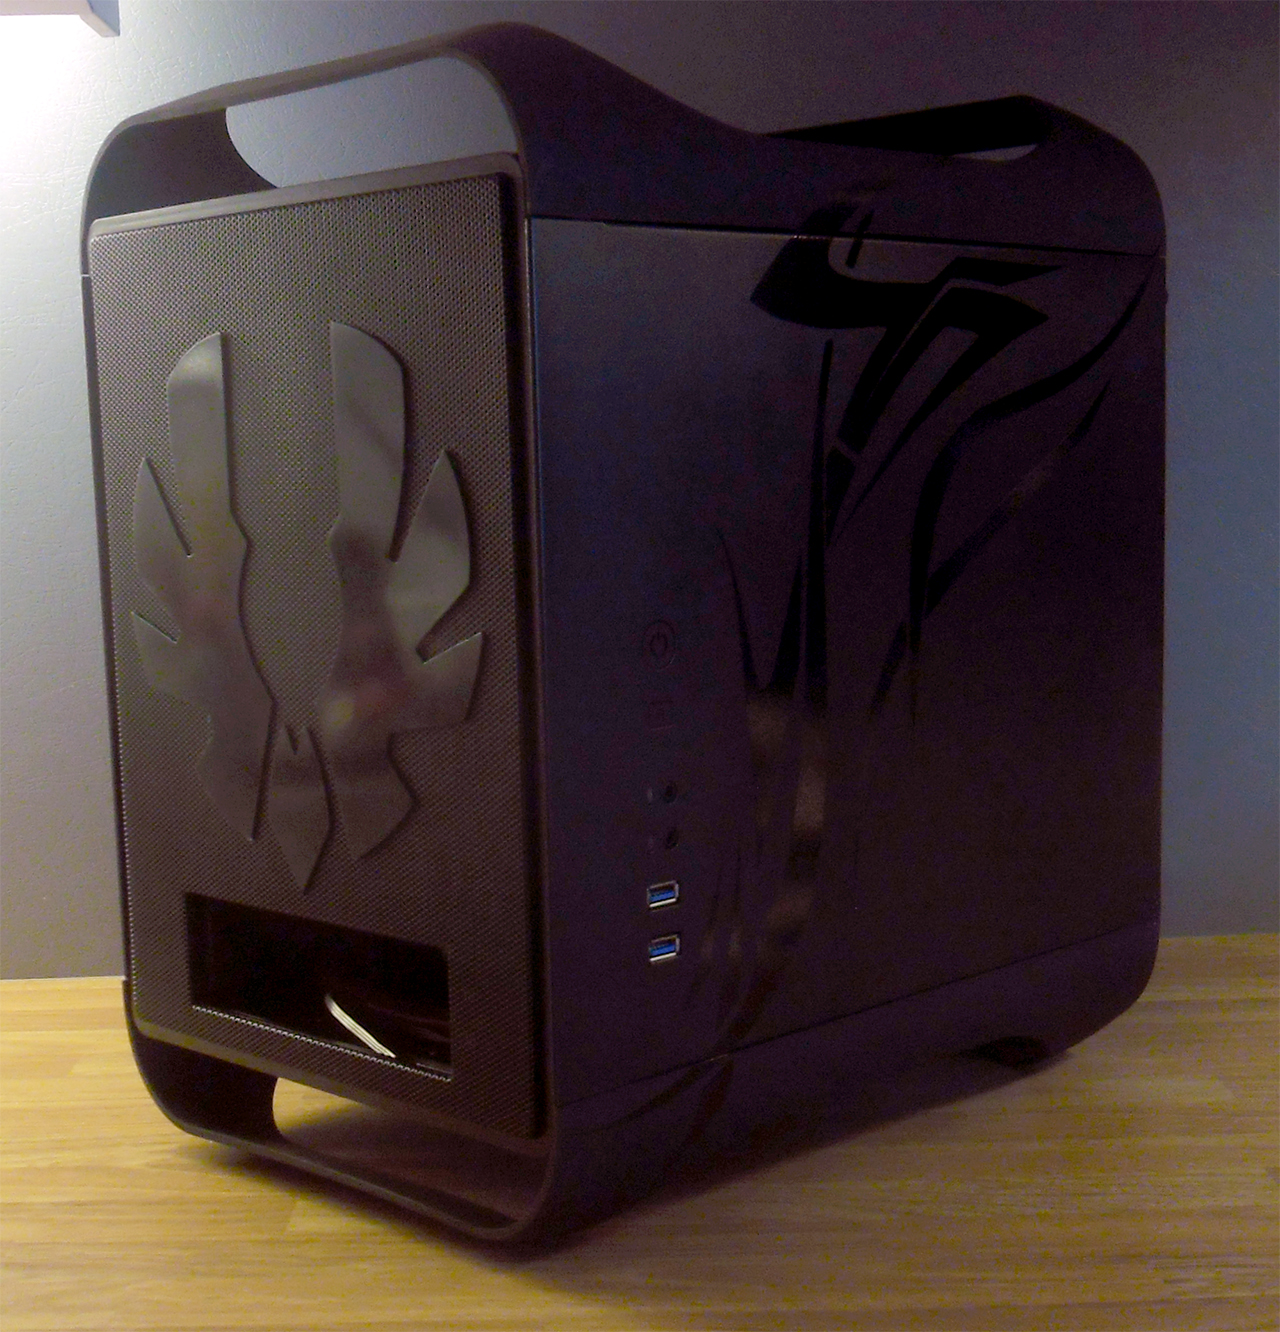
Some how, some way i need to put in two 3,5" 3TB harddrives here...
Just a mockup motherboard, the real one burned for me...

Thinking about putting them to the right of the board on that edge, standing up on the side...

We´ll se in a few hours when its early enough to fire up the table saw :)


space.jpg
 
This is not a real progress update, more a strange update on how my ideas grow up :)

As above, i needed a hdd cage for 2 x 3,5" drives and i got thinking on two solutions. One is to hang the drives under the radiator, but that would look really strange, and hard to fix the cables in a good way.

Then i came up with the standing cage.
Simply a standing peace of acrylic, and put one drive on either side of it and put some LED´s in the acrylic to light it softly.
I have a 140mm fan blowing from either side, i hope it will keep them cool enough.

The evolution of my idea, from left to right.
The first one have LED´s on the inside, the two later have them on the side, the one im gonna use is the one to the right with the LED´s on the side, slightly aimed up. Also using 4mm acrylic in this one, in the first planning i only used 2mm.

lights3.jpg


The sketchup proof of concept, not so pretty...
The red part is the acrylic, i use the holes under the drive to keep them in place, and in the bottom i have standing rods so they dont move if i carry around the case.

lights4.jpg
 
1, 2 and 5 bad words and nearly throwed the darn thing out the window before i got the floor right :)
Some more filing and then painting before i call this part ready!

floor2.jpg


Testing...
Dont mind the stretched hoses, just testing :)

floor3.jpg
 
You certainly don't make your life simple do ya. Still more interesting for us. Keep up the good work - for an in between project - this it turning out to be loads of work - interesting to see it all come together.
 
Haha, this turned out to be a bigger project, making more work than i planned for :)
But i cant stoooop.... :P

The drive fastening-thingy, here is the part with 8 amber LED´s that will light up the acrylic part, painted black on the sides and sanded on the edges to get a soft light.

Testing with one drive. One more drive later on the other side and the part goes to the right of the motherboard in the pic above...

cage.jpg


Radiator in, testing with fans and some plastic parts i made. (4mm spacers above the fans)
A little more sanding and shortening of the bolts and its done in the top.

rad.jpg
 
Some pics from leaktesting without any hardware.
Tomorrow its time for putting all together and boot it up :)

The red LED fan is going out and i´m waiting for a 140mm Amber/orange Aerocool Shark. Also changing the tubing for clear, this didnt turn out the way i liked.
The routing for the return feed probably need another route too, right now its just to get out of the way for the fancontroller.

dark2.jpg
 
Well, the outside have to be ready now, just the Bitfenix Recon to install when i kill my current workstation :)

thecase.jpg
 
Good to see that you didn't go completely overboard with the logos. This is subtle and it looks really good :)
 
Thanks!
The red logos was too much, so i went with black. When the internal LED fans are on it gets really nice :)

A pic from the inside, here is the custom drive bracket visible. But only one disk in the pic, i will put in one more to the left of this one.
Zero clearance to the motherboard... More inside-pics later.
The bottom part will not be visible trough the window, so not much work done there. Just gonna sleeve the cables. And maybe re-route the return tube to the res.

side.jpg
 
Back
Top