The Quiet Viking

TPC

New member
TheQuietVikingTop.jpg

I present you my new project: The Quiet Viking, another project wich is based on a rather unusual case choice but more on that later.

I already had a similar project with such a strange case some of you know it, it was called "PC-Chair" now some bells should ring about what 'case' I will choose.

First up the components wich will probably be used:

I7 4770K
Asus Sabertooth Z87
GTX 980 (770)
Corsair RM 650
8GB Crucial Ram
1TB Seagate HDD
240Gb Samsung 850 SSD

Later a custom loop with these components will be added:
Either a MO-RA3 on the side or two 240mm Rads inside the case. My Cpu block will be from EKWB and on the Gpu probably too.

Now onto the case.
I had to choose between Silverstone, Cooler Master, Bitfenix, Corsair etc. and that was not easy, so my choice fell onto...
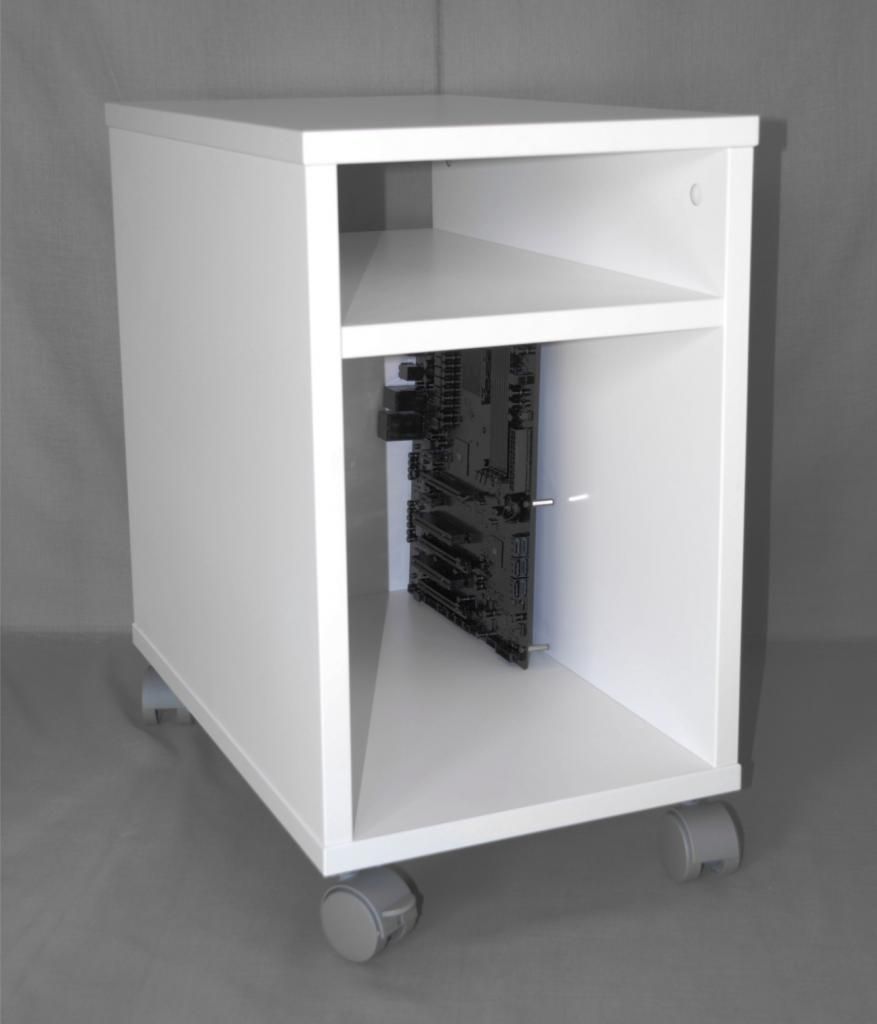
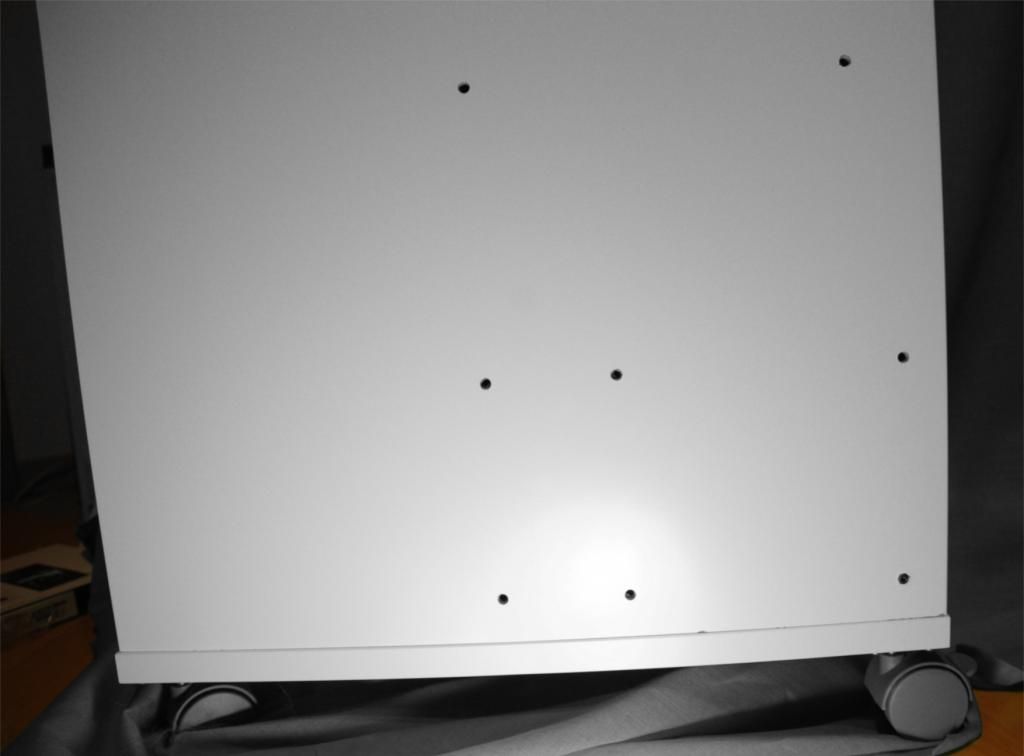
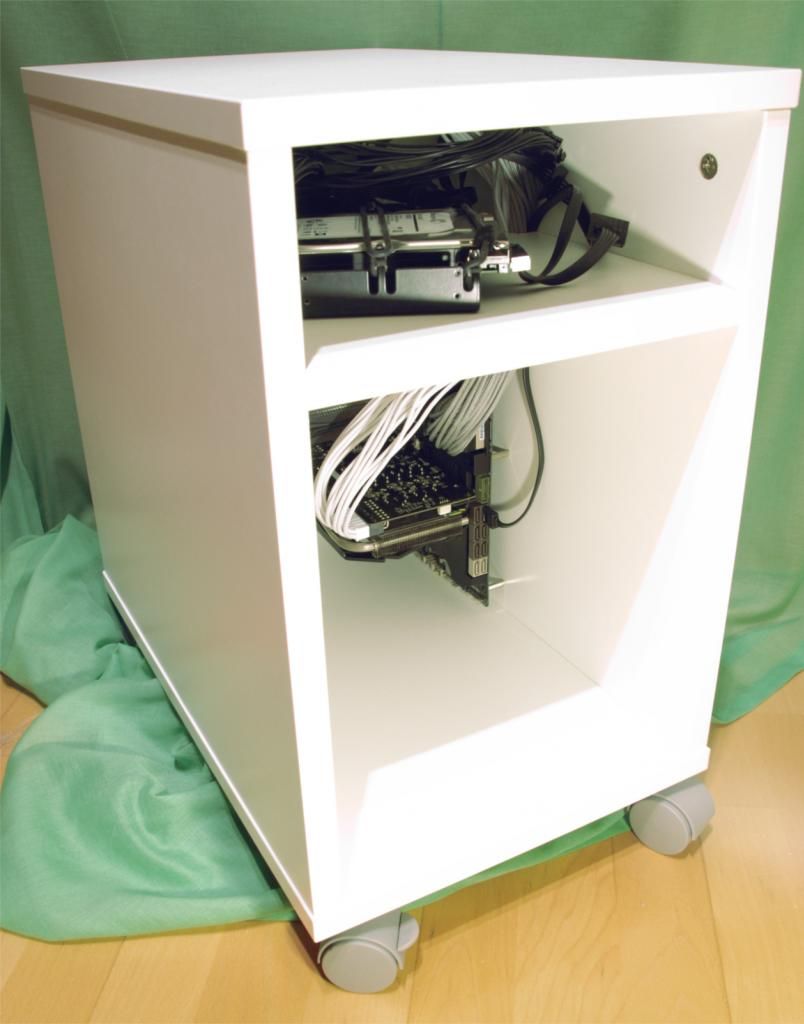
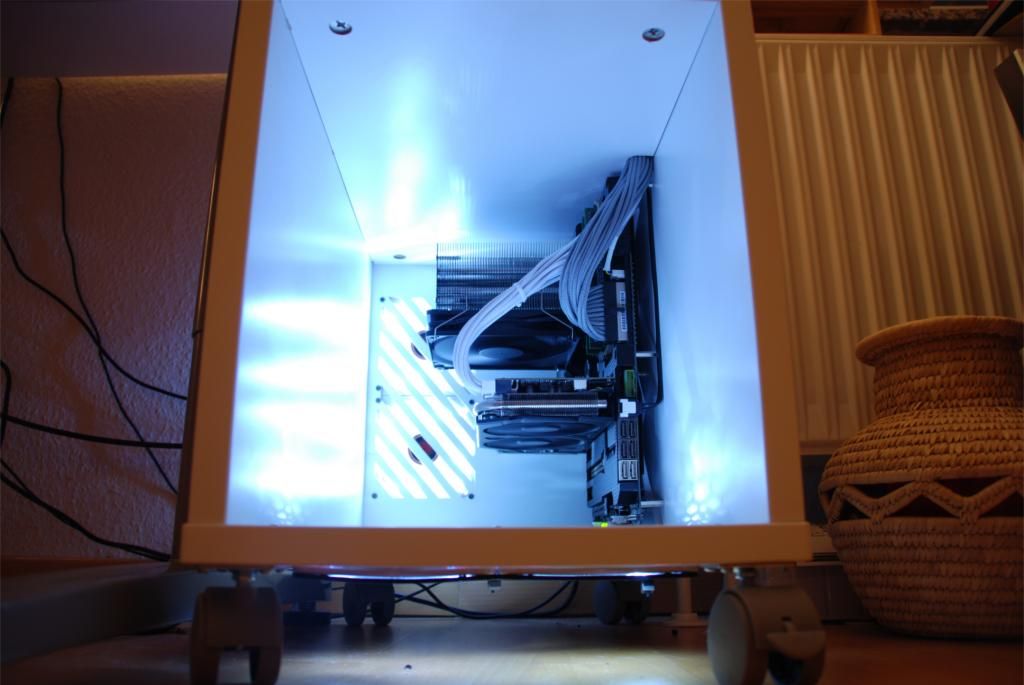
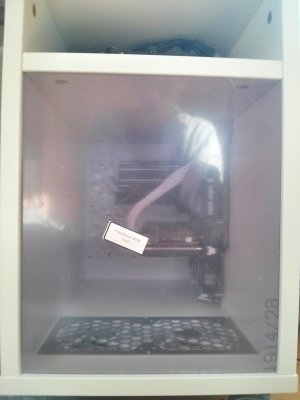
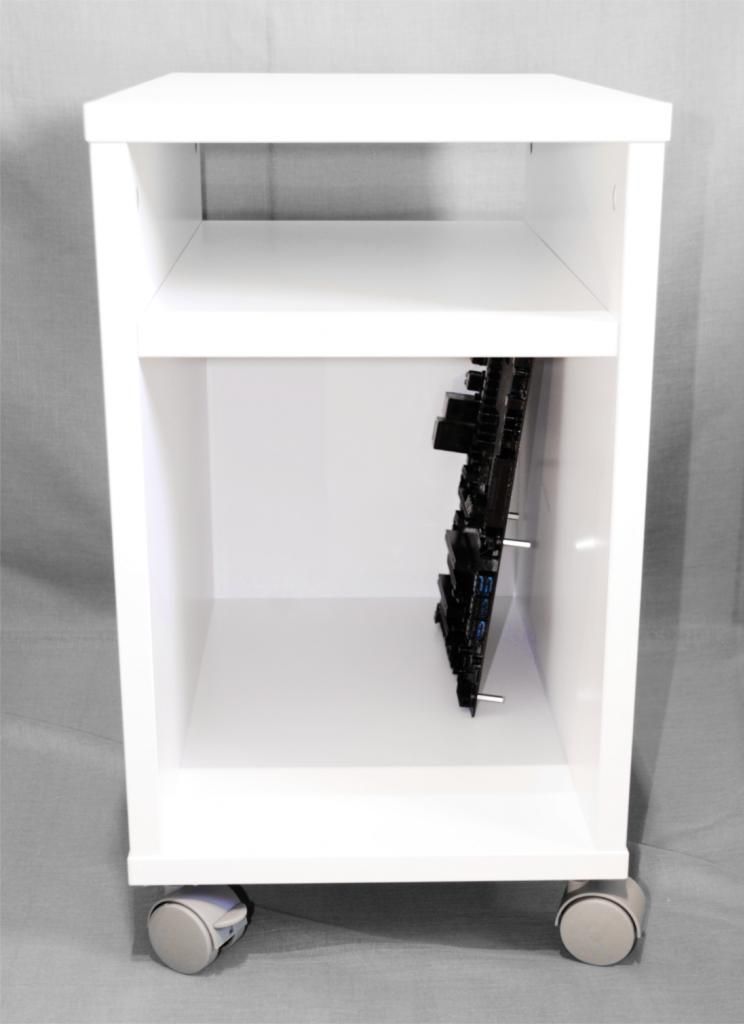
DSC_0002.jpg~original

IKEA!

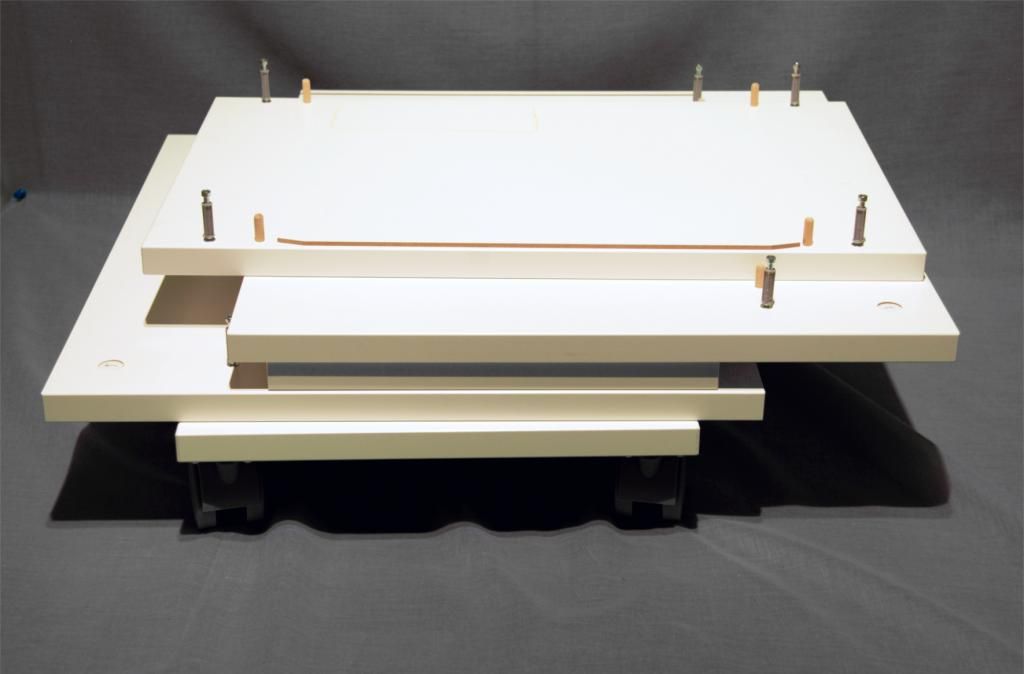
Its the IKEA Oltedal if anyone is interested. And that name is the reason why my project is called "The Quiet Viking". Oltedal is a small town in Norway and when I think about Norway I think about vikings.
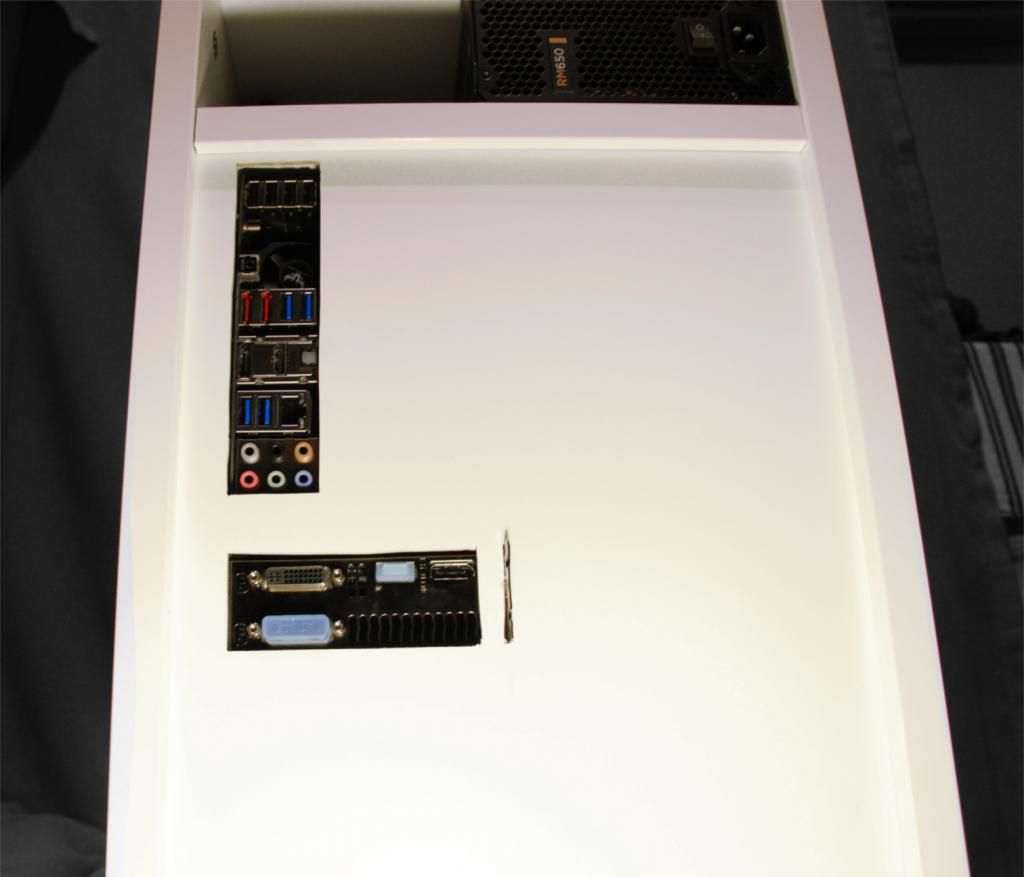
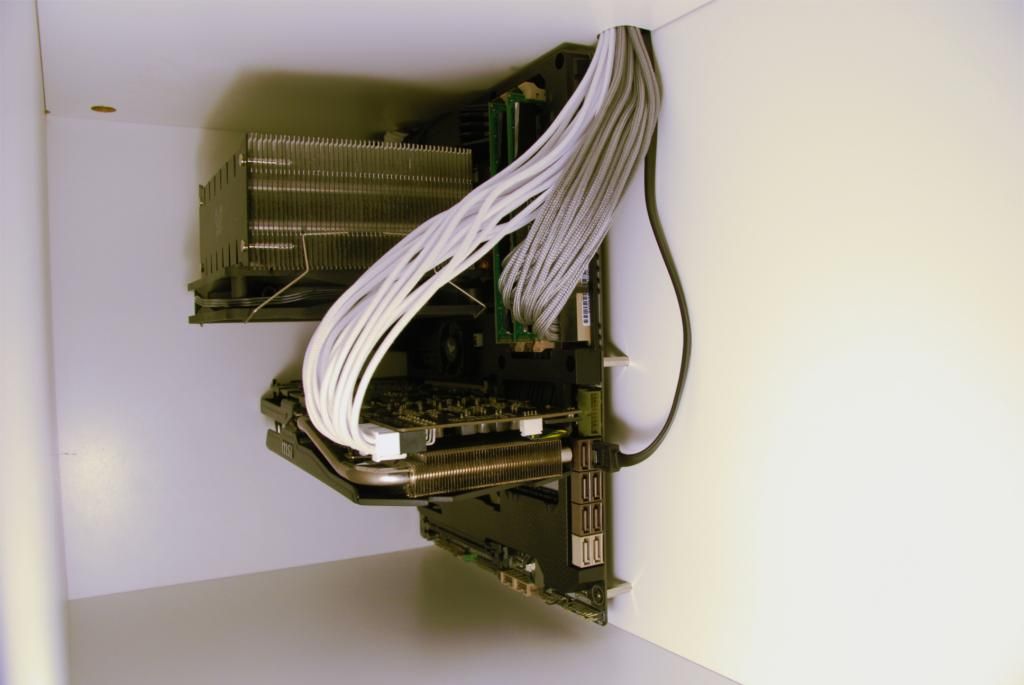
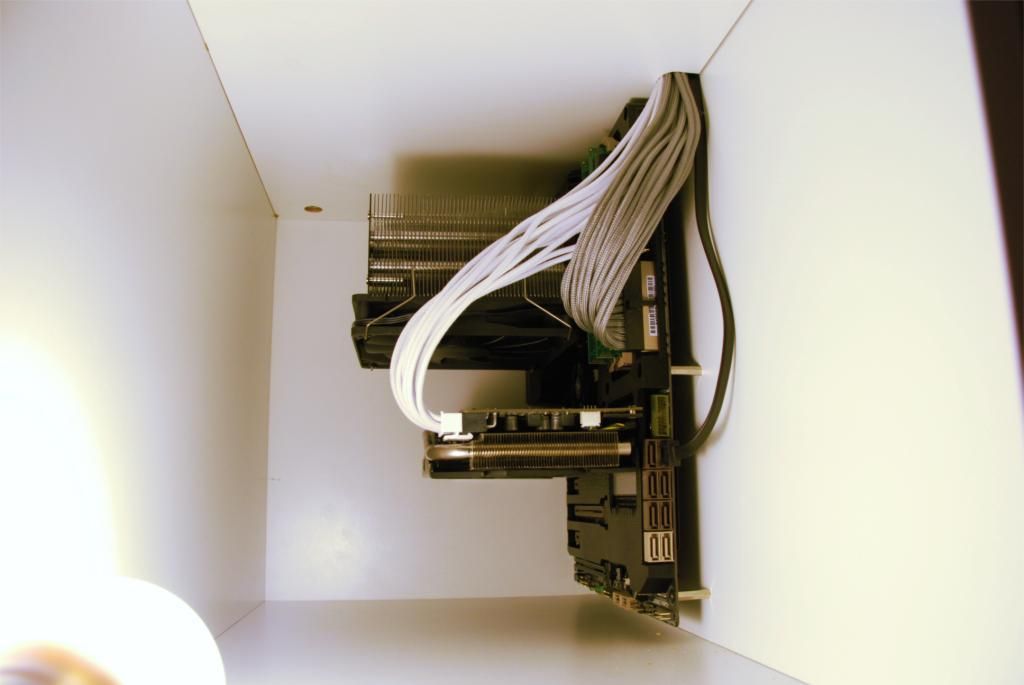
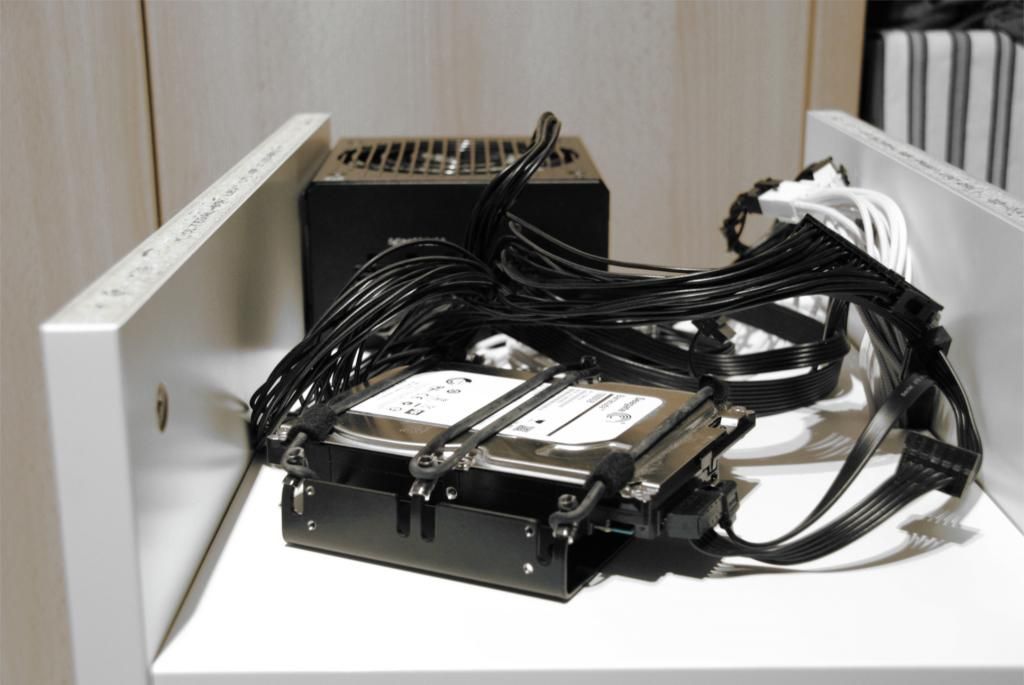
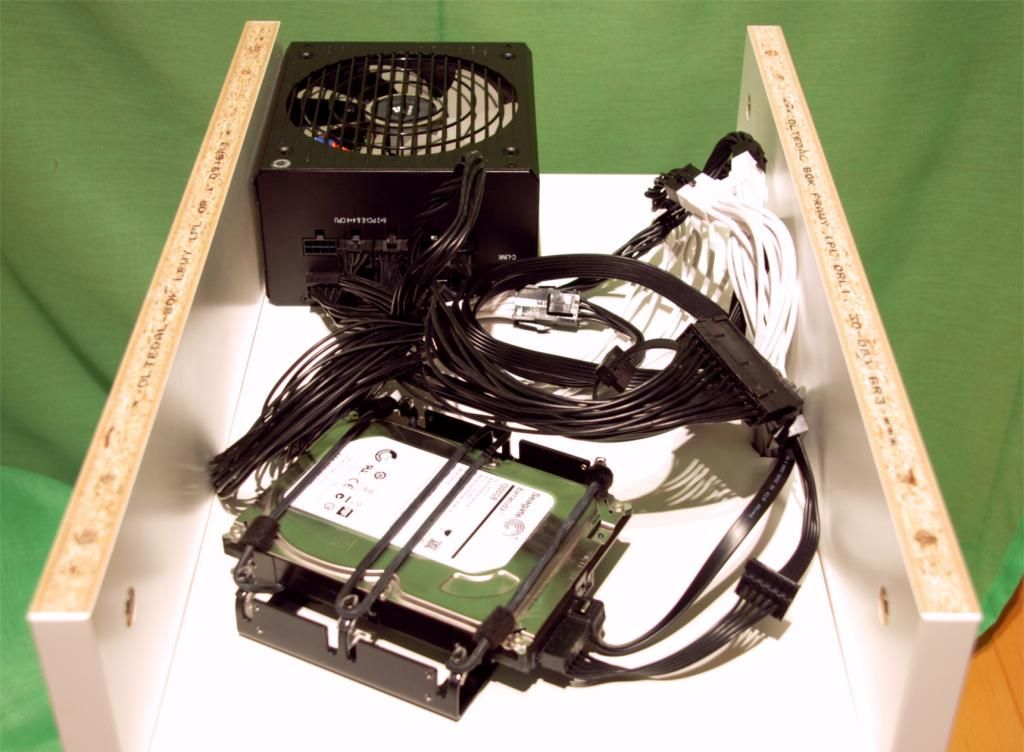
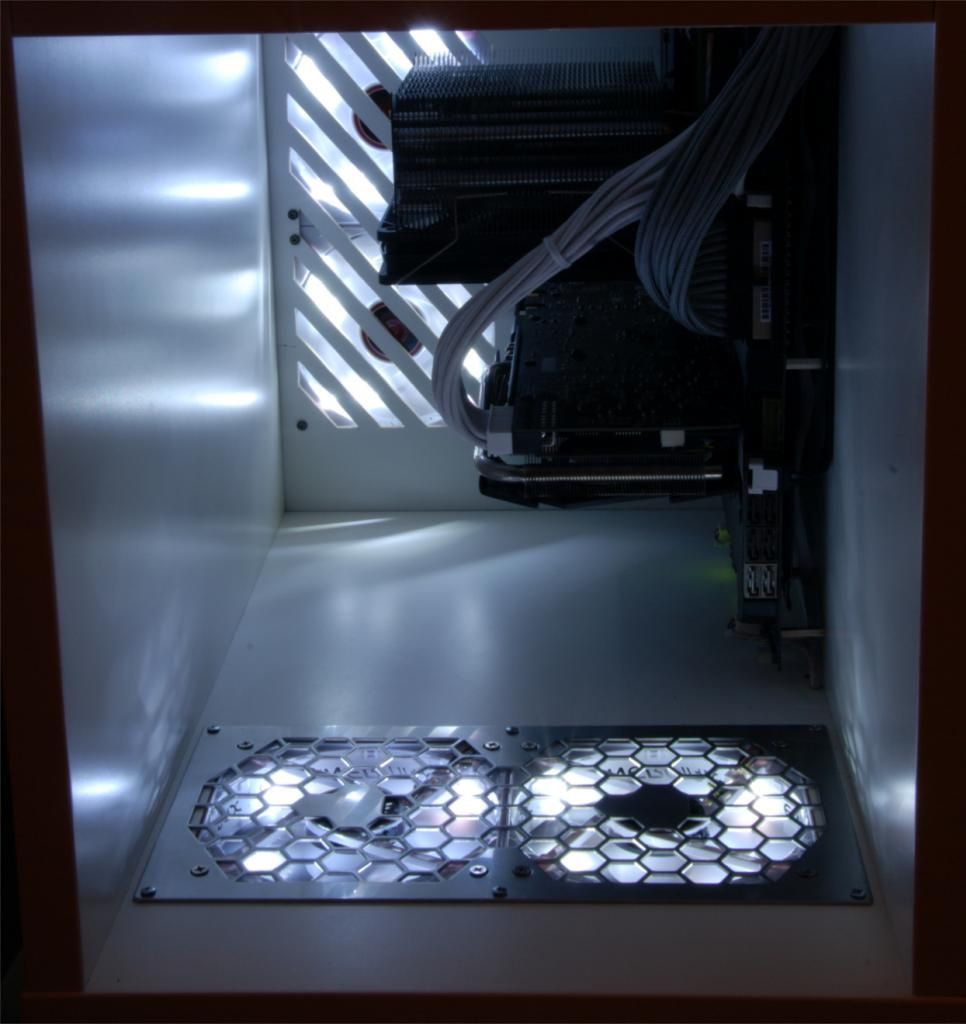
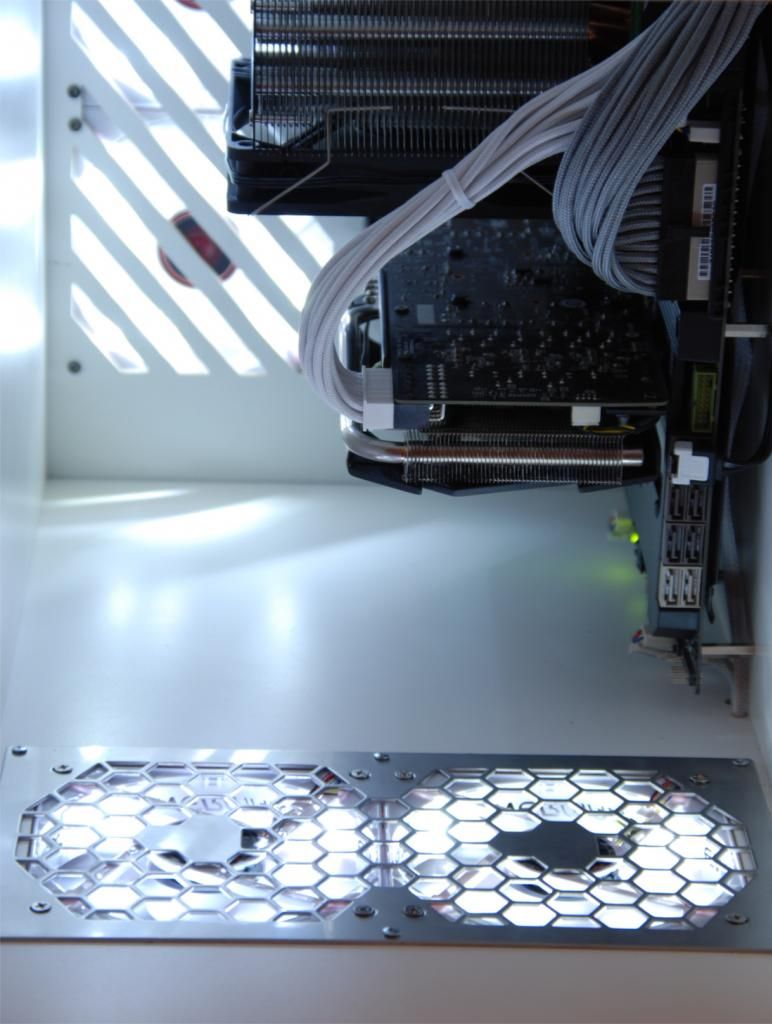
It is indeed rather huge, you can see that my dummy board (Full size ATX) has more than enough space in there. But that will help making my look perfect, and watercooling later will be a breeze.

DSC_0003.jpg~original


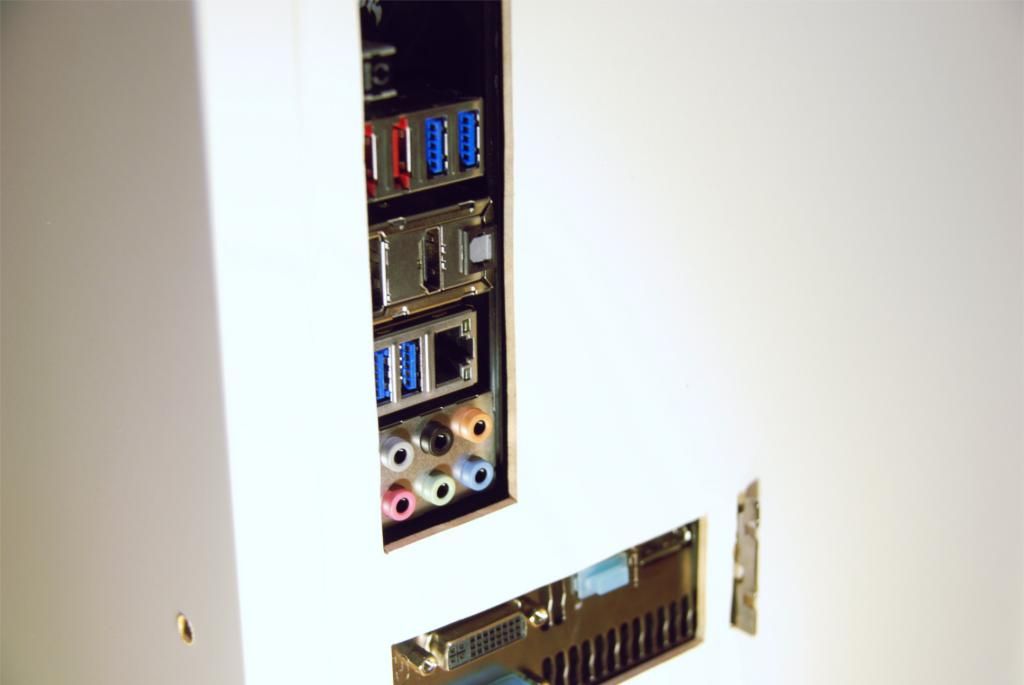
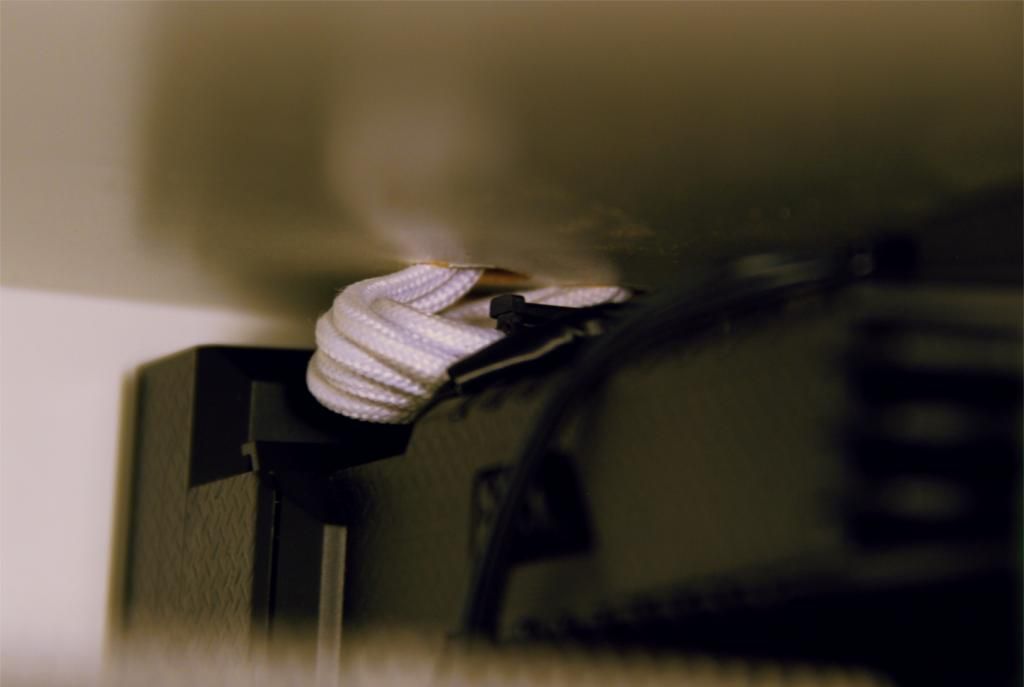
My PSU will take place in the upper section aswell as my HDD and the cables will all come down from the top. I'm still not sure if I should turn the MB 90 degrees so the I/O is at the top, but I dont need to hurry to decide I just started to work and as everything comes together I will have a decision.

Feel free to ask me anything about my rather stupid idea :lol:
See you in the next Update or around the forums ;)
 
Not such a stupid idea, its all about hardware placement, getting your motherboard oriented so you get the best view and functional access to ports is key here ;)

I'd go with something crazy like having the motherboard as far back as possible at a 45 Degree angle behind a 2 way mirror which becomes clear when illuminated from behind (Inwin 904 style) then in front of the mirror your graphics card stood alone on a PCIe riser extension.
Thats genius! I will keep that mirror idea in mind.
Nice to see you're actually going to make a mobile pc ;). Its a wheely good idea.
That's a wheely bad pun :lol:
Nice idea though TPC, I'll follow this one! ;)
You wont be dissapointed

And all three used the wink smiley? :huh:
 
55c0e559-4999-4064-a226-dab203a51f90.jpg~original

Every thing is now dissasembled for tomorrows work.
I can tell you taking apart ikea stuff is way harder than building them...
DSC_0027.jpg~original
 
55c0e559-4999-4064-a226-dab203a51f90.jpg~original

UPDATE TIME


Today I made some of the first cuts for cables and the I/O
DSC_0009.jpg~original

DSC_0011.jpg~original

DSC_0010.jpg~original


The cuts are not that perfect but it does its job well.
Then some holes to screw the motherboard in.

DSC_0016.jpg~original


And what are those stranges holes for?

DSC_0014.jpg~original


Ahh yes, the 8-Pin CPU plug, I will never get it out there again...

DSC_0019.jpg~original


And the rest of the cables.

DSC_0008.jpg~original

DSC_0007.jpg~original


In the meanwhile its tidier especially the sata plug, I just wanted to get some pics before it got too dark. (You can see I had to use an extra bulb already)

In the top it looks like a complete mess, but noones gonna see it in the end ...
DSC_0004.jpg~original

DSC_0005.jpg~original


And everything assembled looks like this.

DSC_0032.jpg~original


My plan now is to get a mirror for the floor so you can see the GPU and well... anything in the floor :lol: I just think it will look nice, then some hidden lighting and a front plate to cover the top part and a clear plexi plate for the main part.
The blank space is btw the space for the reservoir later on, stay tuned ;)
 
soon :lol:
sorry for the mobile picture
 

Attachments

  • IMG_20141107_134434~2.jpg
    IMG_20141107_134434~2.jpg
    63.2 KB · Views: 94
55c0e559-4999-4064-a226-dab203a51f90.jpg~original


Peripheral Time!

IMG_20141108_163641.jpg~original

I gave my good ol' trusty IBM Keyboard a refresh with a bit of paint

IMG_20141109_114316.jpg~original

IMG_20141109_114540.jpg~original

IMG_20141109_114620.jpg~original


Sorry for all those phone pics lately but my DSLR is playing tricks on me... Thats also the reason why I didnt update my Whole PC because my phone just doesnt give justice to it enough, on tuesday I get a spare one from a bud of mine and then I can mostly finish this build here, for now... :D
Stay tuned.

How old is that keyboard & what type is it i have never seen that key lay-out before
 
How old is that keyboard & what type is it i have never seen that key lay-out before

Thats just the normal QWERTZ layout we use in germany.
And that keyboard is about 6years old, I got it when I left my first job

I just googled the model number and Its probably about 13 years old in total :lol:
 
Last edited:
Back
Top