Hey guys,
Finally an update!
Recently bought a house and have been moving things (mostly to the garage) so now i can start modding more and close to home so updates should be more frequent now
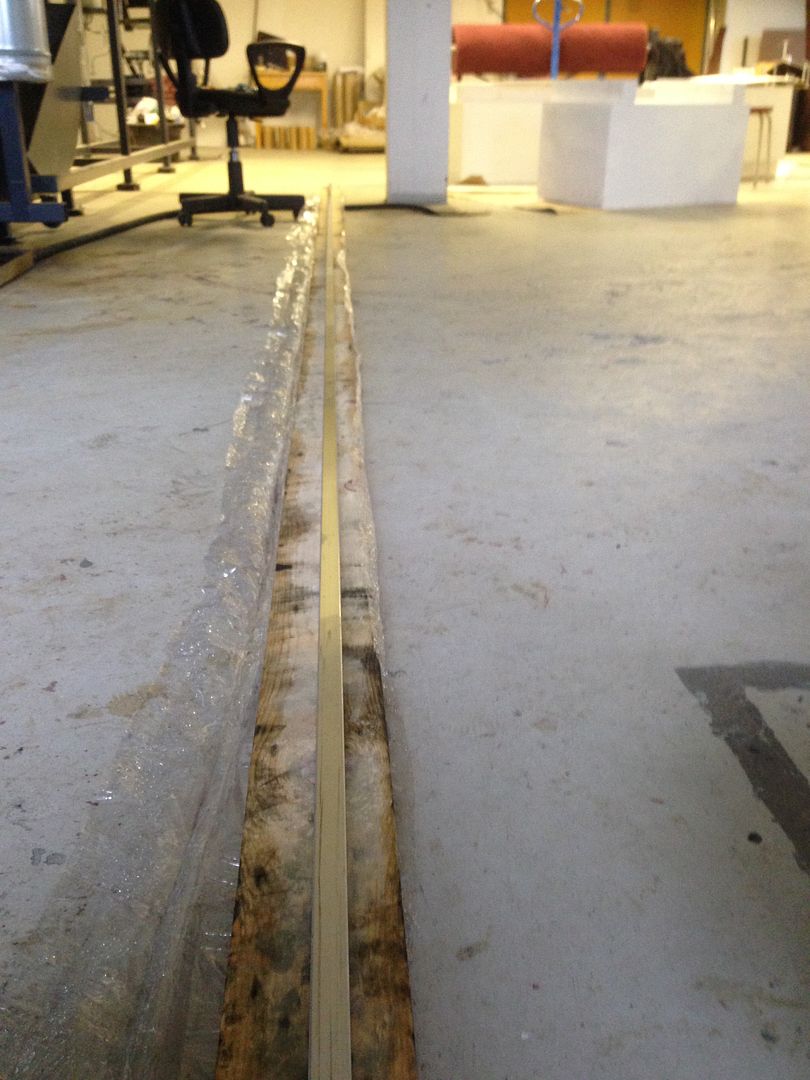
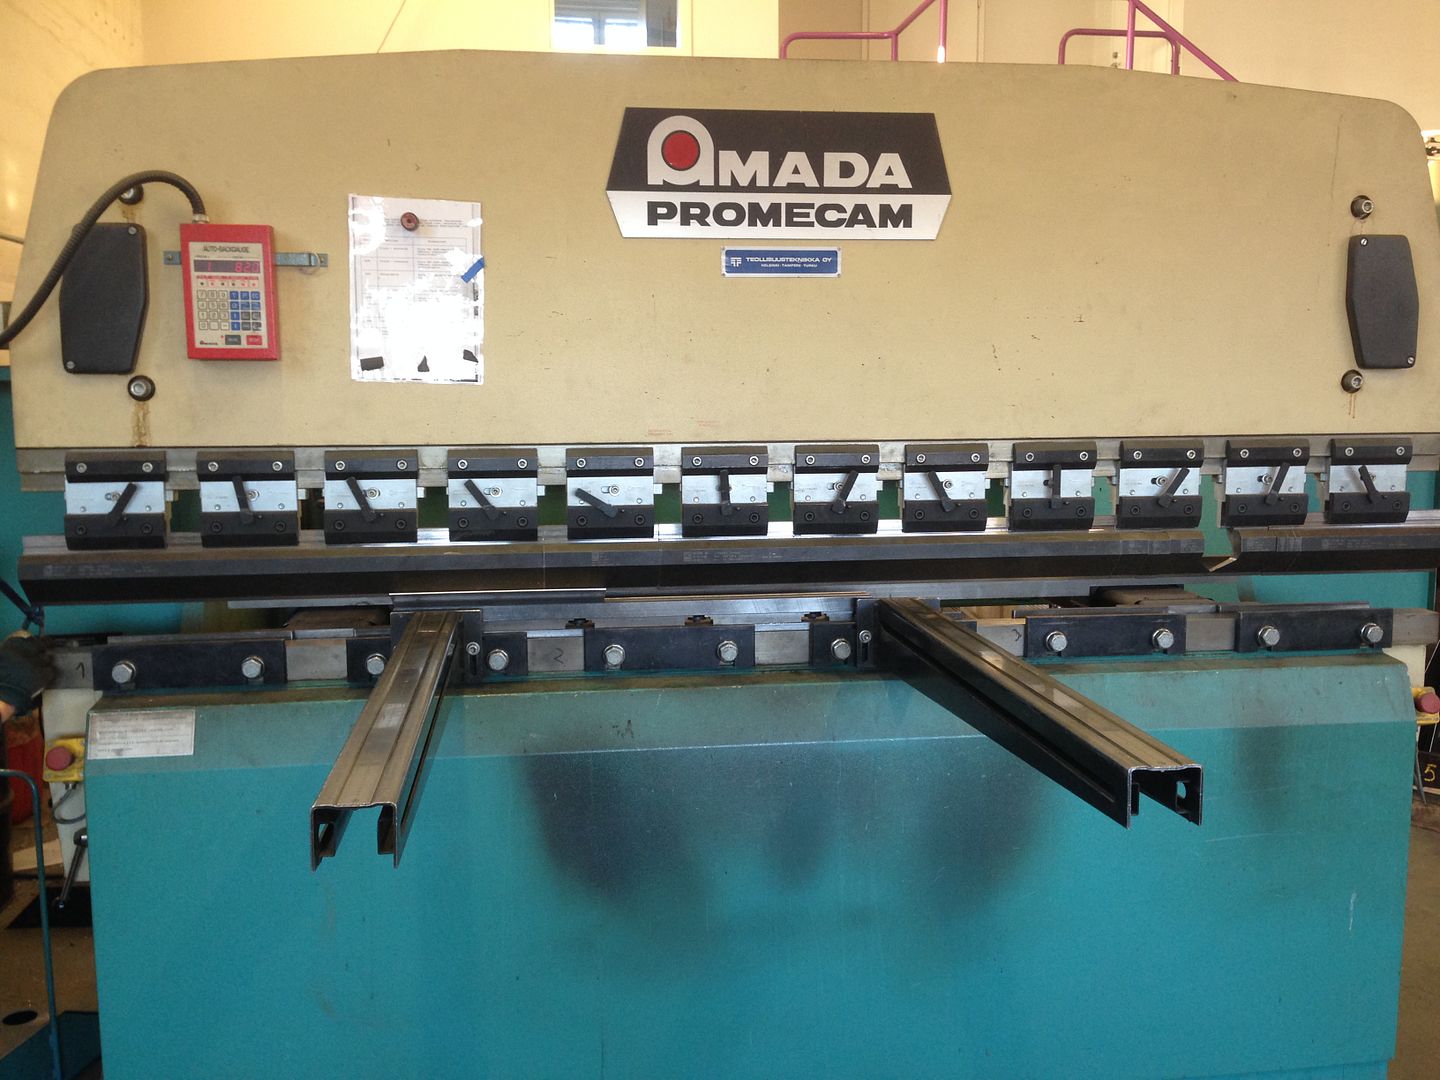
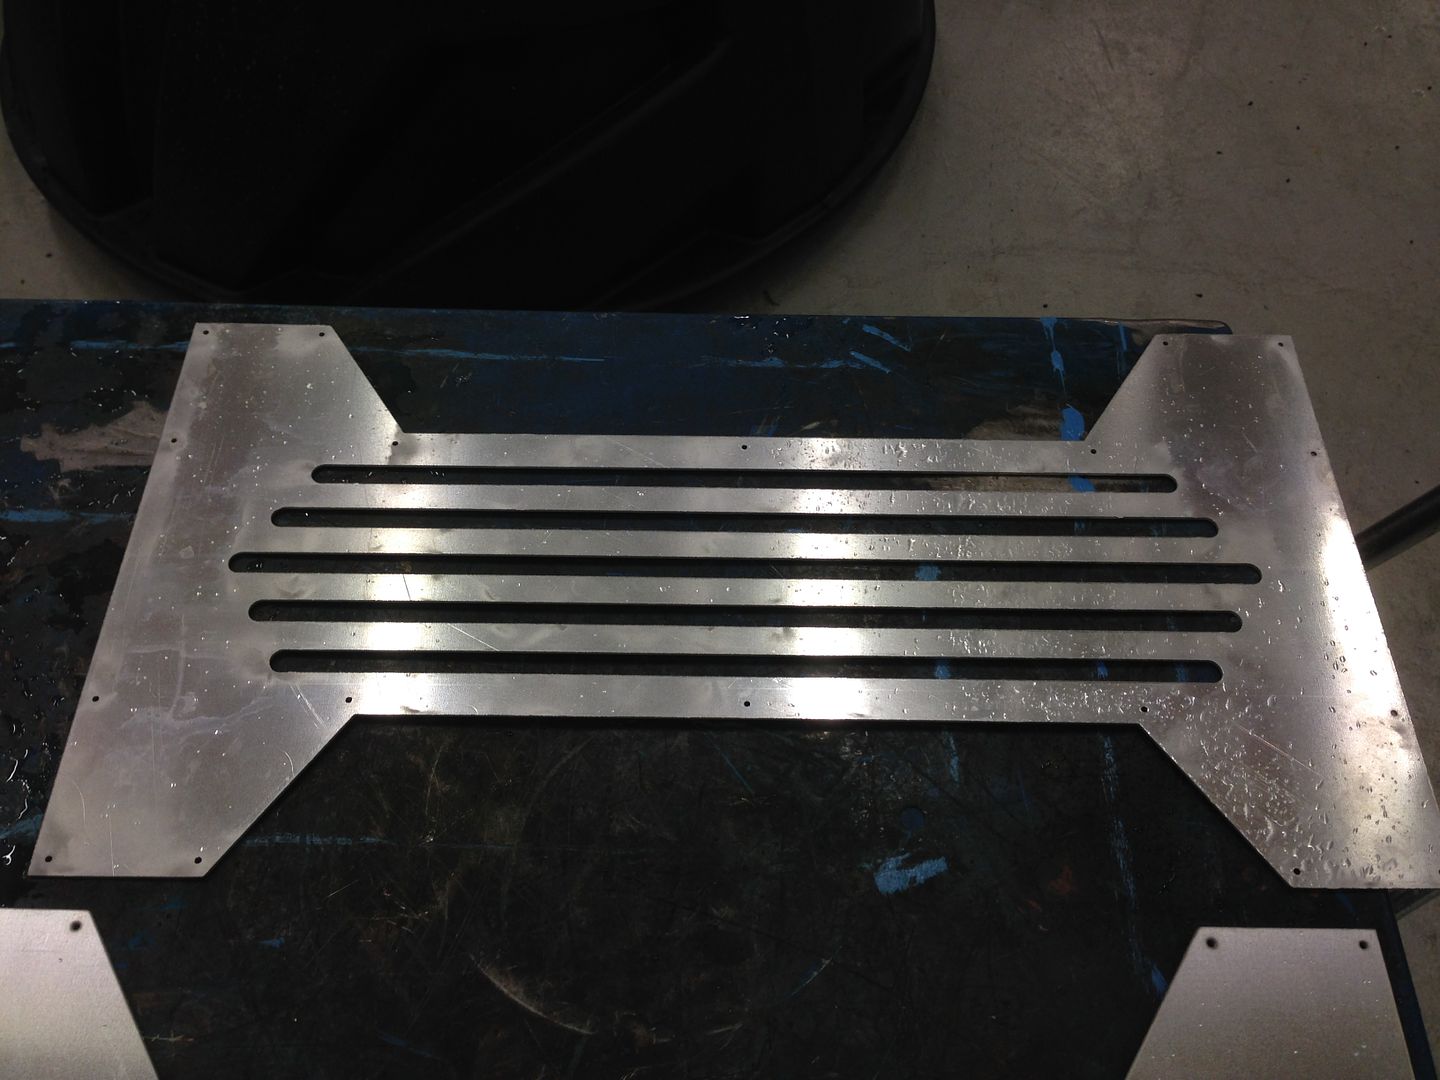
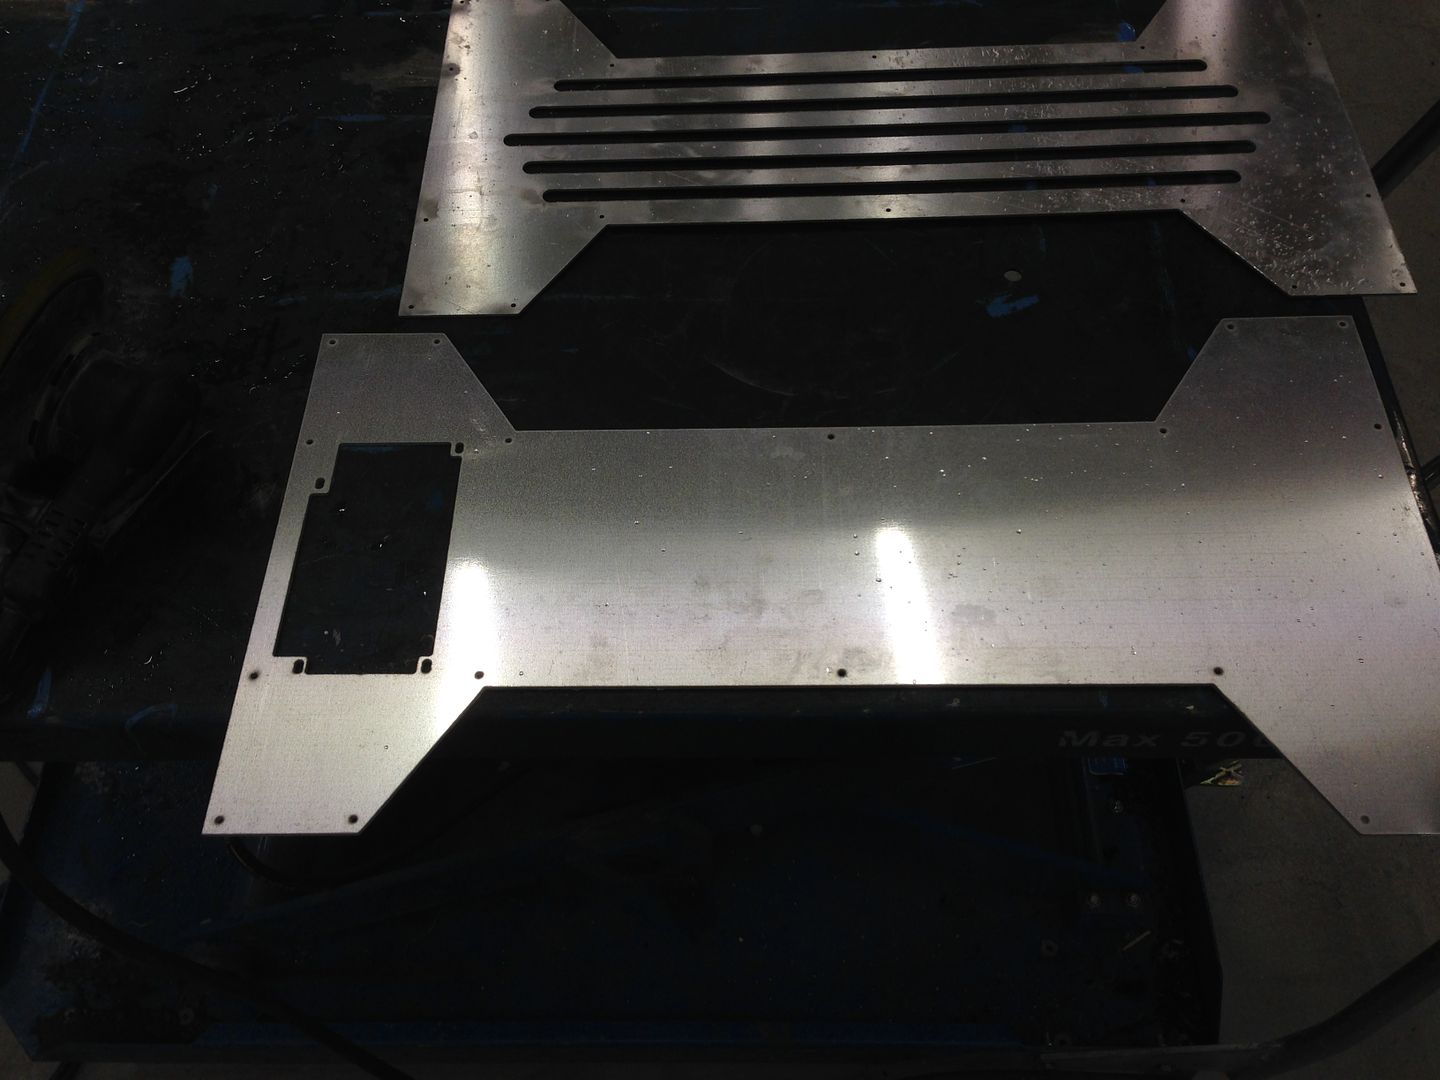
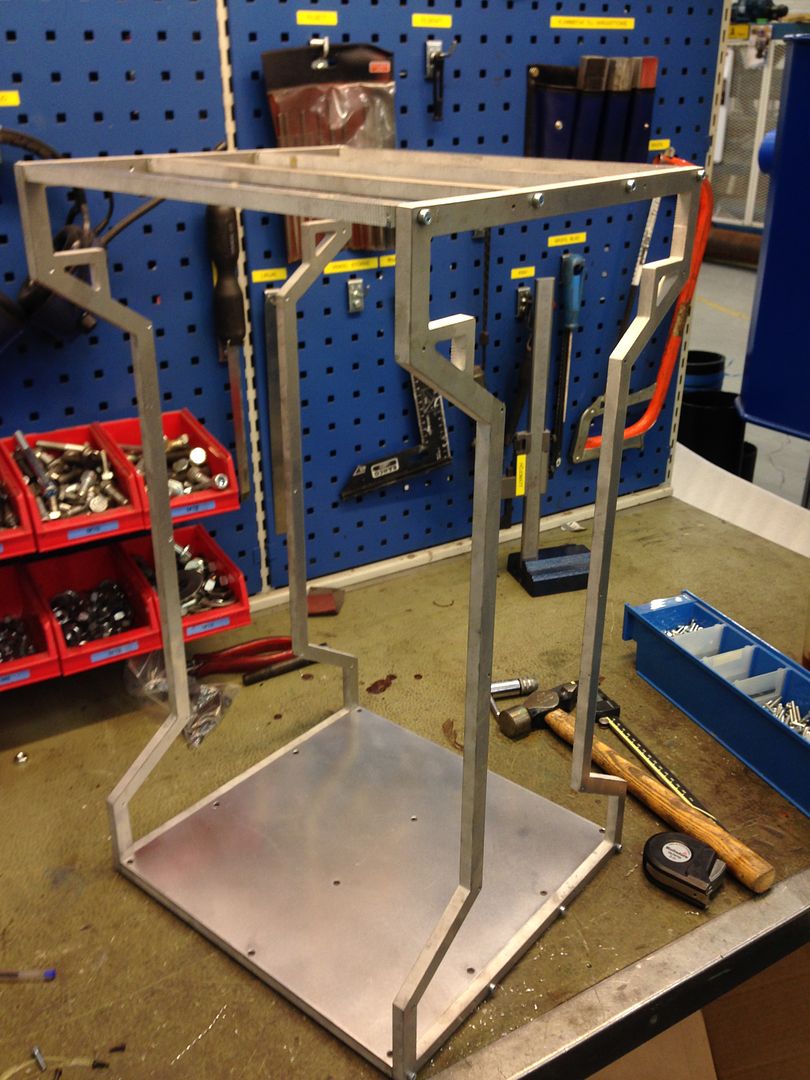
After thinking a while about the front and the back panel i decided the best way would be to have them water cut, i have countless times milled thin aluminum sheet and it usually ends with the flute snapping. Still need to cut a lot of holes in the back panel for all the connectors but i will do that at a later stage
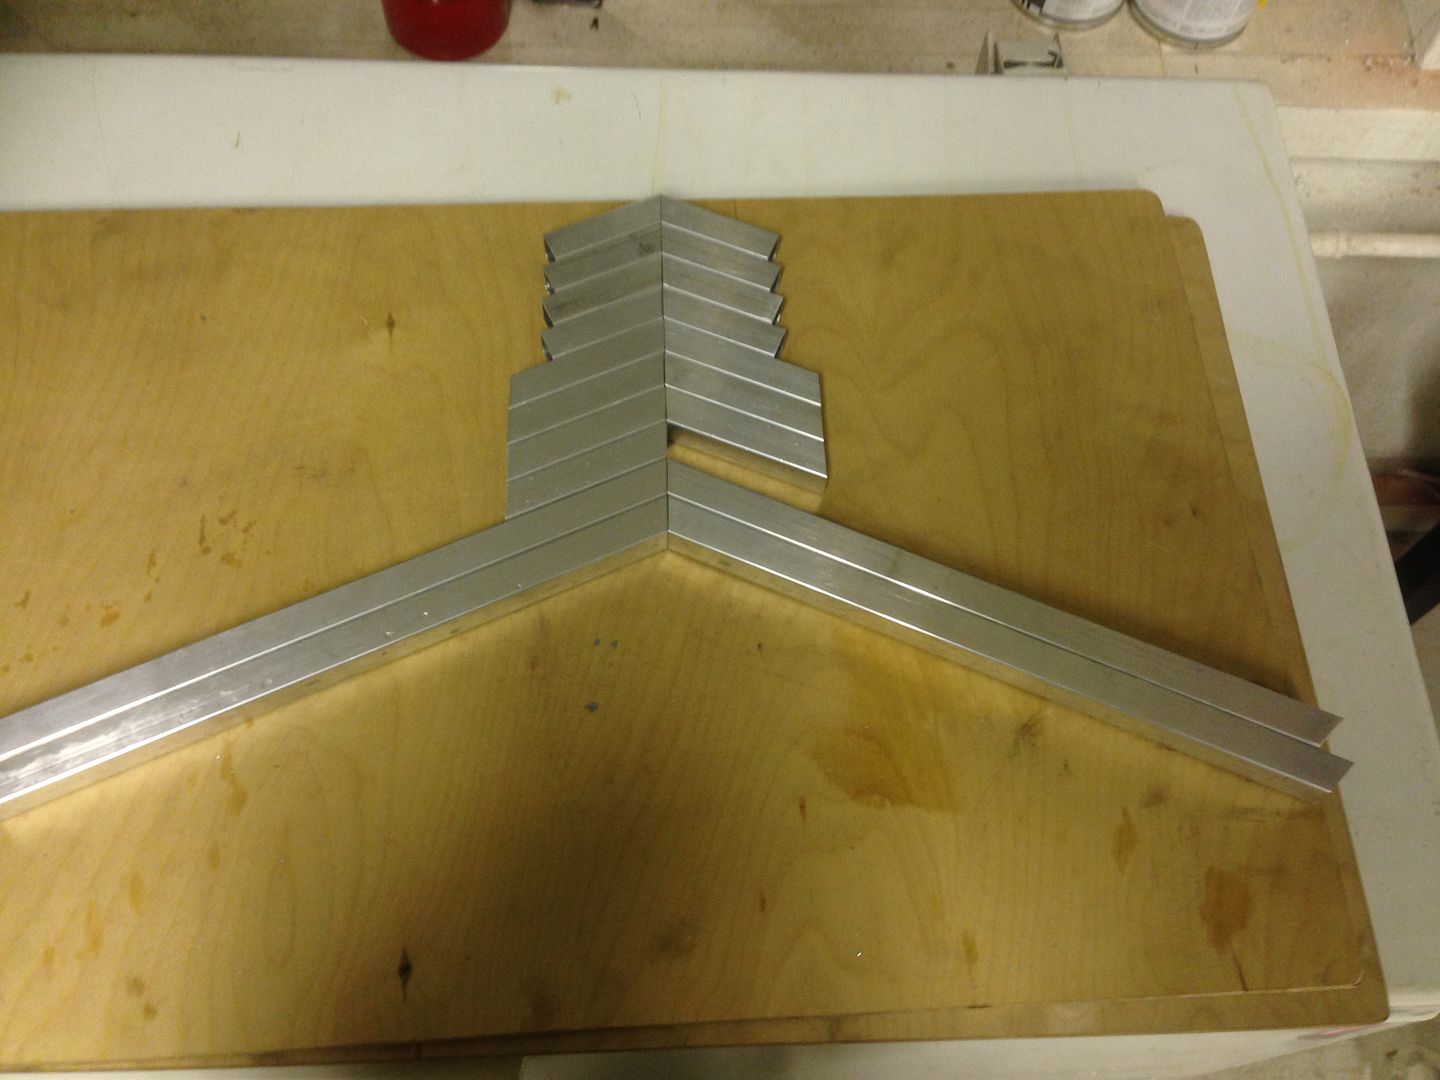
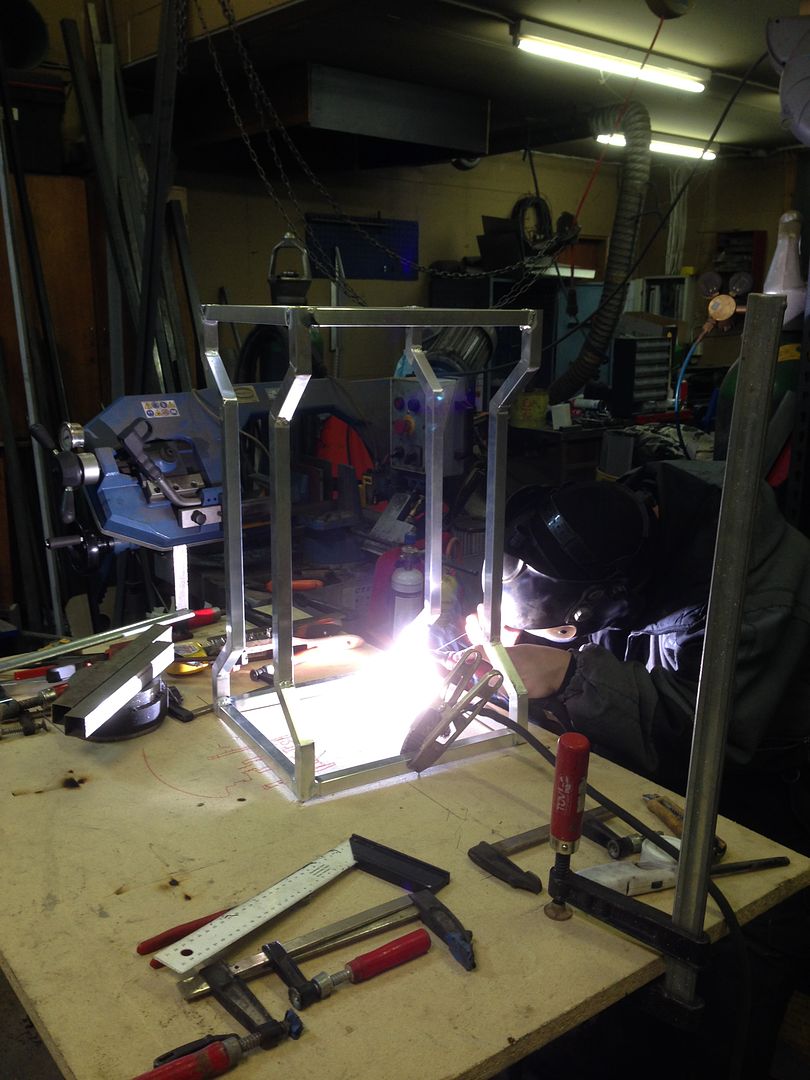
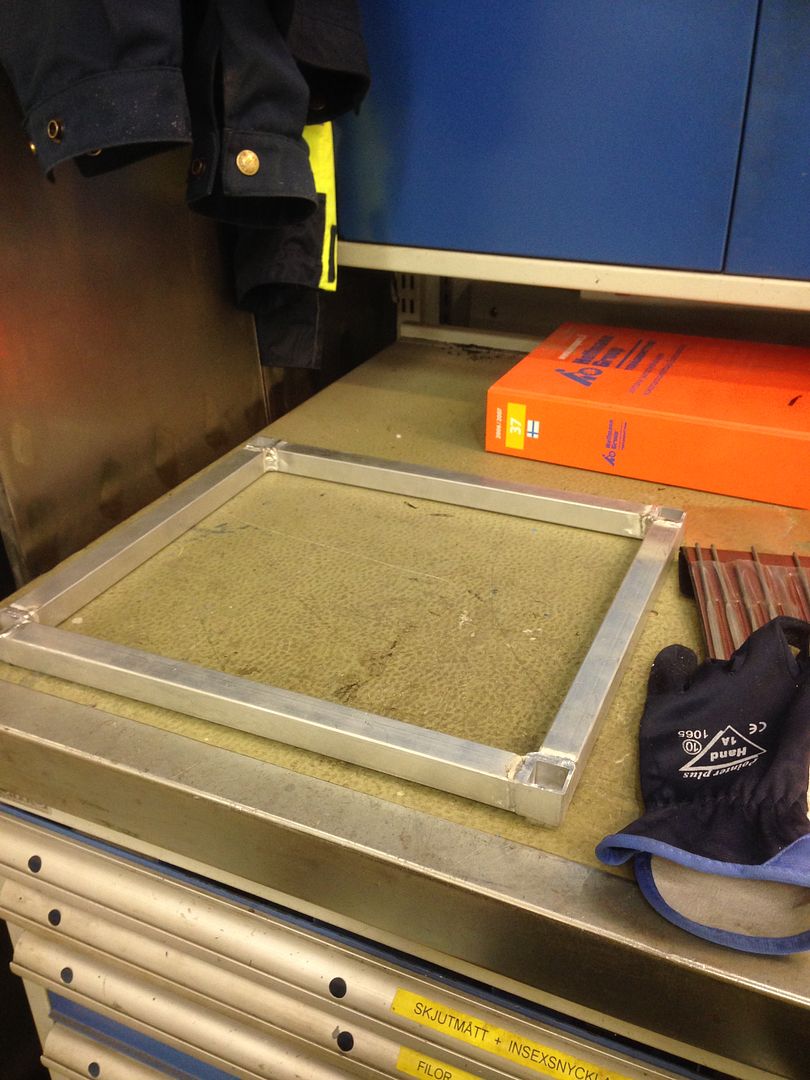
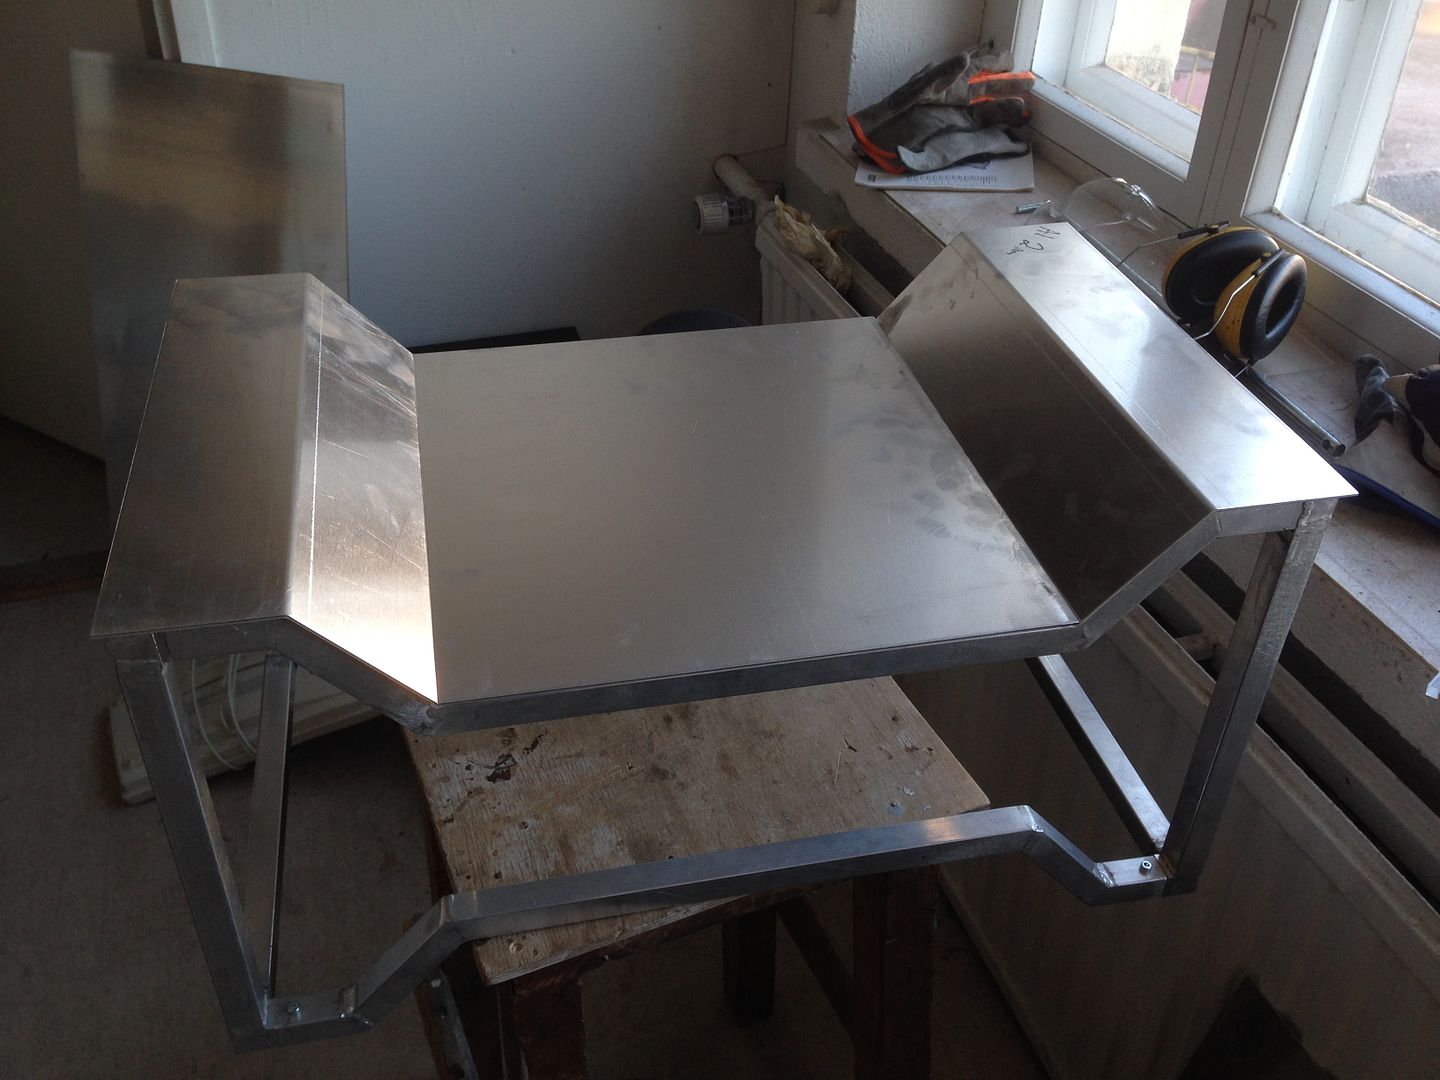
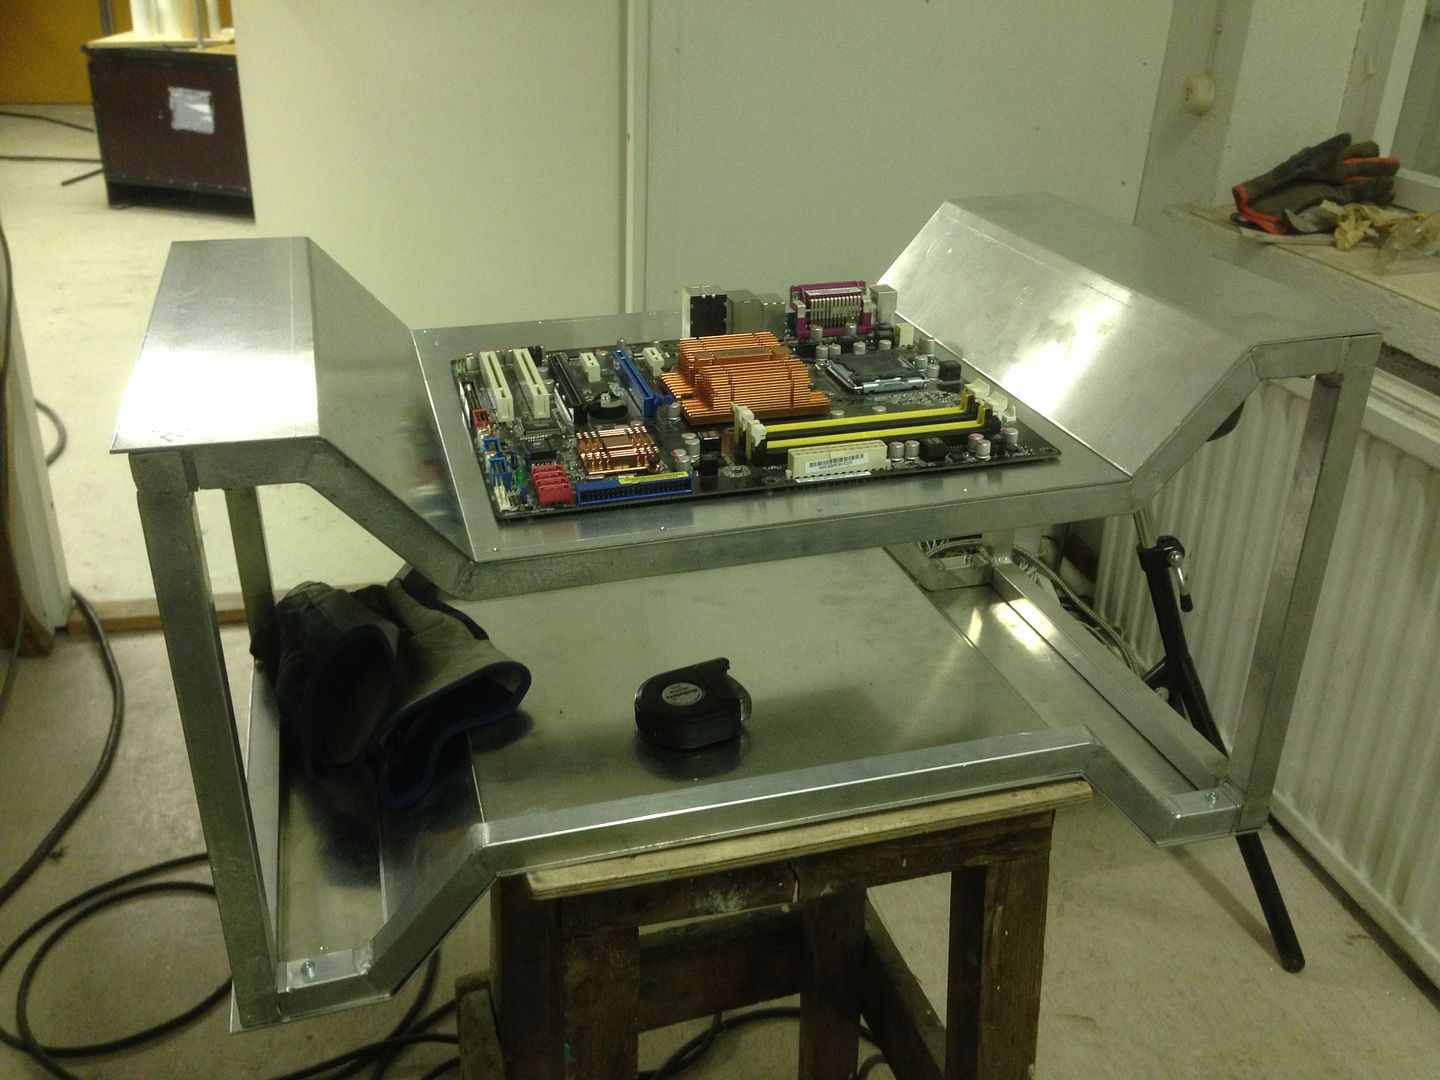
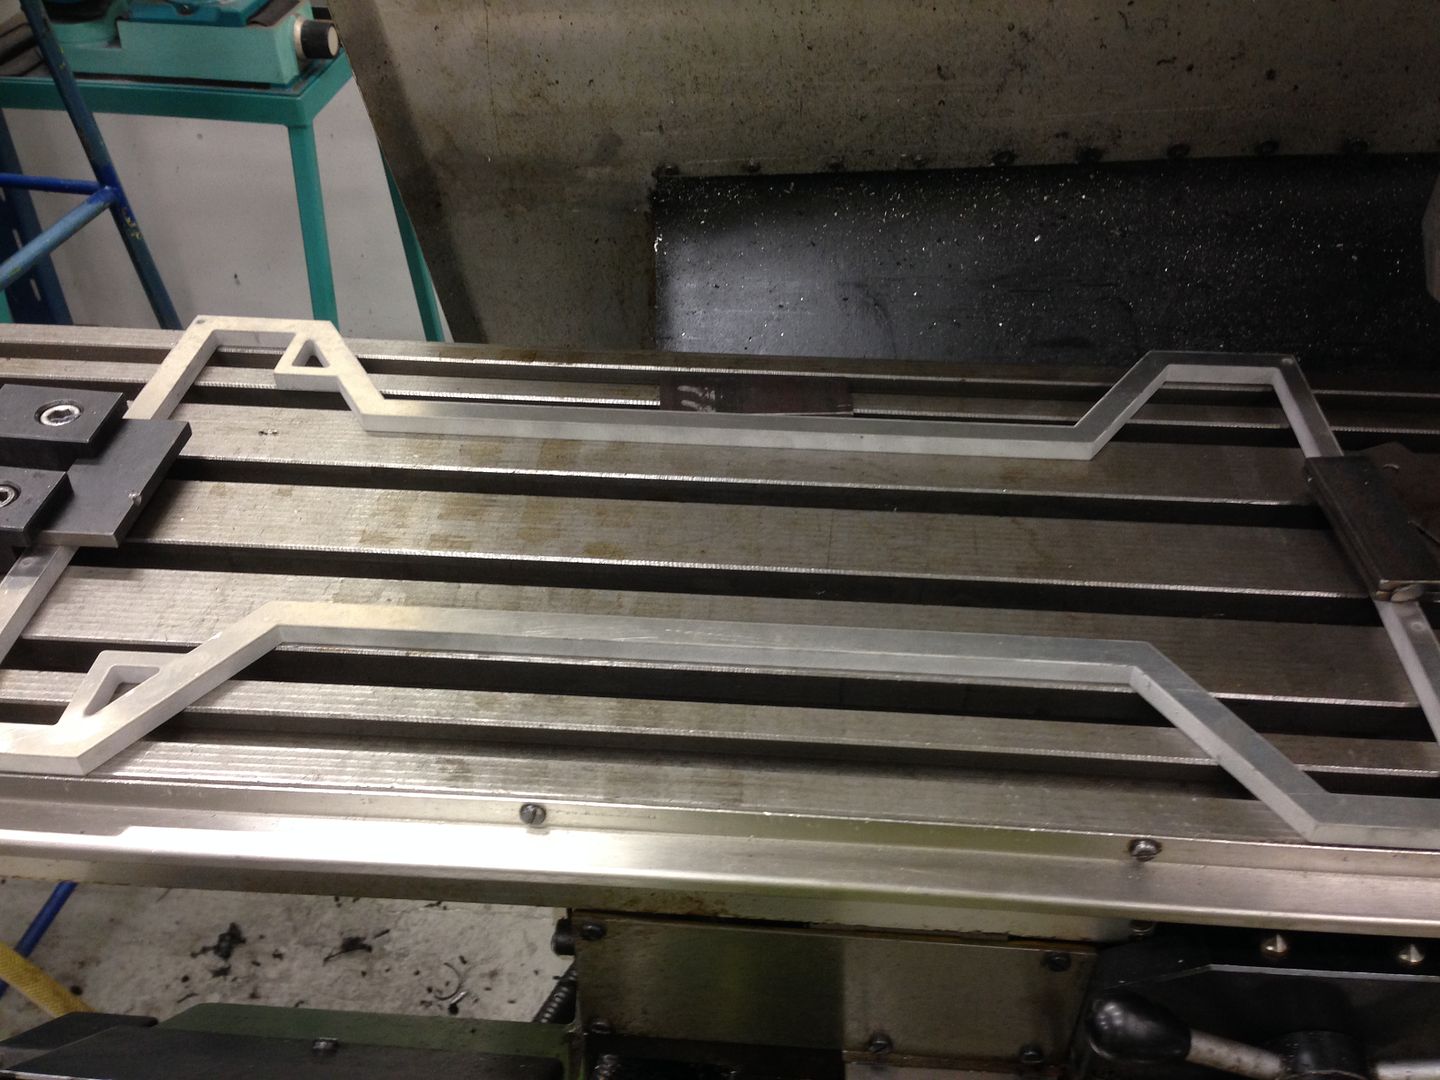
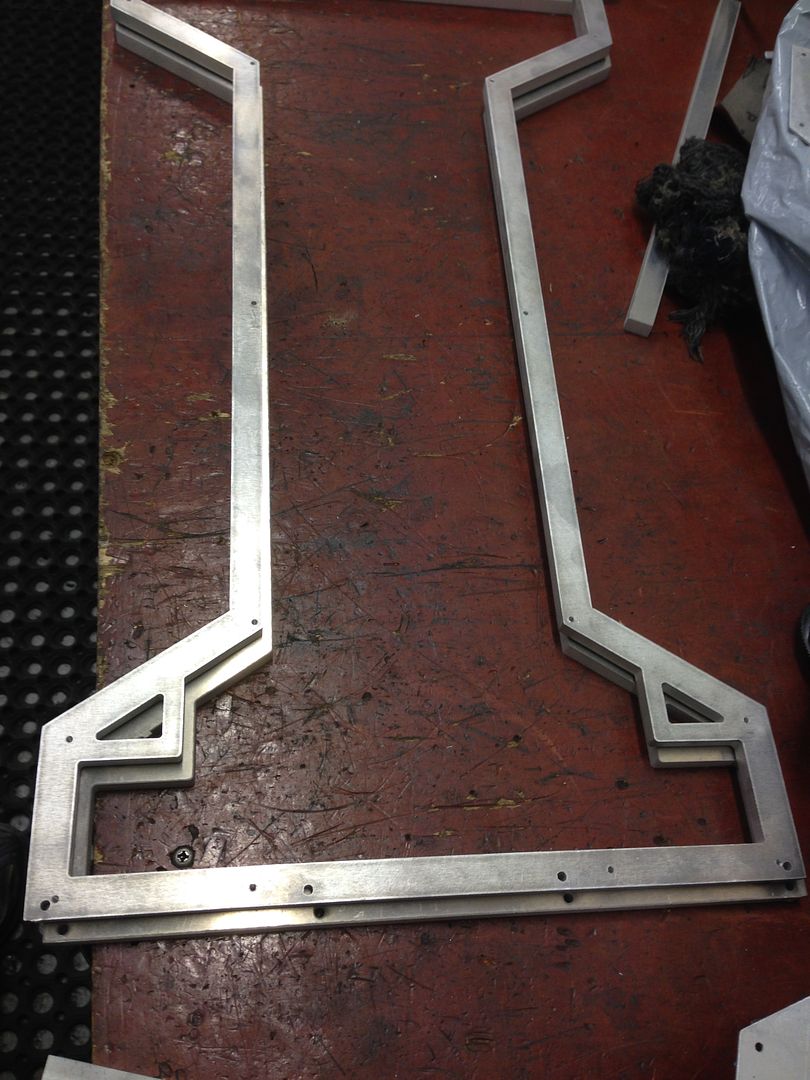
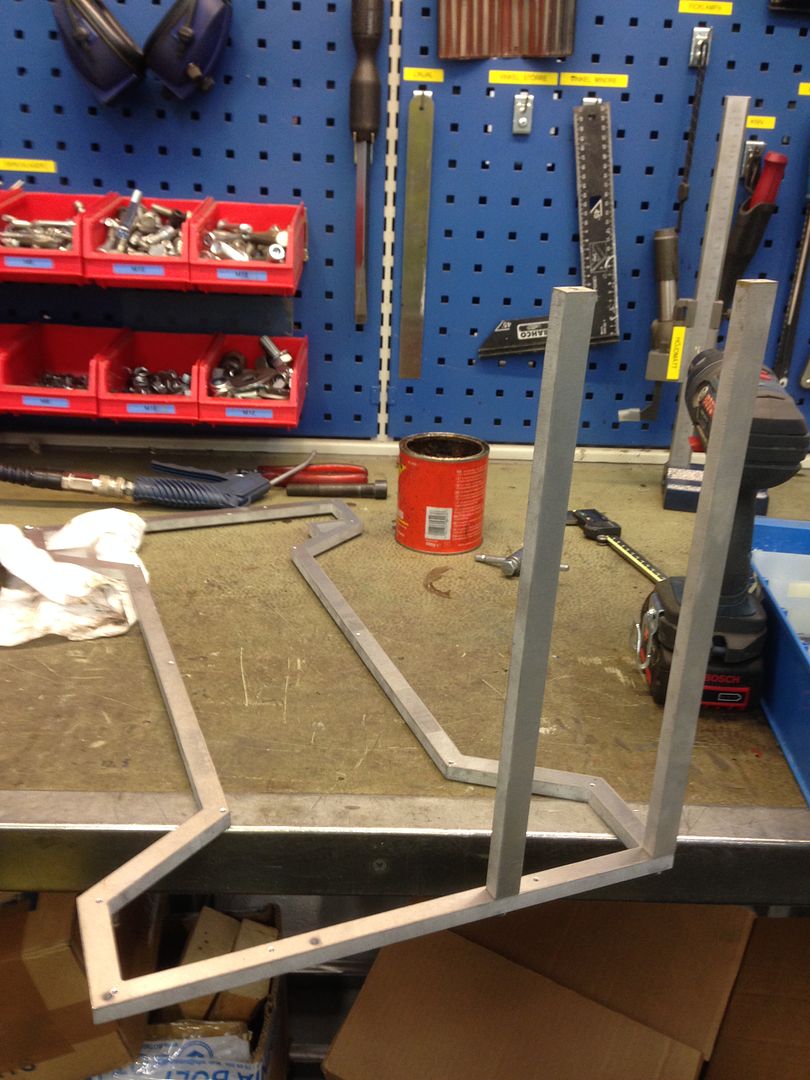
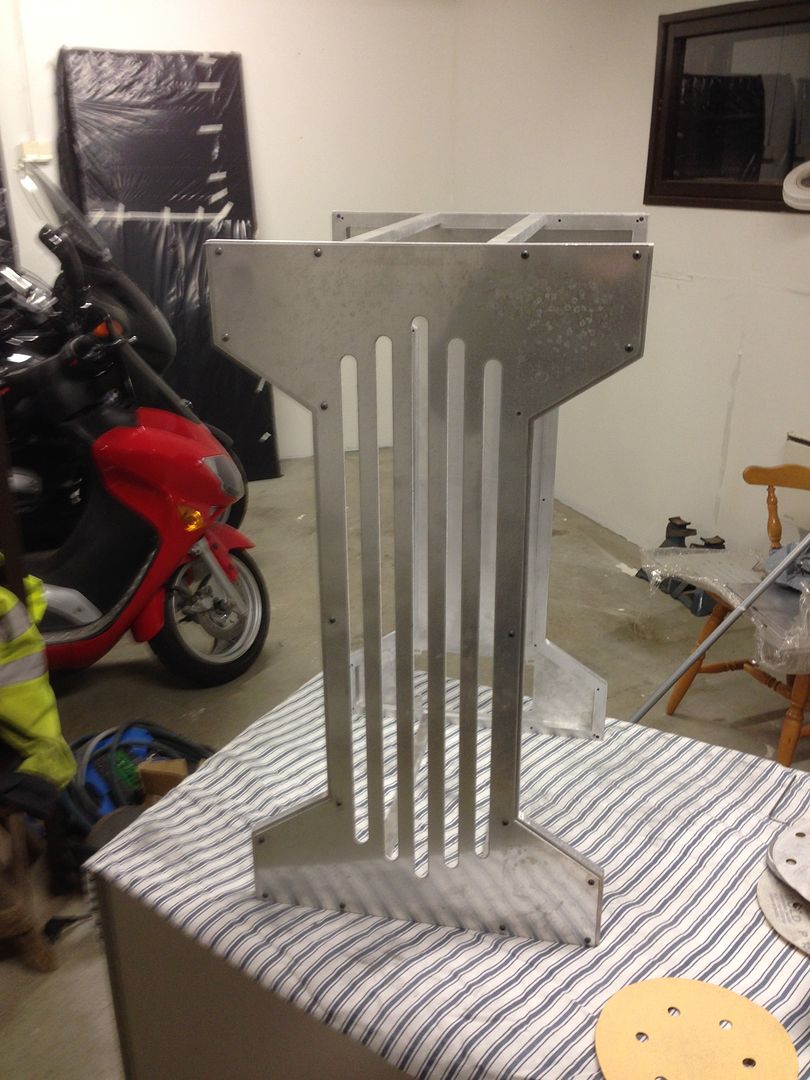
One step forward two steps back, or however the saying goes. I wasn't very happy about the shape of the frame and the quality of the work i had put in it so i sat down and re-drew the frame and decided it was time for plan C. This time it is made from a 10mm aluminum sheet, it's 15mm wide. I changed the angles a bit and shortened it a bit length and depth wise, the width it still the same
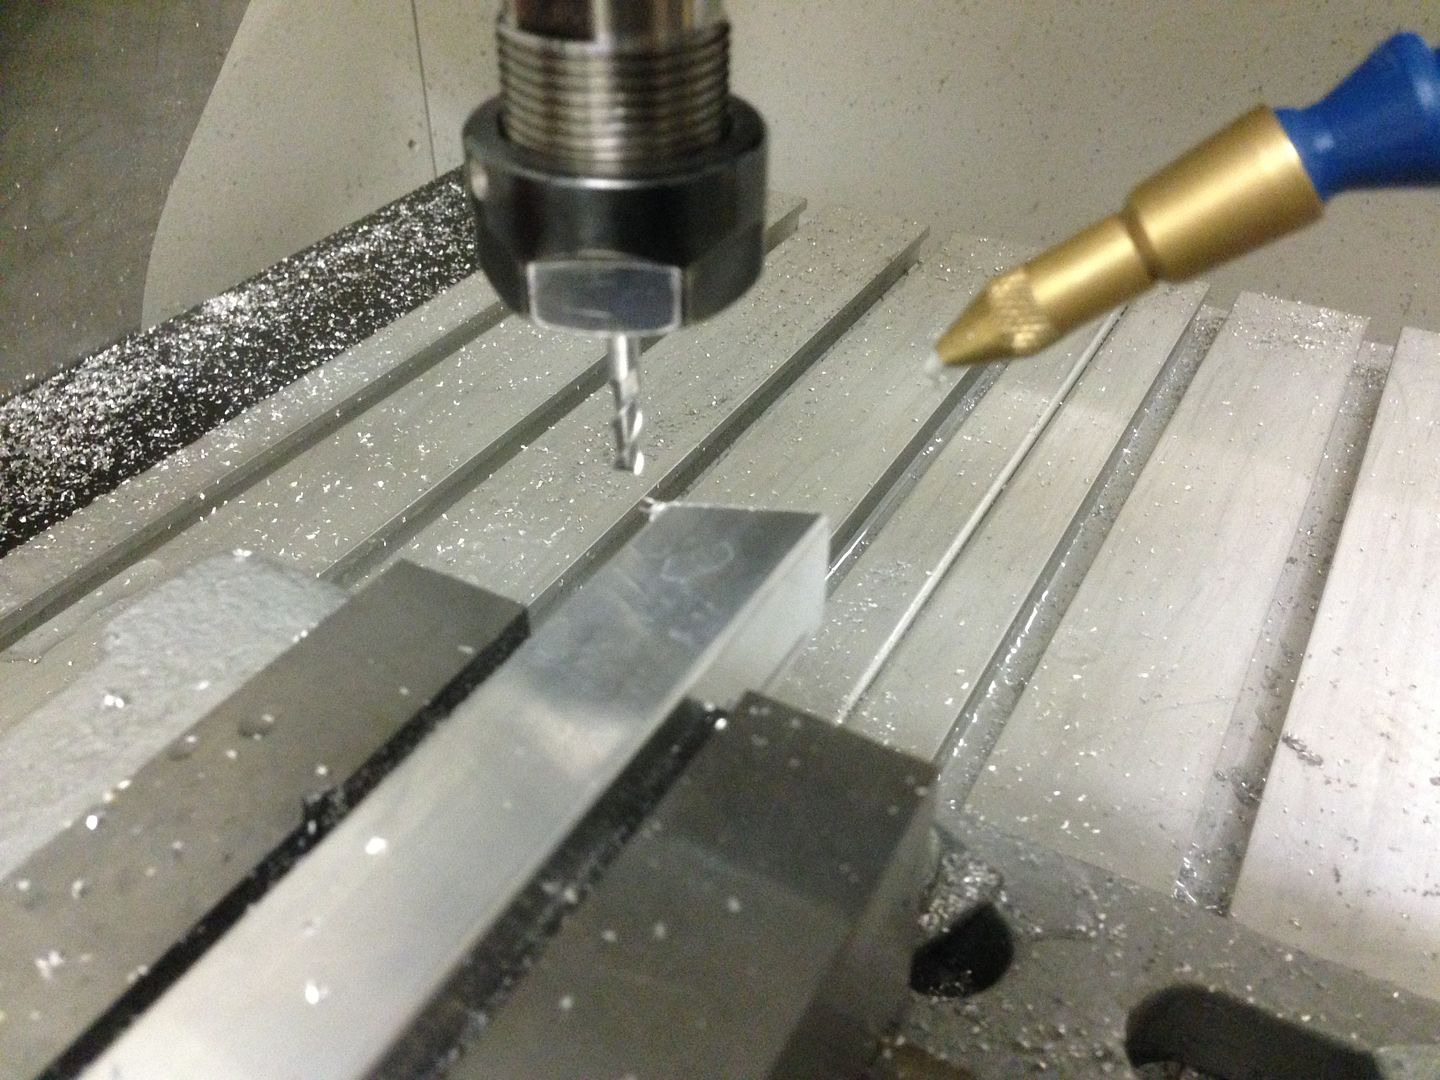
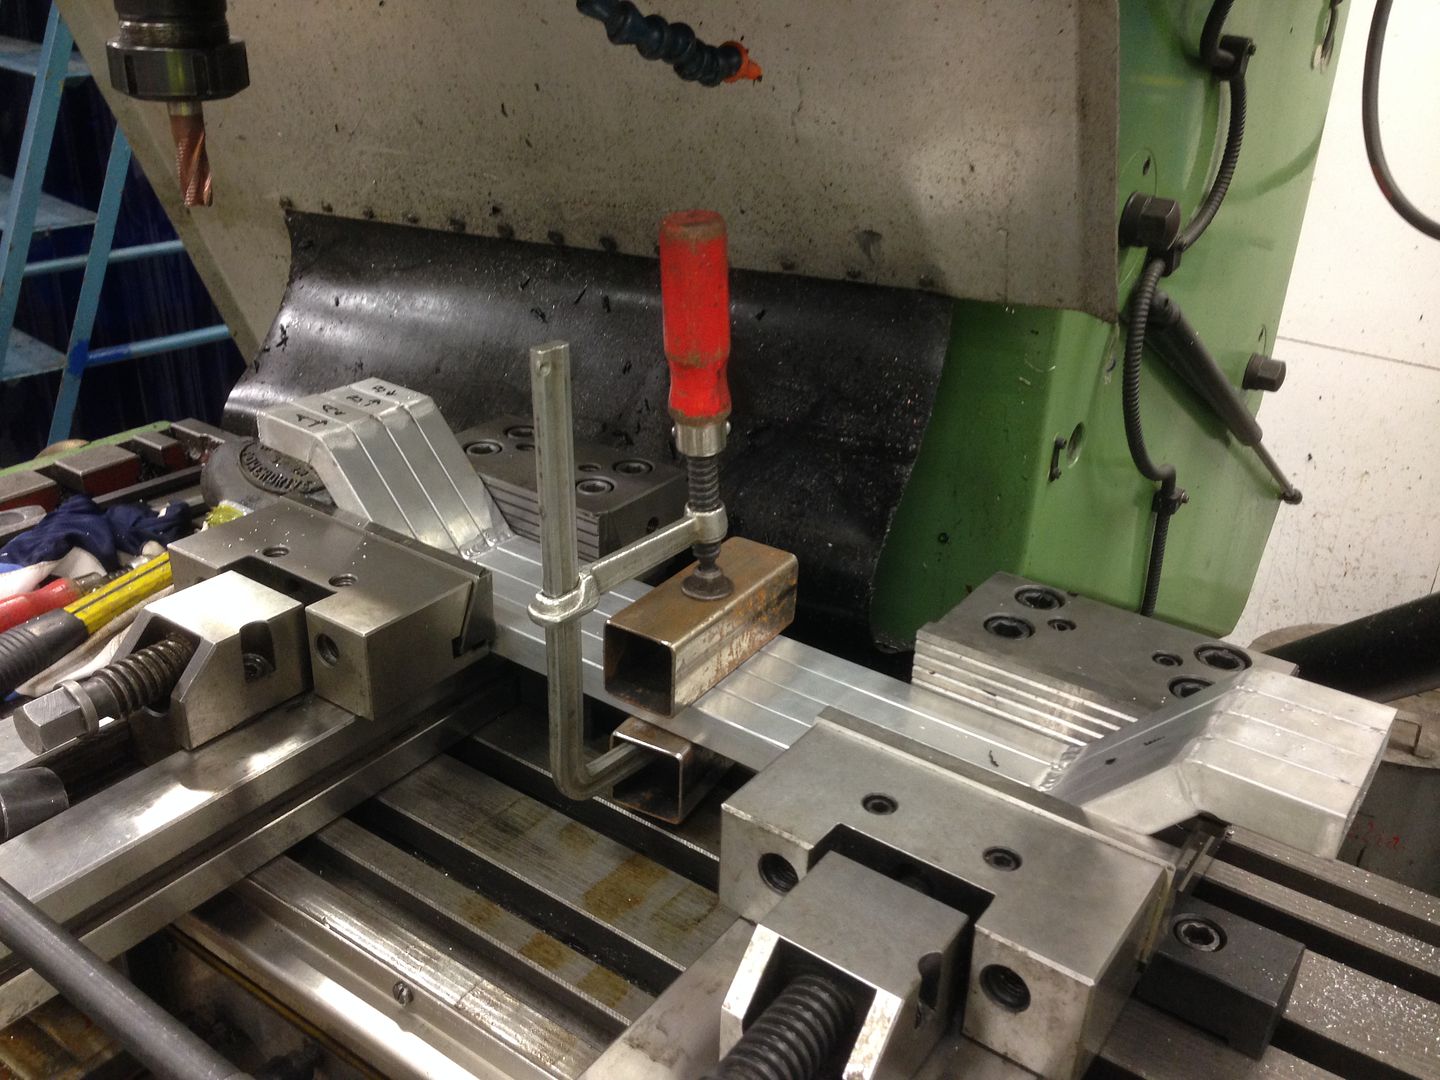
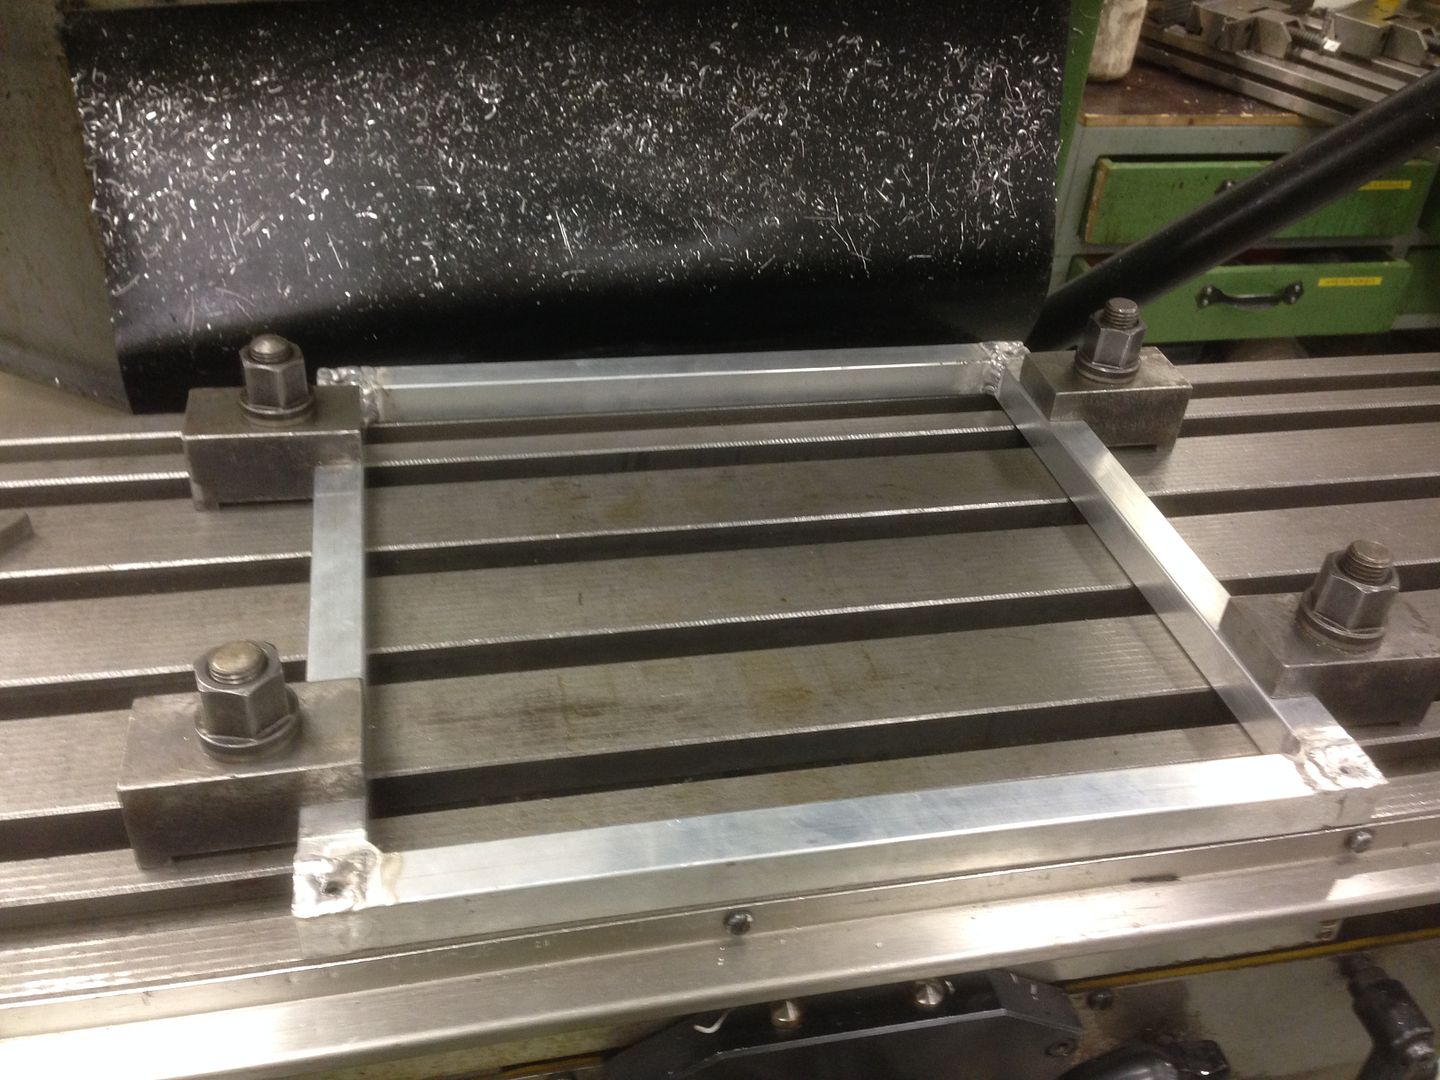
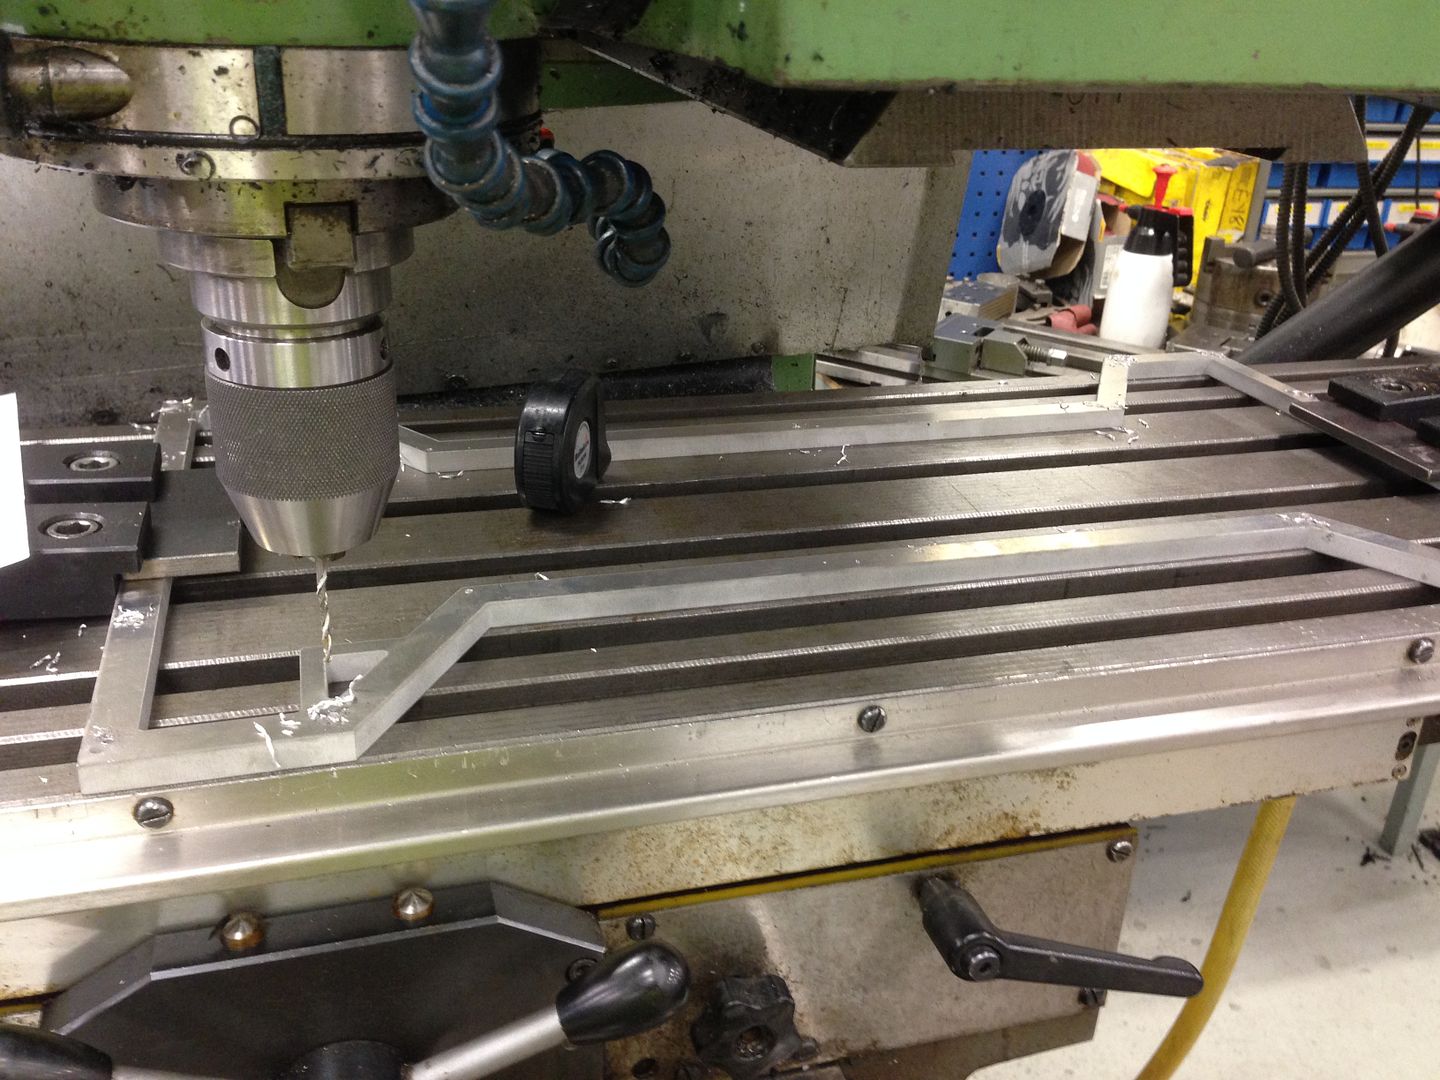
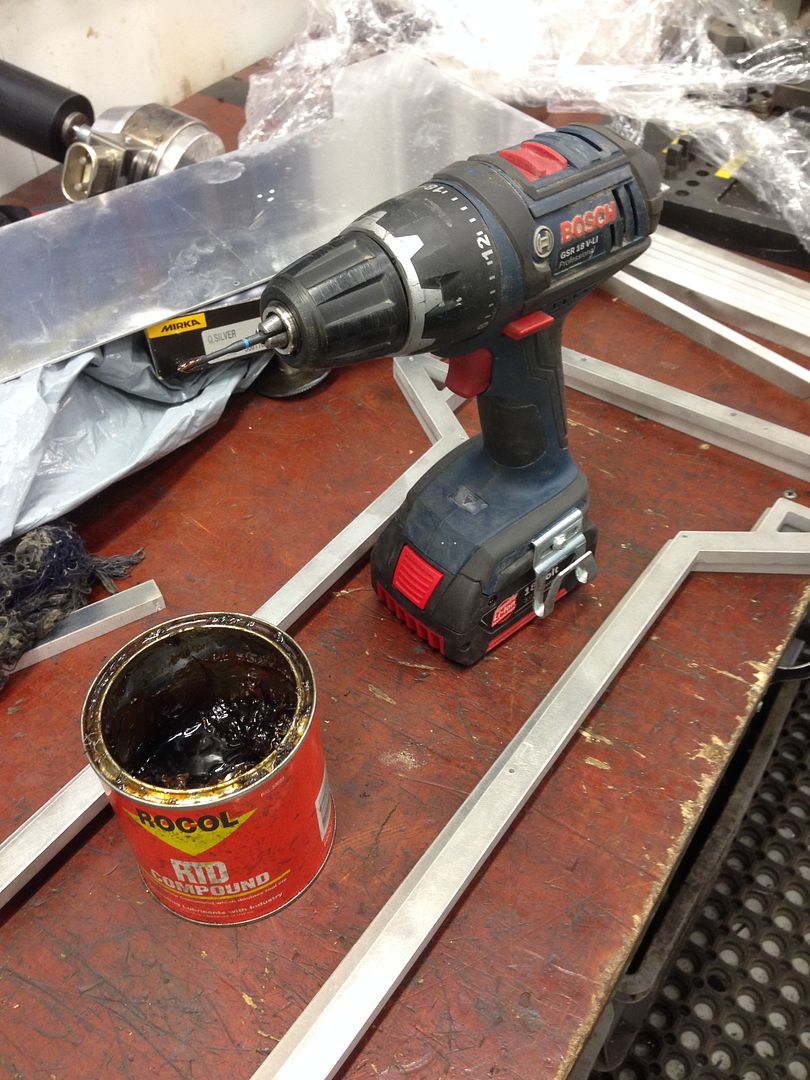
Time to drill some holes
One drilled, one to go, hopefully it fits!
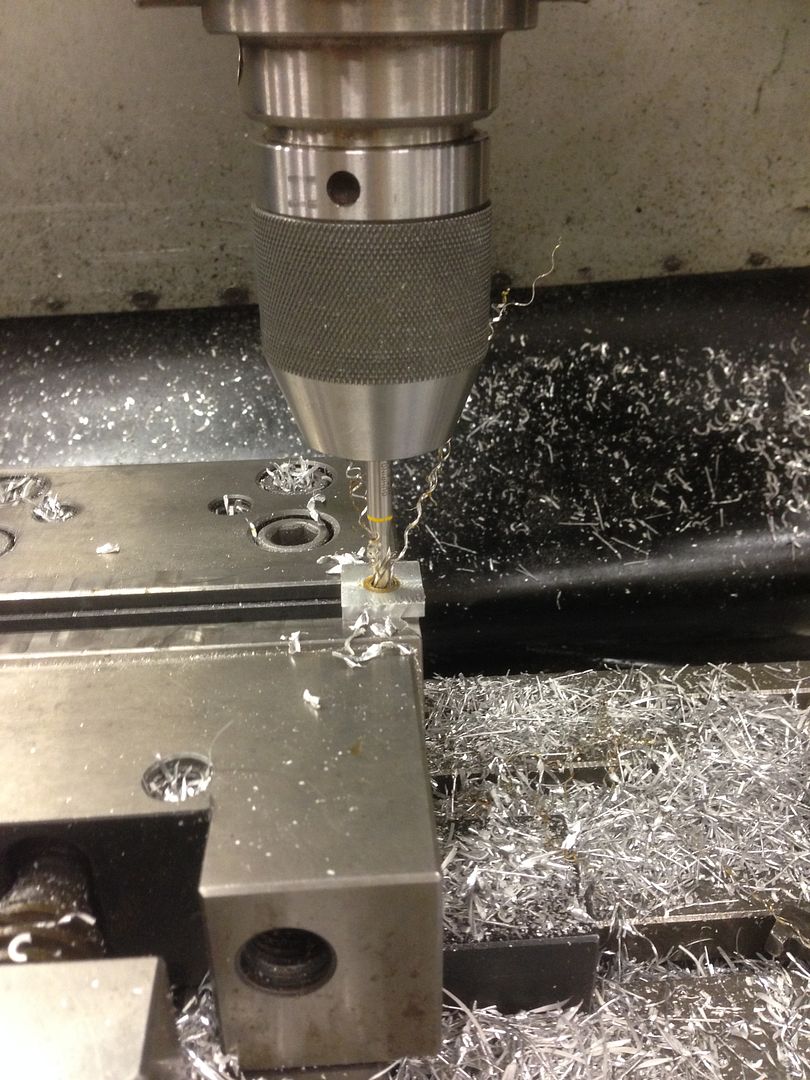
Time for some threading, i always use the cordless drill to tap with, so far i have never snapped a bit with it and its so much faster.
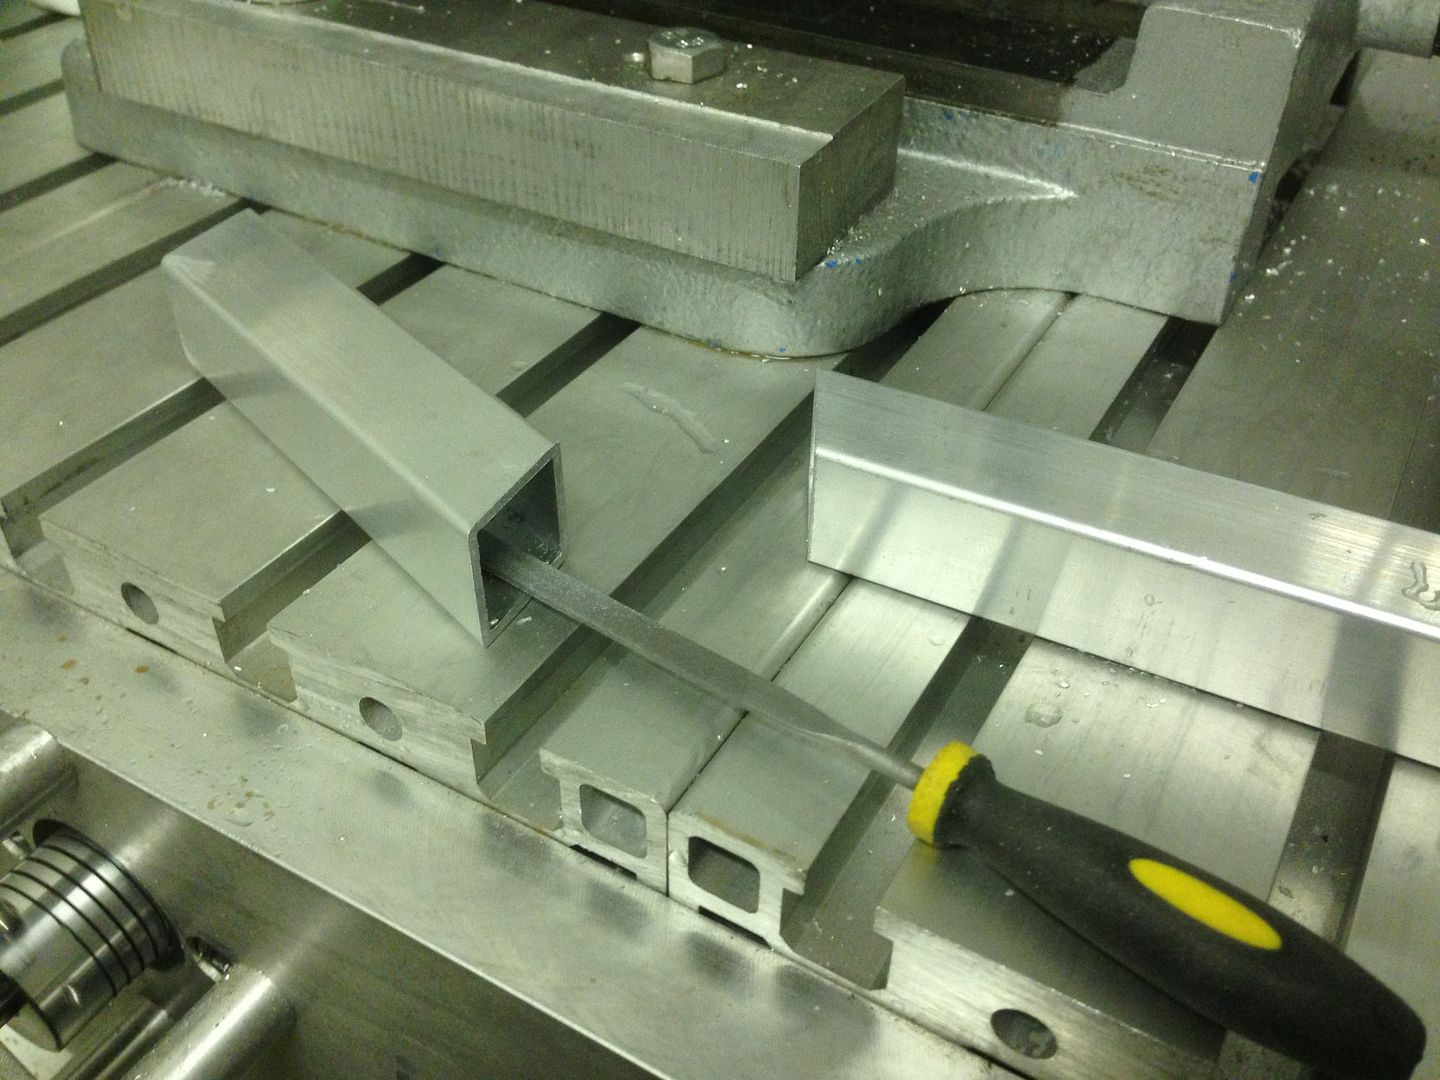
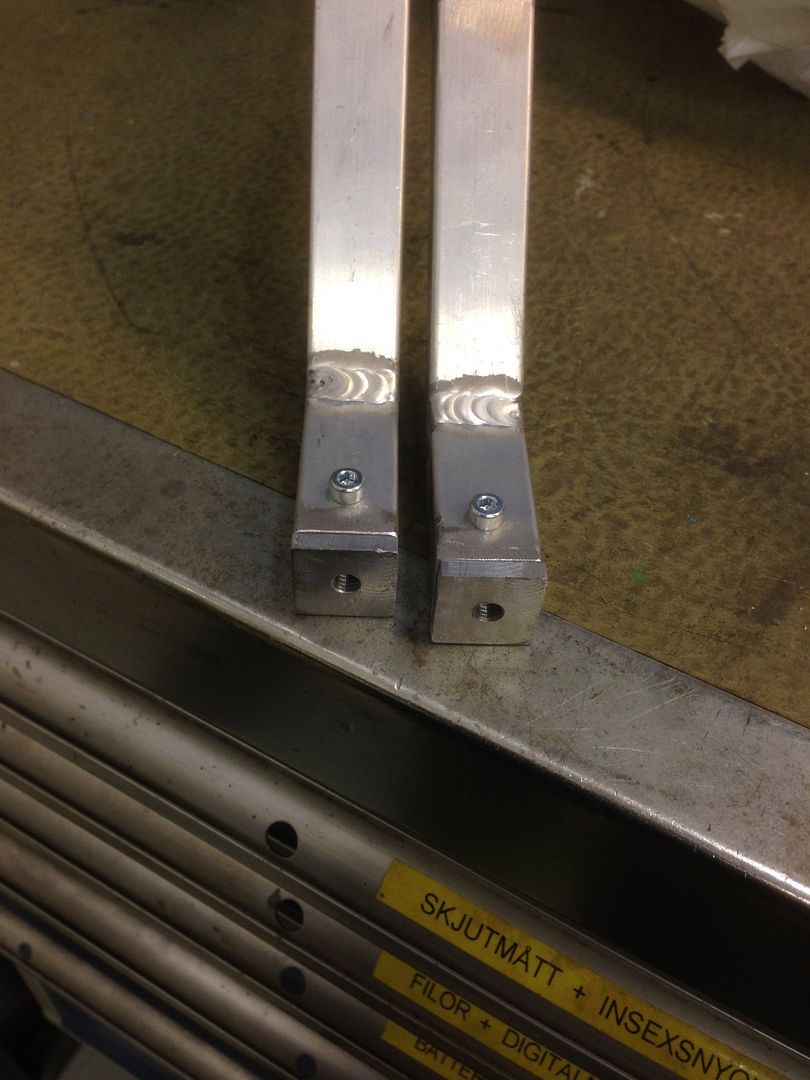
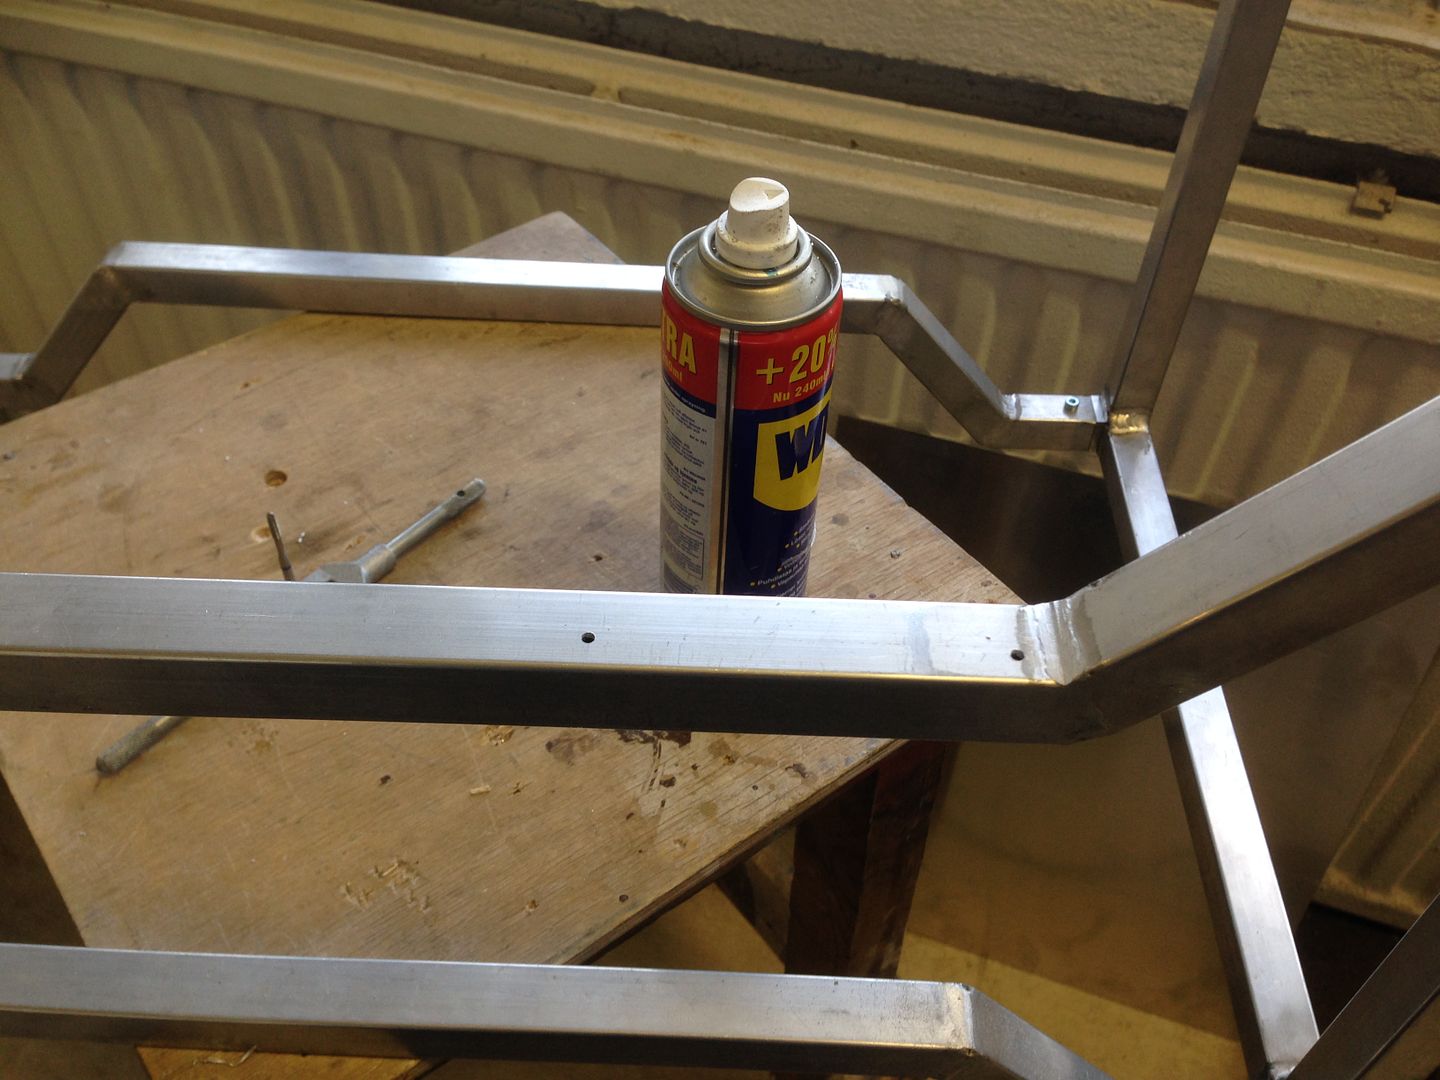
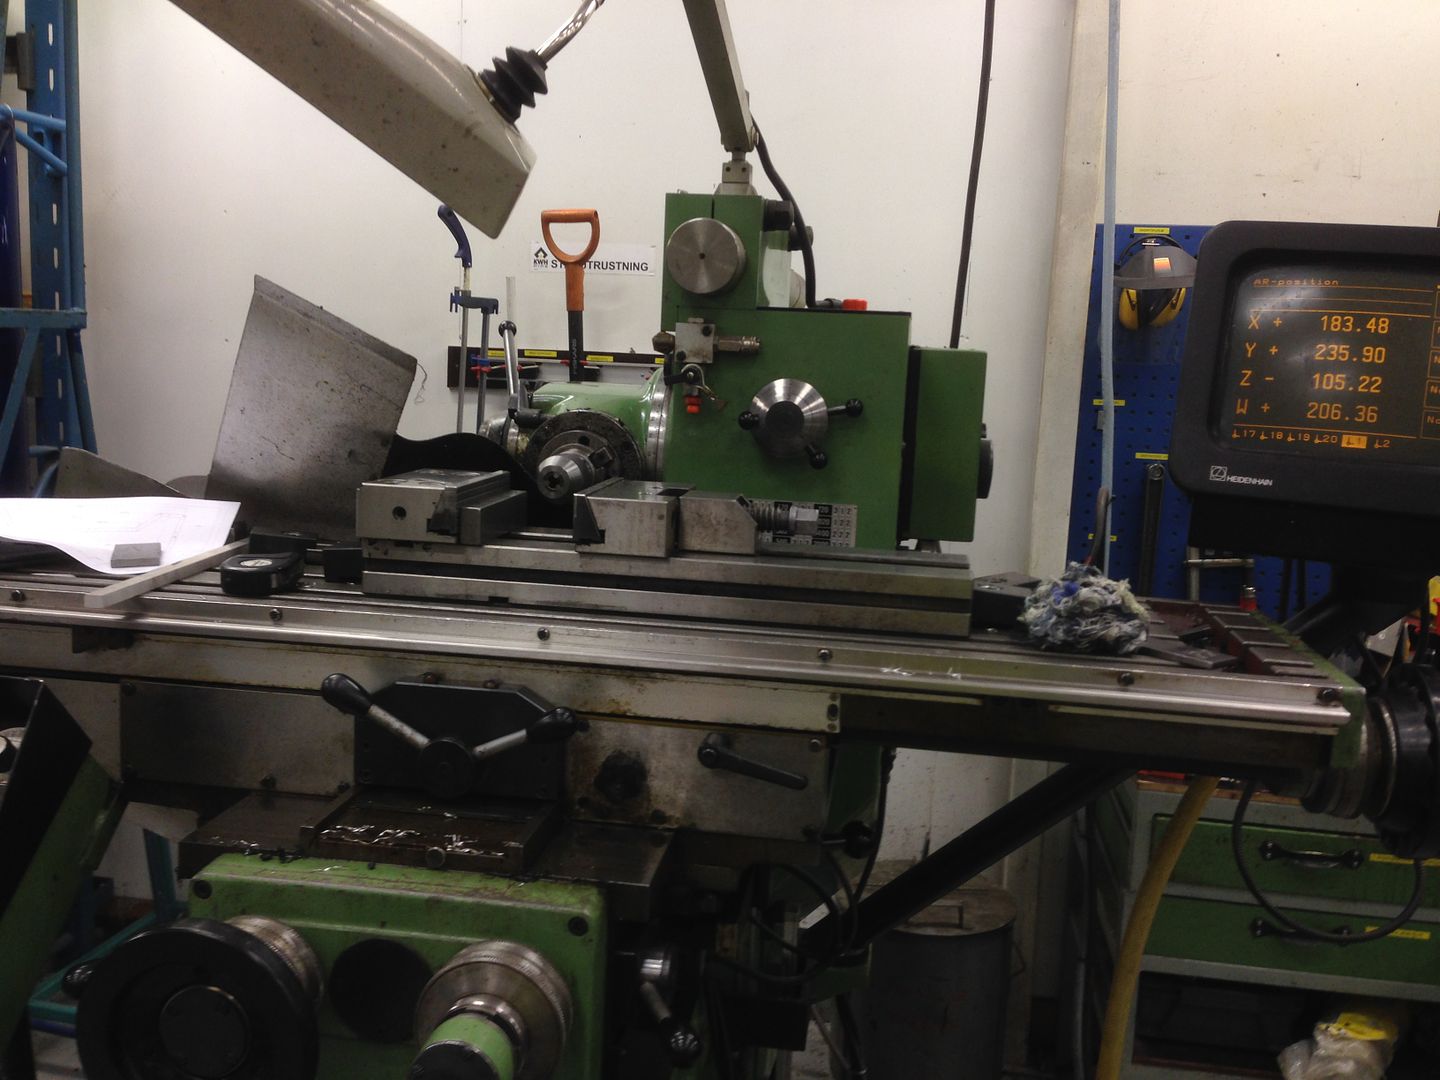
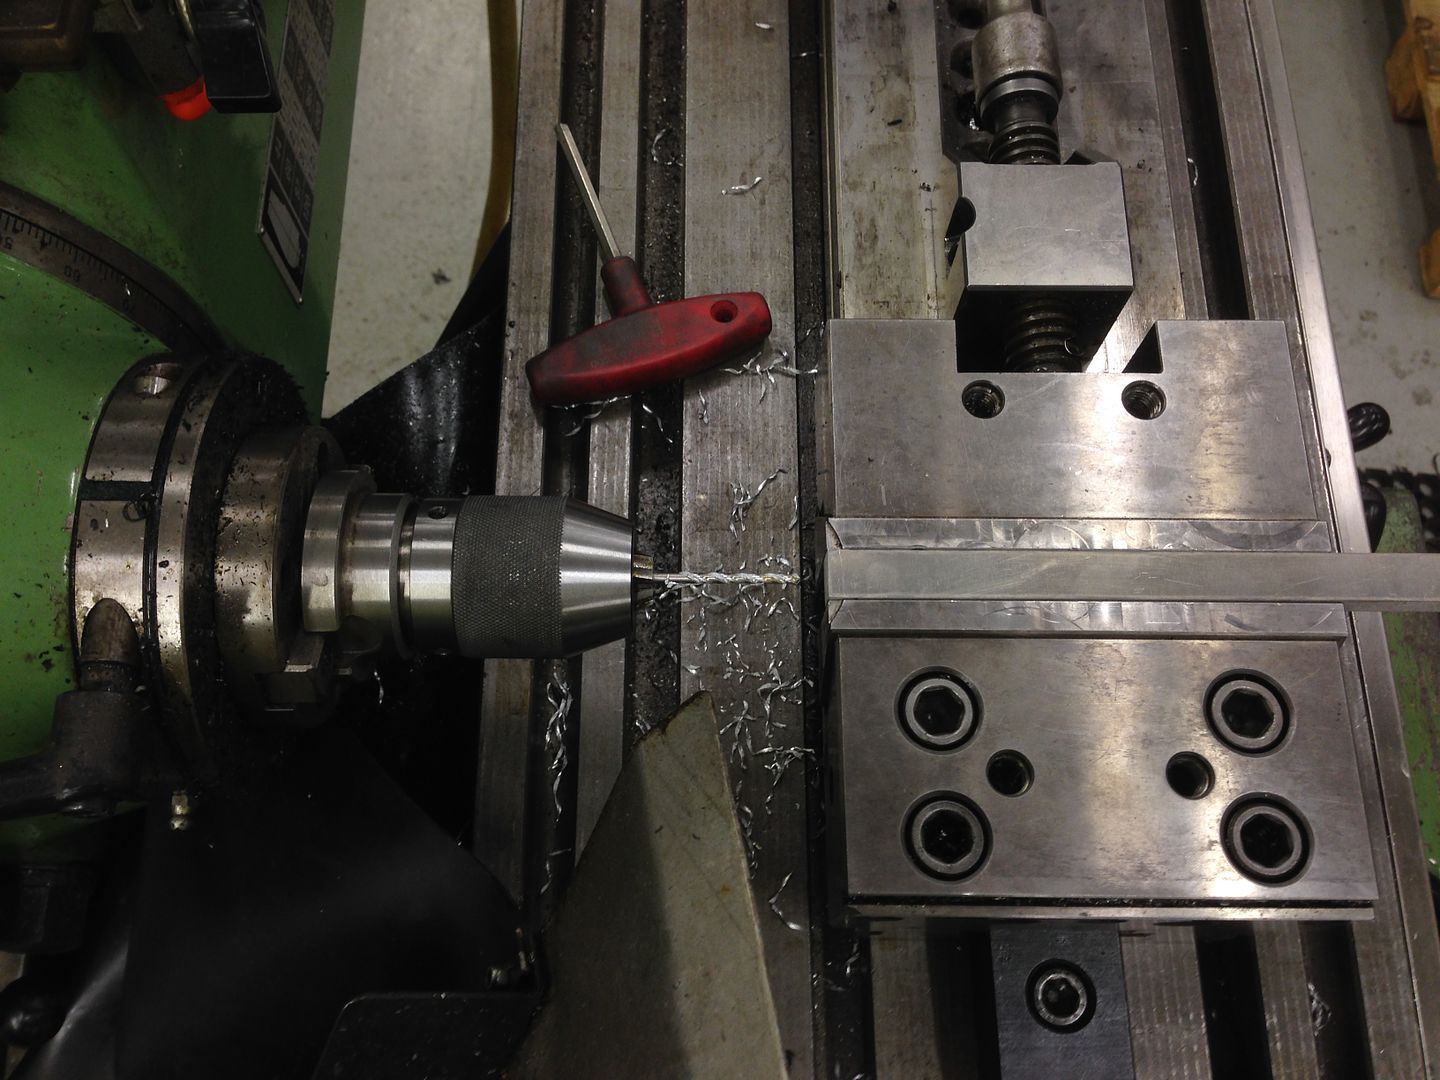
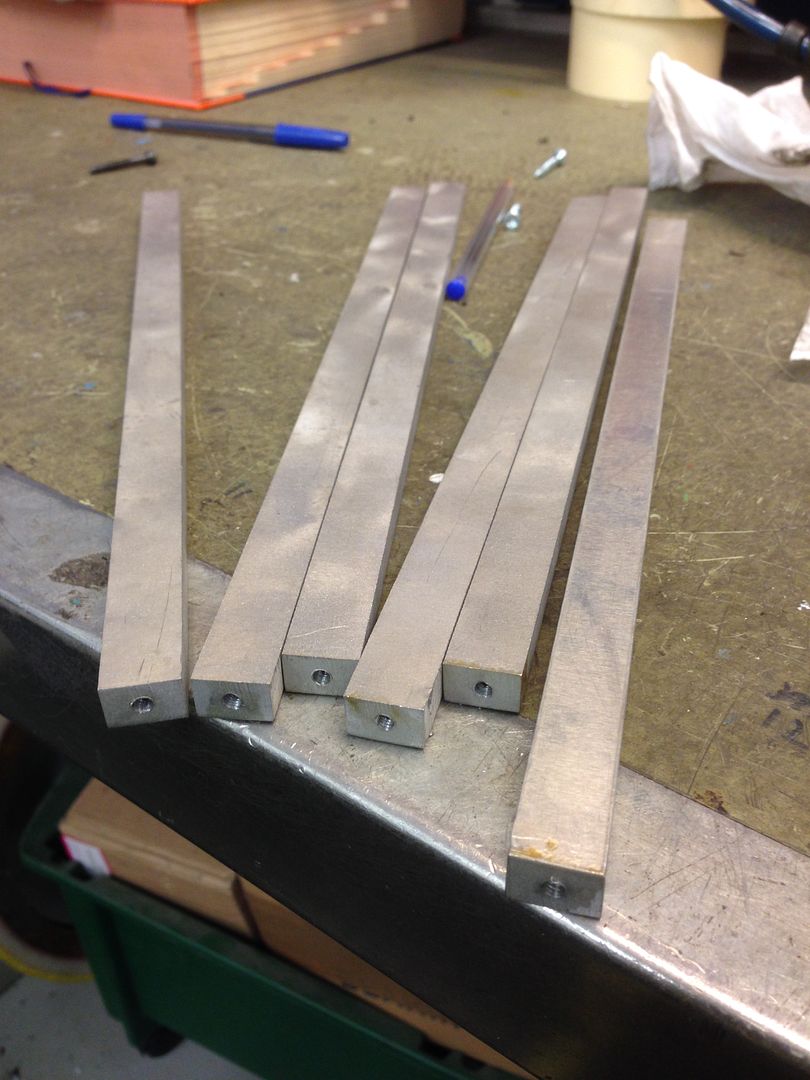
Had to change the "shape" of the mill so i could drill and tap the support bars
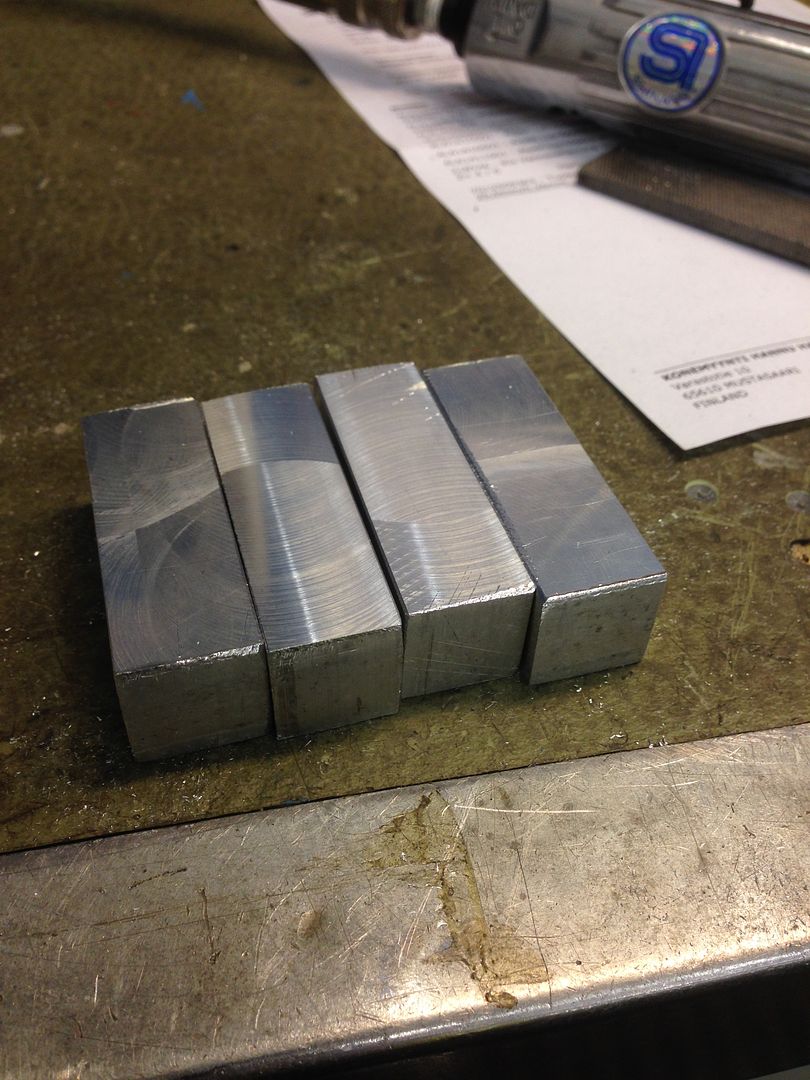
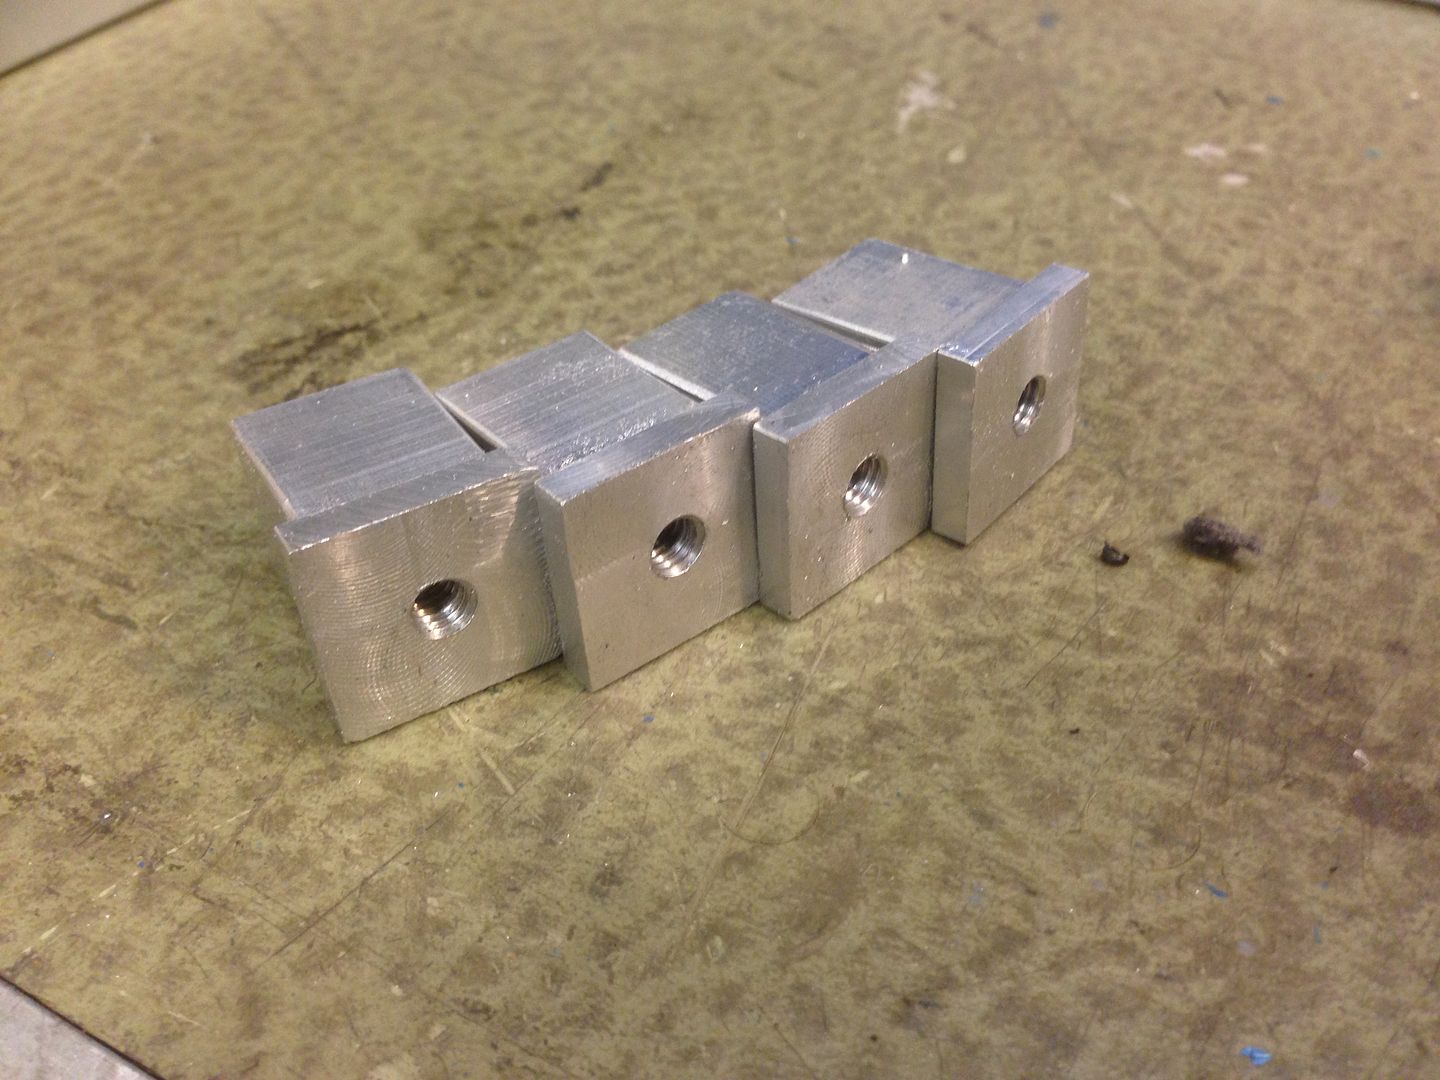
The support bars
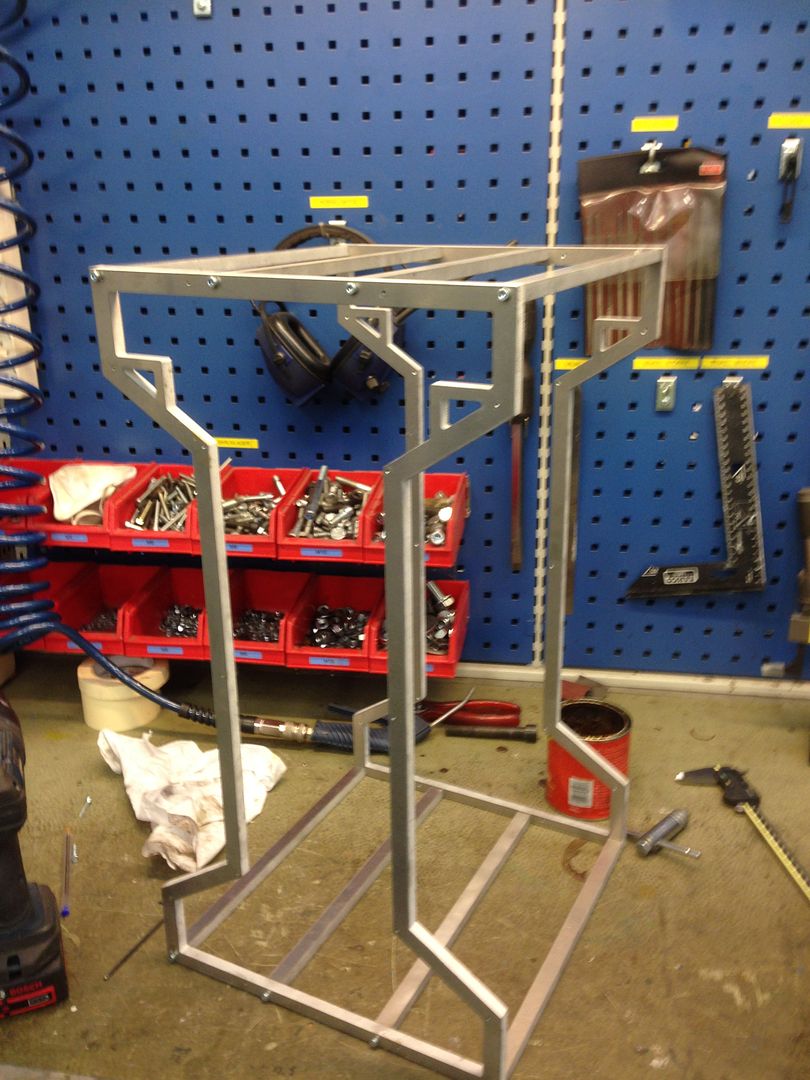
Done
Seems like it fits!
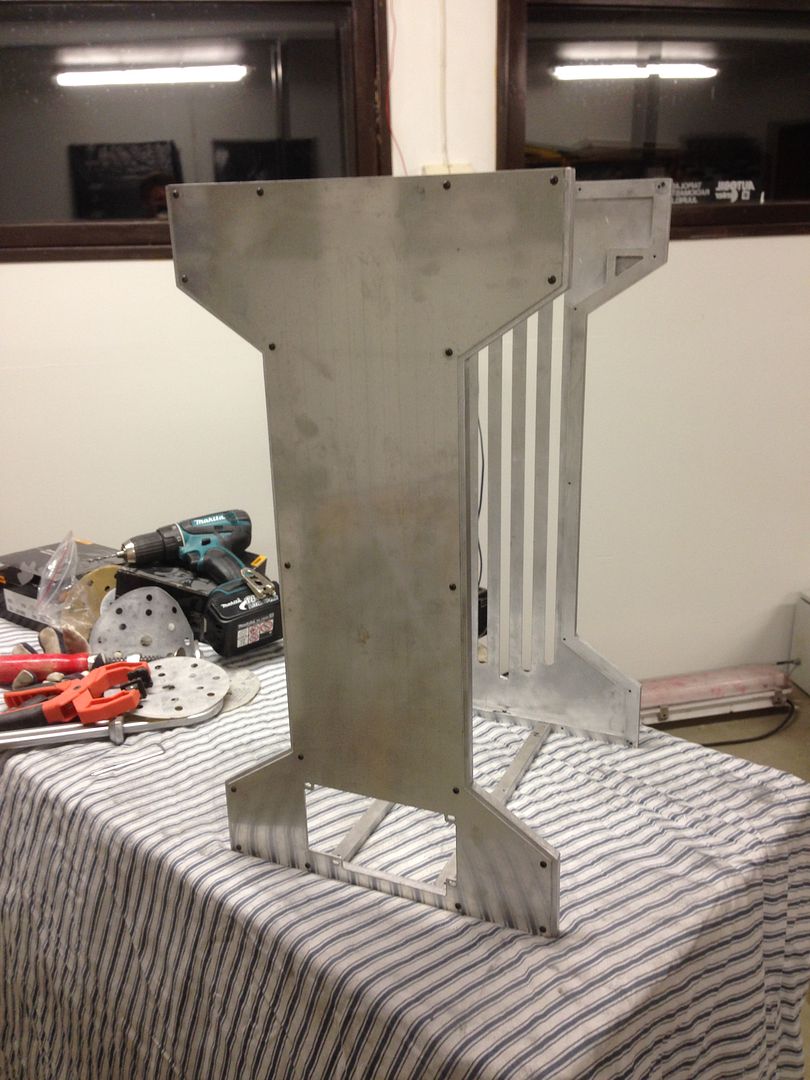
So much better than the other frame, a lot of work but now i like it and it won't bug me anymore.
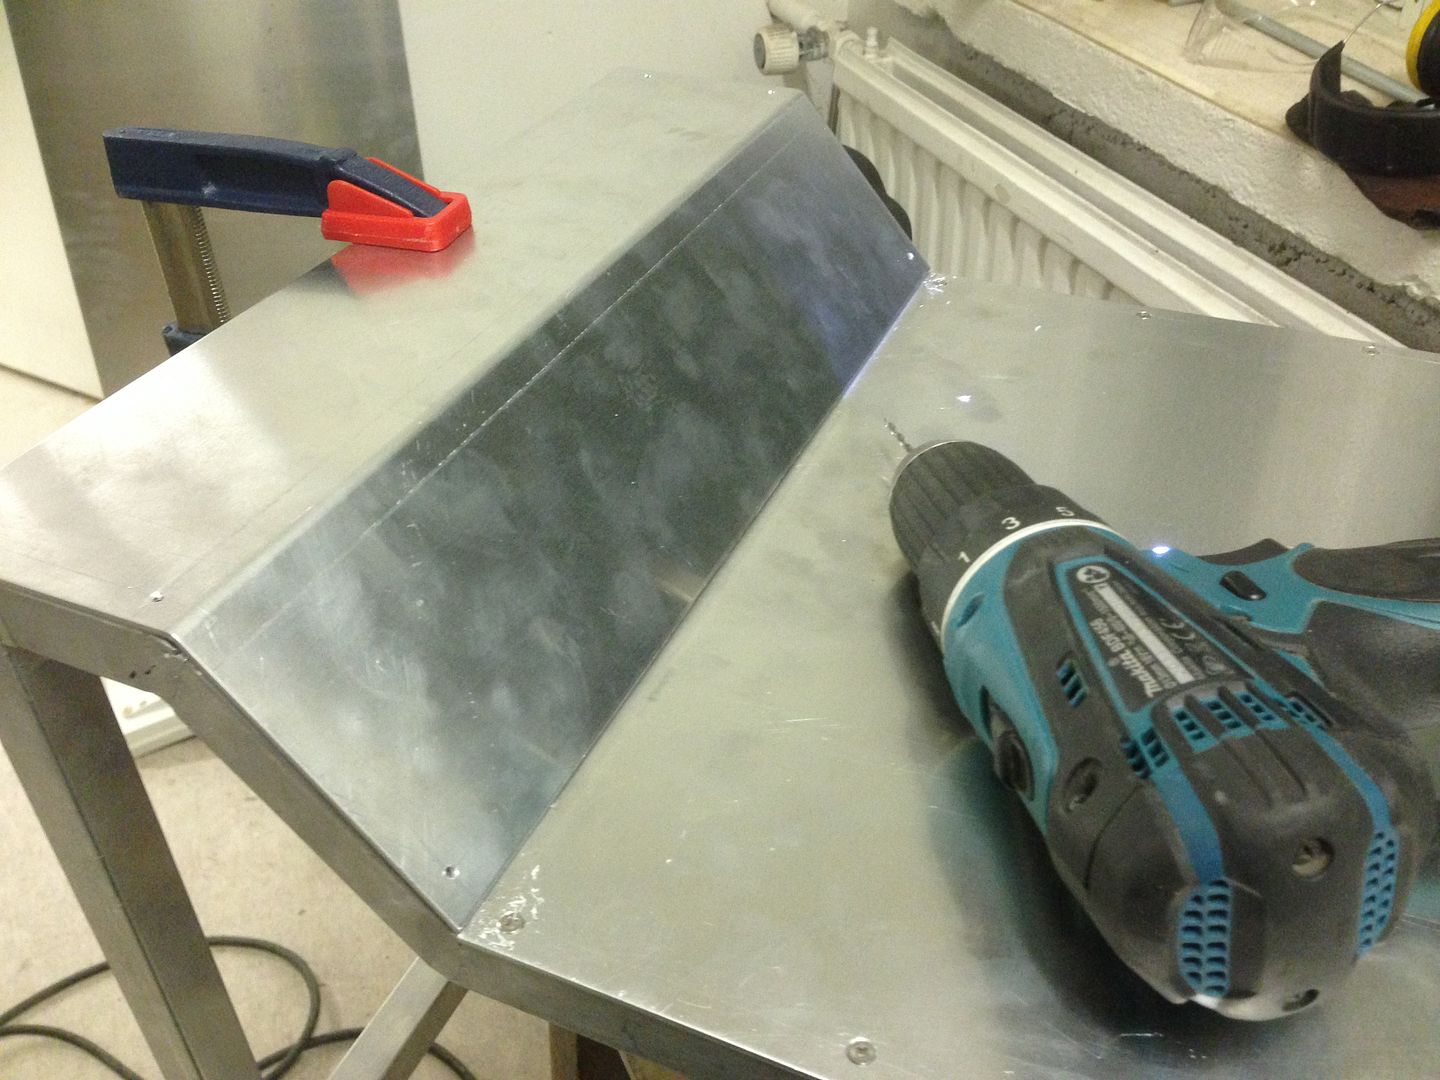
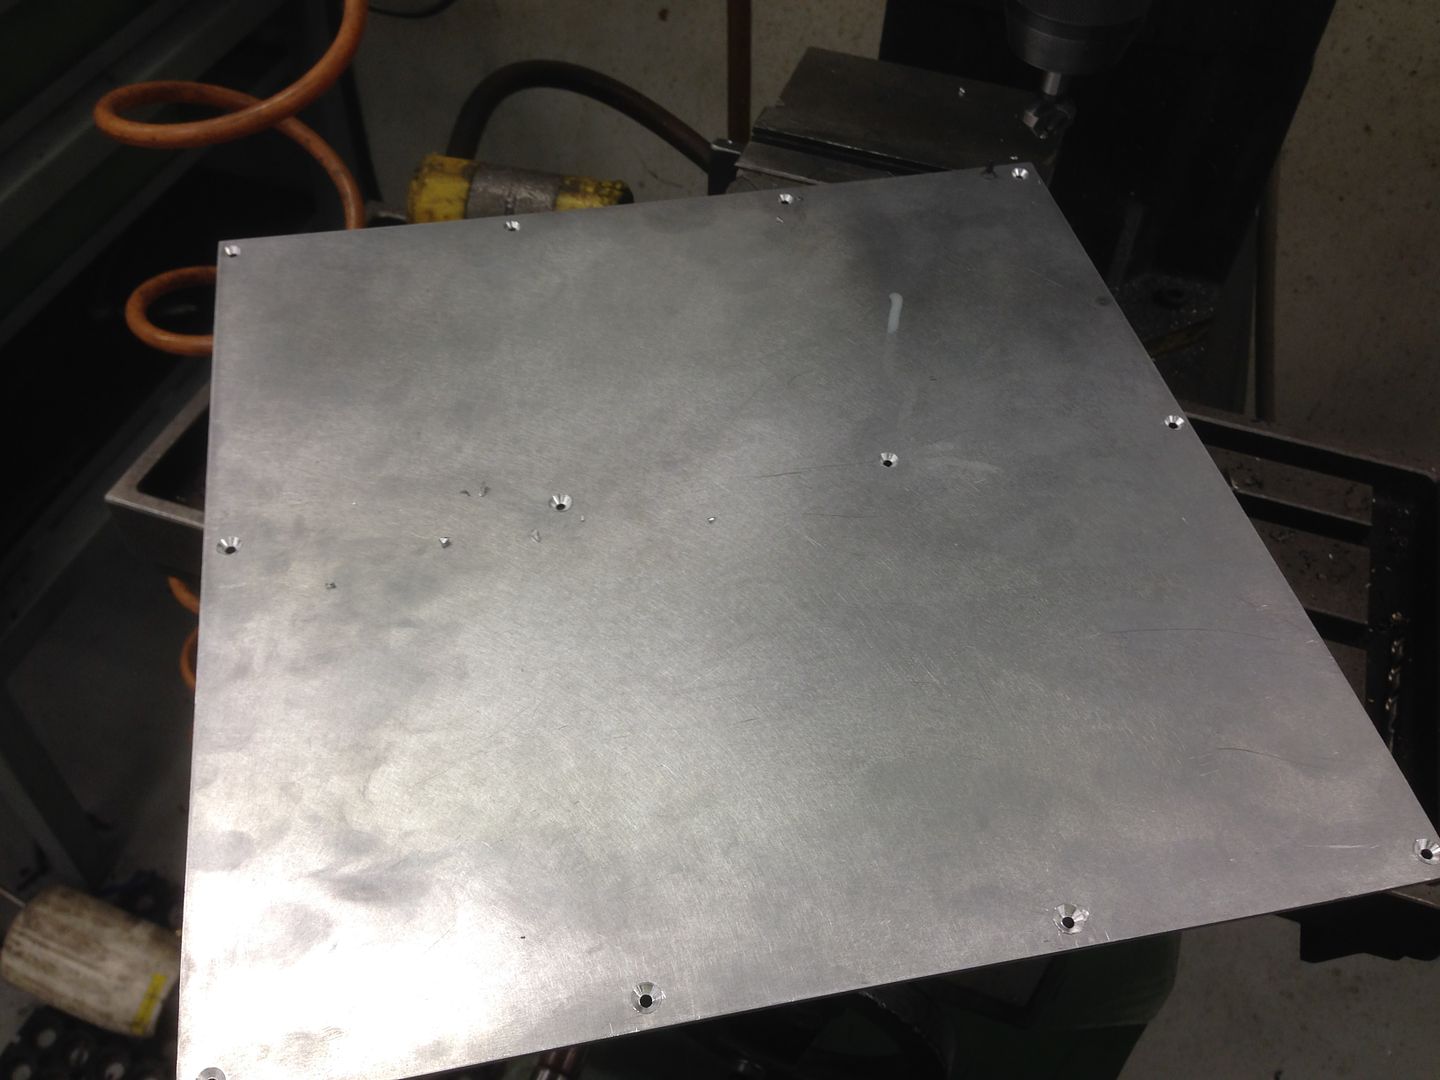
Bottom plate for the frame, drilled and counter sunk
Perfect fit except one hole which i need to file a bit.
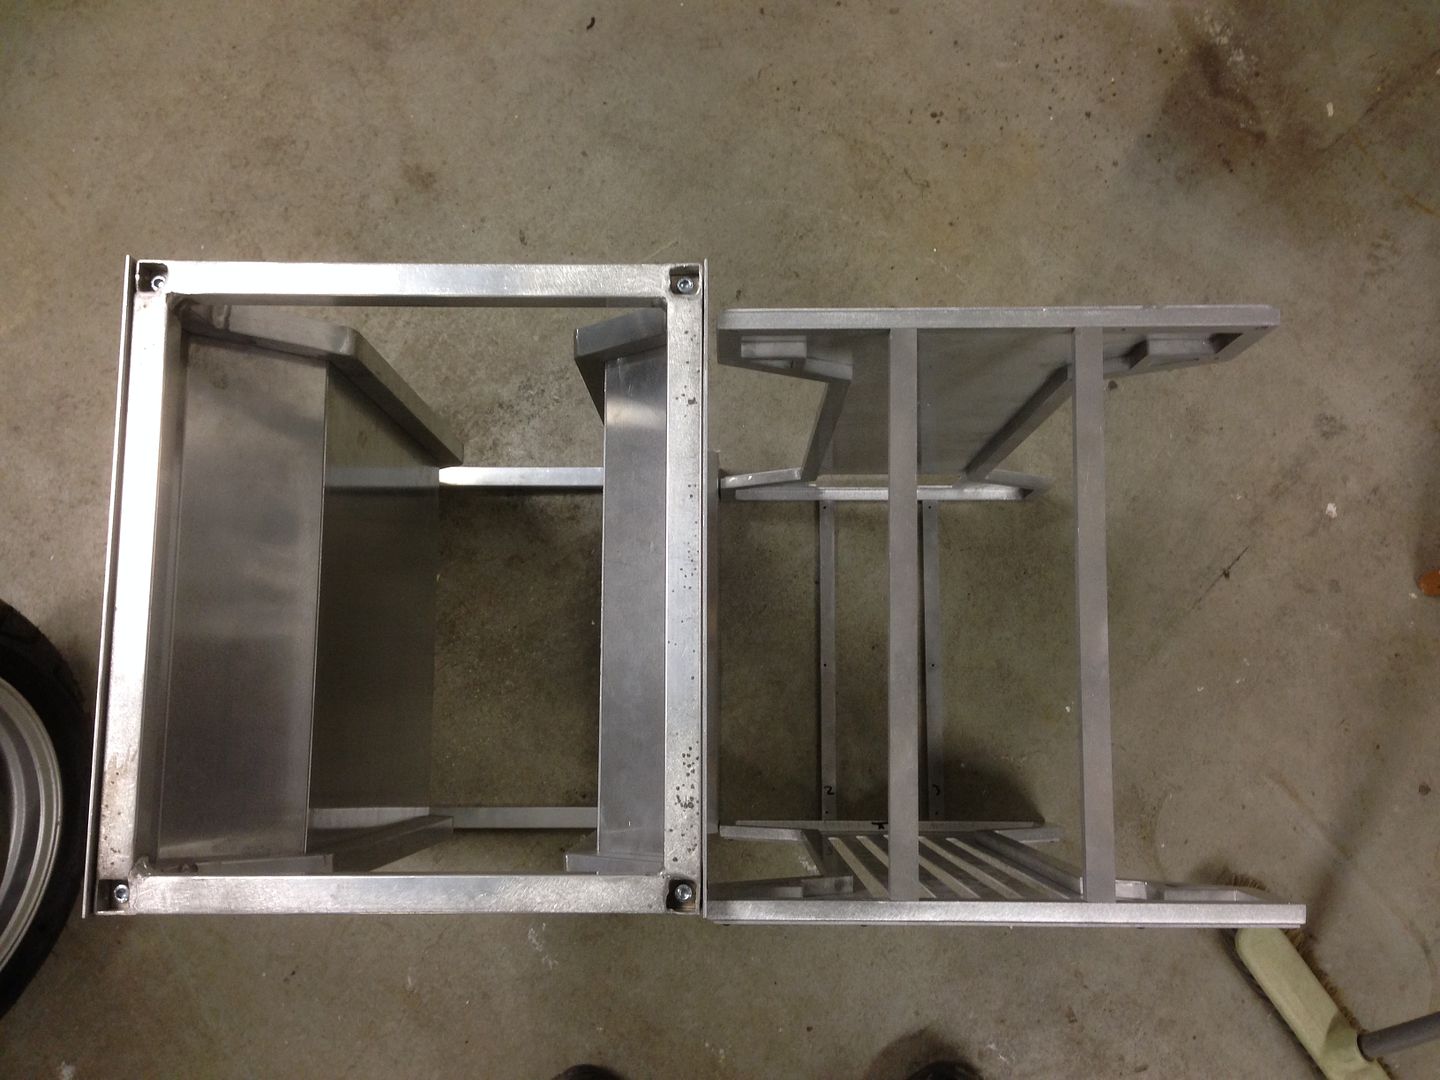
Old vs new, i don't know what you guys think but i like the new one a lot more
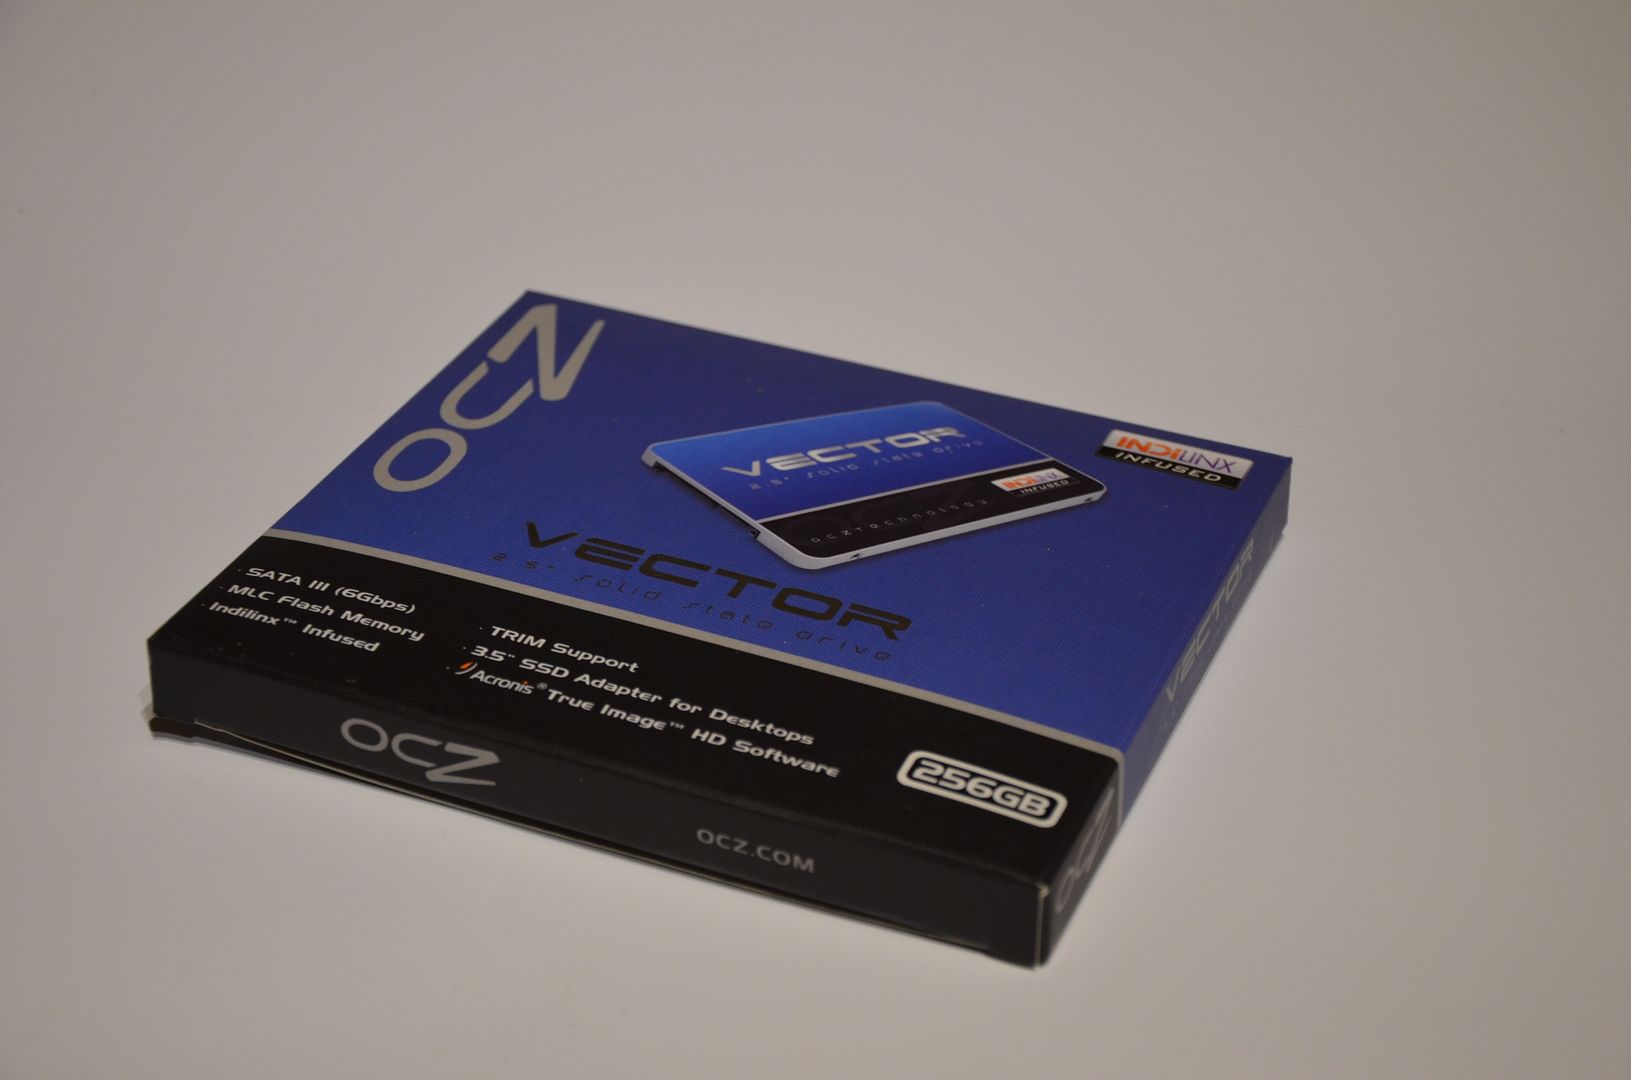
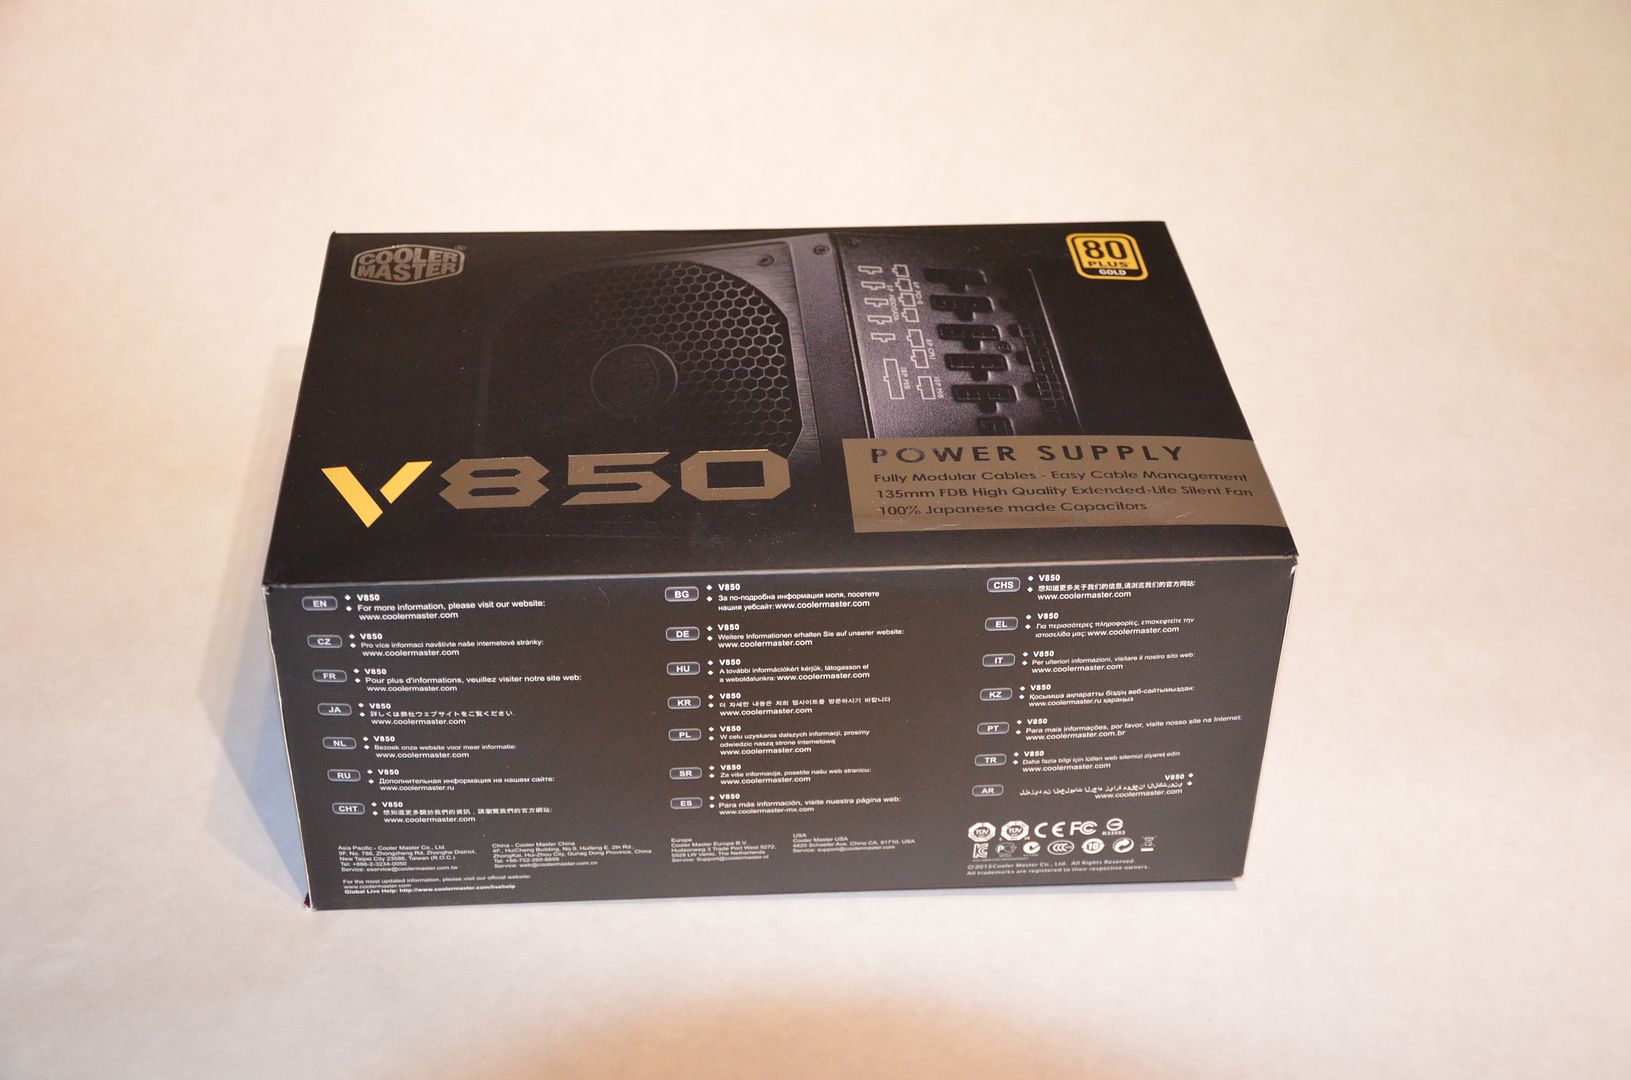
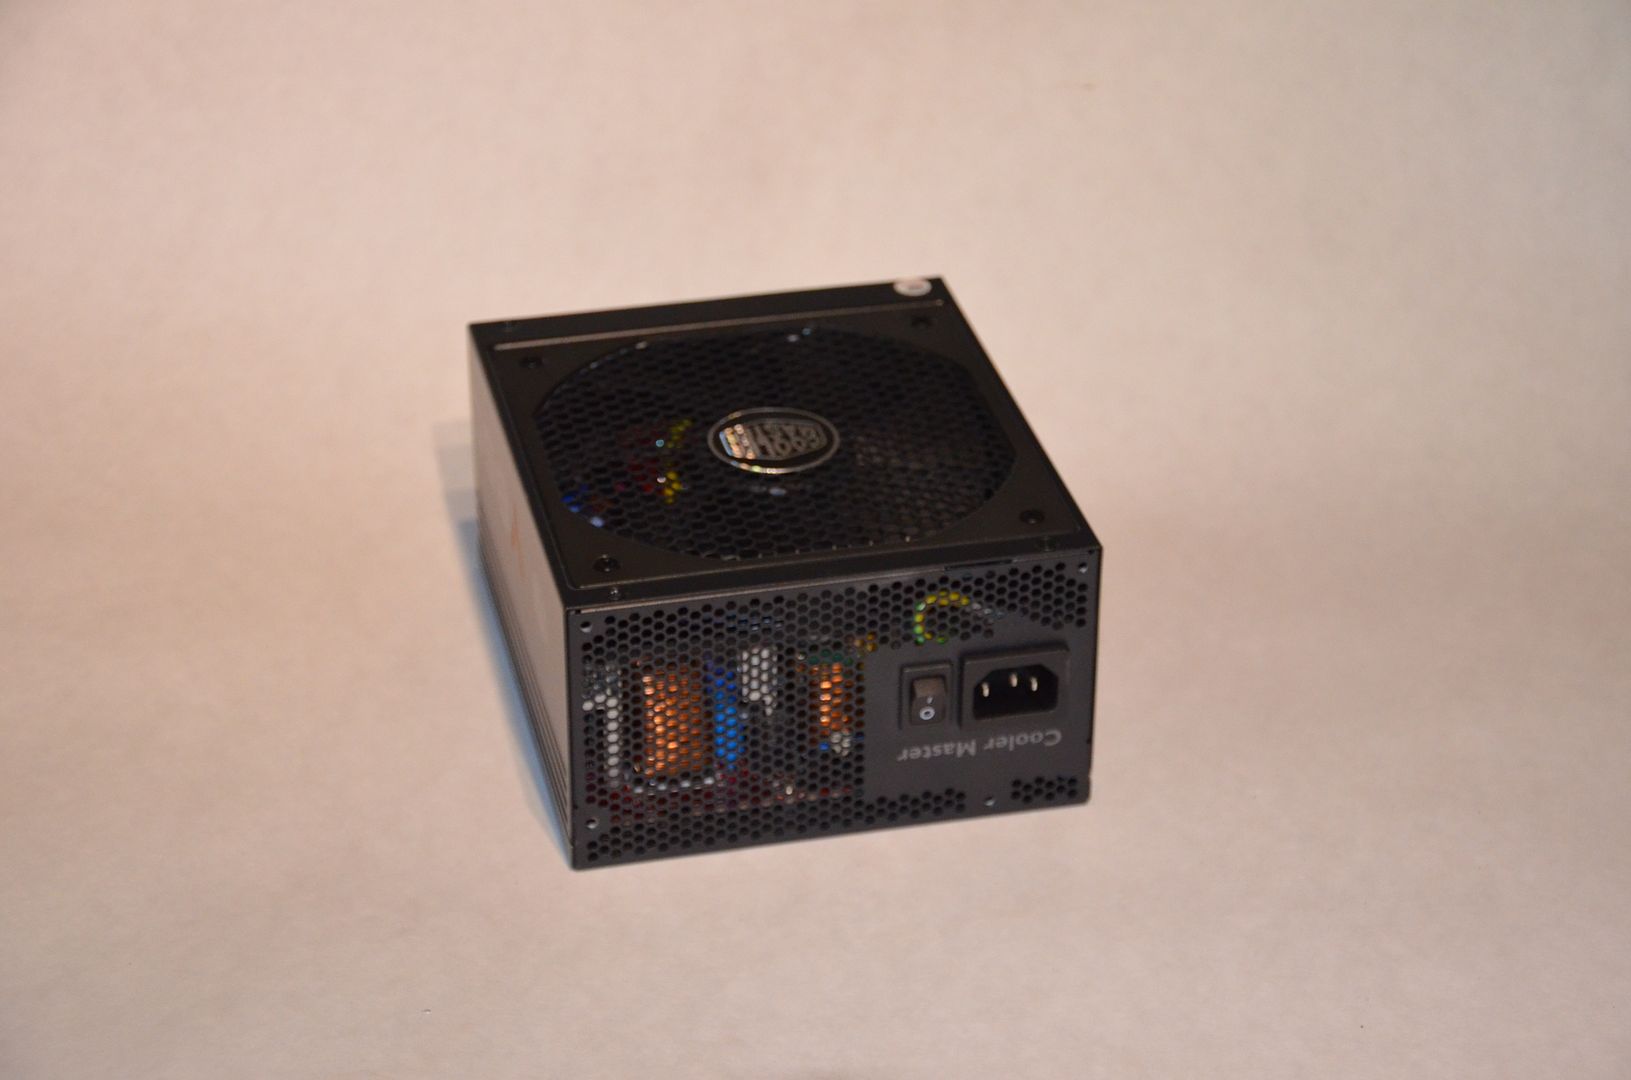
New part arrived!
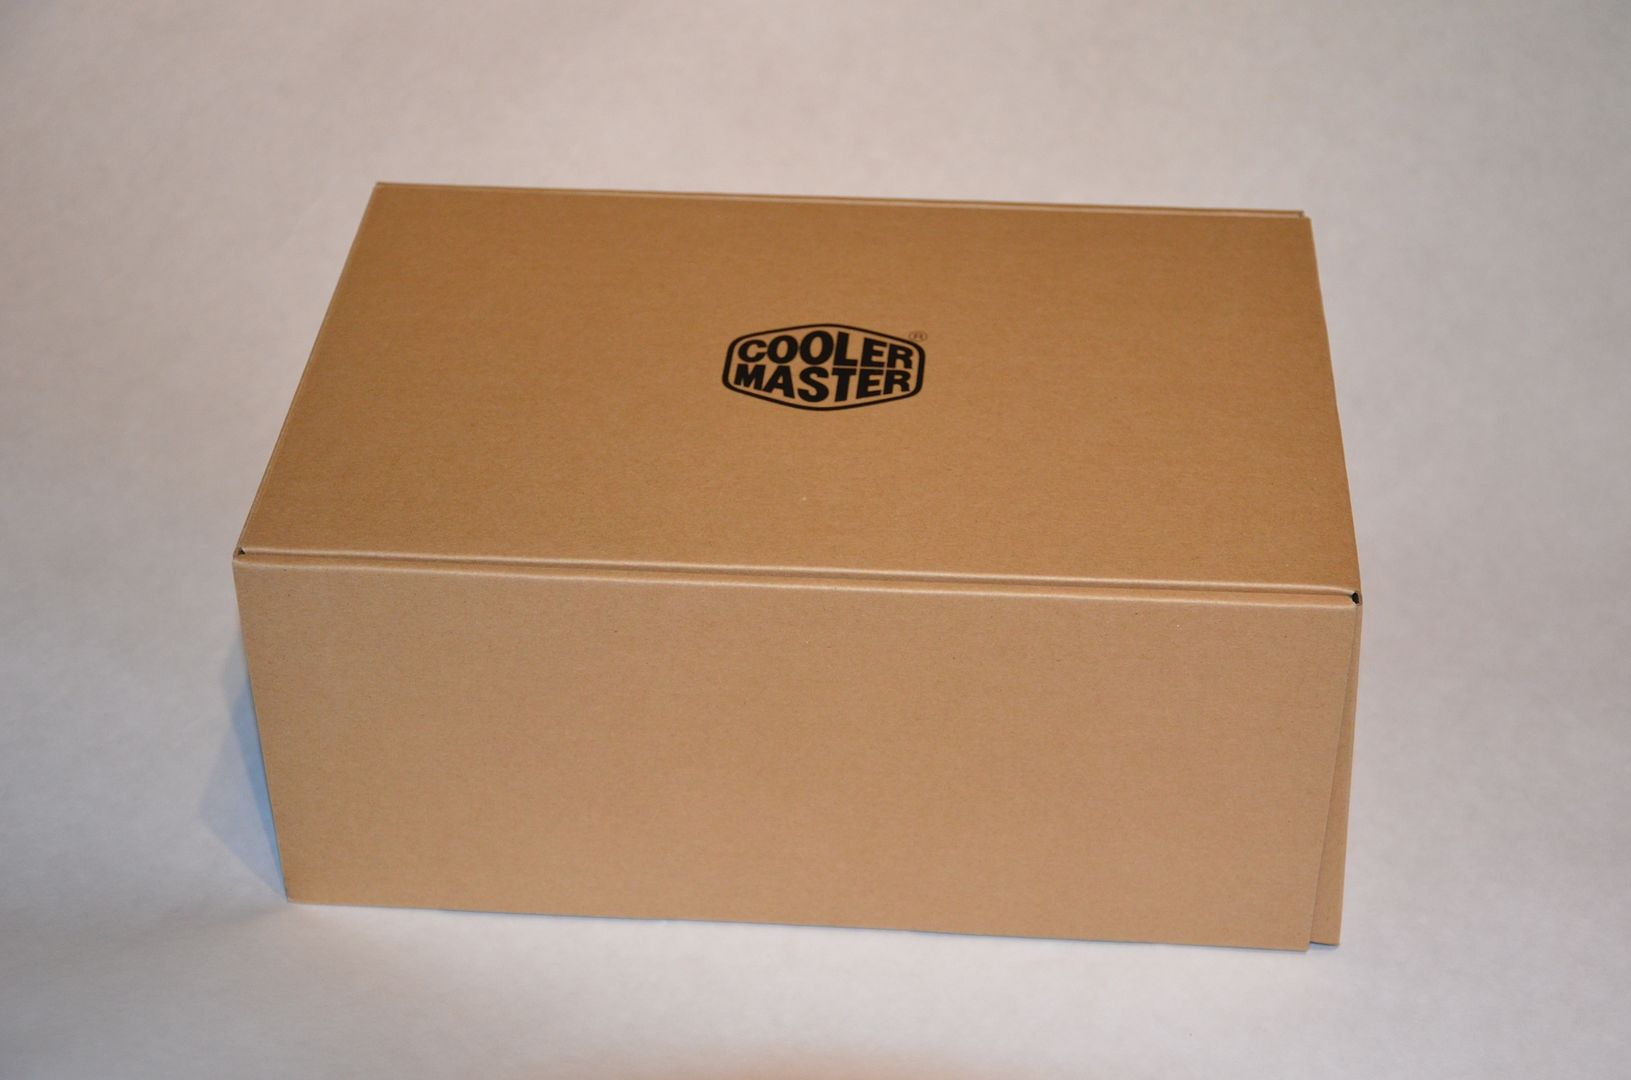
Another box in the box
Everything is very well packed
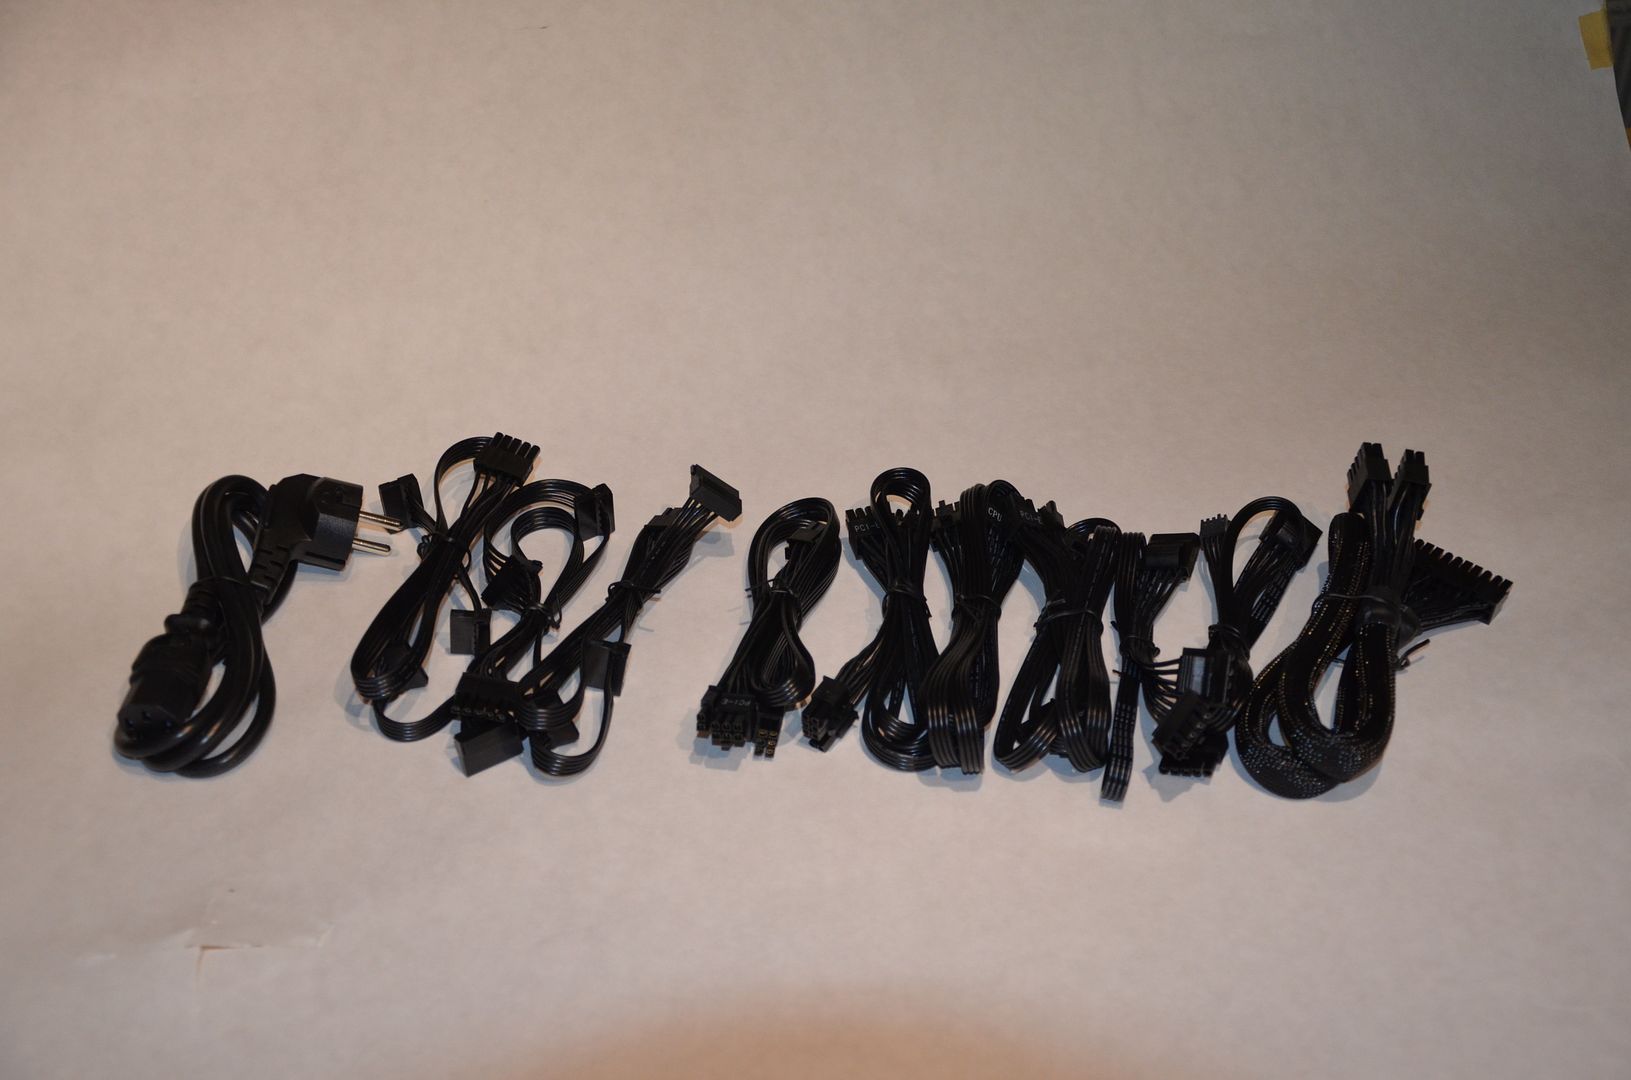
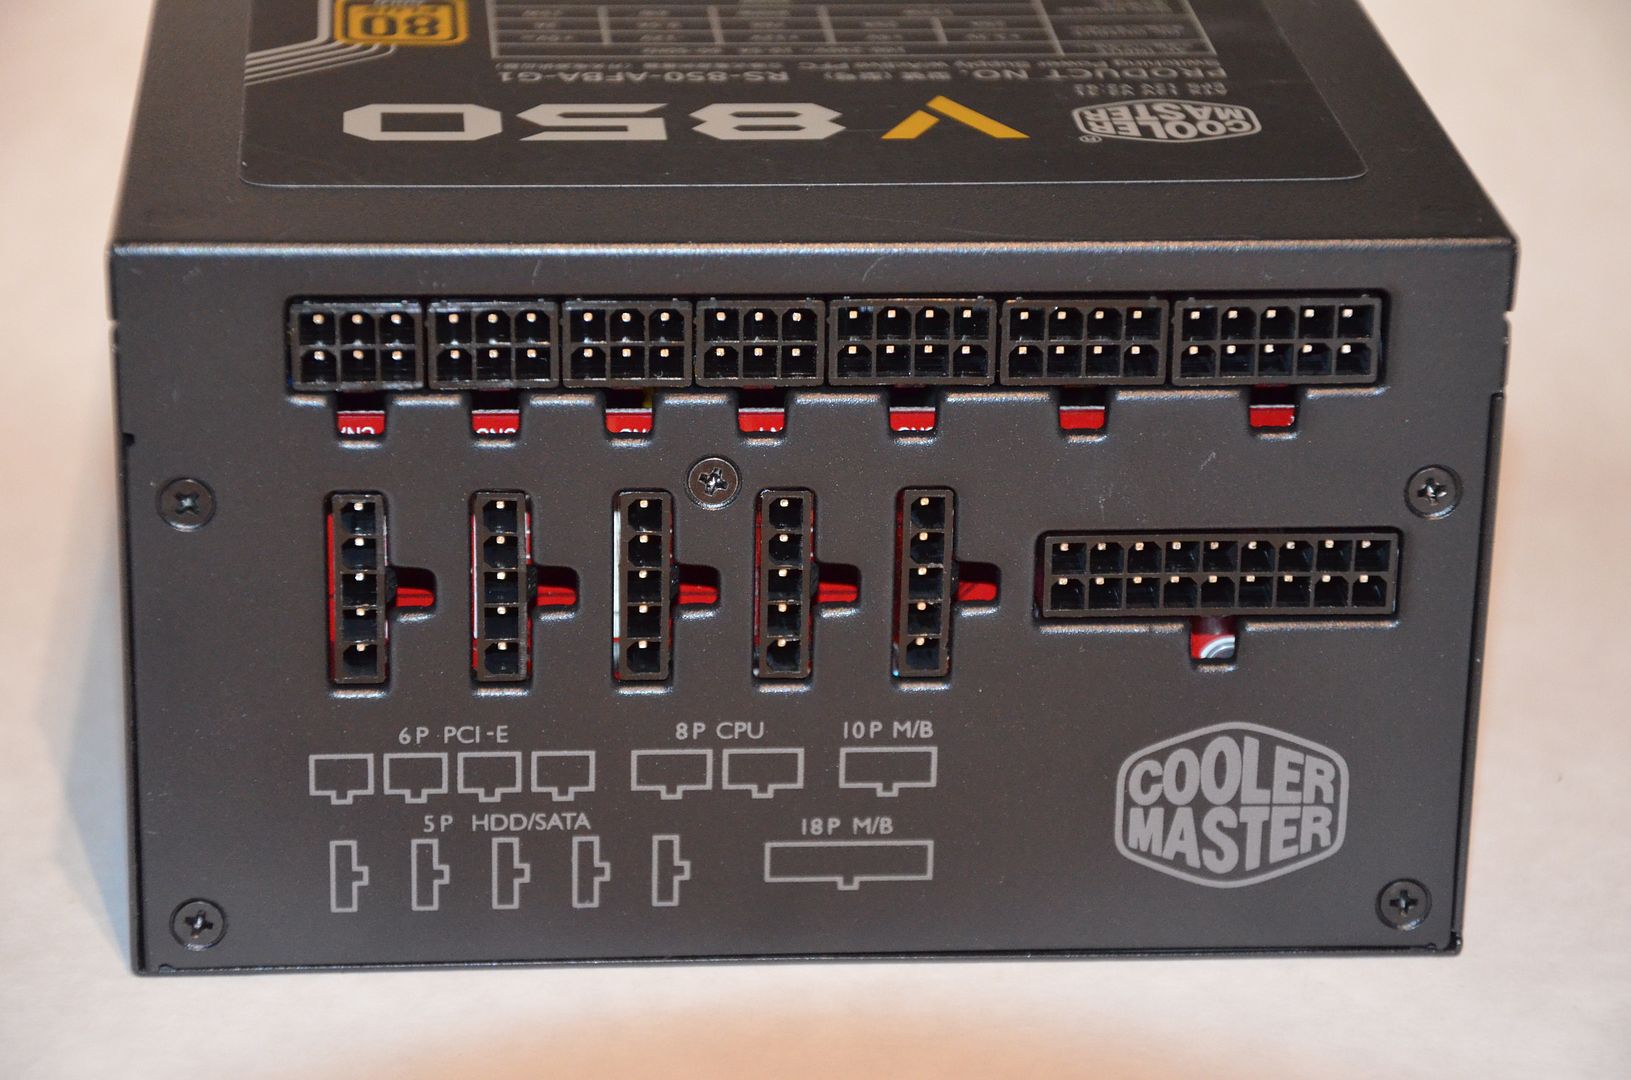
Lots of cables with it, needs some sleeving though
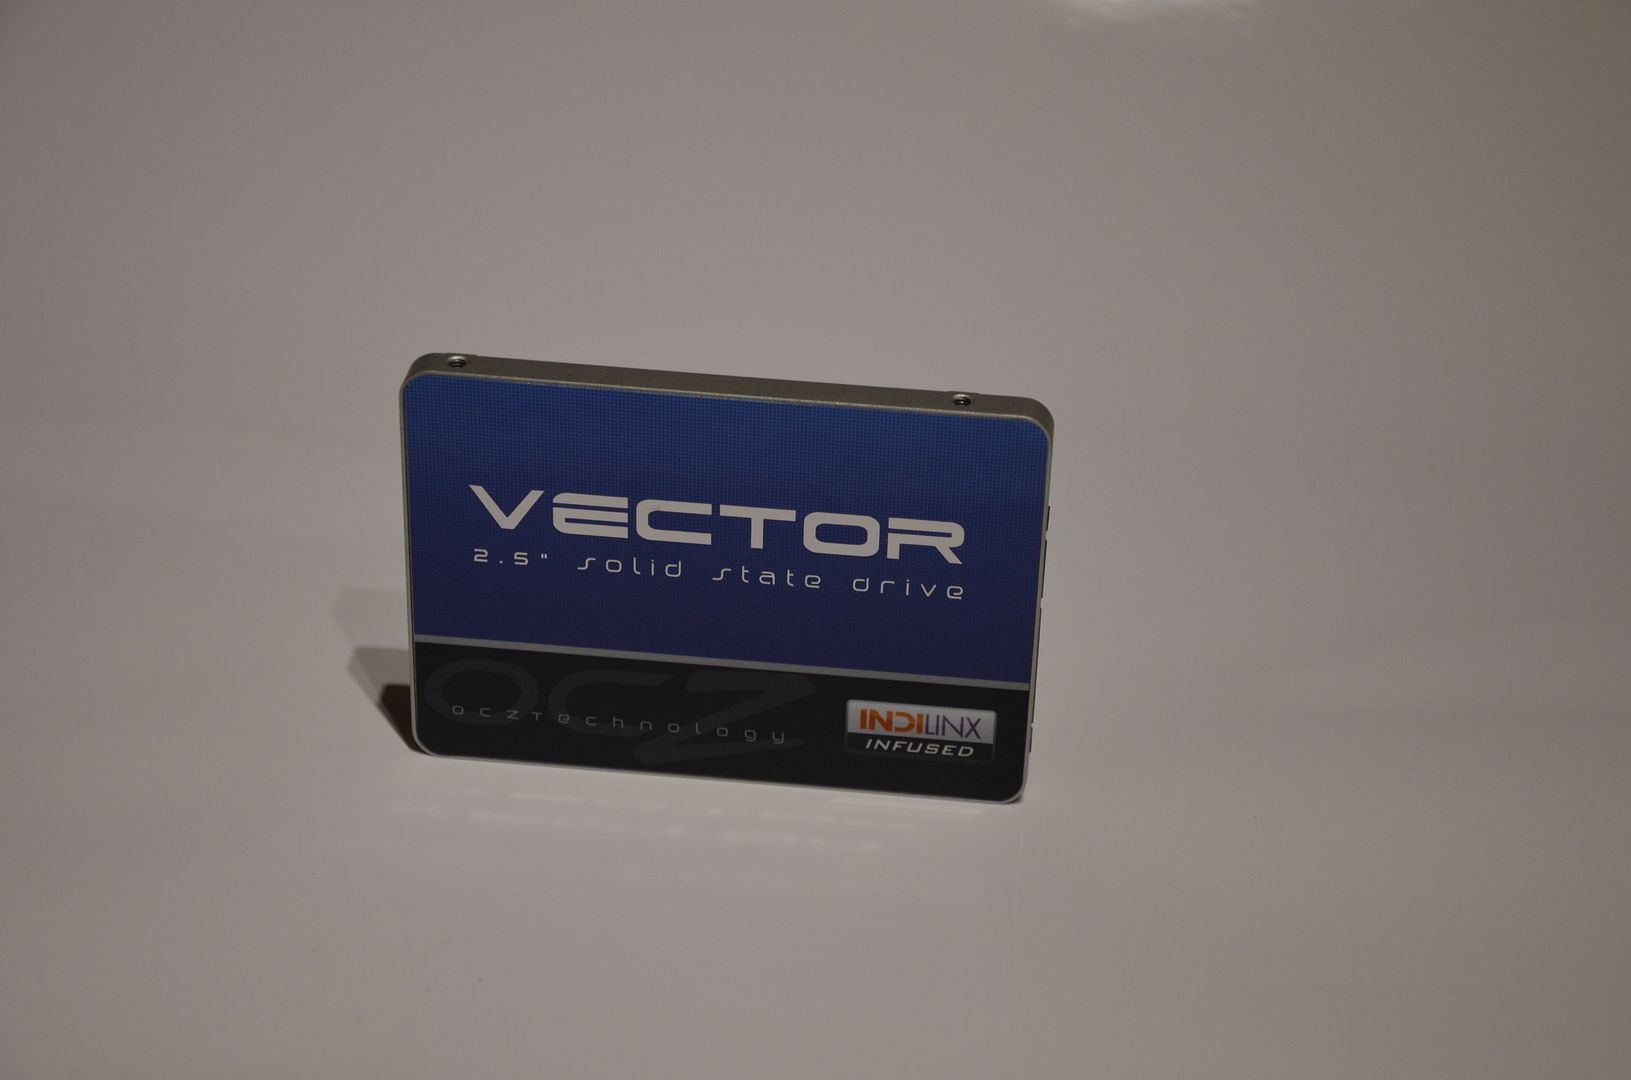
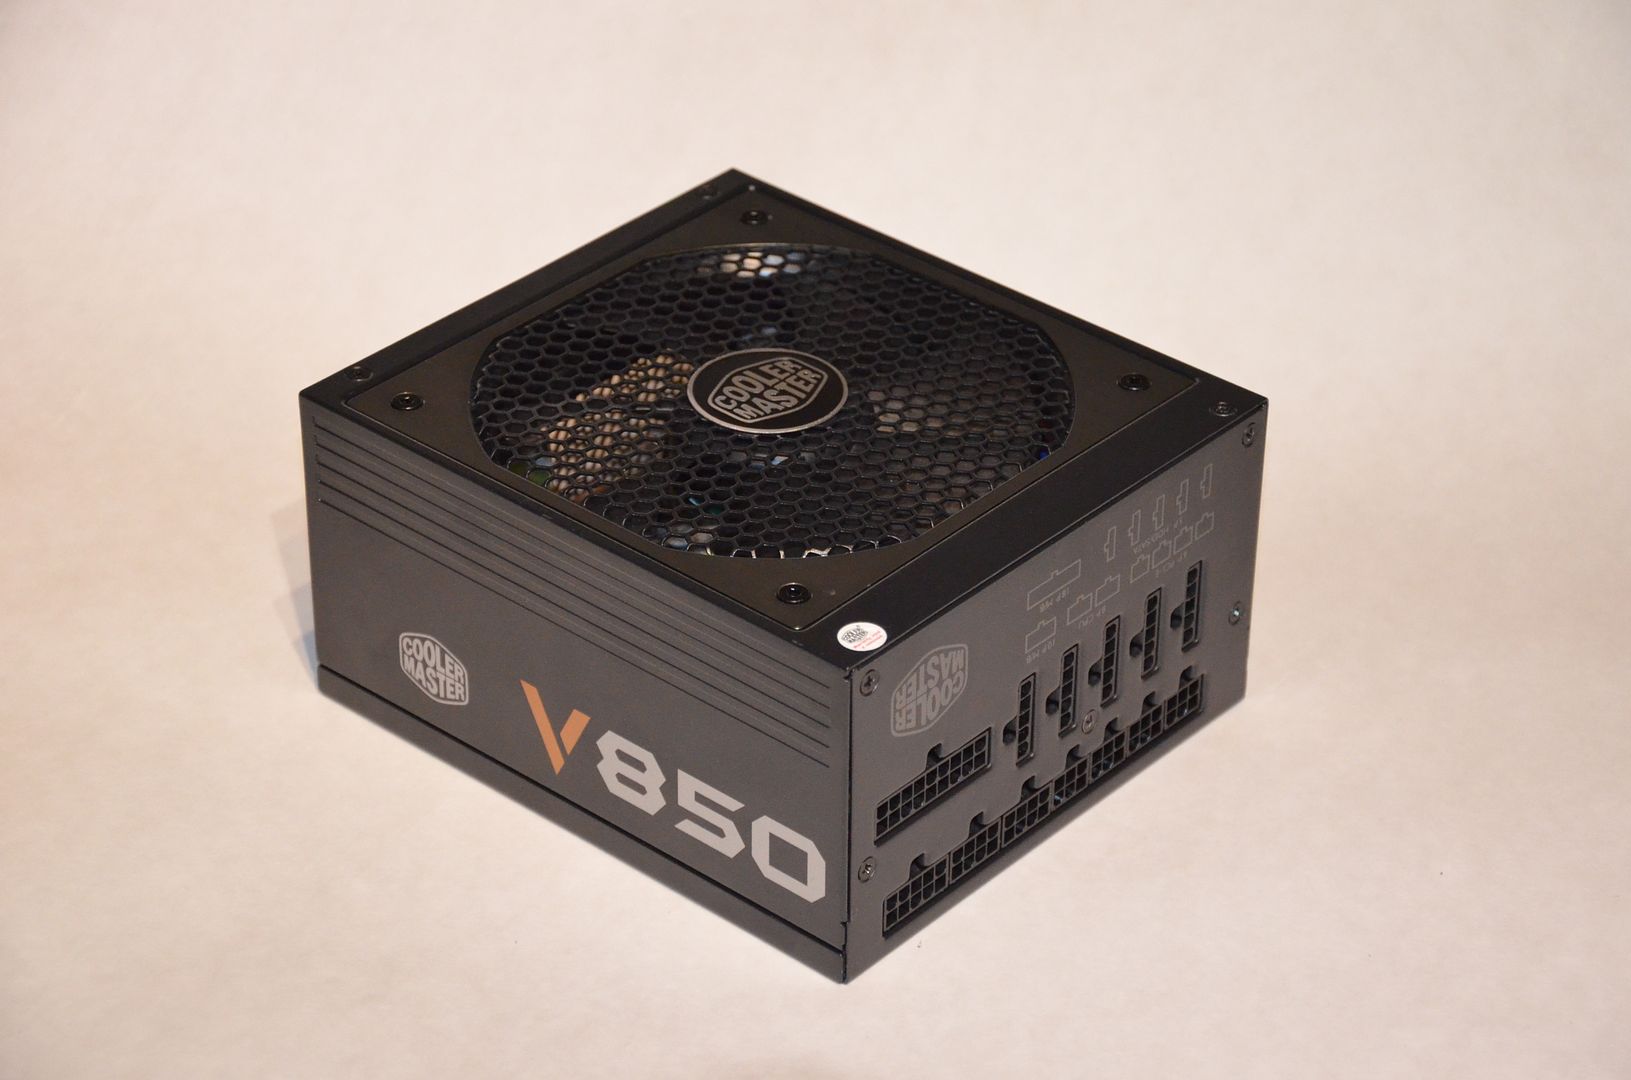
Love the brushed steel look on the top of it
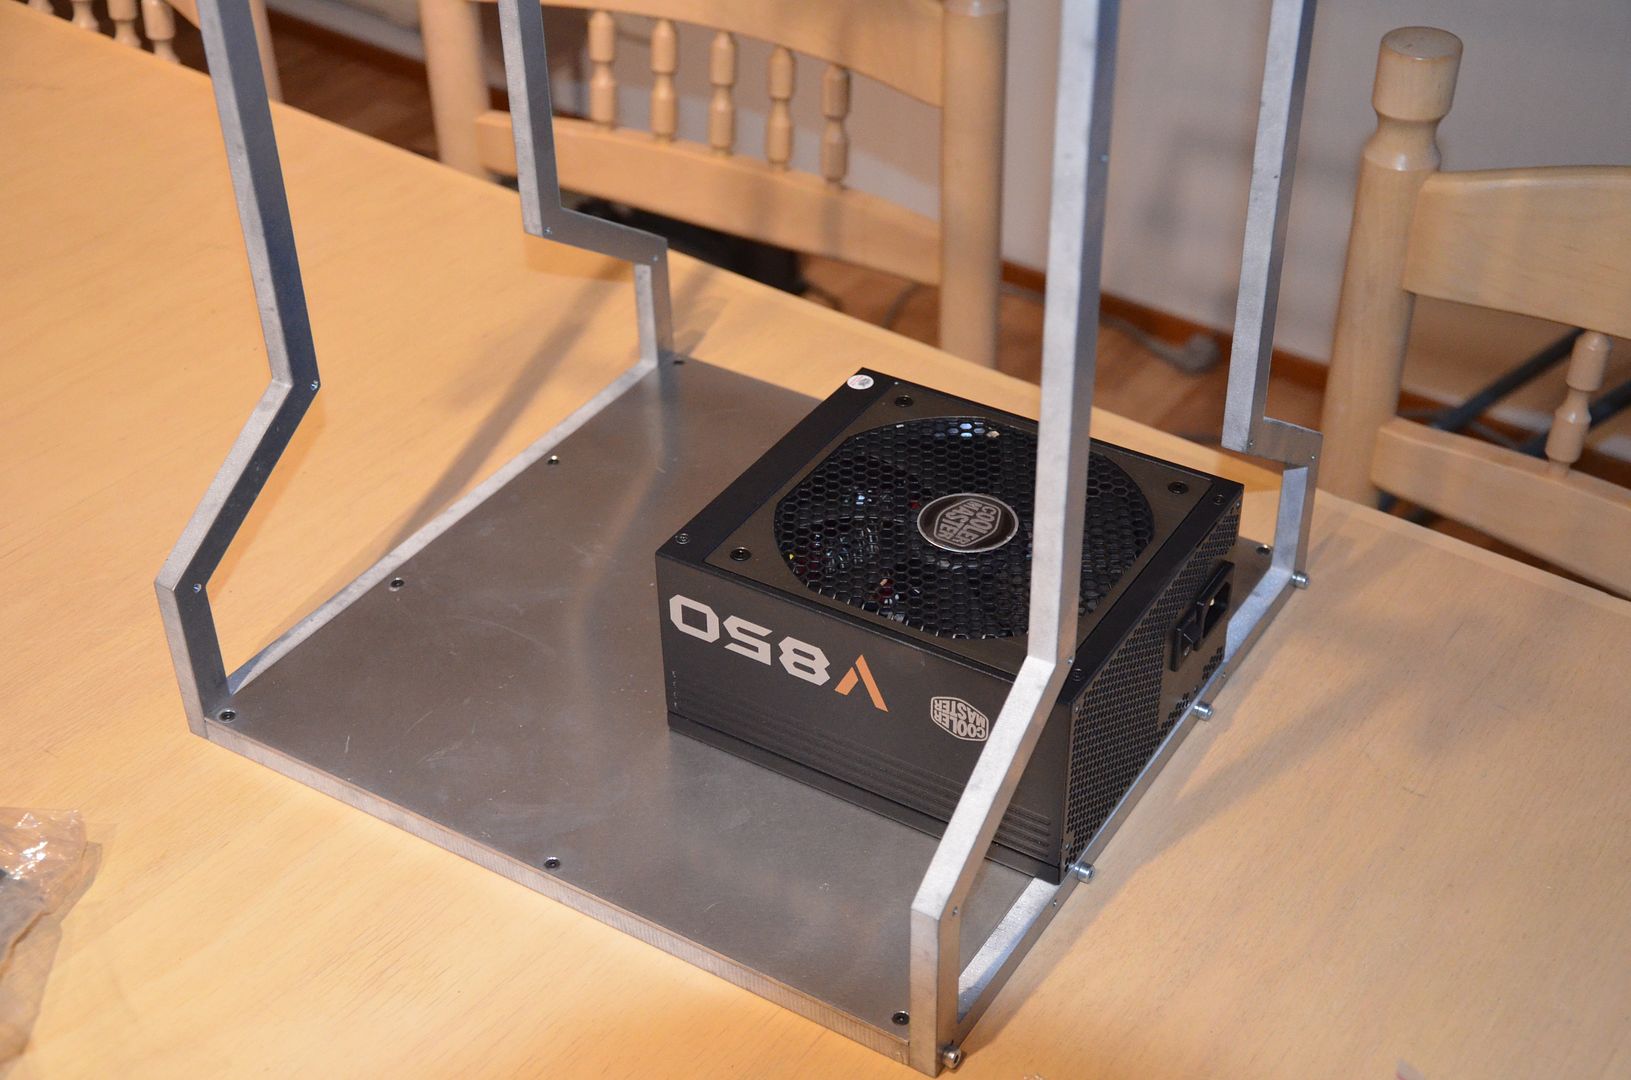
Scale photo
More updates coming soon!
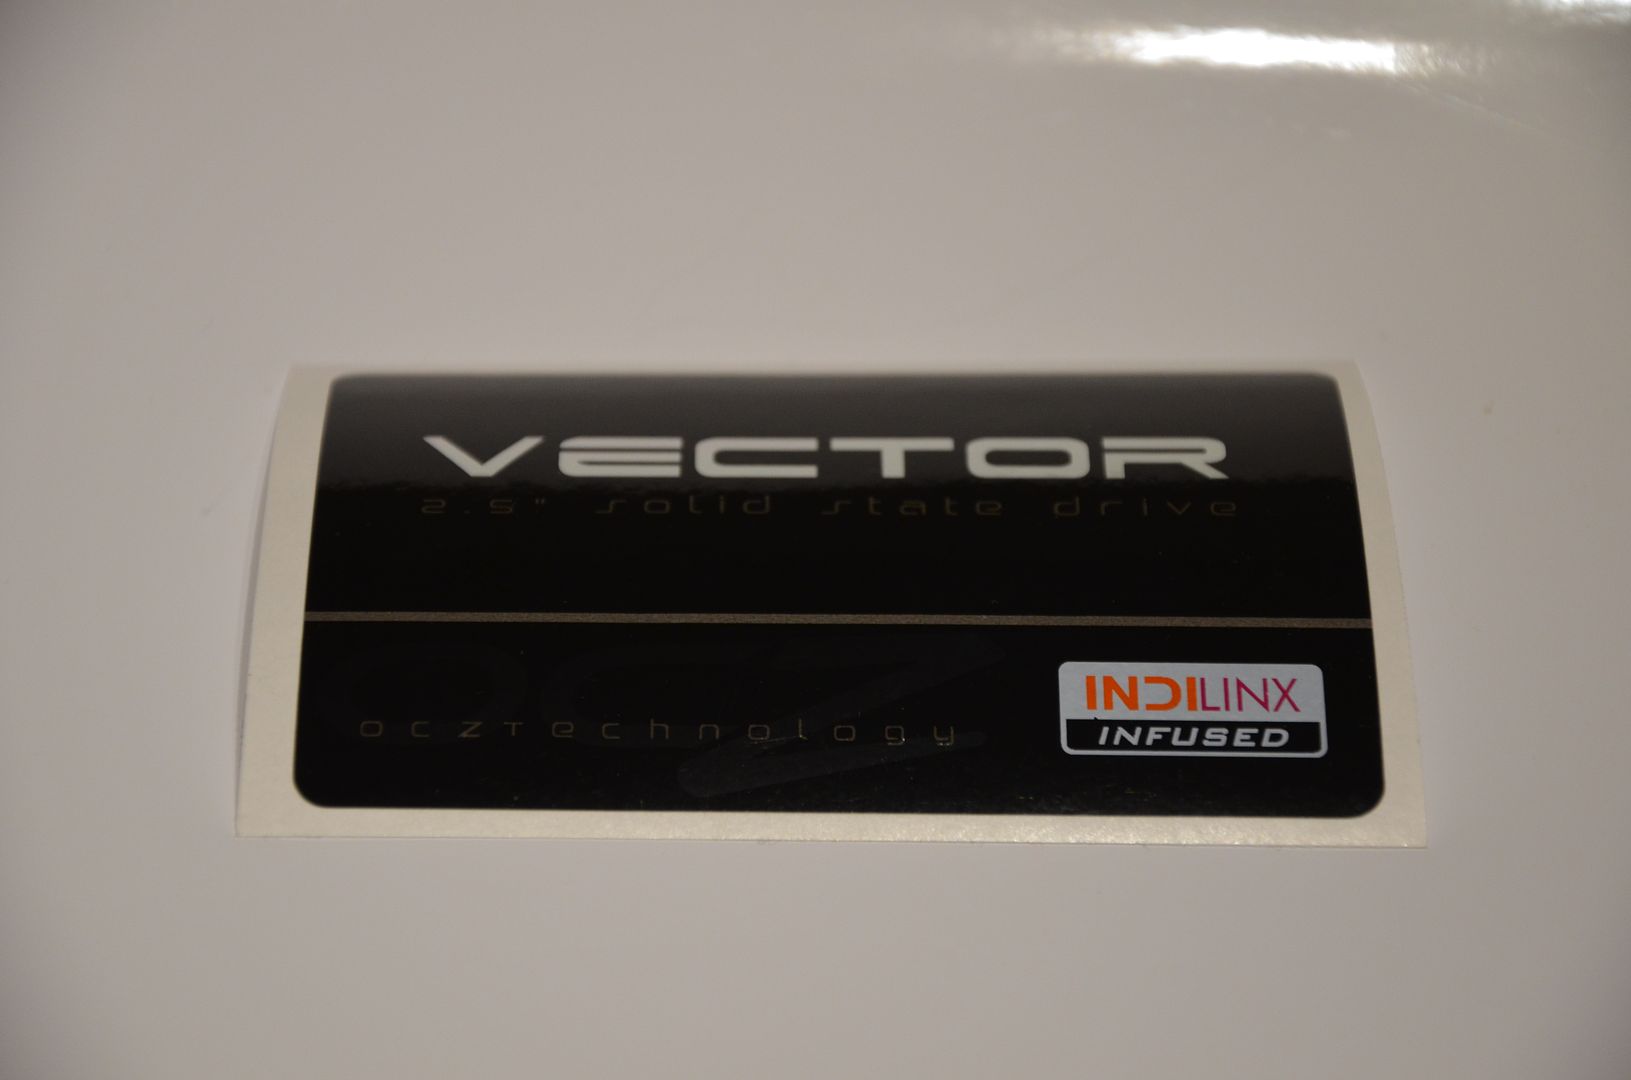
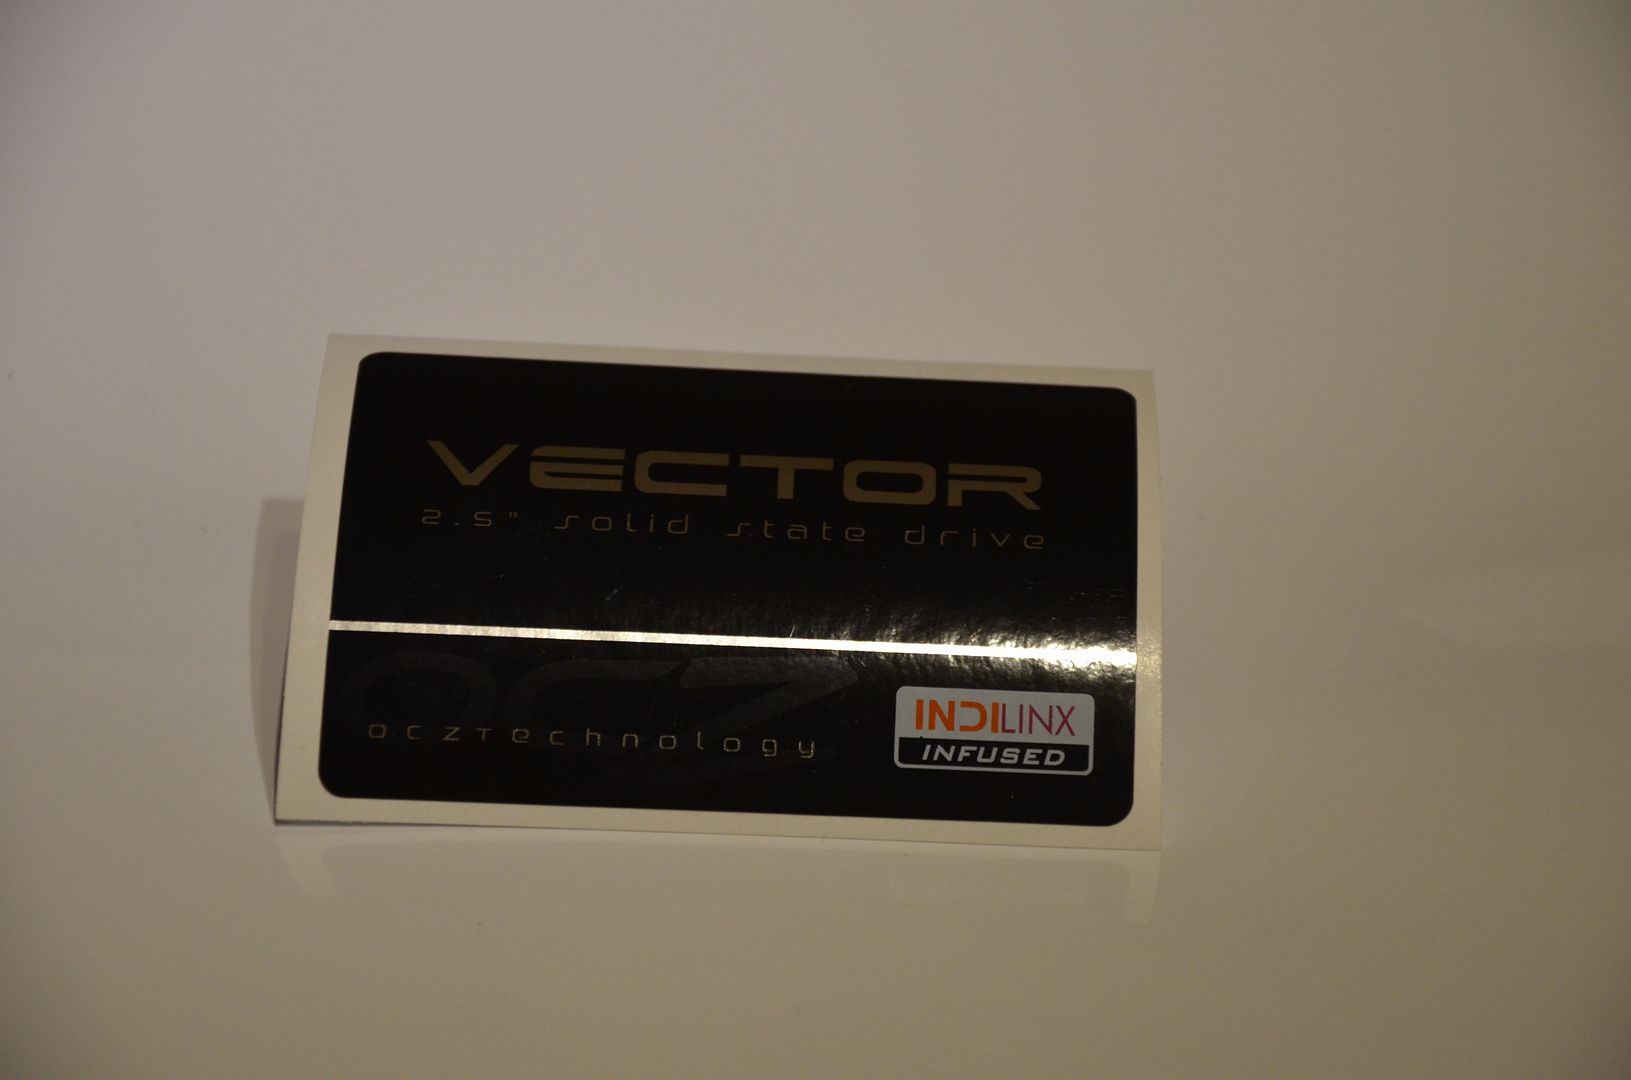
Very sad news about OCZ, the only SSD's i've owned are OCZ and i have been very happy with them.
Sponsored by
-image removed, sponsor images limited to 200x200 pixels-

")