You are using an out of date browser. It may not display this or other websites correctly.
You should upgrade or use an alternative browser.
You should upgrade or use an alternative browser.
Project White Knight : Air Cooling at it's Best..
- Thread starter naveen58
- Start date
S_I_N
New member
looks awesome bro great job and patience totally sucked having the parts blow away and get damaged but looks like ya sorted it out. I never leave my parts outside overnight for any reason lol I'll stay up til they can be moved to damn many cats round here to trust it. Specially when they think my patio is their boxing ring
UPDATE - 29/12/2011
As most of the sleeving was done,it's time for the most enjoyable part of the build REASSEMBLY.
so,let's begin

Starting off with the chassis.
Silly me i forgot to take pics before reinstalling it's feet & HDD Cage :facepalm:
anyways here is the chassis with HDD Cage & Feet installed

Notice the orientation of HDD Cage,it's changed to hide more cables :thumbsup:

the HDD Locking Mechanism was also painted to metallic orange as in this pic


Time to install Small yet important Parts of the chassis

the power,reset switch PCB is installed on a metal base plate,which i also got painted in orange for highlight
here's the pic of metal base plate painted

and with PCB installed

Time to mount it on the case


Done

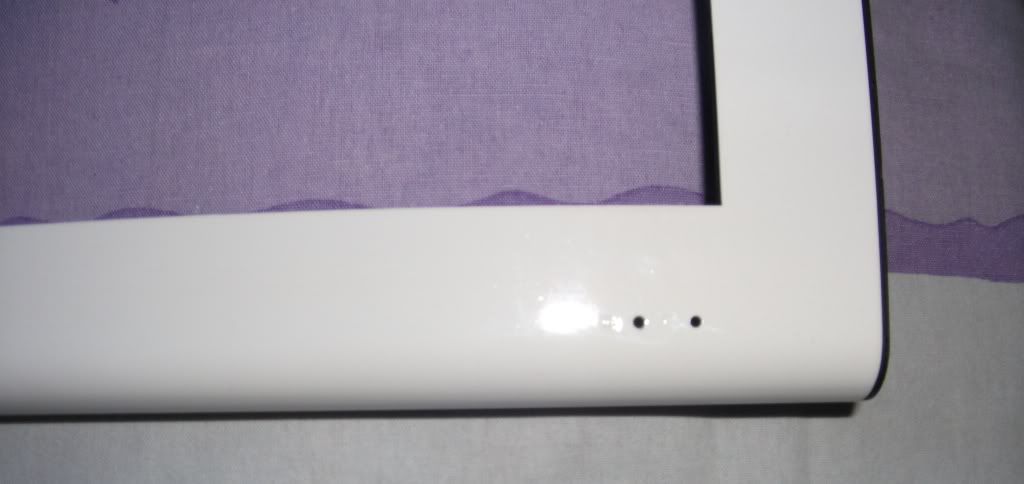
Next is the power & HDD activity LED.
i had to install them in these holes

since the chassis was painted,all the layers of primers,paint & clearcoat made the hole a little bit smaller resulting in LED's not getting in.
so,had to take small piece of sandpaper & had to sand off the paint a bit & SUCCESS :throwup:

same was the case with the front bezel,a transparent pin of some sort was used to improve the LED illumination,even it was harder to get it into as sand paper would not work here

then i saw my screwdriver tool kit & found a star shaped attachment which was perfect for the job


grinded the paint slowly using this & it was in

now,it was on to front bezel locking mechanism.
some plastic modules were used to hold the bezel in place.

same was the case here the paint got on it & had to sand it as well
3 down,1 more to go :yesss:

all done :excellent:

even for now the fan sticker design was not final,but it could put the build on hold till decided.
solution - use what i have for now & change it later on.
so,here we are
the back side of the fan

one fan installed with fan sticker

both of them

yes,it does illuminates in reflection :fireworks:
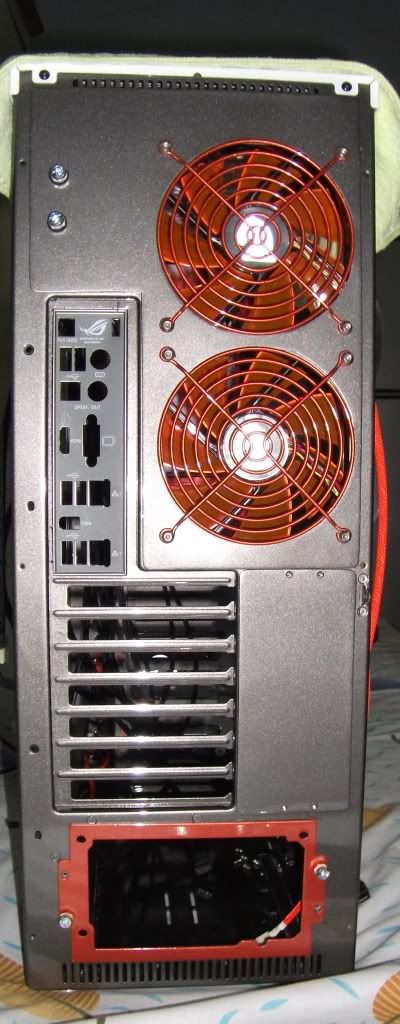
time for marrying the top panel to the chassis. :wedding:
This was the first time after tear up that the top panel is going to be mounted on the chassis,but there was a problem

you see the clearance wasn't enough for the cable,not even 1mm to be practical
so,had to change the orientation of the fan & fan stickers to make it work :builder:

and it was in


i was so much into the build that i even forgot that i had M4 Flange Nuts.
so, i swapped to fans nyloc nuts with em.


something is missing in this picture,hmm what could it be


ohh,it's the side panel vibration dampeners

time to change stickers on Xigmatek Fans


securing fans using fan vibration dampener

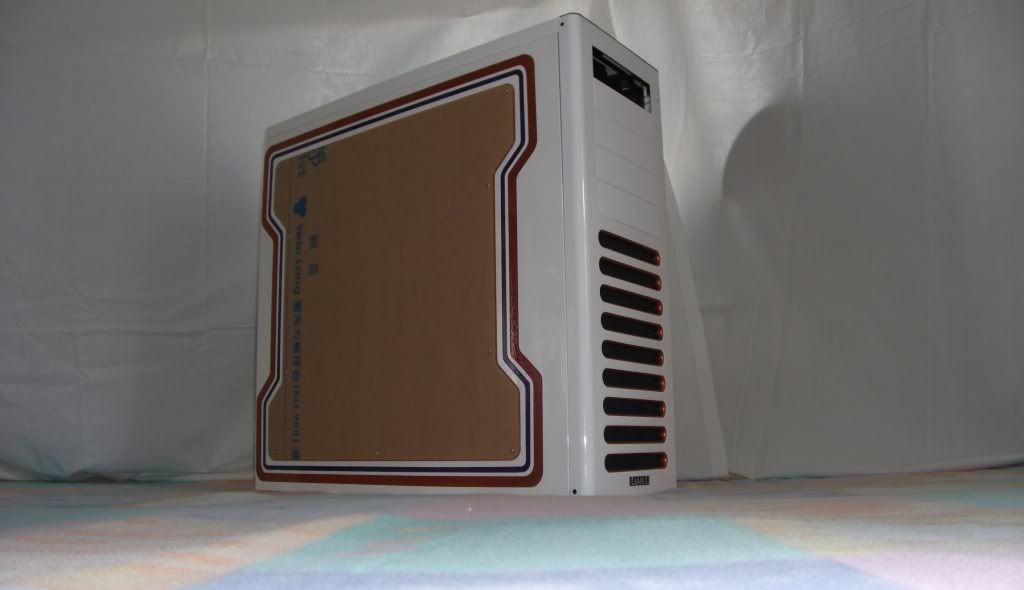
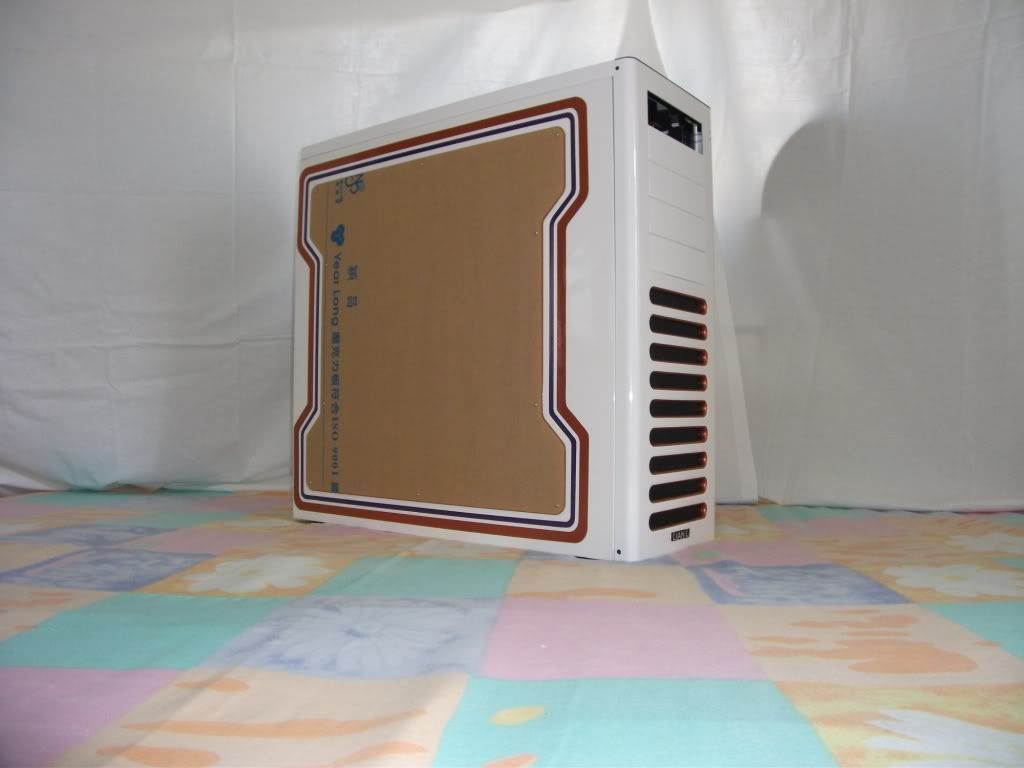
since,PC A 70F has support for 2x140mm fans in the front,i had to make another convertor out of metal sheet to house 2x120mm fans.
reason is Xigmatek 140mm orange fans aren't available in our country.
here's the pic of the metal plate if you recall

mounting the fans back in


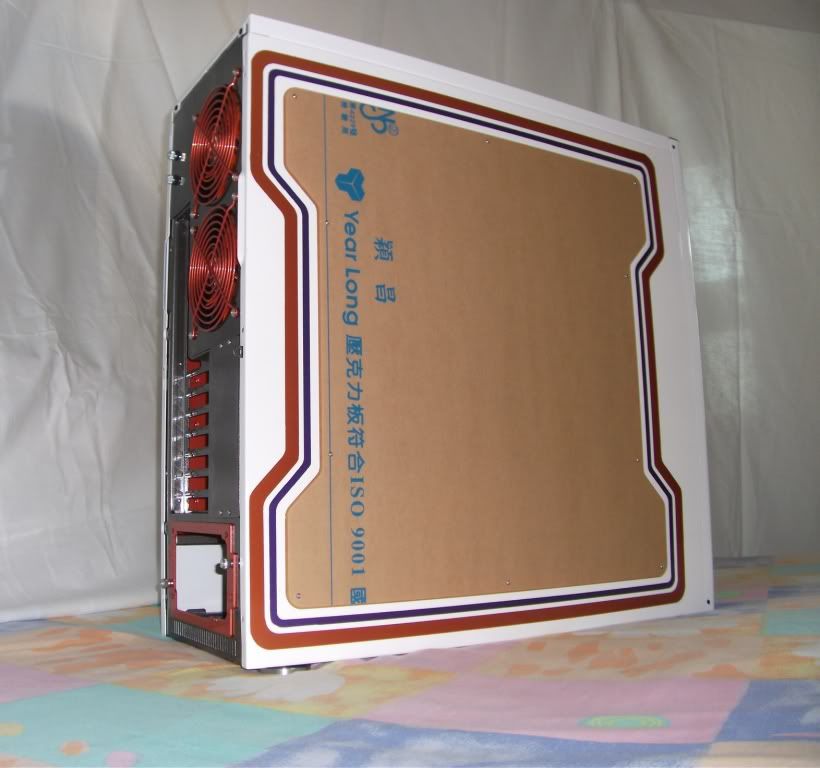
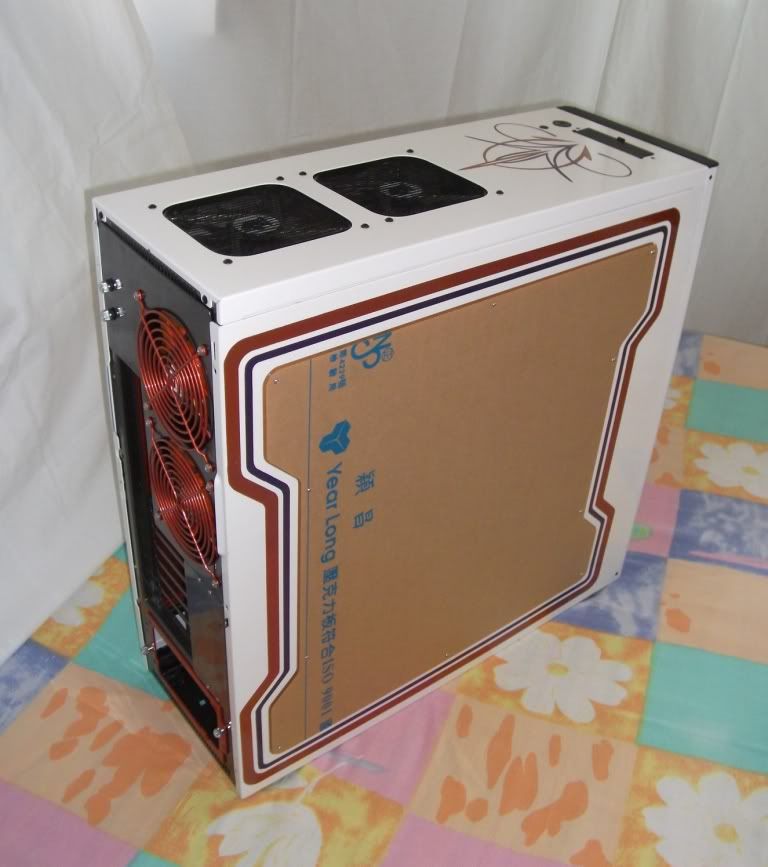
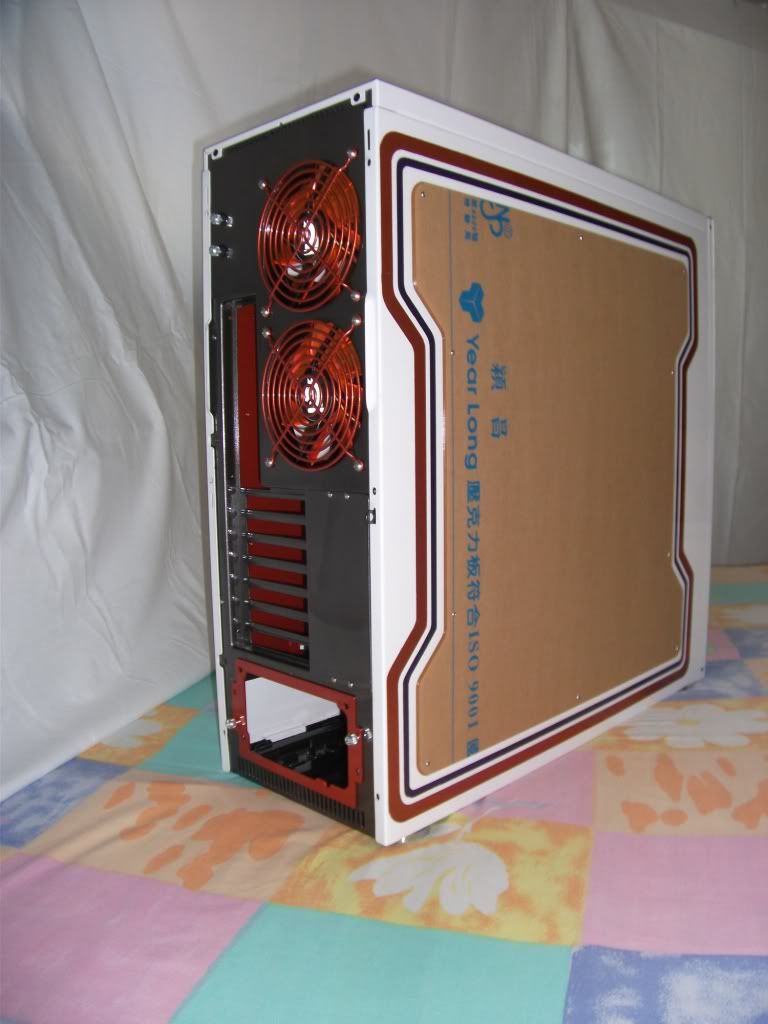
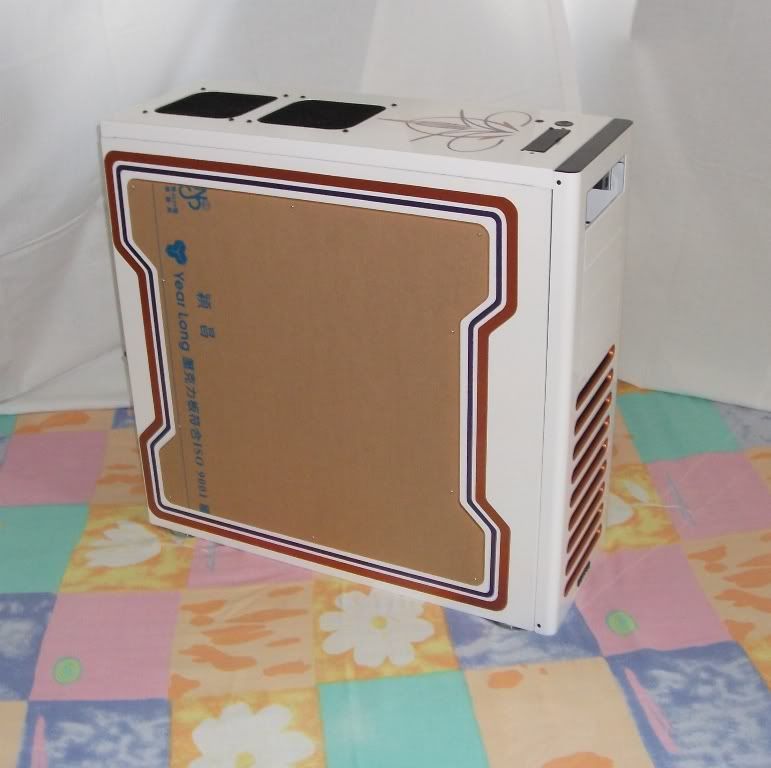
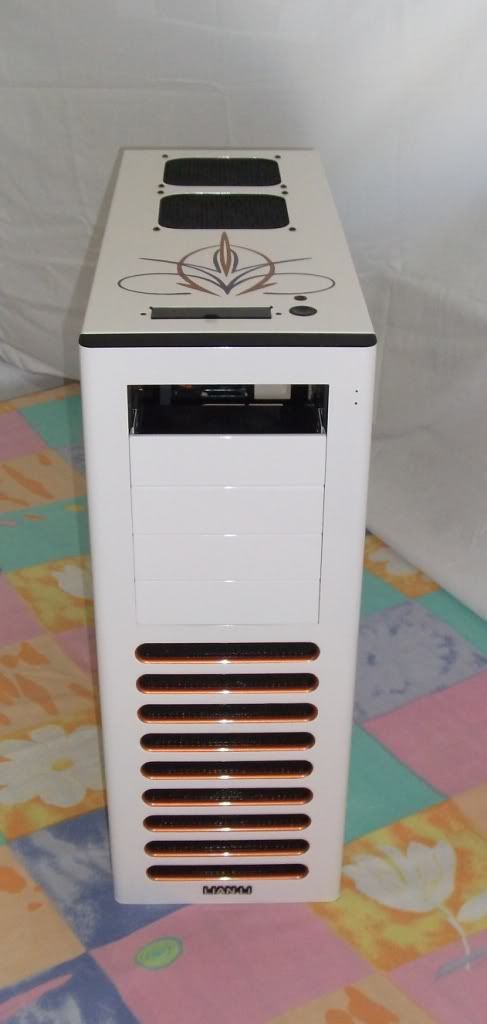
let's put it back together & see how it looks

Looks Good.
then goes in the air filters

All Done here.

More to come soon.
As most of the sleeving was done,it's time for the most enjoyable part of the build REASSEMBLY.
so,let's begin
Starting off with the chassis.
Silly me i forgot to take pics before reinstalling it's feet & HDD Cage :facepalm:
anyways here is the chassis with HDD Cage & Feet installed
Notice the orientation of HDD Cage,it's changed to hide more cables :thumbsup:
the HDD Locking Mechanism was also painted to metallic orange as in this pic
Time to install Small yet important Parts of the chassis
the power,reset switch PCB is installed on a metal base plate,which i also got painted in orange for highlight
here's the pic of metal base plate painted
and with PCB installed
Time to mount it on the case
Done
Next is the power & HDD activity LED.
i had to install them in these holes
since the chassis was painted,all the layers of primers,paint & clearcoat made the hole a little bit smaller resulting in LED's not getting in.
so,had to take small piece of sandpaper & had to sand off the paint a bit & SUCCESS :throwup:
same was the case with the front bezel,a transparent pin of some sort was used to improve the LED illumination,even it was harder to get it into as sand paper would not work here
then i saw my screwdriver tool kit & found a star shaped attachment which was perfect for the job
grinded the paint slowly using this & it was in
now,it was on to front bezel locking mechanism.
some plastic modules were used to hold the bezel in place.
same was the case here the paint got on it & had to sand it as well
3 down,1 more to go :yesss:
all done :excellent:
even for now the fan sticker design was not final,but it could put the build on hold till decided.
solution - use what i have for now & change it later on.
so,here we are
the back side of the fan
one fan installed with fan sticker
both of them
yes,it does illuminates in reflection :fireworks:
time for marrying the top panel to the chassis. :wedding:
This was the first time after tear up that the top panel is going to be mounted on the chassis,but there was a problem
you see the clearance wasn't enough for the cable,not even 1mm to be practical
so,had to change the orientation of the fan & fan stickers to make it work :builder:
and it was in
i was so much into the build that i even forgot that i had M4 Flange Nuts.
so, i swapped to fans nyloc nuts with em.
something is missing in this picture,hmm what could it be
ohh,it's the side panel vibration dampeners
time to change stickers on Xigmatek Fans
securing fans using fan vibration dampener
since,PC A 70F has support for 2x140mm fans in the front,i had to make another convertor out of metal sheet to house 2x120mm fans.
reason is Xigmatek 140mm orange fans aren't available in our country.
here's the pic of the metal plate if you recall
mounting the fans back in
let's put it back together & see how it looks
Looks Good.
then goes in the air filters
All Done here.
More to come soon.
yassarikhan786
New member
I'm really liking this mod. You got some really nice stuff from your parents dude
. Amazing job on the sleeving as well
.
ruthless_villain
New member
looks good so far but what hardware are you putting inside?
Thank You S_I_N,yassarikhan786 and ruthless for your appreciation.
That's a Good Question.
As this Build is not Sponsored.
the Hardware is going to be from my Old System,which isn't fancy as of now.
Following are the Specs-
Processor - AMD Phenom II X4 940BE
Motherboard - ASUS Crosshair II Formula
Ram - G.Skill 2x2GB 800MHz
HDD - 2x500GB Seagate 7200.12 in RAID 0
GPU - Palit GTX 260 Sonic 216SP
PSU - Silverstone 750W 100% Modular
looks good so far but what hardware are you putting inside?
That's a Good Question.
As this Build is not Sponsored.
the Hardware is going to be from my Old System,which isn't fancy as of now.
Following are the Specs-
Processor - AMD Phenom II X4 940BE
Motherboard - ASUS Crosshair II Formula
Ram - G.Skill 2x2GB 800MHz
HDD - 2x500GB Seagate 7200.12 in RAID 0
GPU - Palit GTX 260 Sonic 216SP
PSU - Silverstone 750W 100% Modular


Solidarity
New member
This is looking great.
yassarikhan786
New member
The side panel design is gorgeous man and the coat of paint looks perfect.
ShortAlieN
New member
excellent paint, pinstripe & sleeve work. cant wait to see more.
jimmyakakev
New member
I love it...very unique and skilled work. 2 thumbs up
This is looking great.
Glad you like it
The side panel design is gorgeous man and the coat of paint looks perfect.
Yeah,i kind of went with it. it's nothing but the outline of the plexi glass

actually,the plexi glass was my inspiration for that design
This looks really sweet dude. You have put together an awesome build log as well, good thread. Hope your project is healthy and moving forward, cause i wanna see more!
Well,to be honest this is my life's first custom build and first build log as well and it's really good to know that you like it.
excellent paint, pinstripe & sleeve work. cant wait to see more.
well,all the paintwork was done by my painter so,Kudos to him.
All these modds are awesome and im really enjoying seing how creative and skilled you are. Thumbs up for Naveen
Thank you for your wonderful comment,i feel honored.
I love it...very unique and skilled work. 2 thumbs up
Thanks Man.
After all your trouble I really hope your build looks amazing which i'm sure it's going to.
Even i hope so.
LOVE the front panel, the orange highlights around the vents look the dogs danglies
Yeah,initially it was not in the plan but later on i thought something was missing from the front panel & alas an idea clicked into my mind and it looks Gorgeous
PS - I would like to Thank Every one of you for the love,respect and support that you have for me and my work
UPDATE - 27/01/2012
Well a little bit of sleeving was remaining,so i finished it first.
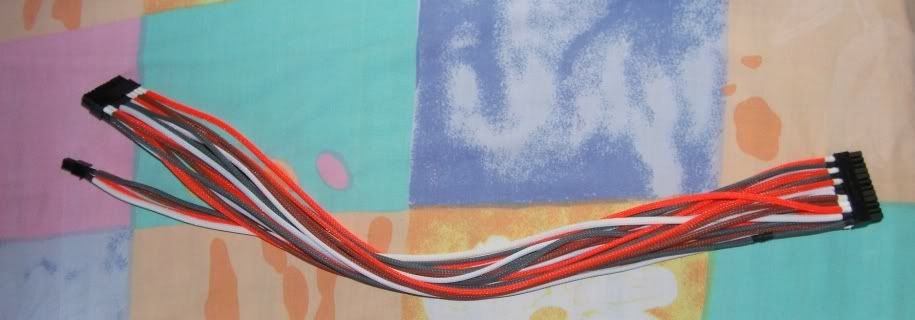
starting from 24 PIN M/B Connector
Sleeved 12 wires of one side.


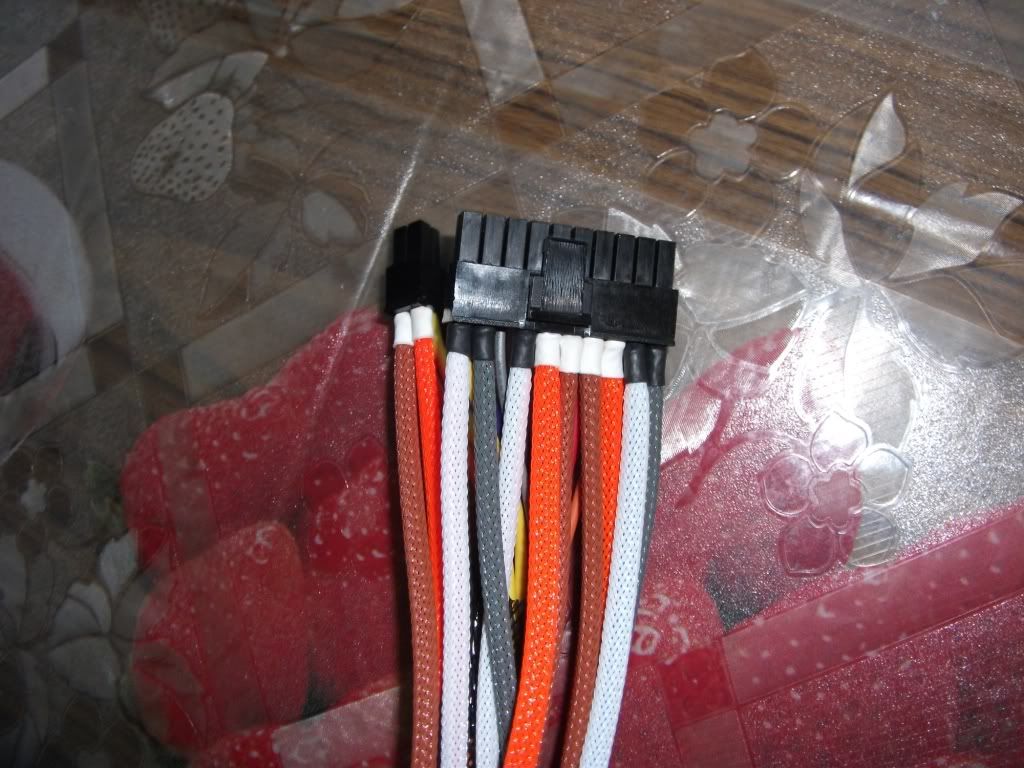
Time to sleeve the other 12 wires
The Result


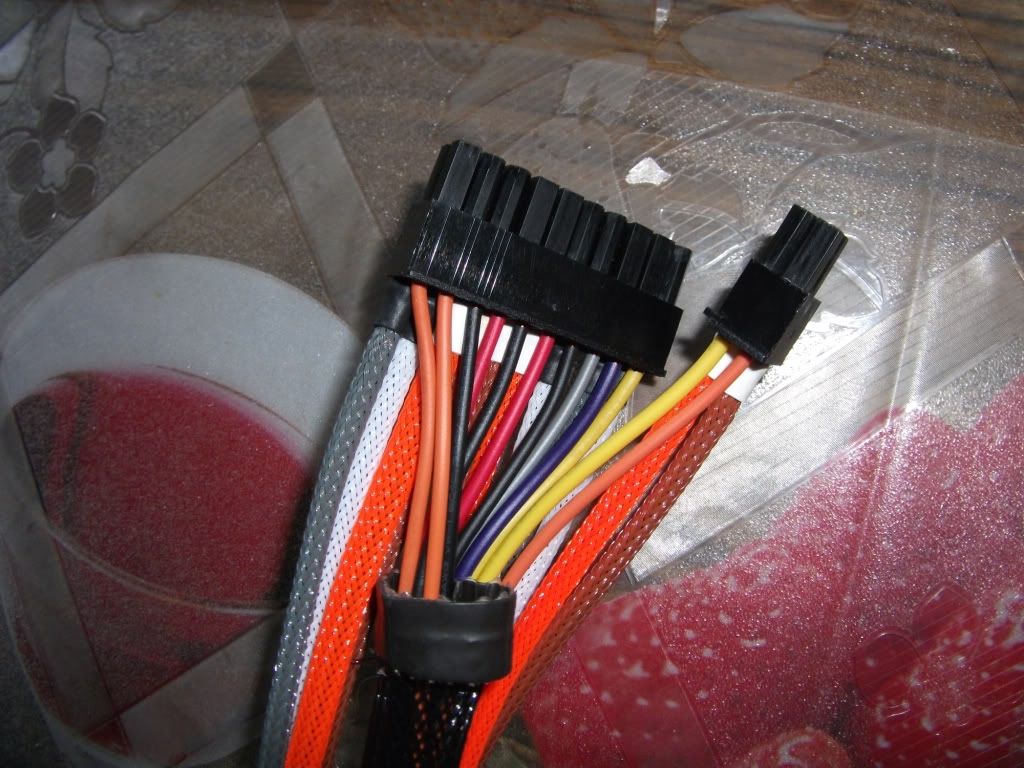
Then i started to sleeve remaining cables like cables of fan controller etc.

The Result was a bit shocking as the sleeved cables were full of different emotions
yeah,it's true.. have a look
SMILING =)
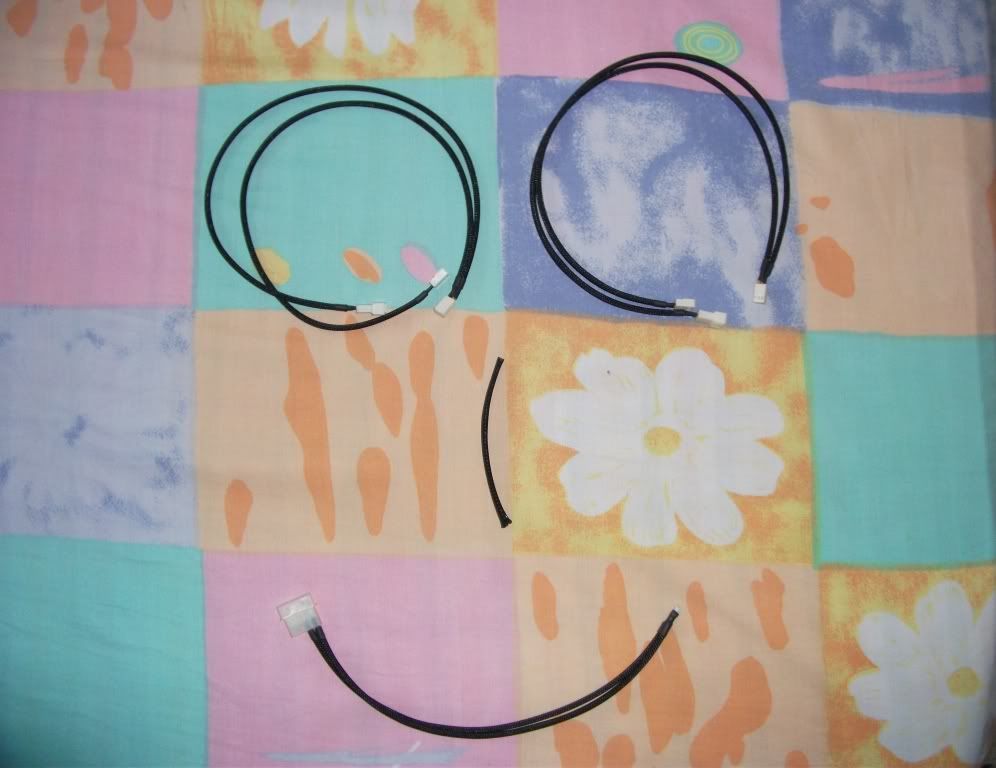

GRIN

SAD


SMILING WITH MOUSTACHE :frenchman:

PUNCHED IN THE EYE :eh:

YAWN :yawn:

Funny isn't it.

Now,as sleeving was finished i moved on the the assembly,starting of with Optical Drive.
but again there was a problem,the Optical drive wasn't getting in as i used a little larger screws on the Power/Reset button PCB,so had to take it out again & placed a washer in the screw
Result


Installing Front Panel back in place

Moving on to my front panel fan controller + Internal Card Reader


Installing both ODD & Fan Controller in place

Installing the remaining slots one by one


Front Panel Done
Next Up HDD's (these aren't new in fact all hardware components are from my old PC except PSU & ODD)

Moving from my Old CM 690


Next Up Motherboard
Time to remove the motherboard tray


motherboard stand out screws in place

cleaned the motherboard & reapplied TIM,it's ready to go into the case

Routing 8 PIN Power Cable behind it for clean look


Processor & heatsink installed
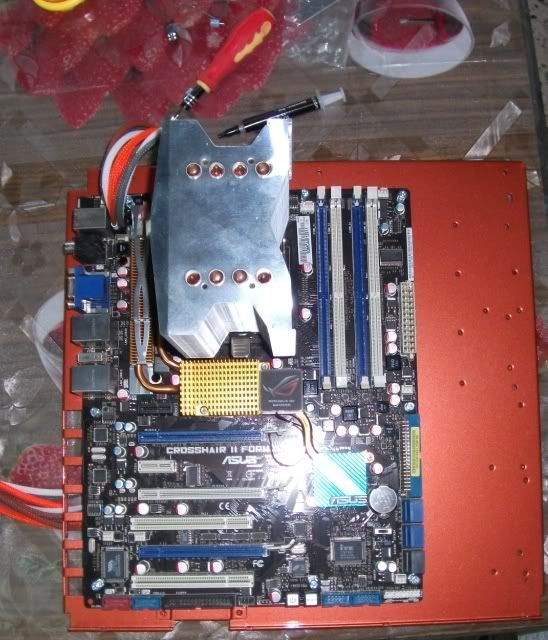
Time for CPU Fan,what is it going to be?
of course the orange Xigmatek Fan with custom sticker")

Fan in place


where are the rams?


Motherboard I/O Backplate in place
in goes the Motherboard

remember as i told you all earlier that PSU wasn't the only thing my Parents sponsored there's more...
time for next product


Case badge says it all
Securing in place using MDPC Screws

had to use only 3 screws as the hole of the last one was misaligned by 2mm :facepalm:
in it goes


That's all for now..
Well a little bit of sleeving was remaining,so i finished it first.
starting from 24 PIN M/B Connector
Sleeved 12 wires of one side.
Time to sleeve the other 12 wires
The Result
Then i started to sleeve remaining cables like cables of fan controller etc.
The Result was a bit shocking as the sleeved cables were full of different emotions
yeah,it's true.. have a look
SMILING =)
GRIN
SAD
SMILING WITH MOUSTACHE :frenchman:
PUNCHED IN THE EYE :eh:
YAWN :yawn:
Funny isn't it.
Now,as sleeving was finished i moved on the the assembly,starting of with Optical Drive.
but again there was a problem,the Optical drive wasn't getting in as i used a little larger screws on the Power/Reset button PCB,so had to take it out again & placed a washer in the screw
Result
Installing Front Panel back in place
Moving on to my front panel fan controller + Internal Card Reader
Installing both ODD & Fan Controller in place
Installing the remaining slots one by one
Front Panel Done
Next Up HDD's (these aren't new in fact all hardware components are from my old PC except PSU & ODD)
Moving from my Old CM 690
Next Up Motherboard
Time to remove the motherboard tray
motherboard stand out screws in place
cleaned the motherboard & reapplied TIM,it's ready to go into the case
Routing 8 PIN Power Cable behind it for clean look
Processor & heatsink installed
Time for CPU Fan,what is it going to be?
of course the orange Xigmatek Fan with custom sticker
Fan in place
where are the rams?
Motherboard I/O Backplate in place
in goes the Motherboard
remember as i told you all earlier that PSU wasn't the only thing my Parents sponsored there's more...
time for next product
Case badge says it all
Securing in place using MDPC Screws
had to use only 3 screws as the hole of the last one was misaligned by 2mm :facepalm:
in it goes
That's all for now..