<Foreword>
I started this project about a month ago, Initial picture quality is poor sincere apologies! Recent progress quality is much better!
Introduction
Hey Guys I've not been on any forums for a while, My health hasn't been great lately, I've been back and forward to my docs and hospital more than I'd like too lately, Short story being some rather unpleasant lumps and bumps coupled with severe weight loss. Not been a pleasant time over the last few months, the tests have been frequent and stressful.
Naturally when you experience something like this, the mind tends to go into overdrive. I’ve only just had some positive news but not the all clear I'm so desperate to hear [yet]. I wanted to fill all my spare time with a new build, with a catch of having a tiny budget. I've toyed with the idea of making something custom a few times in the past and always swayed away, Truth be told I'm rather terrible when it comes to DIY! I played around with designs but they all had a niggle or two, I decided to just order a few bits and pieces to make start. I've a terrible habit of sitting on an idea to long and the wife insisted I just get on with something!
The one thing I wanted and there’s no real reason behind it, is a dual reservoir loop. As in single loop two reservoirs. I did some digging and feedback was mixed. Still I wanted to give it a bash. In terms of looks and design, At this point its all trial and error, And it’s pretty much just a go with what I come up with, day to day type of build, I have a vague idea of what it'll look like but hey who knows? I wanted to have something subtle and quite plain on the outside . More vibrant on the inside. Primary Colours have changed mid build and I’m looking at
Hardware
Most of the components are all re-used parts for a previous build, short story being the builder is no longer involved in tech or builds. It’s all just sat collecting dust so we figured let’s put it to use.
So As I said something custom, I have some contacts that could produce a case in sheet metal or acrylic but due to past critics, I just wanted to do this one all me, Meaning I'd have to work with Wood, now I'll be honest I'd rather I wasn't but hey its cheap and easy to work with, Off to the local hardware store I went and picked a sheet for less than £10
The build like I mentioned, so far had just been let’s see what works type of deal, below is roughly what’s kept me busy for the last couple of weeks. Sadly I didn't plan to make a build log at first but rather just share the odd image with friends on Facebook, So there are some gaps
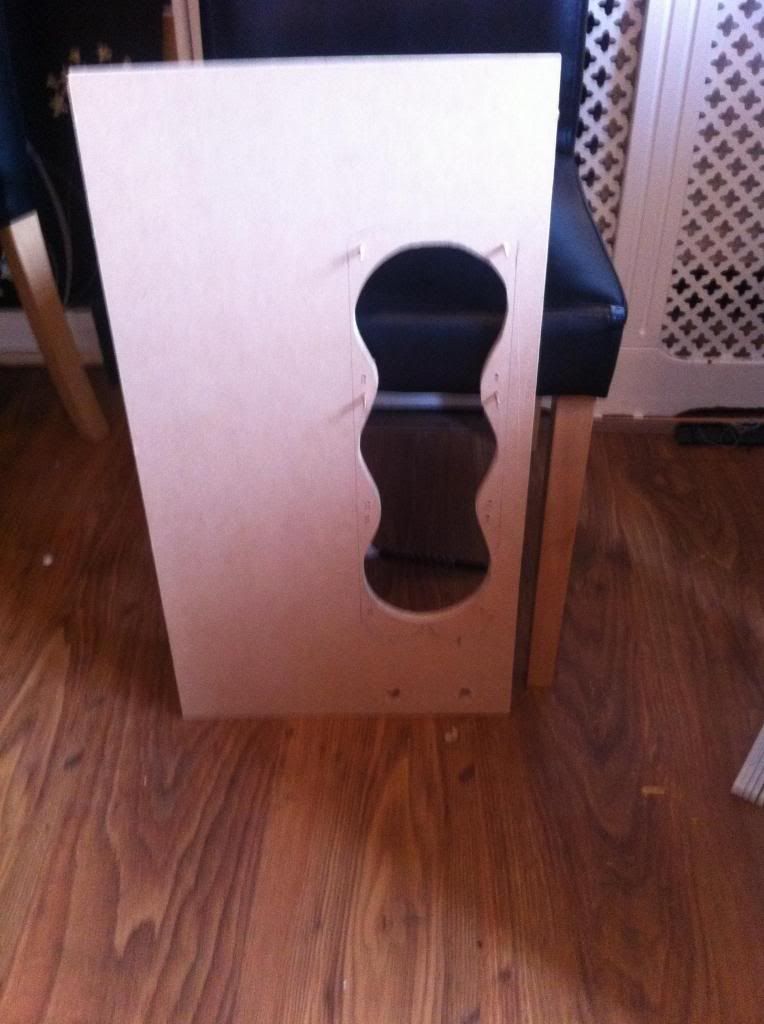
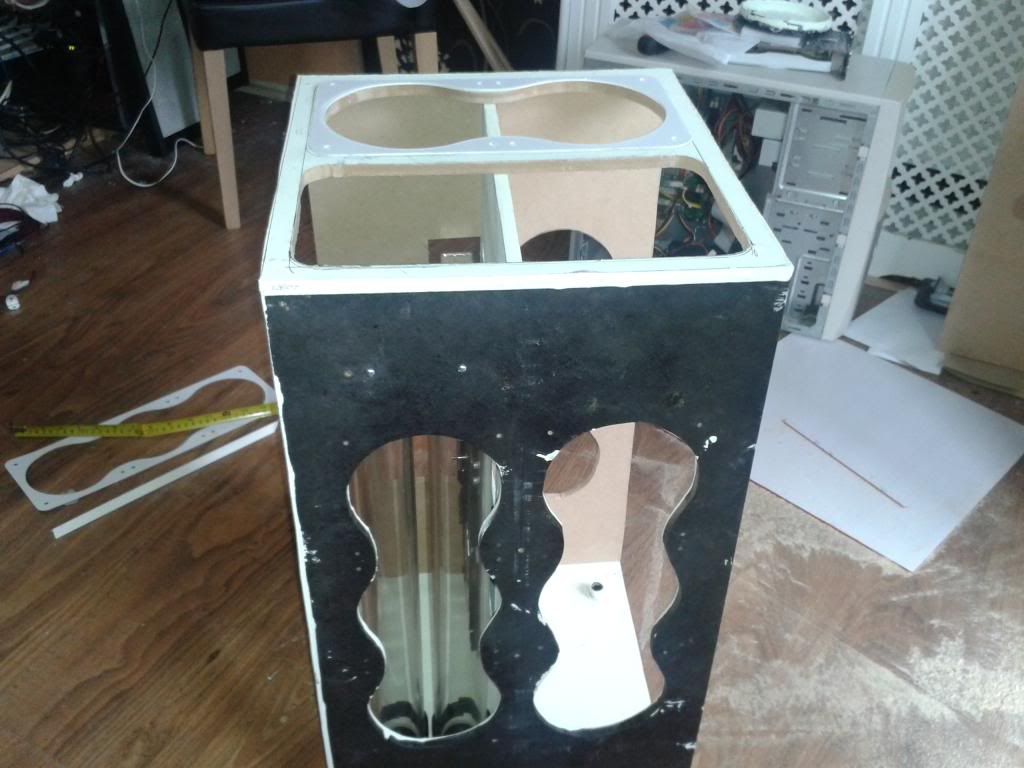
The Build - Phase 1...Lets make a box?
I set about making a basic box and loaned a PCI plate from and old case of mine
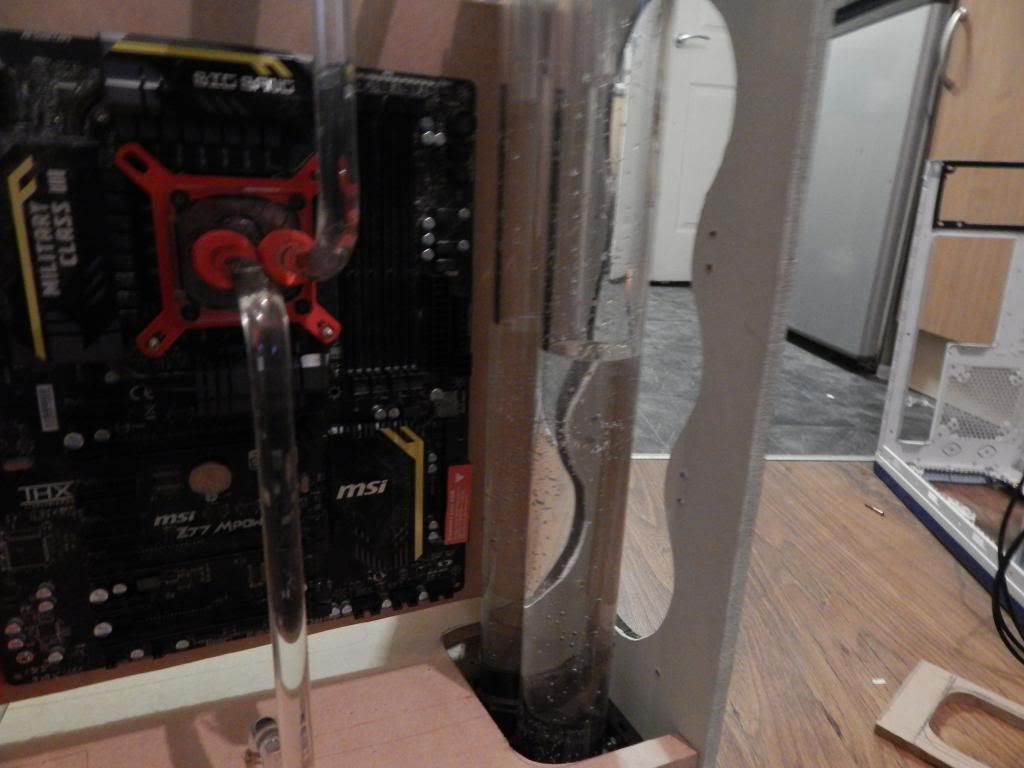
I tested A top reservoir setup- which didn’t really work, but did create some epic vortex effect in both tubes!

The Build - Phase 2...Lets try that again...
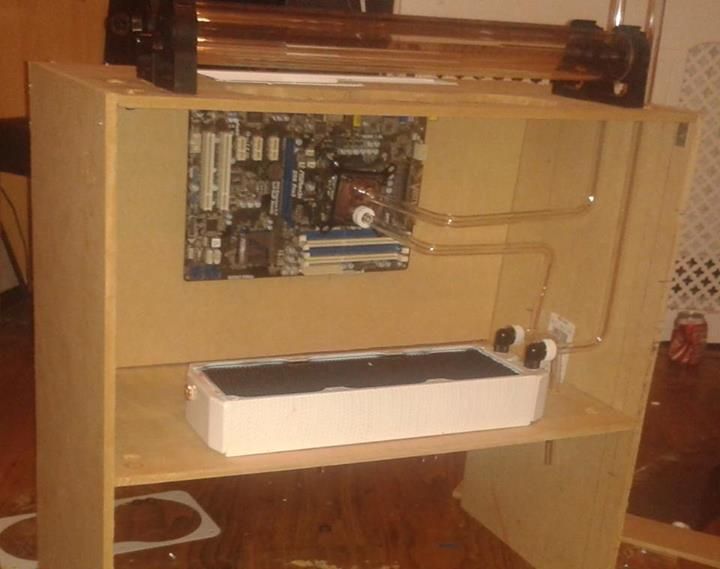
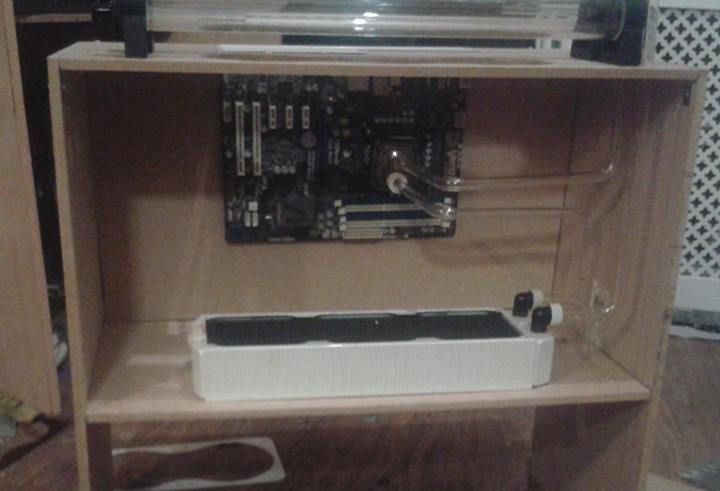
Then I opted for something more traditional, The motherboard tray was a real PITA todo, using a drill and a file :/

The inverted motherboard tray needed to go after some issues arose, Back to old school it was
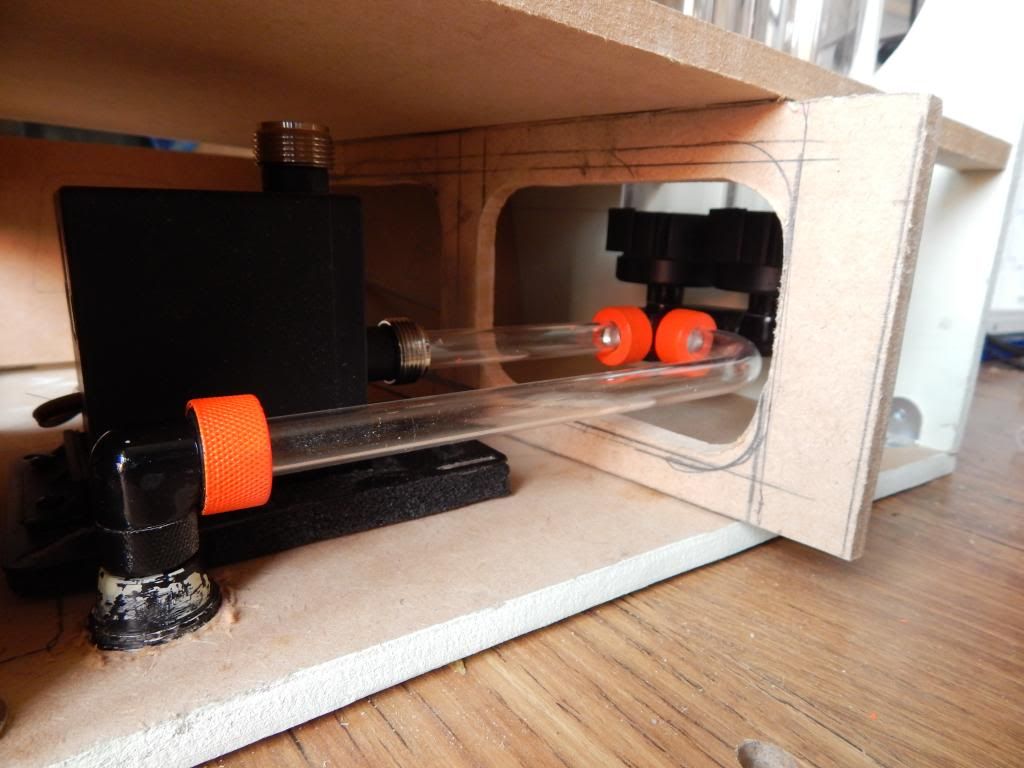
Pump placement, The four rubber feet now to be PSU antivibration pads
Simple sheet of acrylic to hide them both, sides yet to be cut
Grille from the PSU, to let it breathe
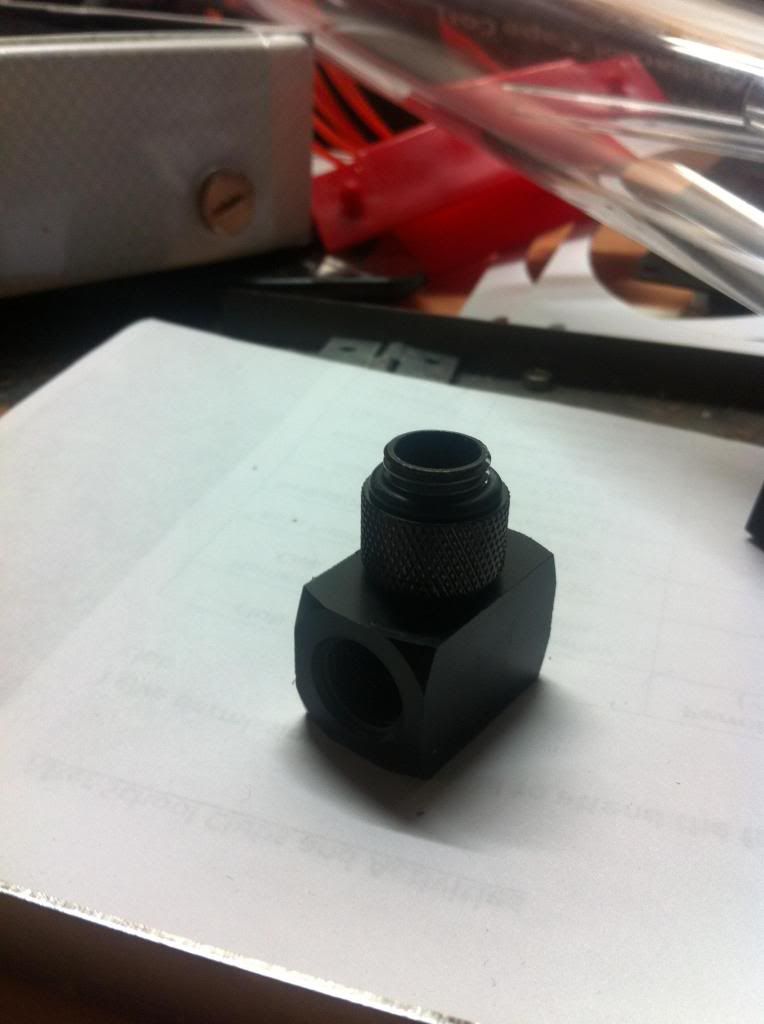
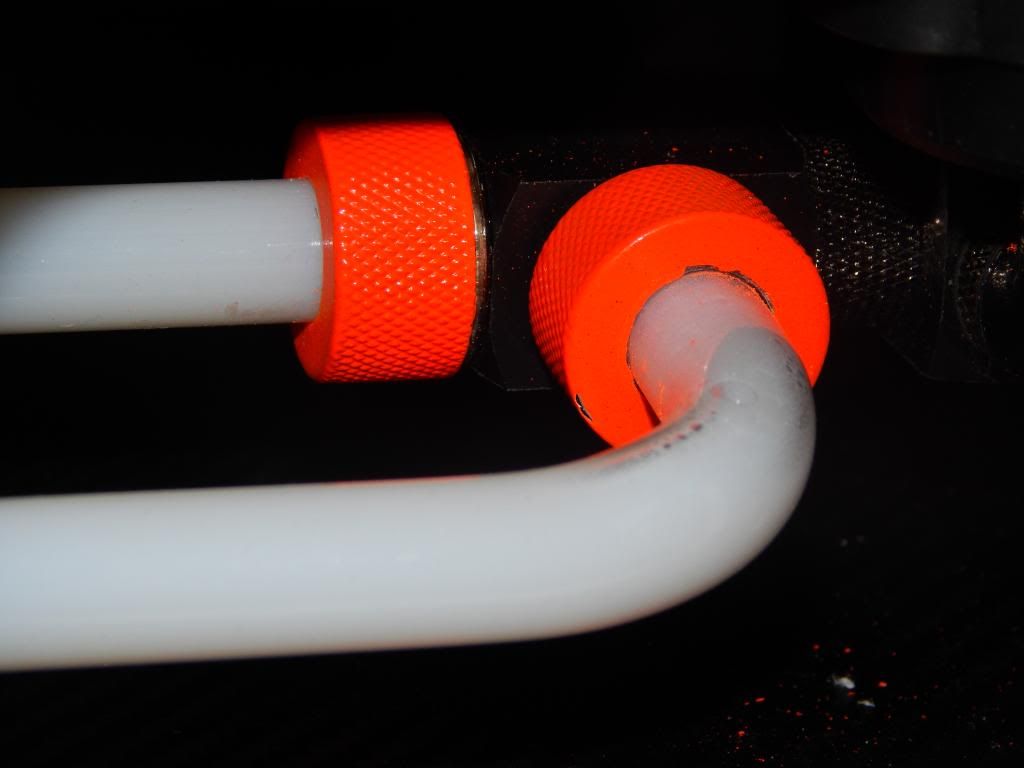
Pump outlet
Fill port in the roof + 280mm Grilll yet to decide
Case Front
Rough layout
The tube from CPU to RAD has to be changed
So to be honest its not what I had in mind, but after all the issues and changes I was out of materials, I was out of funds. Ideally I'd make something like the air540 and have all the WC gear in a separate chamber. Never mind, I let it run , Filling was hassle free, the odd leak from loose fittings but nothing major, Now that I know the loop worked
The Build - Phase3...Lets change it again...
The internal design was tweaked again,an order for a few random bits and pieces was made, as I wasn't to happy with the flow, for the dual res I had a few 90 degree bends to make a U bend, It worked but wasn't ideal. I needed to grab a few "T" connections. Health hadn't been to good and I made a blunder and ordered less then what I needed :/
Anyhow Managed to pick up some sleeving for the power/reset ect
T peice..sigh needed two of these!
How it will connect both top and bottom of the two res's
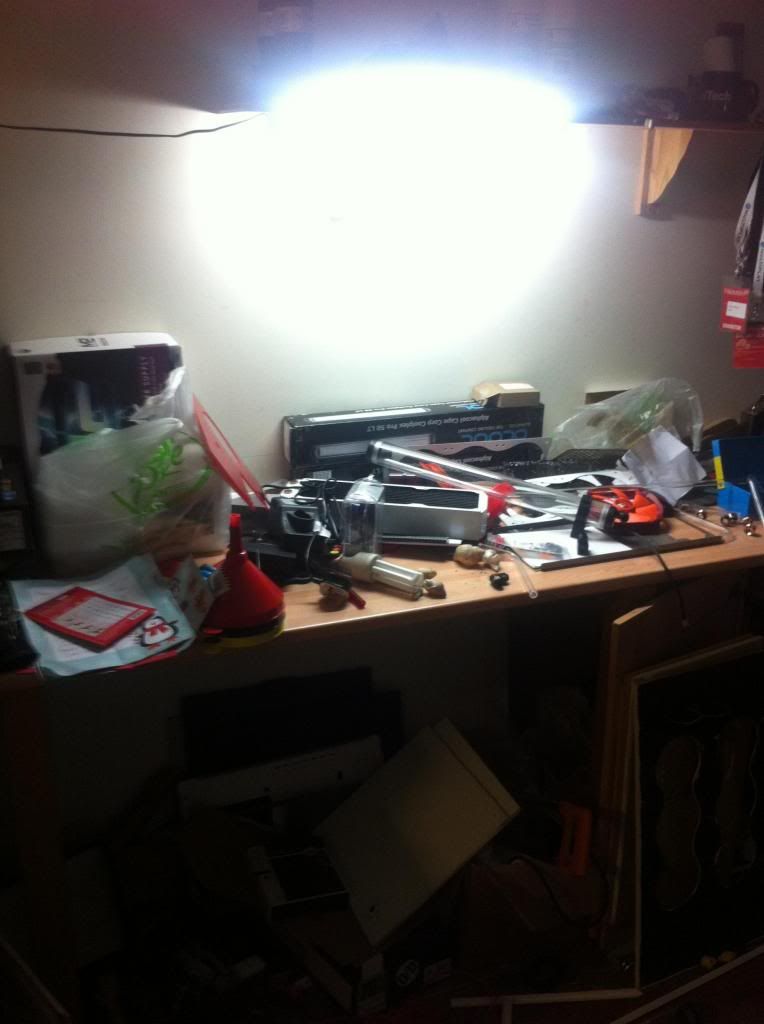
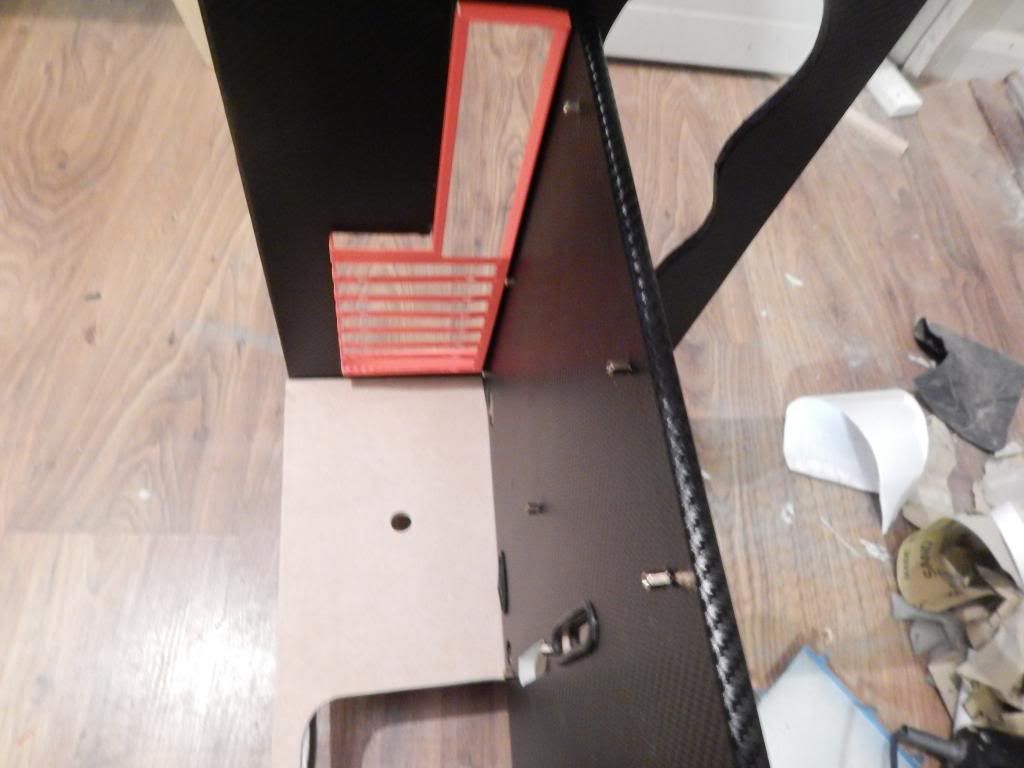
Work area due a clean up!
I intended to make uses of scraps I have at hand
bit ghetto i know... (Buckled from misdrilled hole)
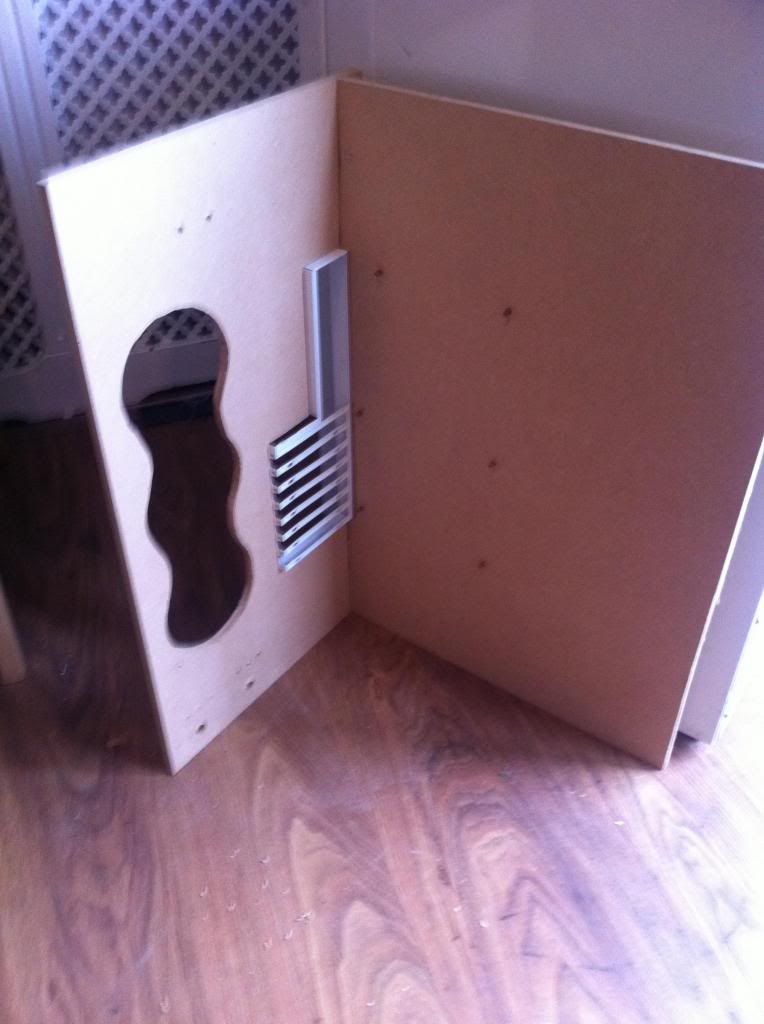
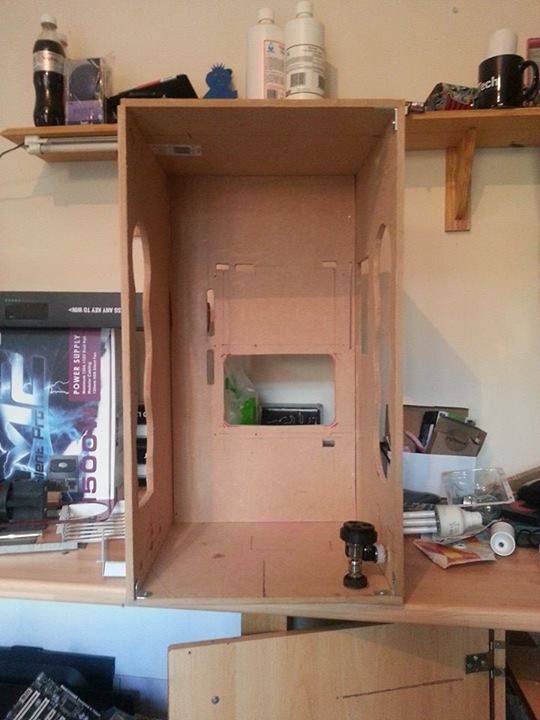
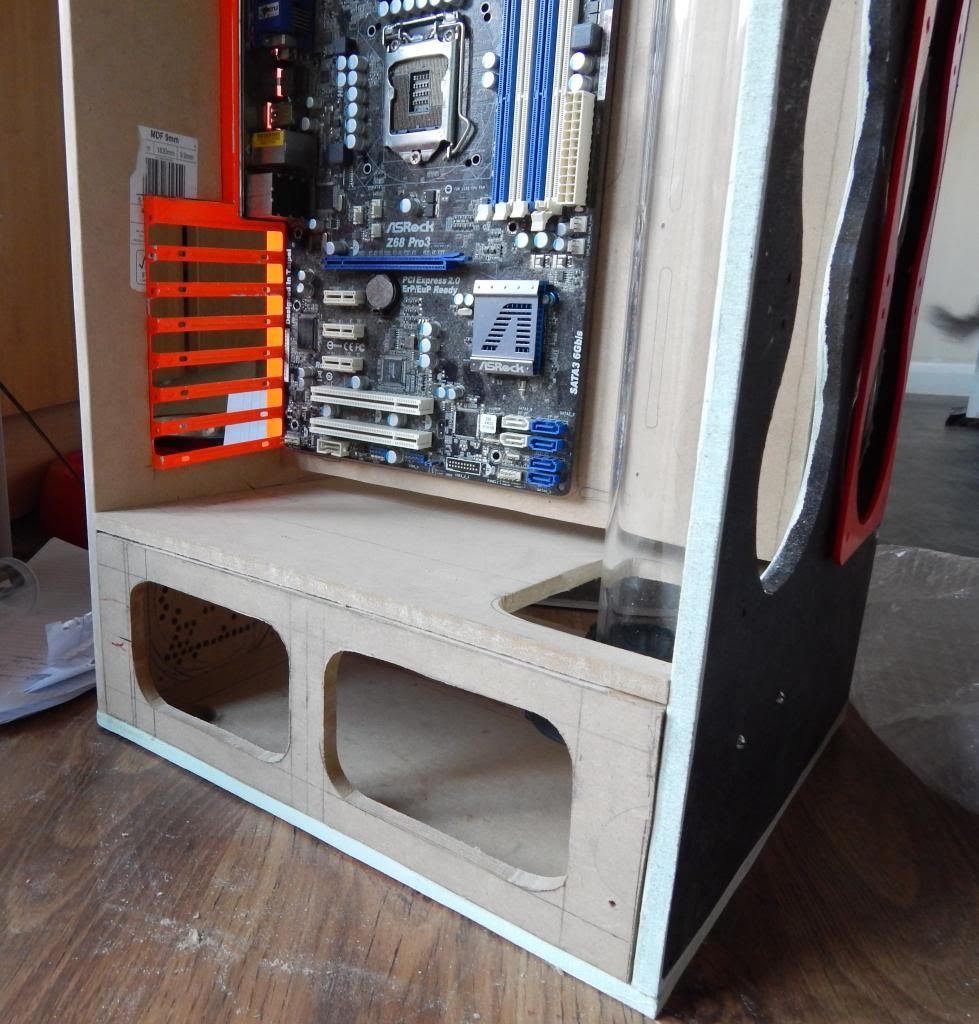
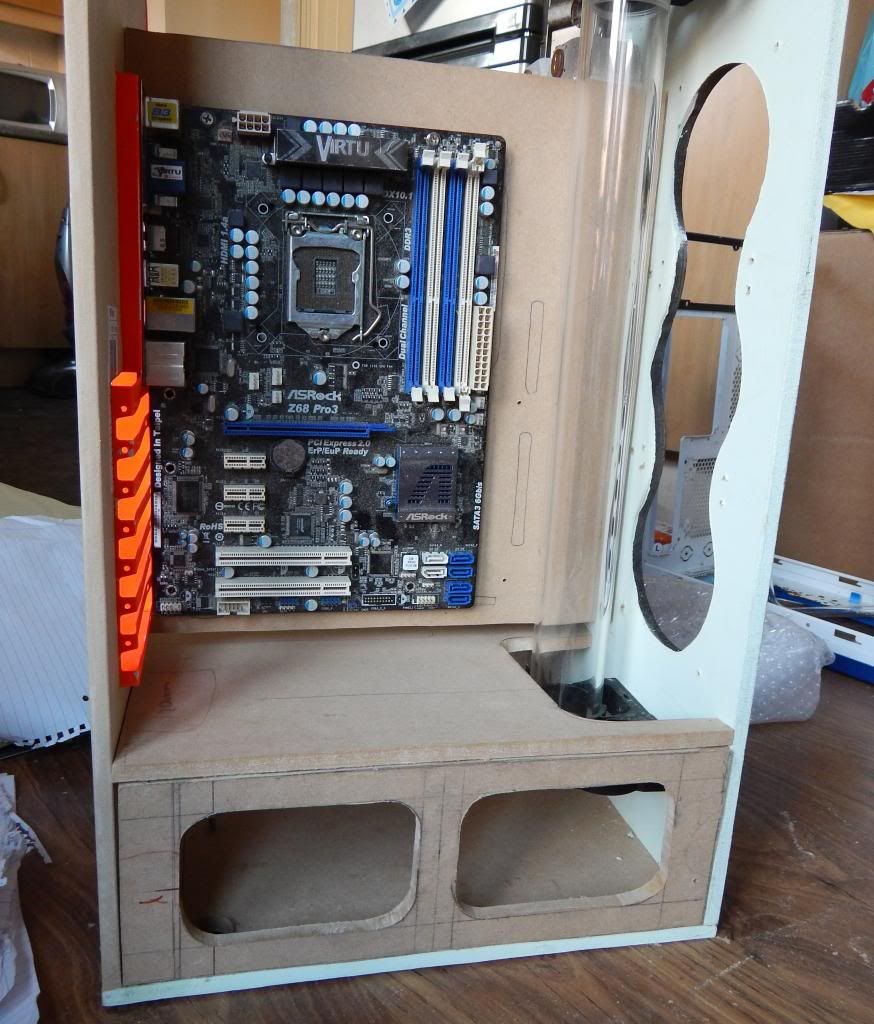
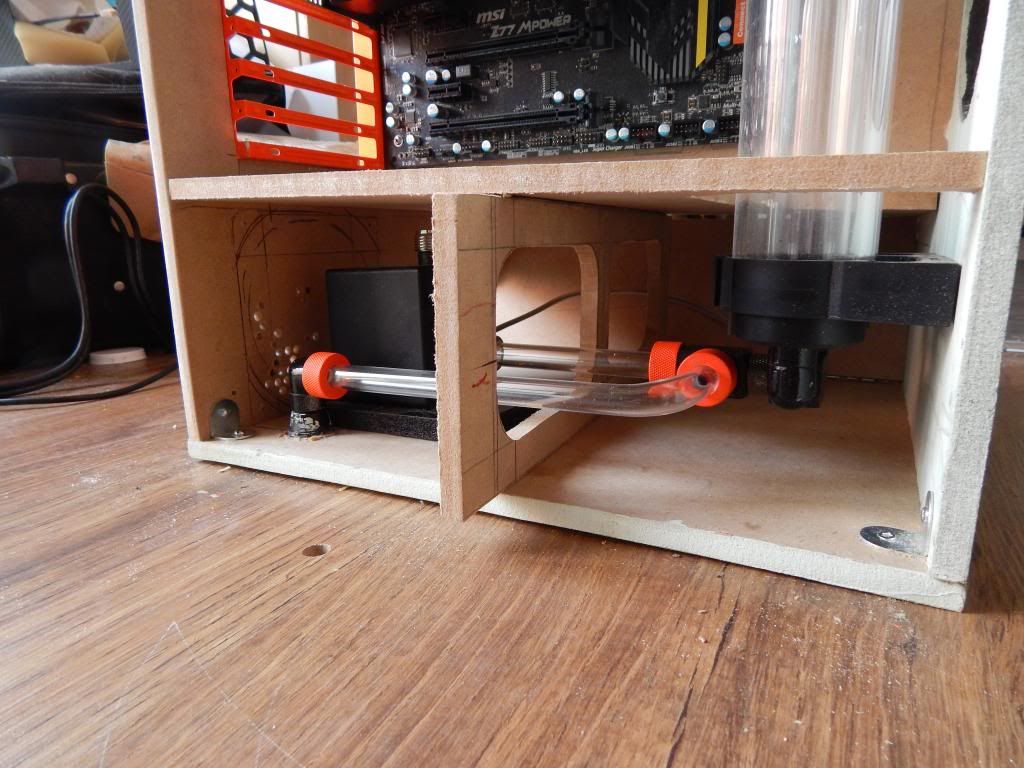
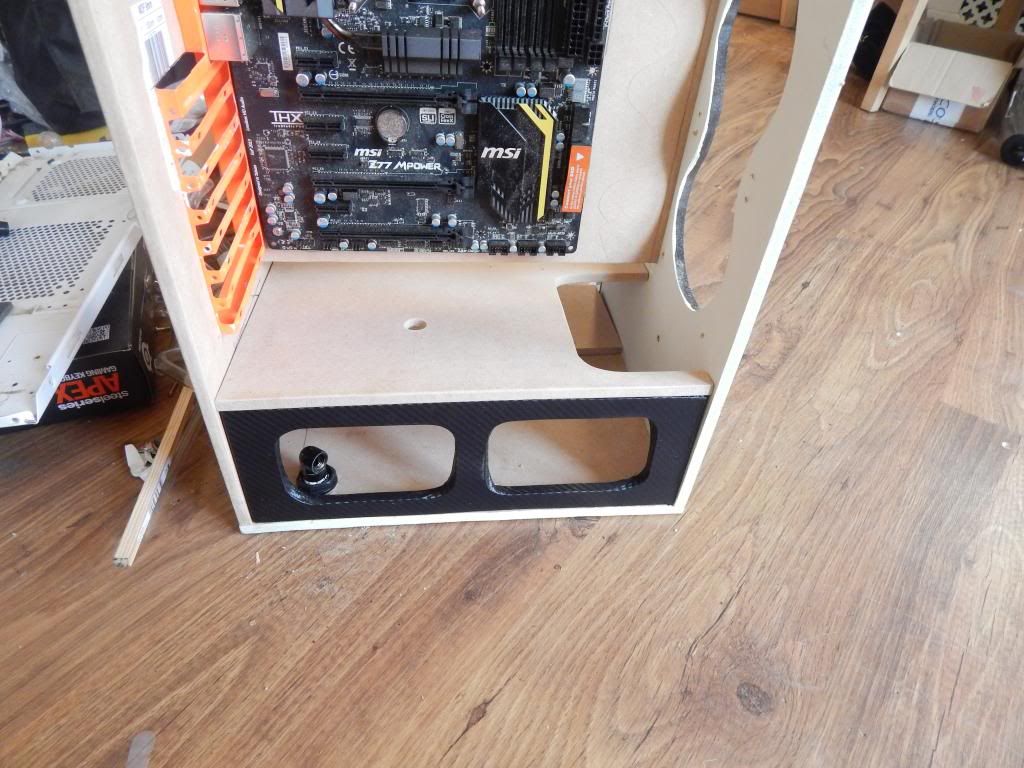
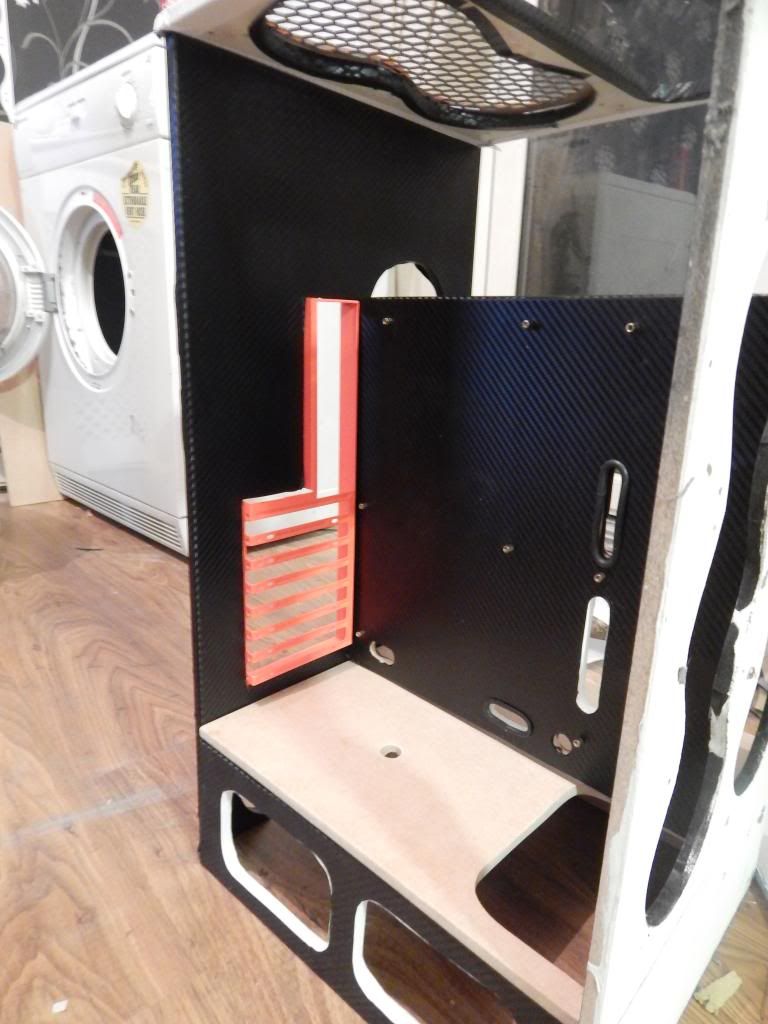
Decided I needed to move the motherboard tray into the middle.
So the new idea is/was to have the dual res is the left chamber and the Rad/psu in the right
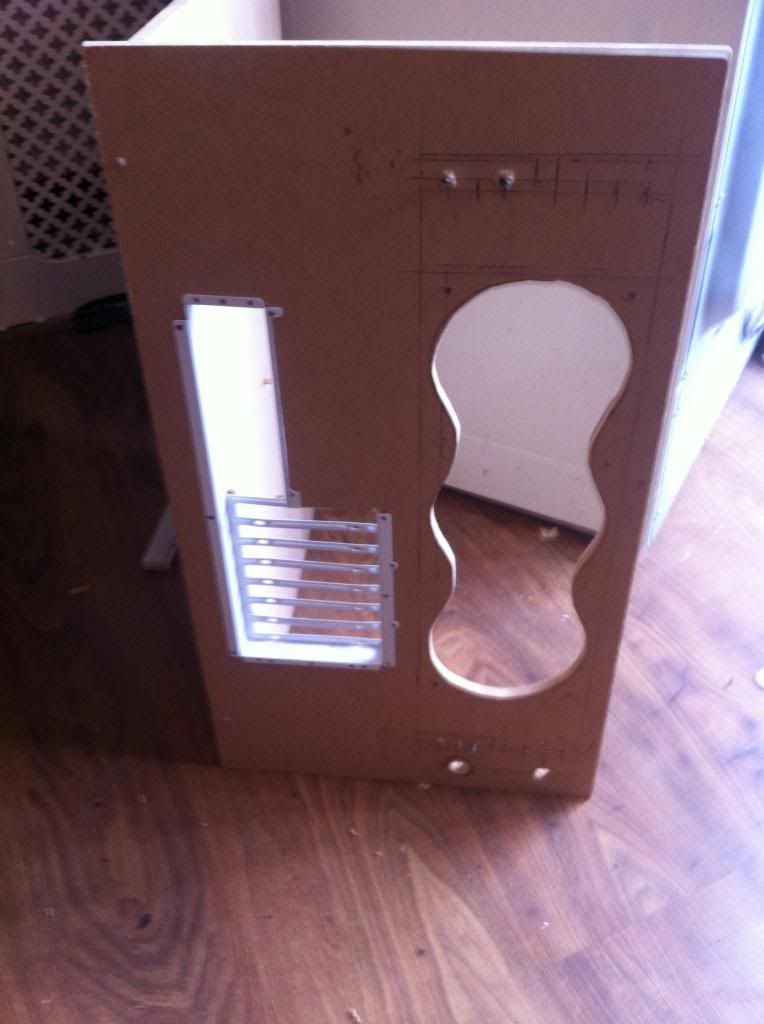
I made a blunder and cut the PSU template in the wrong side, Had to redo the entire back section again. As for colours and finish, MDF and and good paint finish require more time,money and work than Im was able to put in, t so I ordered a batch of White and Black Vinyl.
with the mobo tray being centred, I had to tweak a few bits and pieces, I wanted to add some ventilation to the Pump/PSU box,
Joys of MDF...so much Dust
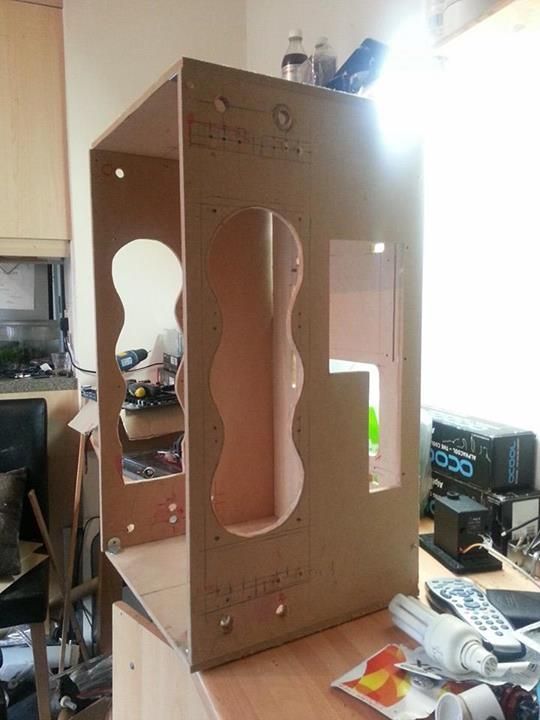
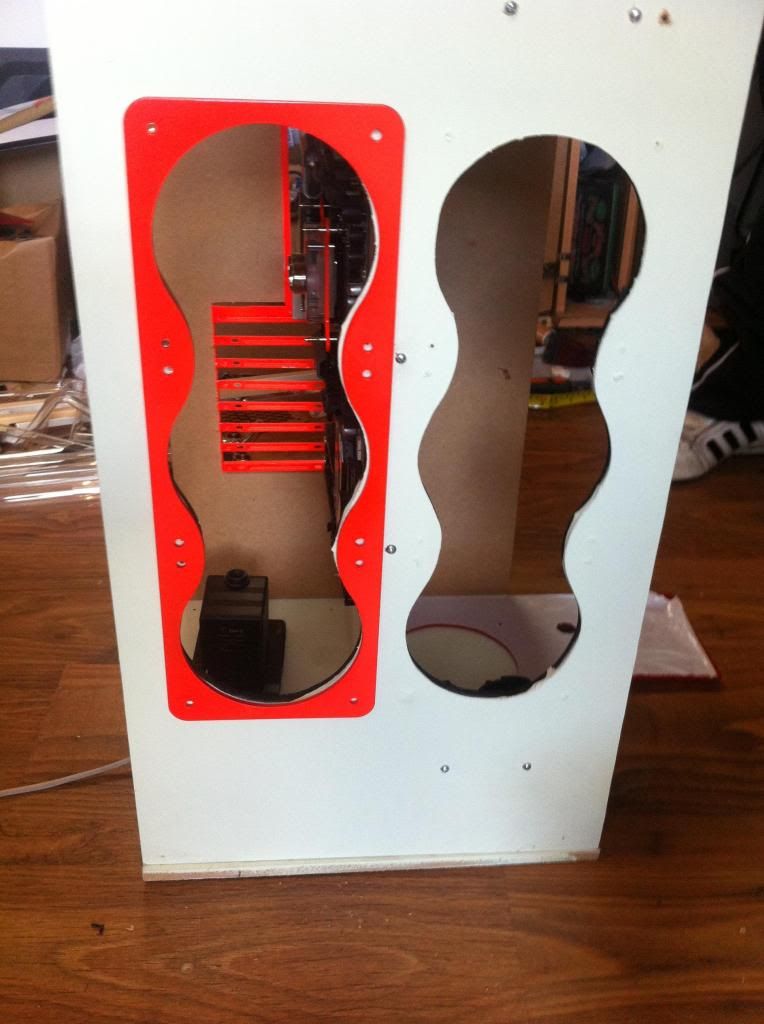
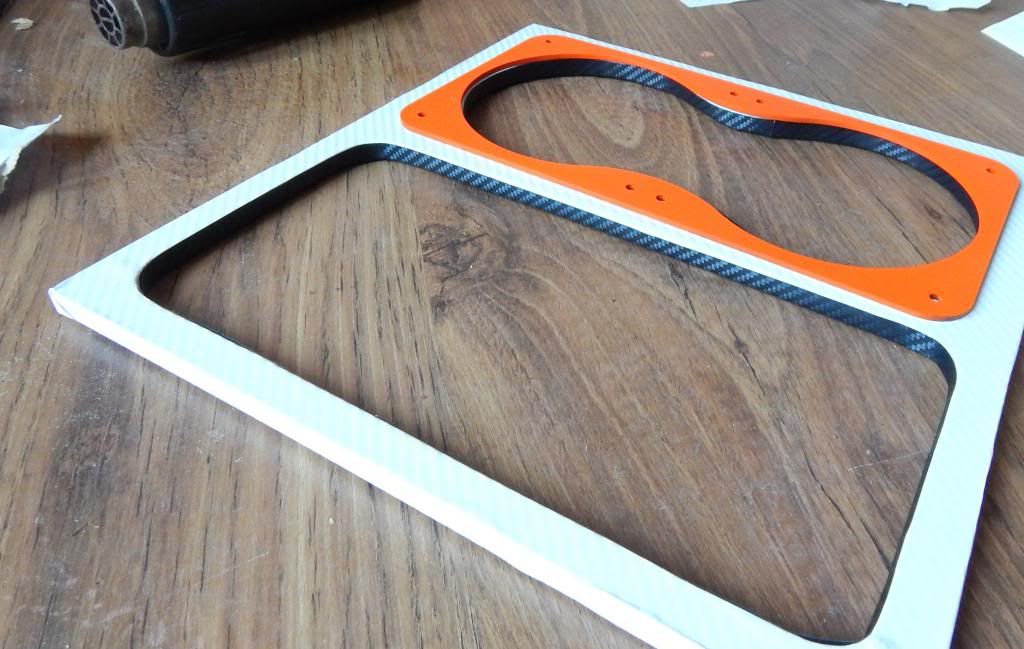
Rather than a traditional Box (all hidden away) I wanted to open it up and show off the liquid + Fittings on the Pump side of the case. Cue a a another fight with the Jigsaw.
Made a slight error on the cut-out for the tube reservoirs, I wanted to the match the side but its done now...
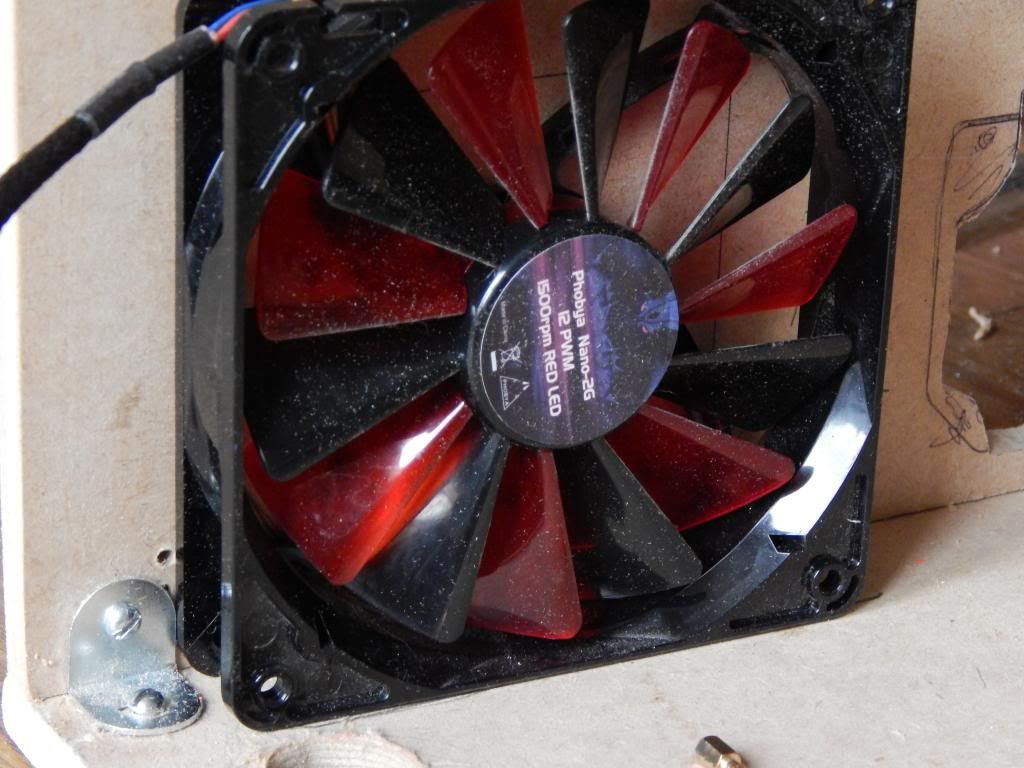
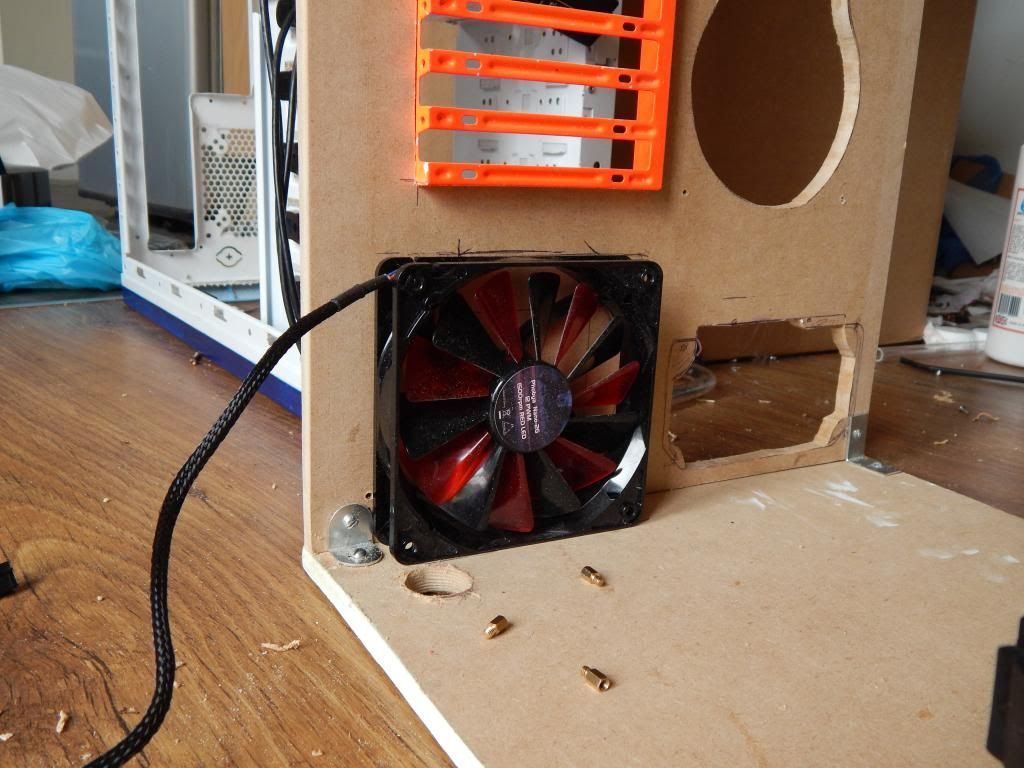
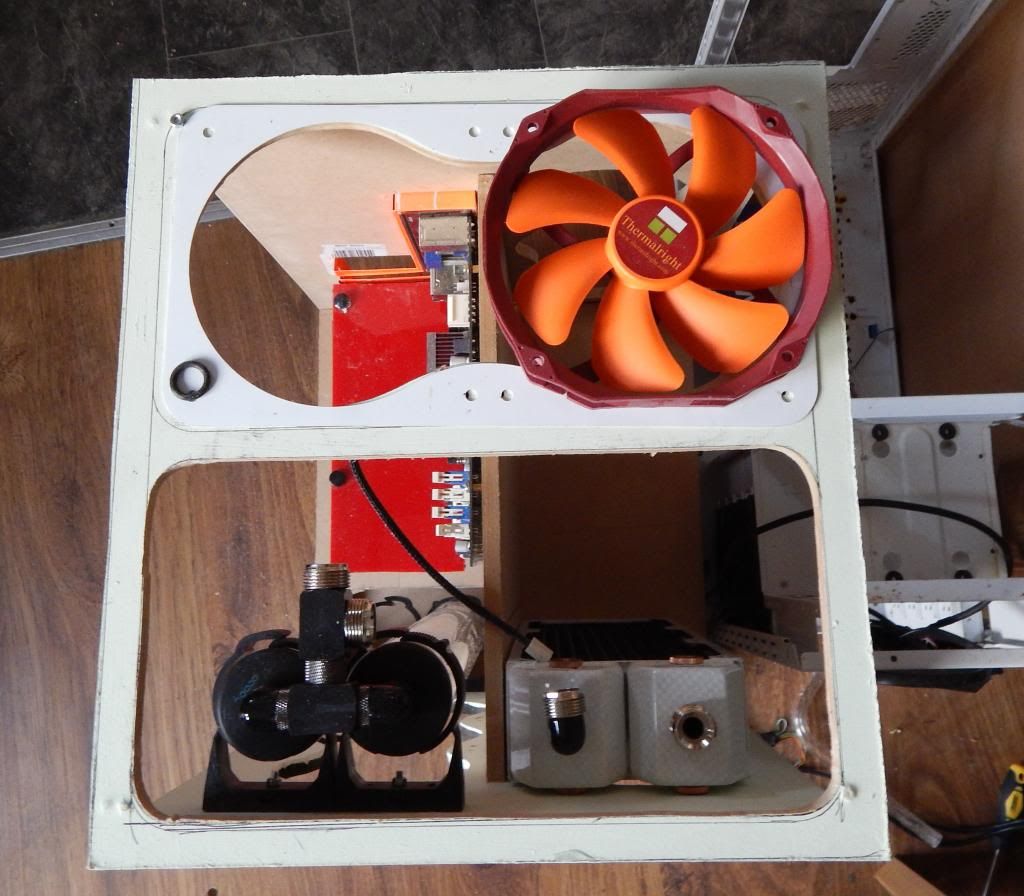
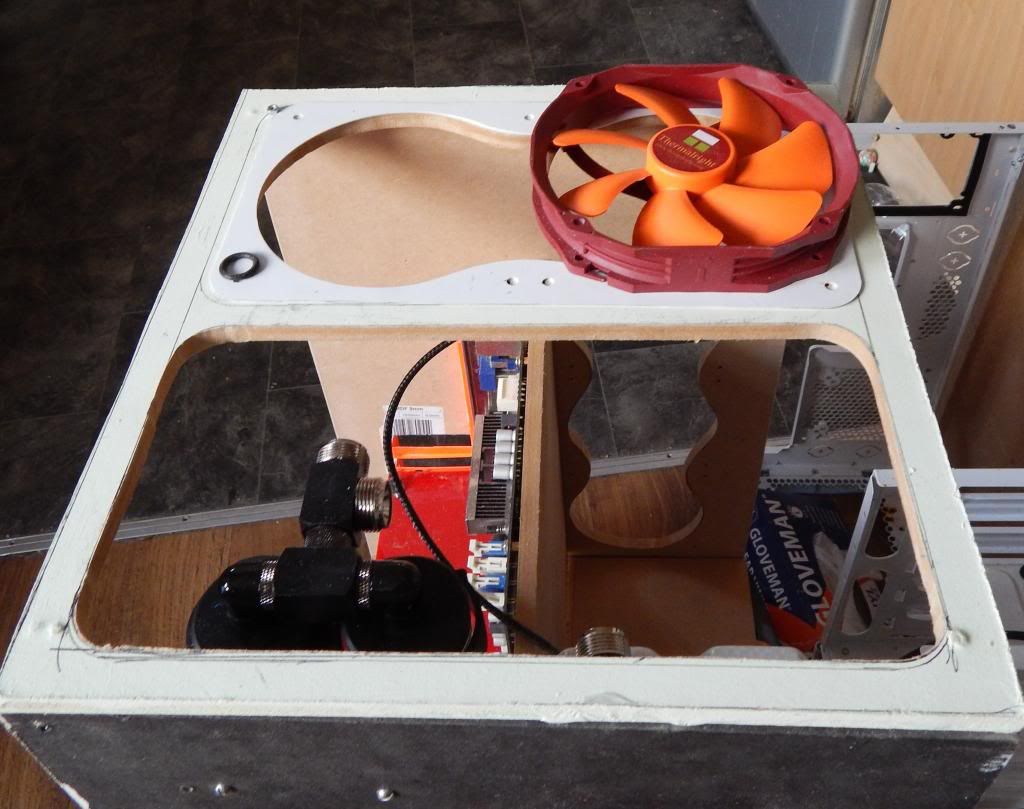
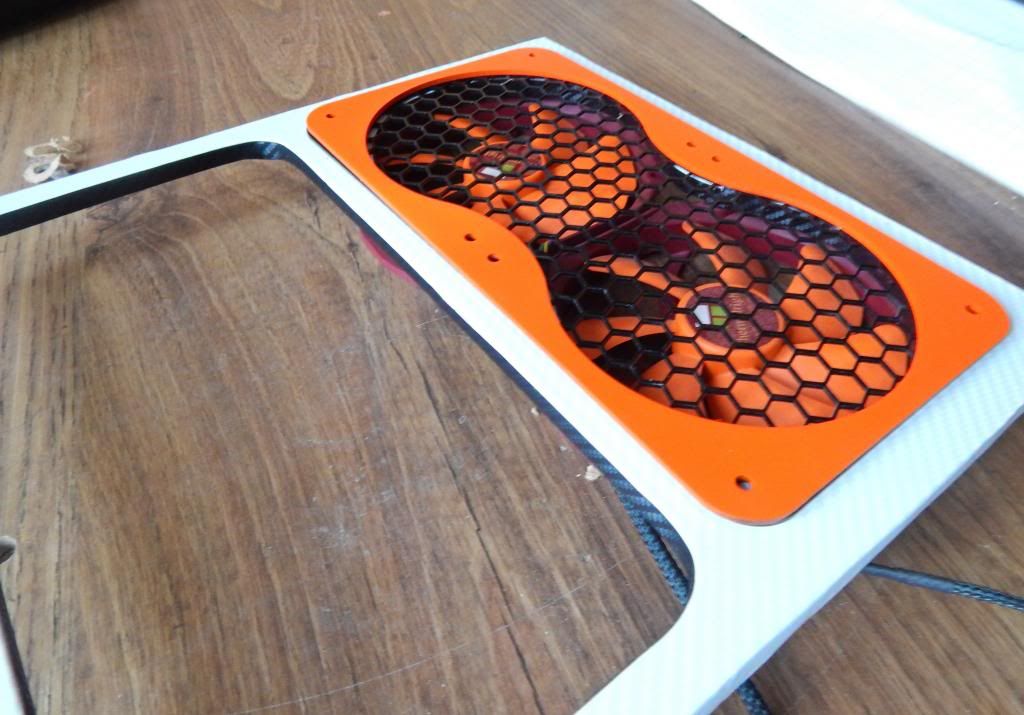
The top panel was intended for a 280mm Grille + 2x 140mm Fans, I have some 14cm fans with 12cm fan spacing laying around they seemed to work well (minus the red) with the colours in the build. Their was a mm or two spare to make the 12cm holes but it'll work
( will be mounted inside not outside)
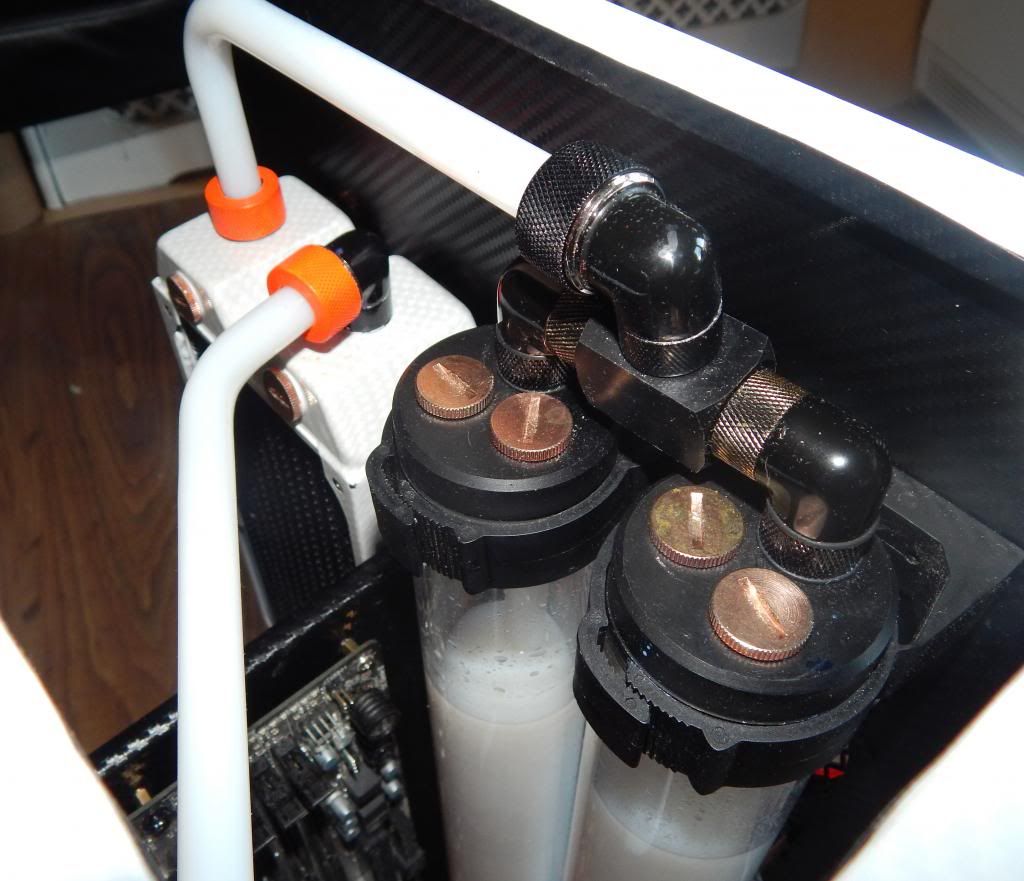
My long awaiting missing T Piece connections and extensions arrived and I set about plumbing the two reservoirs and drain into place.
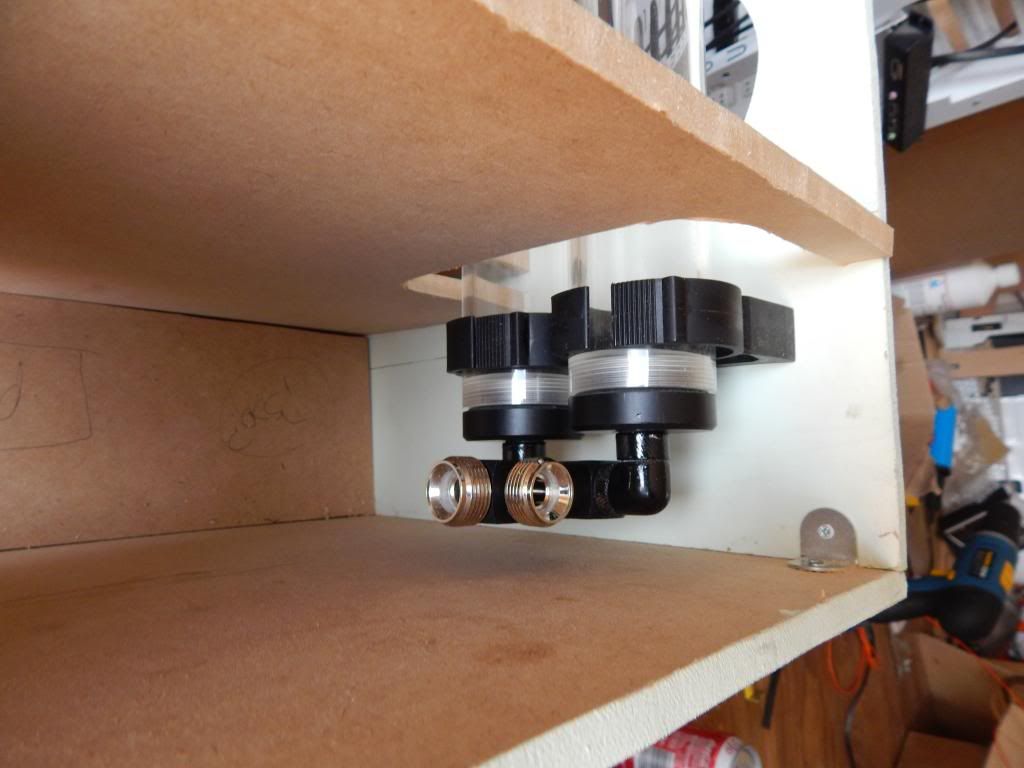
Its a setup of 2x90 Degrees>T Piece>10mm extension>T Piece>Drain and Pump inlet
Wooden piece only placed temp for support
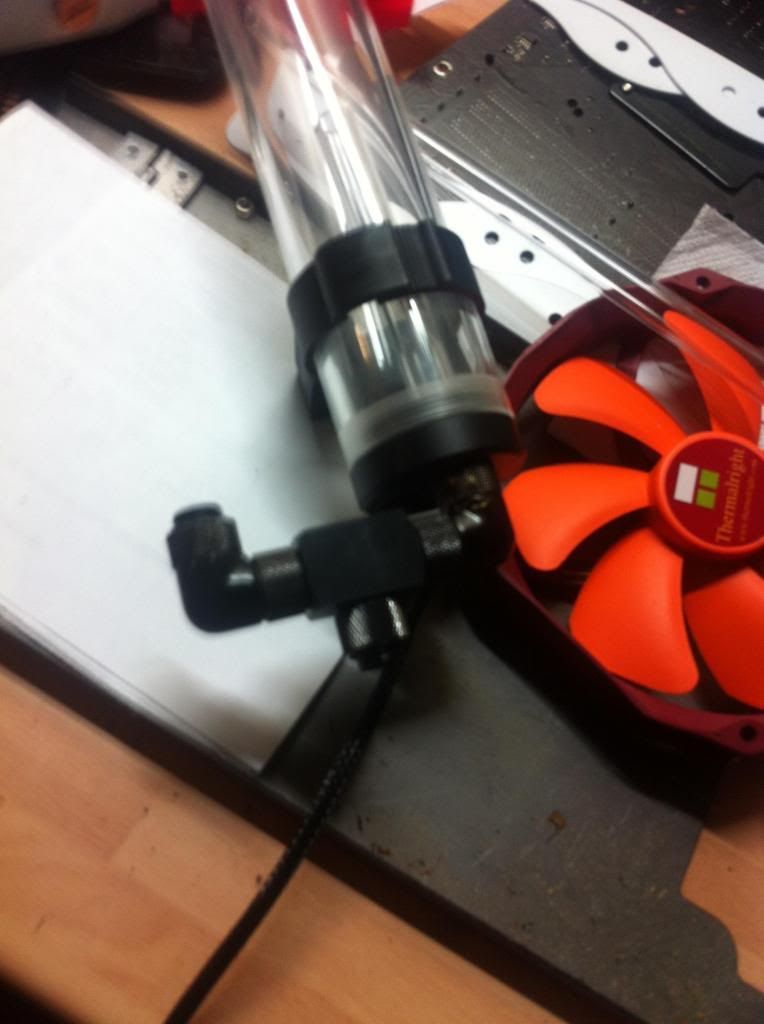
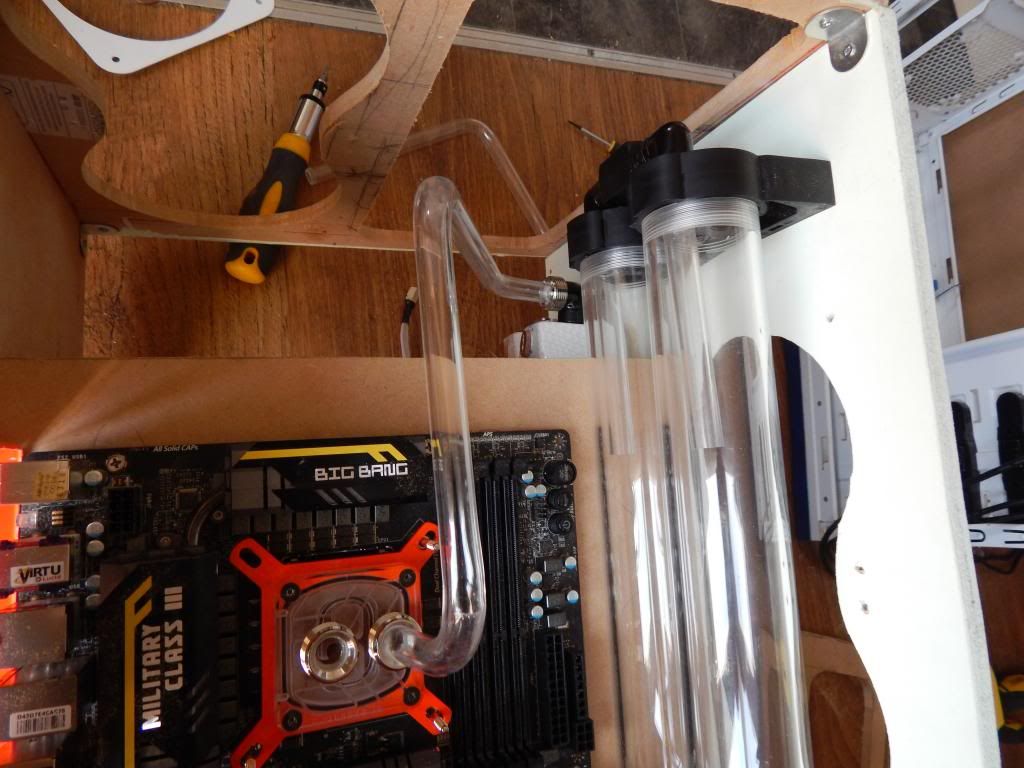
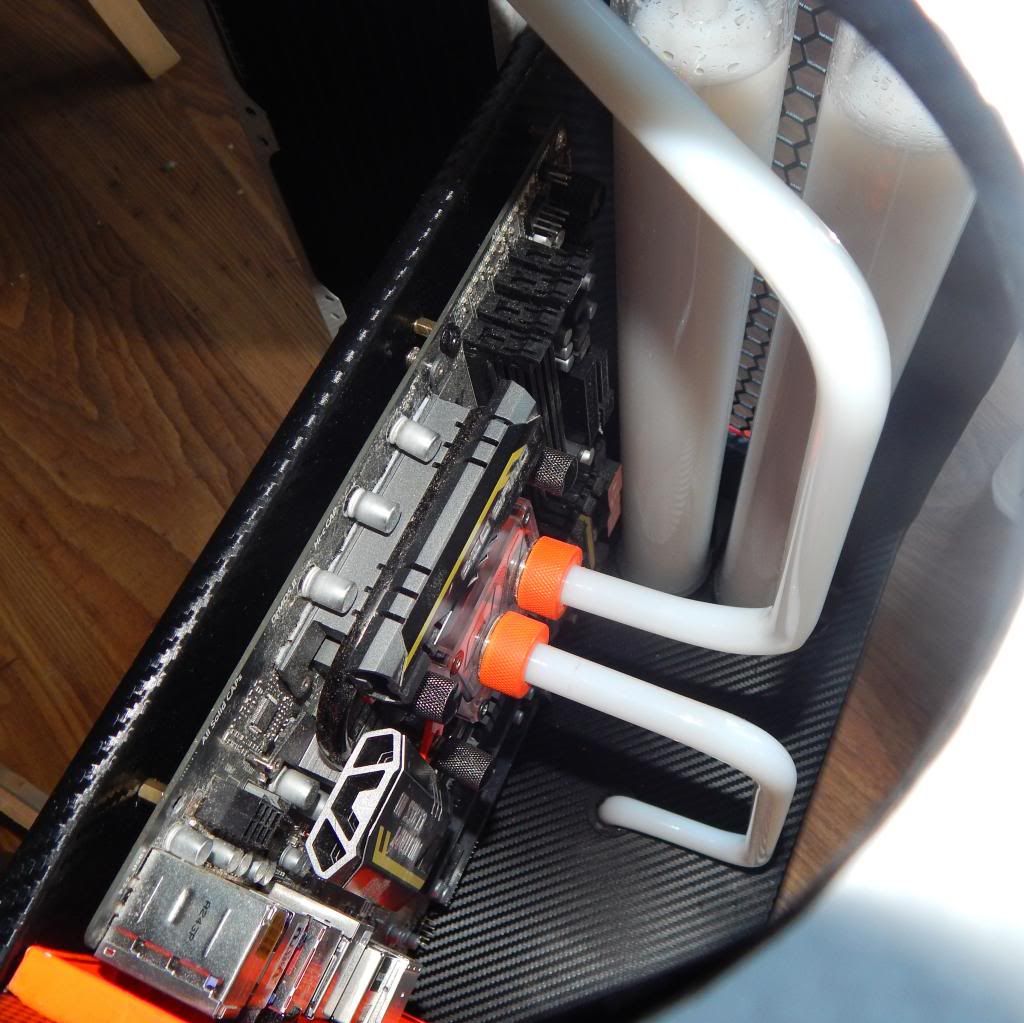
CPU Out > Rad In
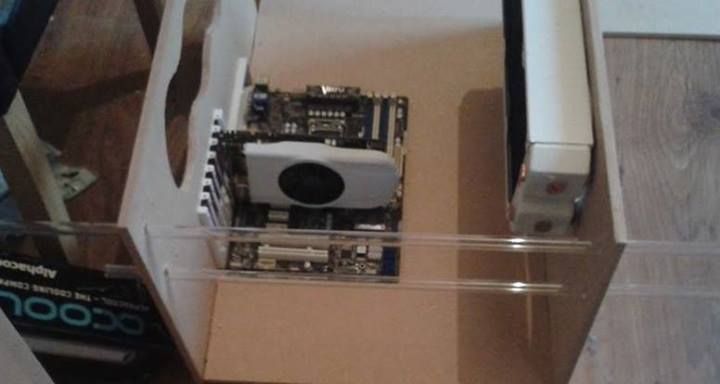
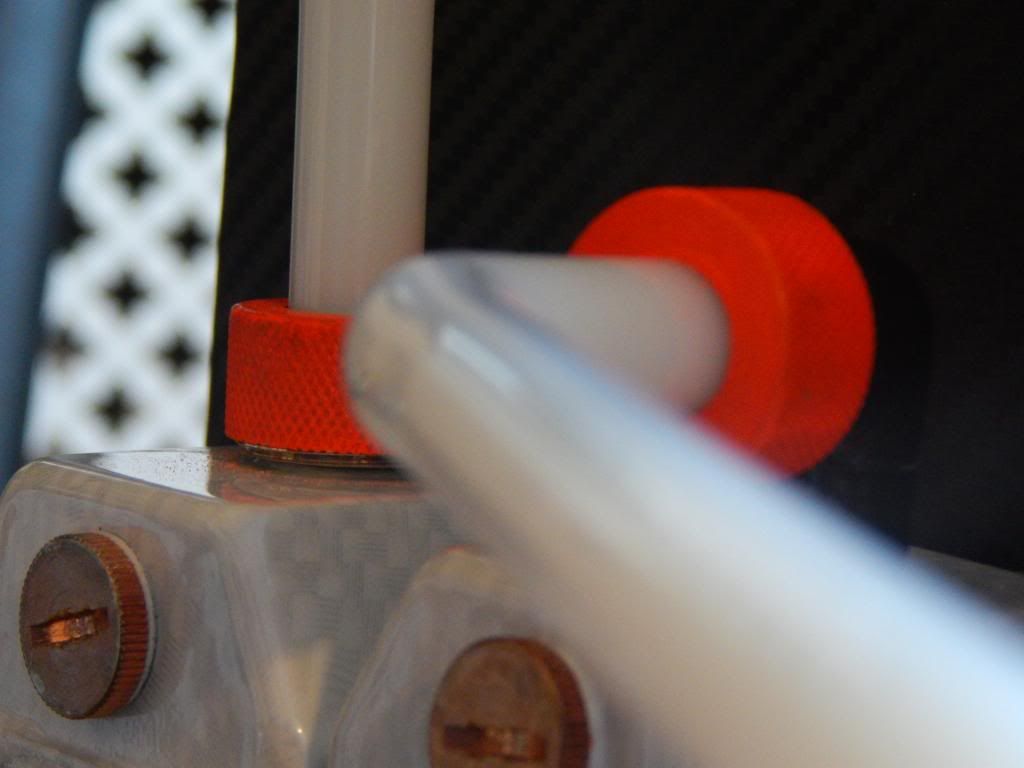
Planning last few bends. I don't have the funds for GPU waterblocks atm but wanted to place the tubing in such a way they could be added in the future
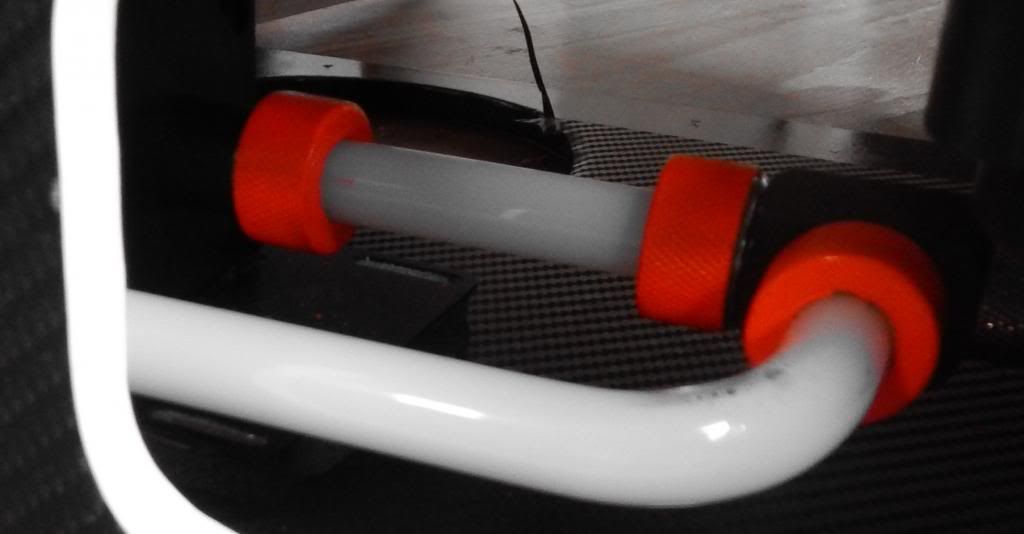
Looks a tad wonky, bad camera angle perhaps but after three tests, the drain works as intended
Not a good image, but the flow works great despite many 90's and bends
Next I started the vinyl wrapping, I'll be working the interior only for now as I've yet to deicide on USB/Power button placement and other tweaks to exterior.
To do list at that point of the build
Re do GPU backplates in sheet metal
Wrap addtional Vinyl
Sleeving (unlikely due to funds)
Fit PSU and make ventilation
Tweak exterior
Plan Storage mounts (ssd and 3.5 backup drive)
I spent a few days on cleaning up the panels, Sanding and filing. I'd already ordered the wrap but to be honest I found myself debating the build. Should I continue knowing I wasn't happy with the finish or put the project on hold? Boredom won I guess So I cracked on!
The following images are all very rough, The wrap quality is well...not great, U Channel,C Channel, Blow hole trim whatever you wish to call it, Isn't an option here as the MDF is 9mm Thick, The edge finish is very poor imho, Im still toying with random cables and such in order to neaten them up.
The Top panel
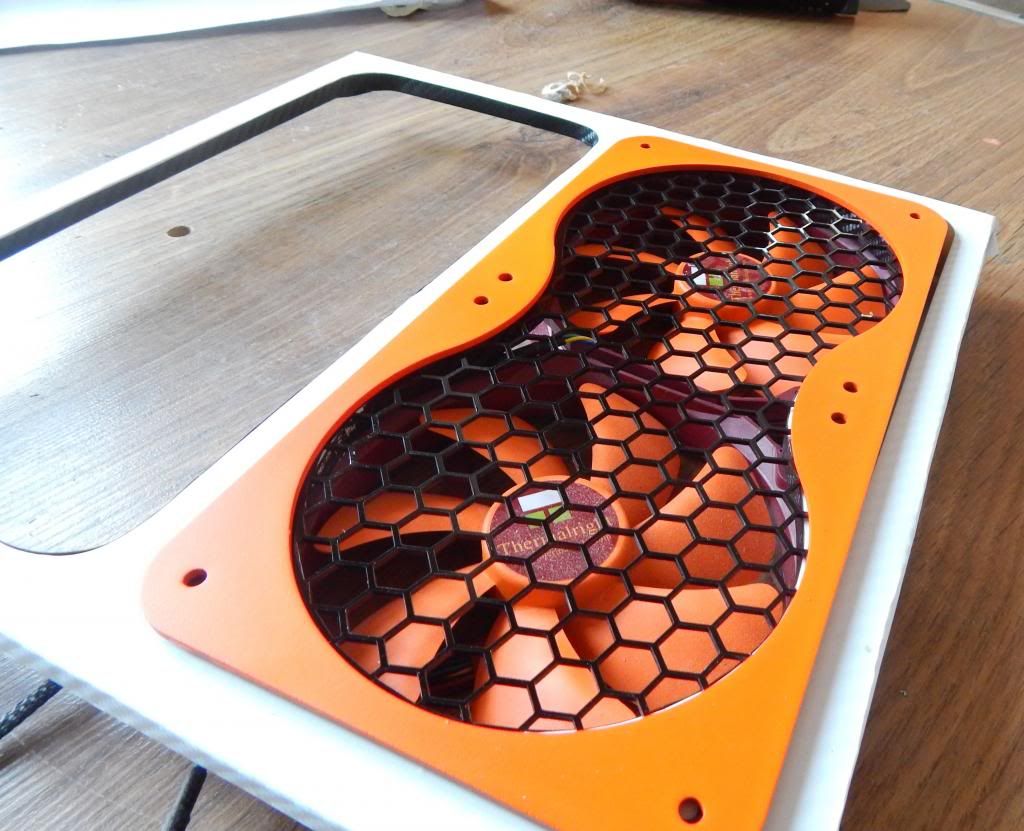
With HEX Grille ontop and Potential fans
Motherboard tray wrapped, I first toyed wit the idea to use white wrapand inlay the cutouts...didnt work well enough( SATA Area)I then used some blow hole trim and and Stanley blade to make some grommets (24 pin area), not to clear in this shot, lots of MDF Dust on the motherboard!
Again the white wrap around the cuts just wont work
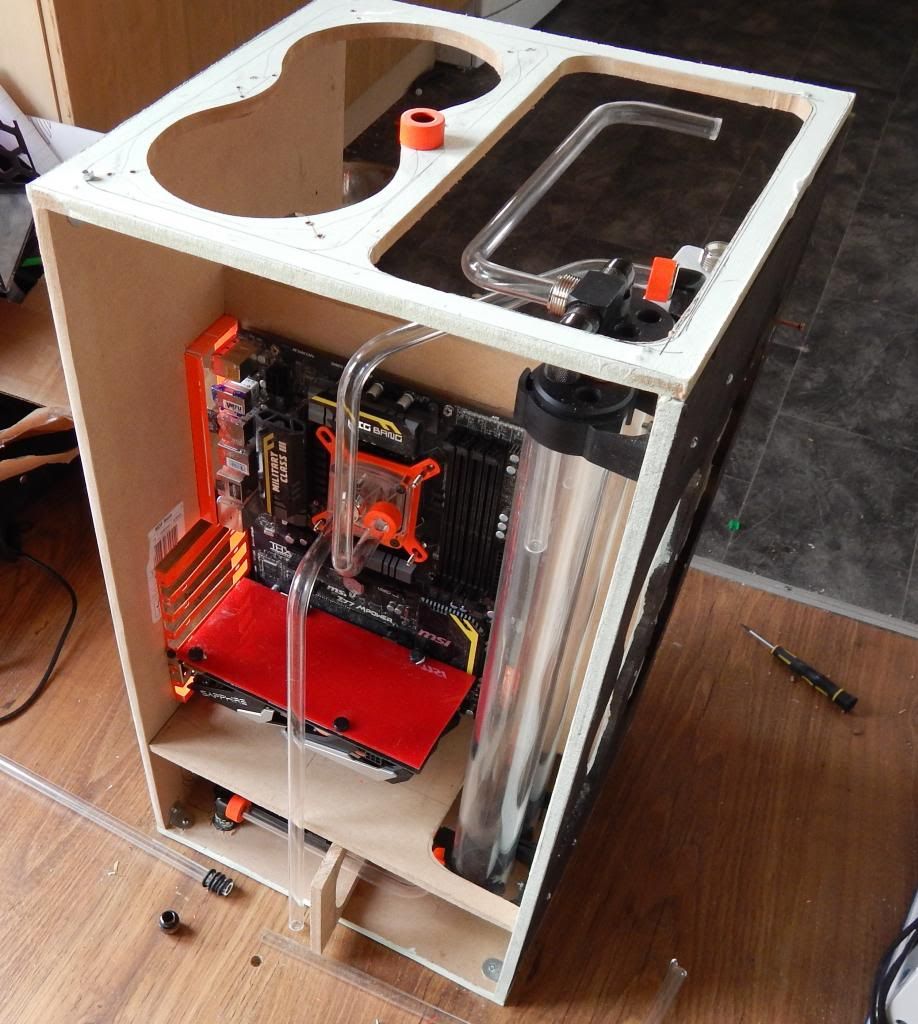
Test Fitting, Starting to show potential
A key piece arrived that should blend all the colours together, Thanks to Mick from mayhems for the assistance

Some nice Pastel White Liquid yum! (I know the images so far have been poor, I finally picked up a new camera, and Im still get to grips with it!
Time to fill!
The repeated build, dismantle,Rebuild has taken a toll on the cheap paint

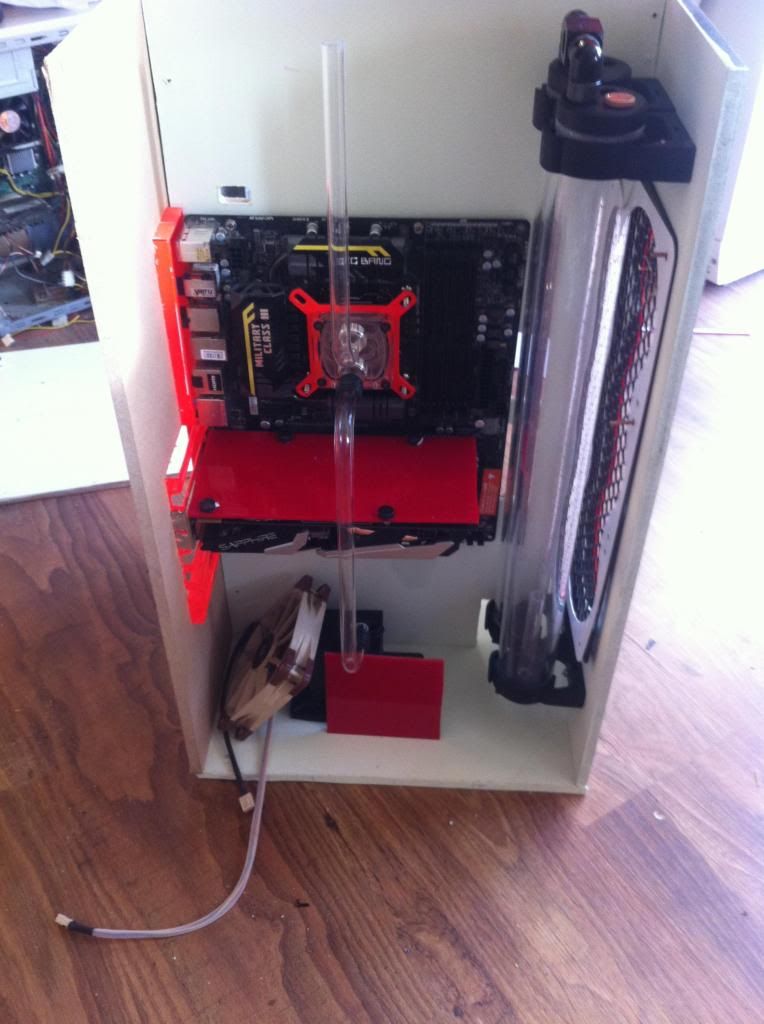
This Section isn't ideal but will function until a GPU and waterblock can be sourced
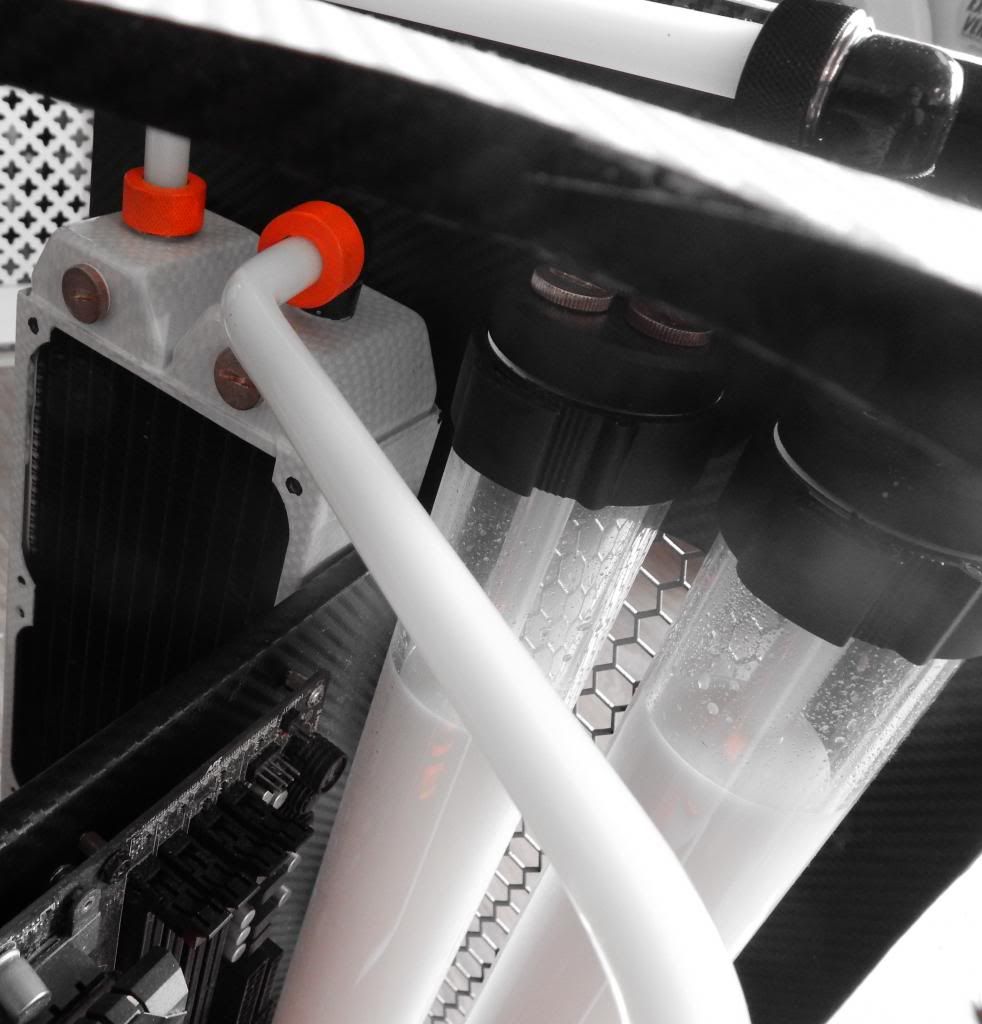
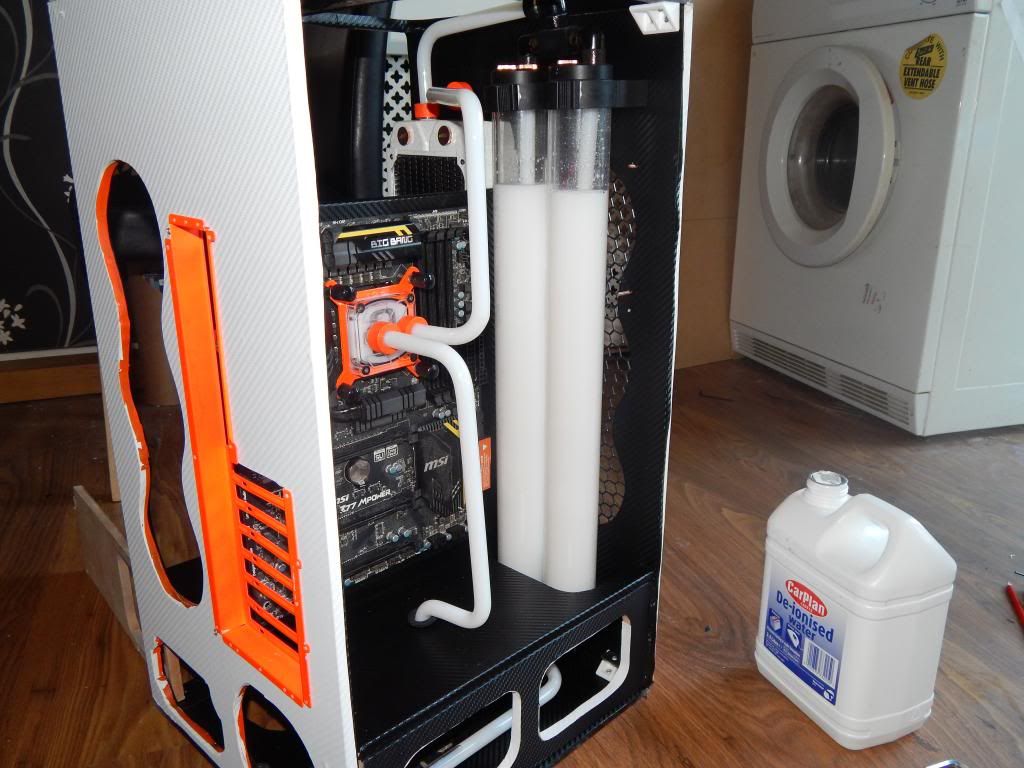
The rad to Reses Tubing
Top Down view
Still lots of edge to trim and reveal the orange paint on the PSU mount,Back 360mm ect
I'm really keen to keen to finish it all up, But health is against me,No cash flow to work with, I'm shelving the build for a few weeks as I've other projects to focus on
I started this project about a month ago, Initial picture quality is poor sincere apologies! Recent progress quality is much better!
Introduction
Hey Guys I've not been on any forums for a while, My health hasn't been great lately, I've been back and forward to my docs and hospital more than I'd like too lately, Short story being some rather unpleasant lumps and bumps coupled with severe weight loss. Not been a pleasant time over the last few months, the tests have been frequent and stressful.
Naturally when you experience something like this, the mind tends to go into overdrive. I’ve only just had some positive news but not the all clear I'm so desperate to hear [yet]. I wanted to fill all my spare time with a new build, with a catch of having a tiny budget. I've toyed with the idea of making something custom a few times in the past and always swayed away, Truth be told I'm rather terrible when it comes to DIY! I played around with designs but they all had a niggle or two, I decided to just order a few bits and pieces to make start. I've a terrible habit of sitting on an idea to long and the wife insisted I just get on with something!
The one thing I wanted and there’s no real reason behind it, is a dual reservoir loop. As in single loop two reservoirs. I did some digging and feedback was mixed. Still I wanted to give it a bash. In terms of looks and design, At this point its all trial and error, And it’s pretty much just a go with what I come up with, day to day type of build, I have a vague idea of what it'll look like but hey who knows? I wanted to have something subtle and quite plain on the outside . More vibrant on the inside. Primary Colours have changed mid build and I’m looking at
- White exterior with orange Accents
- Black interior with Orange accents and Mayhems Pastel White to blend it all together
Hardware
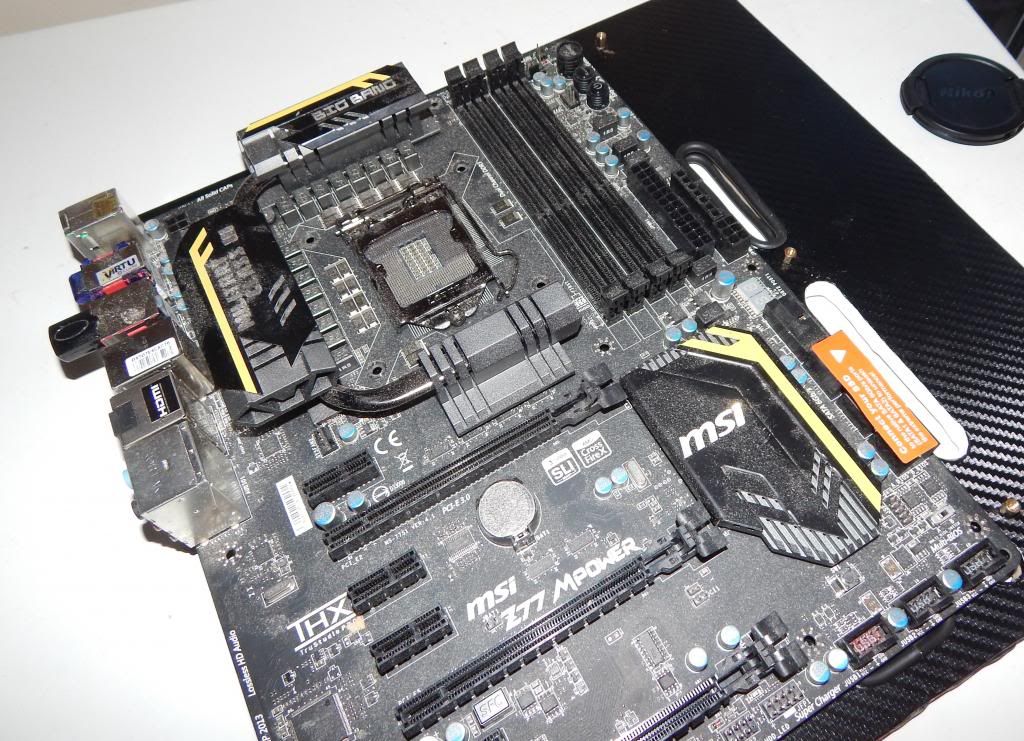
Most of the components are all re-used parts for a previous build, short story being the builder is no longer involved in tech or builds. It’s all just sat collecting dust so we figured let’s put it to use.
- Intel i5 4670k
- MSI Z87 GD65
- 8GB Kingston HyperX Beast 2400Mhz
- 64Gb Crucial m4 SSD
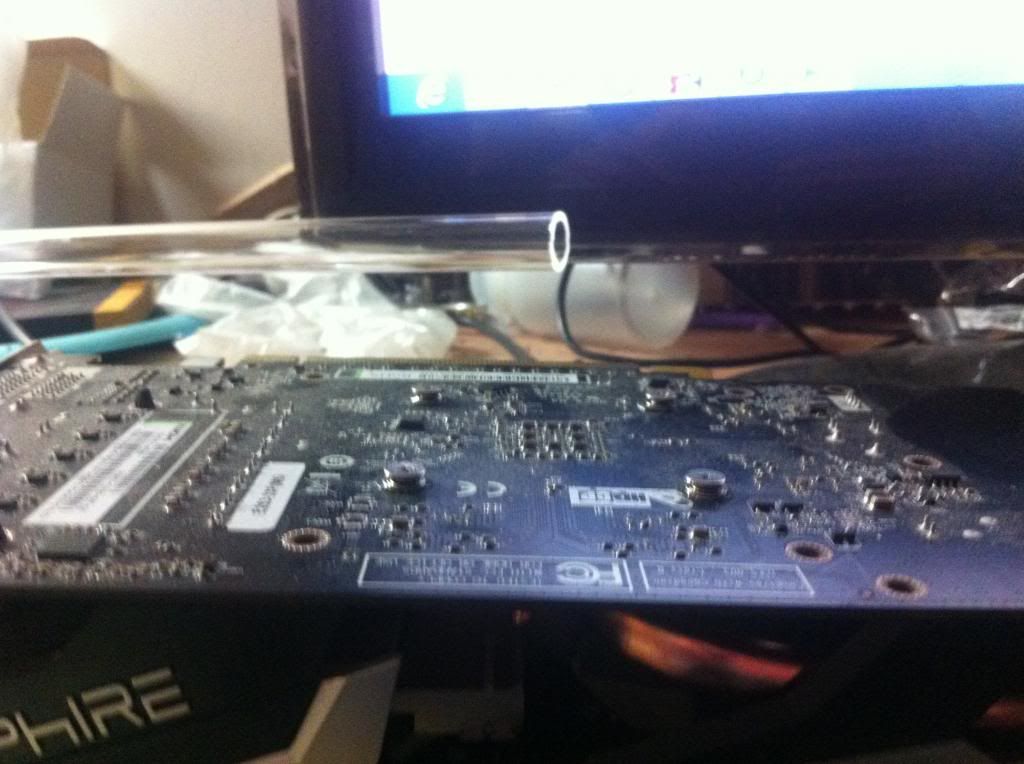
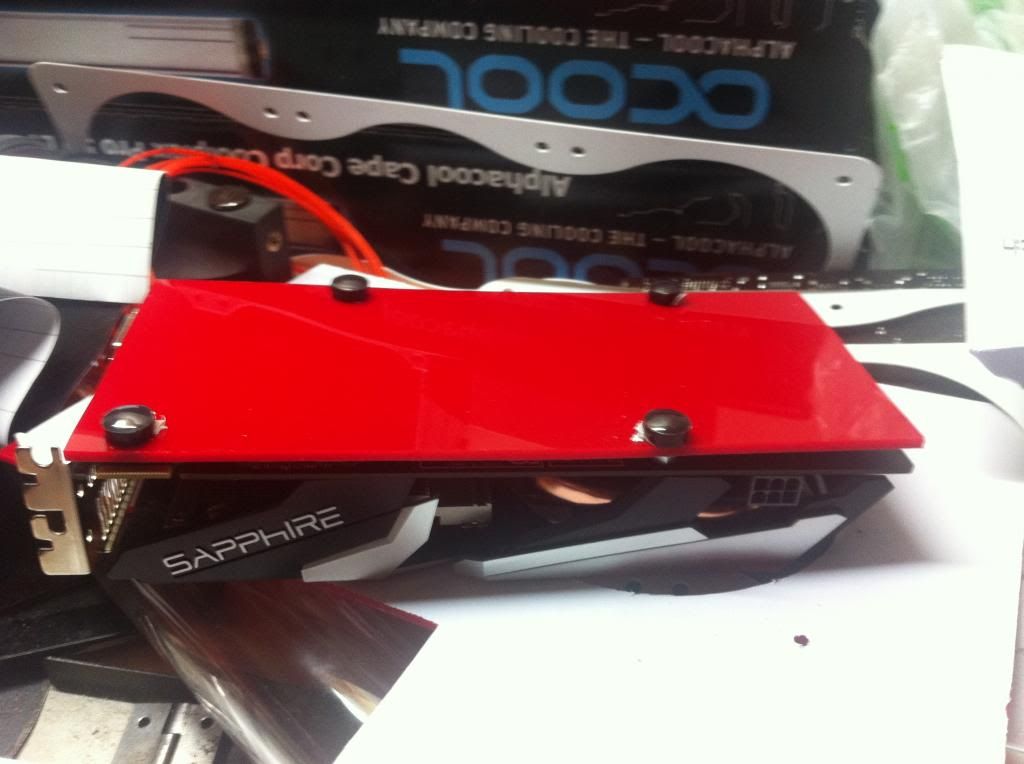
- 2x Sapphire 7790 Crossfire
- 1500W Coolermaster M2.
So As I said something custom, I have some contacts that could produce a case in sheet metal or acrylic but due to past critics, I just wanted to do this one all me, Meaning I'd have to work with Wood, now I'll be honest I'd rather I wasn't but hey its cheap and easy to work with, Off to the local hardware store I went and picked a sheet for less than £10
The build like I mentioned, so far had just been let’s see what works type of deal, below is roughly what’s kept me busy for the last couple of weeks. Sadly I didn't plan to make a build log at first but rather just share the odd image with friends on Facebook, So there are some gaps
The Build - Phase 1...Lets make a box?
I set about making a basic box and loaned a PCI plate from and old case of mine


I tested A top reservoir setup- which didn’t really work, but did create some epic vortex effect in both tubes!


The Build - Phase 2...Lets try that again...
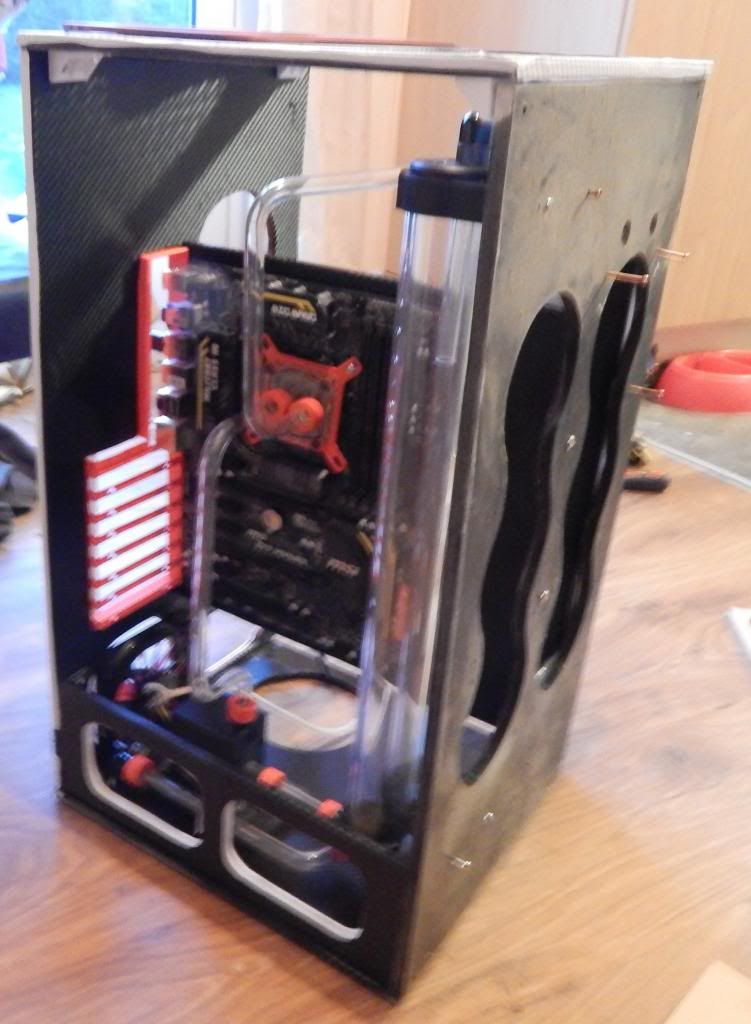
Then I opted for something more traditional, The motherboard tray was a real PITA todo, using a drill and a file :/


The inverted motherboard tray needed to go after some issues arose, Back to old school it was

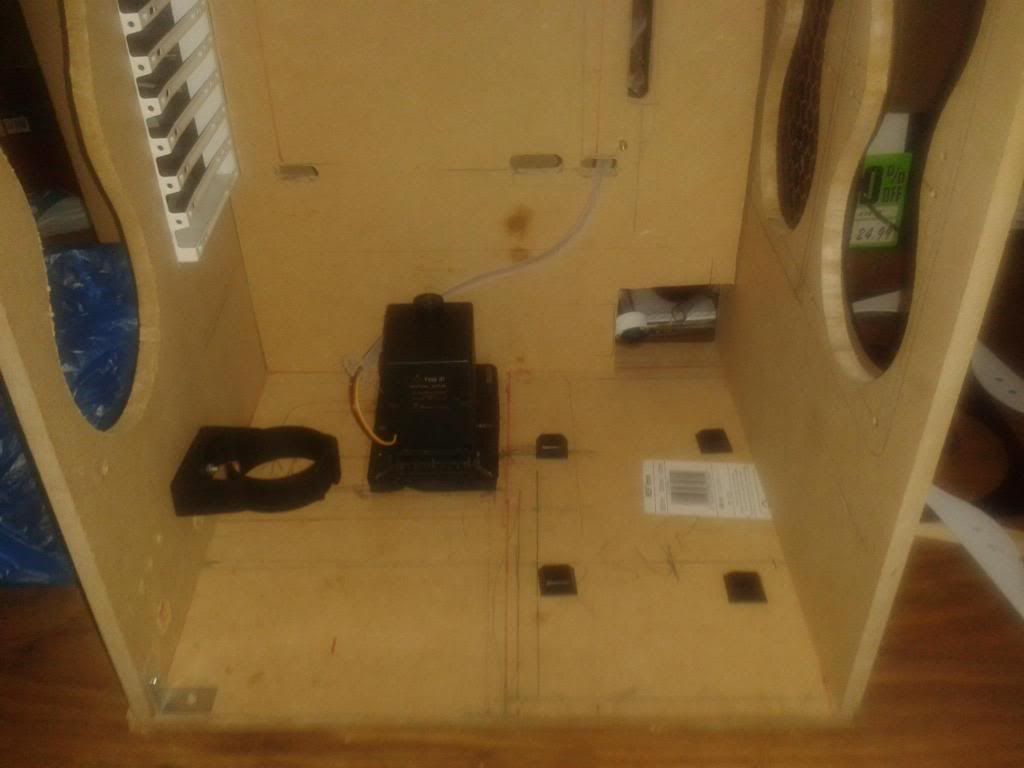
Pump placement, The four rubber feet now to be PSU antivibration pads

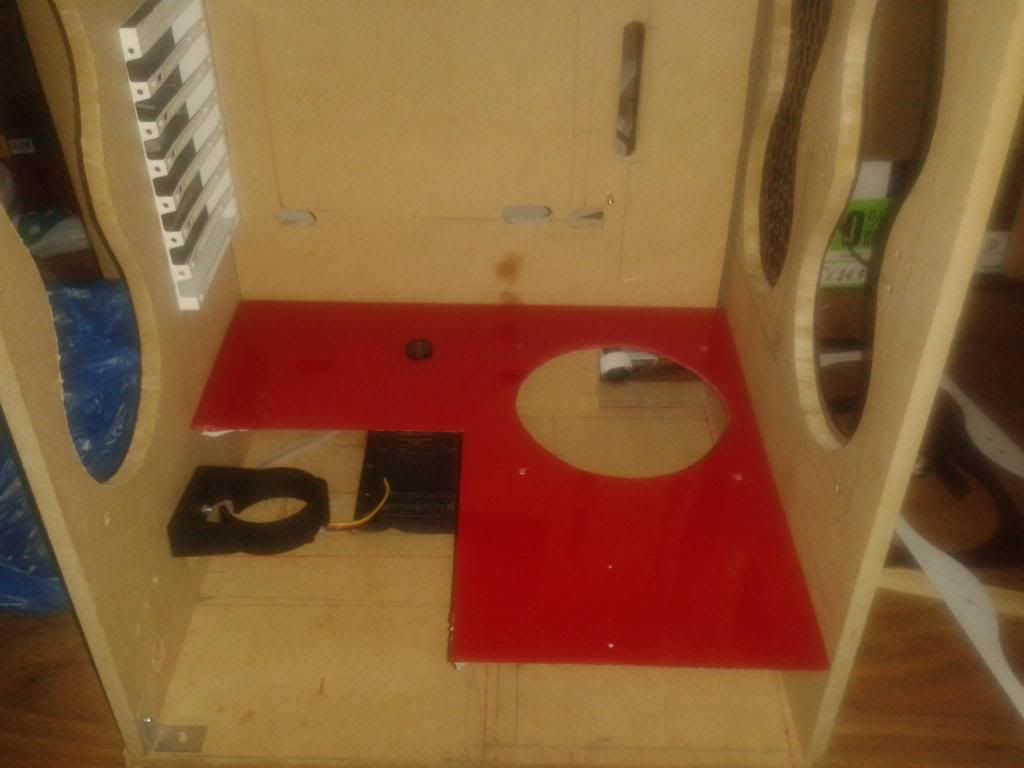
Simple sheet of acrylic to hide them both, sides yet to be cut

Grille from the PSU, to let it breathe

Pump outlet

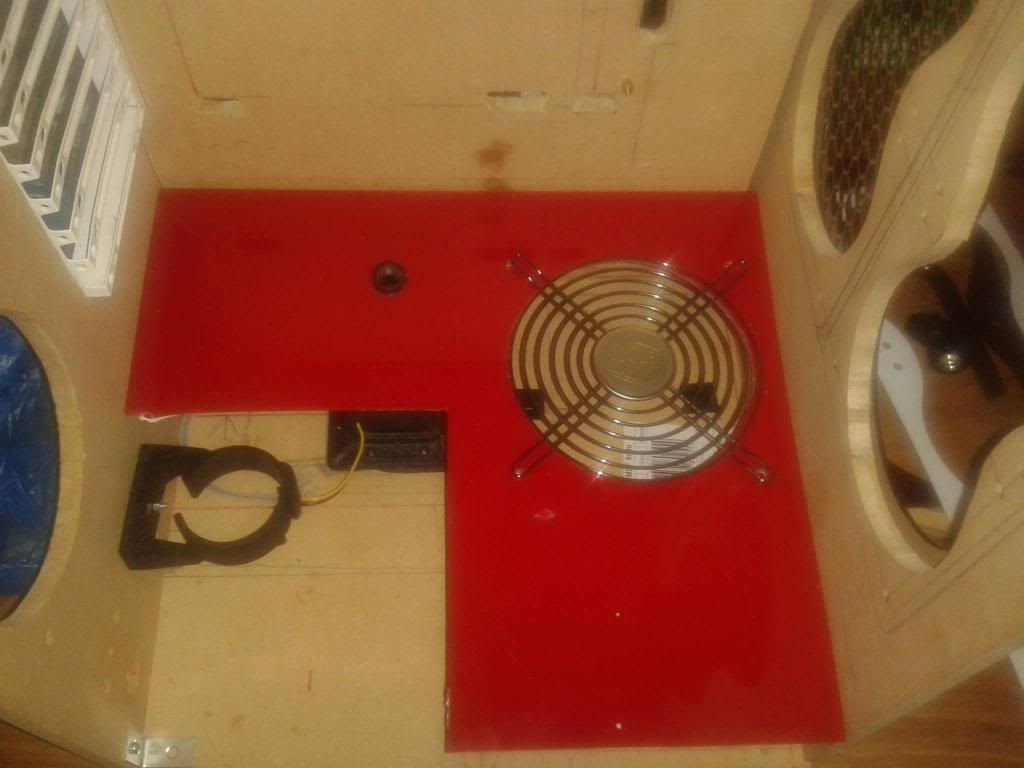
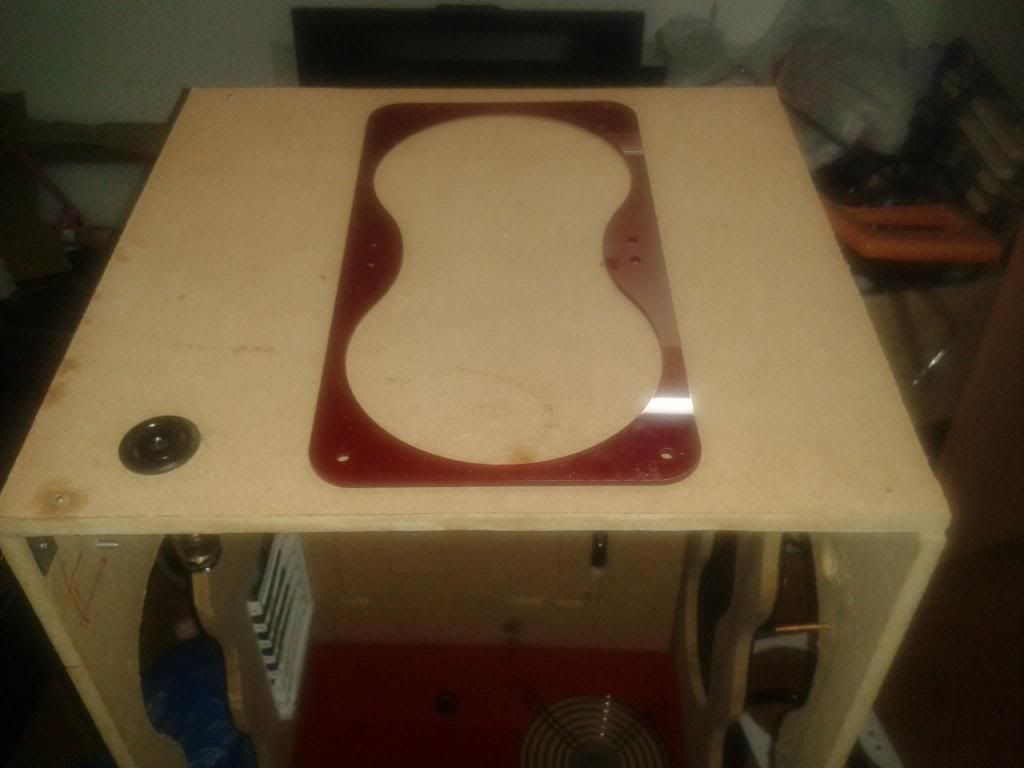
Fill port in the roof + 280mm Grilll yet to decide

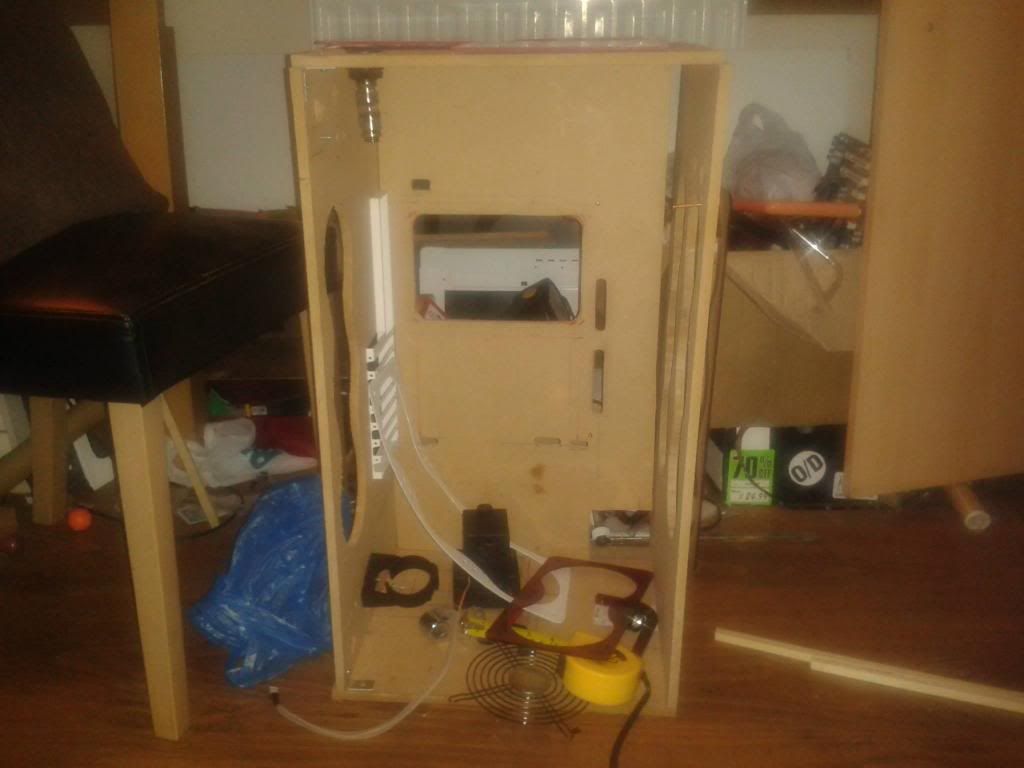
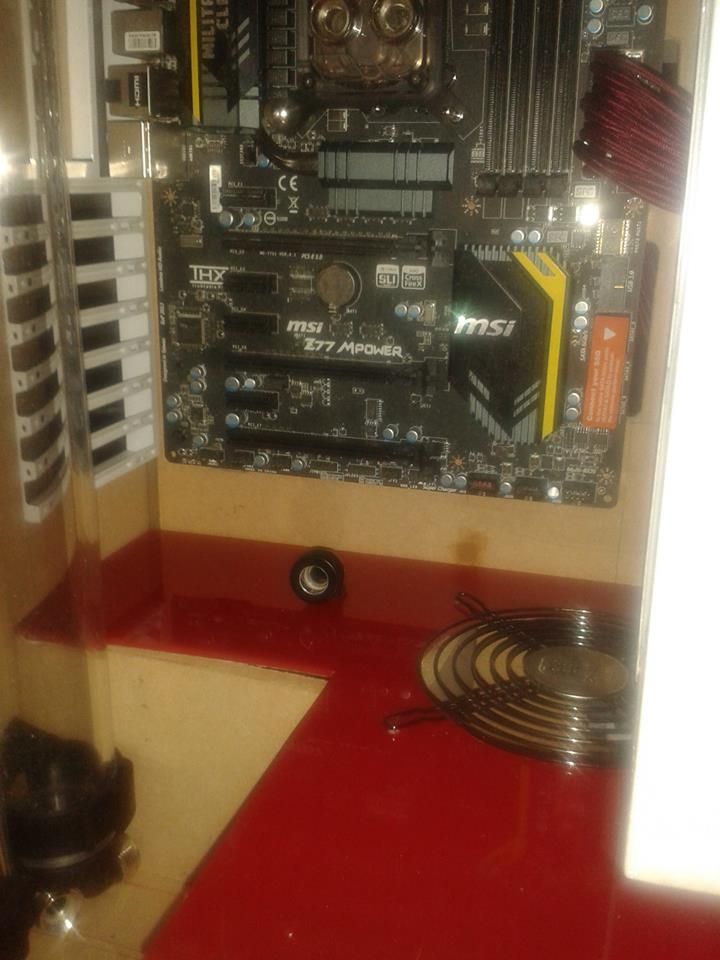
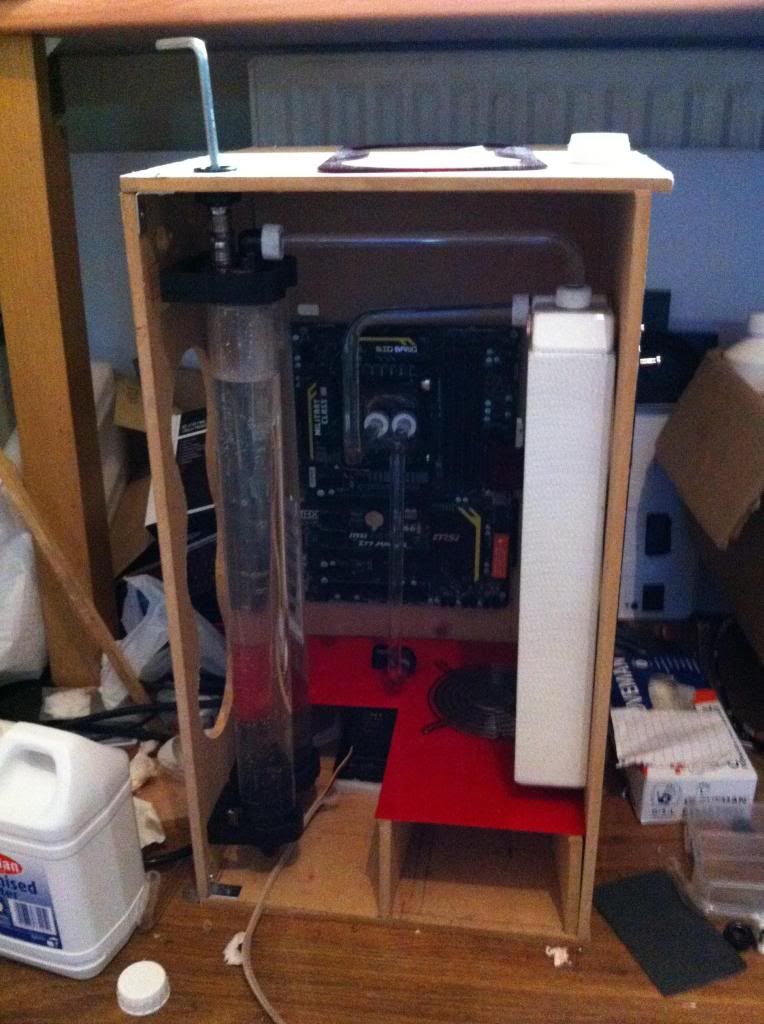
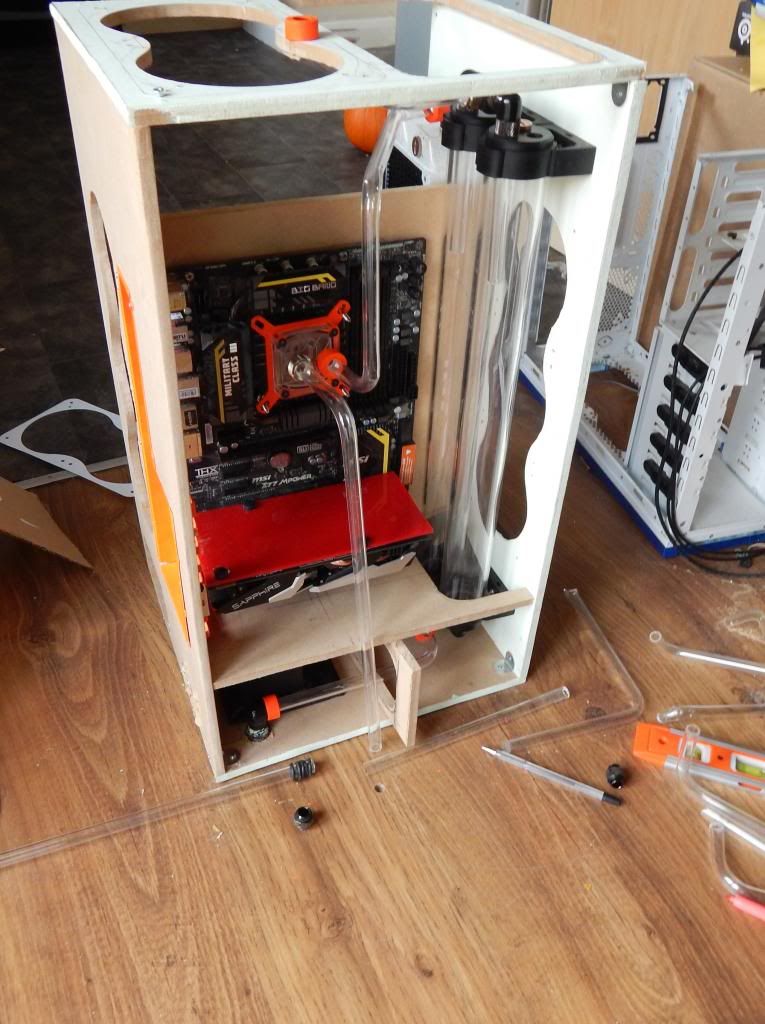
Case Front


Rough layout

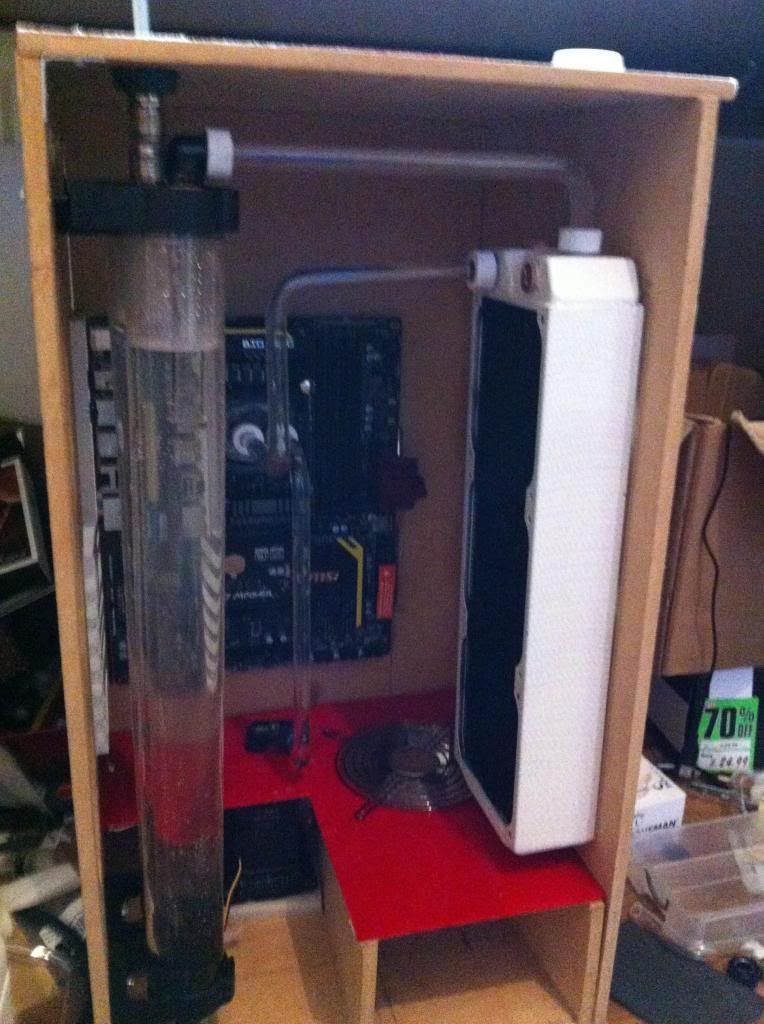
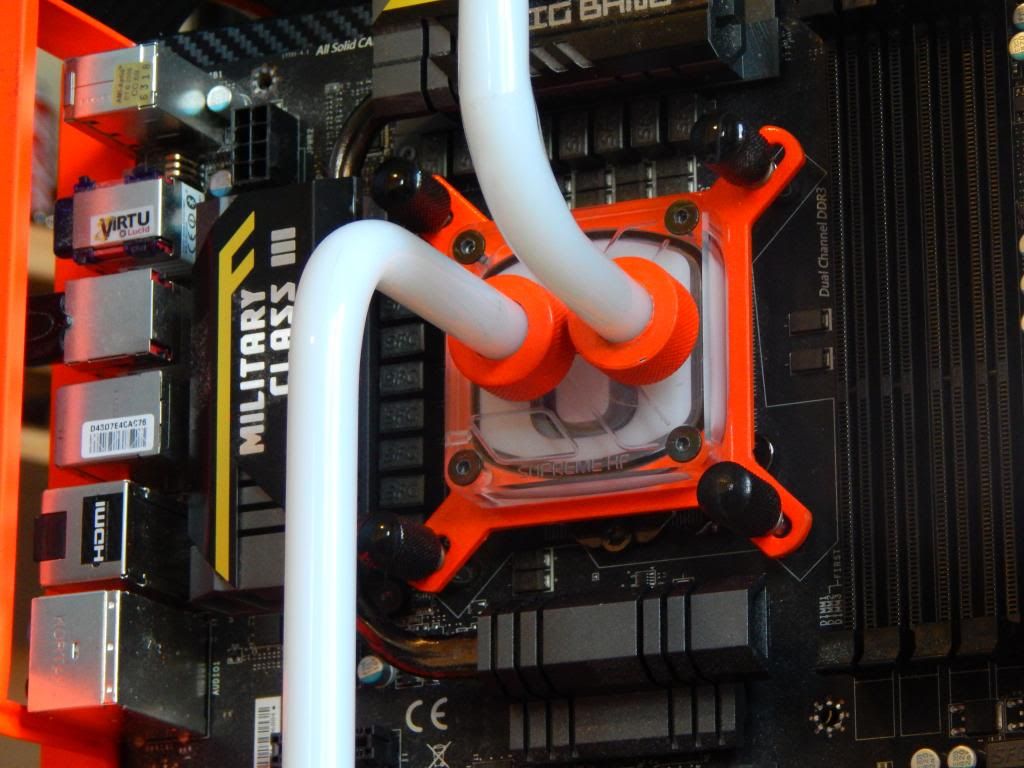
The tube from CPU to RAD has to be changed


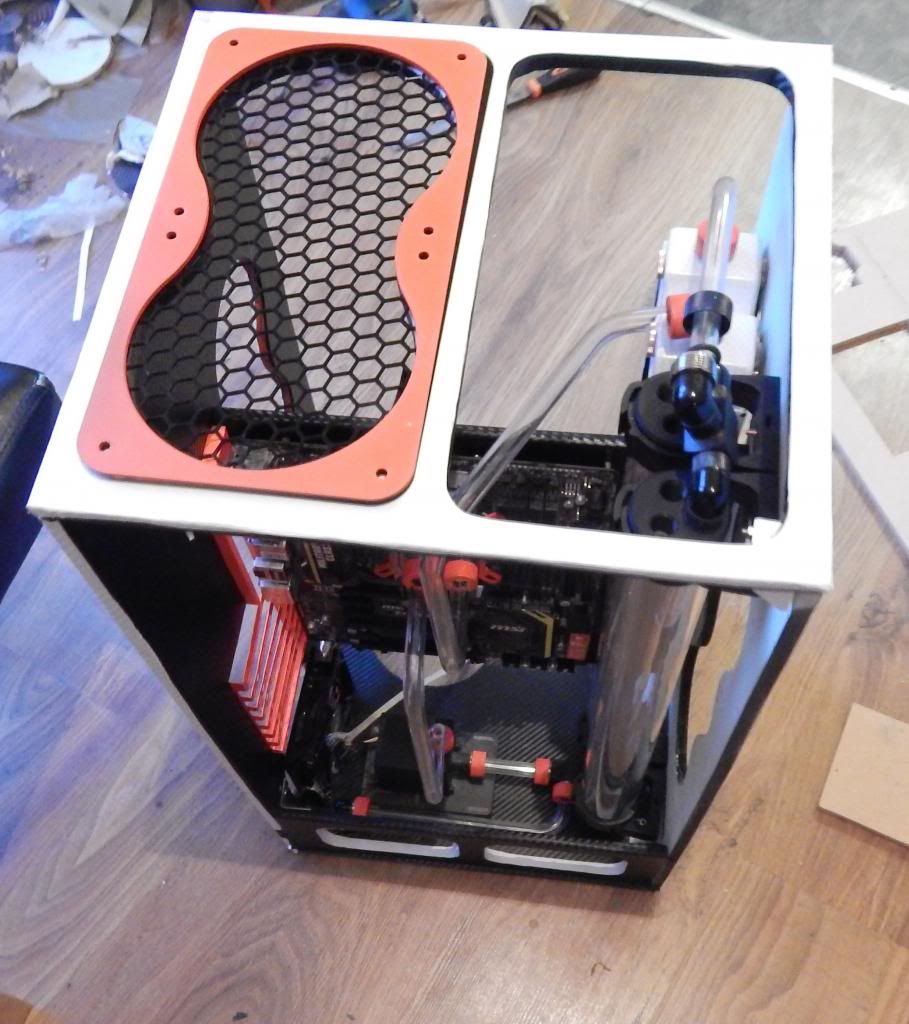
So to be honest its not what I had in mind, but after all the issues and changes I was out of materials, I was out of funds. Ideally I'd make something like the air540 and have all the WC gear in a separate chamber. Never mind, I let it run , Filling was hassle free, the odd leak from loose fittings but nothing major, Now that I know the loop worked
The Build - Phase3...Lets change it again...
The internal design was tweaked again,an order for a few random bits and pieces was made, as I wasn't to happy with the flow, for the dual res I had a few 90 degree bends to make a U bend, It worked but wasn't ideal. I needed to grab a few "T" connections. Health hadn't been to good and I made a blunder and ordered less then what I needed :/
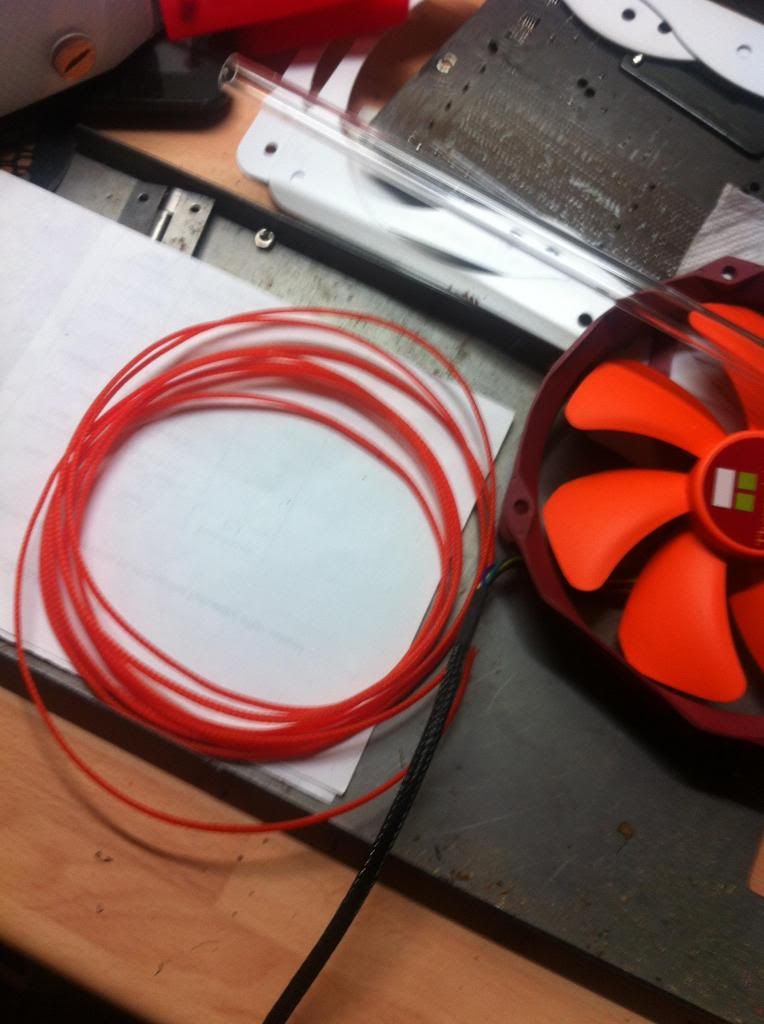
Anyhow Managed to pick up some sleeving for the power/reset ect

T peice..sigh needed two of these!

How it will connect both top and bottom of the two res's

Work area due a clean up!

I intended to make uses of scraps I have at hand

bit ghetto i know... (Buckled from misdrilled hole)

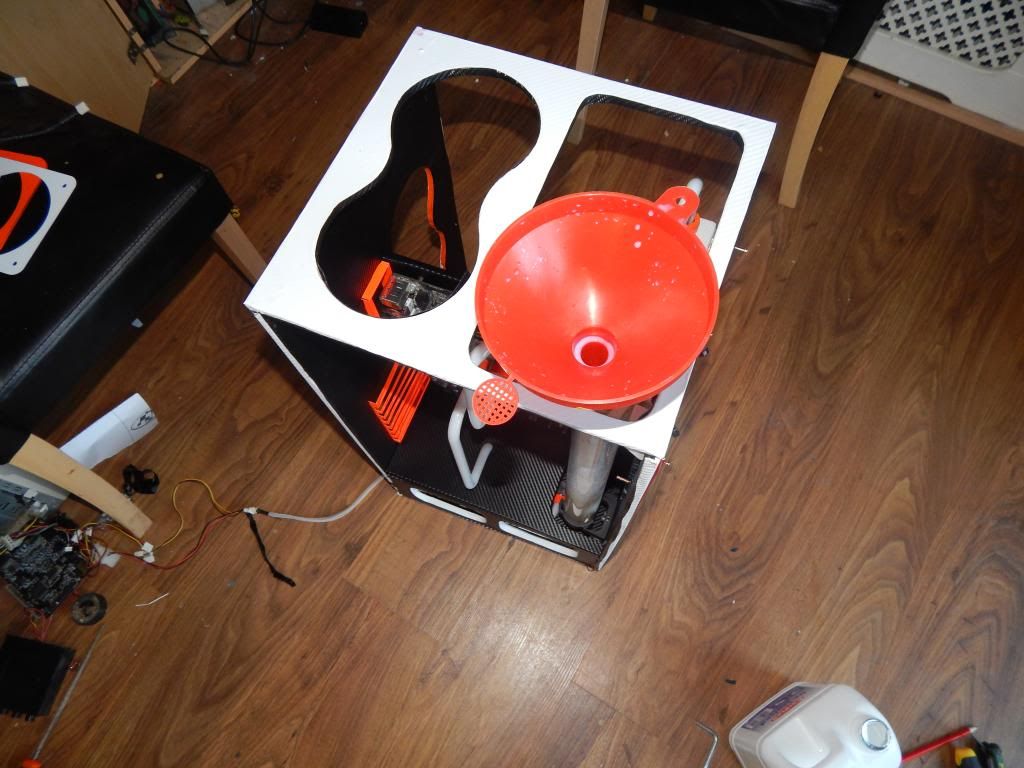
Decided I needed to move the motherboard tray into the middle.


So the new idea is/was to have the dual res is the left chamber and the Rad/psu in the right

I made a blunder and cut the PSU template in the wrong side, Had to redo the entire back section again. As for colours and finish, MDF and and good paint finish require more time,money and work than Im was able to put in, t so I ordered a batch of White and Black Vinyl.
with the mobo tray being centred, I had to tweak a few bits and pieces, I wanted to add some ventilation to the Pump/PSU box,
Joys of MDF...so much Dust


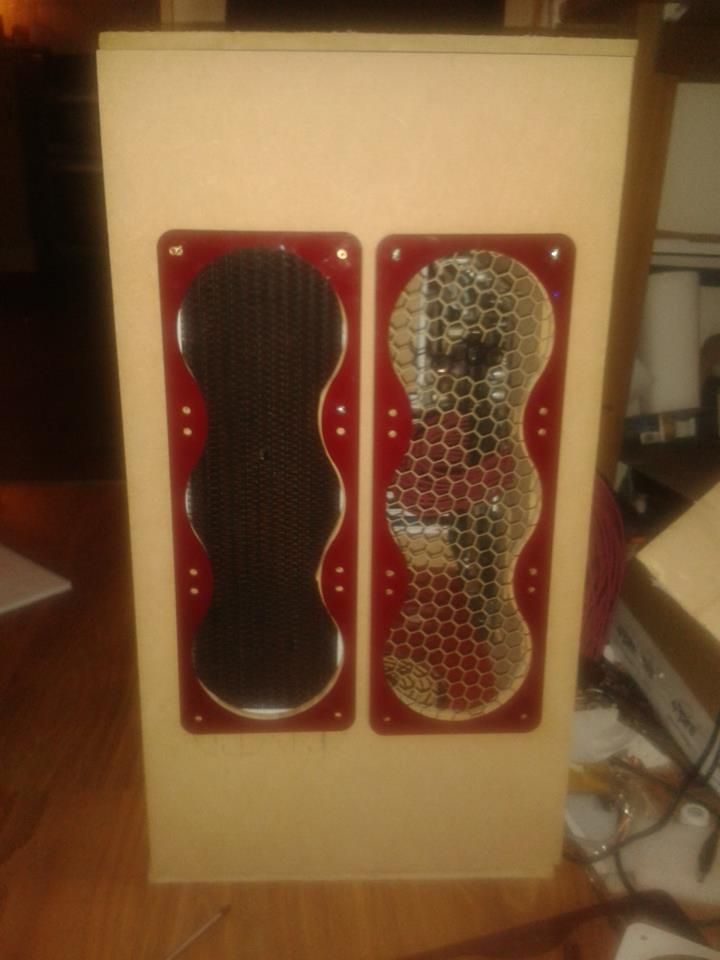
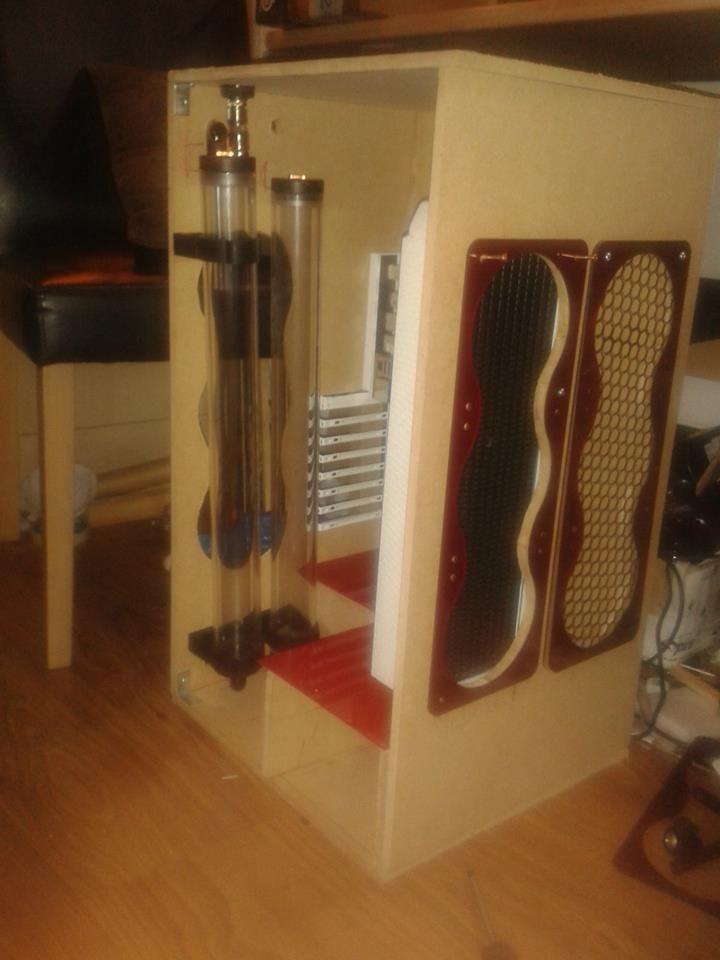
Rather than a traditional Box (all hidden away) I wanted to open it up and show off the liquid + Fittings on the Pump side of the case. Cue a a another fight with the Jigsaw.

Made a slight error on the cut-out for the tube reservoirs, I wanted to the match the side but its done now...

The top panel was intended for a 280mm Grille + 2x 140mm Fans, I have some 14cm fans with 12cm fan spacing laying around they seemed to work well (minus the red) with the colours in the build. Their was a mm or two spare to make the 12cm holes but it'll work
( will be mounted inside not outside)


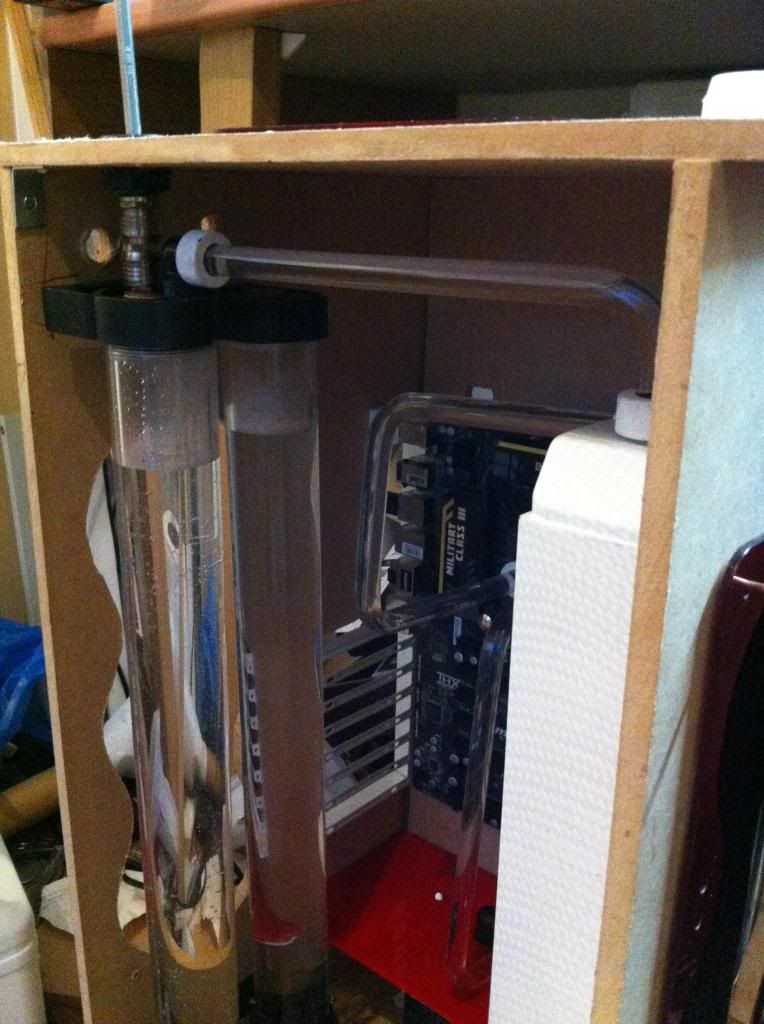
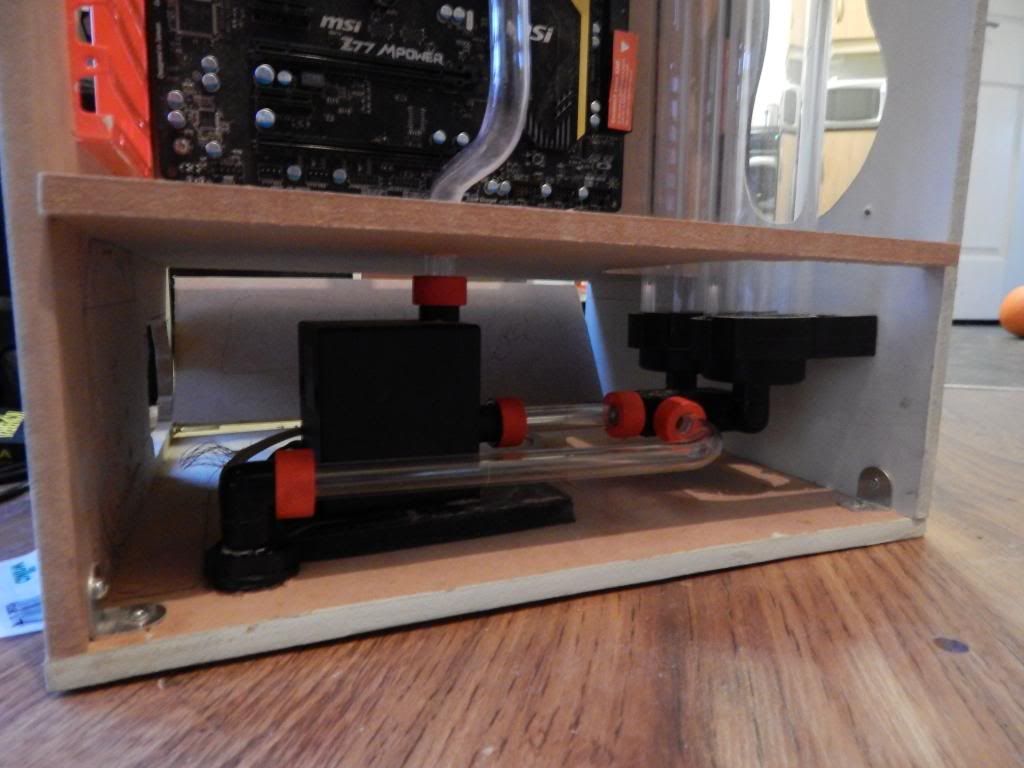
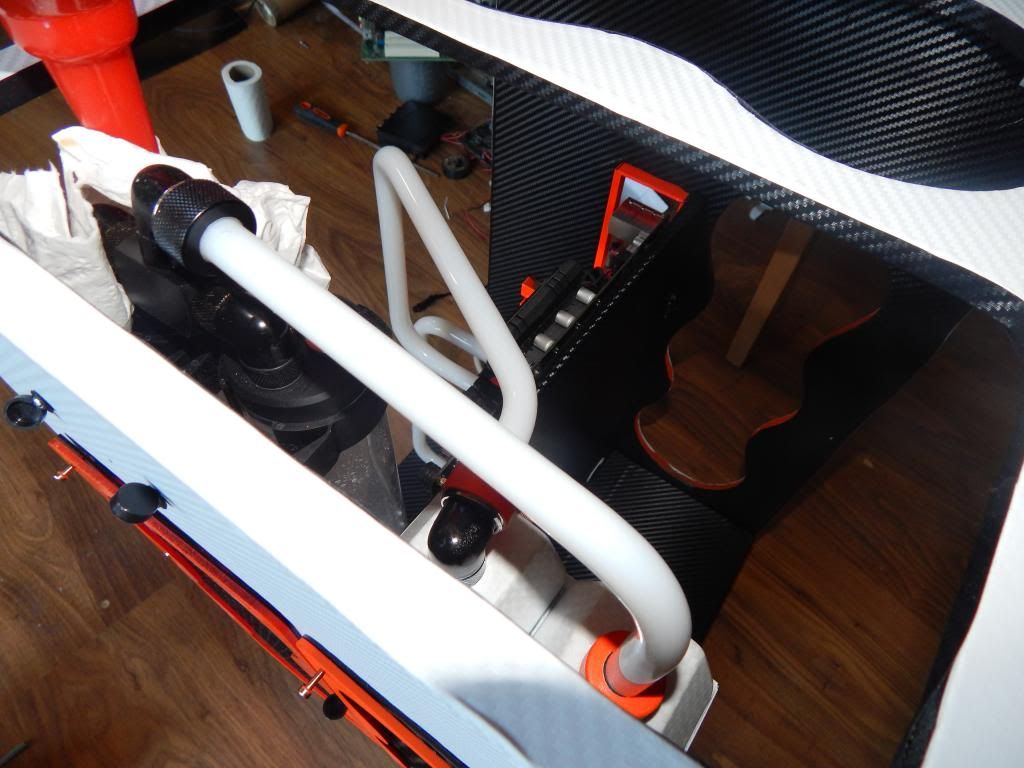
My long awaiting missing T Piece connections and extensions arrived and I set about plumbing the two reservoirs and drain into place.


Its a setup of 2x90 Degrees>T Piece>10mm extension>T Piece>Drain and Pump inlet
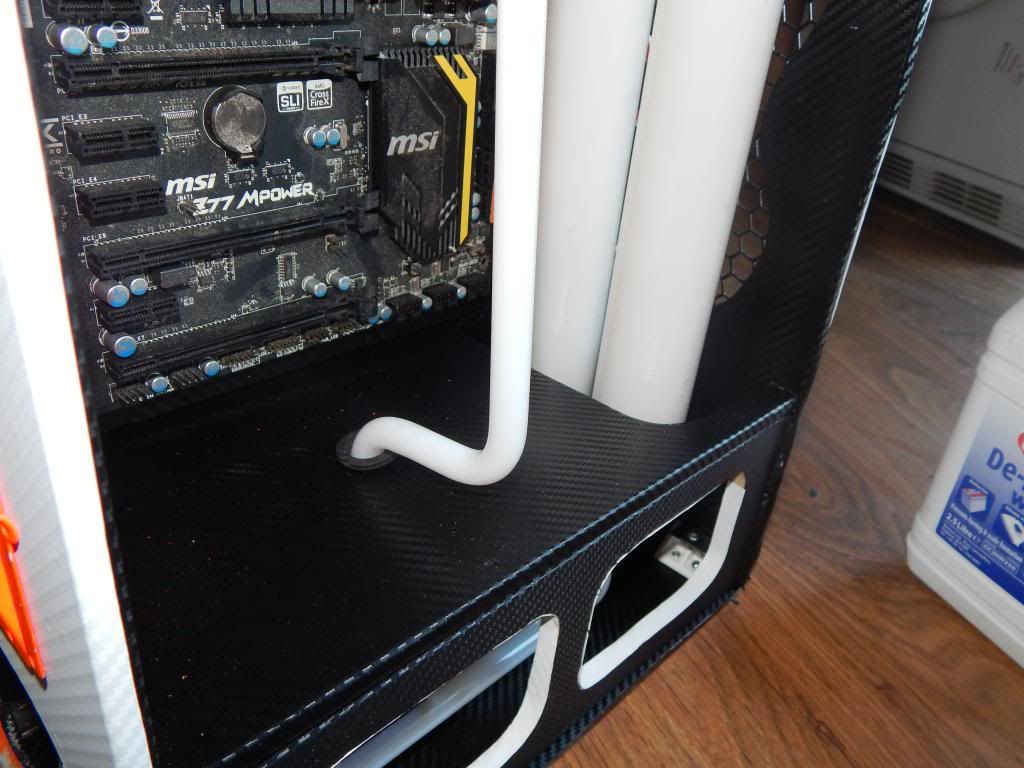
Wooden piece only placed temp for support

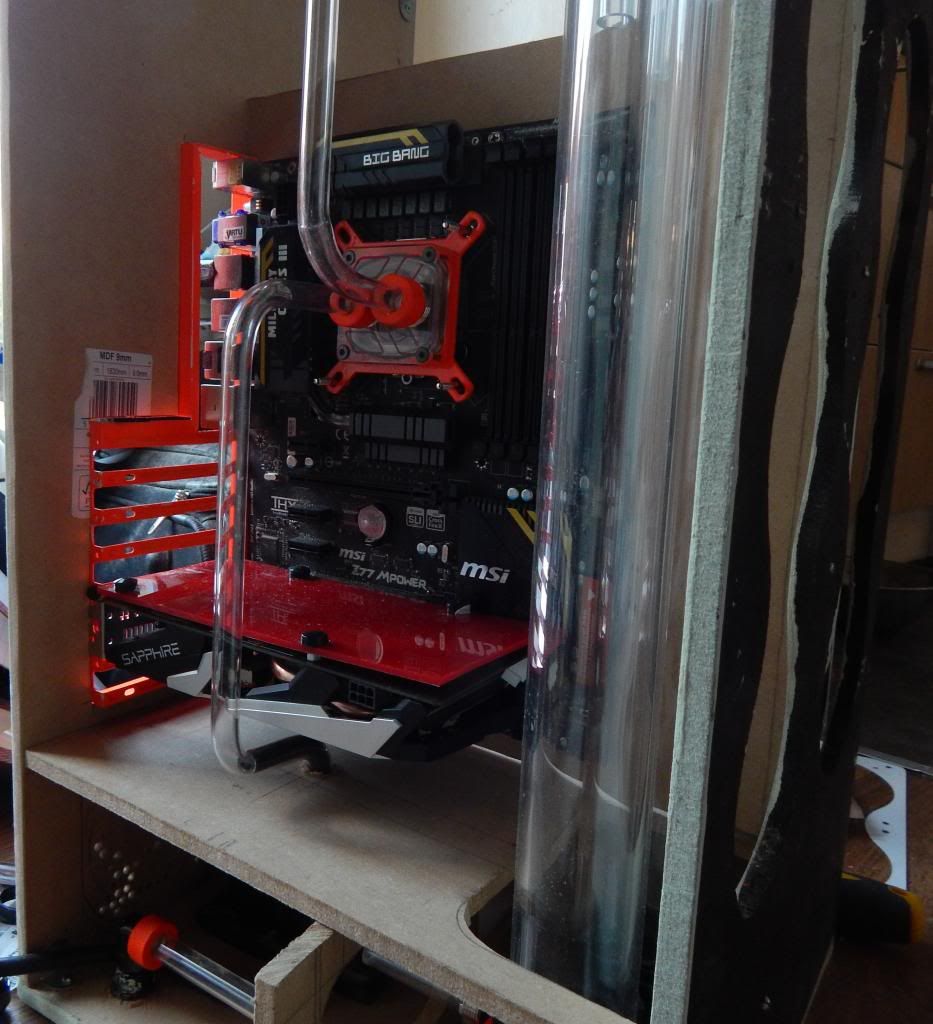
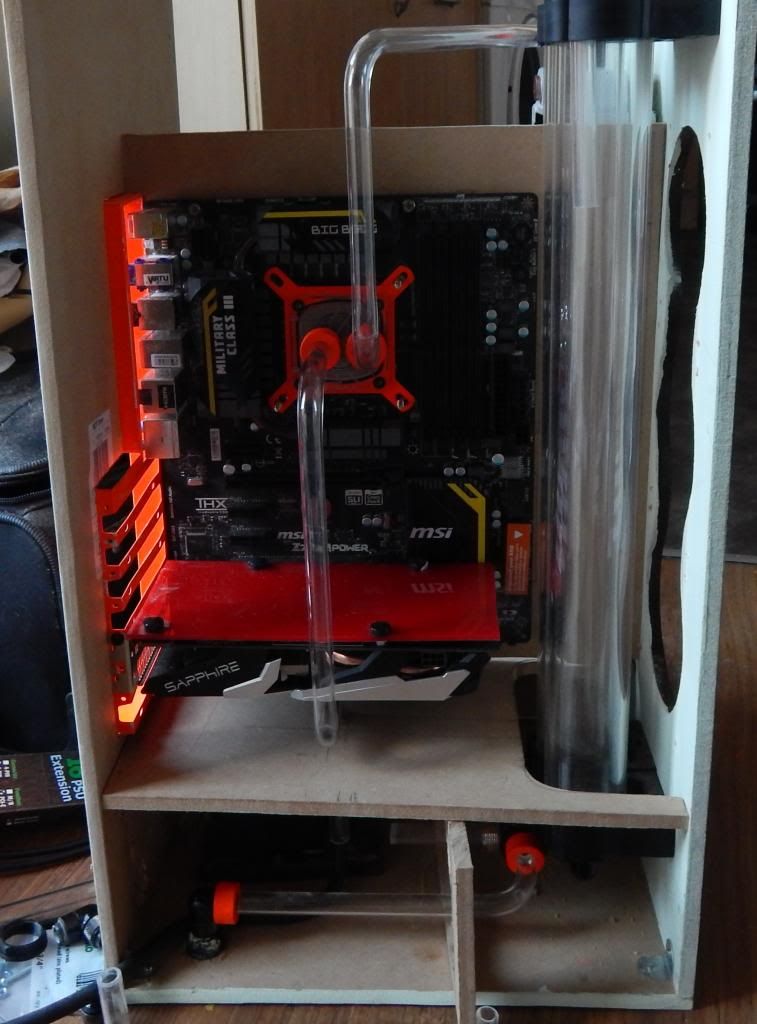
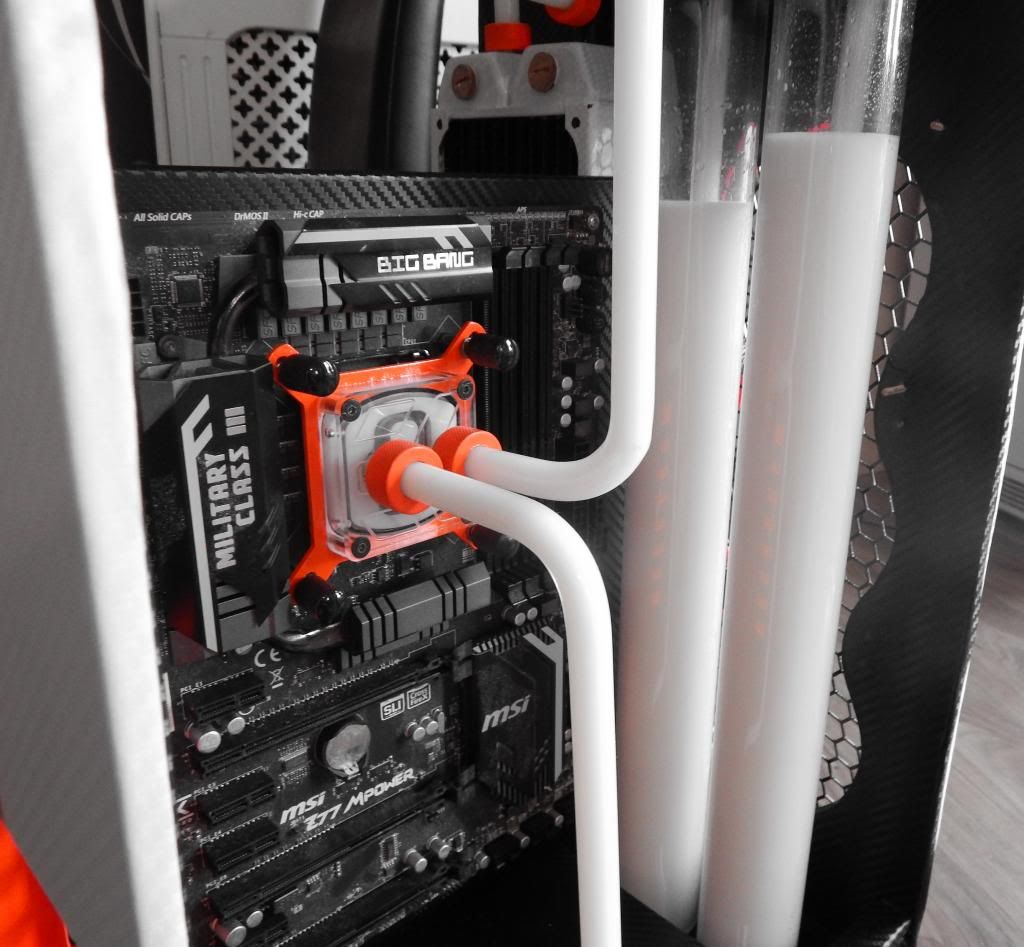
CPU Out > Rad In

Planning last few bends. I don't have the funds for GPU waterblocks atm but wanted to place the tubing in such a way they could be added in the future


Looks a tad wonky, bad camera angle perhaps but after three tests, the drain works as intended

Not a good image, but the flow works great despite many 90's and bends

Next I started the vinyl wrapping, I'll be working the interior only for now as I've yet to deicide on USB/Power button placement and other tweaks to exterior.

To do list at that point of the build
Re do GPU backplates in sheet metal
Wrap addtional Vinyl
Sleeving (unlikely due to funds)
Fit PSU and make ventilation
Tweak exterior
Plan Storage mounts (ssd and 3.5 backup drive)
I spent a few days on cleaning up the panels, Sanding and filing. I'd already ordered the wrap but to be honest I found myself debating the build. Should I continue knowing I wasn't happy with the finish or put the project on hold? Boredom won I guess So I cracked on!
The following images are all very rough, The wrap quality is well...not great, U Channel,C Channel, Blow hole trim whatever you wish to call it, Isn't an option here as the MDF is 9mm Thick, The edge finish is very poor imho, Im still toying with random cables and such in order to neaten them up.
The Top panel

With HEX Grille ontop and Potential fans


Motherboard tray wrapped, I first toyed wit the idea to use white wrapand inlay the cutouts...didnt work well enough( SATA Area)I then used some blow hole trim and and Stanley blade to make some grommets (24 pin area), not to clear in this shot, lots of MDF Dust on the motherboard!

Again the white wrap around the cuts just wont work


Test Fitting, Starting to show potential


A key piece arrived that should blend all the colours together, Thanks to Mick from mayhems for the assistance

Some nice Pastel White Liquid yum! (I know the images so far have been poor, I finally picked up a new camera, and Im still get to grips with it!

Time to fill!

The repeated build, dismantle,Rebuild has taken a toll on the cheap paint


This Section isn't ideal but will function until a GPU and waterblock can be sourced

The rad to Reses Tubing

Top Down view

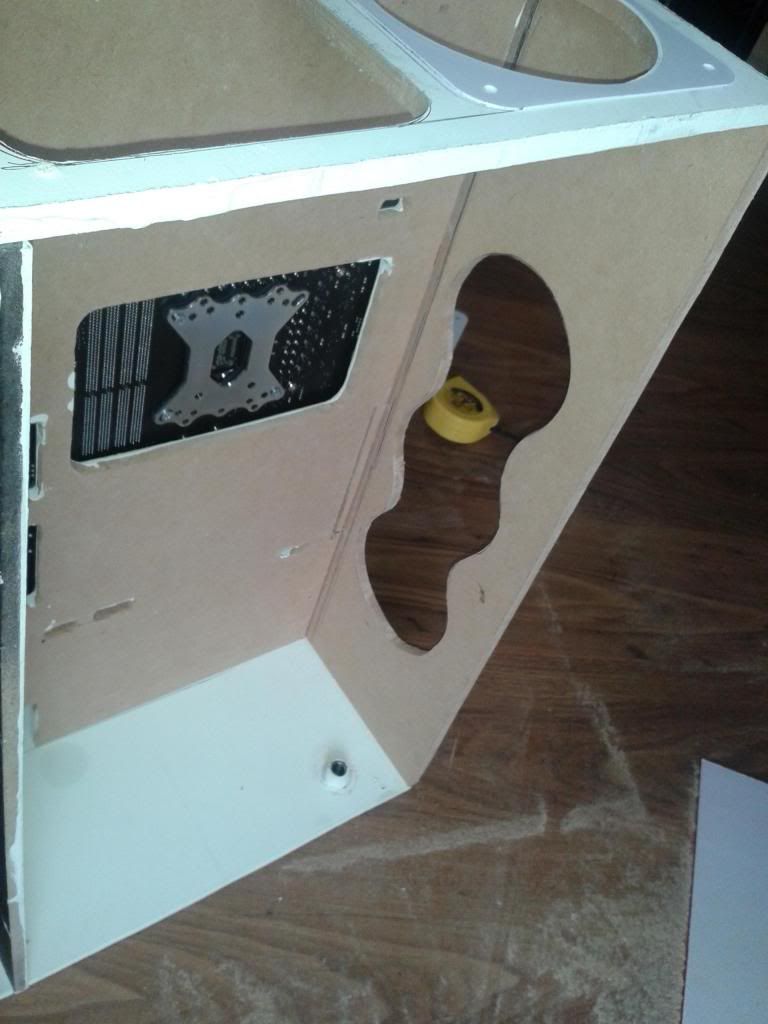
Still lots of edge to trim and reveal the orange paint on the PSU mount,Back 360mm ect

I'm really keen to keen to finish it all up, But health is against me,No cash flow to work with, I'm shelving the build for a few weeks as I've other projects to focus on
")
 , Ideally I;d have a z87 Gigabyte board in their