Project: Kai
An entry by prosser13 into CPCFF's Custom SFF Case Competition
Stage 1 - Planning
The case was already in my head when the competition was announced and probably had been for a reasonably long while, hidden in the dark depths somewhere. After being transferred onto paper, this is what they looked like.
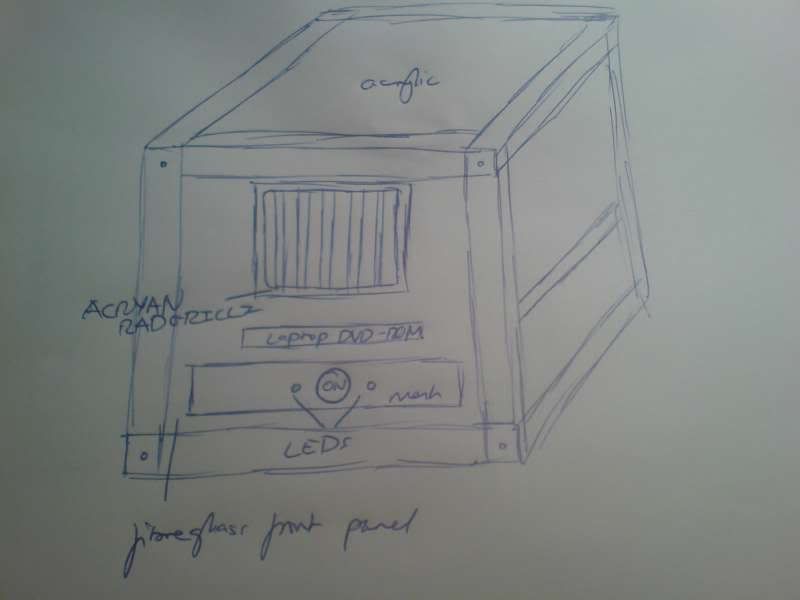
Case Front:
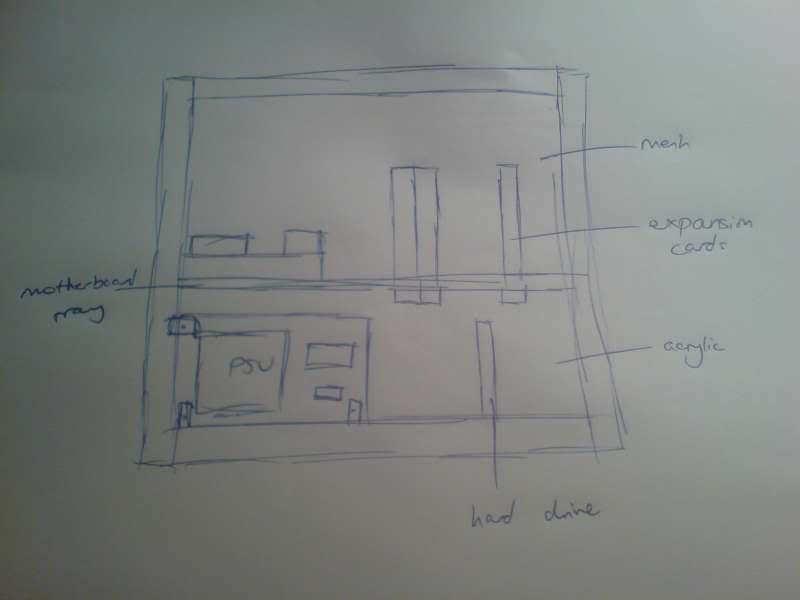
Case Side:

Case back:
Dimensions were 25cm wide, 30cm high and 30cm deep, so not too big but enough room to work in.
The problem I find with myself is that I wander off and quickly form new ideas and then begin doubting my first image. Add in the fact this was my first ever case mod of any sort, and I really had no idea what the end product would look like!
My other idea from the start was that the case HAD to be useable, as it would have a fully functioning and moderately powerful PC inside it...because of this, airflow was very important, made even more important by the fact the graphics card I decided on and bought was a passively cooled one...
Stage 2 - Let's Get It On!
Trip to B&Q got me two of these for £13:

2cm by 2cm by 1.5mm thick, and 1.5 metres each meaning a total of 3m. Just what I had in mind")
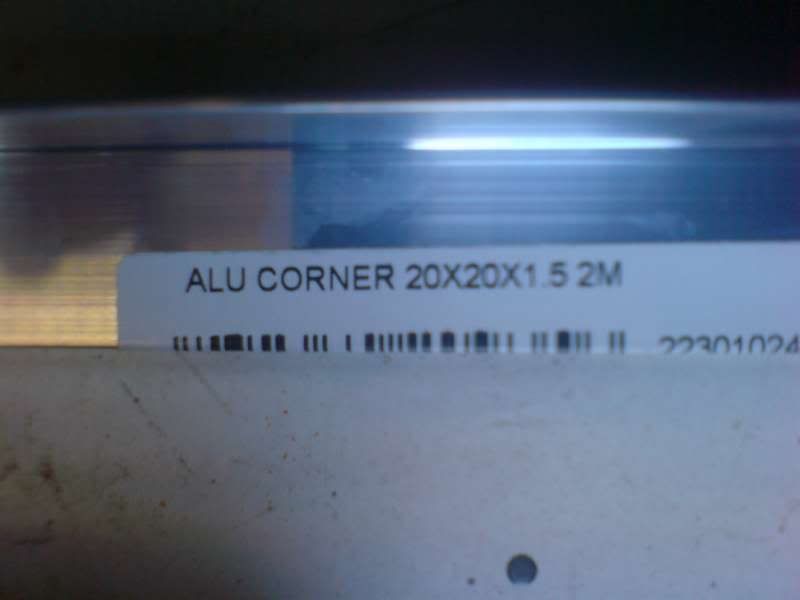
It also has quite a nice finish
After a lot of cutting with a hacksaw I end up with this: 8 x 30cm and 4 x 25cm.

I then mocked up the top and the bottom - here's the bottom (or is it the top....)
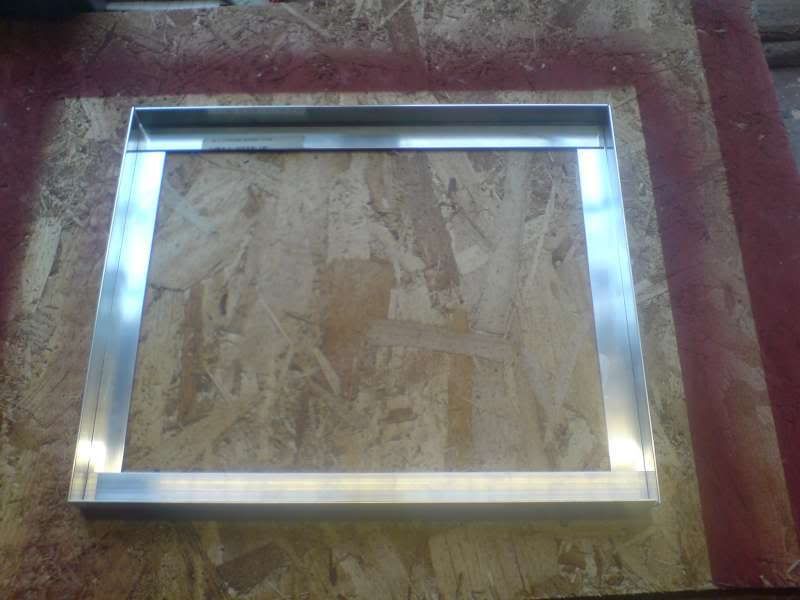
The trusty pillar-whatsit drill:
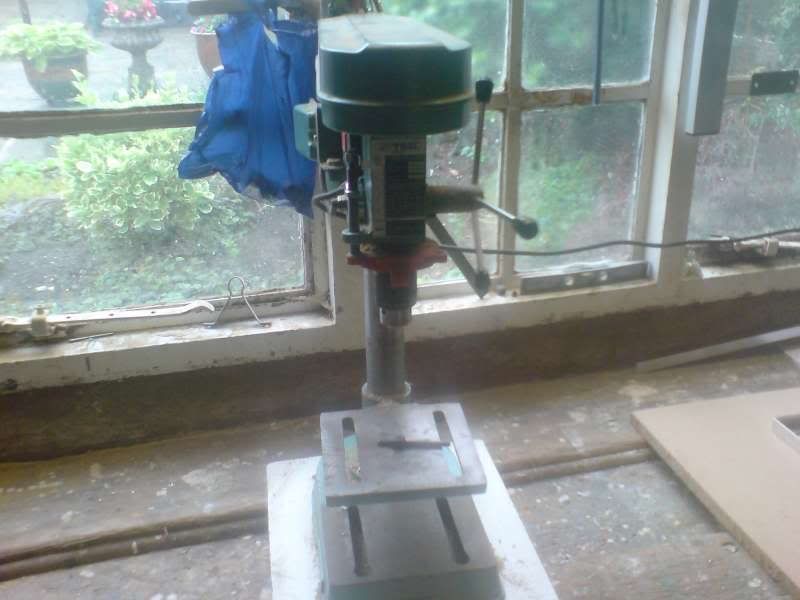
And me riveter!
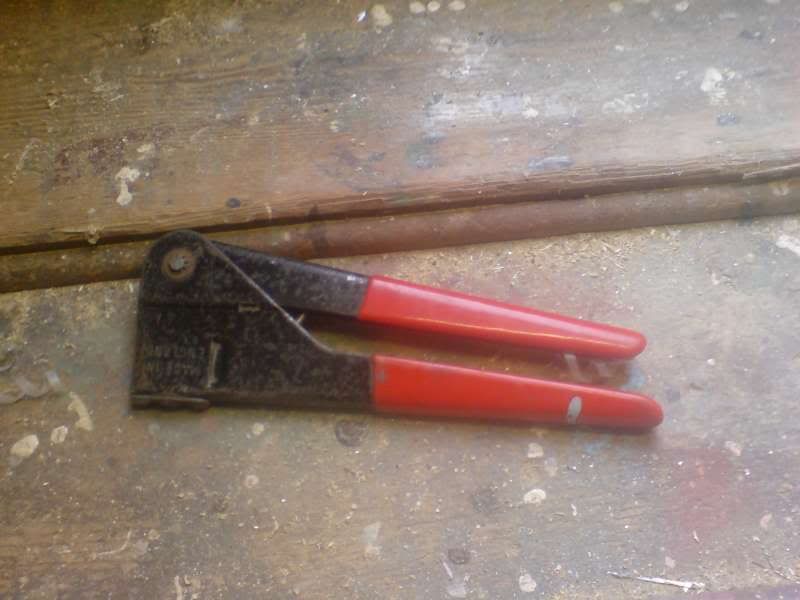
Getting on a bit now (needs to be squeezed and opened 3 or 4 times per rivet! )
)
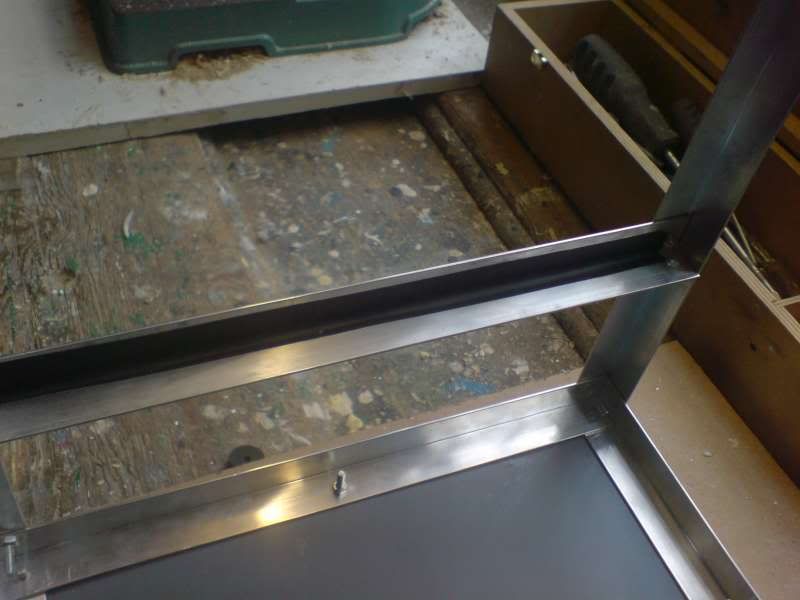
After some more hard work both the top and the bottom were drilled and riveted together:

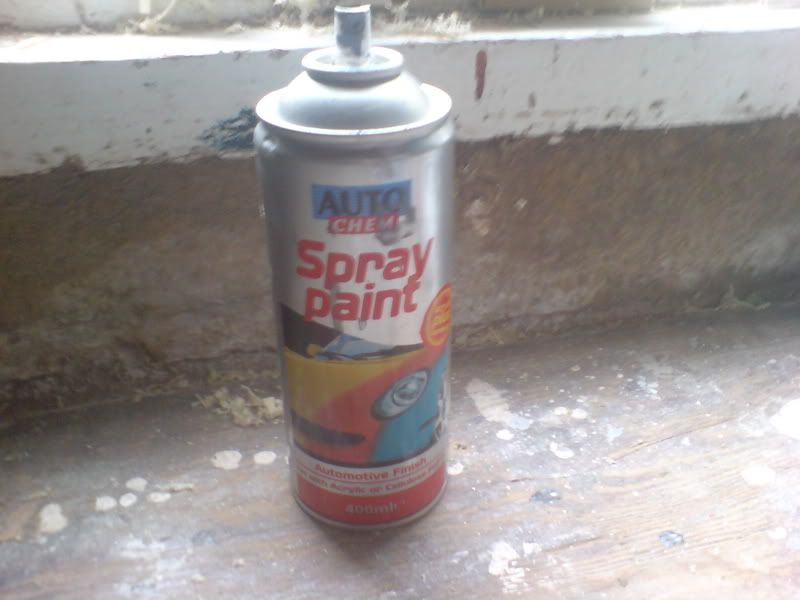
Next it was onto the base, which I cut from a scrap piece of acrylic I had lying around and sprayed with some grey primer (the only paint I had at the time!):

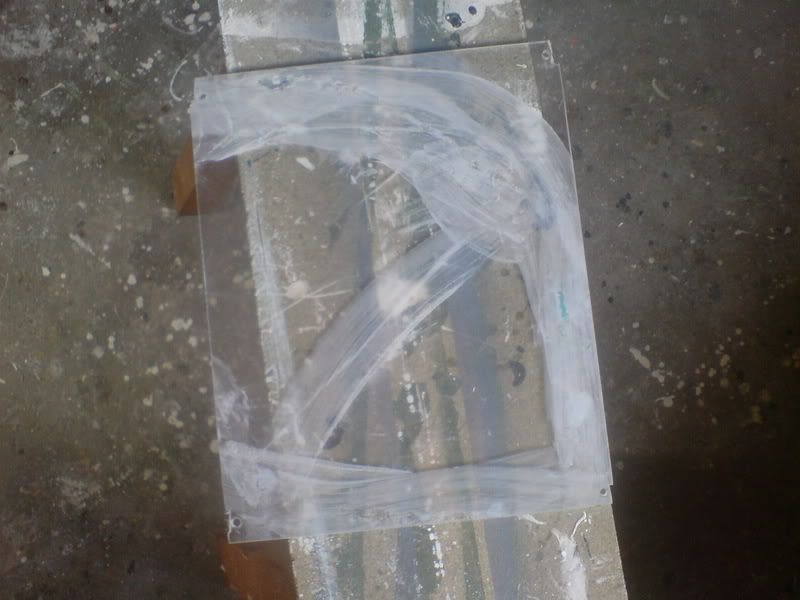
I then moved onto the motherboard tray, which I made from another piece of scratched acrylic which was lying around. First I cut it to size:
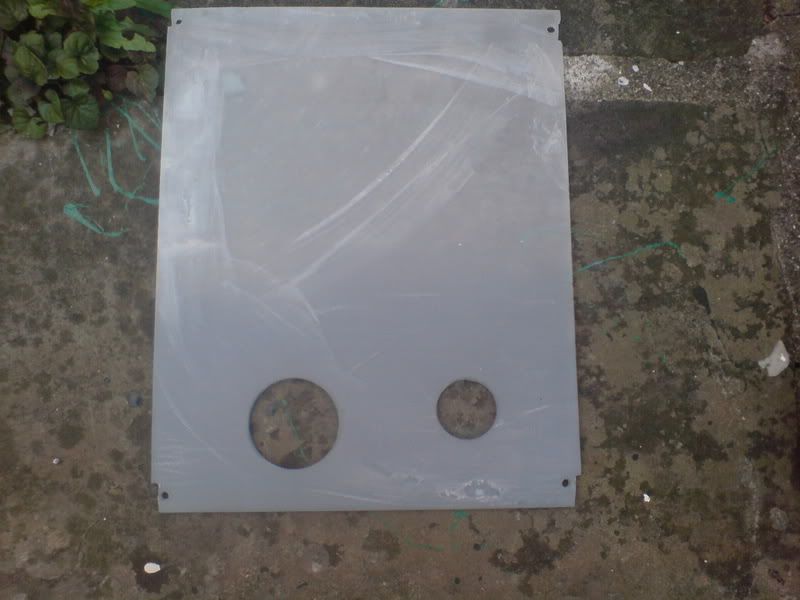
I sanded it down to a reasonable finish, primed it as well as cutting two holes - one large, one small - near the front edge for cables to pass through:
I added an extra coat later on, but didn't get a picture. Here's a picture of the legendary grey primer - must be about 10 years old!:
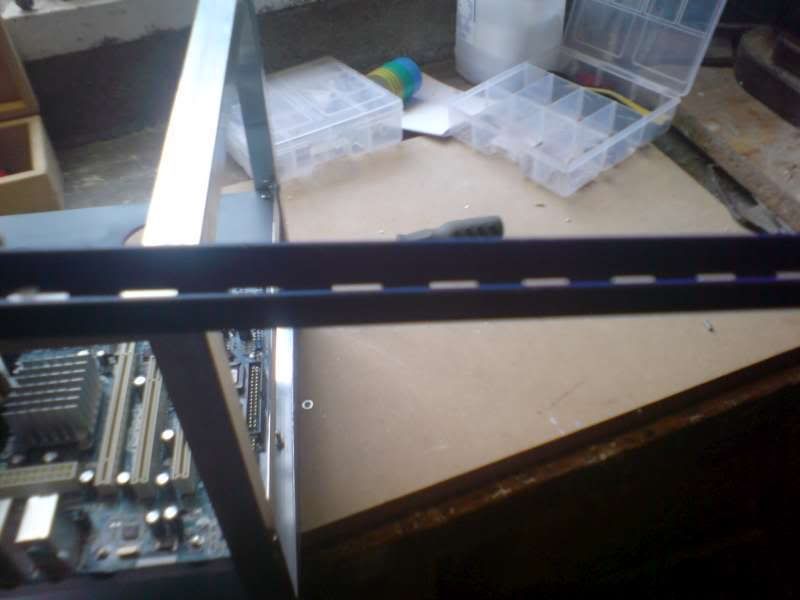
Moving back to the chassis, I did some work which I didn't get a chance to take pictures of - I drilled the neccessary holes for the upright struts, and also added the two support brackets which I cut from the remaining angle. These were secured with countersunk screws, which I countersunk slightly into the metal:

The base was installed with four bolts which I then cut to size, one in the centre of each piece of angle making up the bottom:
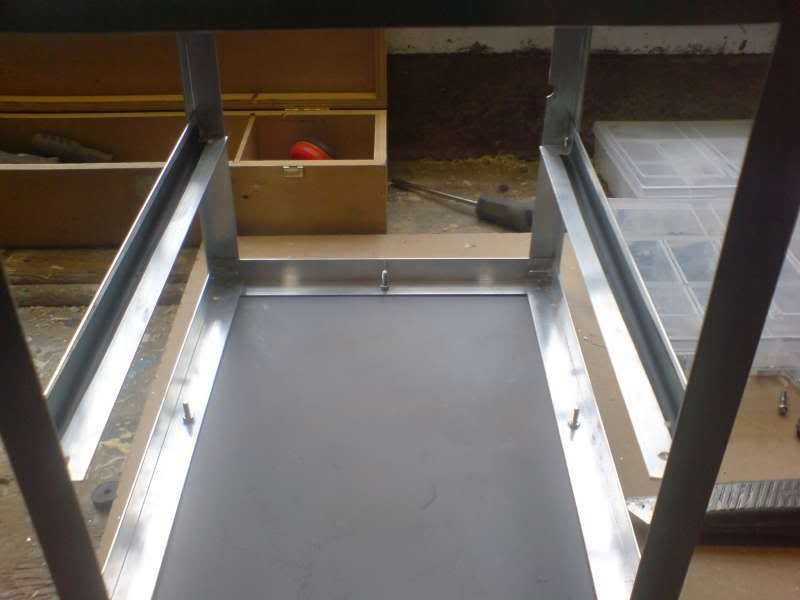
I tgeb installed the motherboard tray, using a bolt in each corner this time:

The motherboard fit was MUCH tighter than I realised, so I added some strips of electrical tape down each side:
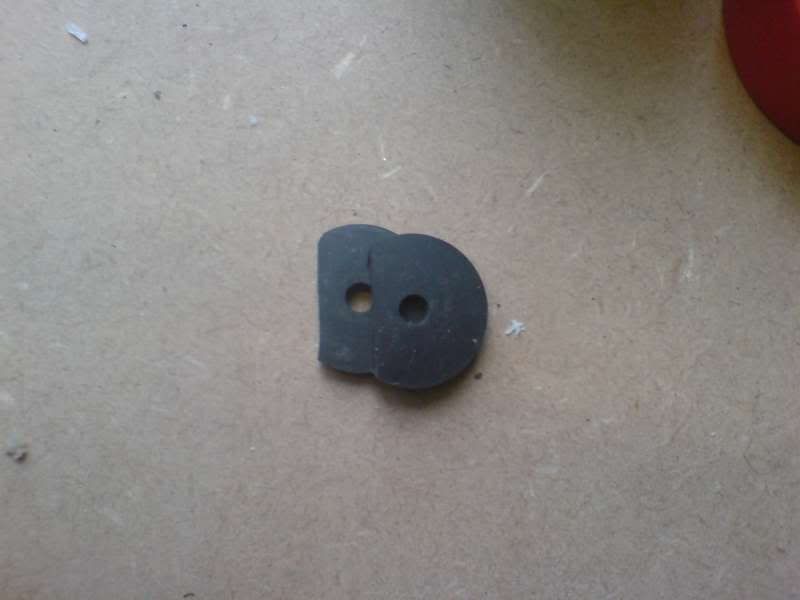
Next stage was motherboard washers - to help with vibrations and to save me having to hunt for all my misplaced motherboard standoffs I had an idea to use tap washers, which my grandad has millions of from his old job. I realised the washers wouldn't fit on the screws closest to the edges, so I cut some of them down:
Next thing to do was install the motherboard - I know its bad practice to mod with components inside the case, especially (hopefully) working ones, and I don't really have any excuses! Just please don't copy!
The fit of the holes is pretty much perfect, if I do say so myself:

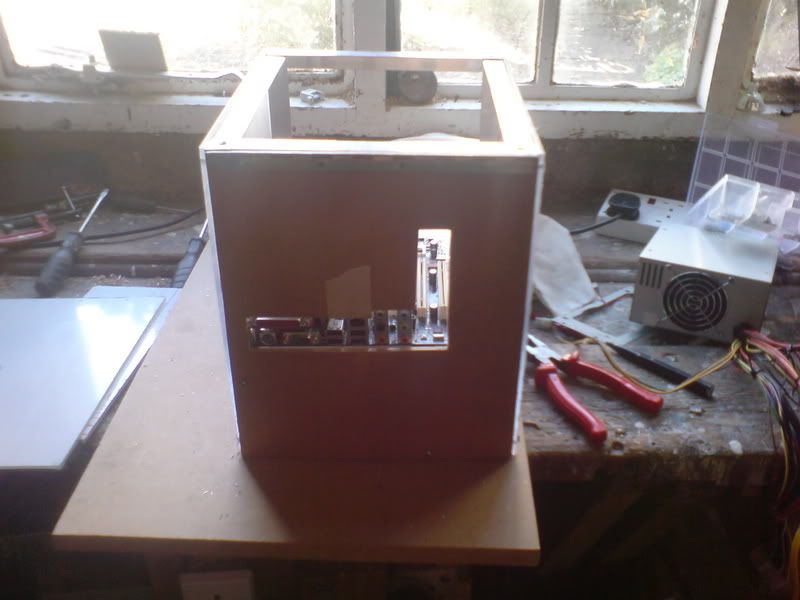
And the back of the case. In the bottom half will be the PSU and I was planning on putting the hard drive there too:

Onto the power supply mounting. First up was an appearance by some funky blue metal stuff:
I hunted around and found the power supply backing which I cut from Hellcat:

It needed a bit of cutting and bending, but I ended up with this:

I measured up and installed three bolts to hold it in place - two botlts go through the edge of the PSU backing, while another smaller one goes through the bottom corner:
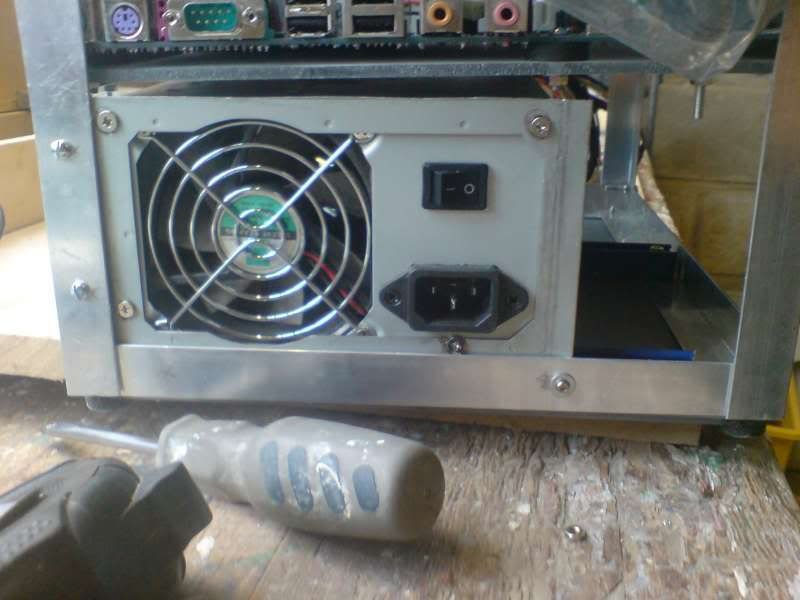
A shot from another angle:

There are two strips of the "blue metal stuff" - the first is held in place by the back bolt, and is also held in place by the smaller bolt with a nut on the other side. The other strip is held in place by the two middle bolts for the base, one on each side, and the PSU rests on that.
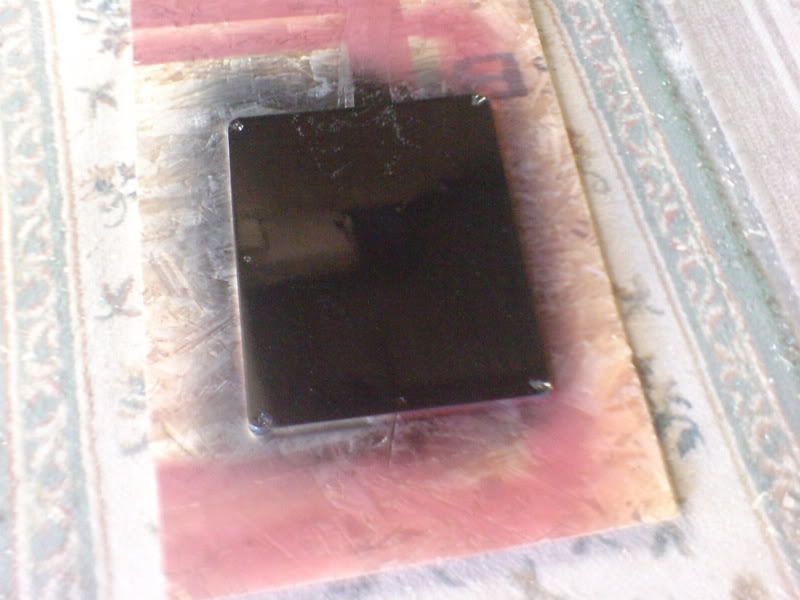
I decided that there wasn't enough space or airflow in the bottom chamber for the hard drive to be installed there, so I had another idea. I covered up the motherboard with a bag and then drilled two bolts - the alignment is awful, but luckily its not really obvious as in the end I used pretty small screws:

I cut a piece of scrap off a sheet of metal which was originally from the back of an ancient radio, but my first set of screw holes didn't allow for enough room for the bolts - there is a small flange at the end, and the nuts were bumping into that:

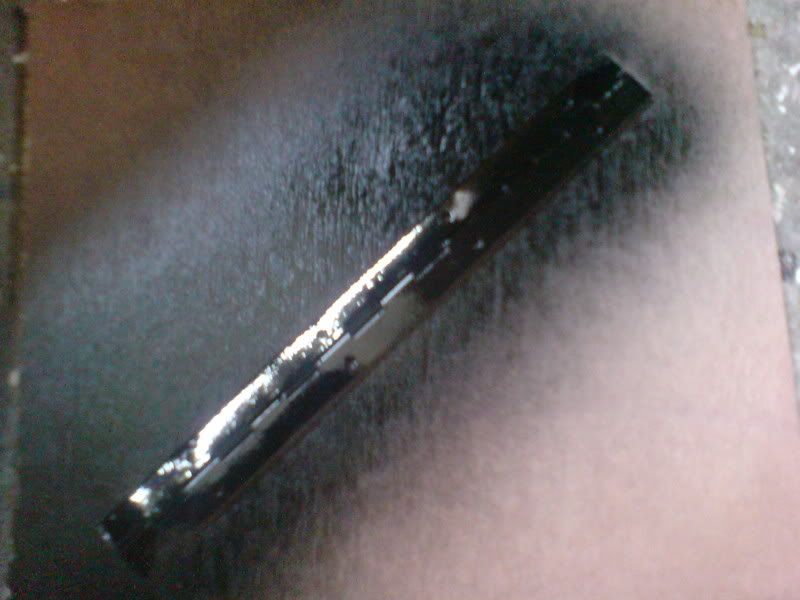
I filled the holes - as well as drilling some more holes for the actual hard drive mounting - sanded the bracket down, and primed and then sprayed the bracket black. Here it is installed:

BTW, I was keeping myself happily occupied in a good ol' British/English way, with an ancient radio and the golf on!

Next up was the laptop DVD drive, which I was given by Gorstie *loves* I had to buy a convertor off eBay (from Hong Kong), but that was only a few quid Yay for things going well!
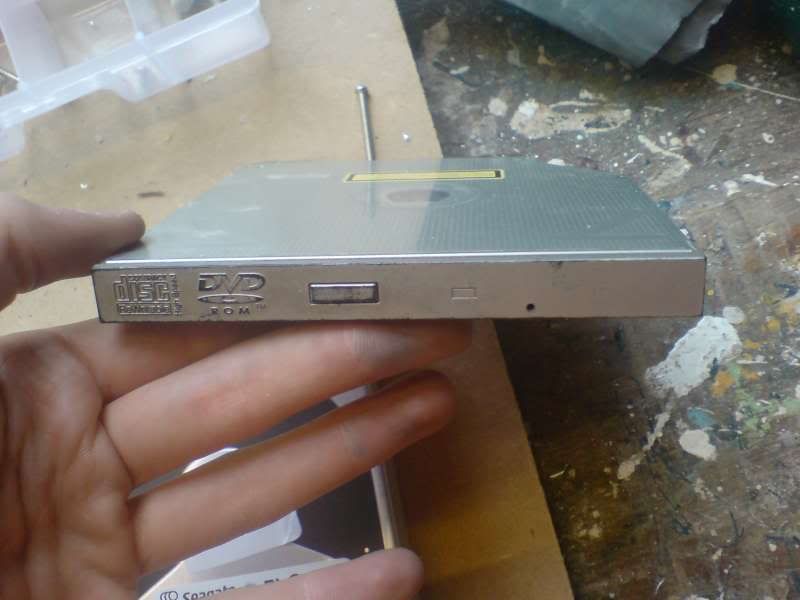
And the convertor all connected up:

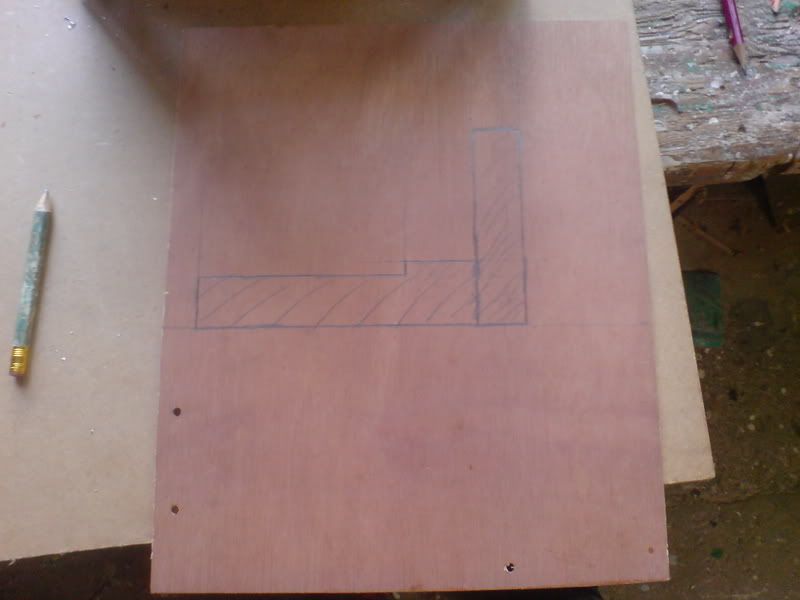
My plans for mounting:
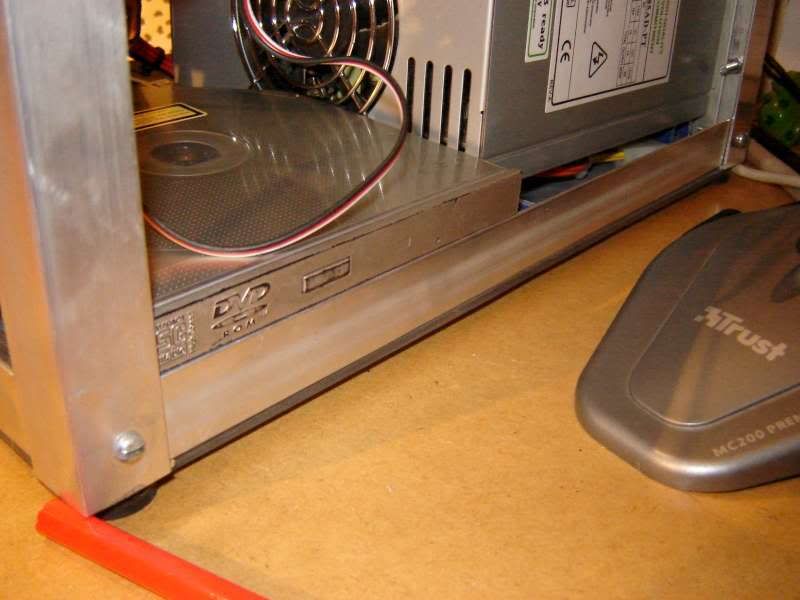
This would require a small section to be filed out of the angle, but I had already filed a small bit out for the parrallel port and found it was surprisingly easy:

I didn't get access to a workshop for a while, so I spent a bit of time designing the front grill, and ended up with this:
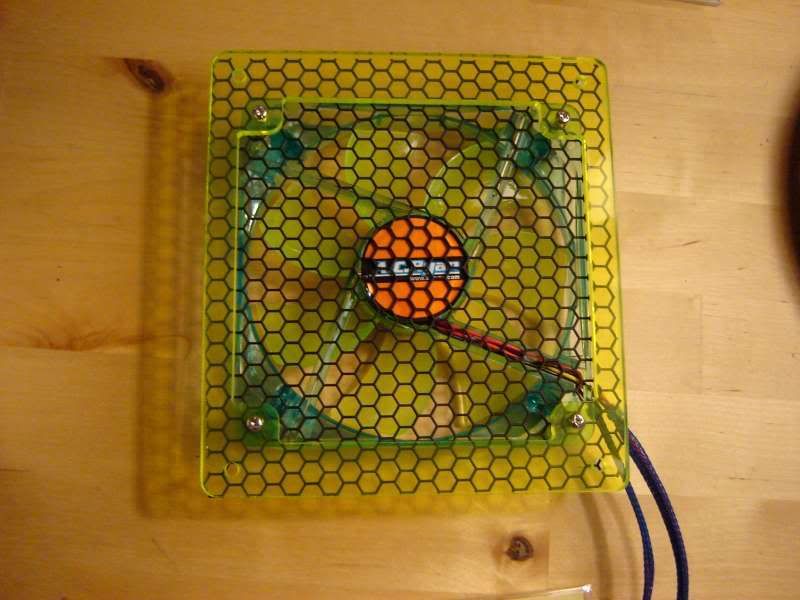
With 79% airflow and a nice contrast between both the green and silver of the frame, and the green and black of the mesh, I was happy
I also cut out some more mesh for the case, which will go at the bottom of the front:

As with the custom grill, this is AcRyan HEXX mesh, and I love the way it loooks A close up:

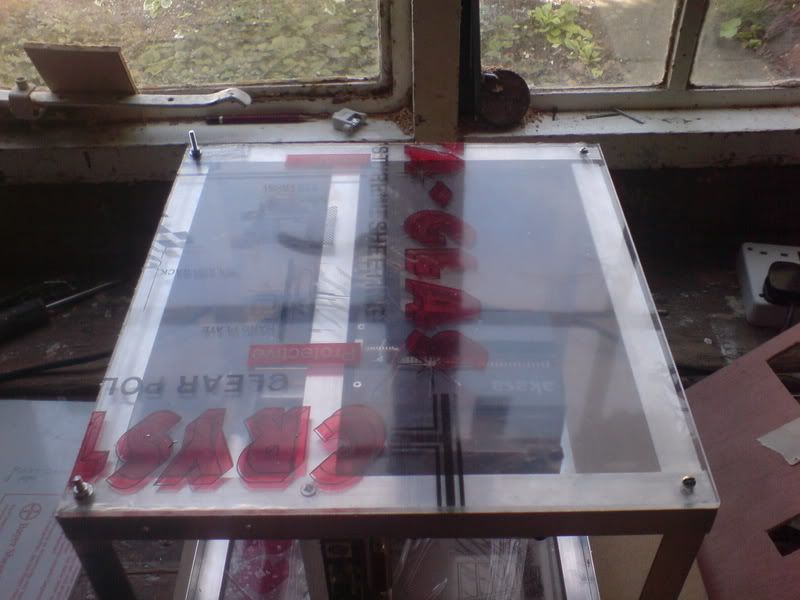
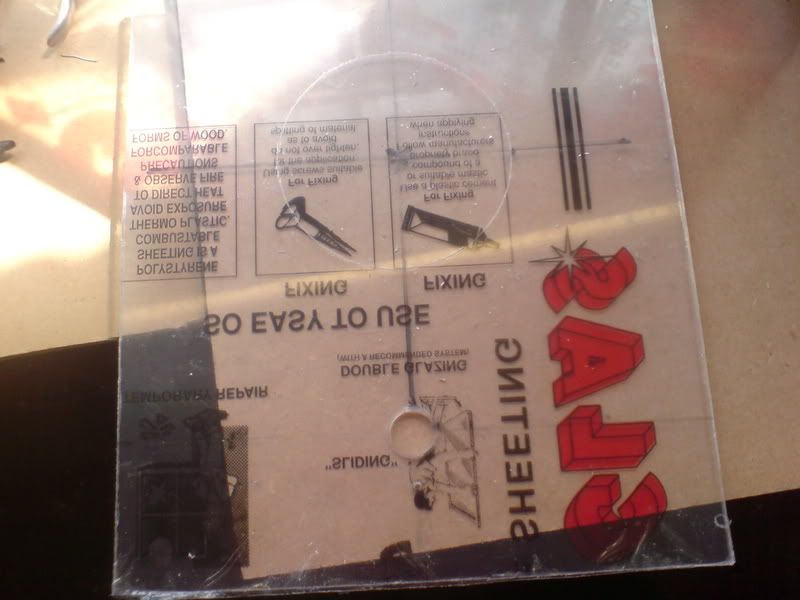
There was something missing from the project as of now...a large sheet of clear plastic!
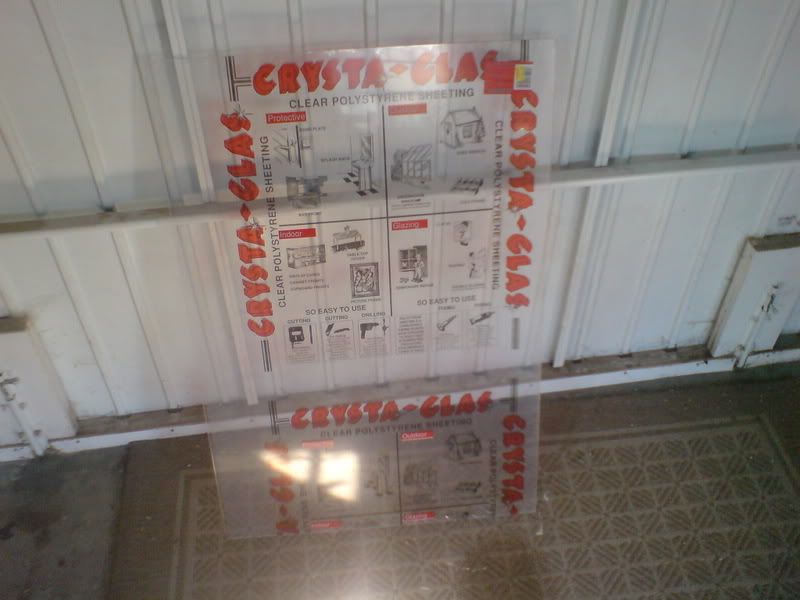
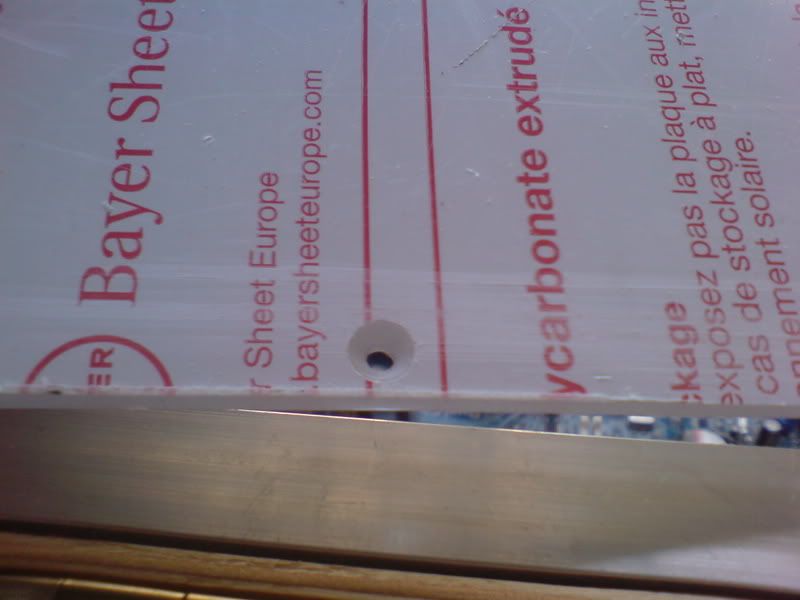
I was lucky to pick this up for a reasonable price from a local store, as it was twice the price at all the larger retailers and this was the Friday before the competition ended on the Sunday, so no time to order off the net! And proof of my "good" deal:

That was a 3 foot by 2 foot sheet, 4mm thick I also picked up some fancy black spray paint:

The black spray paint was quickly put into practice, with a coat or two on the base sheet of acrylic:
For the top, I decided on using the window acrylic which I had for Hellcat as its more high quality stuff, and with the plans I had for the top I needed it to be stronger. In place:

The two sides were reasonably easy to mark out, cut with a saw and then drill mounting holes:
I put the nuts on the outside of the panel at the bottom, and on the inside at the top - otherwise I would have had no access to the nuts at the bottom of the panel to remove the side panel:
I cut the top panel to size, then drilled the back for the hinge...yes, the hinge! For making the top easily openable for "PC editing"") After countersinking:
After countersinking:
The hinge got painted black too:
There were other things for me still to work on though...first up being the back. I decided on plywood as its easy to mod for extra expansions cards. All marked up:
In place and bolted - its held in place at the top by bolts, washers and nuts going through the (as of yet unpainted) hinge. The masking tape was because the plywood started flaking when it was cut, but when painted that held the piece in place:
And finally ready for painting, along with the PSU bracket (ignore the fan controller front):

Something you might note is that the plywood back has been shortened...I decided that was the best and easiest idea.
Next up was the front panel - here it is with the switch and LED holes cut (I used a hole saw for the switch) and I then scored a circle for the 120mm fan as I don't have a large enough hole saw (yet):
I then cut out the hole with a jigsaw and made it a nice circle after a lot of personal time with a long fine file...

The power switch is a vandal resistant momentary switch from MNPCTech and I love it, while the power LED is a blue LED I had lying around I've heatshrinked all of the power switch and LED, etc, as well as soldering them all but no pictures as they aren't that easy to install into the case!
Onto the finishing touches - I used a 64mm hole saw to cut a hole for the 80mm HSF fan to exhaust out of. The mesh for the front, which I cut to size and secured with double sided tape:

The front panel was secured with see through silicone sealant, and I don't know if its because it was old stuff I had lying around but not only is it transparent but it reminds me of Bluetak - if I pull reasonably hard, the panel comes off, and I can stick it back on, while it still stays transparent. Allows me to remove it easily without comprimising on anything like vibrations
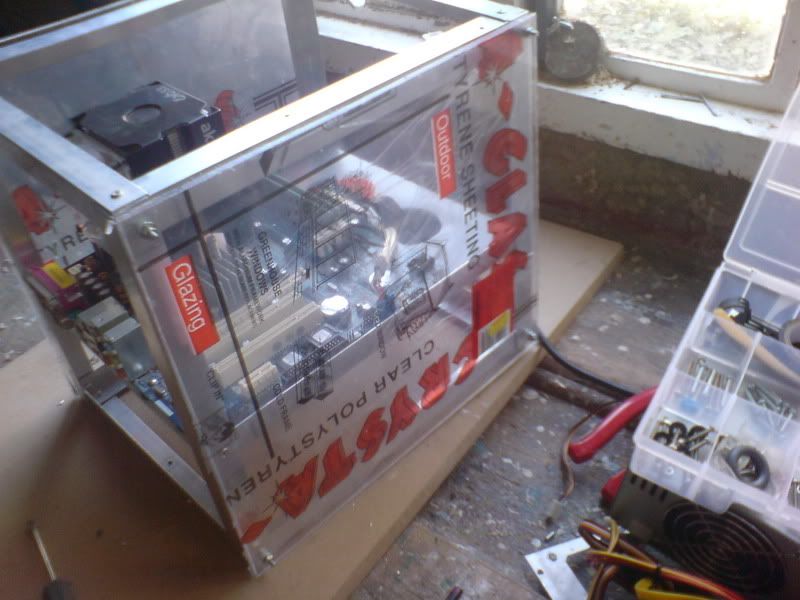
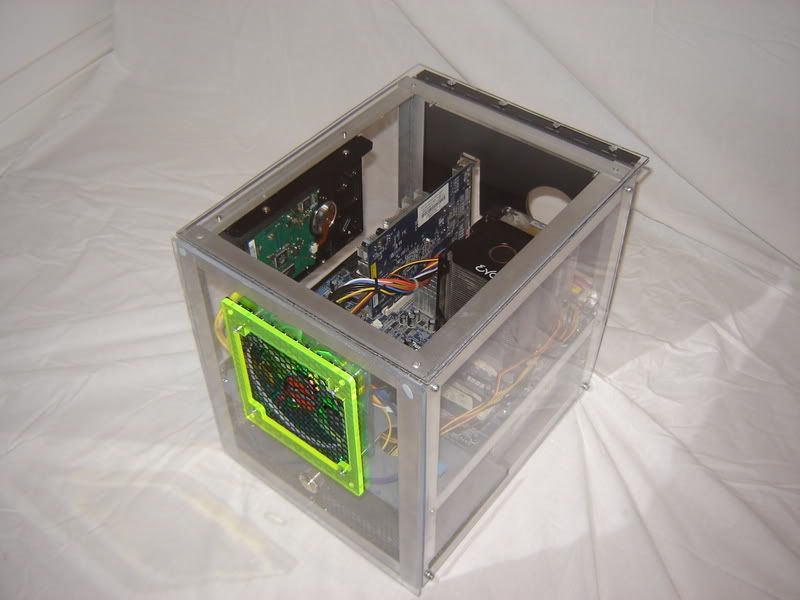
Stage 3 - Finished!
Connected it all up, and here are the final pictures!:


Stage 4 - Final Notes
Wow, has this been a ride. My first ever mod, and I'm happy with it. There are some bits and pieces which I would like to change and add, especially some shiney silver feet which I couldn't add as that would have taken it over the height limit
Budget:
Aluminium Angle: £13
Acrylic Sheet: £11.50
Black Spray paint: £4.95
Screws, nuts, washers, etc: £4
Power button: £2.50
Total cost: £35.95
Happily underbudget, and plenty of spare spray paint, acrylic and screws/bolts/washers/nuts left
Thanks
Well, hoping I won't miss anyone out but here goes:
Craig for organizing the competition
Dan (skull) for being there for a chat and for running CPCFF in his own slightly odd way ^_^
Gorstie for his help and for the laptop DVD drive *thumbs up*
nagal (OCN) for the questions, comments and chats
Anyone I bought parts off for this mod
All those who looked at my mod, especially those who commented, be it postive, negative or a question
Good luck to every one else who has entered! The things you people have come up with are amazing
But most thanks go out to Syrillian - my inspiration for this case mod, he's always around to reply to a PM or answer a tough question...check out his mods on Overclock.net and BlazingPC, and many many thanks to him.
Still to come
These are my remaining plans for the case:
Larger, chrome style feet - e.g. KustomPCsMNPCTech
Cut the back edges of the acrylic so that it doesn't overhang the edges of the hinge
Spray the DVD drive black or red
Put aluminium sheets (which marcus is getting me) over the sides in the bottom half
Mesh the back hole in the plywood
Engrave "Kai" in italics + custom font on right hand side panel

Cheers for reading. Over and out!
An entry by prosser13 into CPCFF's Custom SFF Case Competition
Stage 1 - Planning
The case was already in my head when the competition was announced and probably had been for a reasonably long while, hidden in the dark depths somewhere. After being transferred onto paper, this is what they looked like.
Case Front:
Case Side:
Case back:
Dimensions were 25cm wide, 30cm high and 30cm deep, so not too big but enough room to work in.
The problem I find with myself is that I wander off and quickly form new ideas and then begin doubting my first image. Add in the fact this was my first ever case mod of any sort, and I really had no idea what the end product would look like!
My other idea from the start was that the case HAD to be useable, as it would have a fully functioning and moderately powerful PC inside it...because of this, airflow was very important, made even more important by the fact the graphics card I decided on and bought was a passively cooled one...
Stage 2 - Let's Get It On!
Trip to B&Q got me two of these for £13:
2cm by 2cm by 1.5mm thick, and 1.5 metres each meaning a total of 3m. Just what I had in mind
It also has quite a nice finish
After a lot of cutting with a hacksaw I end up with this: 8 x 30cm and 4 x 25cm.
I then mocked up the top and the bottom - here's the bottom (or is it the top....)
The trusty pillar-whatsit drill:
And me riveter!
Getting on a bit now (needs to be squeezed and opened 3 or 4 times per rivet!
)After some more hard work both the top and the bottom were drilled and riveted together:
Next it was onto the base, which I cut from a scrap piece of acrylic I had lying around and sprayed with some grey primer (the only paint I had at the time!):
I then moved onto the motherboard tray, which I made from another piece of scratched acrylic which was lying around. First I cut it to size:
I sanded it down to a reasonable finish, primed it as well as cutting two holes - one large, one small - near the front edge for cables to pass through:
I added an extra coat later on, but didn't get a picture. Here's a picture of the legendary grey primer - must be about 10 years old!:
Moving back to the chassis, I did some work which I didn't get a chance to take pictures of - I drilled the neccessary holes for the upright struts, and also added the two support brackets which I cut from the remaining angle. These were secured with countersunk screws, which I countersunk slightly into the metal:
The base was installed with four bolts which I then cut to size, one in the centre of each piece of angle making up the bottom:
I tgeb installed the motherboard tray, using a bolt in each corner this time:
The motherboard fit was MUCH tighter than I realised, so I added some strips of electrical tape down each side:
Next stage was motherboard washers - to help with vibrations and to save me having to hunt for all my misplaced motherboard standoffs I had an idea to use tap washers, which my grandad has millions of from his old job. I realised the washers wouldn't fit on the screws closest to the edges, so I cut some of them down:
Next thing to do was install the motherboard - I know its bad practice to mod with components inside the case, especially (hopefully) working ones, and I don't really have any excuses! Just please don't copy!
The fit of the holes is pretty much perfect, if I do say so myself:
And the back of the case. In the bottom half will be the PSU and I was planning on putting the hard drive there too:
Onto the power supply mounting. First up was an appearance by some funky blue metal stuff:
I hunted around and found the power supply backing which I cut from Hellcat:
It needed a bit of cutting and bending, but I ended up with this:
I measured up and installed three bolts to hold it in place - two botlts go through the edge of the PSU backing, while another smaller one goes through the bottom corner:
A shot from another angle:
There are two strips of the "blue metal stuff" - the first is held in place by the back bolt, and is also held in place by the smaller bolt with a nut on the other side. The other strip is held in place by the two middle bolts for the base, one on each side, and the PSU rests on that.
I decided that there wasn't enough space or airflow in the bottom chamber for the hard drive to be installed there, so I had another idea. I covered up the motherboard with a bag and then drilled two bolts - the alignment is awful, but luckily its not really obvious as in the end I used pretty small screws:
I cut a piece of scrap off a sheet of metal which was originally from the back of an ancient radio, but my first set of screw holes didn't allow for enough room for the bolts - there is a small flange at the end, and the nuts were bumping into that:
I filled the holes - as well as drilling some more holes for the actual hard drive mounting - sanded the bracket down, and primed and then sprayed the bracket black. Here it is installed:
BTW, I was keeping myself happily occupied in a good ol' British/English way, with an ancient radio and the golf on!
Next up was the laptop DVD drive, which I was given by Gorstie *loves* I had to buy a convertor off eBay (from Hong Kong), but that was only a few quid
Yay for things going well!
And the convertor all connected up:
My plans for mounting:
This would require a small section to be filed out of the angle, but I had already filed a small bit out for the parrallel port and found it was surprisingly easy:
I didn't get access to a workshop for a while, so I spent a bit of time designing the front grill, and ended up with this:
With 79% airflow and a nice contrast between both the green and silver of the frame, and the green and black of the mesh, I was happy
I also cut out some more mesh for the case, which will go at the bottom of the front:
As with the custom grill, this is AcRyan HEXX mesh, and I love the way it loooks
A close up:
There was something missing from the project as of now...a large sheet of clear plastic!
I was lucky to pick this up for a reasonable price from a local store, as it was twice the price at all the larger retailers and this was the Friday before the competition ended on the Sunday, so no time to order off the net! And proof of my "good" deal:
That was a 3 foot by 2 foot sheet, 4mm thick
I also picked up some fancy black spray paint:
The black spray paint was quickly put into practice, with a coat or two on the base sheet of acrylic:
For the top, I decided on using the window acrylic which I had for Hellcat as its more high quality stuff, and with the plans I had for the top I needed it to be stronger. In place:
The two sides were reasonably easy to mark out, cut with a saw and then drill mounting holes:
I put the nuts on the outside of the panel at the bottom, and on the inside at the top - otherwise I would have had no access to the nuts at the bottom of the panel to remove the side panel:
I cut the top panel to size, then drilled the back for the hinge...yes, the hinge! For making the top easily openable for "PC editing"
After countersinking:
The hinge got painted black too:
There were other things for me still to work on though...first up being the back. I decided on plywood as its easy to mod for extra expansions cards. All marked up:
In place and bolted - its held in place at the top by bolts, washers and nuts going through the (as of yet unpainted) hinge. The masking tape was because the plywood started flaking when it was cut, but when painted that held the piece in place:
And finally ready for painting, along with the PSU bracket (ignore the fan controller front):
Something you might note is that the plywood back has been shortened...I decided that was the best and easiest idea.
Next up was the front panel - here it is with the switch and LED holes cut (I used a hole saw for the switch) and I then scored a circle for the 120mm fan as I don't have a large enough hole saw (yet):
I then cut out the hole with a jigsaw and made it a nice circle after a lot of personal time with a long fine file...
The power switch is a vandal resistant momentary switch from MNPCTech and I love it, while the power LED is a blue LED I had lying around
I've heatshrinked all of the power switch and LED, etc, as well as soldering them all but no pictures as they aren't that easy to install into the case!Onto the finishing touches - I used a 64mm hole saw to cut a hole for the 80mm HSF fan to exhaust out of. The mesh for the front, which I cut to size and secured with double sided tape:
The front panel was secured with see through silicone sealant, and I don't know if its because it was old stuff I had lying around but not only is it transparent but it reminds me of Bluetak - if I pull reasonably hard, the panel comes off, and I can stick it back on, while it still stays transparent. Allows me to remove it easily without comprimising on anything like vibrations
Stage 3 - Finished!
Connected it all up, and here are the final pictures!:
Stage 4 - Final Notes
Wow, has this been a ride. My first ever mod, and I'm happy with it. There are some bits and pieces which I would like to change and add, especially some shiney silver feet which I couldn't add as that would have taken it over the height limit
Budget:
Aluminium Angle: £13
Acrylic Sheet: £11.50
Black Spray paint: £4.95
Screws, nuts, washers, etc: £4
Power button: £2.50
Total cost: £35.95
Happily underbudget, and plenty of spare spray paint, acrylic and screws/bolts/washers/nuts left
Thanks
Well, hoping I won't miss anyone out but here goes:
Craig for organizing the competition
Dan (skull) for being there for a chat and for running CPCFF in his own slightly odd way
^_^Gorstie for his help and for the laptop DVD drive
*thumbs up*nagal (OCN) for the questions, comments and chats
Anyone I bought parts off for this mod
All those who looked at my mod, especially those who commented, be it postive, negative or a question
Good luck to every one else who has entered! The things you people have come up with are amazing
But most thanks go out to Syrillian - my inspiration for this case mod, he's always around to reply to a PM or answer a tough question...check out his mods on Overclock.net and BlazingPC, and many many thanks to him.
Still to come
These are my remaining plans for the case:
Larger, chrome style feet - e.g. KustomPCsMNPCTech
Cut the back edges of the acrylic so that it doesn't overhang the edges of the hinge
Spray the DVD drive black or red
Put aluminium sheets (which marcus is getting me) over the sides in the bottom half
Mesh the back hole in the plywood
Engrave "Kai" in italics + custom font on right hand side panel
Cheers for reading. Over and out!
