So im going watercooling again and I thought I would make a log of how everything goes, with lots and lots of pics inc my very special case thats in the works. ")
Any way onto business.
PC Hardware:
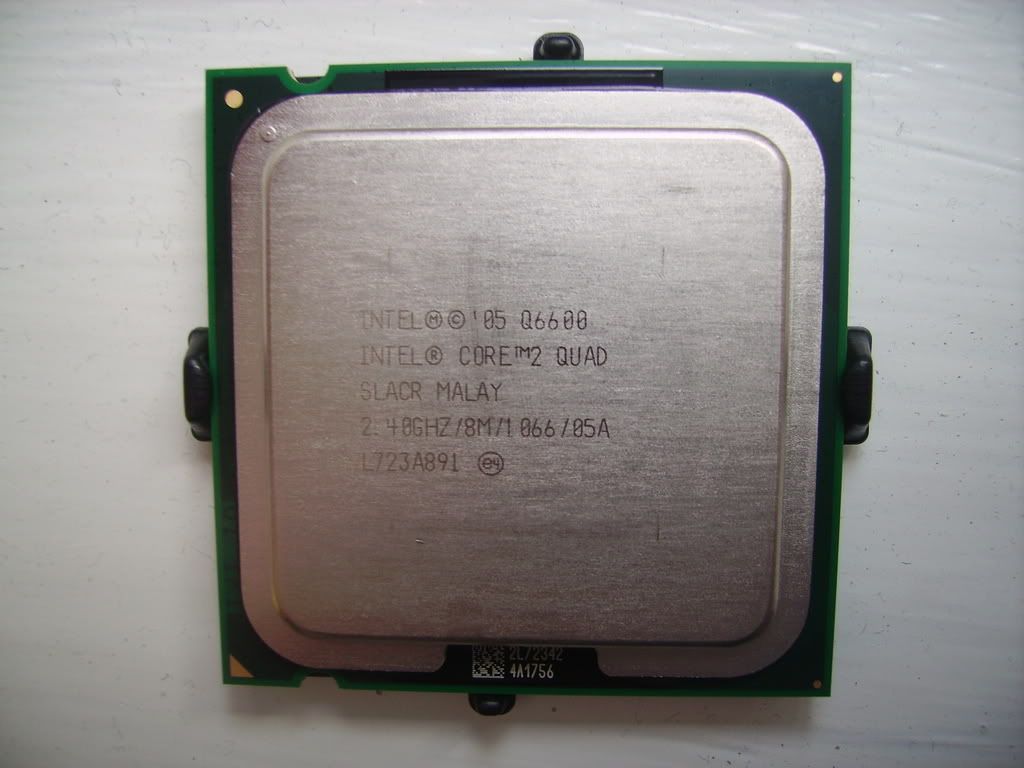
CPU - Intel Q6600 G0
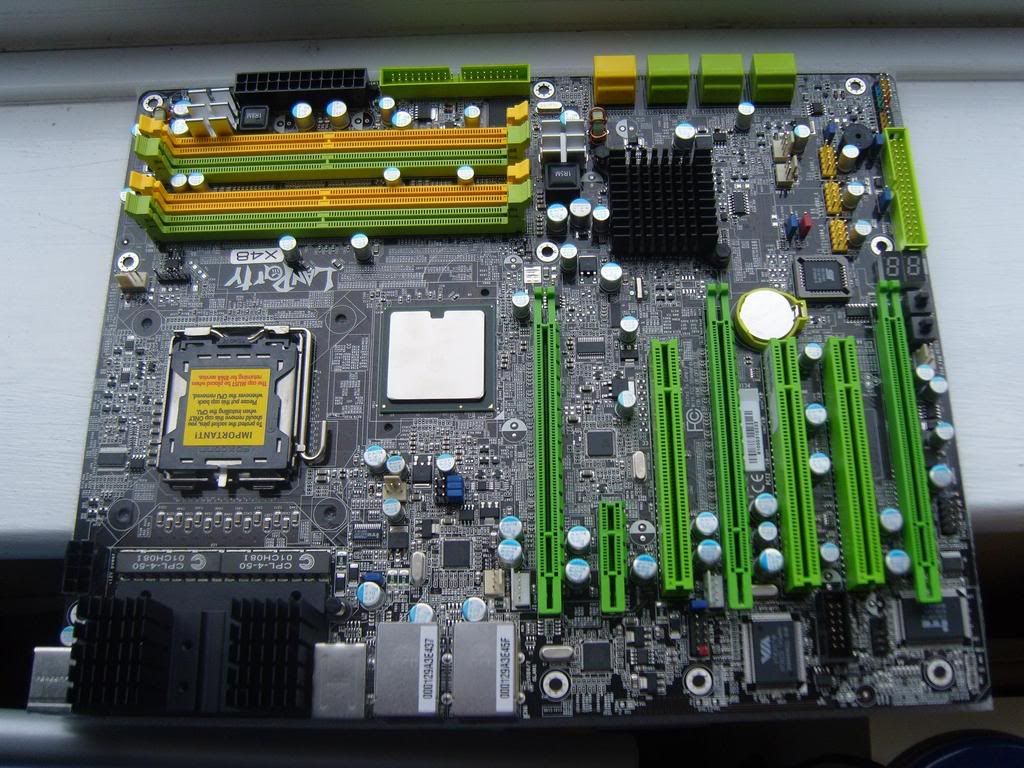
Motherboard - DFI Lanparty LT X48-T2R
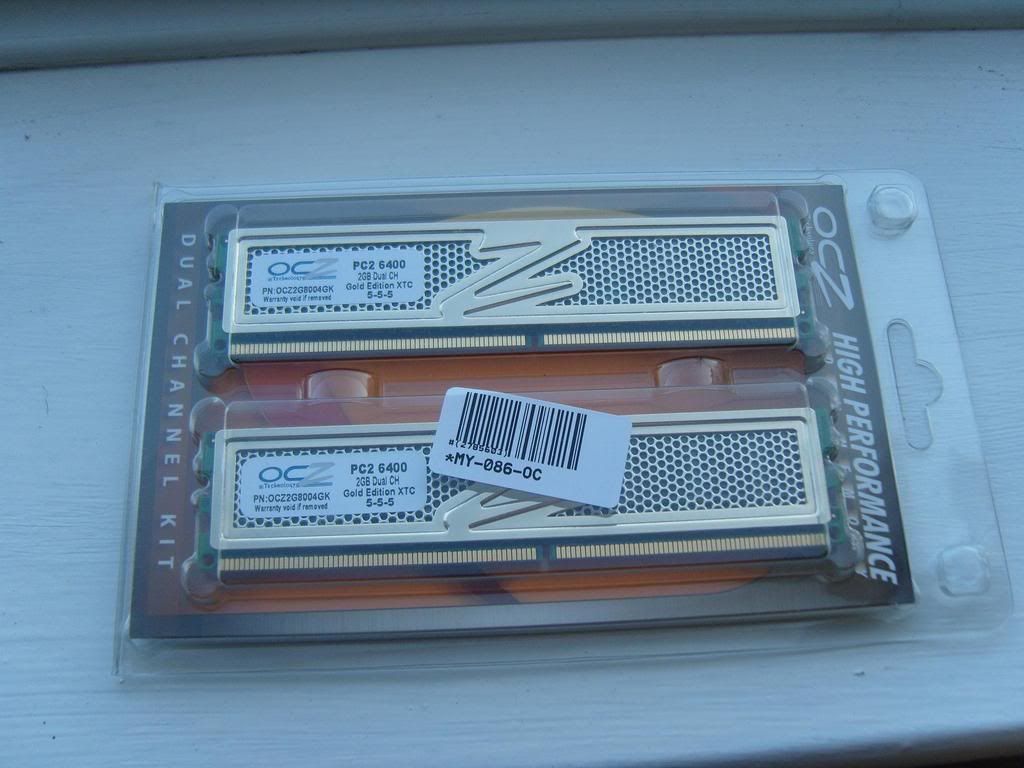
RAM - 4Gb OCZ 6400
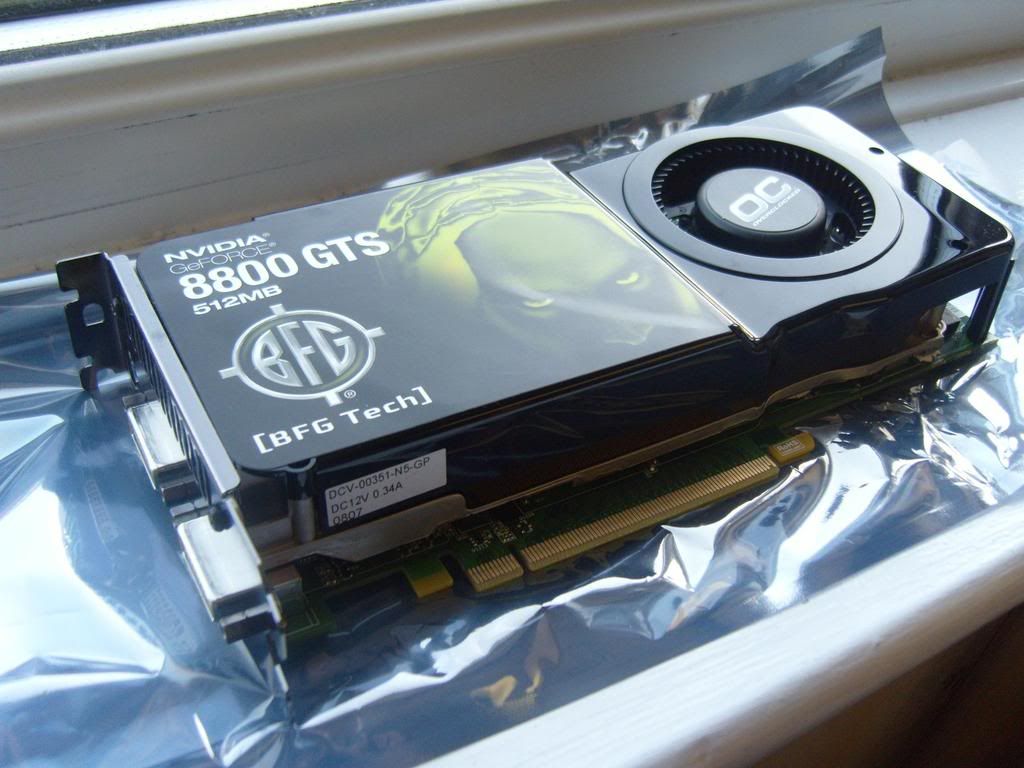
Graphics card - BFG 8800 GTS 512mb OC (may be changed to a PNY 9800GTX soon)
Hard drives - 250Gb Seagate, 500Gb Samsung, 2 x 60gb 2.5inch (Fujitsu & Seagate)
PSU - Corsair 620W
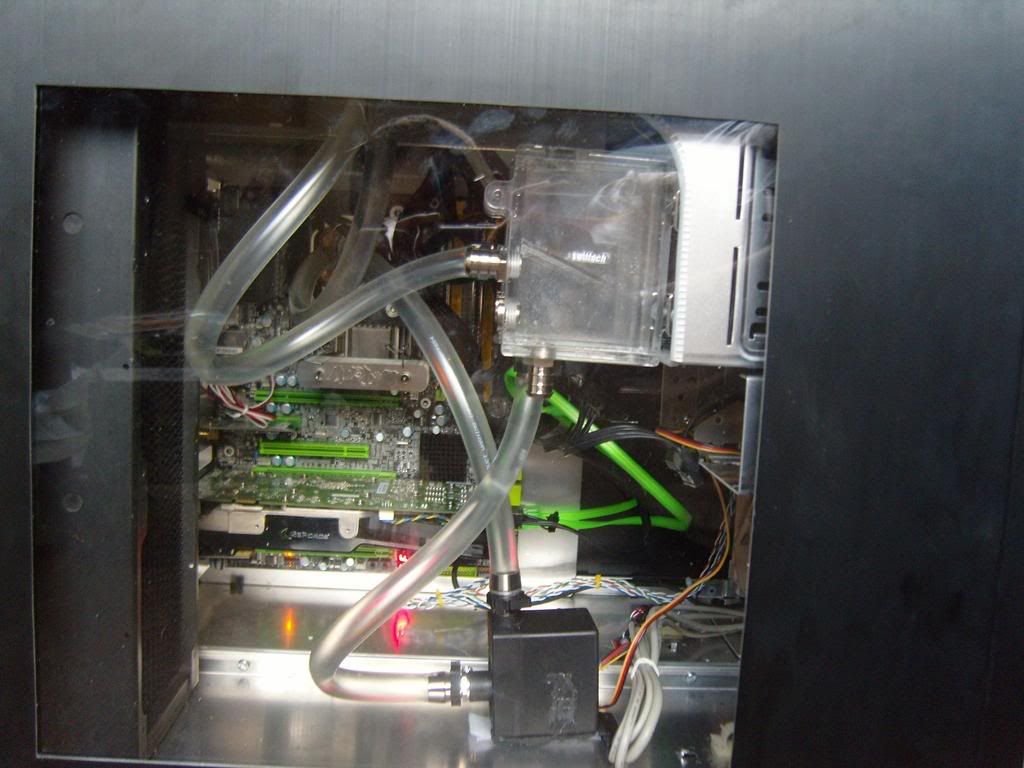
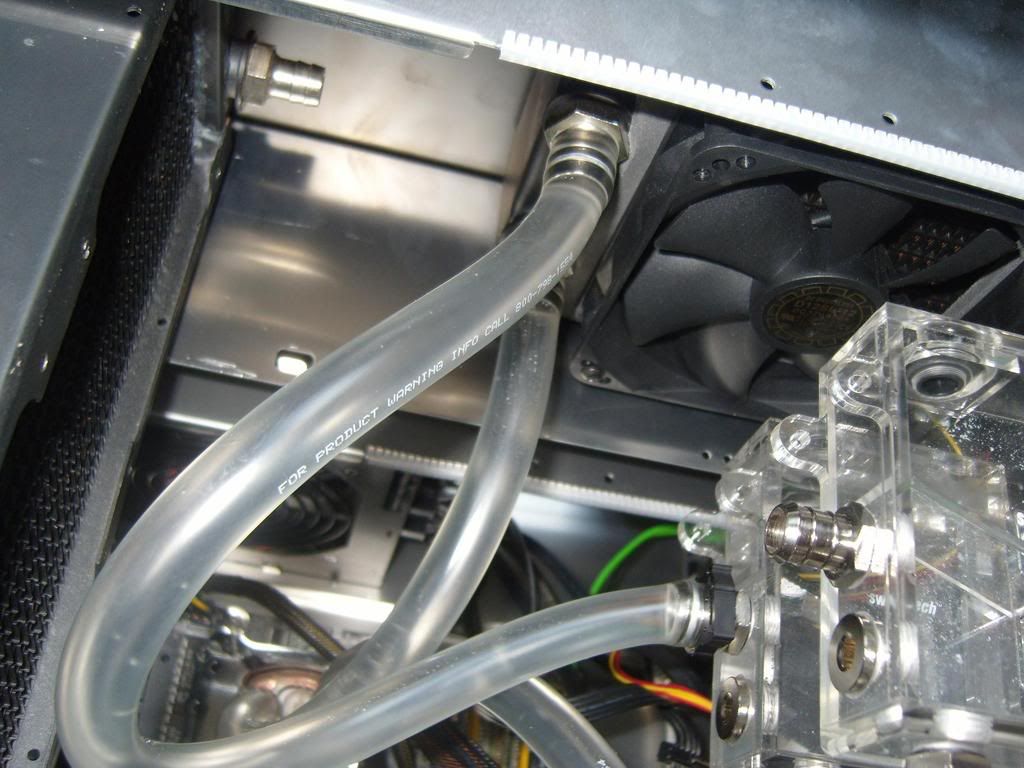
Watercooling gear:
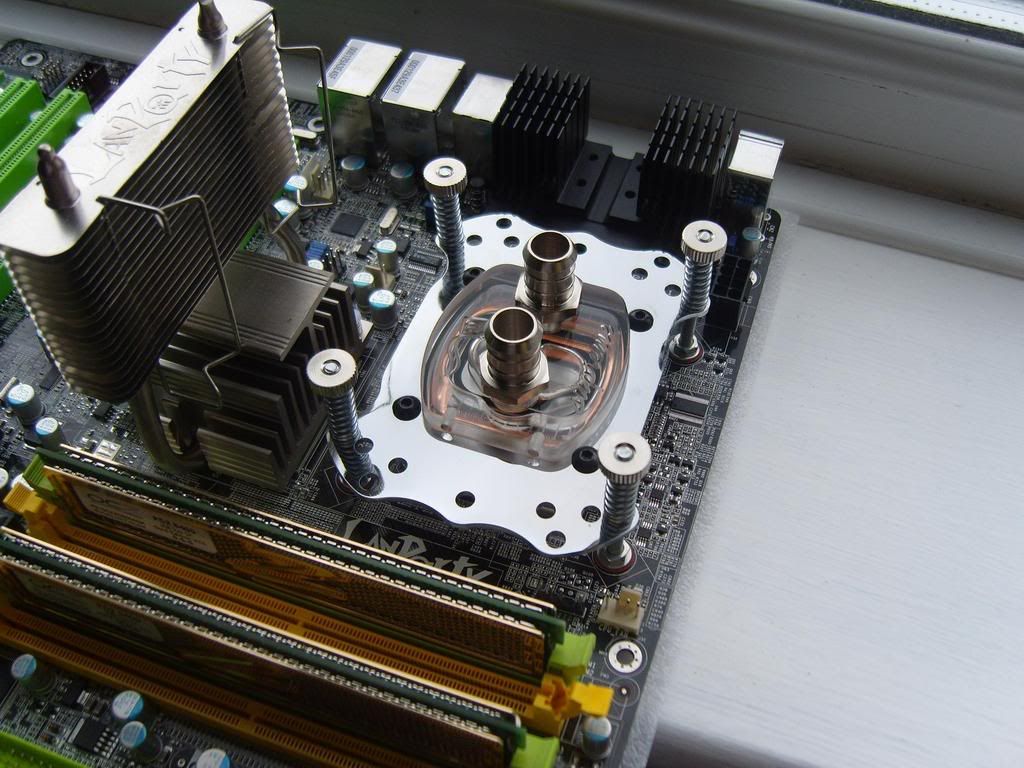
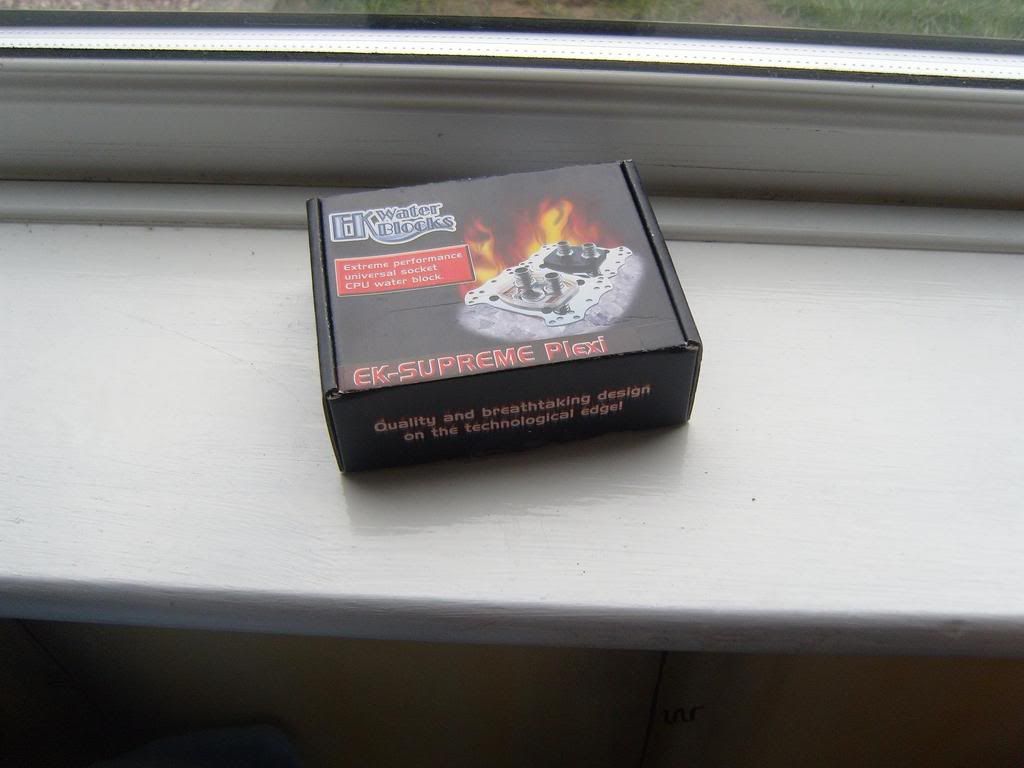
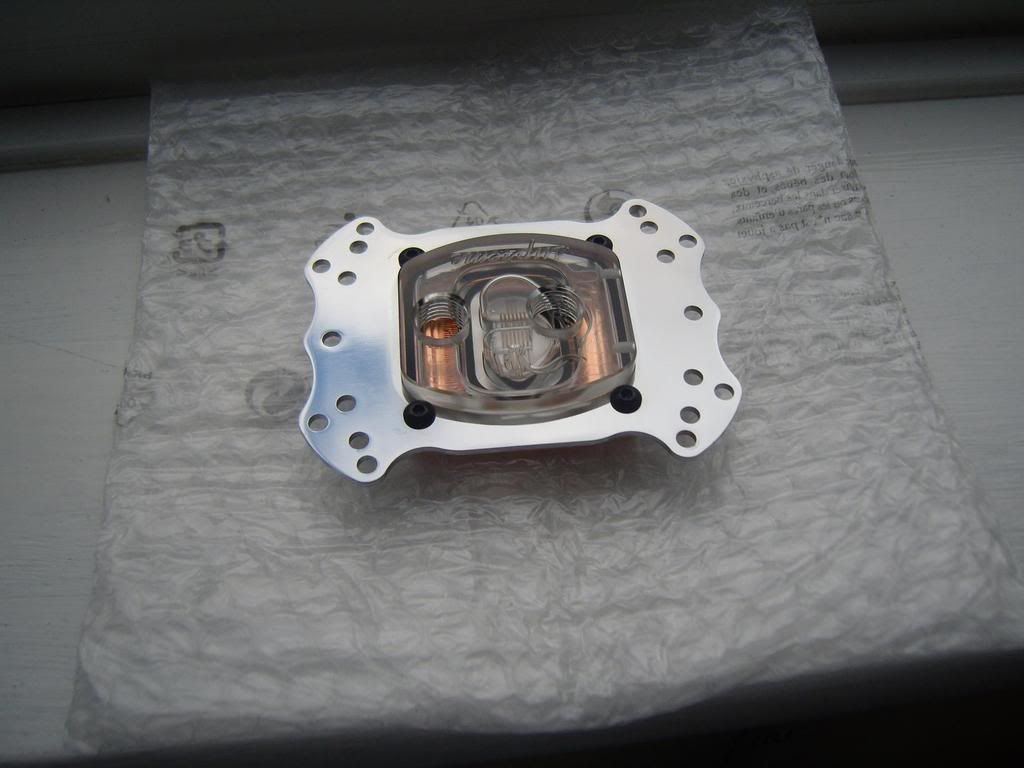
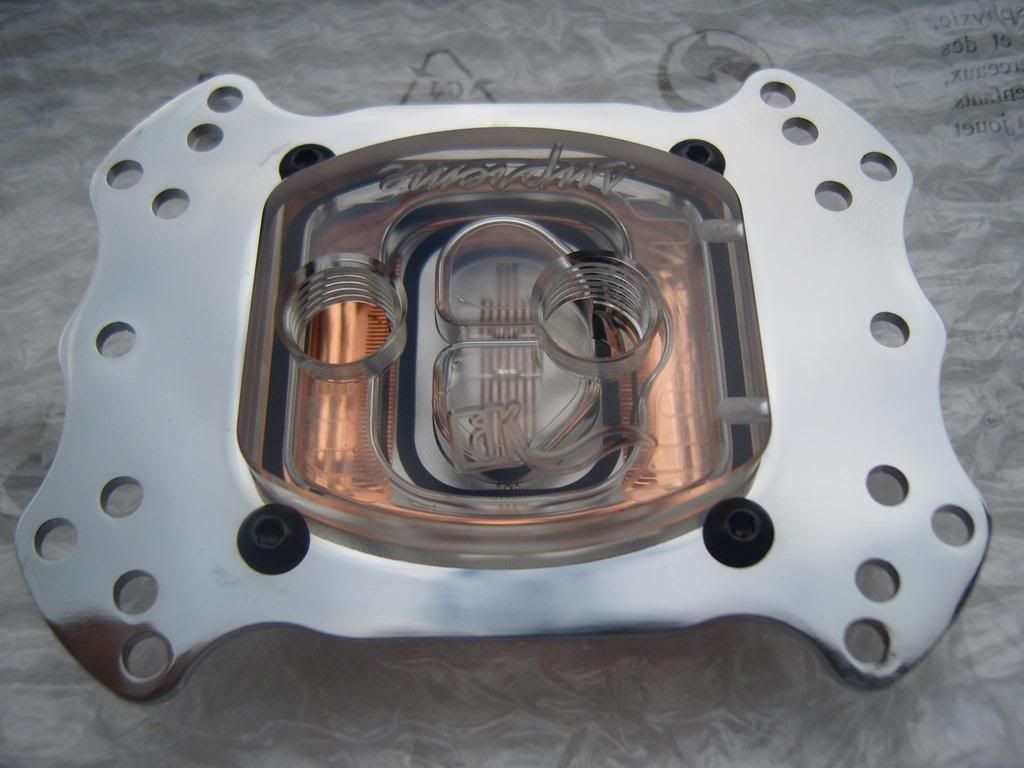
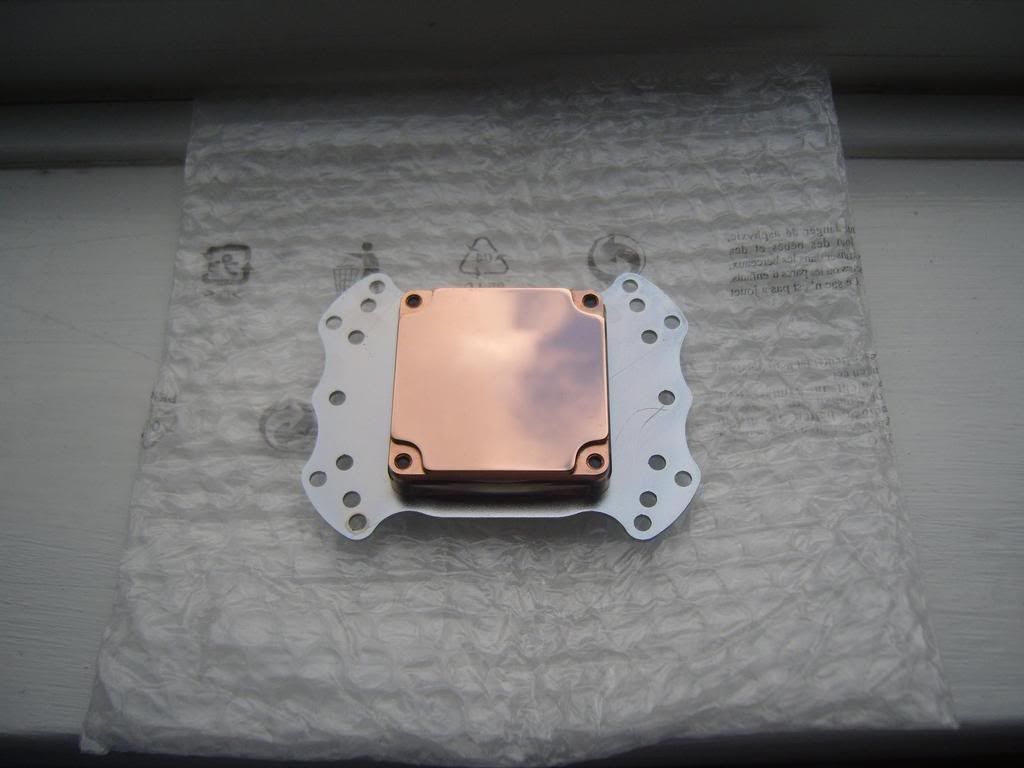
CPU block - EK Supreme Acrylic
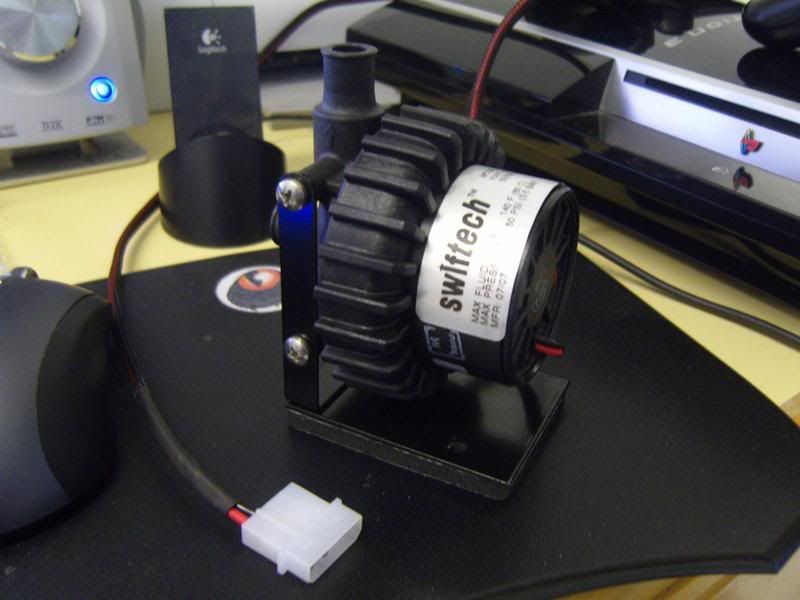
Pumps - D5 Vario, D-Tek dB-1
Rads - 1 * Thermochill PA120.2 & 1 * Thermochill PA120.3
Res - 2 * Swiftech MCRES-Micro
The bottom of the res have been modded so the out let of the res is at the bottom. Can then put the pumps directly below the res, makes everything alot easier.
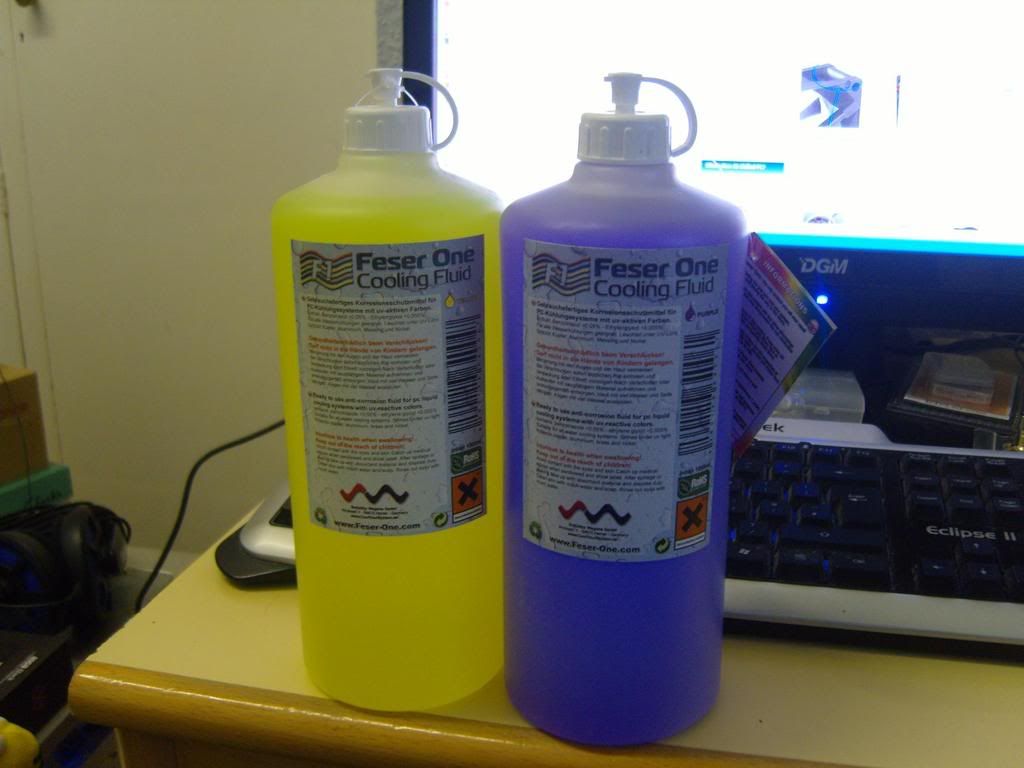
Coolant - Feser One (Yellow & Purple)
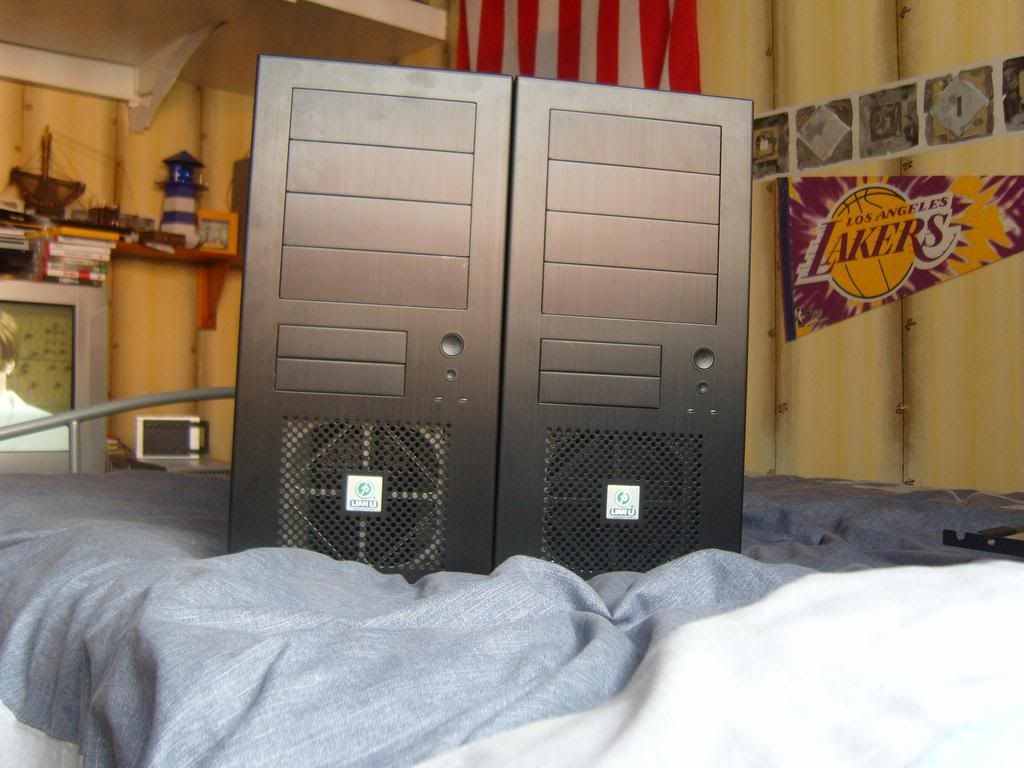
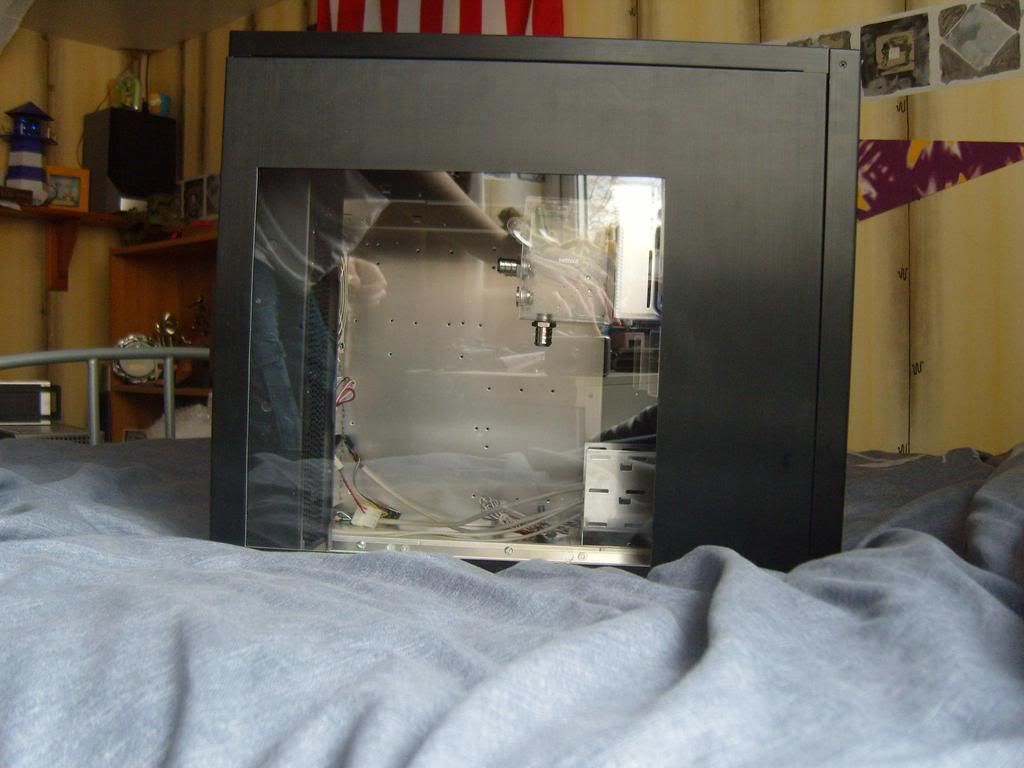
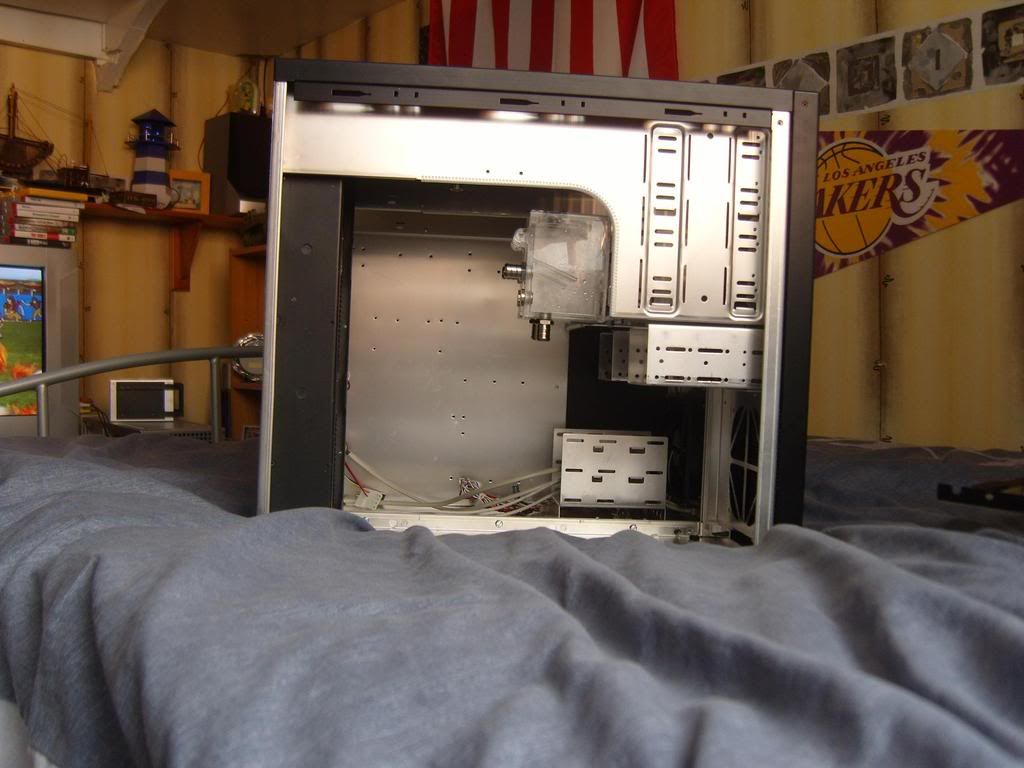
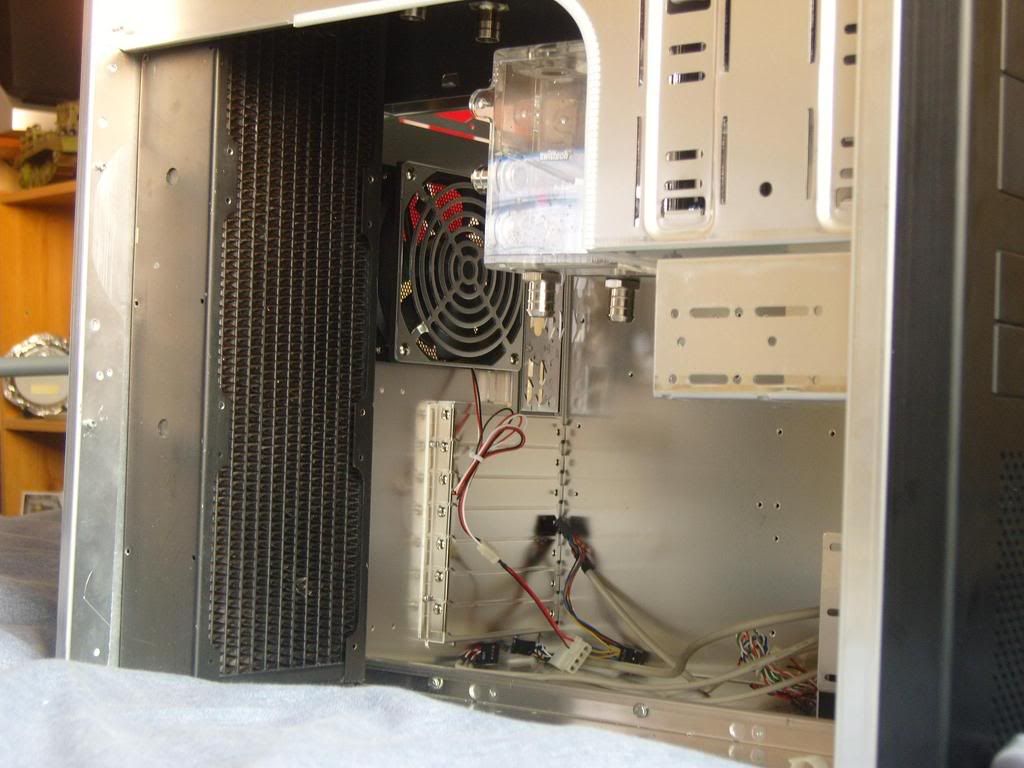
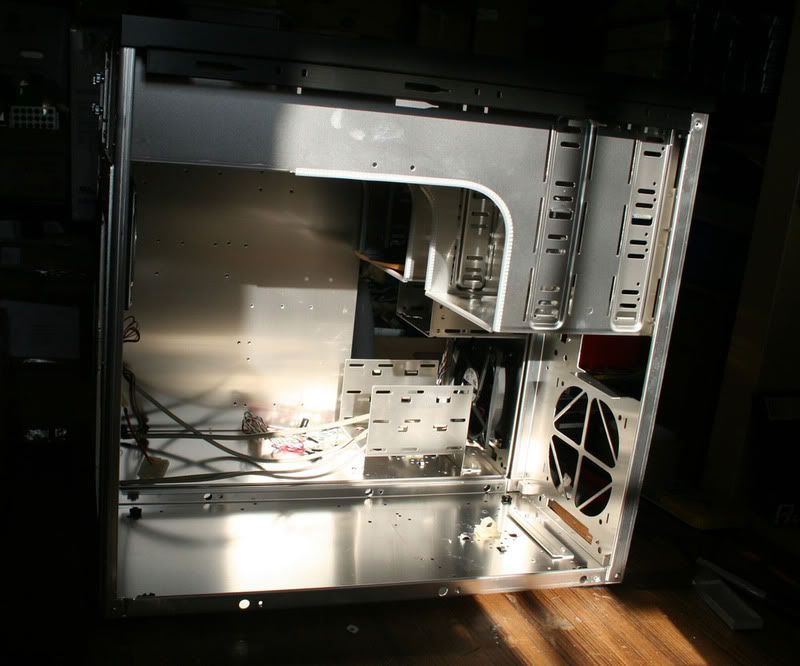
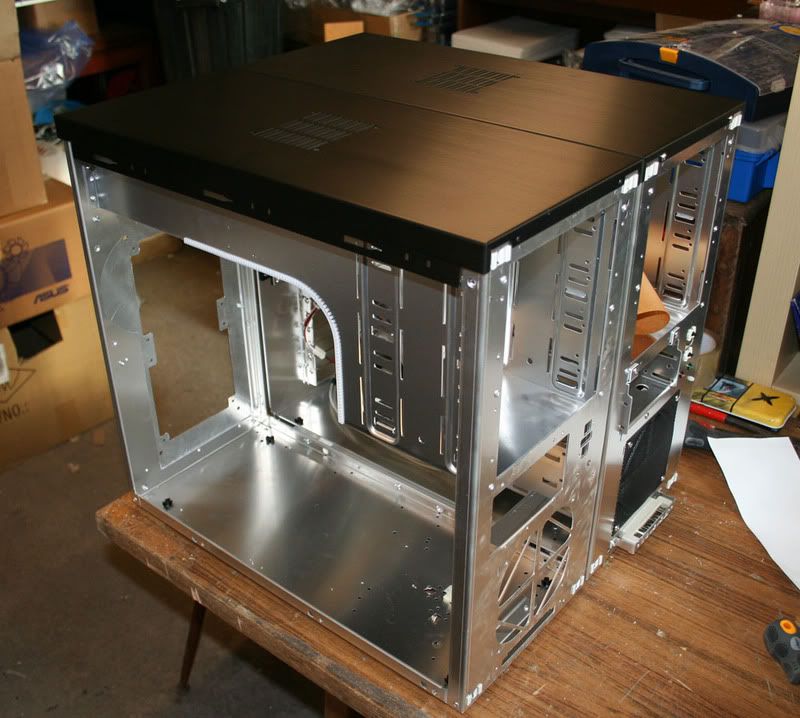
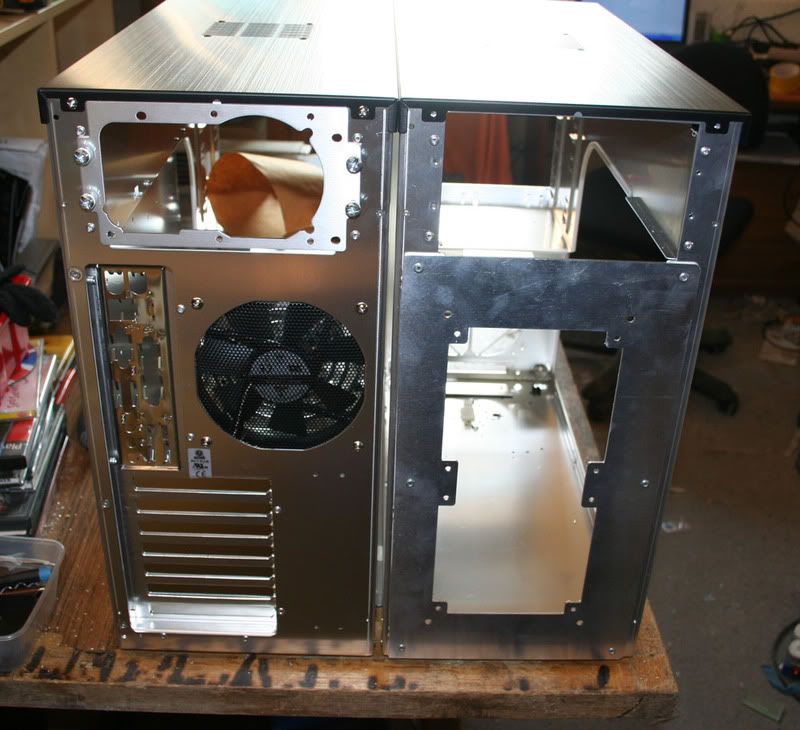
Case - Lian Li PC7²
Some latest pics of the case...
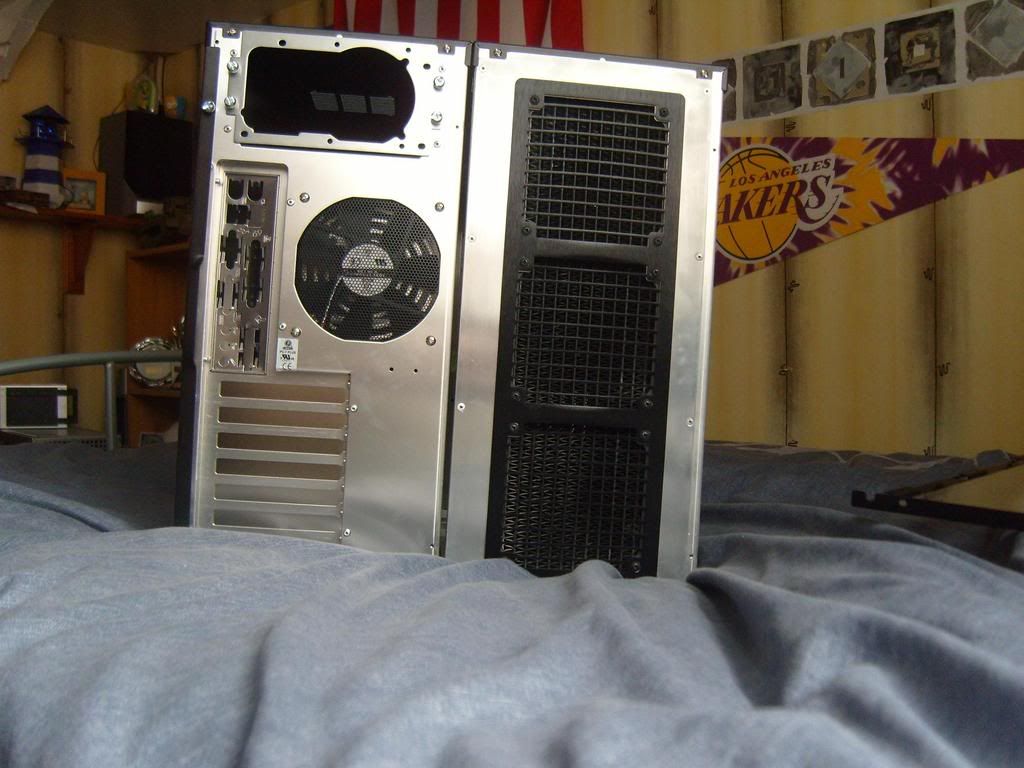
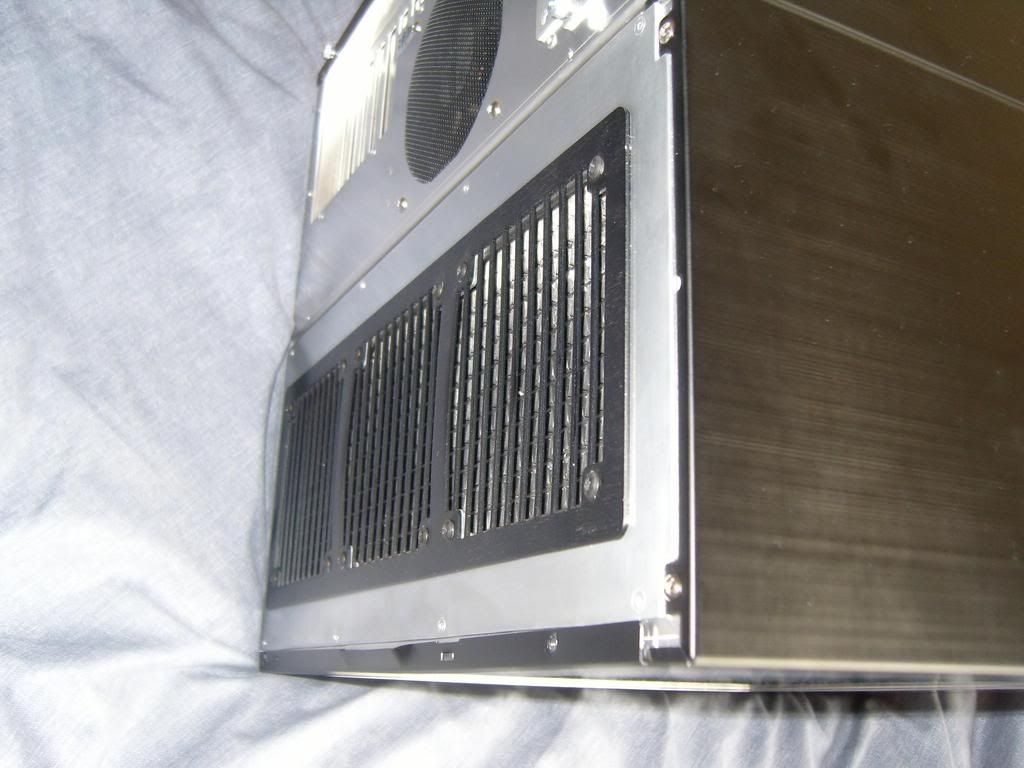
Custom ChilledPC PA120.2 backplate goodness.
Second rad will go in the top panel of case.
Right case for PC and left for watercooling etc.
Cases are attached together using some metal spacers so that both front panels can still fit on.
Thats all for now folks.
Any way onto business.
PC Hardware:
CPU - Intel Q6600 G0
Motherboard - DFI Lanparty LT X48-T2R
RAM - 4Gb OCZ 6400
Graphics card - BFG 8800 GTS 512mb OC (may be changed to a PNY 9800GTX soon)
Hard drives - 250Gb Seagate, 500Gb Samsung, 2 x 60gb 2.5inch (Fujitsu & Seagate)
PSU - Corsair 620W
Watercooling gear:
CPU block - EK Supreme Acrylic
Pumps - D5 Vario, D-Tek dB-1
Rads - 1 * Thermochill PA120.2 & 1 * Thermochill PA120.3
Res - 2 * Swiftech MCRES-Micro
The bottom of the res have been modded so the out let of the res is at the bottom. Can then put the pumps directly below the res, makes everything alot easier.
Coolant - Feser One (Yellow & Purple)
Case - Lian Li PC7²
Some latest pics of the case...
Custom ChilledPC PA120.2 backplate goodness.
Second rad will go in the top panel of case.
Right case for PC and left for watercooling etc.
Cases are attached together using some metal spacers so that both front panels can still fit on.
Thats all for now folks.


")