cybermaniac
New member
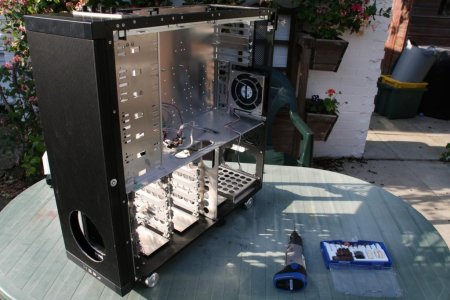
ok guys
here is what i did to remove the stock block on the motherboard:
These are the tools i needed: Amp remote control (good ol' dire straits), servisol freeze it, screwdriver (both flathead and cross), pliers and scissors (PLEASE replace this with small pliers, my toolkit is not at my house - I BLAME YOU DAN!).

the SB came off as soon as i undid the clips, the NB was a bit harder to do......thats where my buddy servisol came into play.
2-3 minutes of that applied to the underside of the heatsink and voila, it popped off, lil bit of help from a screwdriver just to undo the stickness from the TIM, and it was done.
Mosfet blocks, just as easy as the SB.
Order to do it: SB, Mosfets, then chill and take off the NB.
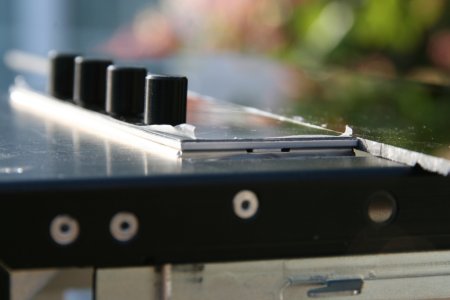
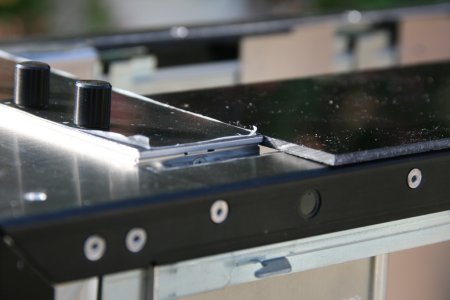
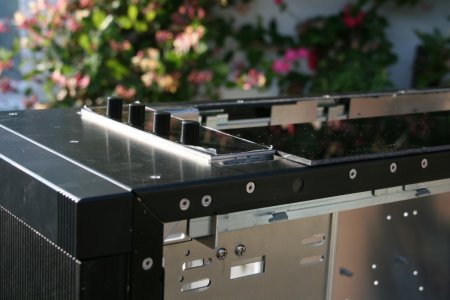
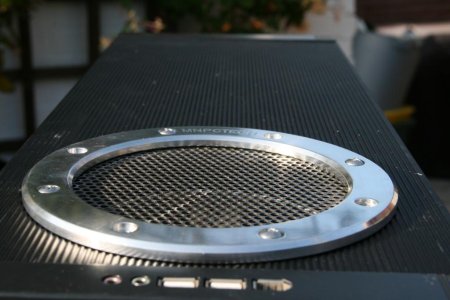
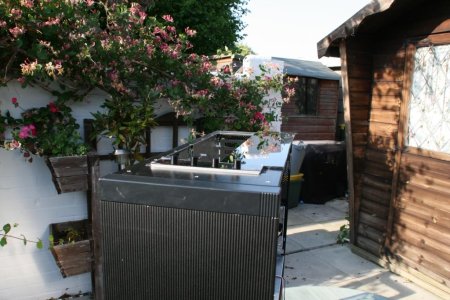
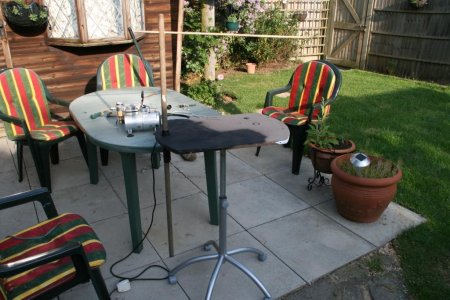
Heres the rest of the pics:


this whole proccess took me "approximatly" 7 minutes, 56 seconds, 157 milliseconds
I hope this helps peeps. I couldn't have done it however, without some help:
reps to xtremesystems for the servisol idea.
As soon as the waterblocks come in, i'll be cleaning up the thermal gunk, putting on some nice MX2, and whacking the blocks on.
here is what i did to remove the stock block on the motherboard:
These are the tools i needed: Amp remote control (good ol' dire straits), servisol freeze it, screwdriver (both flathead and cross), pliers and scissors (PLEASE replace this with small pliers, my toolkit is not at my house - I BLAME YOU DAN!).
the SB came off as soon as i undid the clips, the NB was a bit harder to do......thats where my buddy servisol came into play.
2-3 minutes of that applied to the underside of the heatsink and voila, it popped off, lil bit of help from a screwdriver just to undo the stickness from the TIM, and it was done.
Mosfet blocks, just as easy as the SB.
Order to do it: SB, Mosfets, then chill and take off the NB.
Heres the rest of the pics:
this whole proccess took me "approximatly" 7 minutes, 56 seconds, 157 milliseconds
I hope this helps peeps. I couldn't have done it however, without some help:
reps to xtremesystems for the servisol idea.
As soon as the waterblocks come in, i'll be cleaning up the thermal gunk, putting on some nice MX2, and whacking the blocks on.
 . Oh well, Life gets yas I suppose.
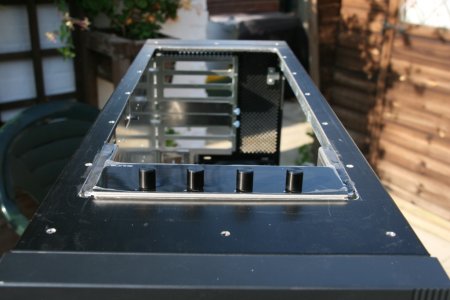


") )
)


