Celticfox
New member
Next year (January) I am going to start working on finishing up a project I started and will soon finish.
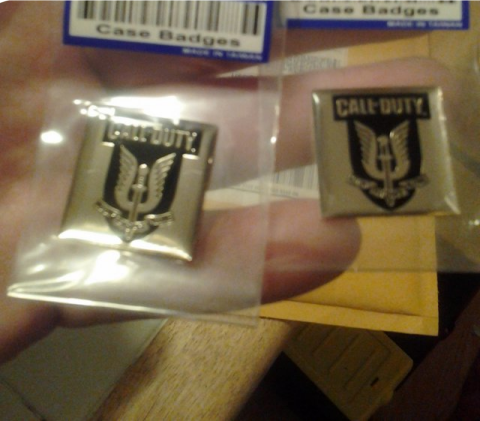
My tribute is to the COD MW3 game and I am using several parts for this build and adding a few touches of my own.
This is again a work in progress and I will post up pics as I can.
Here is a teaser.
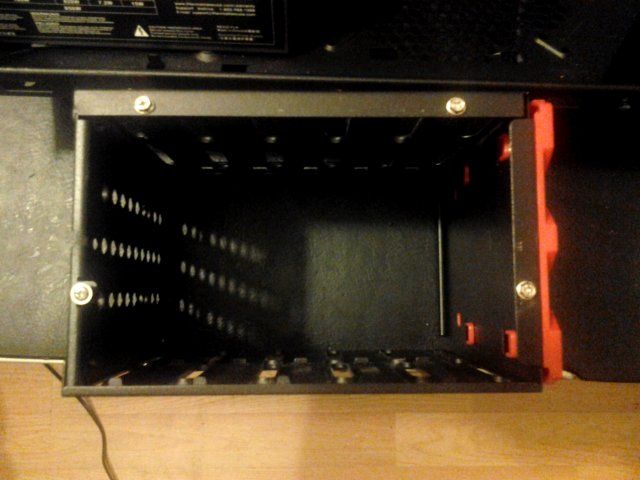
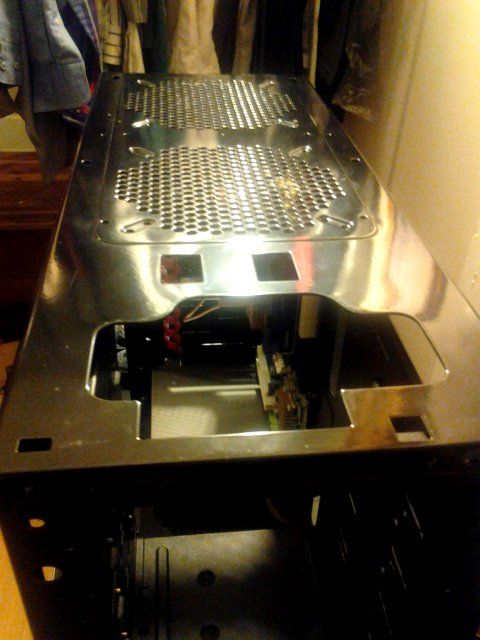
(Part 1) Redo of the top I/O panel on the Sentey Wolf Case.
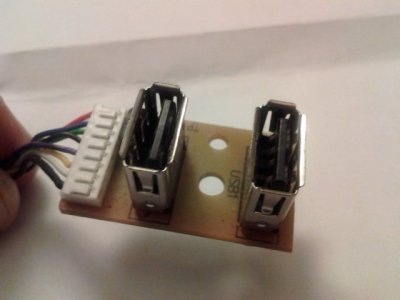
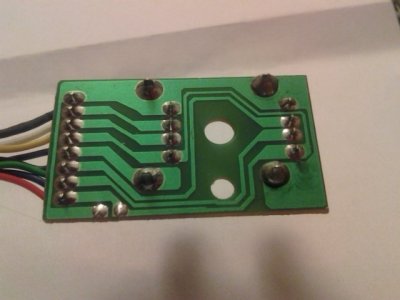
I removed the plastic I/O panel from the top bezel and I am going to create my own I/O port sans the mic/headphone jack and hopefully add some fill ports to it for the Koolance res that will be installed.
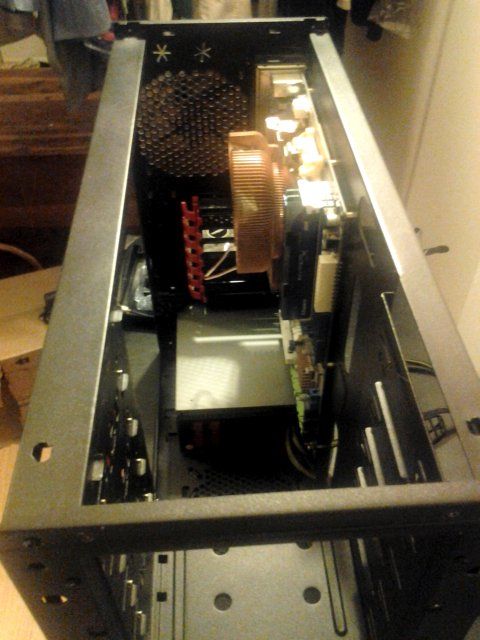
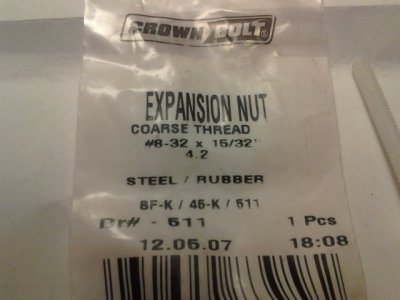
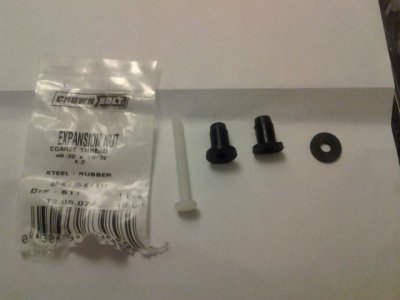
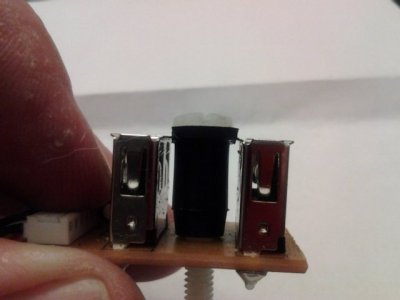
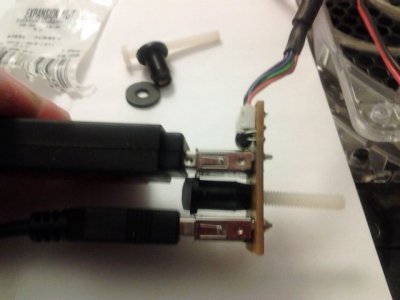
As you can see I used a rubber expansion nut and cut two sides off so that it would fit between the USB ports, I then will add a threaded screw and nut to attach it to the new panel.
In the photos you can see I have the clearance to still plug in USB connectors without interference from the screw.
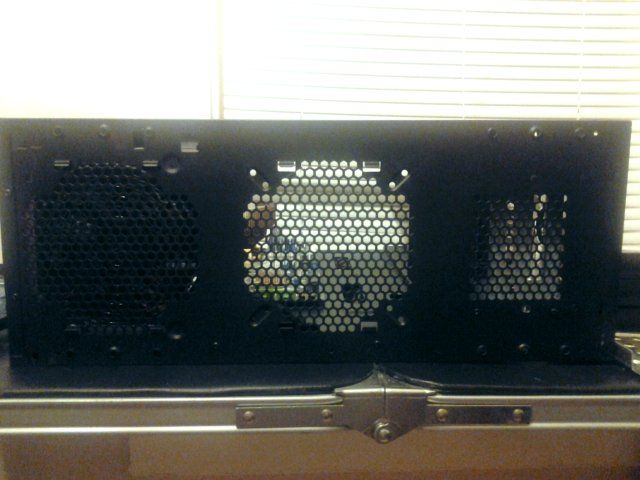
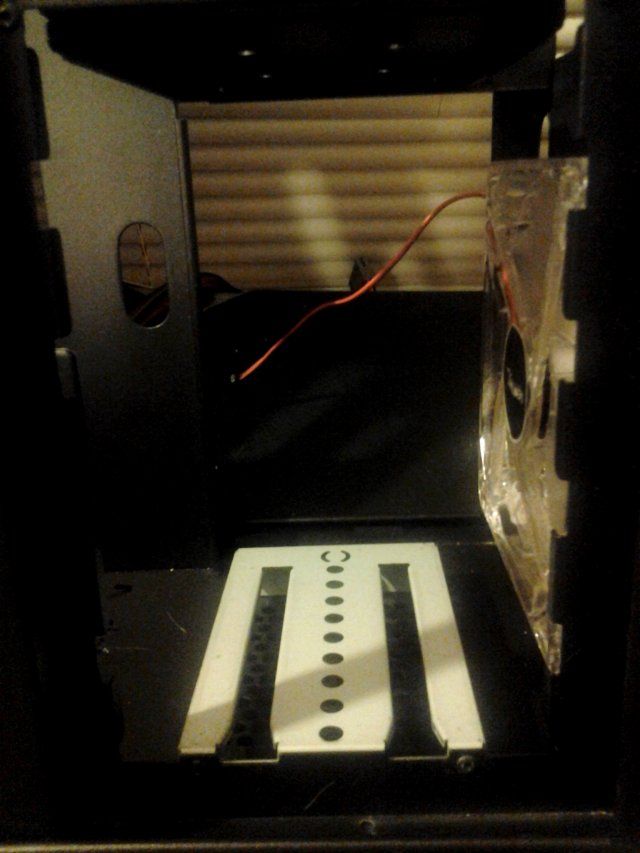
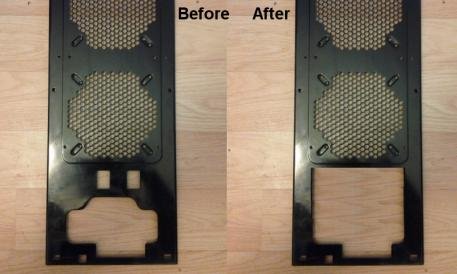
I will also be cutting out the top panel to allow more room for a 80mm fan that will be mounted where the power button is normally located. The 80mm fan will be used to help cool the pumps in the Koolance 402 Res located below the panel.
My tribute is to the COD MW3 game and I am using several parts for this build and adding a few touches of my own.
This is again a work in progress and I will post up pics as I can.
Here is a teaser.
(Part 1) Redo of the top I/O panel on the Sentey Wolf Case.
I removed the plastic I/O panel from the top bezel and I am going to create my own I/O port sans the mic/headphone jack and hopefully add some fill ports to it for the Koolance res that will be installed.
As you can see I used a rubber expansion nut and cut two sides off so that it would fit between the USB ports, I then will add a threaded screw and nut to attach it to the new panel.
In the photos you can see I have the clearance to still plug in USB connectors without interference from the screw.
I will also be cutting out the top panel to allow more room for a 80mm fan that will be mounted where the power button is normally located. The 80mm fan will be used to help cool the pumps in the Koolance 402 Res located below the panel.
Attachments
Last edited:
")