Project -=[Black Dragon]=-
Hey all!
After months of preparation, by means of purchasing hardware in bits and pieces, I've finally gotten to start on my first project build
I'm naming it -=[Black Dragon]=- for now.
So basically the parts that I'll be using for the rig are the following:
PC Hardware:
Case: Lian Li G70 black with powdercoated internals (thanks AydST") )
)
Motherboard: Asus Striker II Formula - completely watercooled
Powersupply: BeQuiet Dark Power PRO 1000W modular
Processor: Intel Core 2 Duo E8600
Memory: 4 x 1 Gb Crucial Ballistix double-sided PC-8500 DDR2 with Thermalright heatsinks (for now)
Graphics card: 2 x eVGA 8800 Ultra OC
Storage: WD Raptor 150Gb system disk + some storage disks (not sure how many / what size yet)
Water cooling:
Pump: 2 x Laing DDC-Ultra 18W @ Petra Tech top
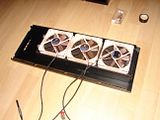
Radiator 1: Thermochill PA120.3 + 3x Noctua NF-S12
Radiator 2: Innovatek Konvekt-O-Matic
Reservoir: EK Multioption 100 & 250
CPU: Swiftech Apogee GTZ
GPU: 2 x EK-FC8800 GTX/ultra - Nickel-Plated
Motherboard: EK Northbridge + Southbridge + 2 x Mosfet
Tubing: Tygon R-3400 3/8" ID
And then a lot of small stuff and trinkets
Here's the current status with a load of pictures & description - I'm doing stuff pretty much at random at the moment, haven't gotten to any assembly of parts yet so just doing whatever I feel like and have time for:
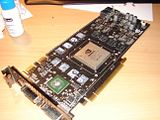
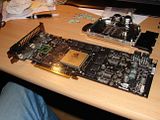
-=[ Fitting the EK-FC8800 GTX/Ultra ]=-
Original card:

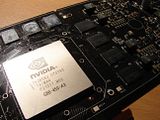
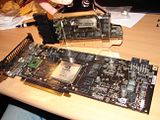
Removed the original cooling & cleaning the chips and memory:
All cleaned & EK block awaiting:
Block fitted:
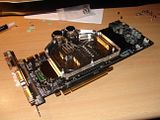
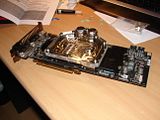
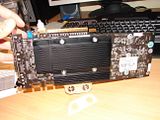
Note that I used the back plating of the original cooling - seems to be there for a reason, so might as well leave it there
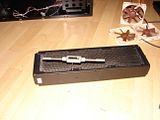
-=[ Delivery of new toys ]=-
Box with gadgets:
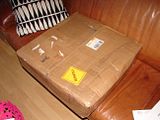
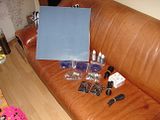
ACRyan acrylic plate for later stage case modding, Fezer UV Black, fittings, 2x Vandal switch, GTZ block, braiding etc:

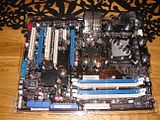
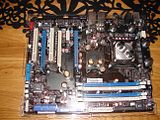
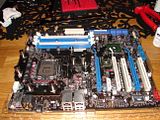
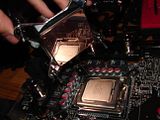
-=[ Motherboard preparation ]=-
I bought the board off eBay, and it came with EK blocks and Apogee GTX included. I've sold the GTX as I wanted to try the new GTZ instead. Being thorough and not knowing how the previous owner mounted the stuff, I removed all blocks and cleaned chips and reapplied cooling paste, then the blocks:
(NB my camera is somewhat messed up, which results in 'bending' at the bottom and top of pictures - in the picture the motherboard looks to be severely bent, this is not the case!)
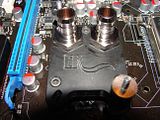
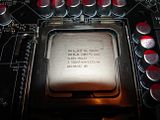
The new CPU & GTZ block:
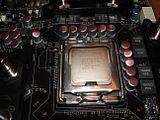

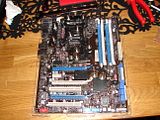
Everything cleaned and fitted:
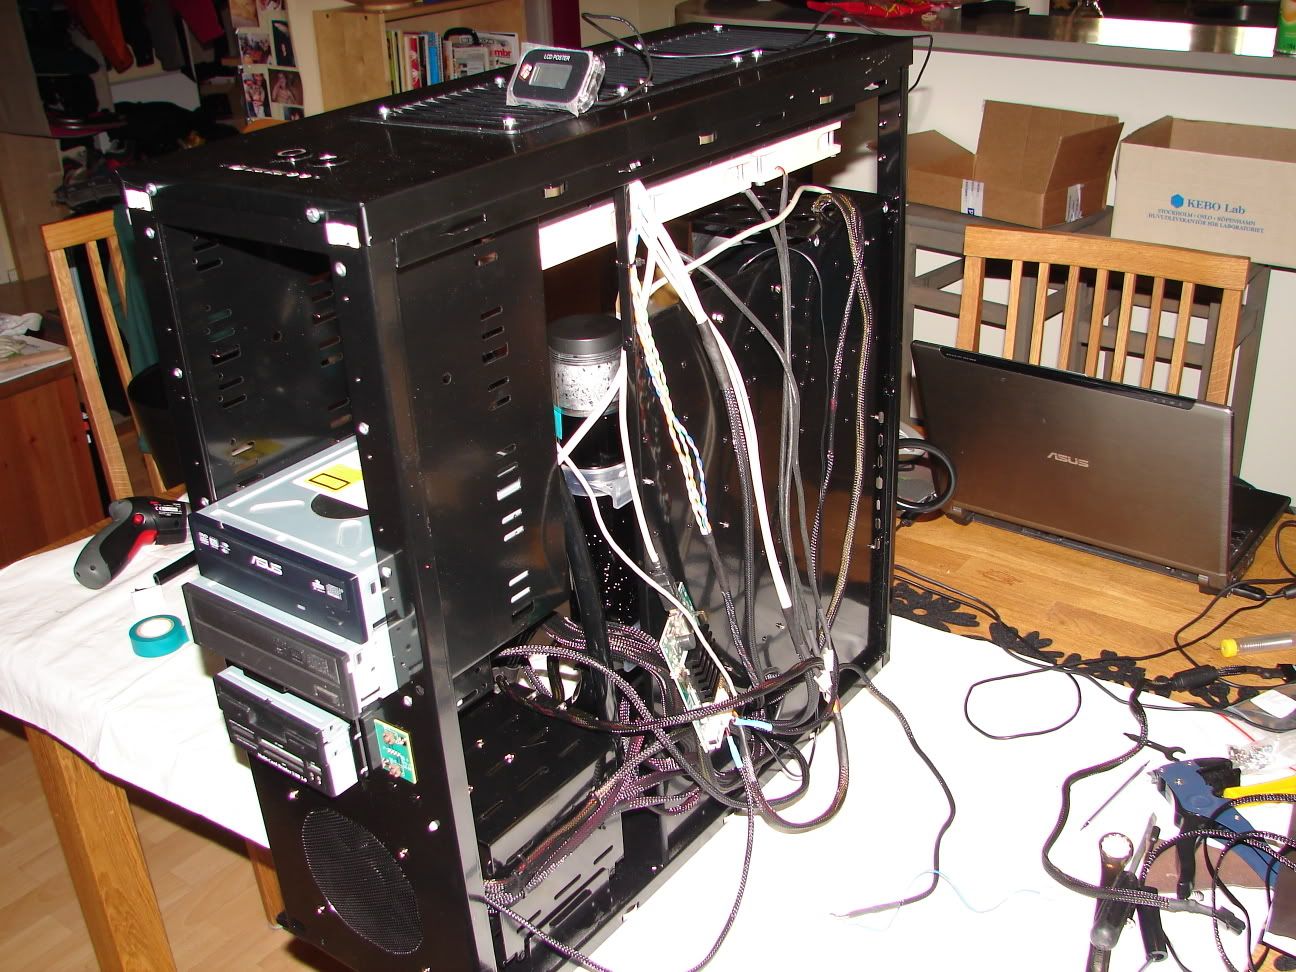
-=[ Fixing the radiator in place ]=-
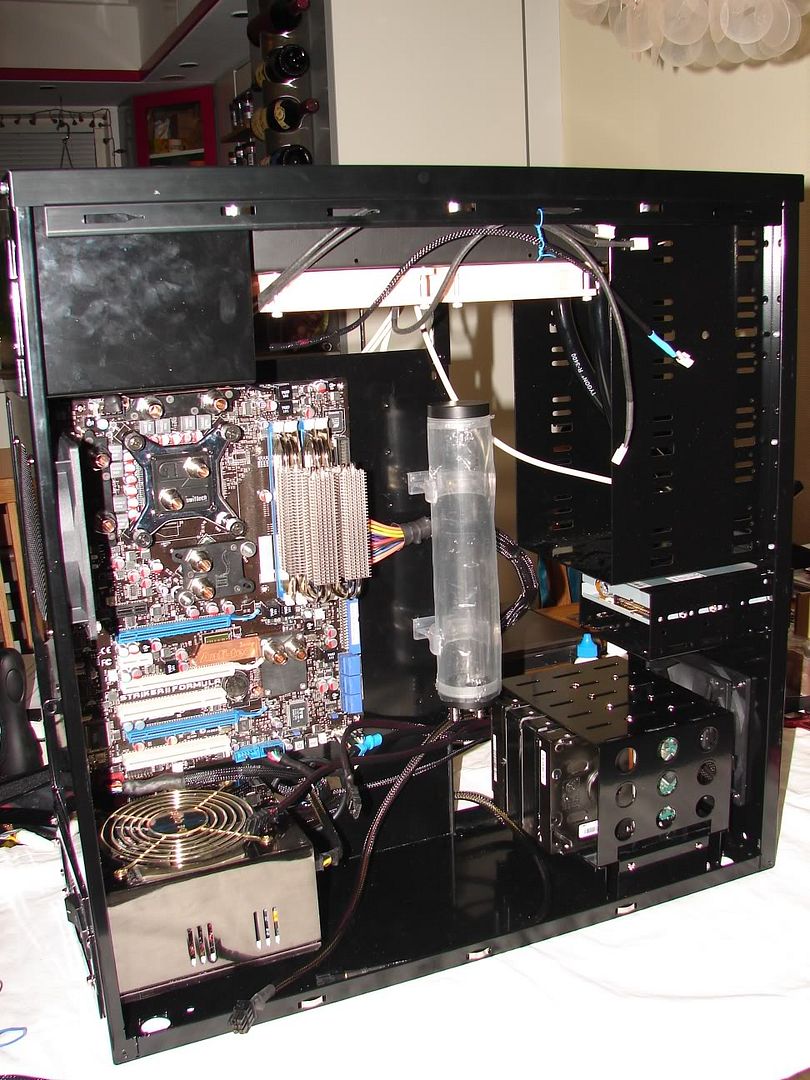
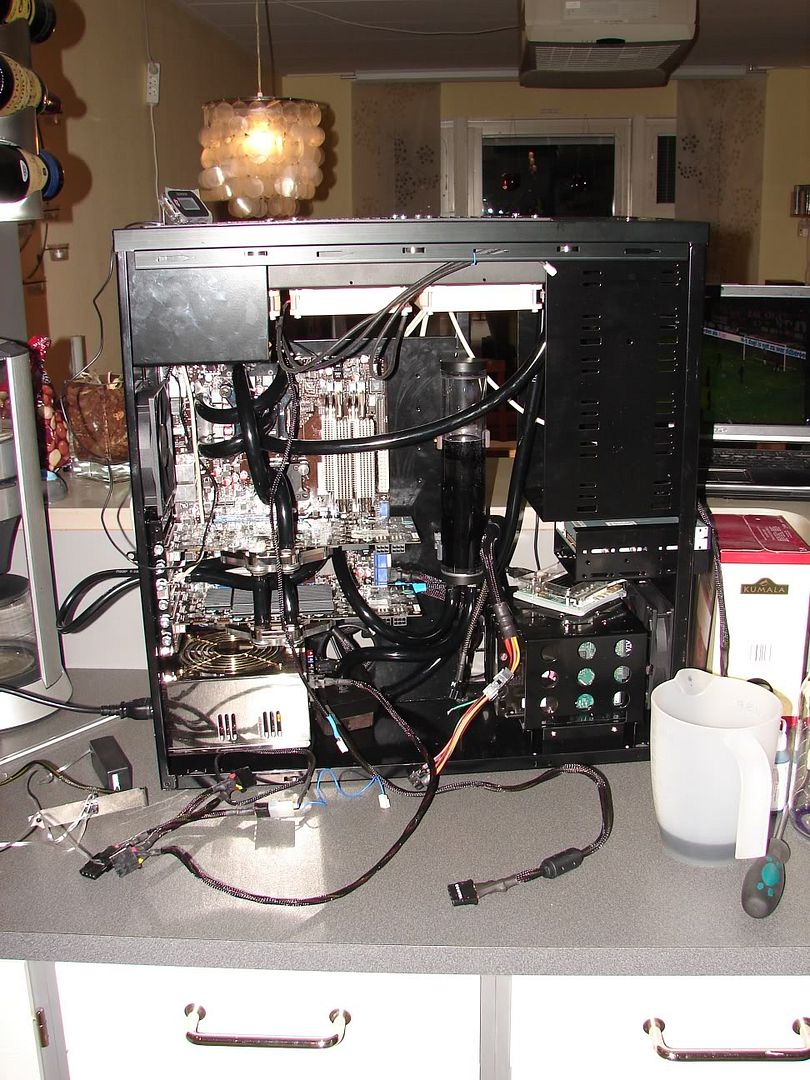
I bought the Lian Li case off AydST here in these forums, it already was pre-cut for a PA120.3 rad. Had to fix threading in the radiator:
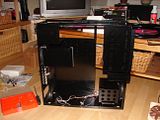
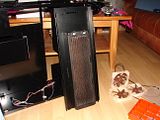
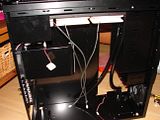
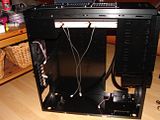
Semi-stripped case:
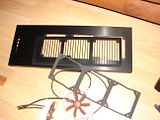
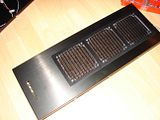
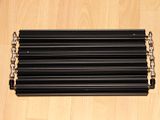
Top plate, rad grill and the anti-vibration dampening thingie:
Getting the stuff in place:
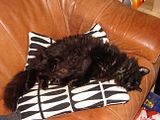
Yoqko, aka 'fluffmaster', couldn't keep his attention at peak level at all times:
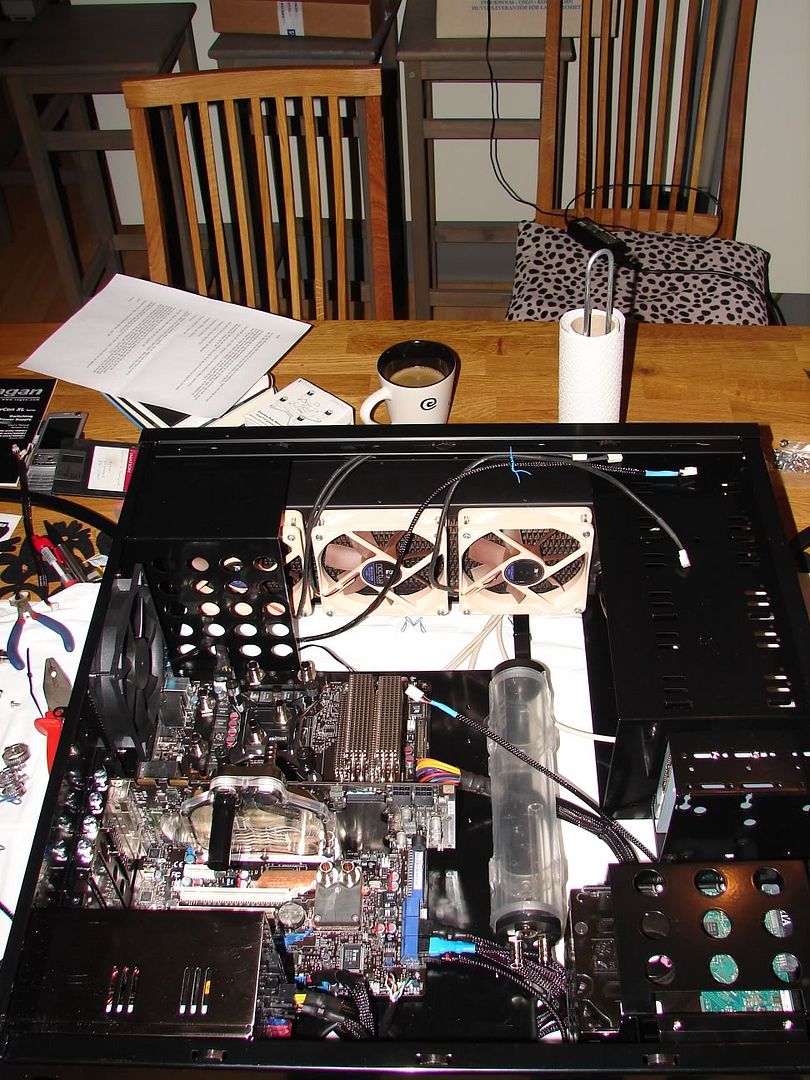
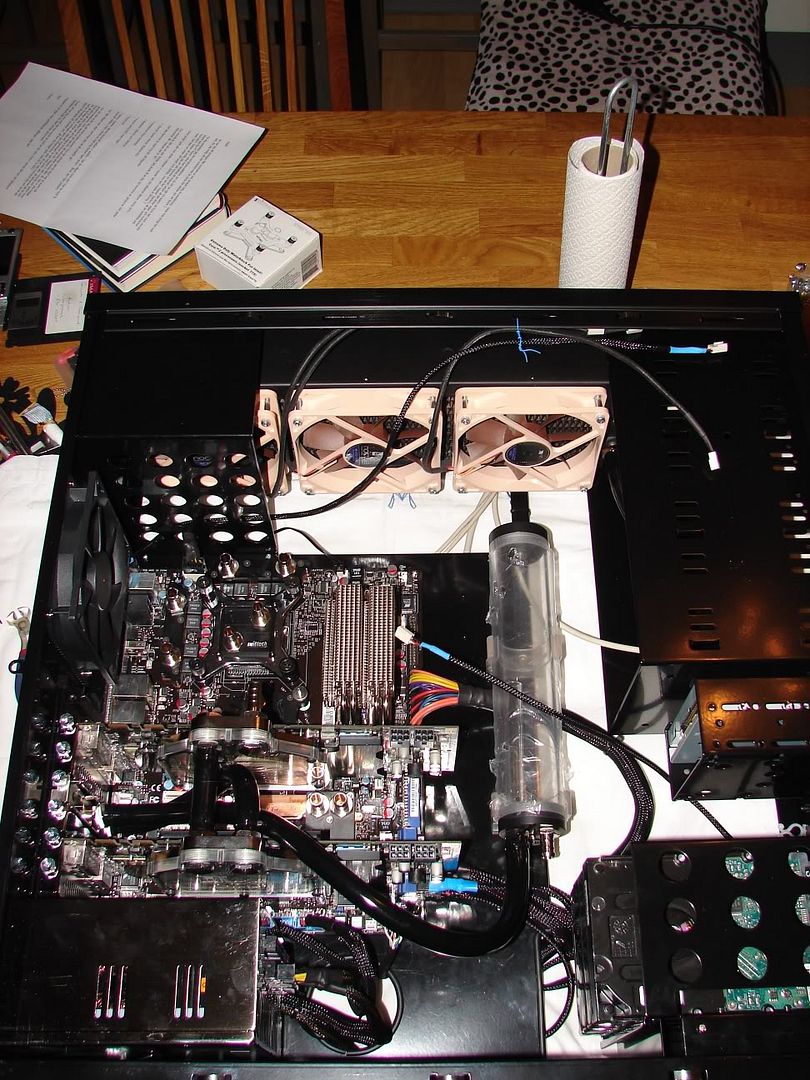
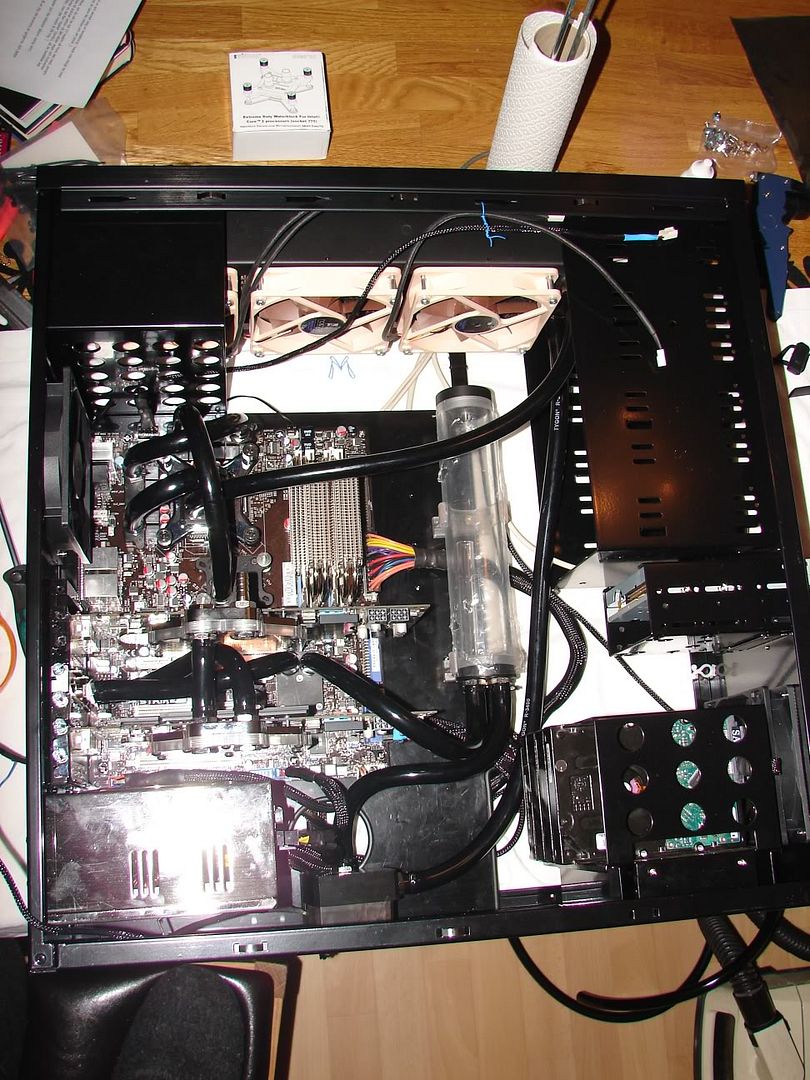
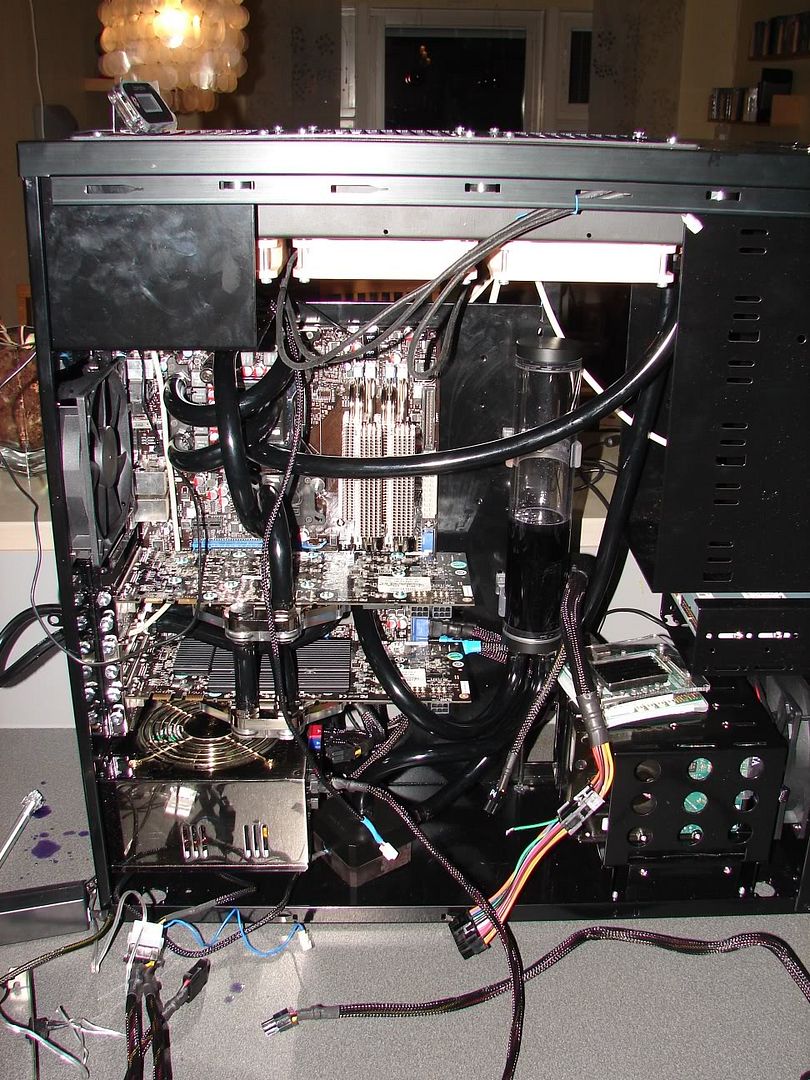
Rad and fans mounted - unfortunately I discovered that I couldn't mount the top with the rad fixed in place, due to obstacles at the rear - had to remove most of the screws fixing the rad so I could bend it down slightly:
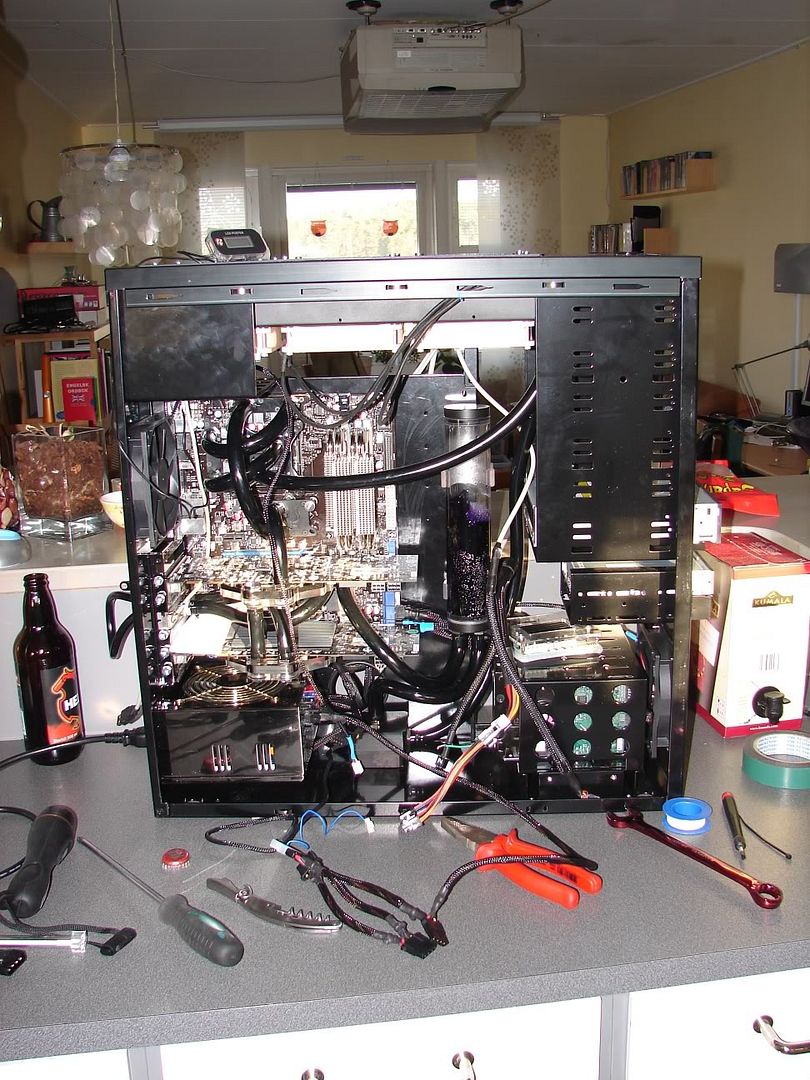
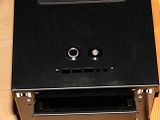
Removed the fan cover/thing, which doesn't seem very useful in a watercooled rig:
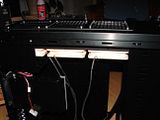
Vandal switches mounted:
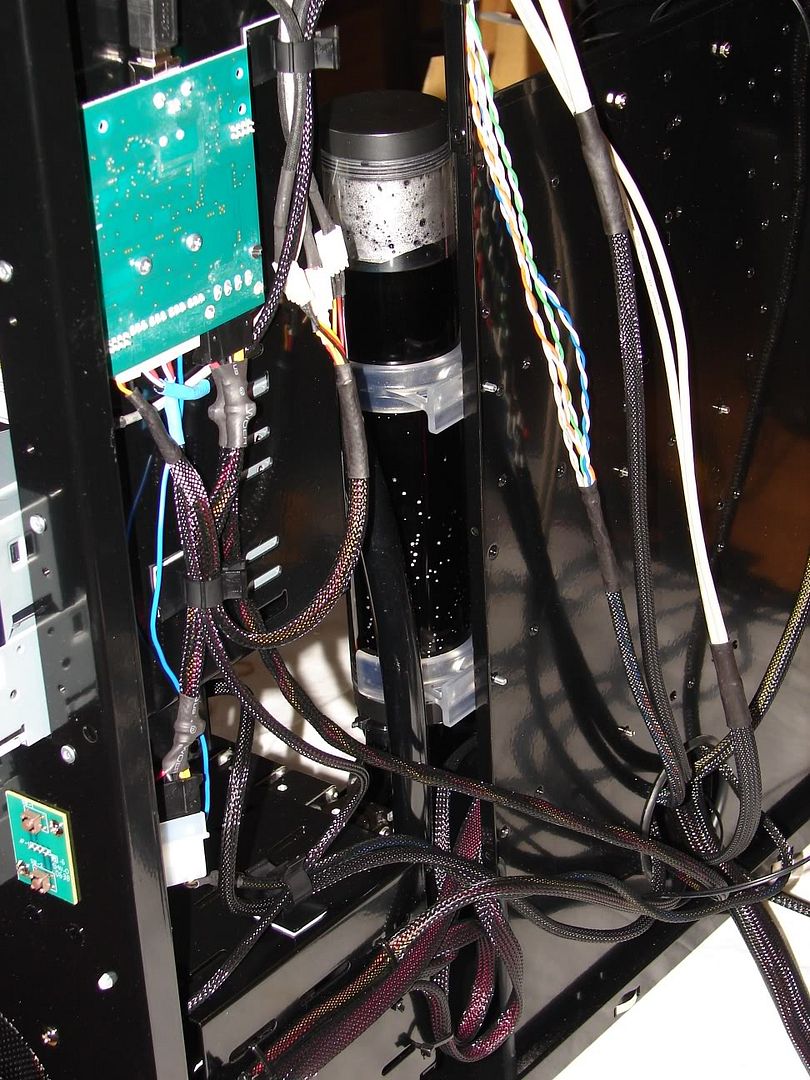
The Innovatek radiator:
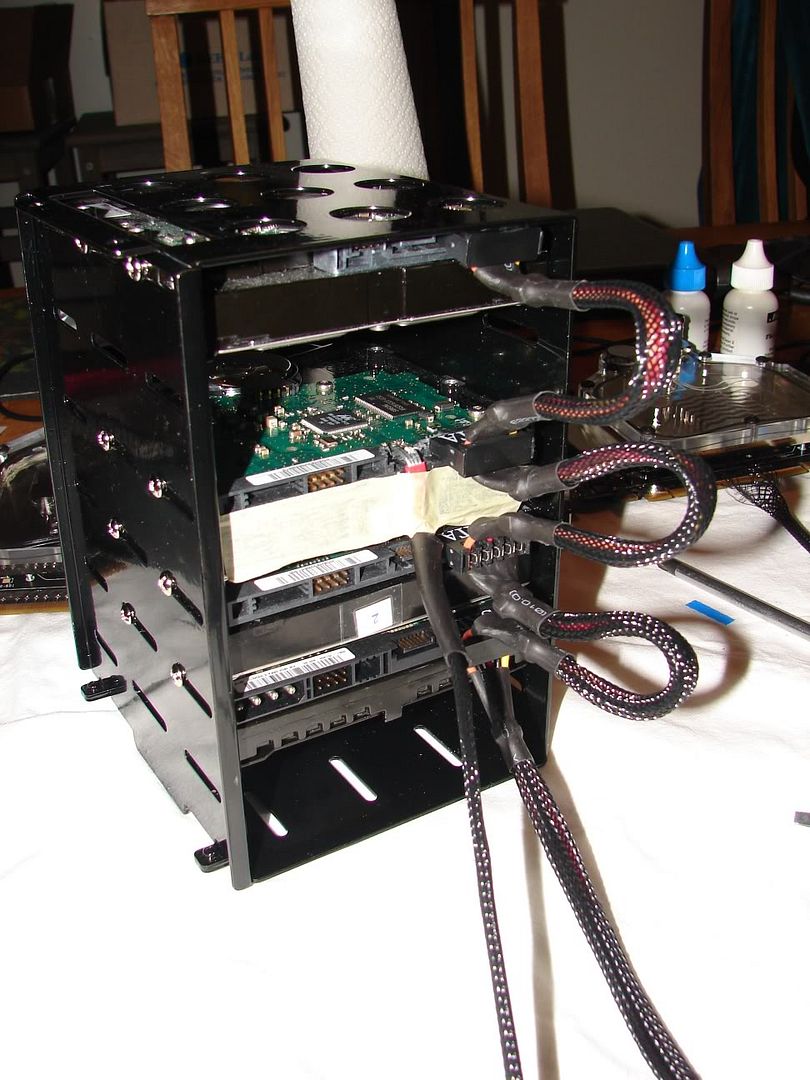
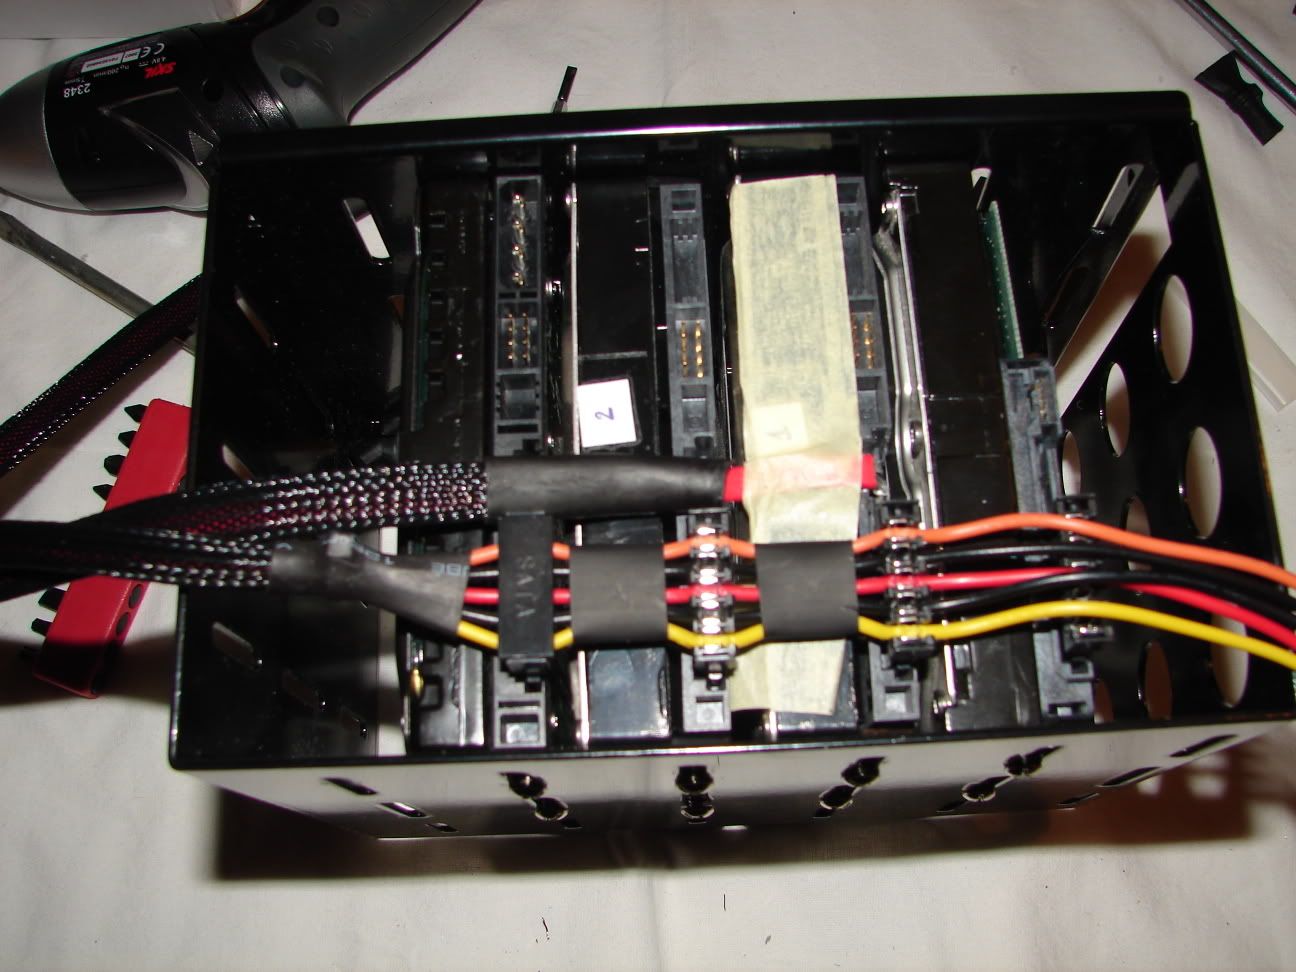
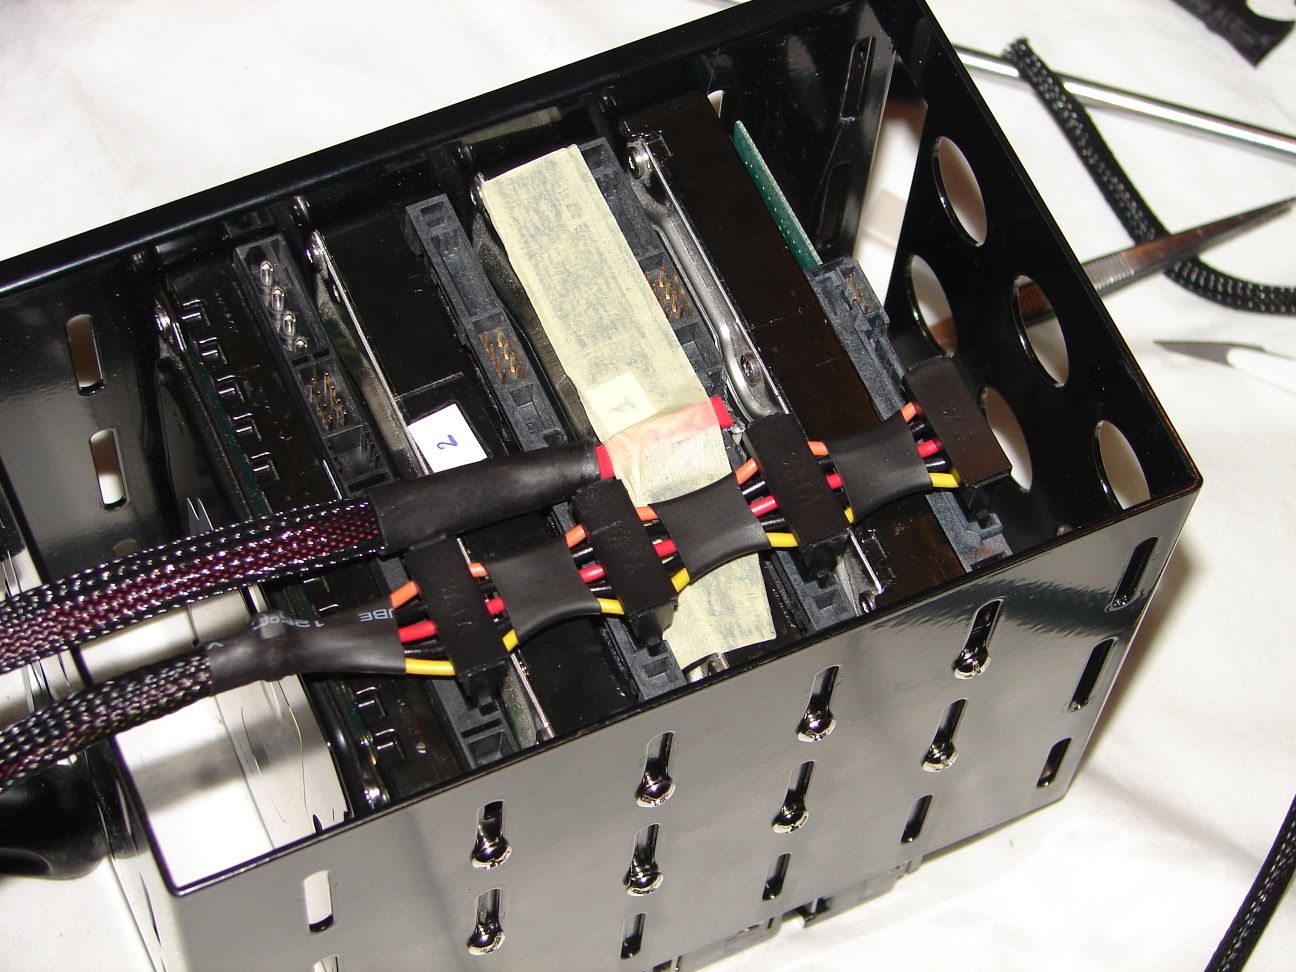
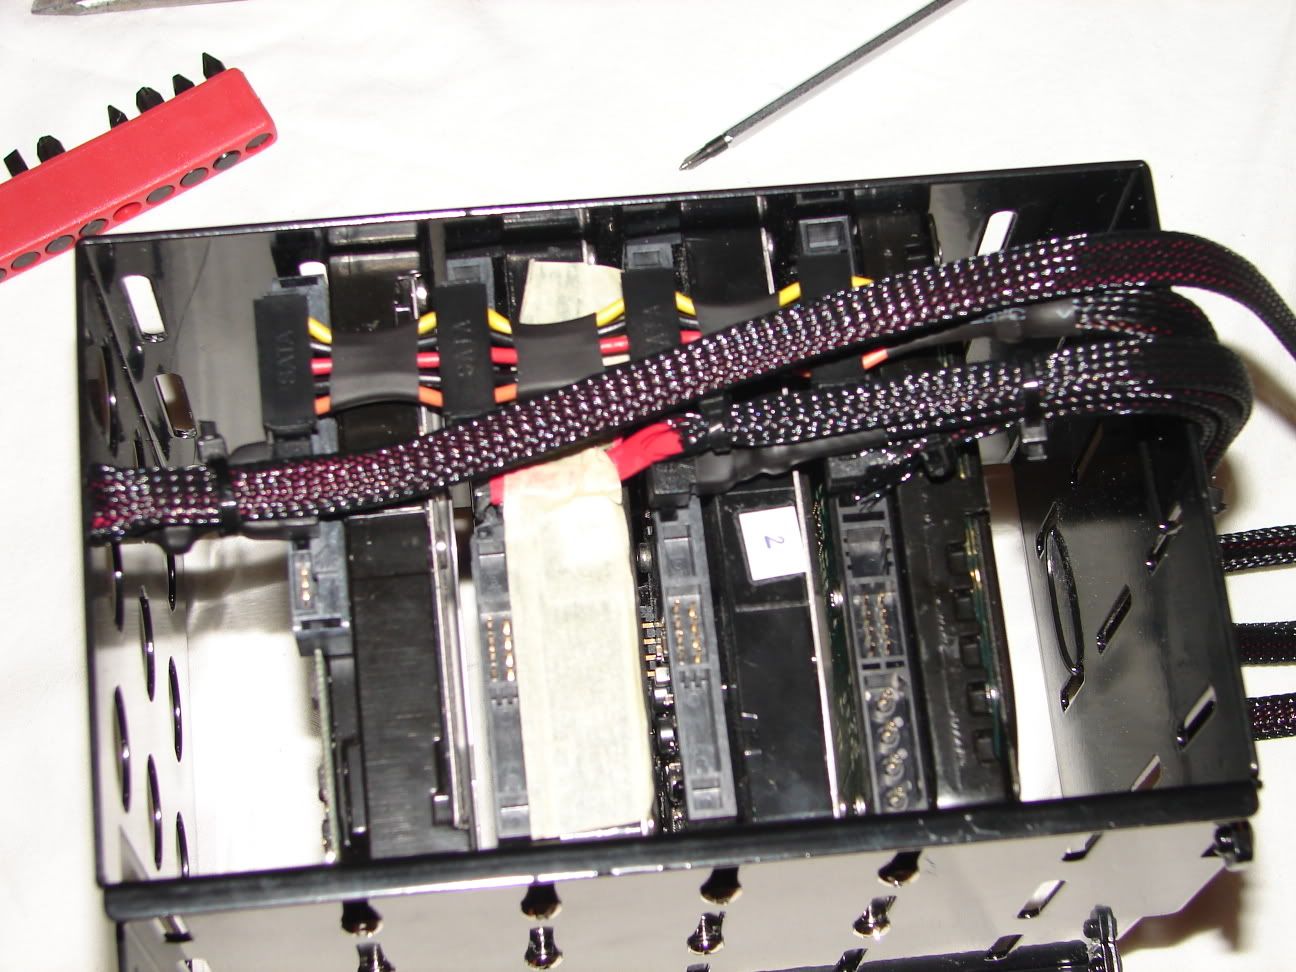
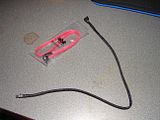
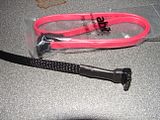
Braided one S-ATA cable and realized I'll be needing more braiding :
:
So currently I have a couple of considerations:
1) How can I hook the 3 Noctua fans together, so the 3 of them only require one fan connector? (I'll be using a mCubed T-balancer BigNG fan controller)
2) Should I use 2 separate loops for the water cooling, or hook everything up together (but with 2 pumps possibly)? If I use separate loops, will the passive Innovatek radiator keep decent temps or not? And how should I divide the loops - 2x 8800 Ultra in one loop, CPU + motherboard in the other?
Calling it a day now, gotta do some other stuff. Any comments or suggestions very welcome and much appreciated!!
Hey all!
After months of preparation, by means of purchasing hardware in bits and pieces, I've finally gotten to start on my first project build
I'm naming it -=[Black Dragon]=- for now.
So basically the parts that I'll be using for the rig are the following:
PC Hardware:
Case: Lian Li G70 black with powdercoated internals (thanks AydST
)Motherboard: Asus Striker II Formula - completely watercooled
Powersupply: BeQuiet Dark Power PRO 1000W modular
Processor: Intel Core 2 Duo E8600
Memory: 4 x 1 Gb Crucial Ballistix double-sided PC-8500 DDR2 with Thermalright heatsinks (for now)
Graphics card: 2 x eVGA 8800 Ultra OC
Storage: WD Raptor 150Gb system disk + some storage disks (not sure how many / what size yet)
Water cooling:
Pump: 2 x Laing DDC-Ultra 18W @ Petra Tech top
Radiator 1: Thermochill PA120.3 + 3x Noctua NF-S12
Radiator 2: Innovatek Konvekt-O-Matic
Reservoir: EK Multioption 100 & 250
CPU: Swiftech Apogee GTZ
GPU: 2 x EK-FC8800 GTX/ultra - Nickel-Plated
Motherboard: EK Northbridge + Southbridge + 2 x Mosfet
Tubing: Tygon R-3400 3/8" ID
And then a lot of small stuff and trinkets
Here's the current status with a load of pictures & description - I'm doing stuff pretty much at random at the moment, haven't gotten to any assembly of parts yet so just doing whatever I feel like and have time for:
-=[ Fitting the EK-FC8800 GTX/Ultra ]=-
Original card:

Removed the original cooling & cleaning the chips and memory:


All cleaned & EK block awaiting:


Block fitted:


Note that I used the back plating of the original cooling - seems to be there for a reason, so might as well leave it there
-=[ Delivery of new toys
]=-Box with gadgets:

ACRyan acrylic plate for later stage case modding, Fezer UV Black, fittings, 2x Vandal switch, GTZ block, braiding etc:


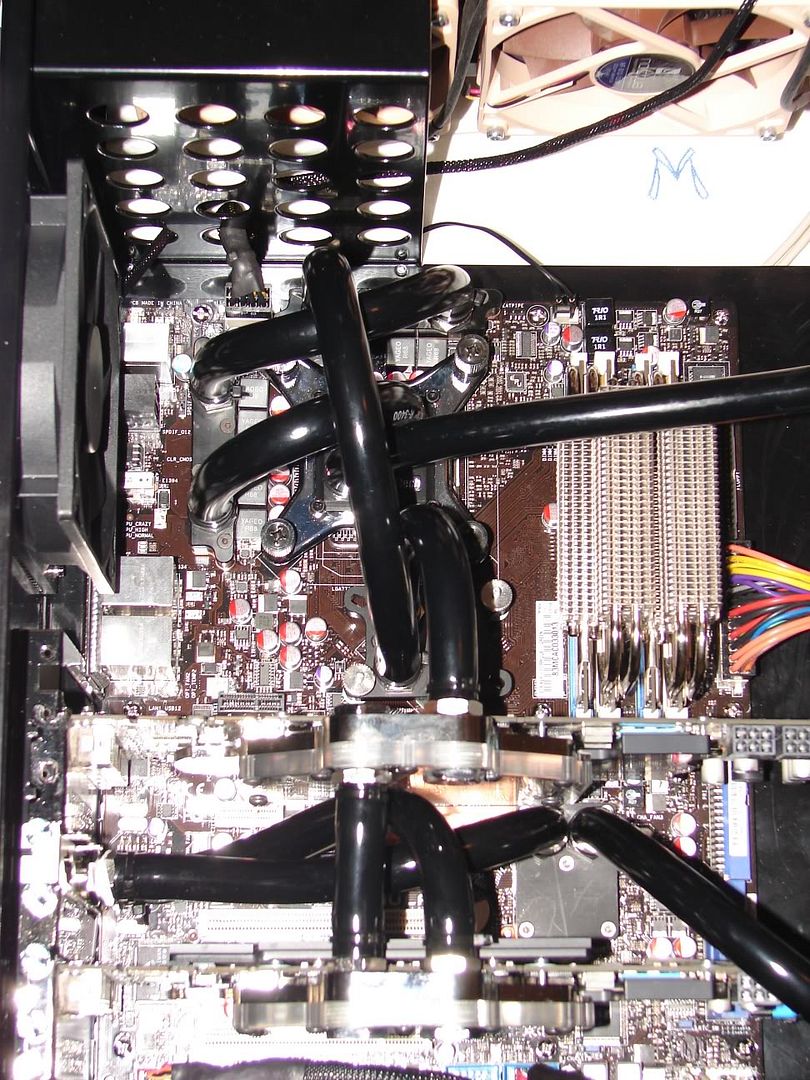
-=[ Motherboard preparation ]=-
I bought the board off eBay, and it came with EK blocks and Apogee GTX included. I've sold the GTX as I wanted to try the new GTZ instead. Being thorough and not knowing how the previous owner mounted the stuff, I removed all blocks and cleaned chips and reapplied cooling paste, then the blocks:
(NB my camera is somewhat messed up, which results in 'bending' at the bottom and top of pictures - in the picture the motherboard looks to be severely bent, this is not the case!)


The new CPU & GTZ block:


Everything cleaned and fitted:

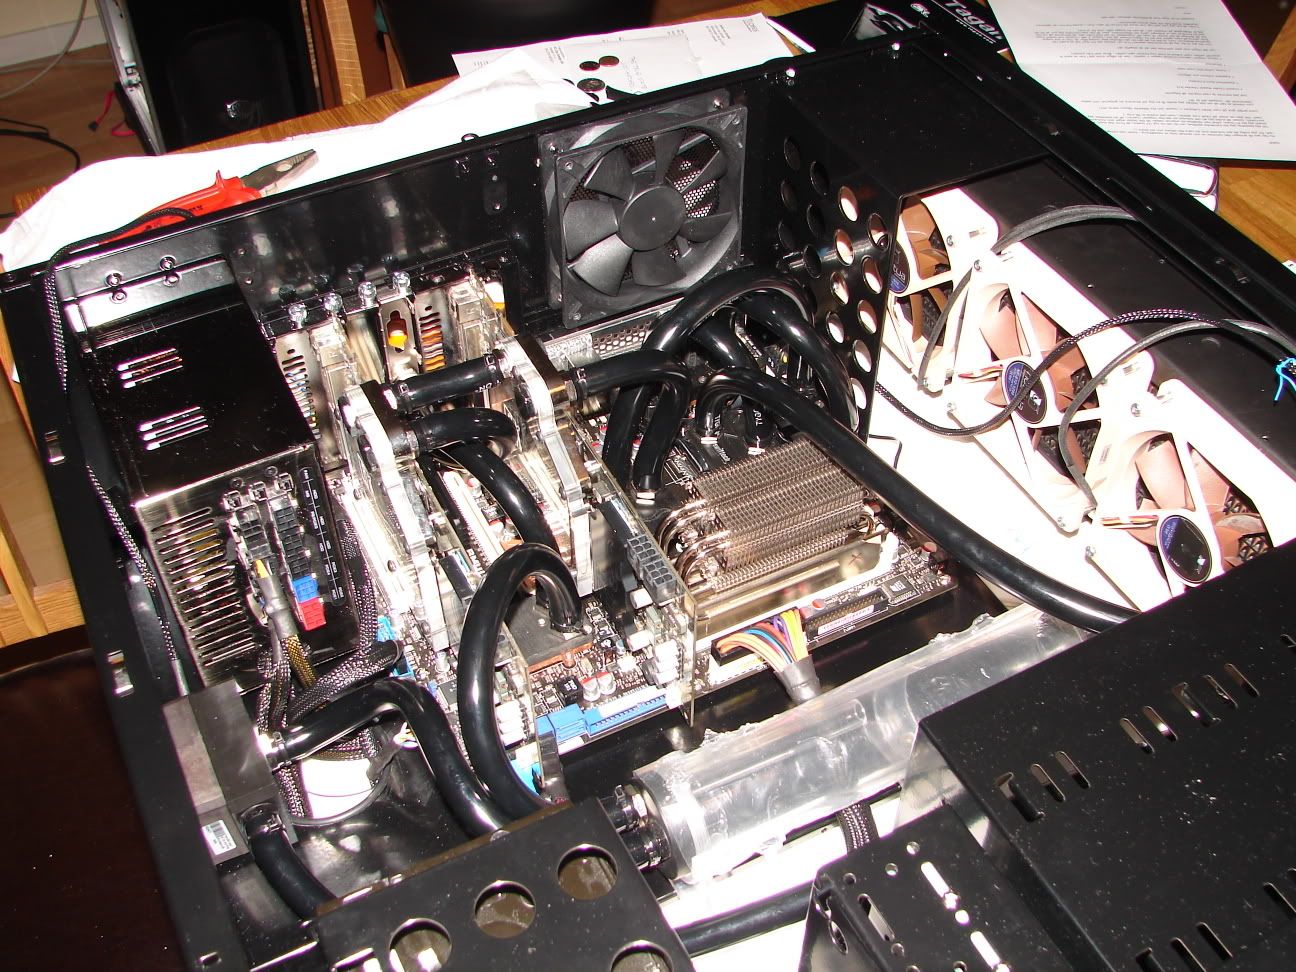
-=[ Fixing the radiator in place ]=-
I bought the Lian Li case off AydST here in these forums, it already was pre-cut for a PA120.3 rad. Had to fix threading in the radiator:

Semi-stripped case:

Top plate, rad grill and the anti-vibration dampening thingie:

Getting the stuff in place:


Yoqko, aka 'fluffmaster', couldn't keep his attention at peak level at all times:

Rad and fans mounted - unfortunately I discovered that I couldn't mount the top with the rad fixed in place, due to obstacles at the rear - had to remove most of the screws fixing the rad so I could bend it down slightly:


Removed the fan cover/thing, which doesn't seem very useful in a watercooled rig:

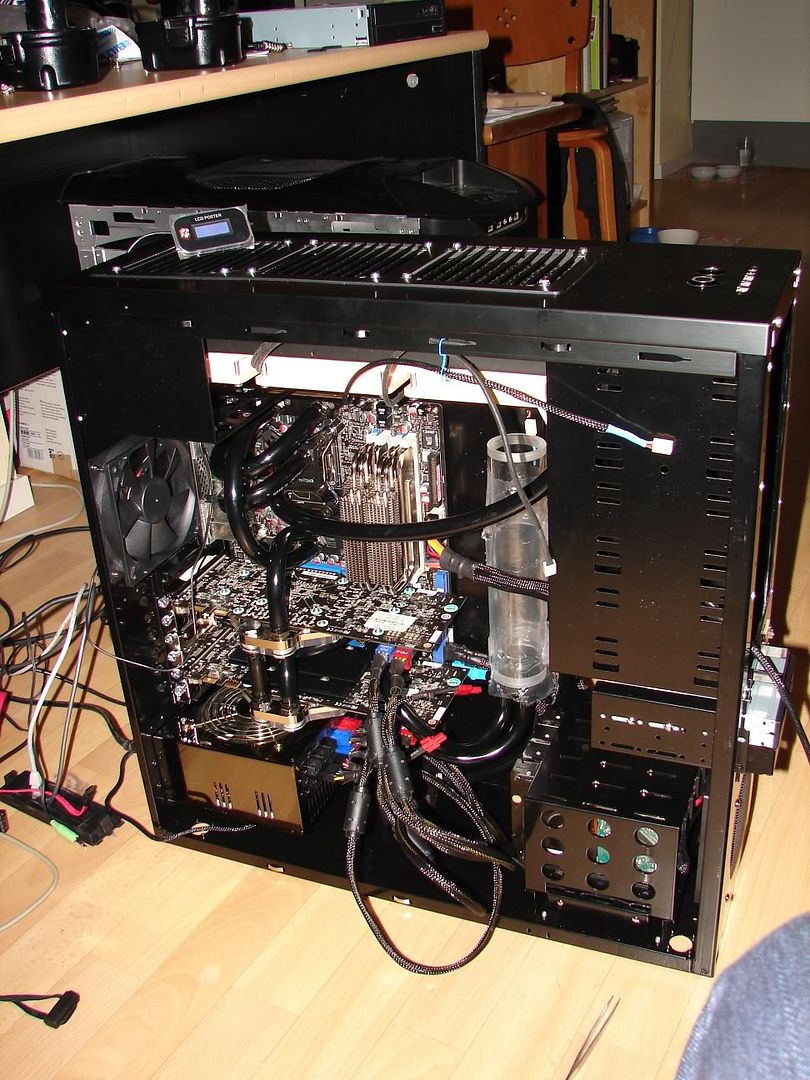
Vandal switches mounted:

The Innovatek radiator:

Braided one S-ATA cable and realized I'll be needing more braiding
:

So currently I have a couple of considerations:
1) How can I hook the 3 Noctua fans together, so the 3 of them only require one fan connector? (I'll be using a mCubed T-balancer BigNG fan controller)
2) Should I use 2 separate loops for the water cooling, or hook everything up together (but with 2 pumps possibly)? If I use separate loops, will the passive Innovatek radiator keep decent temps or not? And how should I divide the loops - 2x 8800 Ultra in one loop, CPU + motherboard in the other?
Calling it a day now, gotta do some other stuff. Any comments or suggestions very welcome and much appreciated!!
")


 :
:


 Probably will leave it hanging loose in hiding for now, as I've never used firewire in my life tbh.


 The silly thing is that the backplate is 'original', i.e. it came with the original cooling. I chose to keep it with the waterblock as it probably is there for a reason, it's got a square pad on the backside which cools some small chips there. I've tested removing the cover from the soundcard, but that doesn't help much as it's the big condensator that's blocking things.