You are using an out of date browser. It may not display this or other websites correctly.
You should upgrade or use an alternative browser.
You should upgrade or use an alternative browser.
Project - Alternate (Custom PC Desk Build)
- Thread starter Deblow
- Start date

I love your desktop Bro
Might add any pictures of any sketch , or specify which program you've made and some measures ? is I want to design one for me but I know of no program and I have no idea where to start, and see a sketch of yours would help me a lot, because you're doing an awesome Job. Congratulations
Might add any pictures of any sketch , or specify which program you've made and some measures ? is I want to design one for me but I know of no program and I have no idea where to start, and see a sketch of yours would help me a lot, because you're doing an awesome Job. Congratulations
I've just seen this thread and I have to say... Someone give this guy a high five and a well deserved pat on the back. My next PC build is going to be a desk build so some ideas has just appeared in my minds
BTW, is this your first major build?
Thanks mate, its the biggest i've ever attempted but i have done a desk build before, well 2.
1st didn't hold the PC components inside & is now used as my workbench in the shed lol
2nd was a bit more like this one, but less work needed
if you google "megadeblow" you should find the pics/vids.
Might add any pictures of any sketch , or specify which program you've made and some measures ? is I want to design one for me but I know of no program and I have no idea where to start, and see a sketch of yours would help me a lot, because you're doing an awesome Job. Congratulations
already put the main art up on the 1st page, had some drawings on paper back at the start but the main design was done with google sketchup.
not to scale though, only sizes I worked with at the start was the height & length.
but even them was changed halfway though the build
as the desk felt a bit too high..
had no plans for the inside at all, so this is now getting done on the fly so I can see what looks/works best.
Dawelio
Active member
This is just epic and nice looking HDD rack there bud! Really liking this!
I so want to do this to my Gyphon motherboard, but wouldn't get anywhere close to get as good looking as yours ^_^
I so want to do this to my Gyphon motherboard, but wouldn't get anywhere close to get as good looking as yours ^_^
thanks m8ty,
has that MB got removable armor?
Dawelio
Active member
thanks m8ty,
has that MB got removable armor?
I think so?... Got very unsure now that you asked :huh:
I think so?... Got very unsure now that you asked :huh:
have a check, makes it more easy if you can remove the cover/s
& you have a go!
use some water based paints for fine bits & or some plastic dip paints for more cover.
apart from the cost of the paints you have nothing to lose by having a go
")
I want you to do it now lol
so, msg me if you want any help
")
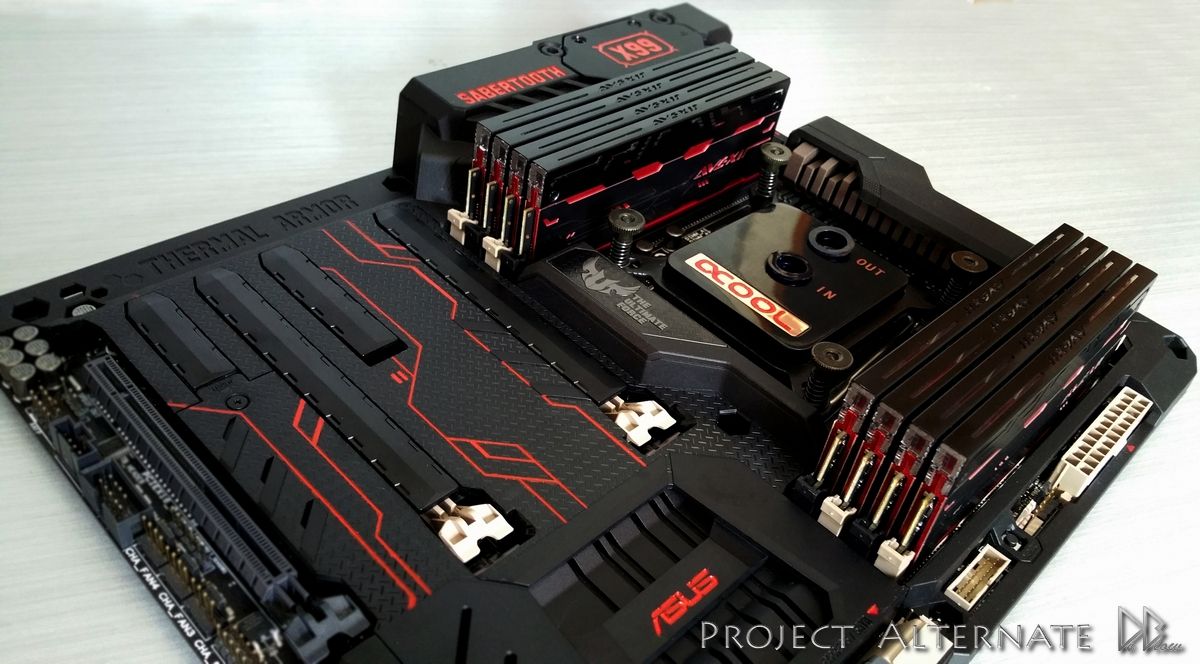
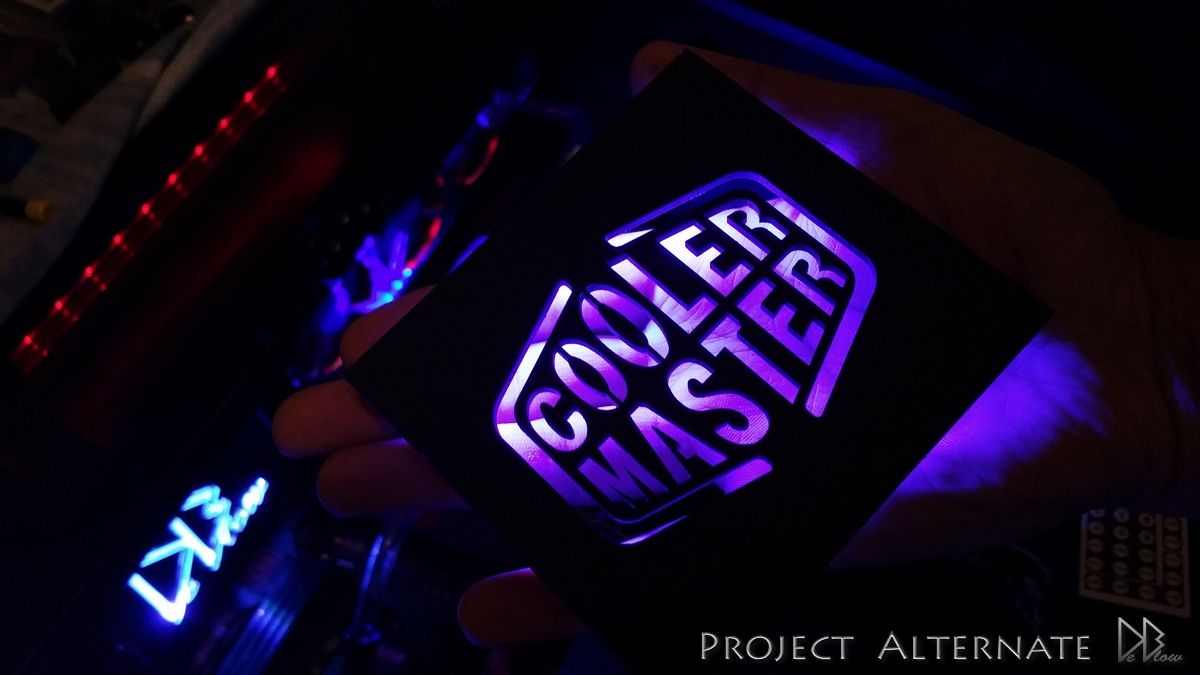
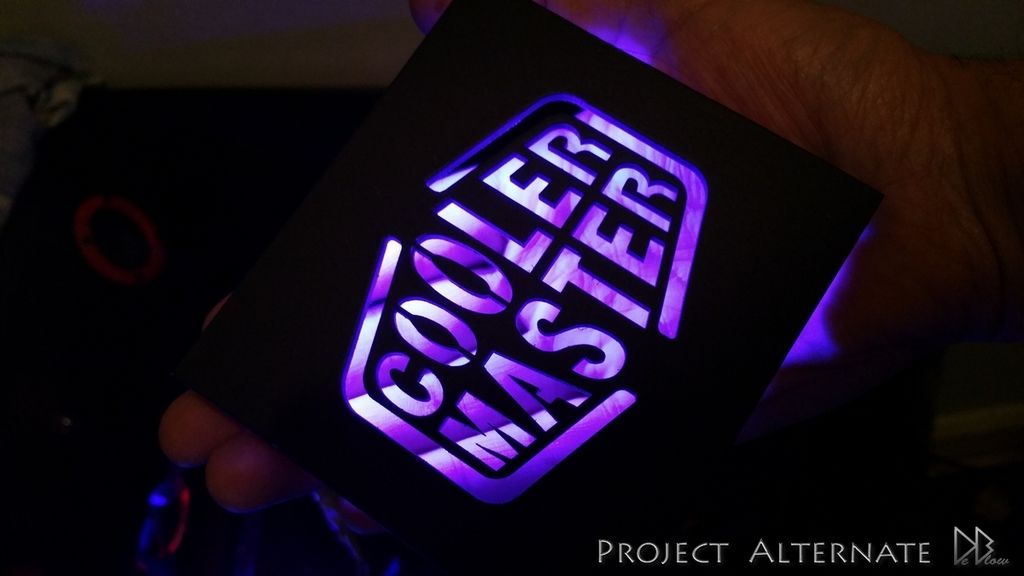
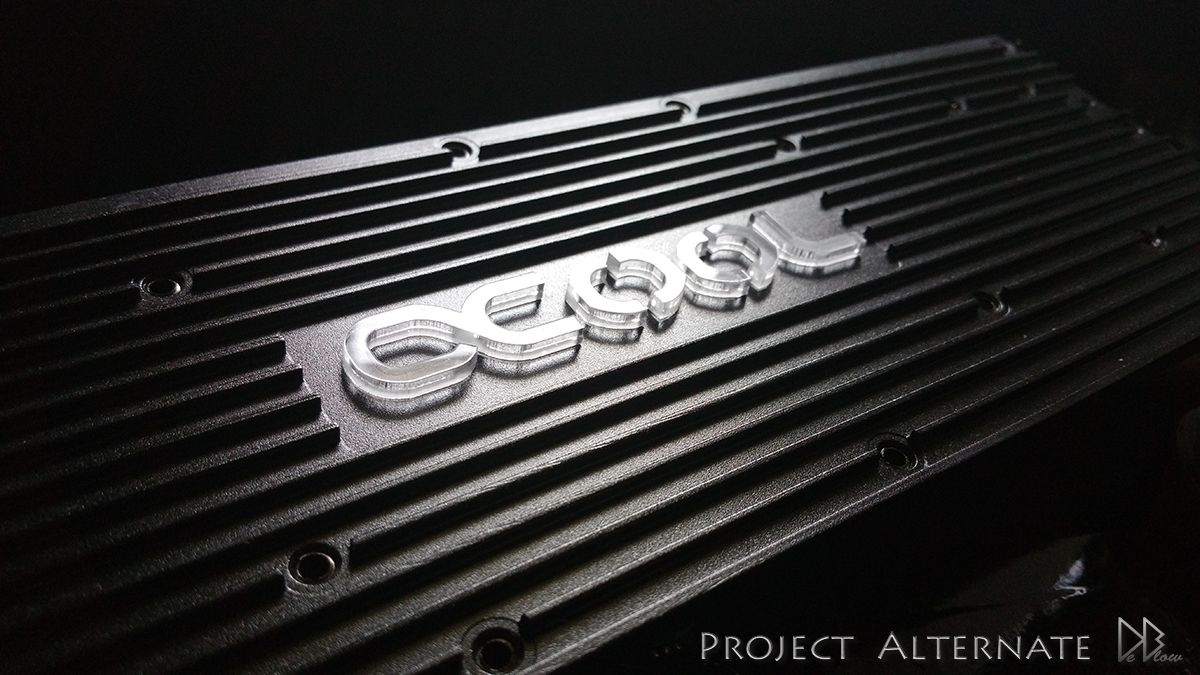
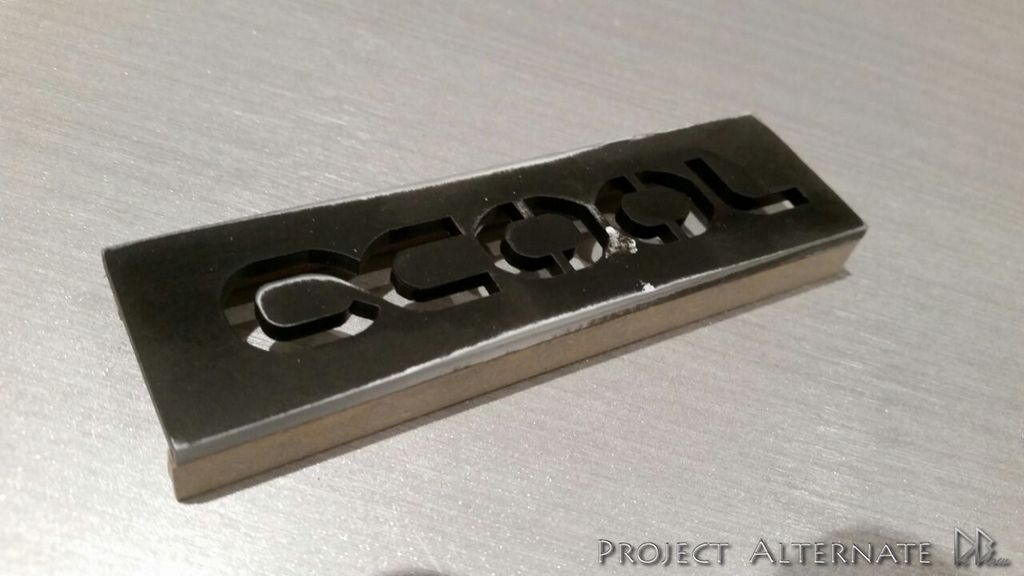
Finally finished with the logos & MB, just need to install the Coolermaster logo around the center SSD compartment,
then that part of the build is completed & I can finish up the loop, add the GPU & small details.
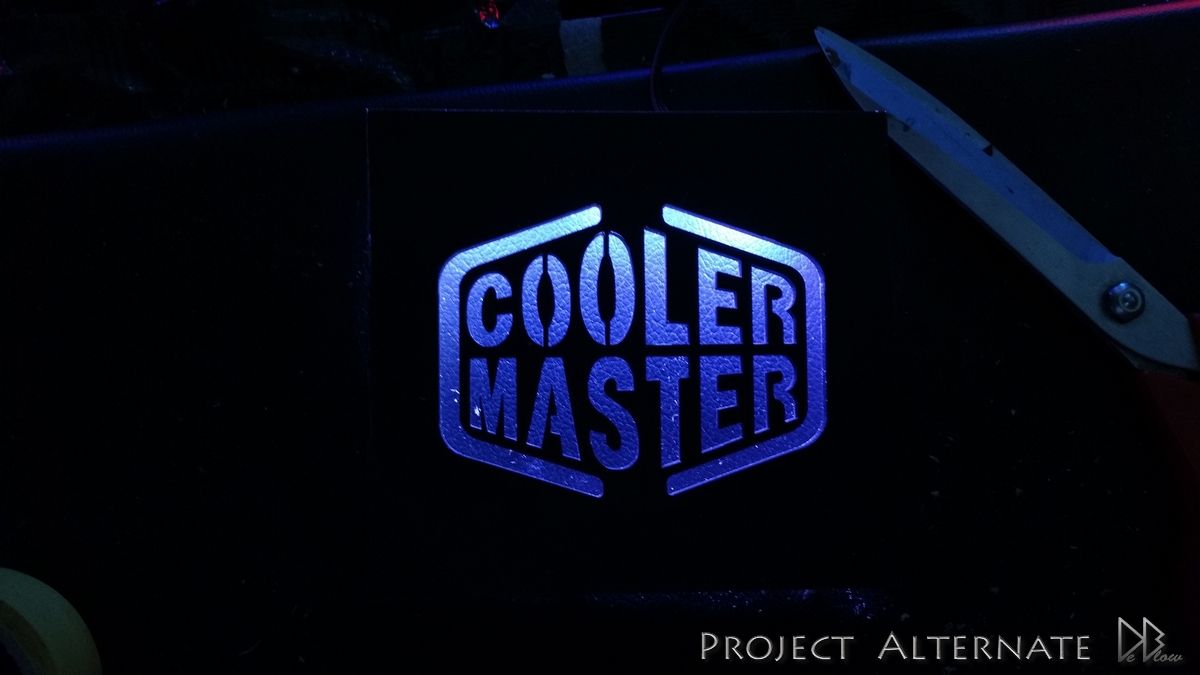
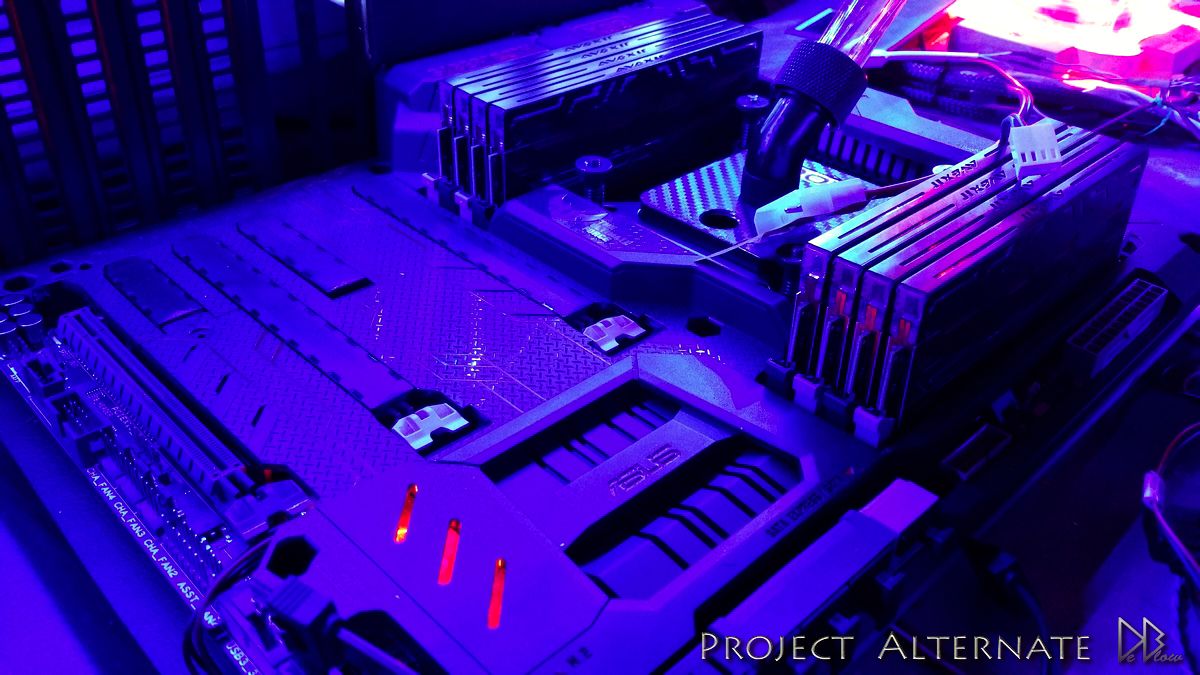
all the reds are much deeper & nicer, hope a professional camera will pick them up a bit better for when i do the final pics
then that part of the build is completed & I can finish up the loop, add the GPU & small details.
all the reds are much deeper & nicer, hope a professional camera will pick them up a bit better for when i do the final pics
Been a bit busy with the family lately, but here's a quick update & should have more by the weekend
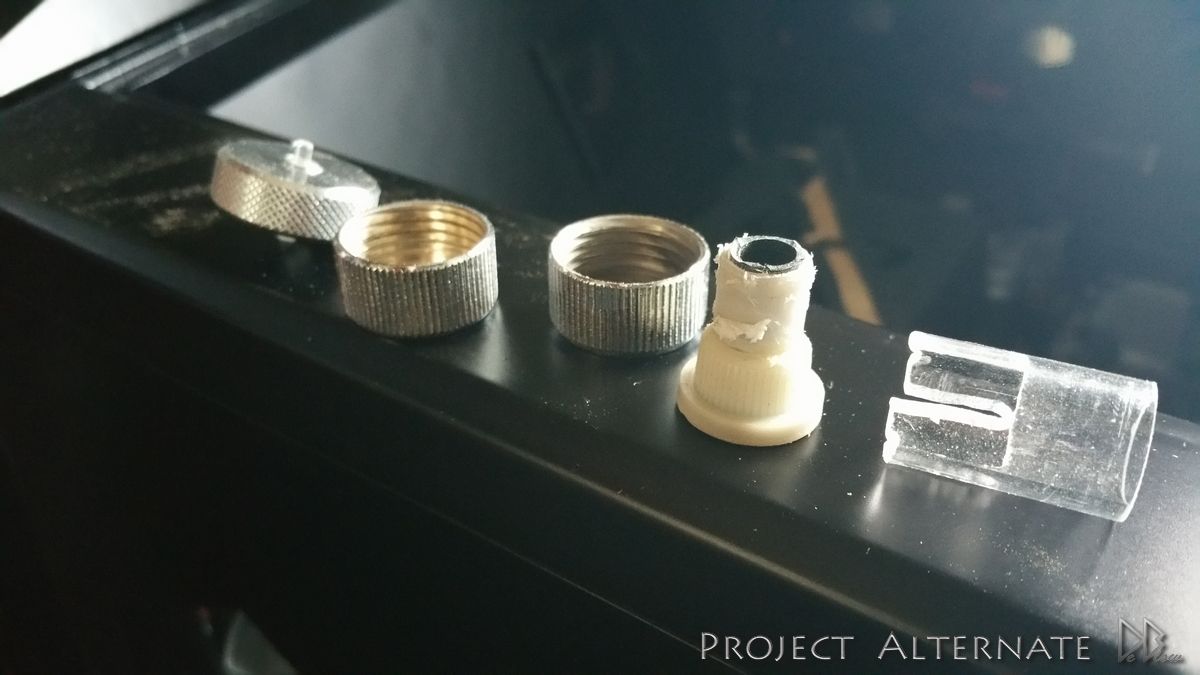
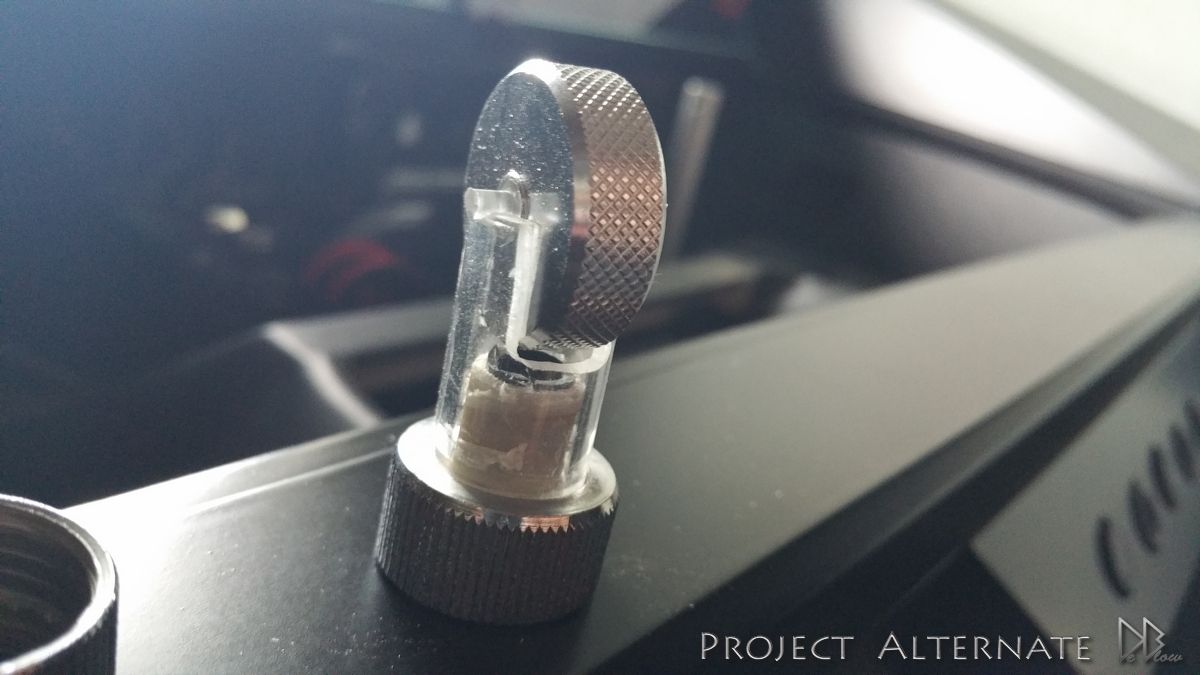
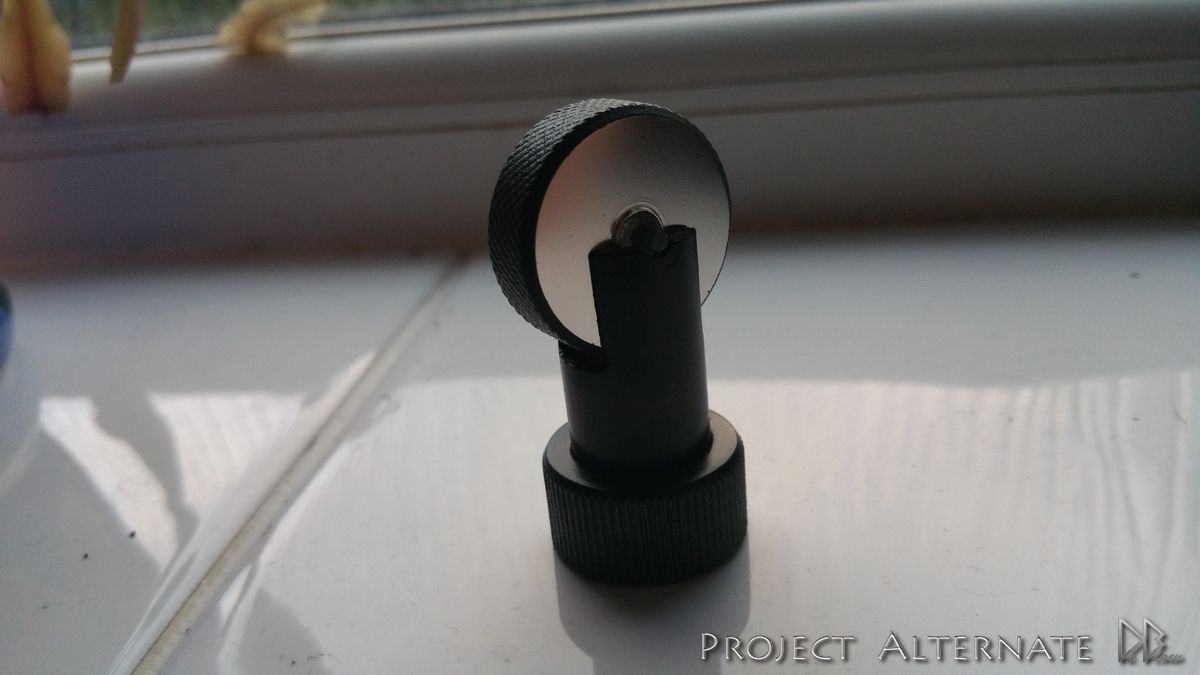
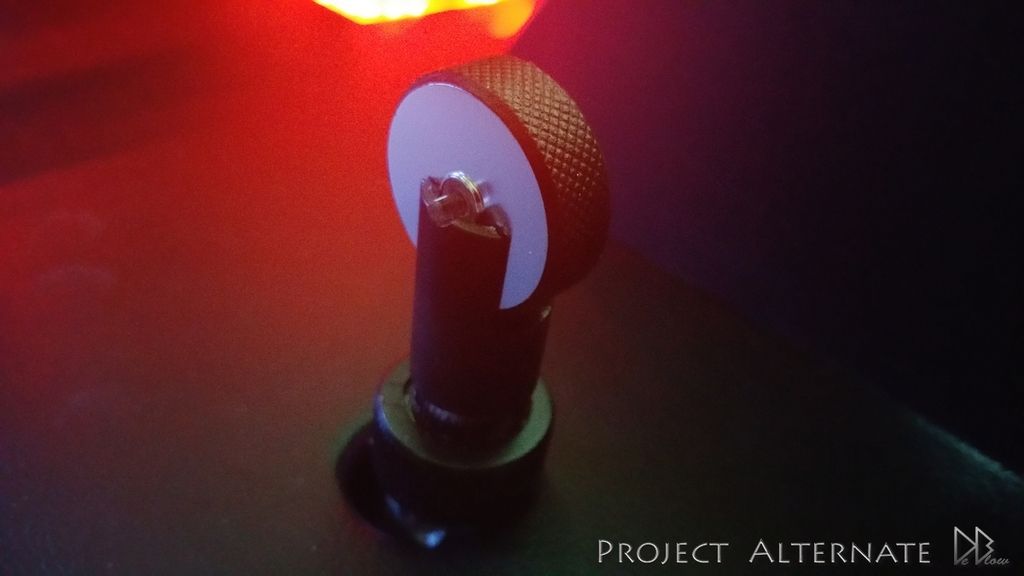
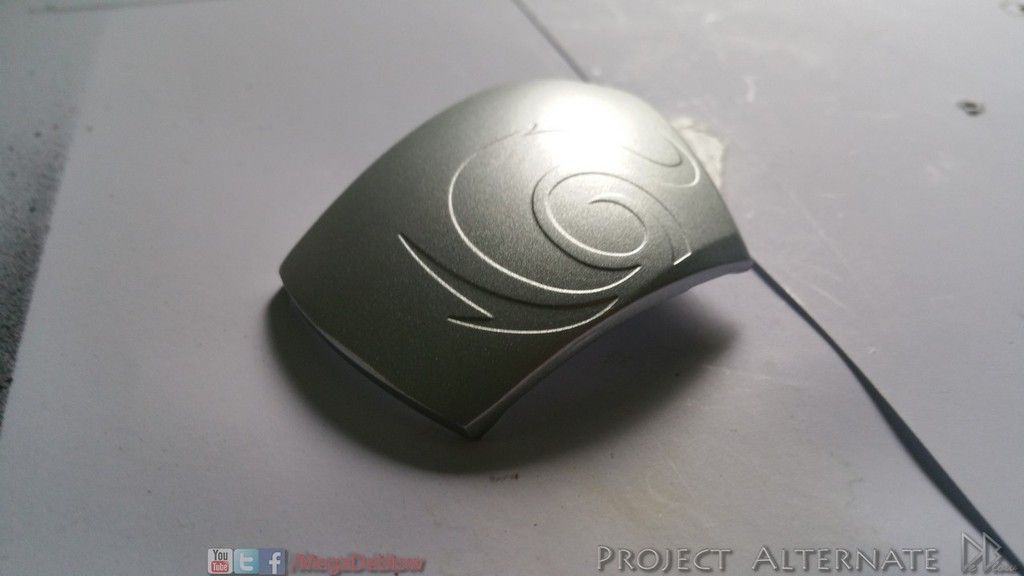
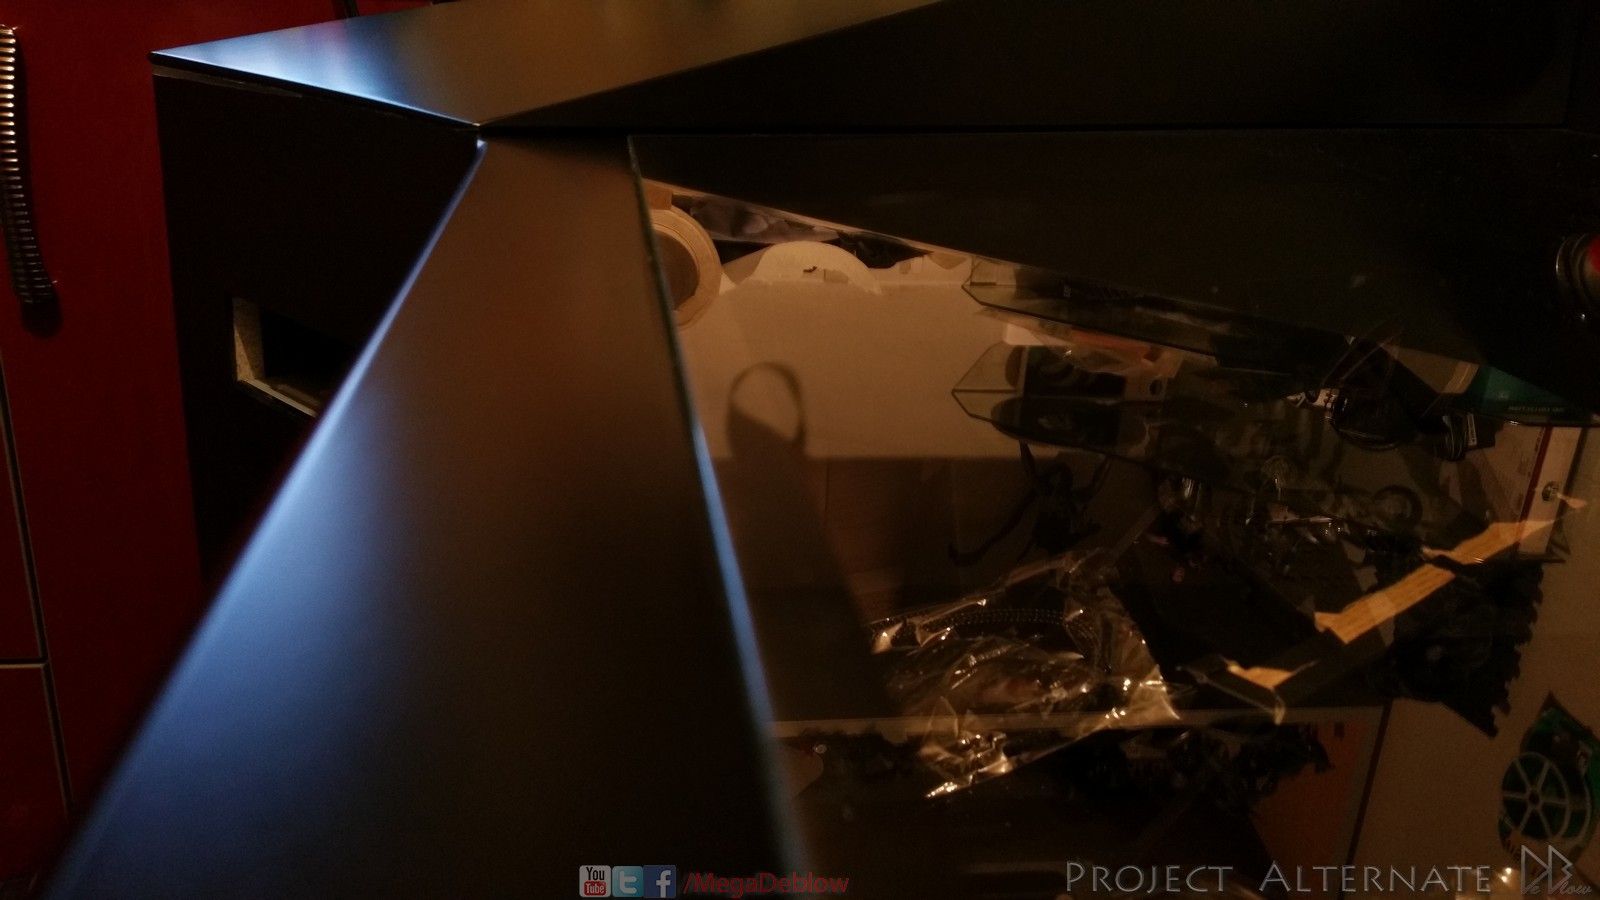
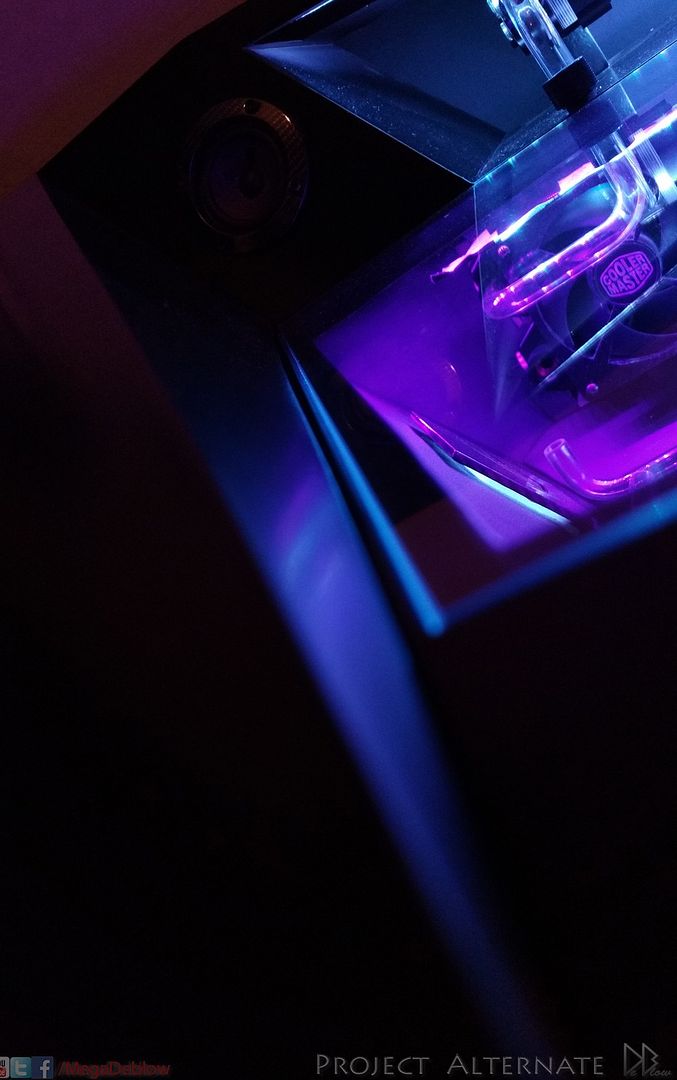
Completed the runner for the glass top/lift, had a couple of ideas for the lift but this was the best option for now,
cost & time wise.
made from -
A CM Storm Reaper mouse wheel, old shower attachment
& some spare Alphacool hardtube cut-offs.
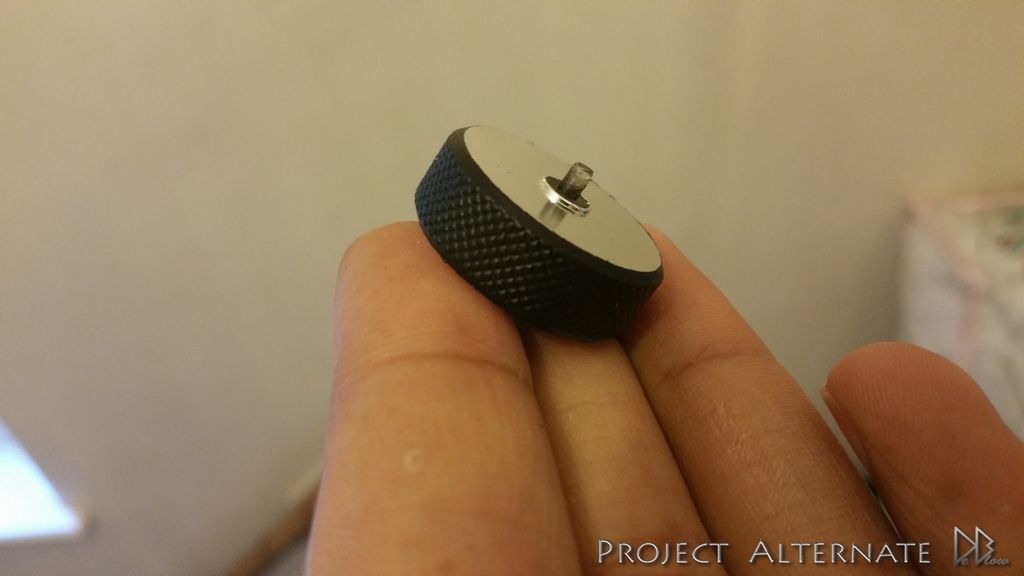
coated the wheel with some rubber to help grip the glass without scratching hopefully.

Completed the runner for the glass top/lift, had a couple of ideas for the lift but this was the best option for now,
cost & time wise.
made from -
A CM Storm Reaper mouse wheel, old shower attachment
& some spare Alphacool hardtube cut-offs.
coated the wheel with some rubber to help grip the glass without scratching hopefully.
X-PREDATOR
New member
subbed.....
subbed.....
Thanks mate
UPDATE _____________________________
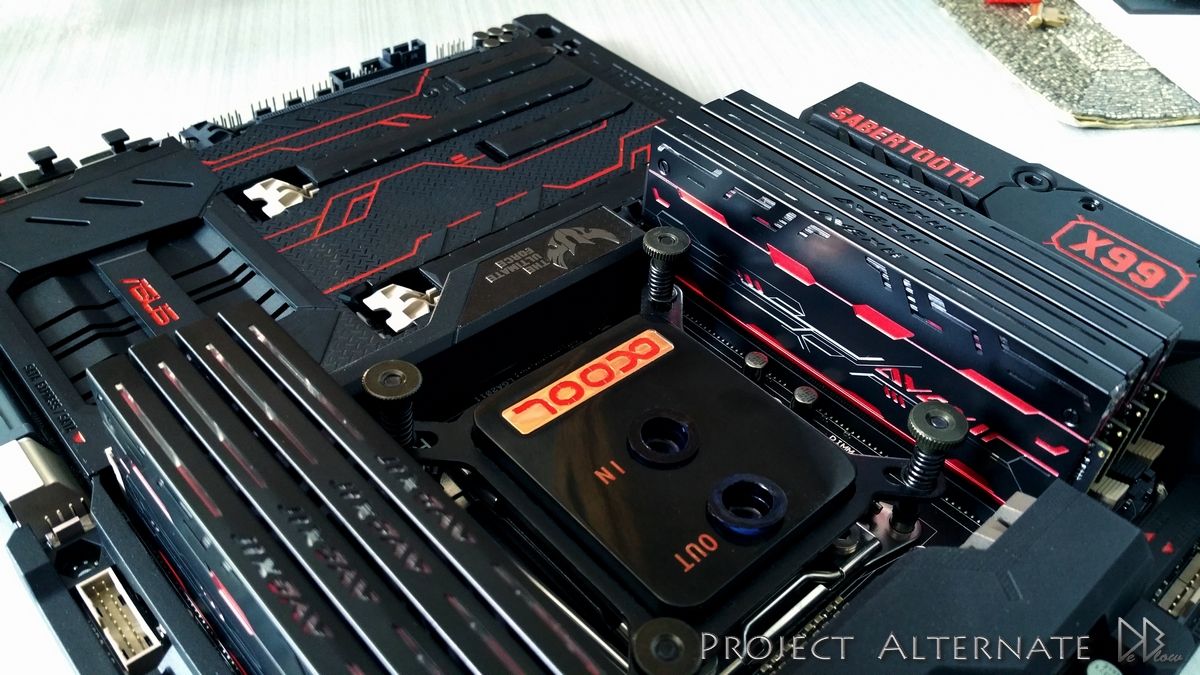
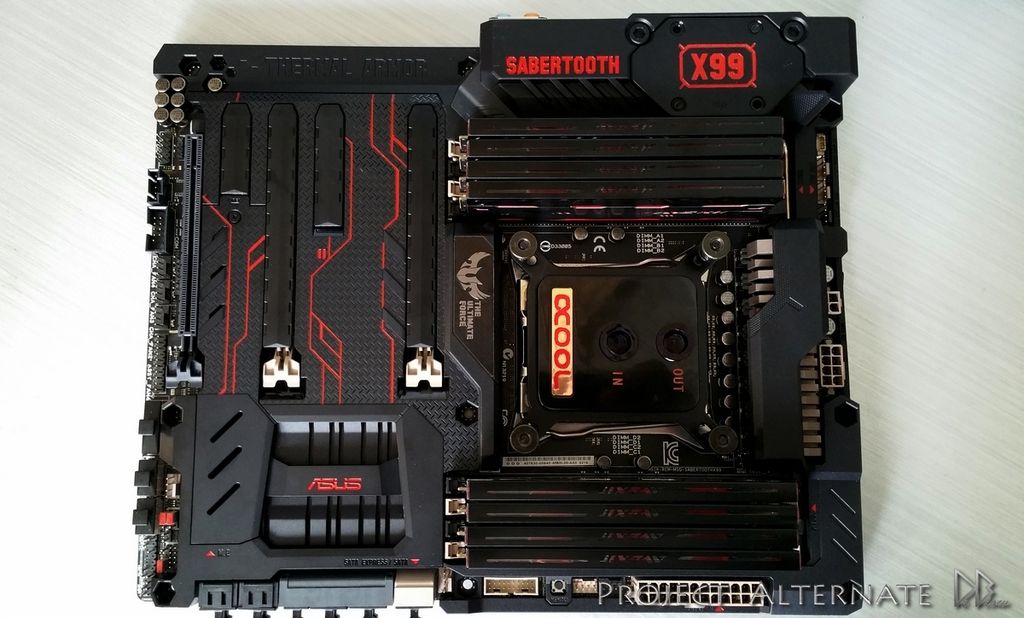
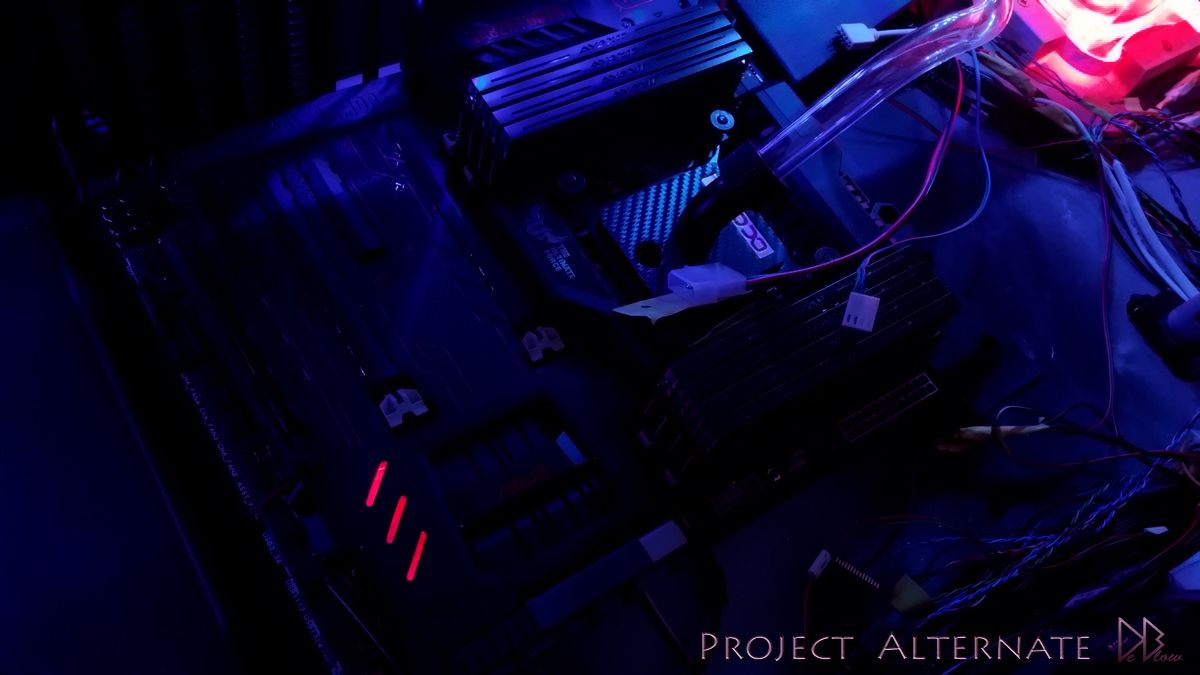
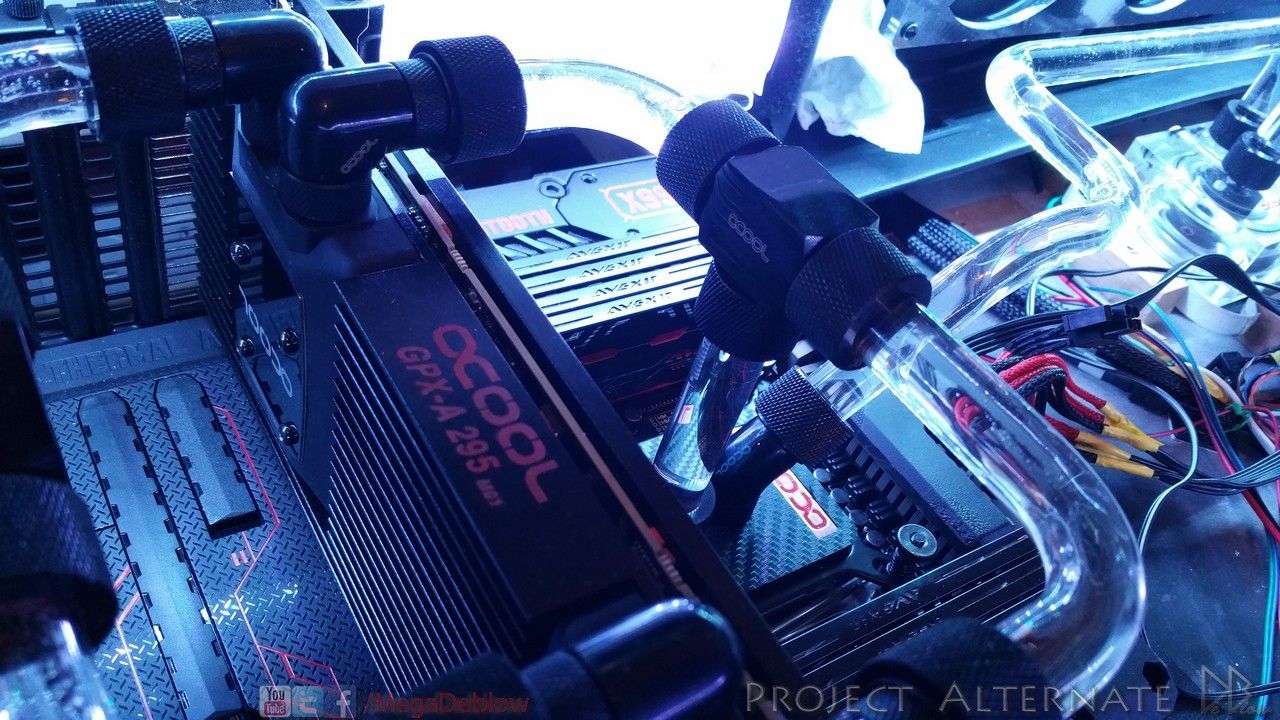
GPU block fitted & now installed, have a couple of ideas for the loop at this point,
will show the results as soon as im done testing them out
GPU backplate
This one is going on the top/side of the card & will be RGB.
Thanks all for now, getting excited now that i can see the finish line

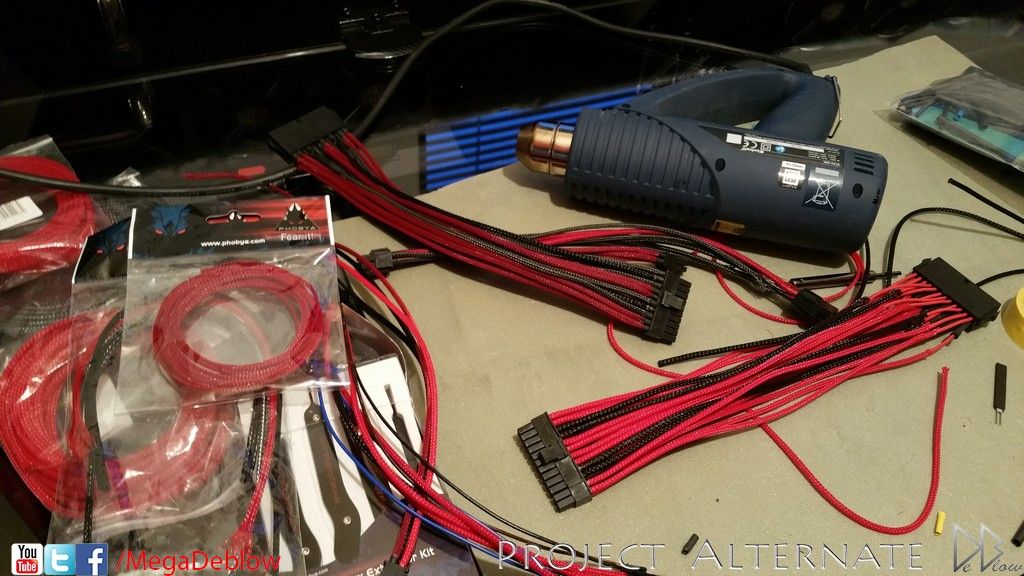
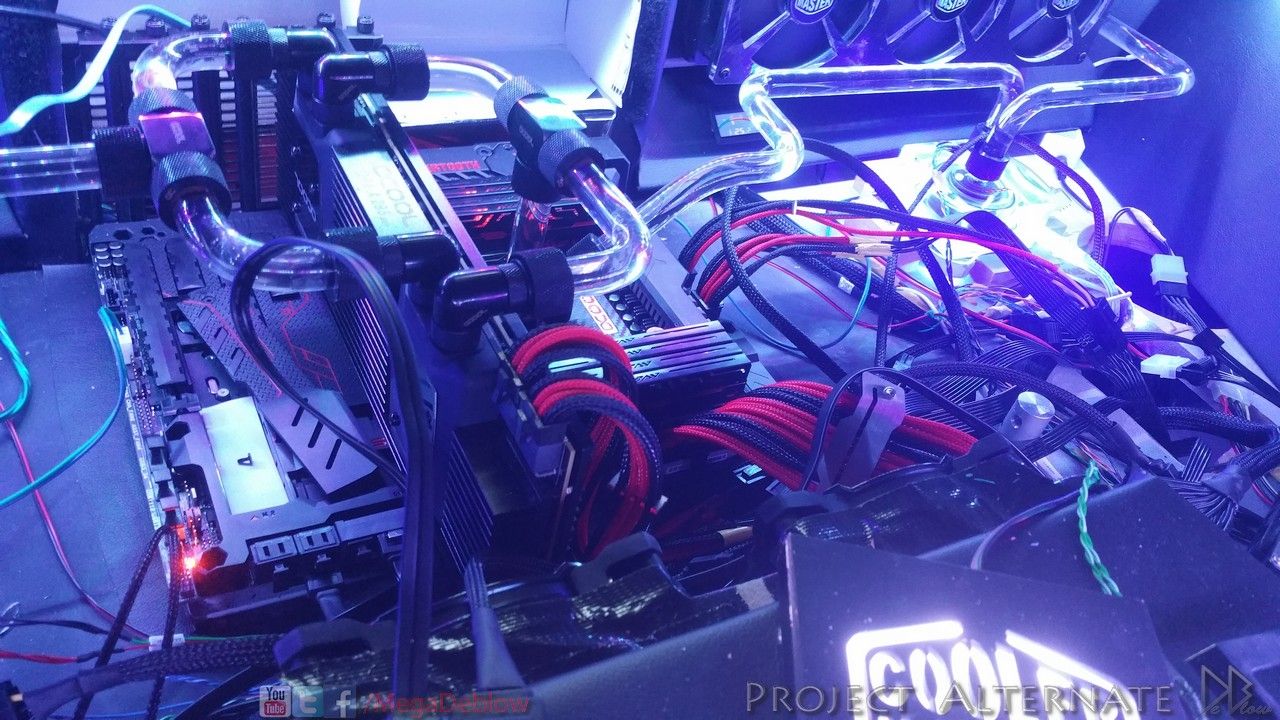
reworked a couple of things as I was waiting for some items to arrive,
redone the cable a bit better & in a brighter red than the 1st attempt..
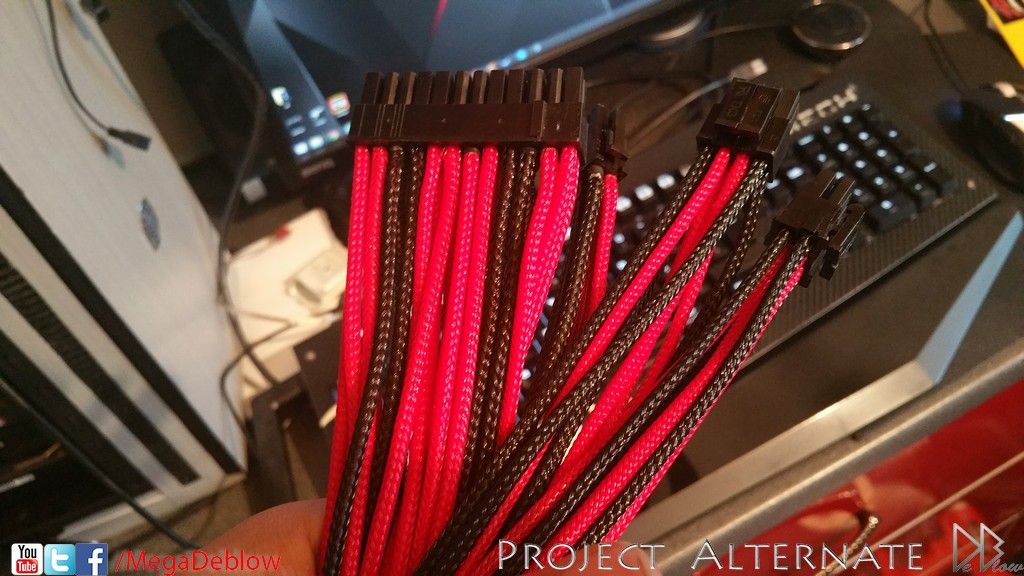
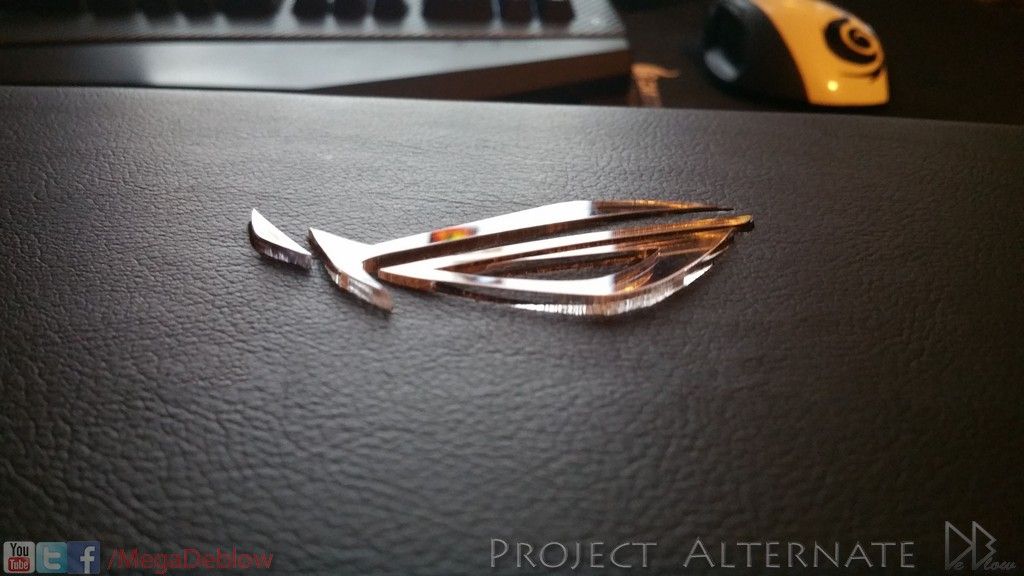
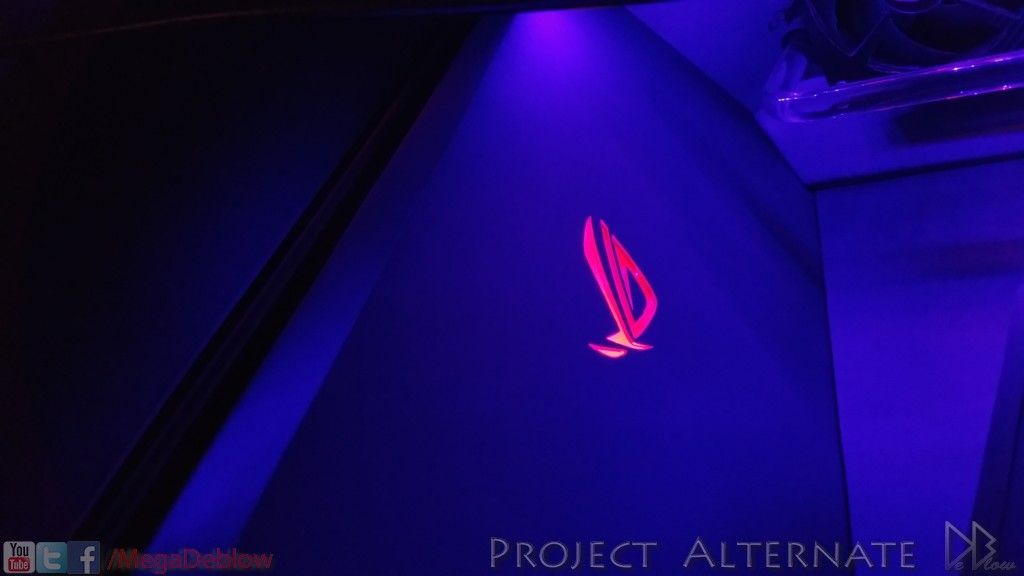
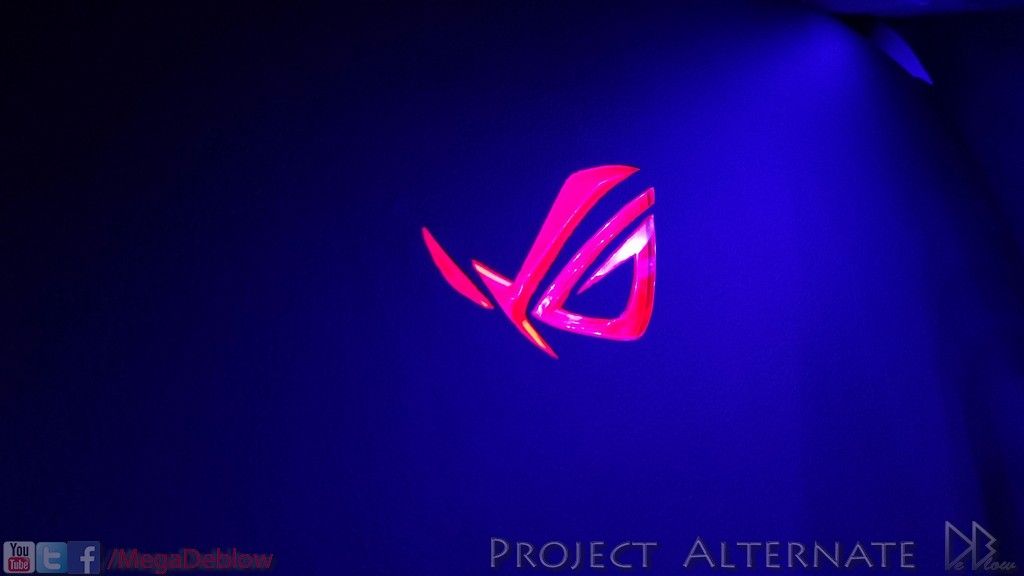
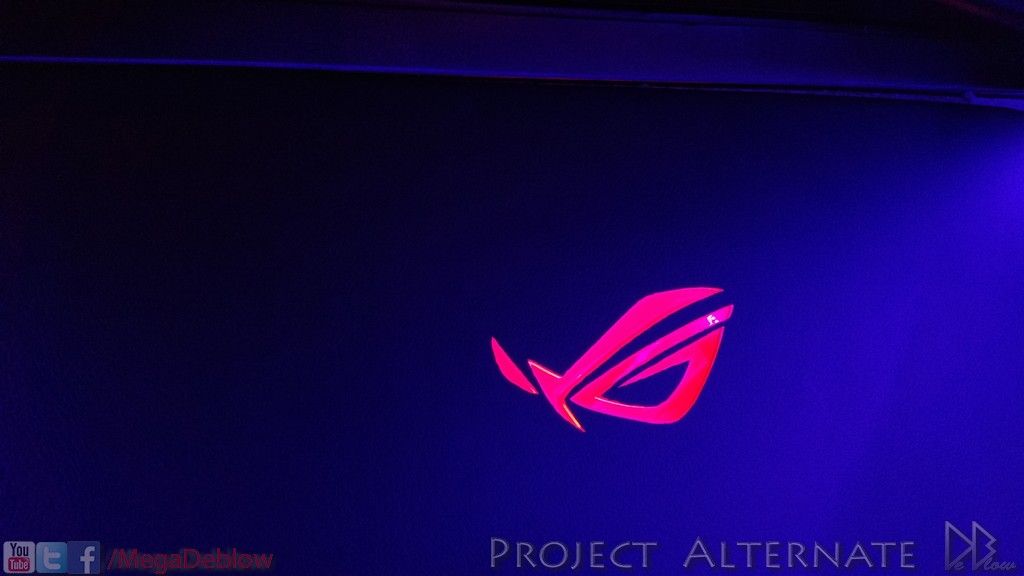
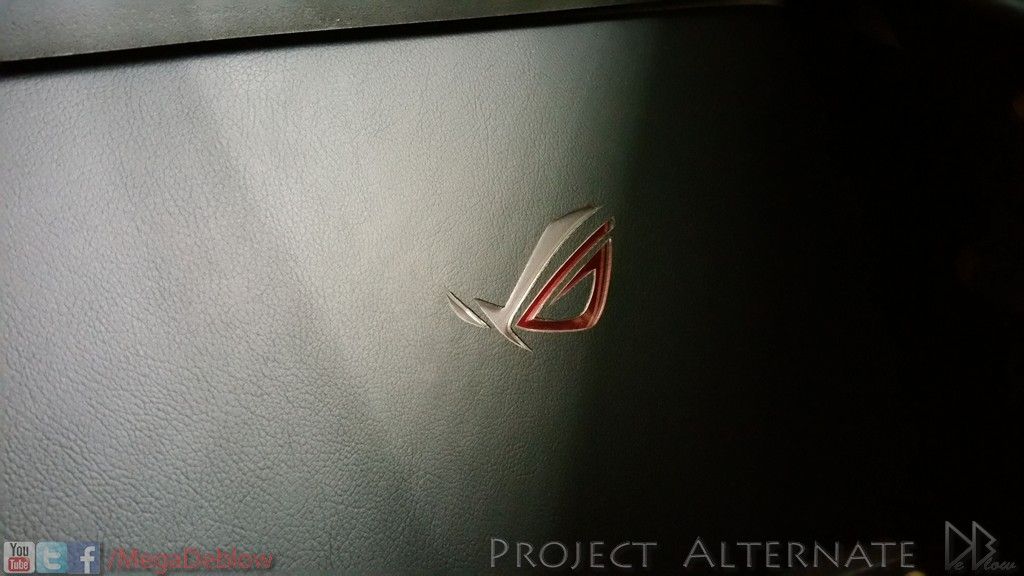
Wasn't happy with the 1st carbon ASUS logos so iv also redone them, done them the same as the Deblow logo,
used laser cut logos & cut the leather & wood backing to match & blend.

redone the cable a bit better & in a brighter red than the 1st attempt..
Wasn't happy with the 1st carbon ASUS logos so iv also redone them, done them the same as the Deblow logo,
used laser cut logos & cut the leather & wood backing to match & blend.
that logo looks AMAAAAAAZING! great work mate
Ooooo, looks lovely.
Glad you like them
Thanks
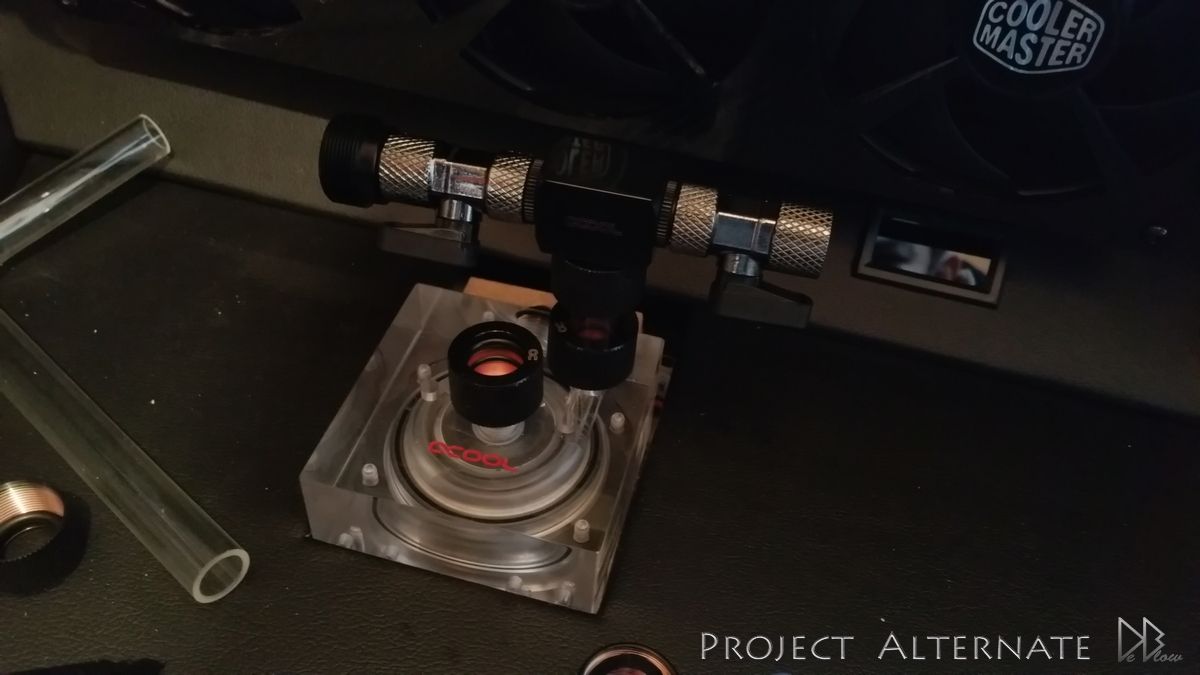
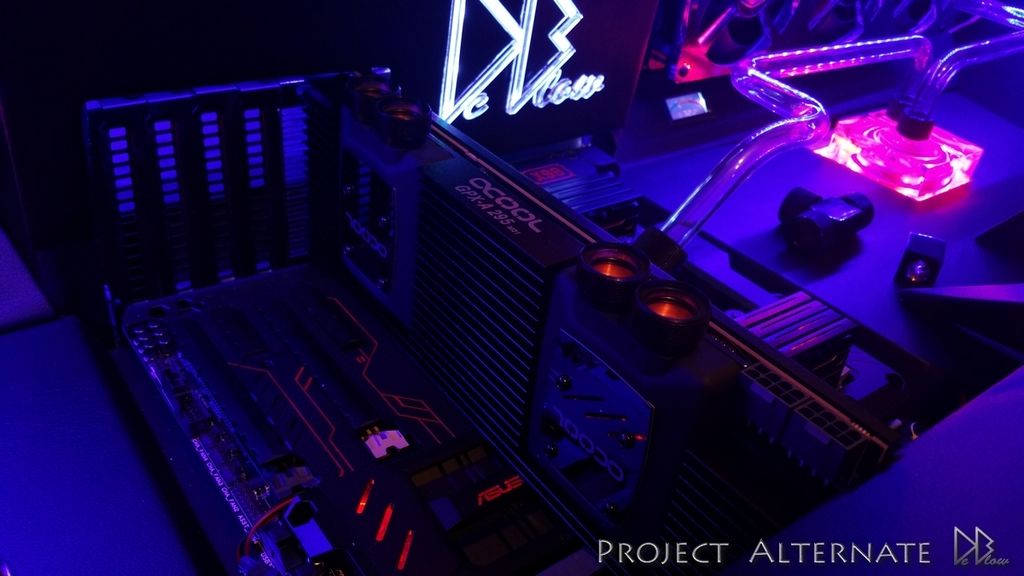
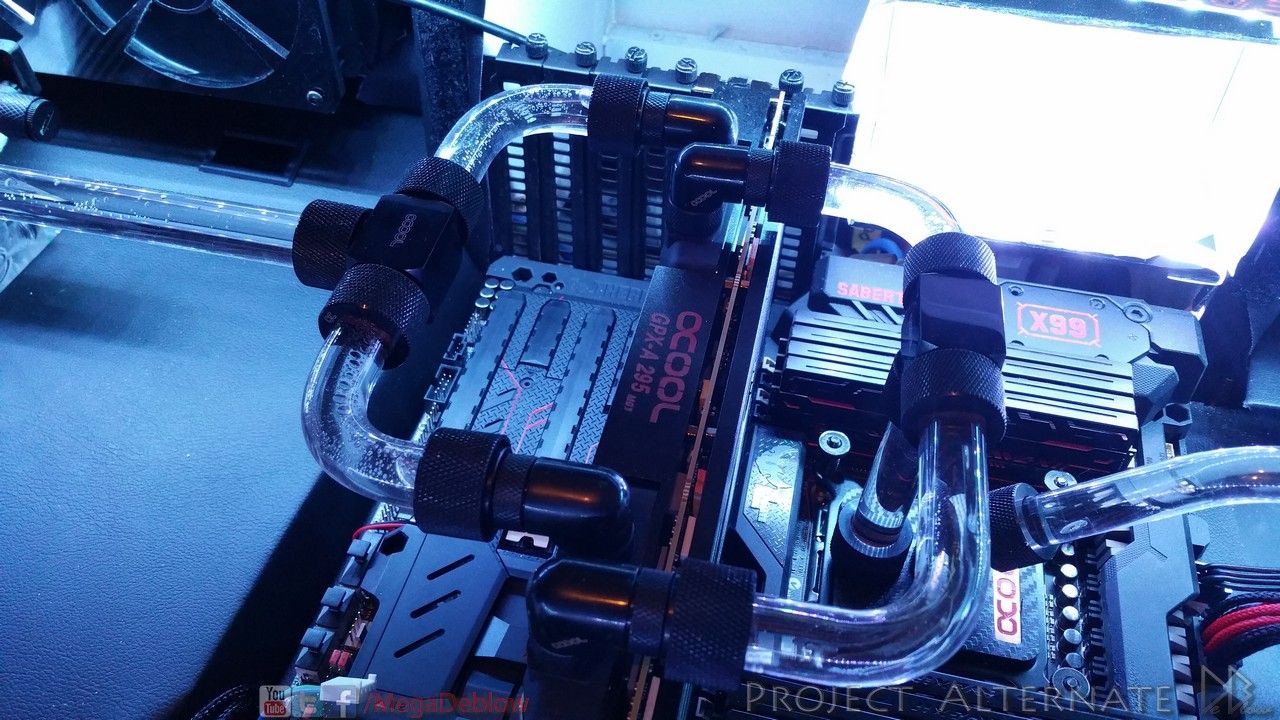
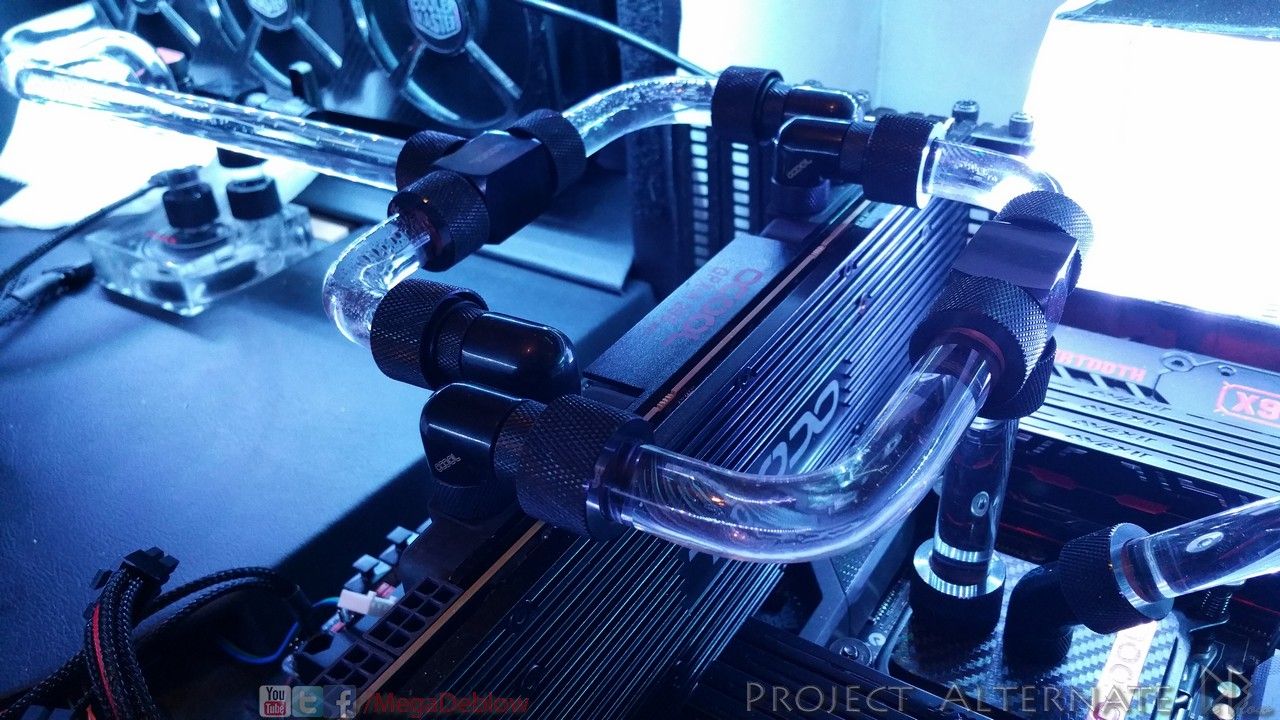
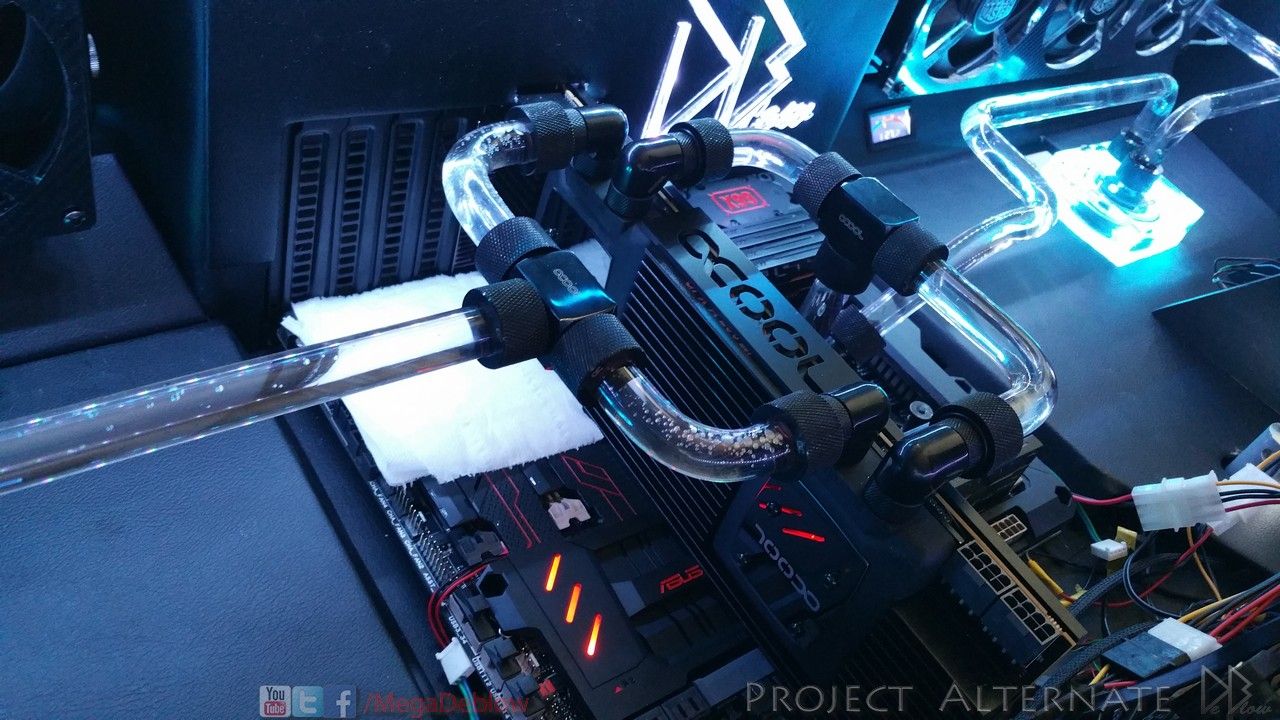
Played around with a couple of loop options, 1st was the standard CPU > GPU1 > GPU2
then I tested how it performs going from CPU> GPU1 & 2
My temp on GPU 2 was slightly better & it looked cooler so im sticking with that option
Im still getting temps around 3c to 5c hotter on my GPU2 compared to GPU1.
could be I need to redo the paste again or tighten the plate up a bit more
will mess with it a bit more if the temp on GPU hits 60c or more when hardcore gaming.
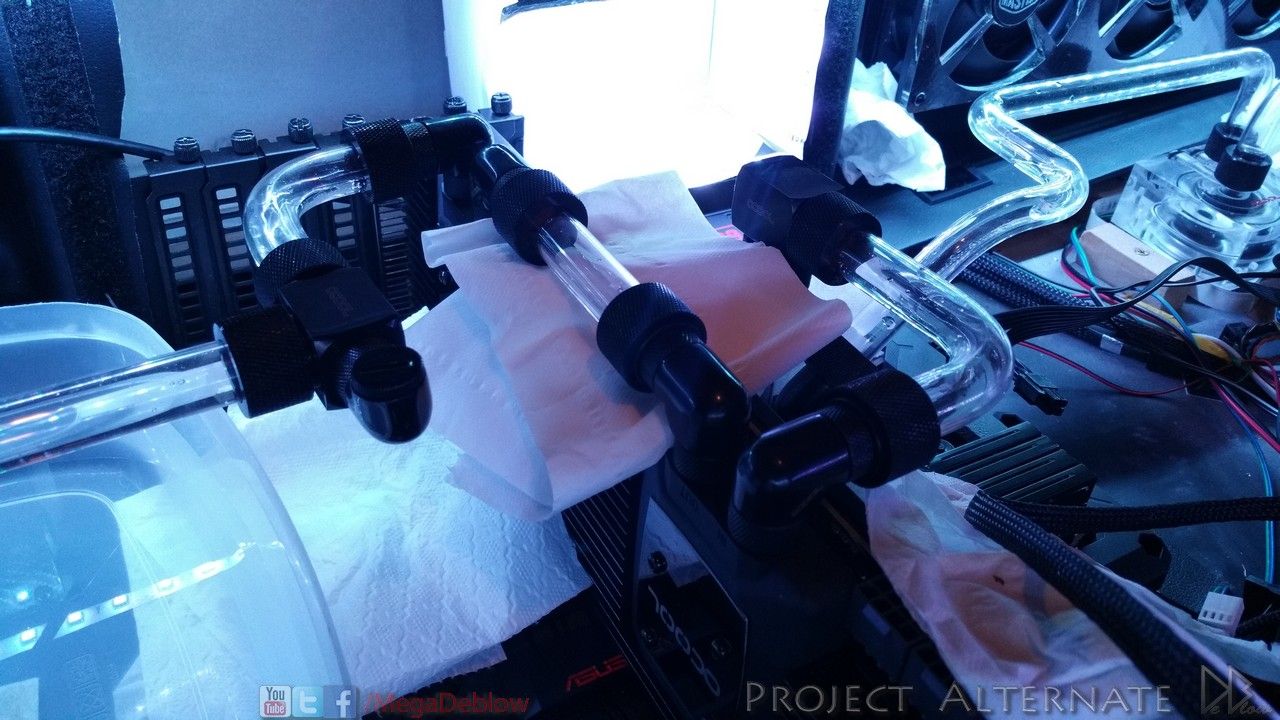
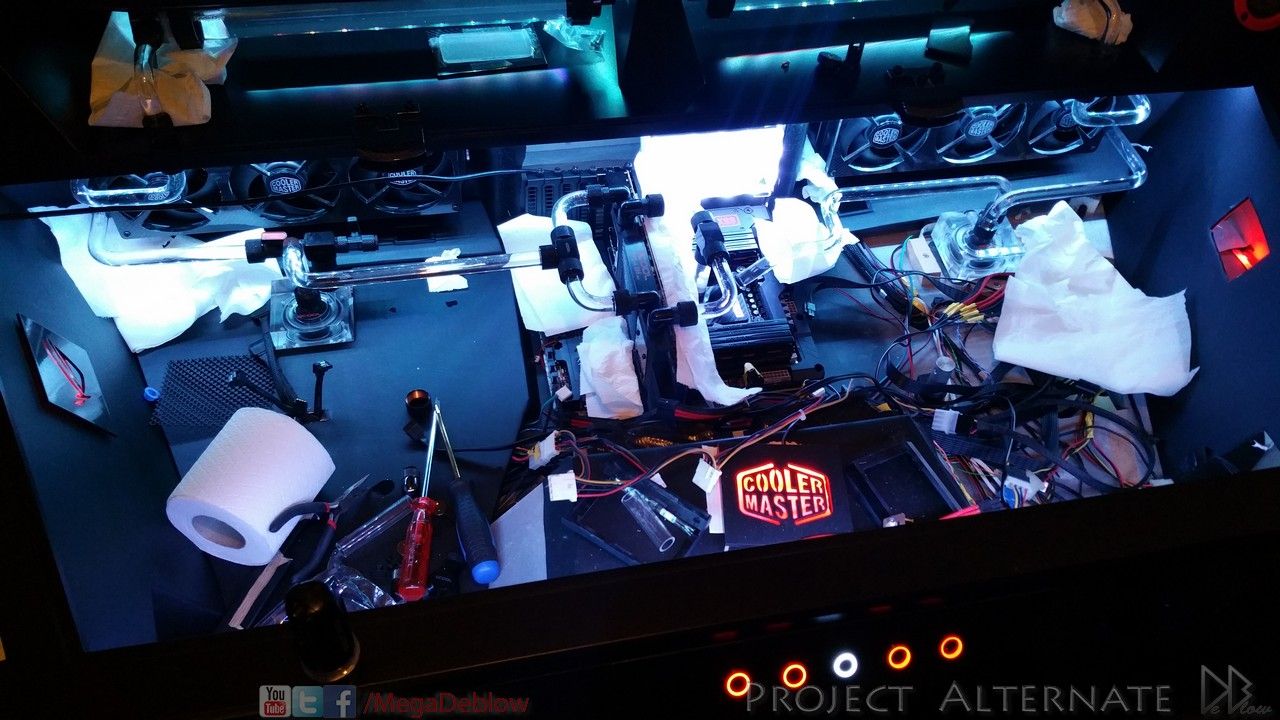
Used lots of bog roll lol
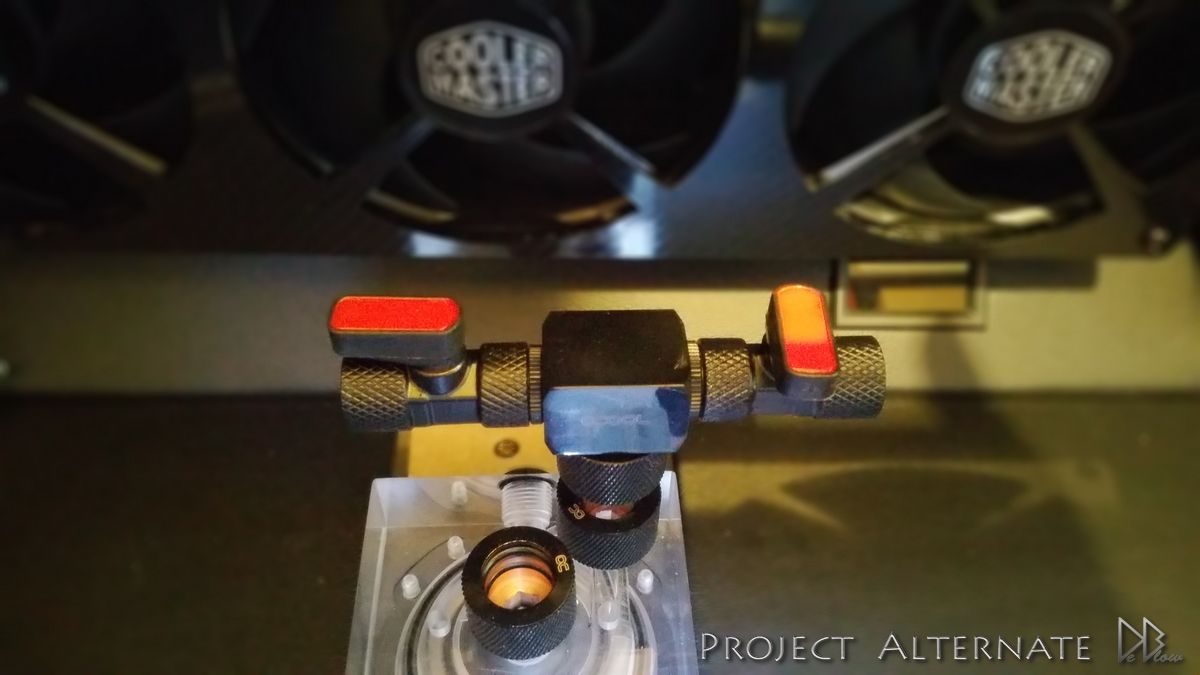
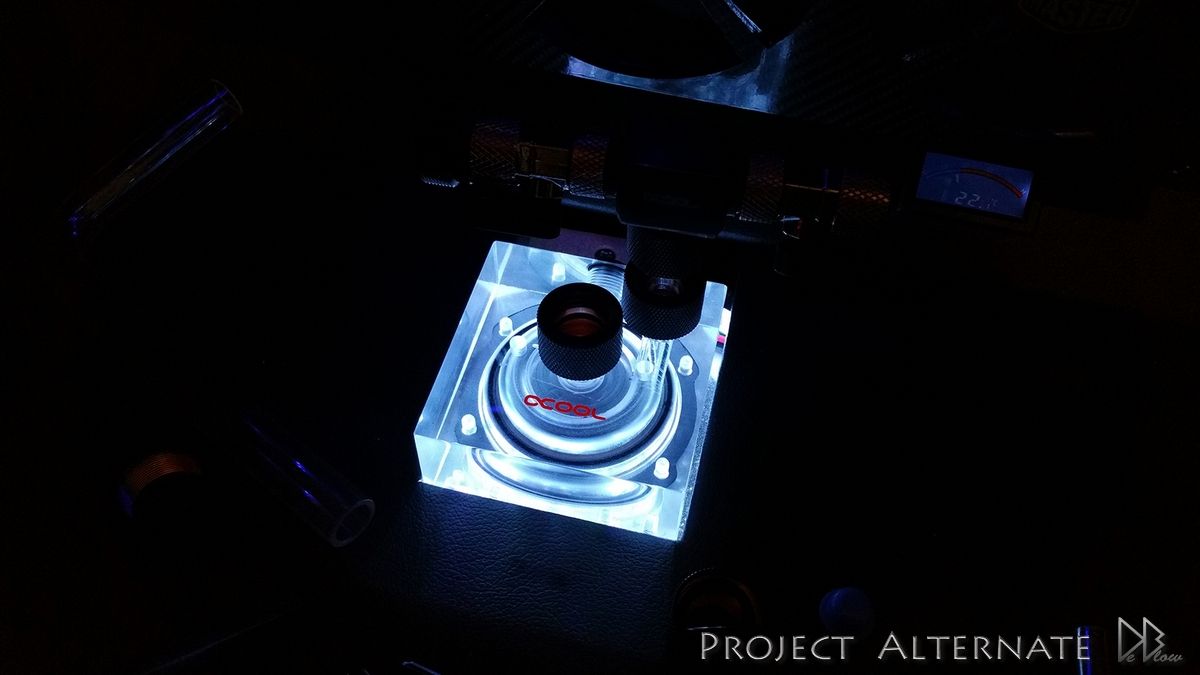
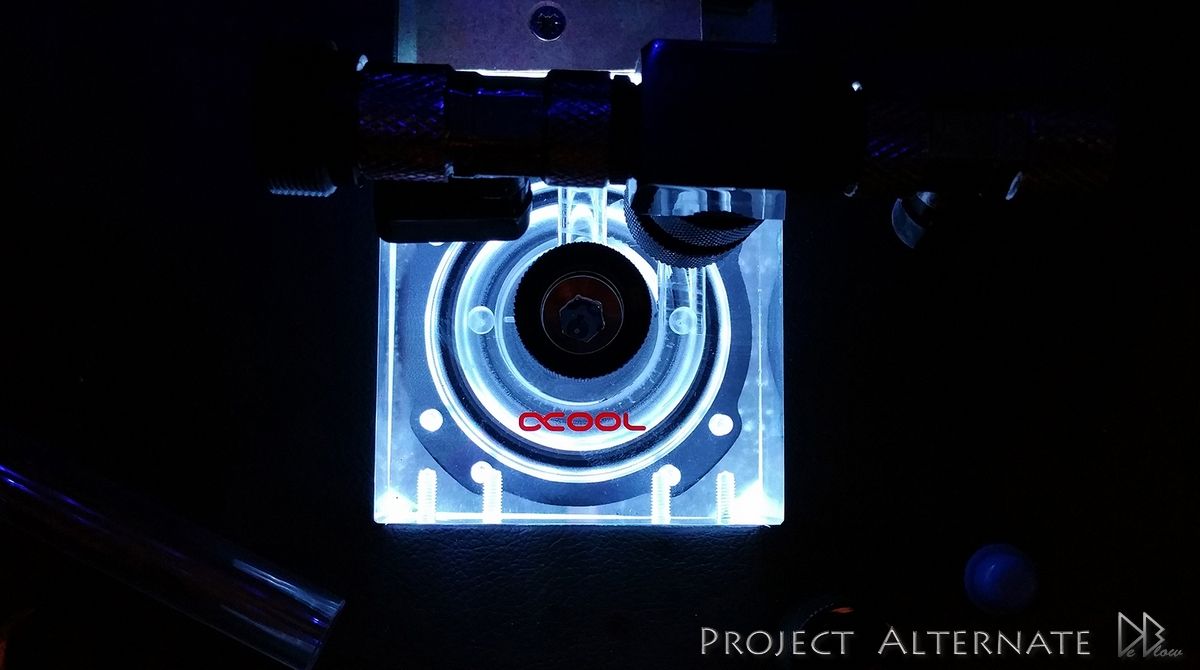
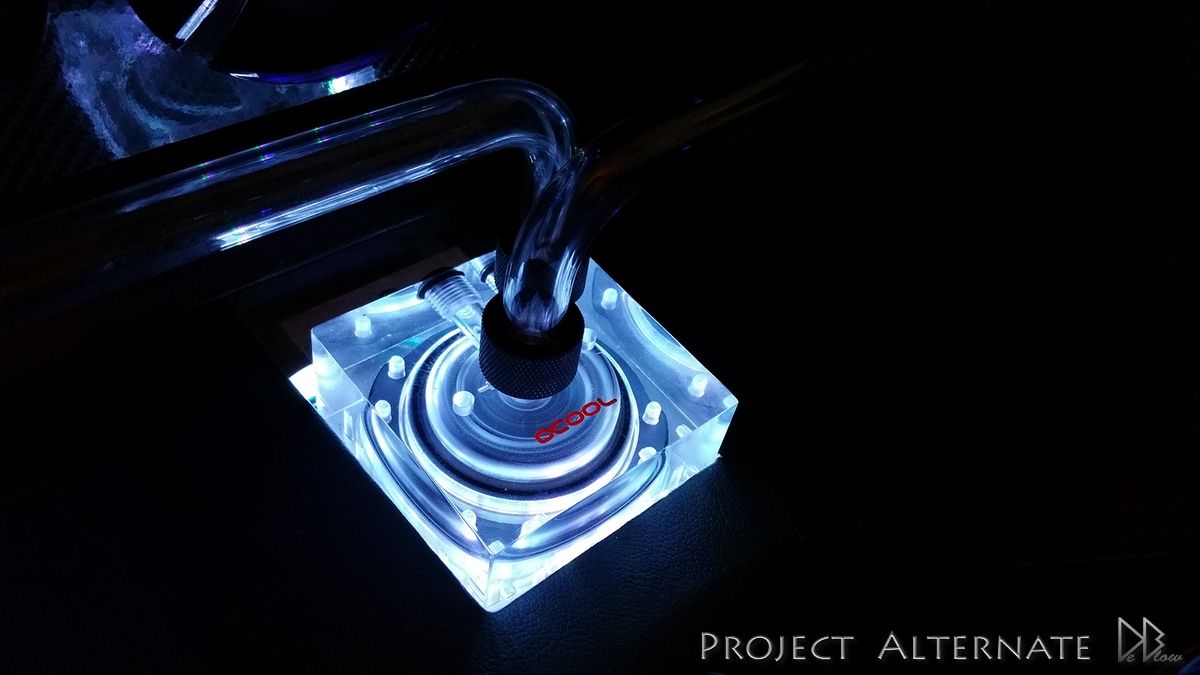
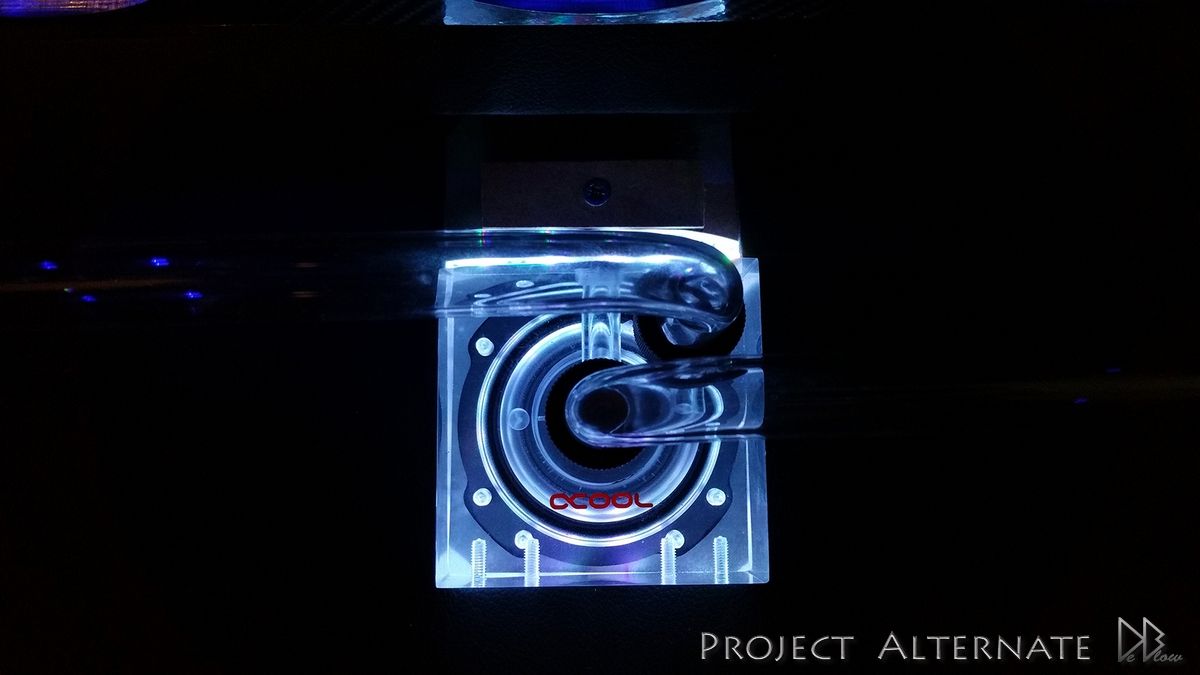
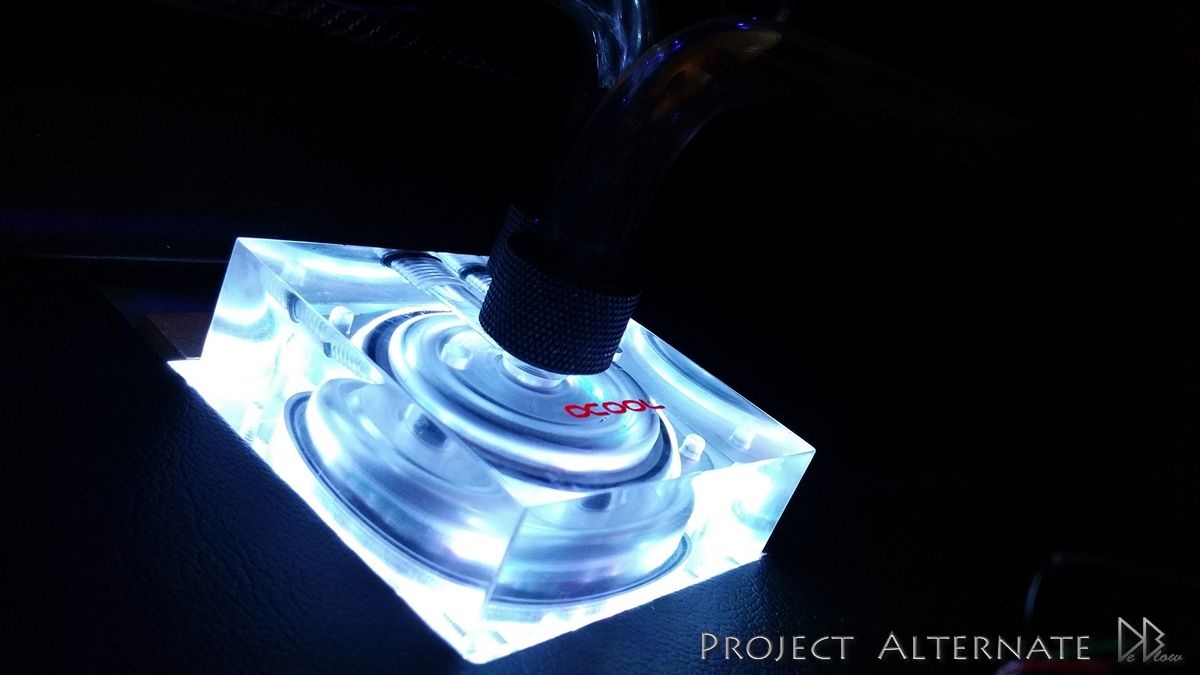
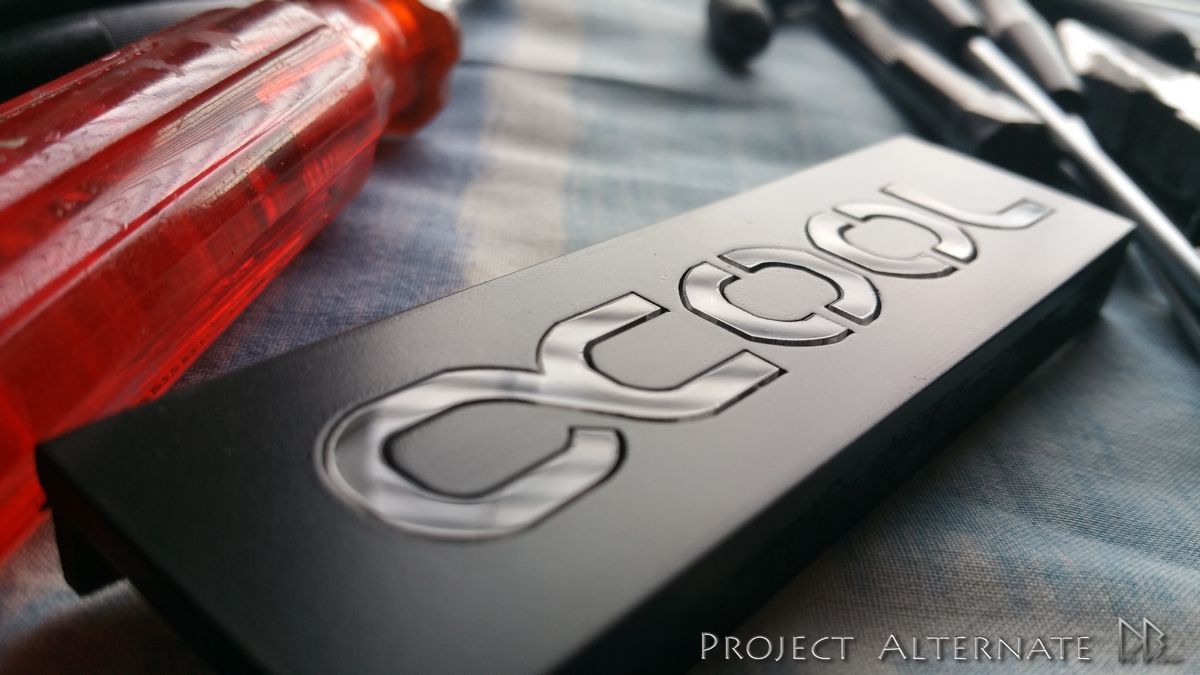
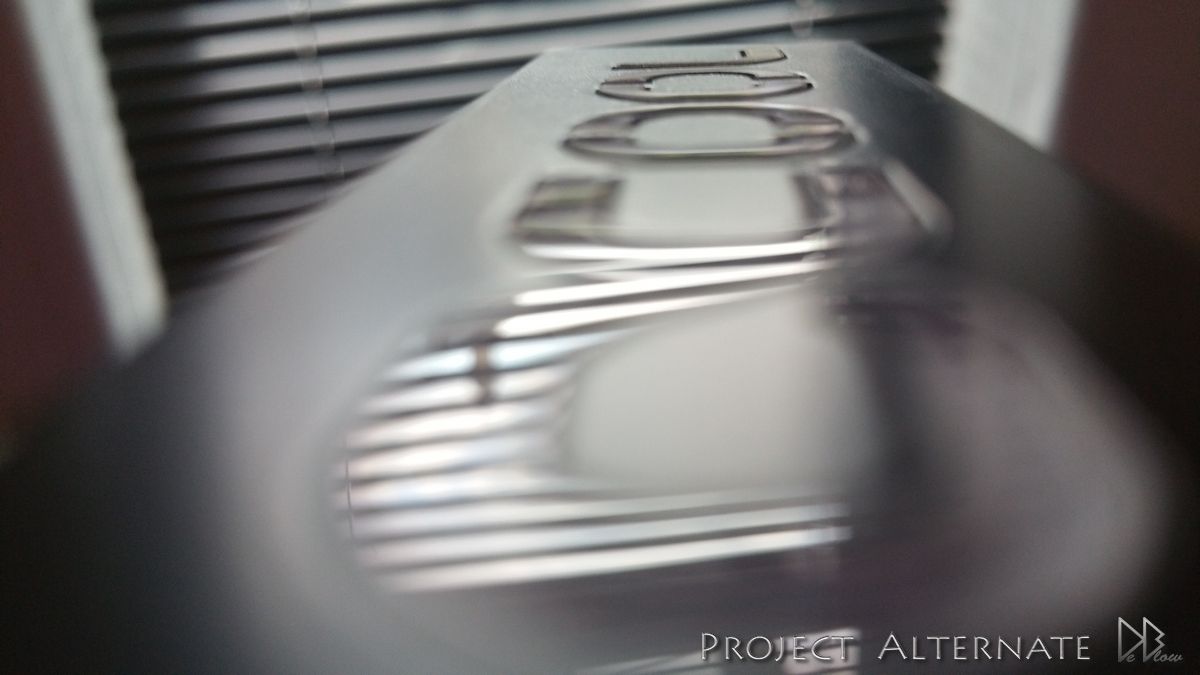
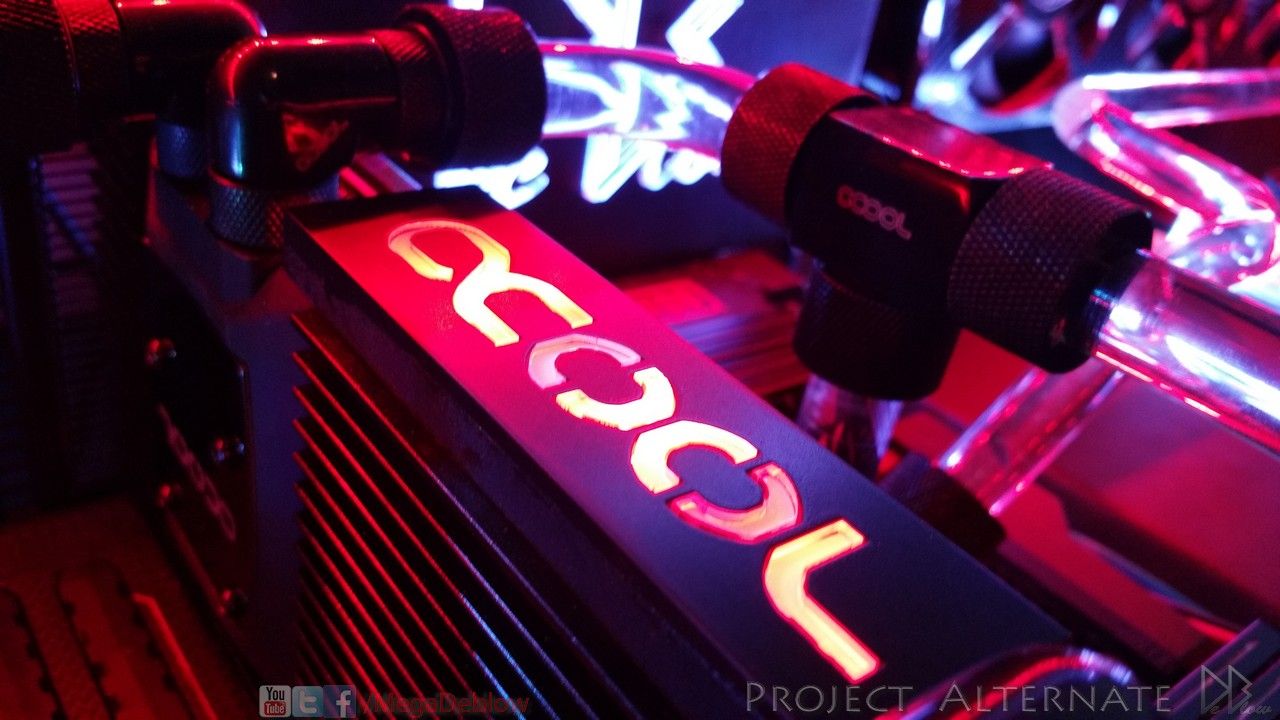
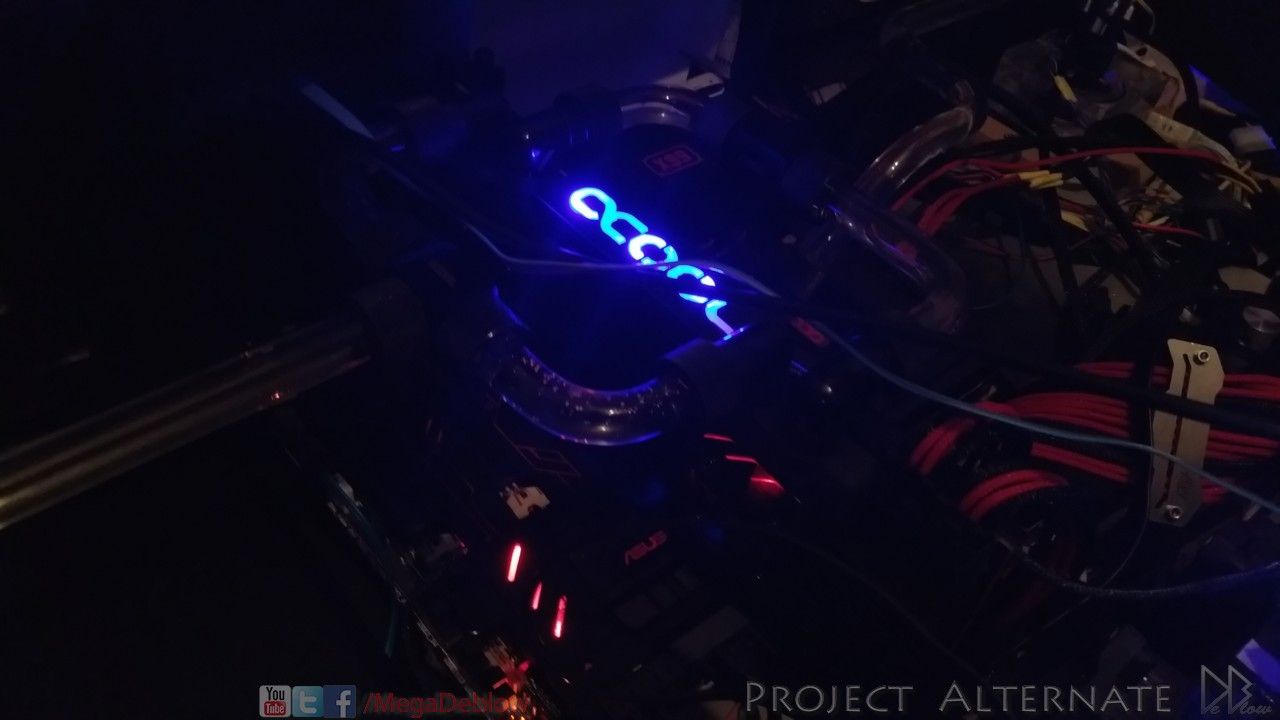
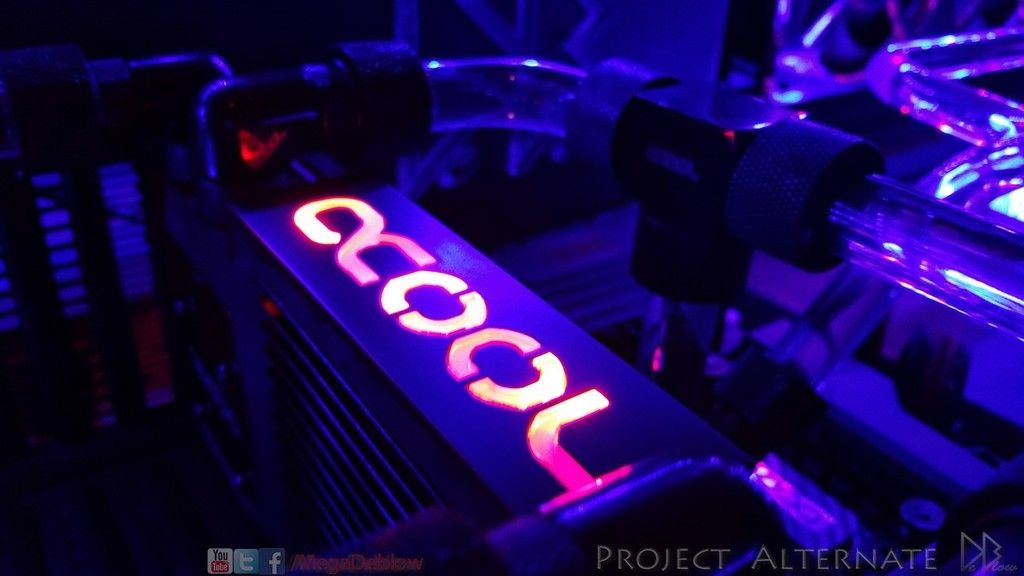
Also completed the Alphacool logo, RGB controlled, so far I like RED & BLUE, hard to get some good pics of the reds though
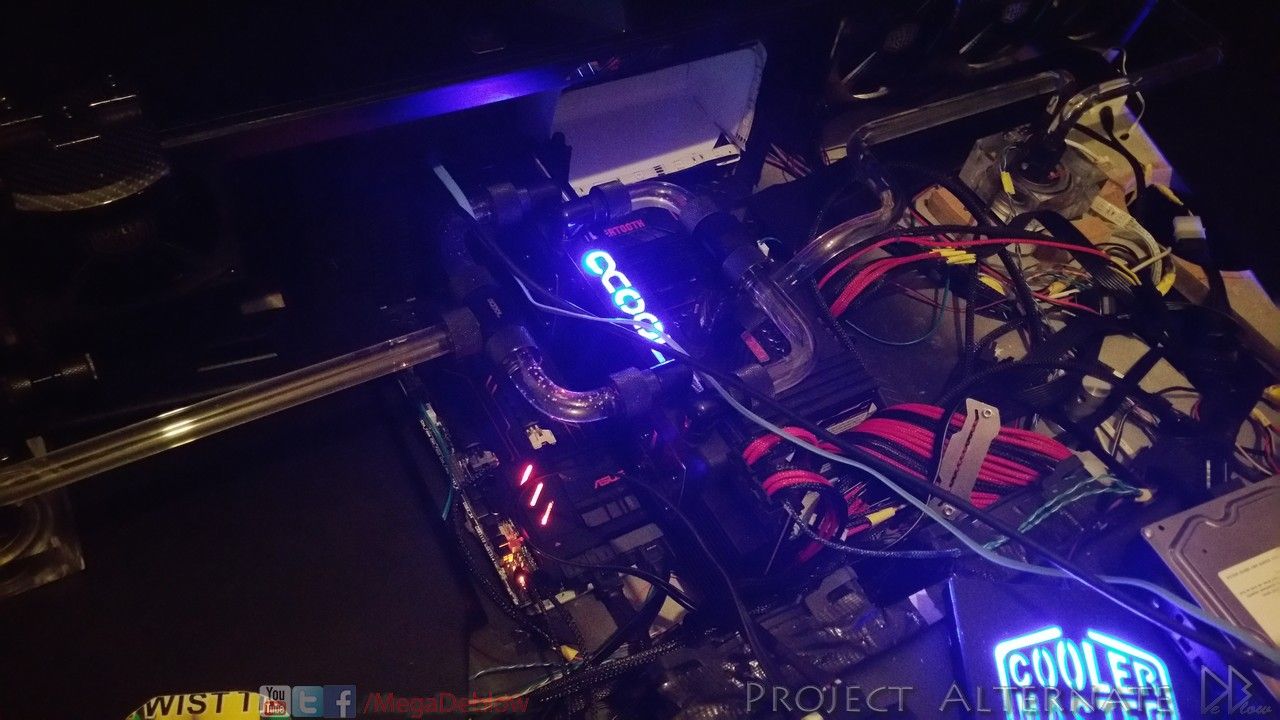
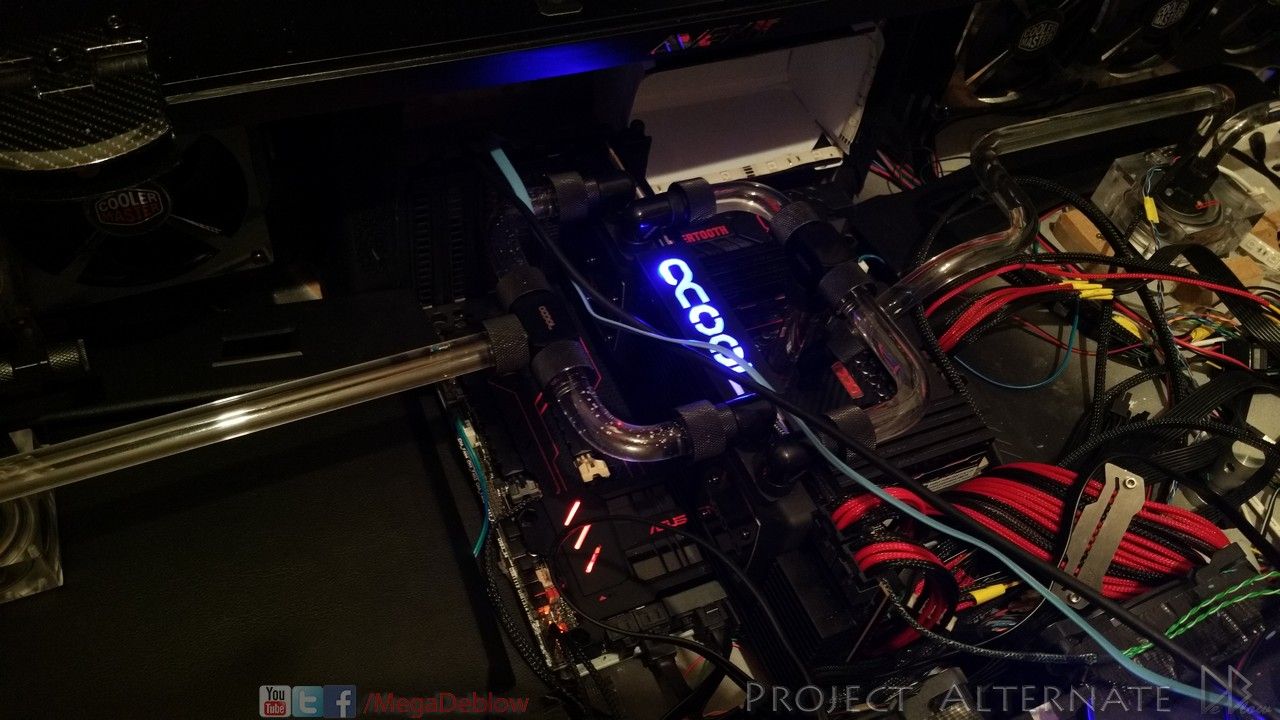
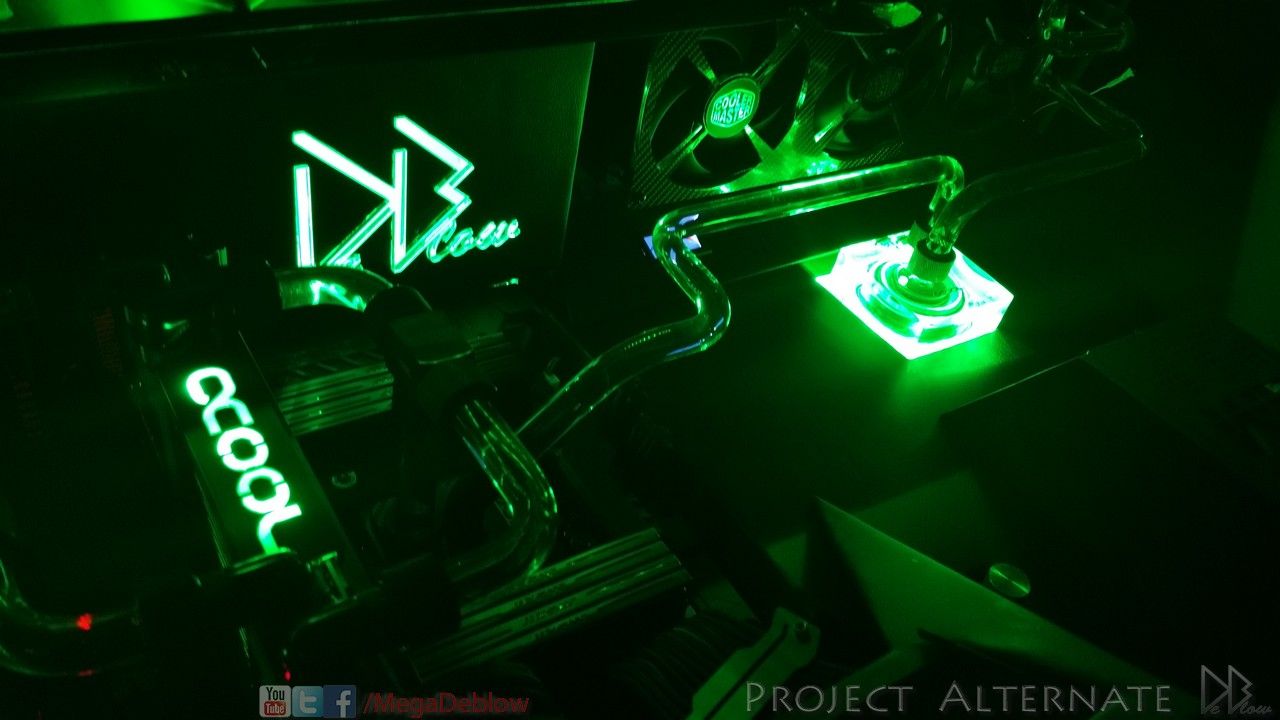
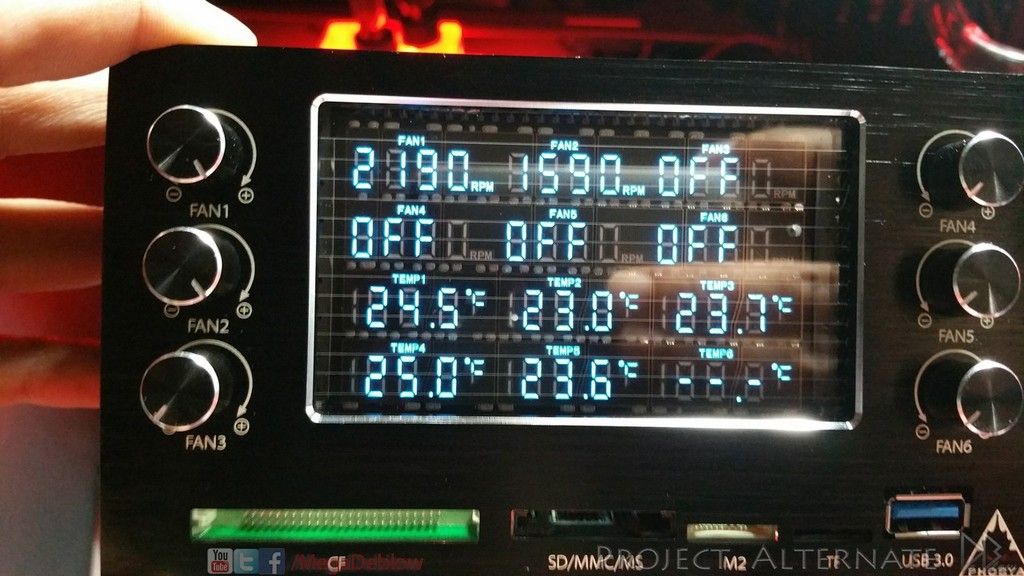
Replaced the 2 fan controllers for 1 duel bay, Phobya MaxGuide 6
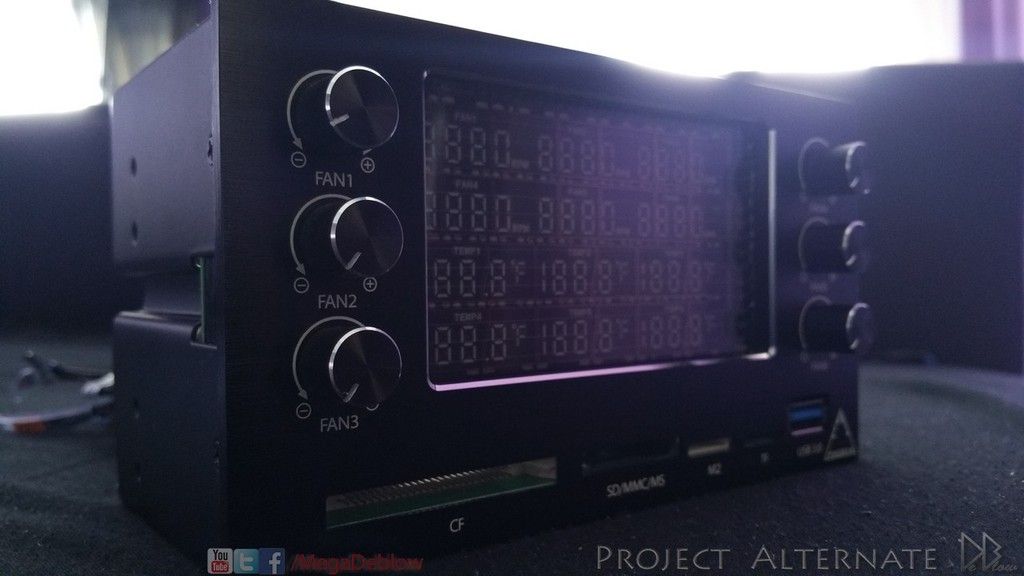
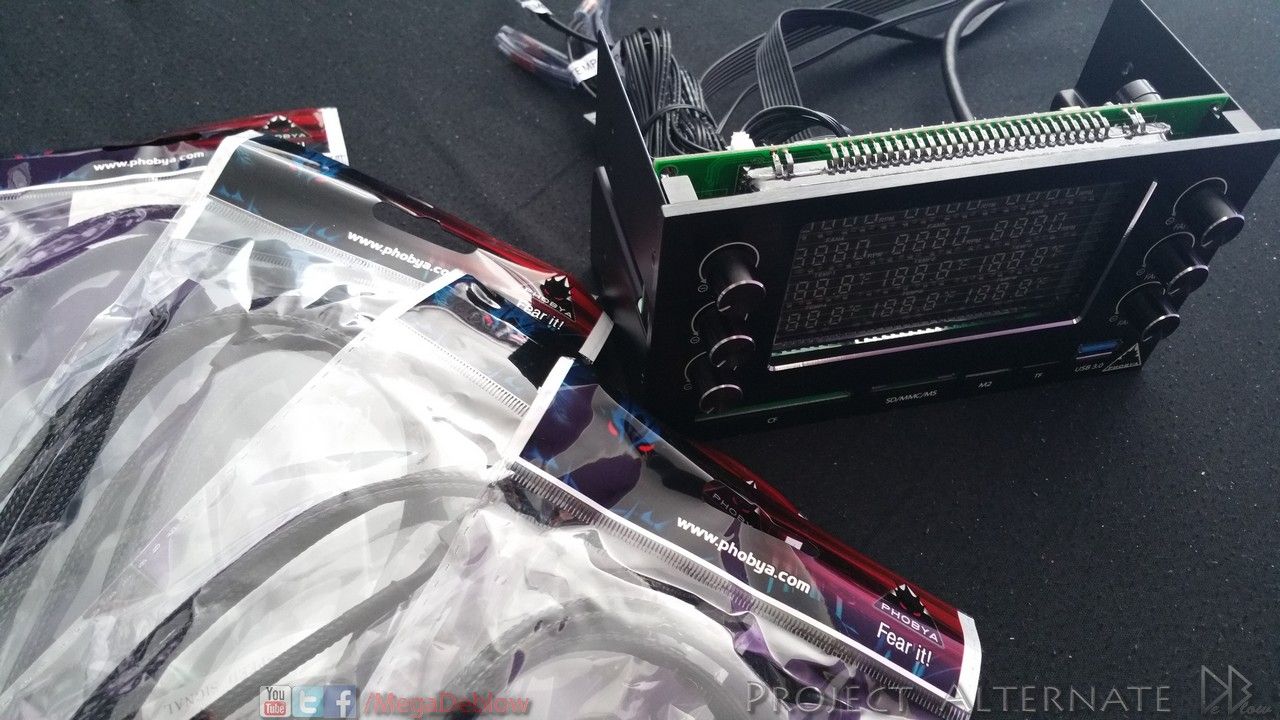
The new controller has 6 temp monitors,
I plan to just use 3 for now, room temp, desk temp & GPU backplate temp
then I tested how it performs going from CPU> GPU1 & 2
My temp on GPU 2 was slightly better & it looked cooler so im sticking with that option
Im still getting temps around 3c to 5c hotter on my GPU2 compared to GPU1.
could be I need to redo the paste again or tighten the plate up a bit more
will mess with it a bit more if the temp on GPU hits 60c or more when hardcore gaming.
Used lots of bog roll lol
Also completed the Alphacool logo, RGB controlled, so far I like RED & BLUE, hard to get some good pics of the reds though
Replaced the 2 fan controllers for 1 duel bay, Phobya MaxGuide 6
The new controller has 6 temp monitors,
I plan to just use 3 for now, room temp, desk temp & GPU backplate temp
Have a couple of updates today, missed some days this week due to Metal gear Solids release
been anticipating its release for years!
anyway, before I head back to Afghanistan to capture sheep heres some updates
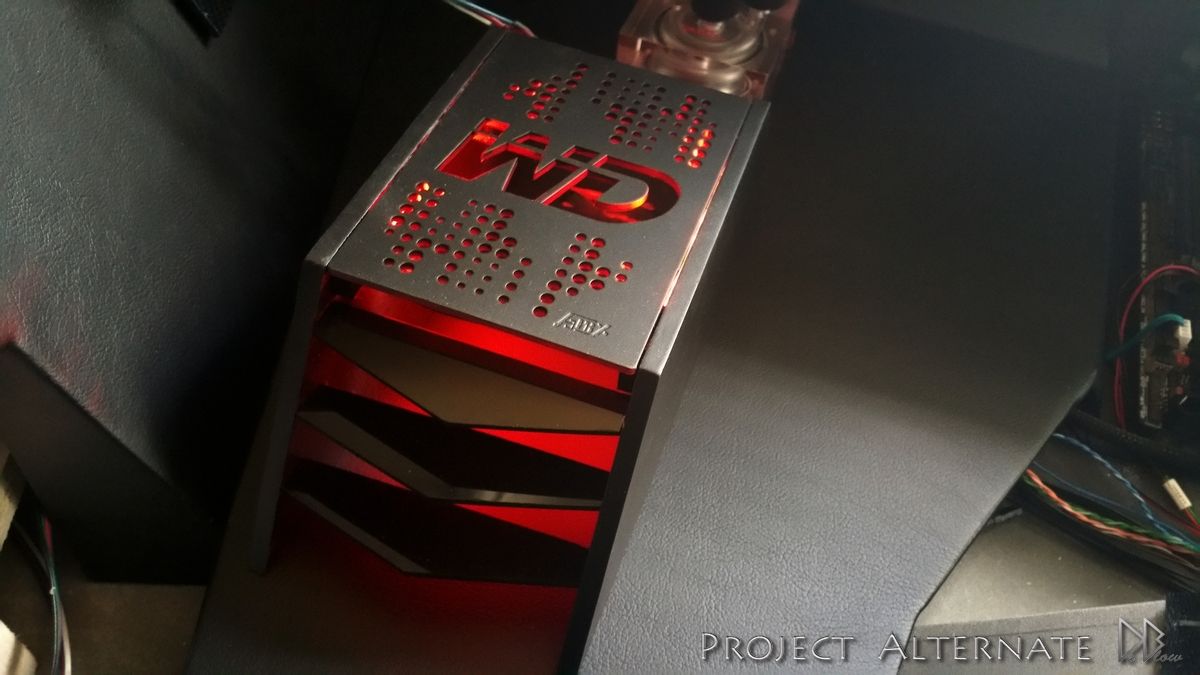
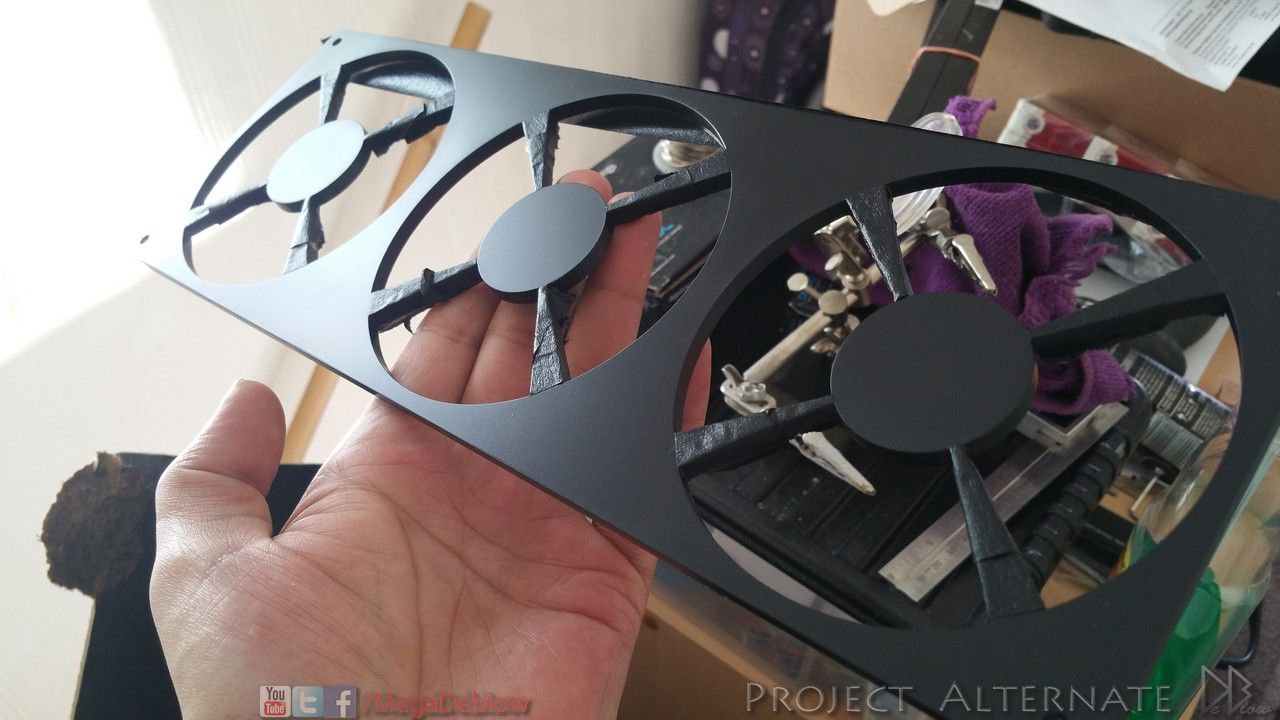
Wanted to make some covers for the SSDs, by modding some old 360 HD holders
I can now cover SSDs without having to mess-about taking my new drives apart & losing
the warranty.
also means should I upgrade them later & can just keep using the same covers
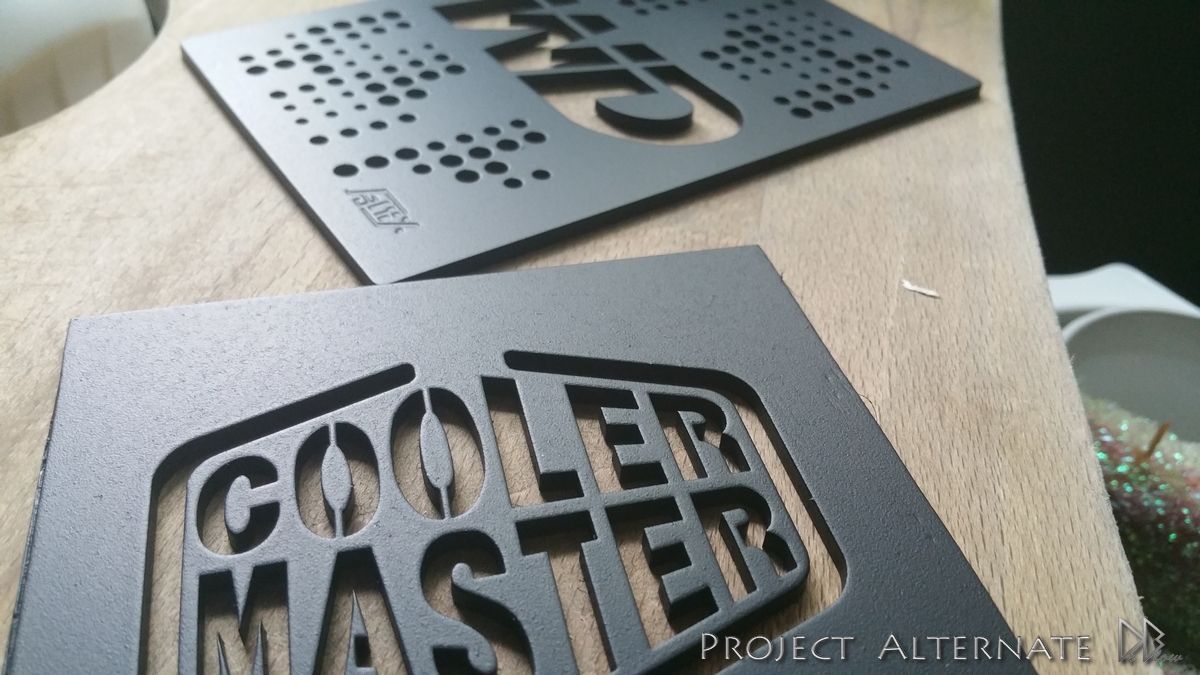
Decided to used the Phobya logo as its dark & mean looking "like the desk"
& is one of my favourite sponsor logo.
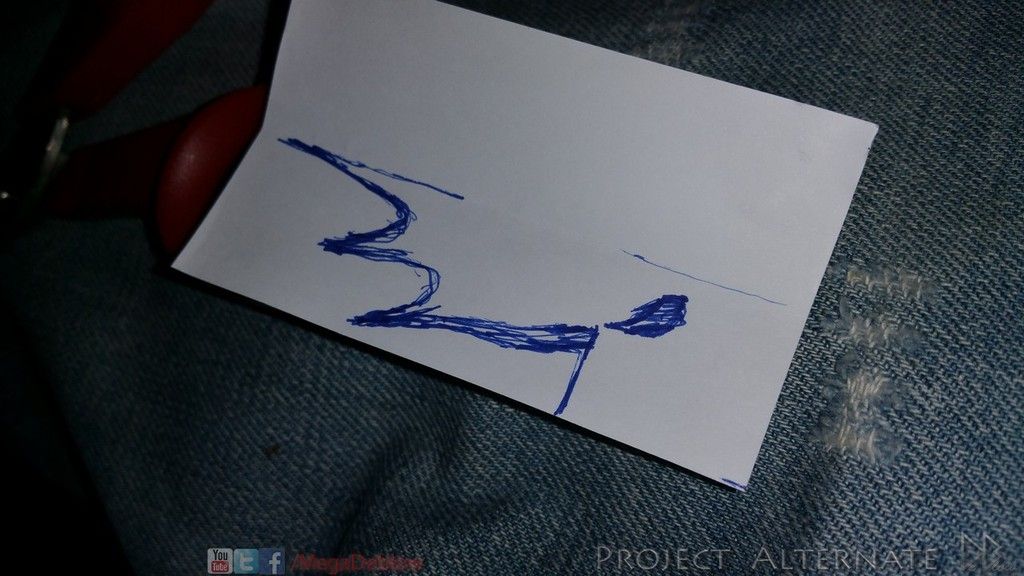
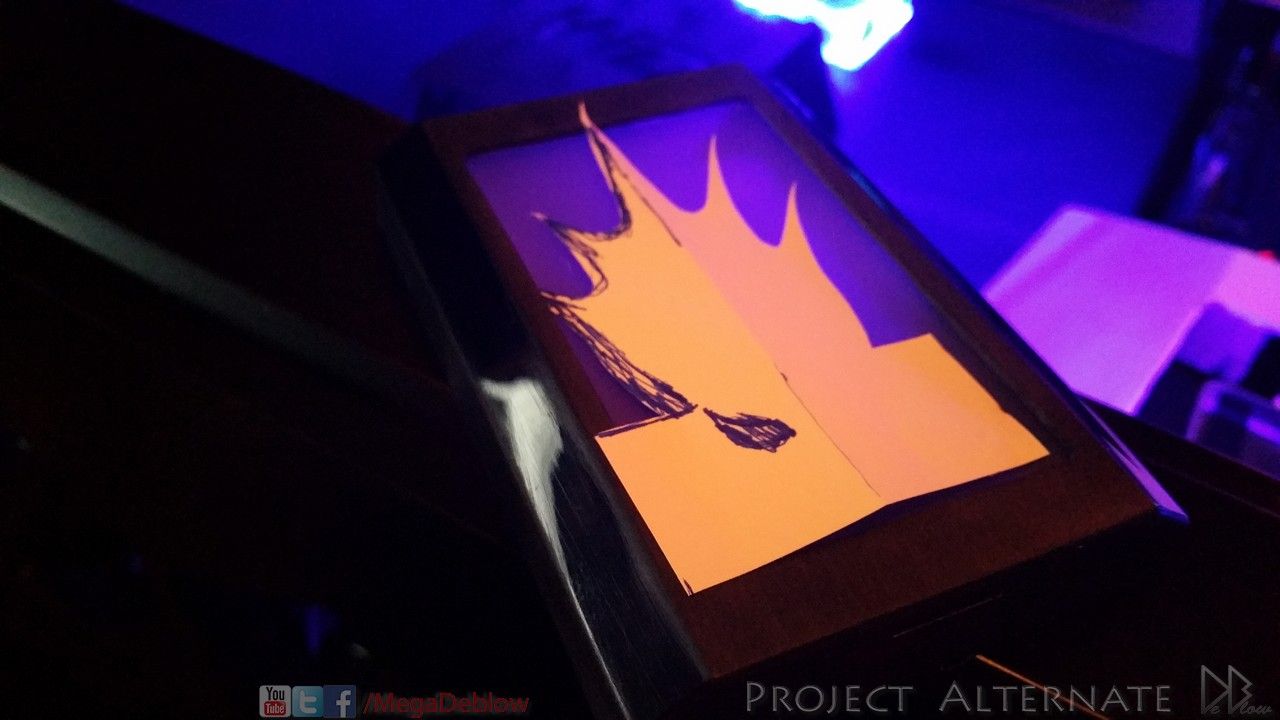
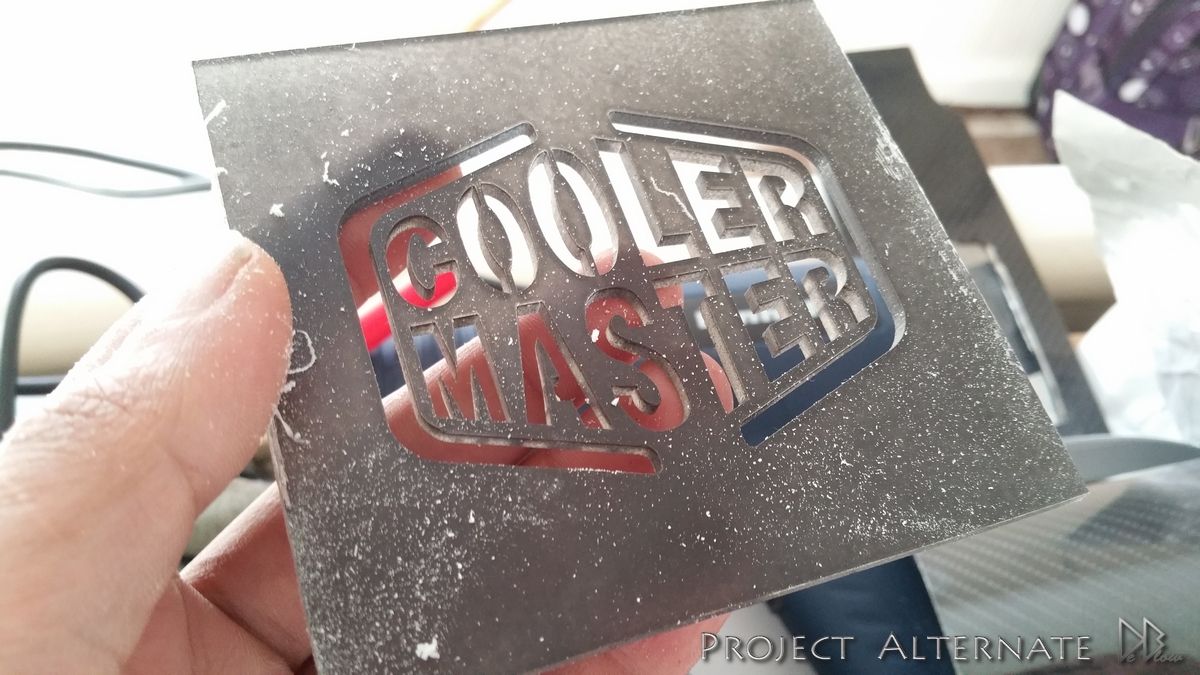
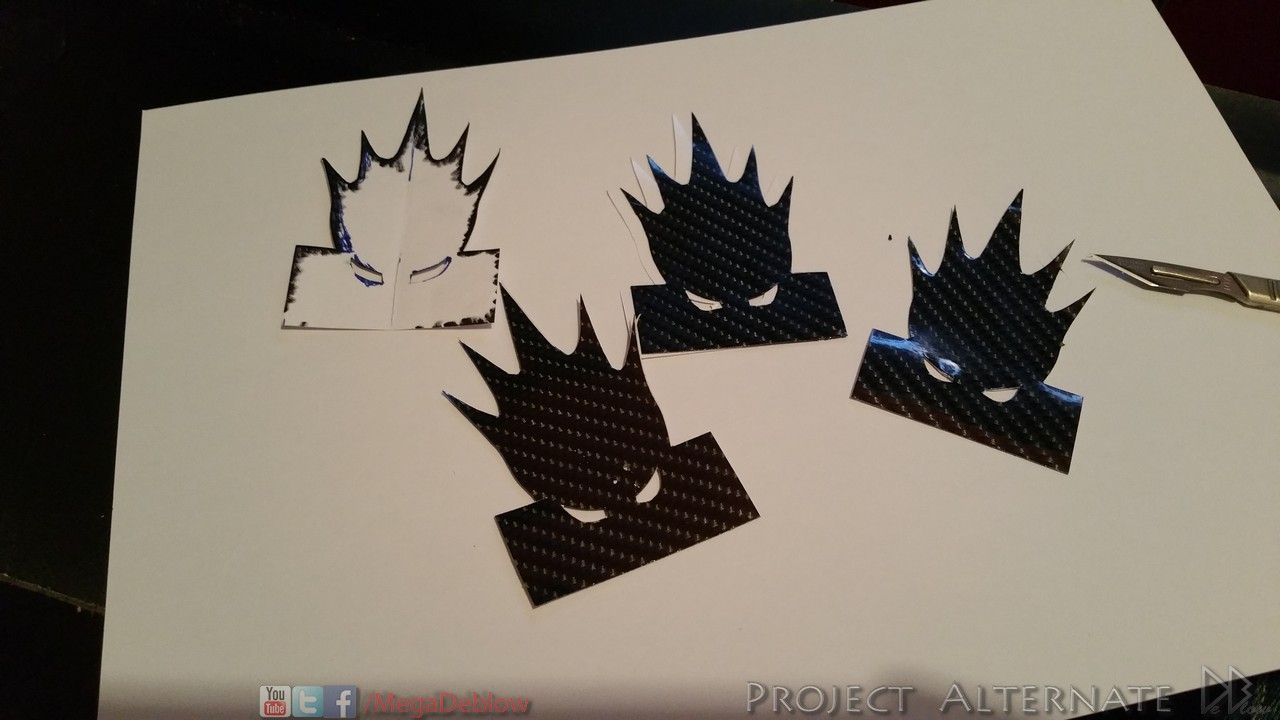
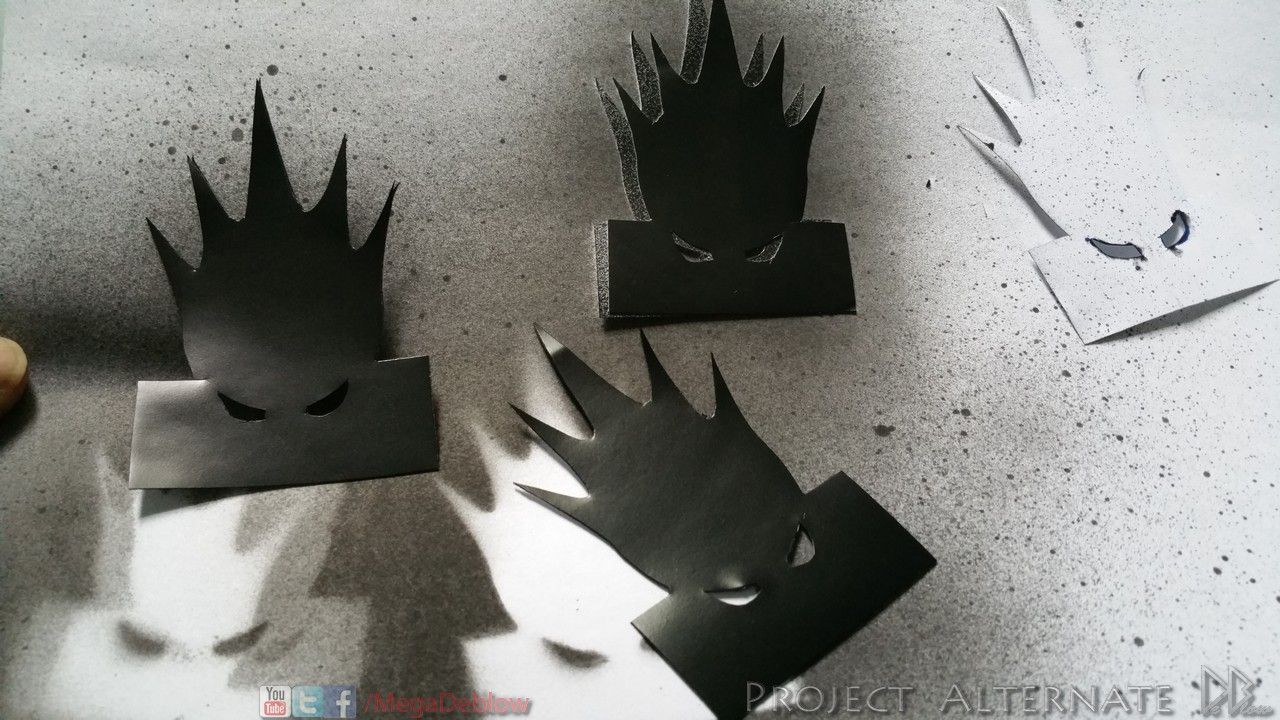
after drawing & cutting the logos I then painted with the same flat black used on other parts of the desk

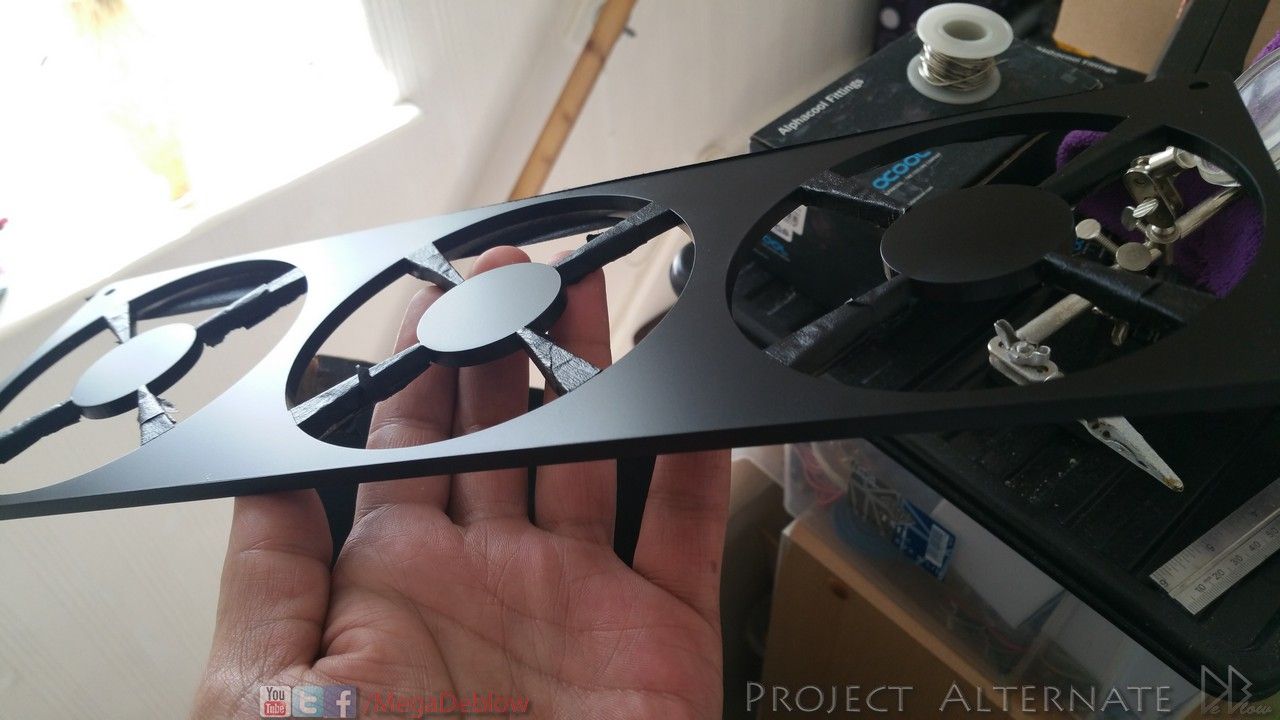
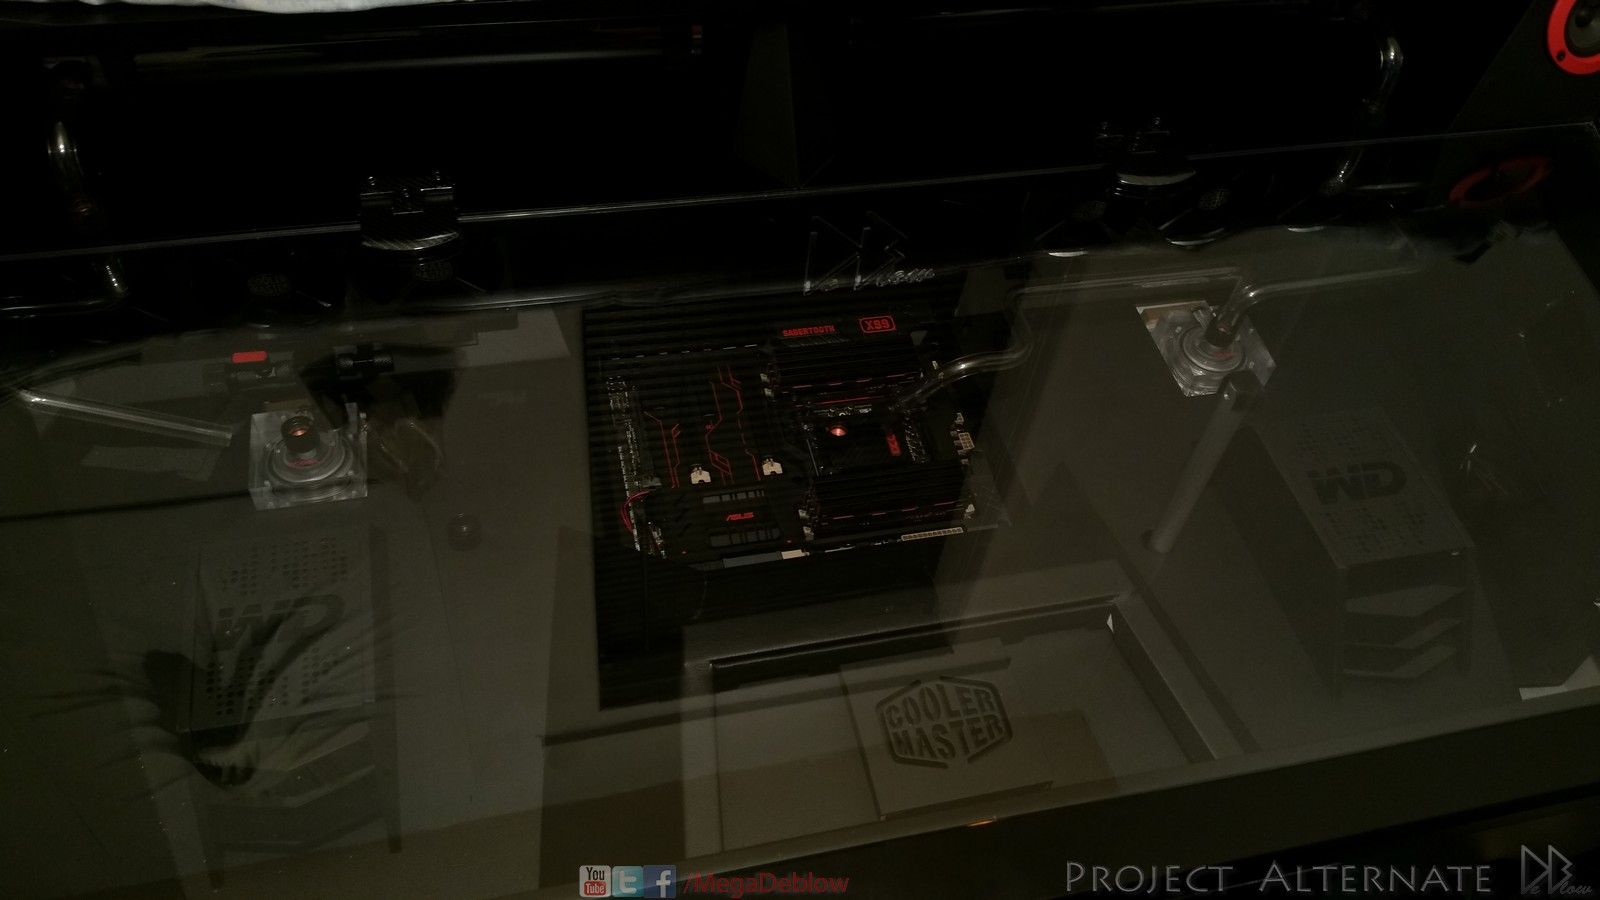
Modified the centre cover to now have an extra blow hole, this is the cover I made to help direct the air towards the GPU.
the air also travels along the bottom of the cover, will show that when I do the final photos.
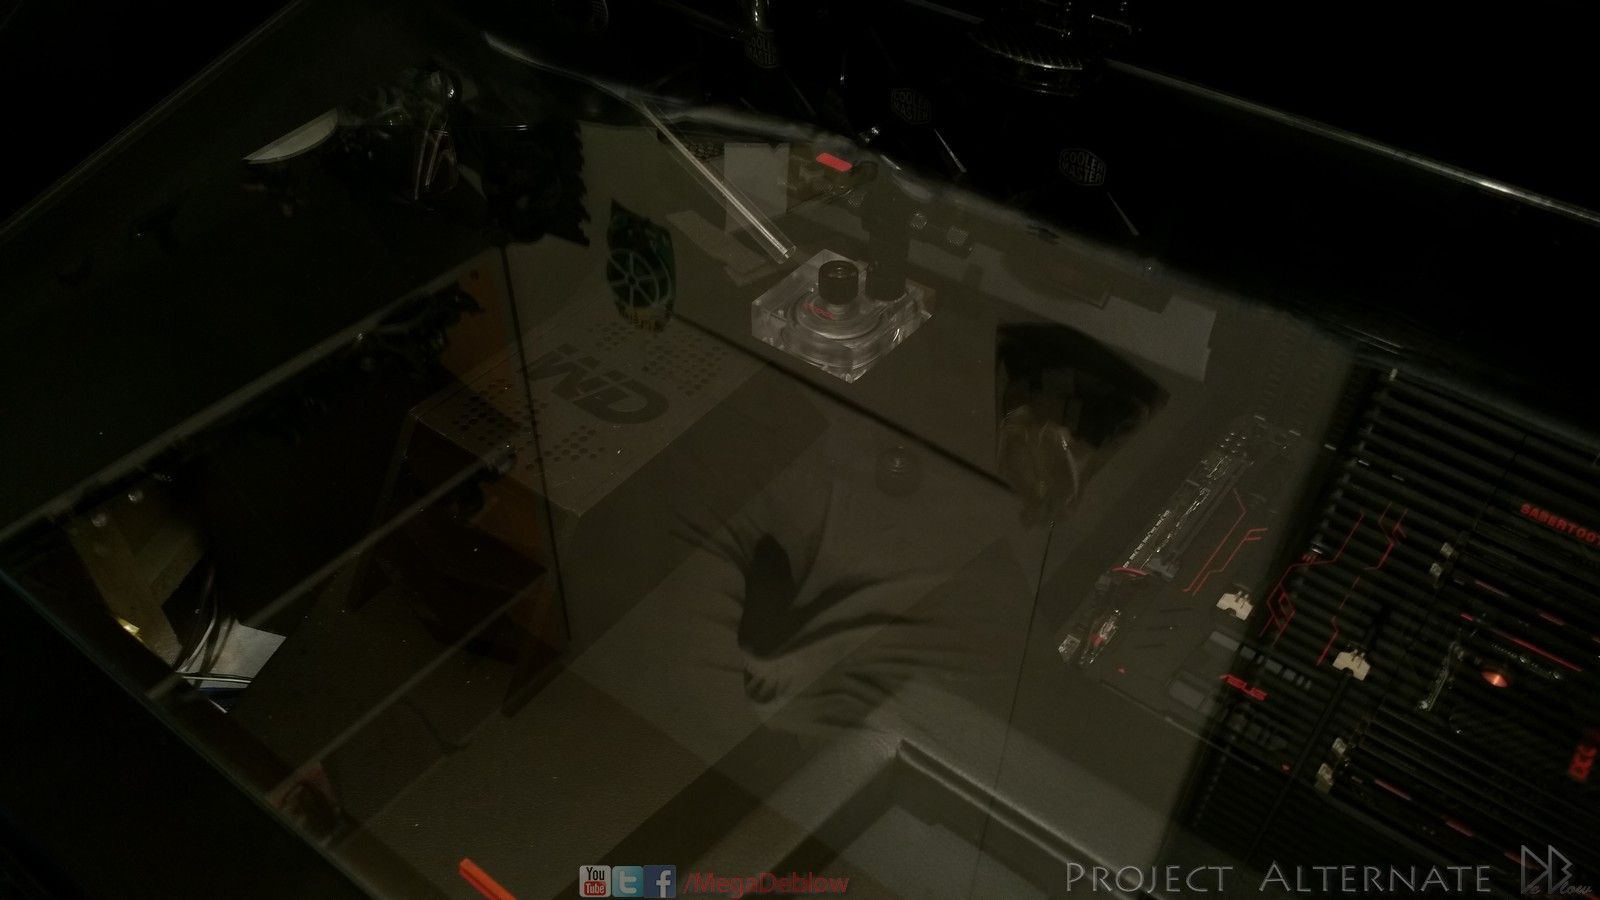
Not a great photo or RGB selection, but this is to show the SSD covers in place along with the blow hole cover that you
can just about see above the SSDs

A year or two ago I painted the CM Reaper mouse (white & black)
so for this desk iv decided to paint it again but just plan flat black to match everything else
Standard.
1st mods
New
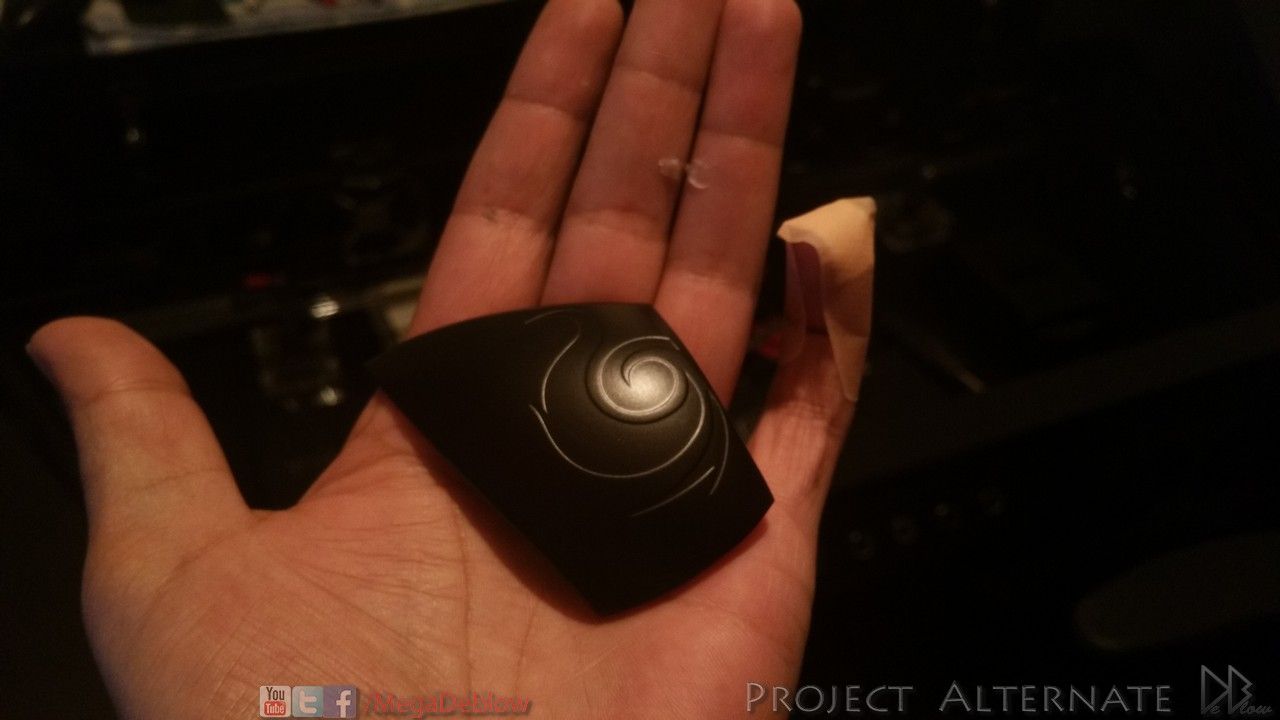
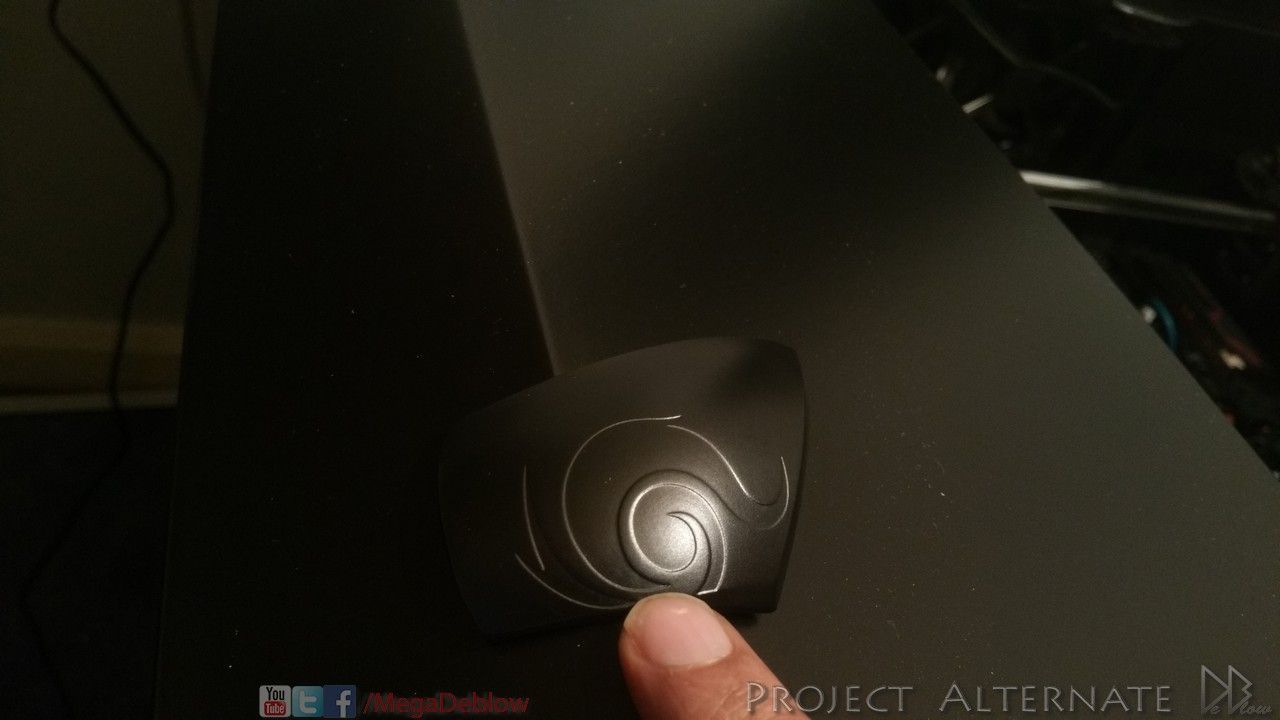
Redone the covers, the carbon I originally used was reflecting too much light for my liking, making it look slightly messy,.
so, as with the other re-works I went for a more plane & slick look, yep!
flat black again
the tape aroud the centers are covering the clear, iv sanded to clear to help with lighting, plan is that they will be RGB.
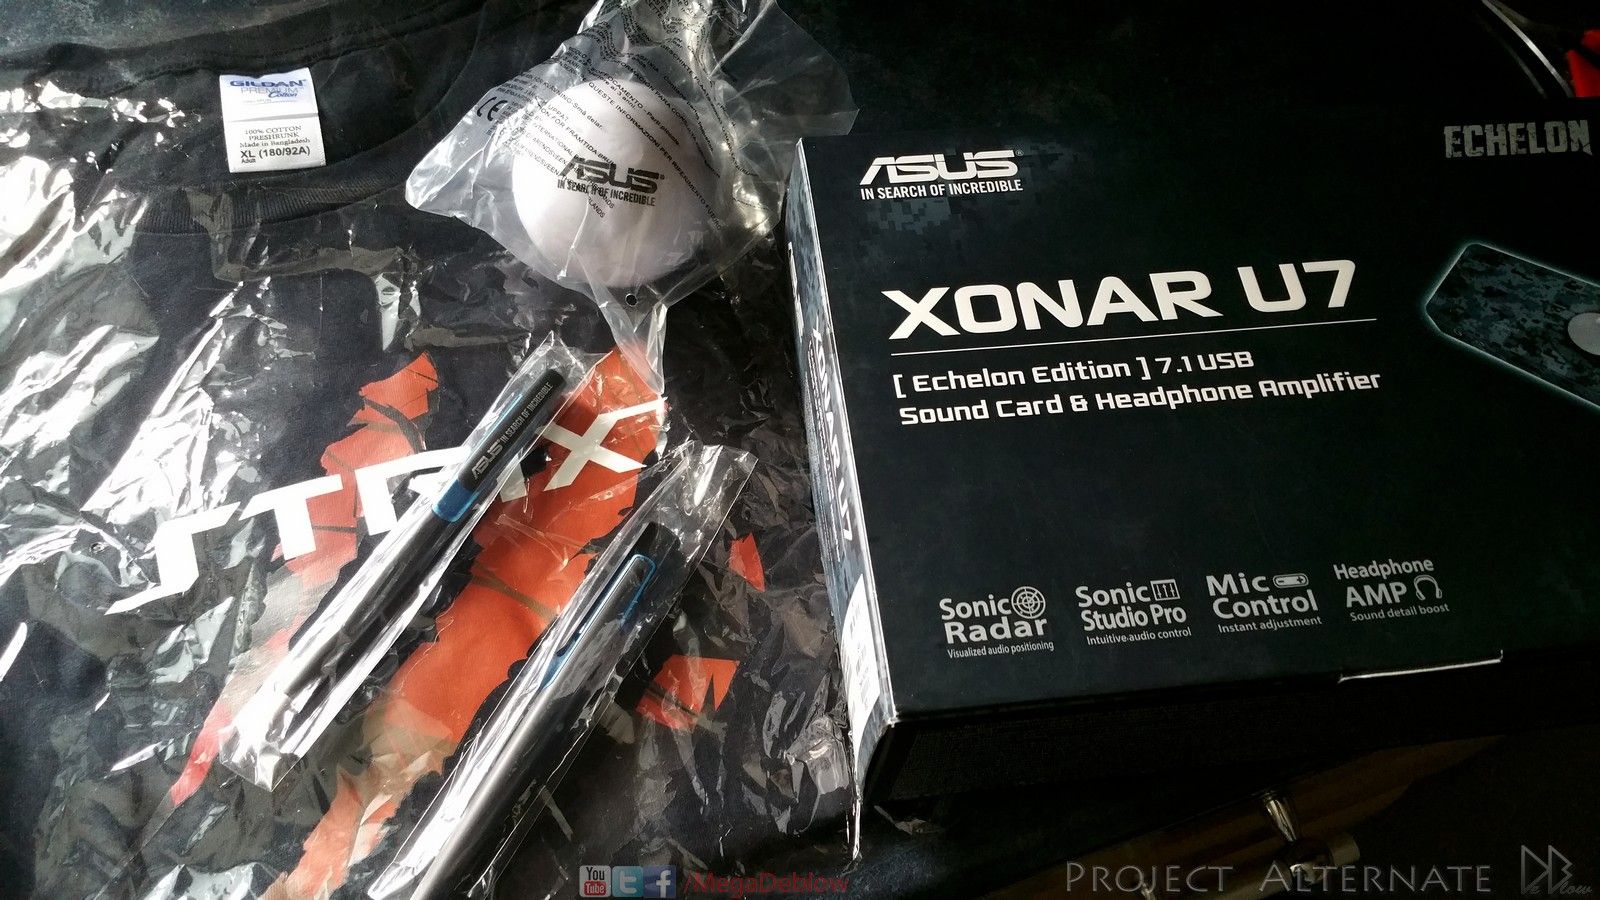
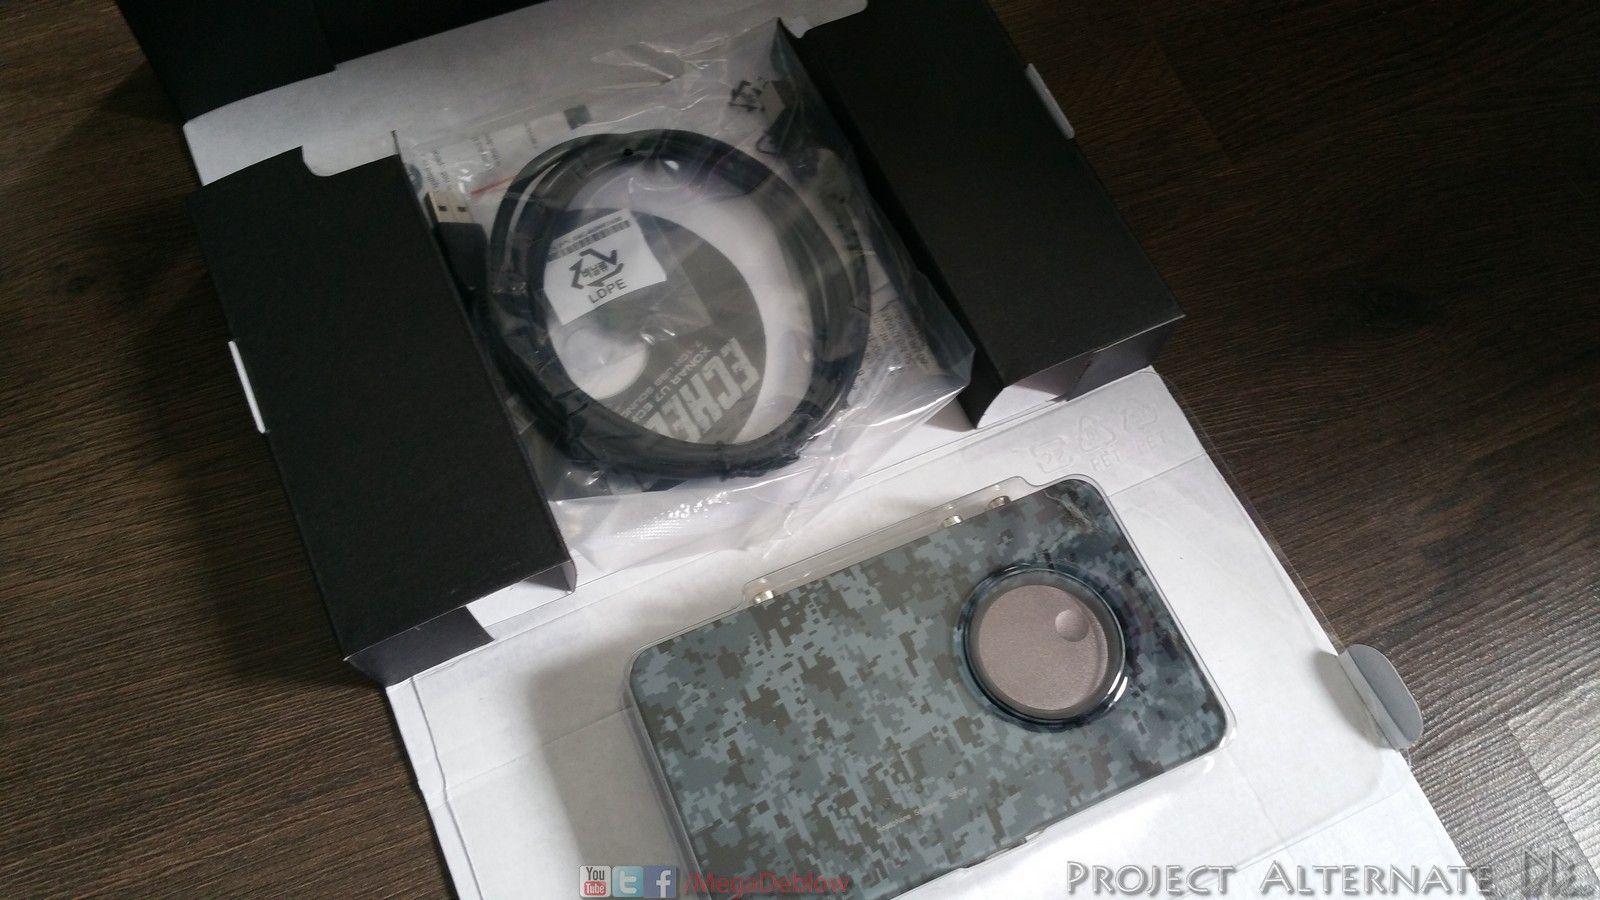
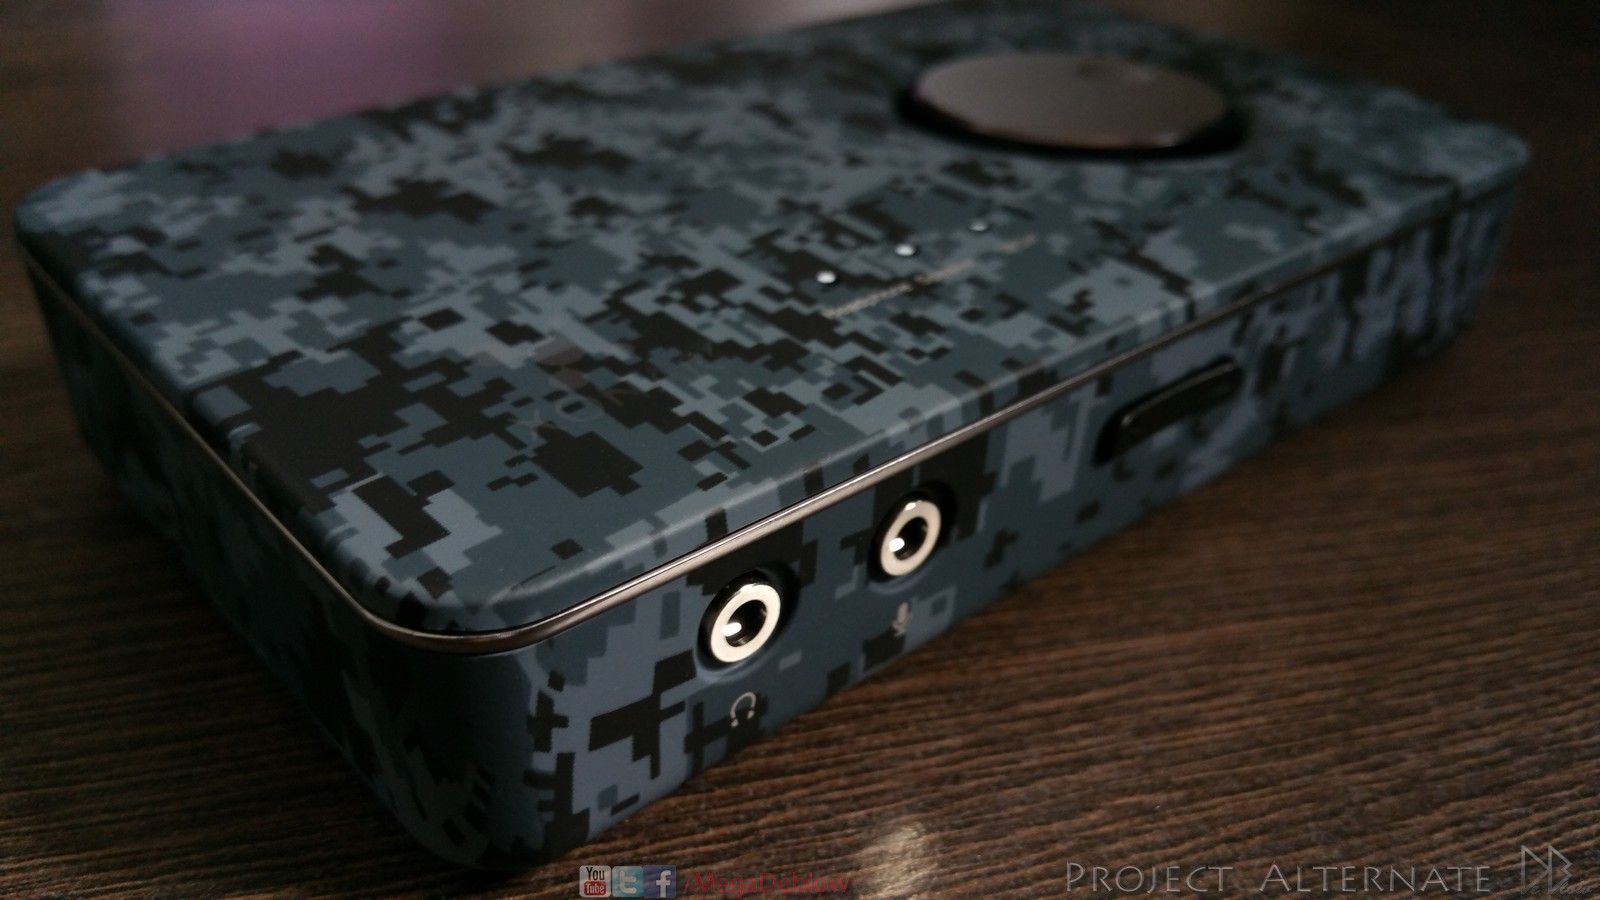
one last update,
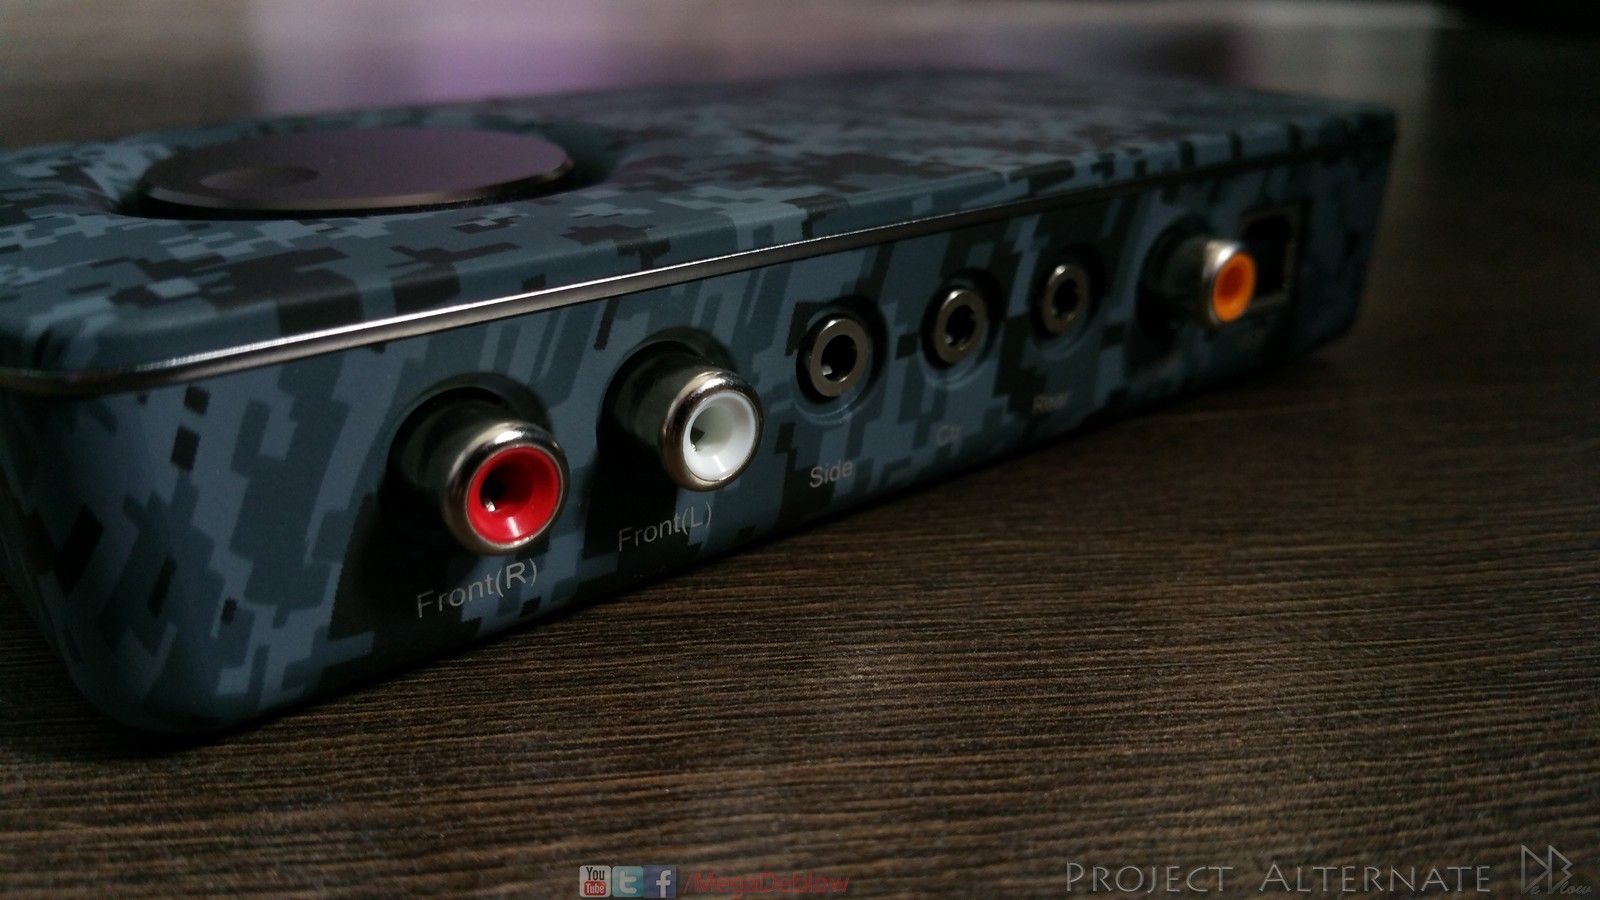
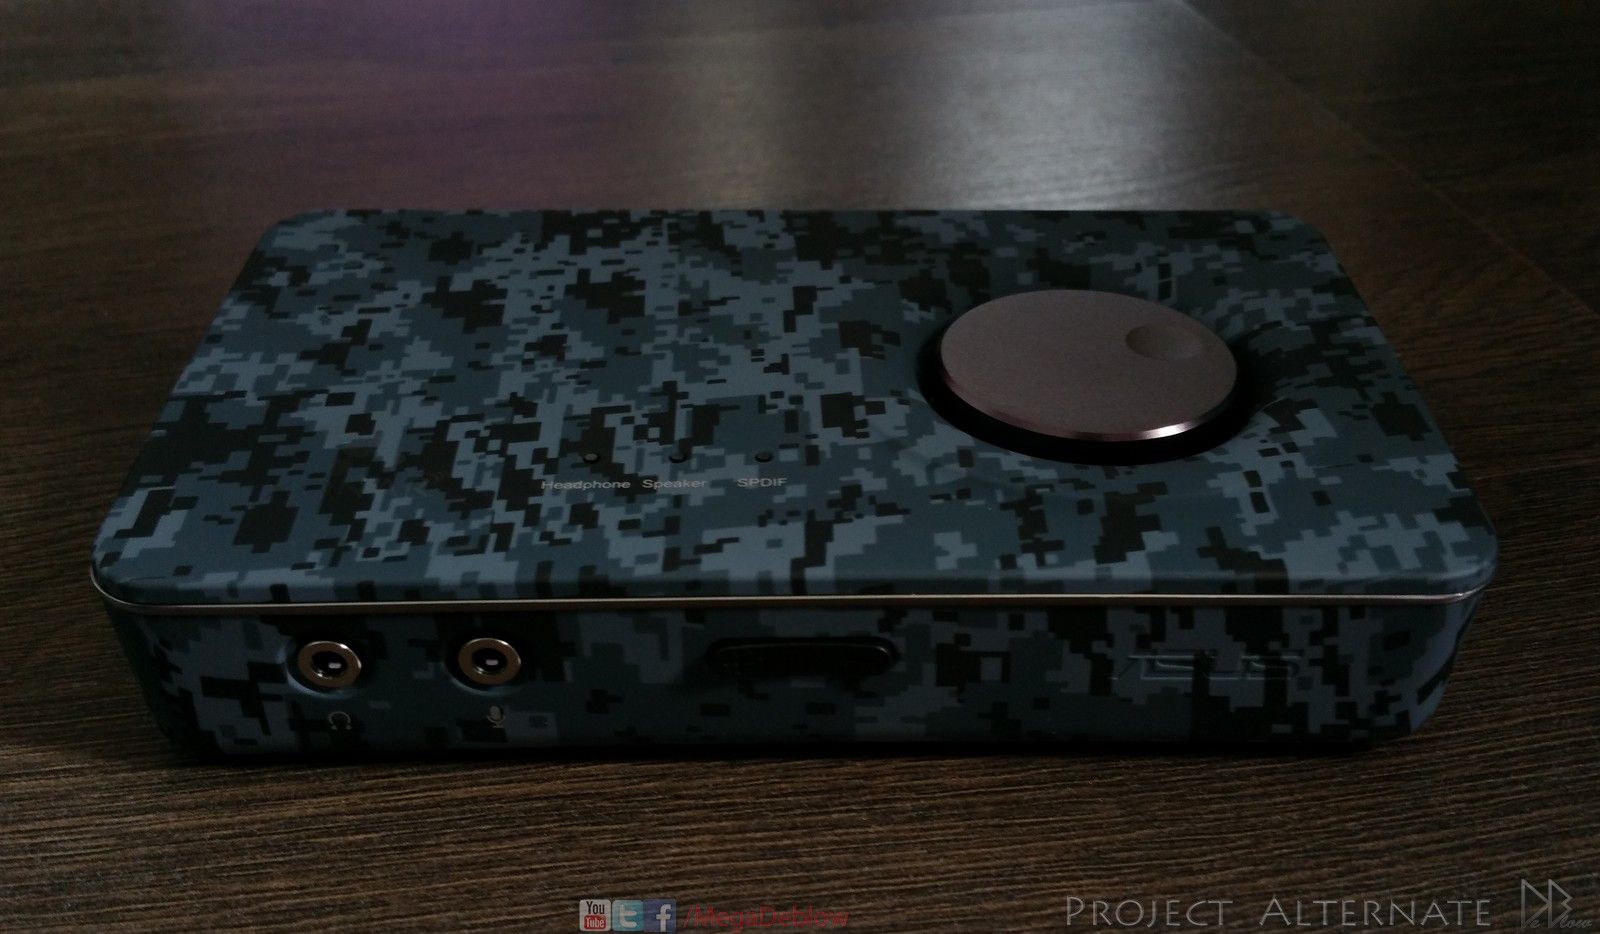
Today ASUS has kindly sent me some goodies, the main one is the xonar u7 echelon edition sound card..
really nice finish on the xonar so I don't want to flat black it if I can help it.

been anticipating its release for years!
anyway, before I head back to Afghanistan to capture sheep heres some updates
Wanted to make some covers for the SSDs, by modding some old 360 HD holders
I can now cover SSDs without having to mess-about taking my new drives apart & losing
the warranty.
also means should I upgrade them later & can just keep using the same covers
Decided to used the Phobya logo as its dark & mean looking "like the desk"
& is one of my favourite sponsor logo.
after drawing & cutting the logos I then painted with the same flat black used on other parts of the desk
Modified the centre cover to now have an extra blow hole, this is the cover I made to help direct the air towards the GPU.
the air also travels along the bottom of the cover, will show that when I do the final photos.
Not a great photo or RGB selection, but this is to show the SSD covers in place along with the blow hole cover that you
can just about see above the SSDs
A year or two ago I painted the CM Reaper mouse (white & black)
so for this desk iv decided to paint it again but just plan flat black to match everything else
Standard.
1st mods
New
Redone the covers, the carbon I originally used was reflecting too much light for my liking, making it look slightly messy,.
so, as with the other re-works I went for a more plane & slick look, yep!
flat black again
the tape aroud the centers are covering the clear, iv sanded to clear to help with lighting, plan is that they will be RGB.
one last update,
Today ASUS has kindly sent me some goodies, the main one is the xonar u7 echelon edition sound card..
really nice finish on the xonar so I don't want to flat black it if I can help it.
Similar threads
- Replies
- 2
- Views
- 187
- Replies
- 16
- Views
- 1K