--'Parvum SENESCENTIS'--

imersa

New member
ParvumSenescentisBanner.jpg


Hi OC3D, since starting this little filler project way back in October there has been a lot going on at Parvum, lots of other custom builds and the release of our two ITX cases. With a little help from someone most of you will know we now have a little more time to dedicate to this project and port the log over to you guys on OC3D. So just to get you up to speed I will condense the first couple of updates into one post. Some elements will be cut out just so it reads better in retrospect as the project has evolved somewhat since it started.

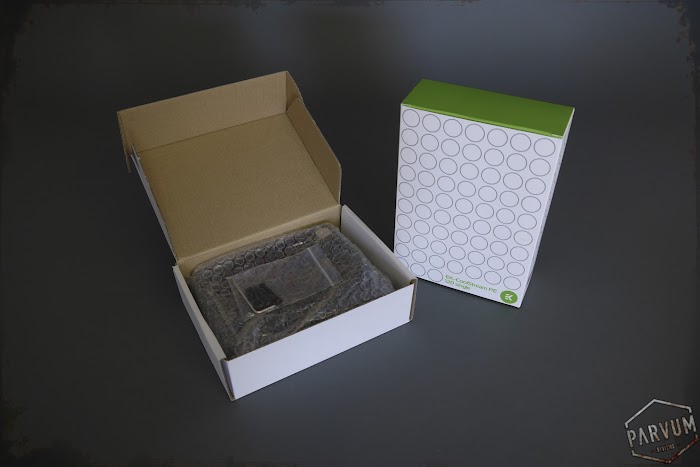
This build is possible with the support of Intel, Hyper X, nVidia, ASUS and EKWB.


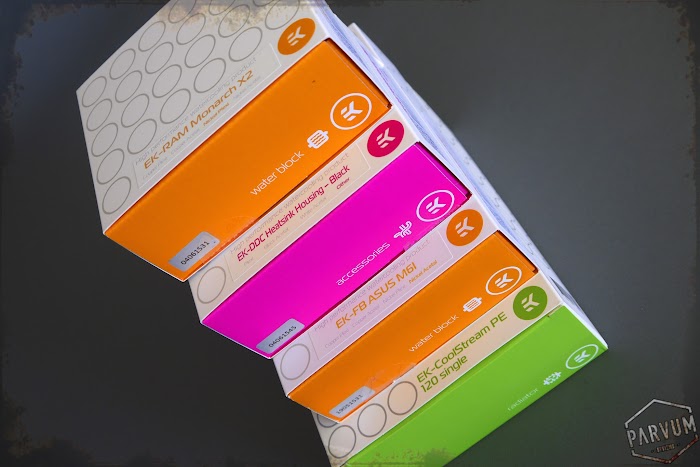
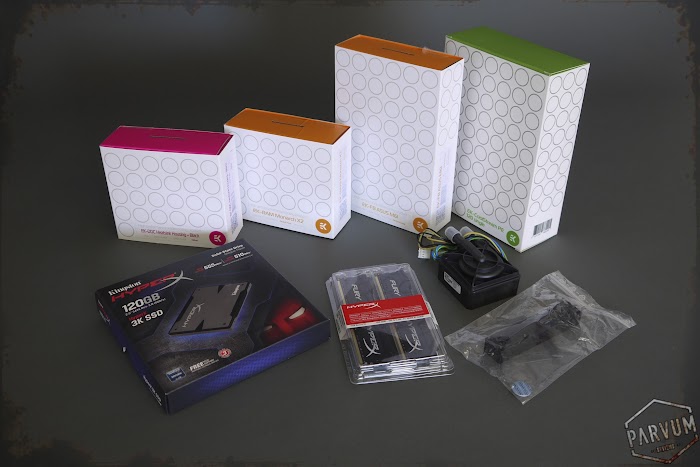
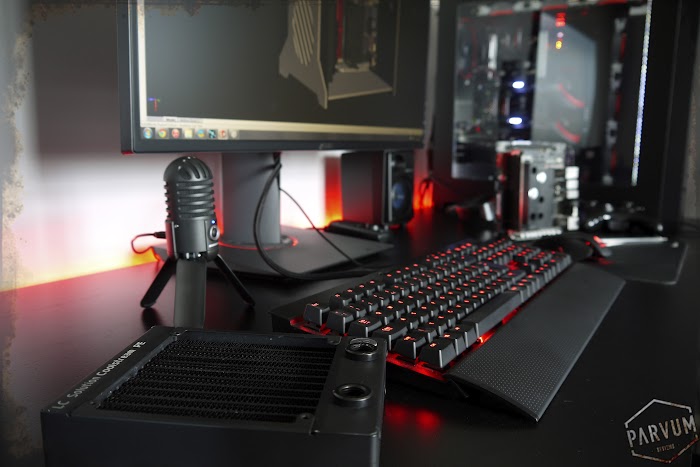
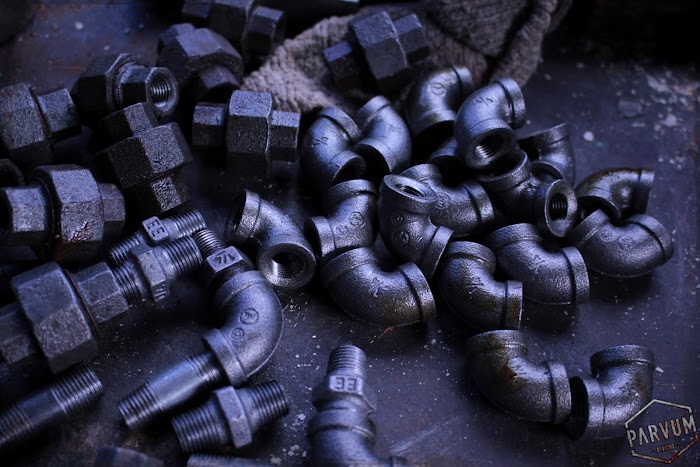
The build will explore many new materials and techniques, taking inspiration from Architecture and Industry. I tend to gather a series of images and physical items before I start anything, I thought I would share them.
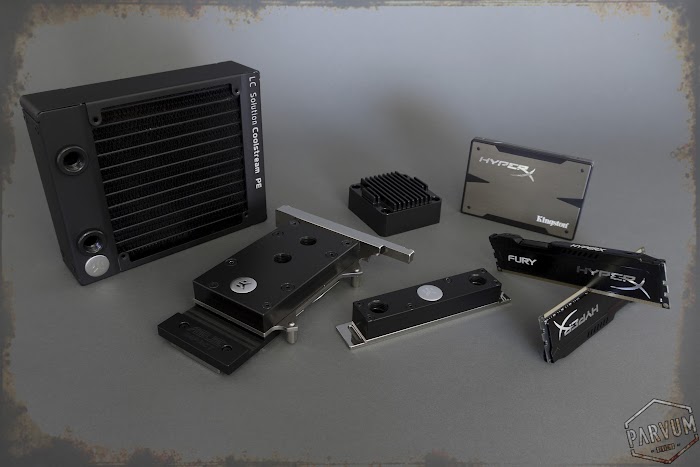
insp4.jpg


Main Components

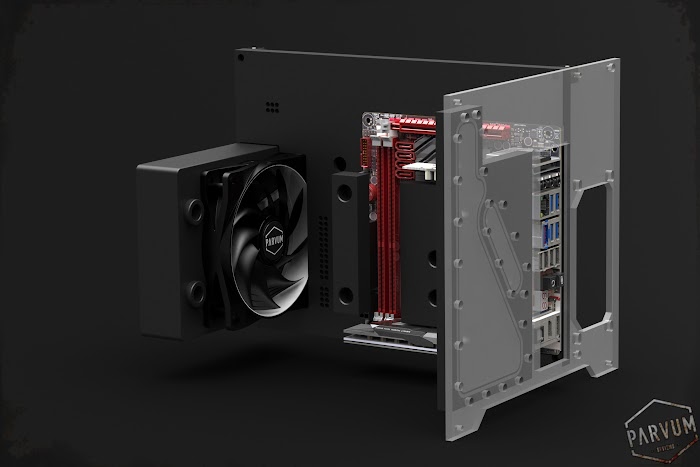
Case - Custom Steel Parvum X1.0
CPU - Intel i5 4670k
Motherboard - Asus Maximus VII Impact
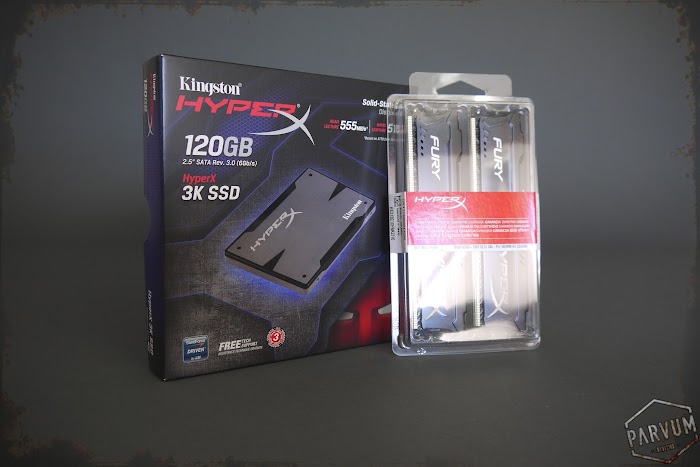
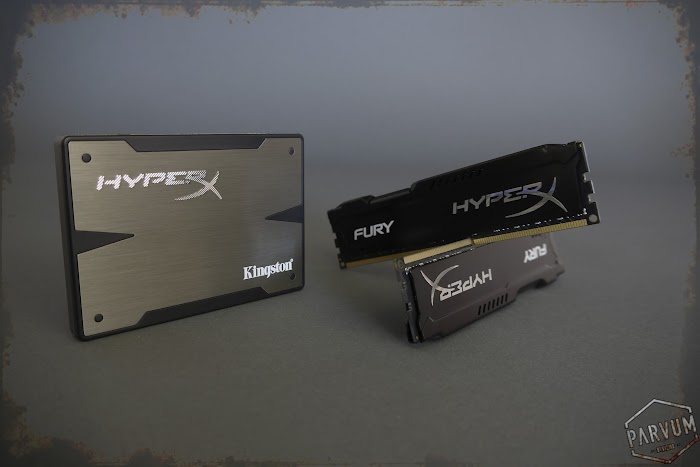
Memory - Hyper X Fury
GPU - Asus GTX 750Ti
SSD - Hyper X 3K
PSU - Silverstone Strider SFX450

Miscellaneous

MDPC-X Sleeving
GPU Cooler - Alpenfoehn Peter


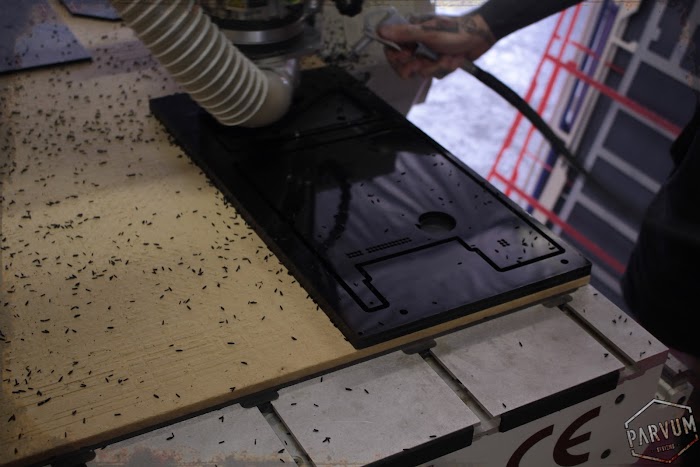
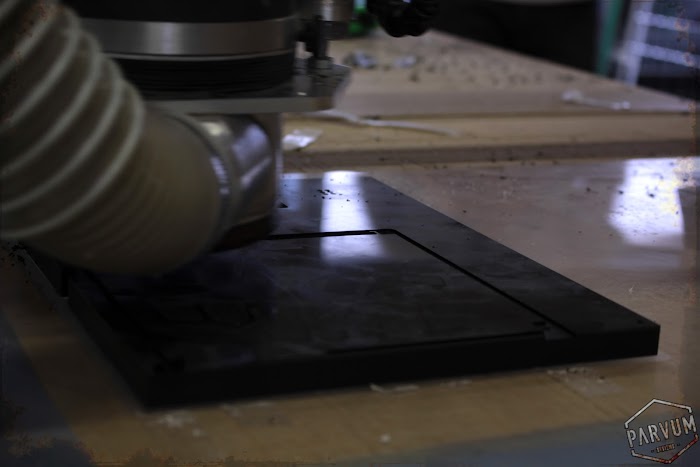
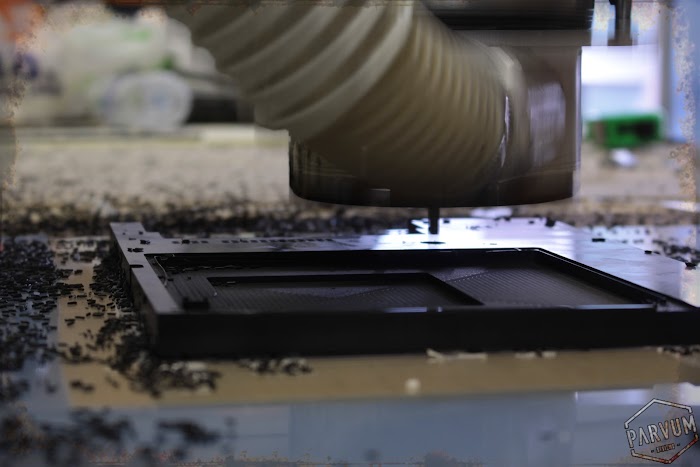
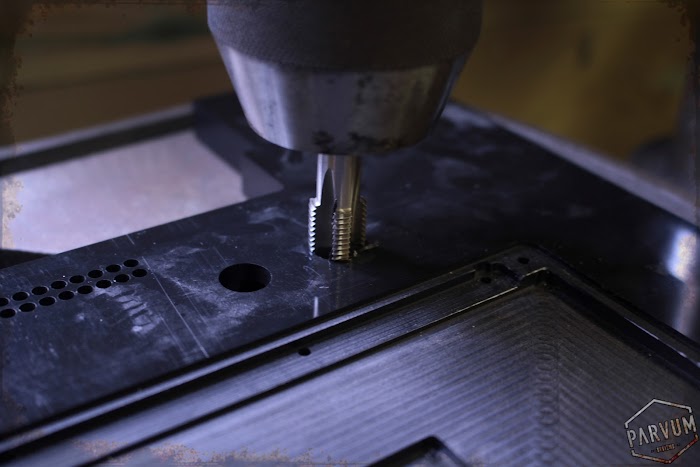
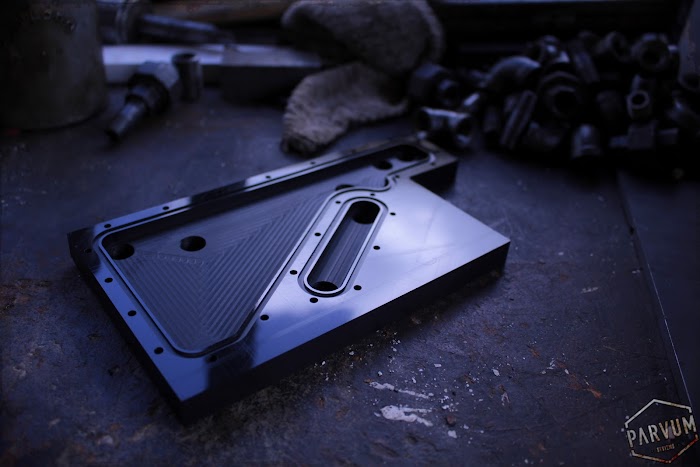
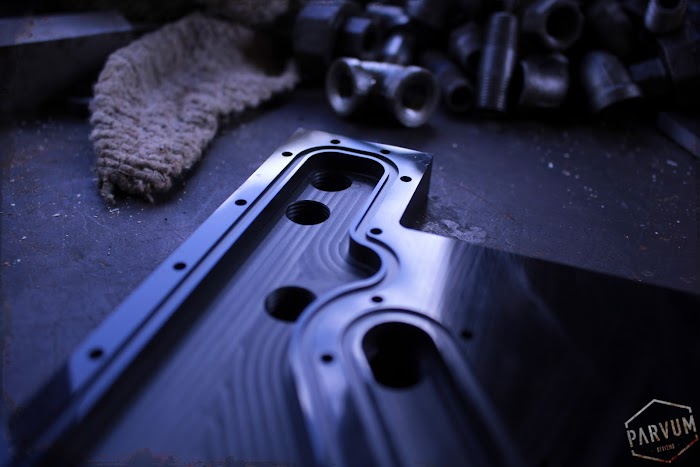
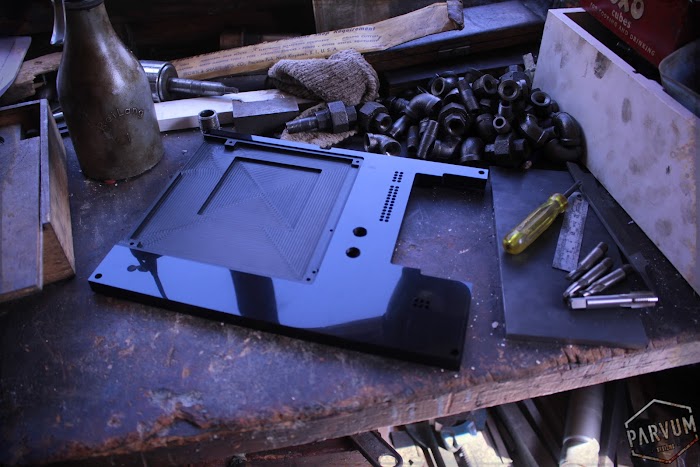
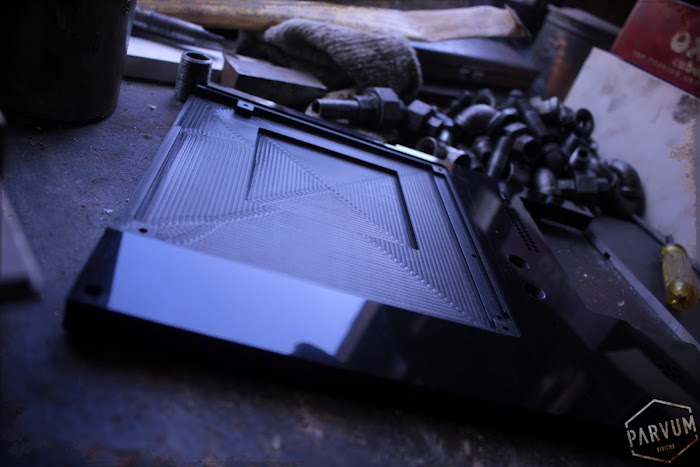
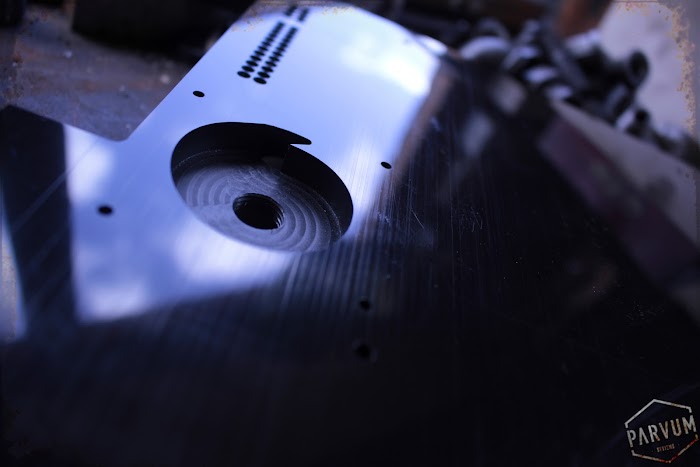
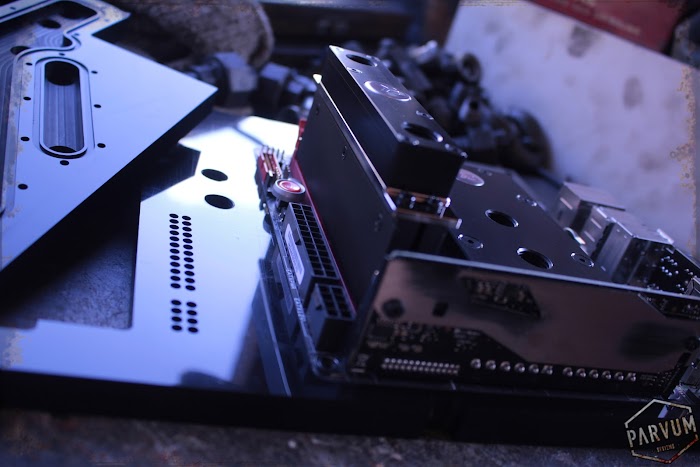
First up some of the base panels for the case. Laser cut entirely from 5mm thick mild steel. We then left the panels to weather a little. The rebated holes and chamfered edge have been done by hand. We then sanded down some parts of the panel and left the raw look here. We sealed the panels with a lacquer to prevent further weathering and darken down the over all look.

9.jpg


10.jpg


11.jpg


12.jpg


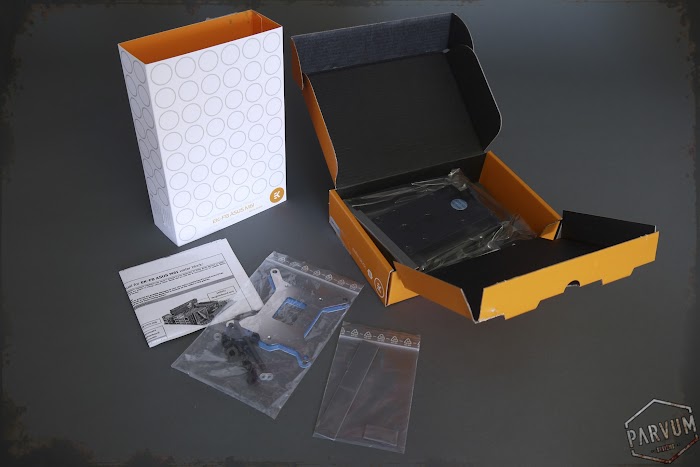
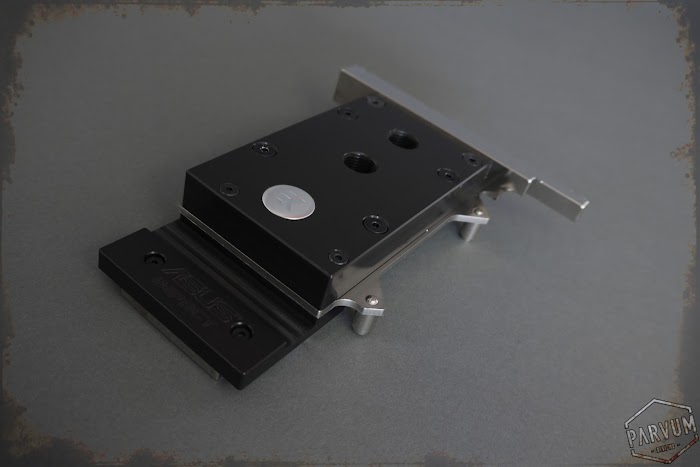
ASUS ROG sent the board. Thanks guys. A shot of the thing (You've all seen the Impact by now) and a photo with bits removed.

24.jpg


25.jpg


What could we do with those?

26.jpg


Next the mighty GPU cooler from Alpenfoehn arrived at the Parvum HQ.

3.jpg


4.jpg


I wanted to keep away from the very bright chrome so we had to step into some unfamiliar territory here. I'm usually not a fan of making things look aged or old but really wanted a rough and organic feel here. I suppose with an architectural background; the desire to mix rustic and aged with clean and sophisticated was always to our taste.

We first sanded the nickel plating with a fine grit and dunked into a a bronzing solution to eat away at the cooler. Not wanting any harm to come to our friend Peter II we let another cooler with a far less human name take the plunge first.

5.jpg


7.jpg


8.jpg


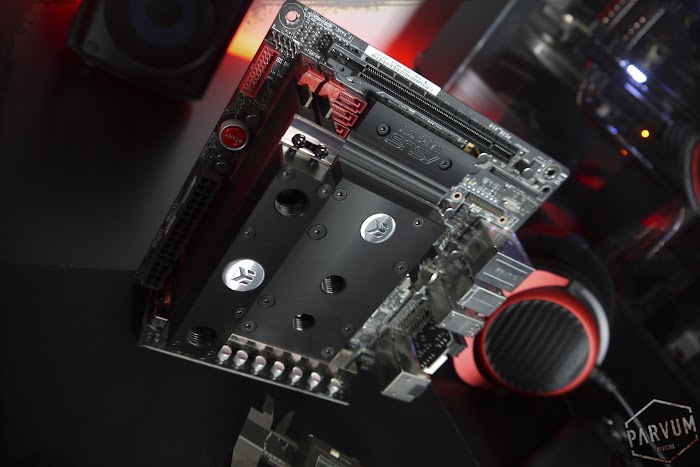
With a significant bulk of the parts standing by it was time for a test fit!

28.jpg


29.jpg


30.jpg


31.jpg


32.jpg


33.jpg


34.jpg


Even Peter II slotted nicely into place.

38.jpg


Now we are all on the same page updates shall commence as events unfold. Thanks for dropping by the thread, talk to you soon ^_^​
 
A Parvum case made from steel!? It's madness I tells thee! :lol: It's not, it's genius.. I've been wondering how long it would be before we saw one. Kudos and keep up the great thread.
 
Sponsorbanner.jpg


Good news, Senescentis is back with the addition of a new sponsor and some fresh thinking from fellow modder JR23. Having spent some time working together on PARVUM MATE he stumbled across the steel X1.0 hiding in the corner of Parvum HQ and demanded progress be made immediately!

With both of us able to put some time into the project we decided to step up the ambition and fill out the case with something a little more special than first planned. JR has some unconventional watercooling ideas he wanted to explore that fit elegantly into the theme of the build, or so he tells me ;)


But first lets take a look at the swag from HyperX and the projects latest sponsor EKWB.

2.JPG


1.JPG


3.JPG


...much goodness already, lets unbox!

4.JPG


HyperX 3K's seem to get better looking every time we unbox them and the Fury matches the subtle aggression beautifully, too bad those spreaders will be coming off soon.

5.JPG


Beneath EKWB's vibrant packaging lies an understated lump of acetal and nickel, not something I typically go for (acrylic FTW!) however its very inkeeping with the architectural nature of the project.

6.JPG


7.JPG


8.JPG


Luckily EKWB offer a replacement acetal top for the monarch block just in case even moar clean CSQ epicness is required.

9.JPG


We also decided to go with a PE radiator on this one to complement the simple square lines of the blocks.

10.JPG


Finally we have the DDC and black heatsink/cover concluding our little array of watercooling gear.

11.JPG


12.jpg


From this collection of uber clean monochrome hardware it may seem as if we are straying away from the beaten up rat look and to an extent that is the case. Not everything in it will be ratted, instead we will try to achieve a very controlled contrast between the rough rusted textures and smooth black surfaces. But there will still be some dirty industrial elements to look forward to.

13.JPG


It's great to have a some momentum back on the Parvum modding projects, i'm stoked to see what JR does with the watercooling kit and I can't wait to report back to you guys with more updates. Thanks to HyperX and EKWB for your support.​
 
NOICE - has been a bit quiet without your femininity around recently!

Been too busy cutting out outrageous amounts of tiny little parts... hmmm I wonder who for... :rolleyes:

Going to kick start some serious builds from this point on. Joe is down tomorrow. It's going down!
 
Sponsorbanner.jpg


Although the log went a little quiet again the entire Parvum team has been busy getting involved in SENESCENTIS and we are now at a great stage to share our progress. Taking the experimental nature of the project a little further and drawing from the techniques picked up on PARVUM MATE we developed some unique watercooling ideas for SENESCENTIS.

Before they could become a reality much measurement and CAD was needed so we asked JR23 for halp! (sounded boring)

jwhY9AbLZDjFUkGxLLVo-22DEggtzkbIracw-xGjoNwq=w700


JNMol2bTssvZ2LMKB6o5yZsAtIUP6MwGL4cp4zUwL-UL=w700


7C_6SVmb7V5MQP2GgXSU_flFrsW2V8dkLO1E2PhCMubQ=w700


XXLEjWtu3MTRG9aPfm_6GKQU6SuuJYadjX2PdKcRifeM=w700


But he seems to like it... and this might just work!

gUmciOP556UHDjvOjVUX40mFAVEVpxyhsgg0jxwCu48W=w700


For the first time we got a block of 12mm Acetal to work with, finding opaque acrylic in thicknesses greater than 5mm is challenging particularly when an entire sheet isn't required.

ZvkVuswBvfplt4ZZm39XH0UHgWrWmadgiRsqv4mlxmsX=w700


MzfnaA6I8l_O3dZVjHo5KQja7flU7-3opt7HVtBS0Lfu=w700


0LFUzkrObv2aDOqtzYmn7yCScqDoK67num6ZVfTd0Dus=w700


Acetal got rekt!

jPGEg7B0m7_4kj6-5FMnK0mp6Cqq8Kw_YlTGqMnHaXLT=w700


Next up all of the G1/4" ports were tapped out, at first using a pillar drill to ensure the threads were perpendicular to the piece.

6DVuOnjDyQrMaZYneIXj_ye_oh2F2iHGjiUSXLtCxr9e=w700


Hslql5WJmUlfJe72L1ORasrV4ixSpxF53ZnjopusmfSq=w700


One of the ports in the motherboard tray (yes, motherboard tray) was a blind hole so to ensure the fitting would screw in as far as required a tap with a less significant taper was used.

caPjF92UKDTllP6mGtKNR_jn2gAZ9enqDPChJ3XY-Hec=w700


ETWQoCJ1_31_aN8lKzoWsSzLc_lTXDerZGcNEN77ABPL=w700


Now lets take a look at some glorious fittings.

Dq_L6LhrYtWoC7zy7Gff92y-ZxMA0gf7yLDxqp3hgDG6=w700


q088FKJFWHpahY8phMNj9N4BfyIzE39OUA2u3ZG-MLQ-=w700


Wow, such finish...

-i2McobbVEpCkPm__SzmHP6VNmhWeoT5RhpgcZxvX0EV=w700


...you just don't get that oxidization with Bitspower.

iBi4k2ScF3drWQ136vFNHdT9rYhnhWQPM6tn-FO_mmZV=w700


Literally pushing those aside for a moment lets take a look at what was crafted from the block of acetal. Firstly a reservoir and pass through plate, allowing each run of tubing to sit parallel and elegantly disappear into the rear of the case.

Okcw4dLnTZIBEaISKF9ygMtbZbPMWrutjJ4o7E2LBNGq=w700


Much tool path... <3

JcroNzgYoc-JMN77ylIGI9uBCFb1Cak3ZKZglINFVcC7=w700


ZBpwSUjV4B4H5bi6FPhOshtMxWrhwKqJAKtXE4UhDwNI=w700


KXhacZ2oamzKdCb3ERD0THcVVut2hnnw1z2gyBWnBnxI=w700


The threads cleaned up great, acetal has proven to be a fantastic material to work with both with the CNC and by hand.

q-9gNJ8Gms1hR4vYMukcgK8Pk_LQb7B0dLmQBS1UO4vE=w700


Now for the main article, an X1.0 mid wall, with stand-off less inlayed motherboard mounting, precise fitting radiator opening and much more.

h0LRgrmD6NE3DjkYE7n_6f5Uevrd9kLPksYhf-uDvPMf=w700


MOAR tool path, on so many levels!

K7fLjsoRqdQzIcj1IWI23TseIVDkvS-NGrJwg7liBoM4=w700


ABkyOEBYmEcVKh5Hz2QpCeFL5KAbTwhgmGjIAhsWDKaG=w700


xEsLV0YL4c0I0d1yPq2gWbF6EgbMplJepD6Jg1N8Z_3e=w700


Just in case SATA happens...

HQdMlNjbO7DCcYfulG4mzNq-_o-gSnGPCLjthLunw89i=w700


Further to that ATX spaced individual power cable holes perfectly placed for the Maximus VII Impact were implemented.

m9rrRsiERLVFRpzT6MS_8S2gyQMJ8jiSuUX91mN2Sl4T=w700


But what is this in the back of the motherboard tray m9's o.O

V2dRMiIMfVewJfvIDRL3Ivru6r39Js6Ilk5L4DxgeGTb=w700


FXfCxv16Go5ozTK7GYd46jWWldQtDElRG3KXE6p6etCR=w700


RFGKA6nxaxLv-eXTQQy6DR0S_8vvFz0dEXGrHp2tc0bh=w700


ckfhJCfhXfWvC3-dowGwr3ul9AwVedvsVmdpoU5WRwQm=w700


4RTn-IrGfXdXHzfGj1XsLDh-HiBN1gNketQveil2u0rD=w700


Clean Acetal dankness!

FkIG5XleRvb1AJ-1vwYhbRODNw-1MwcF6l1YJcQbT8gO=w700


r4nD03wpuH3ZhBSJGkhFZSIo7a1omfMpI3MRTPU66Lvw=w700


Lets just let that sink in guys.

xI0gMNHy3mW_k8FMZQ4OqG_w_370yZDudeeY-cbv1QeQ=w700


EiqSeHJvogNTp8VN3wjeEUlyKw-GJZanr-cSIVQY1QpN=w700


NvJsH6w9FolxVdlM4zKNnY0Osizwb8FVhBAIxFG1PGYs=w700


LO93Mt8uX5TeBOUO6U3jZsO217LvVSTPGxbT-Sh6ruPB=w700


Stoked to bring all of these elements together, thanks for your support, catch you in the comments or if not in the next update.​
 
Sponsorbanner.jpg


Just a little update on SENESCENTIS to keep you all up to date, even in the extreme heat! All of the holes have now been tapped in the reservoir pass through plate so it's ready for action.

1.jpg


2.jpg


Also the accents were cut, this time from gloss black to match the acetal parts, clear frosted just didn't work out quite right.

3.jpg


4.jpg


So with all the holes tapped and the accents cut a pair of o-rings were all that was needed to complete the reservoir.

5.jpg


6.jpg


Time for Joe to start fabricating the steel tubing!
 
Back
Top