This is my first go at phase change, I have watercooled in the past but now its time for something different. I have had the mach 2 for a few months now and have been slowly getting the rest of the gear together and have now got most of the bits that I need to start.
The spec:
A64 3500 newcastle
MSI Neo
1 gig Ballistix PC4000
2 80 gig Samsung spinpoints
X800XT PE
Mach 2 GT
Thermochill 120-2
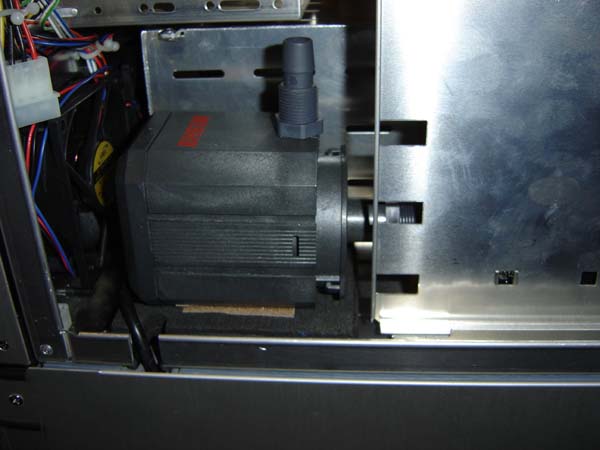
Eheim 1250 Pump
DangerDen Dual Floppy bay reservoir
DangerDen Maze4 GPU Block
½” ID ClearFlex tubing
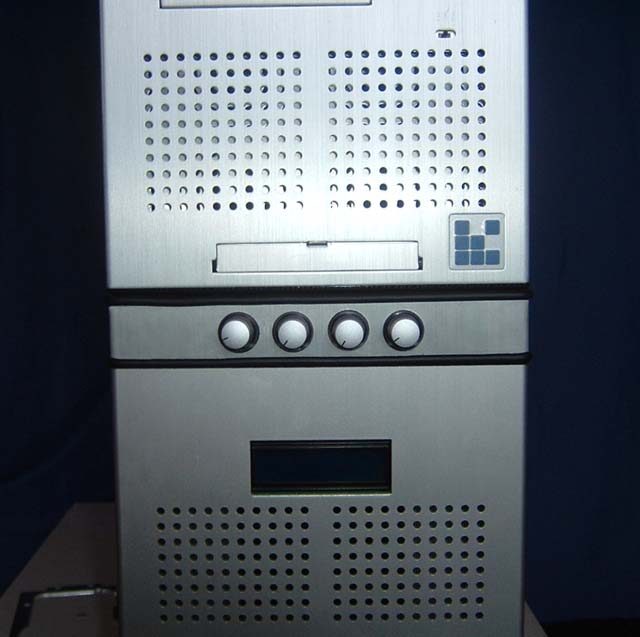
PC65
The first thing to do was to cut a few holes in the case. It already came pre moded for the mach2 but I wanted to cut out a section behind the cpu block and cut 2 blowholes for the res in the top panel. The PC65 already has a 80mm blowhole in the top of the case so I was restricted in my choice of positioning.
To start with I drilled out the rivets and took off the top panel then I cut the hole over the blowhole as close to the front of the case as I could then marked out for the second from that. It doesn’t leave me much room for the power supply but I think I can get away with it.
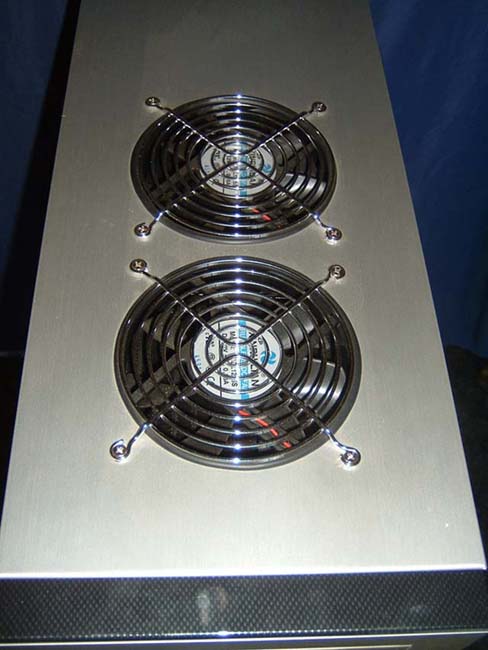
One thing I have learnt from watercooling is that most of the noise is down to things vibrating so to try and cut down on this as much as possible I used some draught excluder strip along the top of the case and instead of riveting the panel back in place I have used self tapping screws to make it easier to remove when bleeding the system.
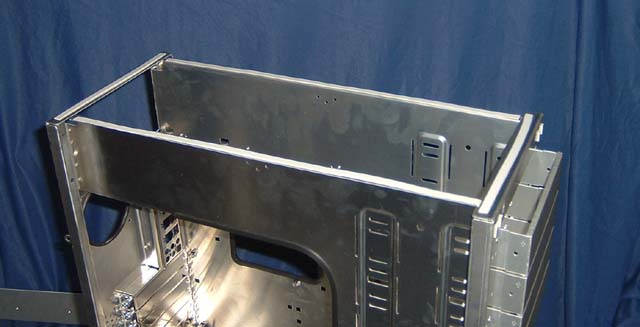
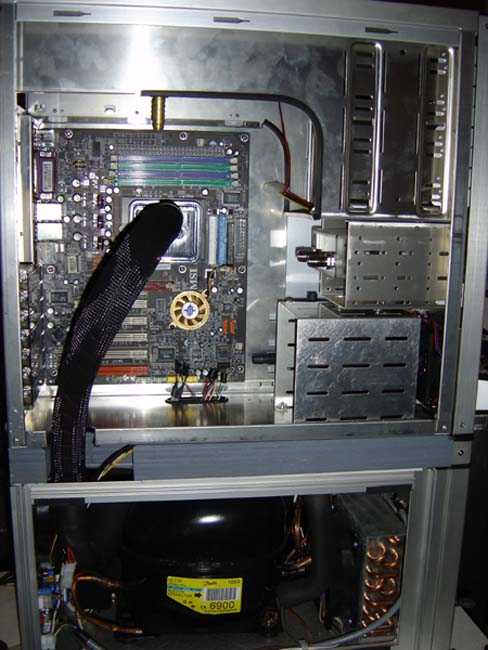
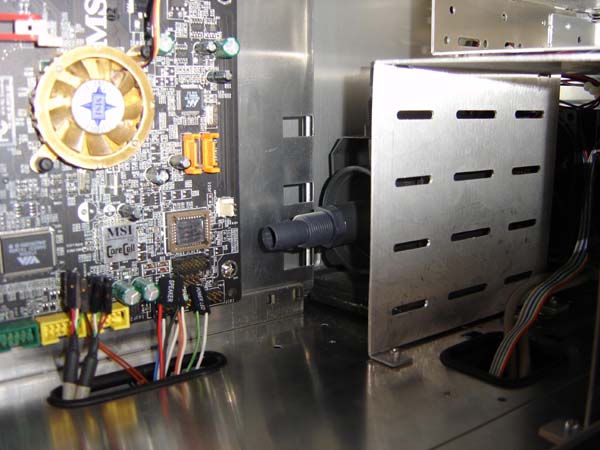
After a lot of messing about trying to get the mach2 lianli kit to fit I put the pc65 onto the mach2 and bolted them together. The first thing I noticed was when I held the evap head in roughly the position that it is going to be in is that it’s too long. The neck sticks out of the side of the case and without forcing it there’s no way I could close the door.
This lead to much head scratching and I put a post about it in the phase change forum and found it’s a common problem with msi motherboards because they put the ram above the cpu rather than along side it which makes the cpu socket much lower. My options are to bend the pipe and risk breaking a brand new mach2 or leave the side panel off. Then Thickbrit came up with the great idea of making a frame to go between the case and the mach2 unit to raise the case to the right height.
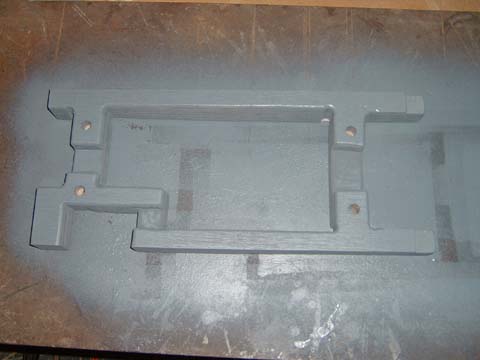
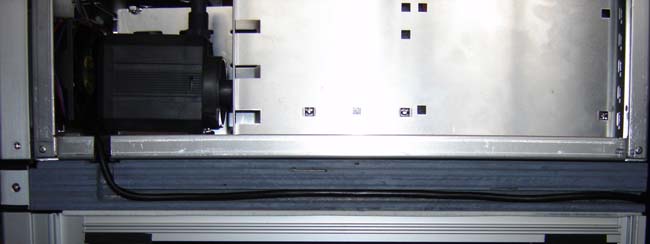
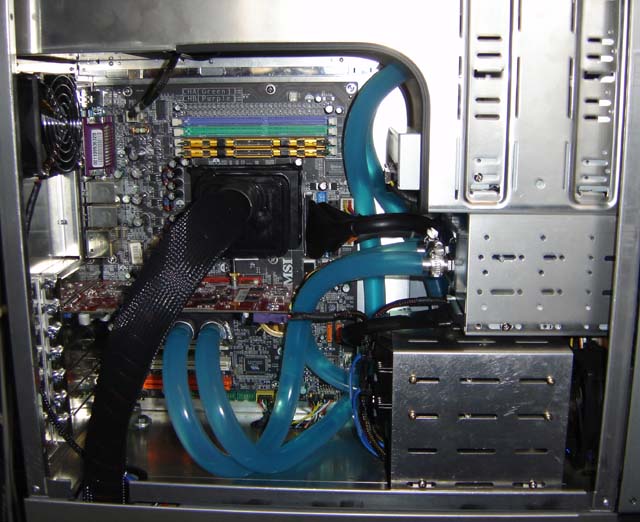
The more I thought about it the more I liked the idea so I decided to have a go at it myself. I used plywood as the material for my frame, it’s not going to warp with temperature changes and I can cut the whole thing out of one piece rather than jointing a frame together. To get the required height I glued 3 sheets of ½” ply together then marked out the shape that I was after. I cut it out with a jig saw and then used a router to make room for cables and to round off the edges that could cut any cables. Then I gave it a spray over with some paint to seal the wood. I used some more draught excluder strip along the bottom to help with vibration and bought some longer blots to hold it all together.
Next thing I wanted to do was cover up the bit of wood. The side panels that came with the base kit are now 1 ½” too short. Luckily I had a bit of brushed aluminium spare, an old PC70 door and one from a PC60 so that’s what I used to make the new side panels. I kept the folded edges at the top and the front and used a jigsaw to cut the new panels.
The spec:
A64 3500 newcastle
MSI Neo
1 gig Ballistix PC4000
2 80 gig Samsung spinpoints
X800XT PE
Mach 2 GT
Thermochill 120-2
Eheim 1250 Pump
DangerDen Dual Floppy bay reservoir
DangerDen Maze4 GPU Block
½” ID ClearFlex tubing
PC65
The first thing to do was to cut a few holes in the case. It already came pre moded for the mach2 but I wanted to cut out a section behind the cpu block and cut 2 blowholes for the res in the top panel. The PC65 already has a 80mm blowhole in the top of the case so I was restricted in my choice of positioning.
To start with I drilled out the rivets and took off the top panel then I cut the hole over the blowhole as close to the front of the case as I could then marked out for the second from that. It doesn’t leave me much room for the power supply but I think I can get away with it.
One thing I have learnt from watercooling is that most of the noise is down to things vibrating so to try and cut down on this as much as possible I used some draught excluder strip along the top of the case and instead of riveting the panel back in place I have used self tapping screws to make it easier to remove when bleeding the system.
After a lot of messing about trying to get the mach2 lianli kit to fit I put the pc65 onto the mach2 and bolted them together. The first thing I noticed was when I held the evap head in roughly the position that it is going to be in is that it’s too long. The neck sticks out of the side of the case and without forcing it there’s no way I could close the door.
This lead to much head scratching and I put a post about it in the phase change forum and found it’s a common problem with msi motherboards because they put the ram above the cpu rather than along side it which makes the cpu socket much lower. My options are to bend the pipe and risk breaking a brand new mach2 or leave the side panel off. Then Thickbrit came up with the great idea of making a frame to go between the case and the mach2 unit to raise the case to the right height.
The more I thought about it the more I liked the idea so I decided to have a go at it myself. I used plywood as the material for my frame, it’s not going to warp with temperature changes and I can cut the whole thing out of one piece rather than jointing a frame together. To get the required height I glued 3 sheets of ½” ply together then marked out the shape that I was after. I cut it out with a jig saw and then used a router to make room for cables and to round off the edges that could cut any cables. Then I gave it a spray over with some paint to seal the wood. I used some more draught excluder strip along the bottom to help with vibration and bought some longer blots to hold it all together.
Next thing I wanted to do was cover up the bit of wood. The side panels that came with the base kit are now 1 ½” too short. Luckily I had a bit of brushed aluminium spare, an old PC70 door and one from a PC60 so that’s what I used to make the new side panels. I kept the folded edges at the top and the front and used a jigsaw to cut the new panels.

")

")
