My Bloody HAF X

mrDMxtreme

New member
*** Pictures up now***

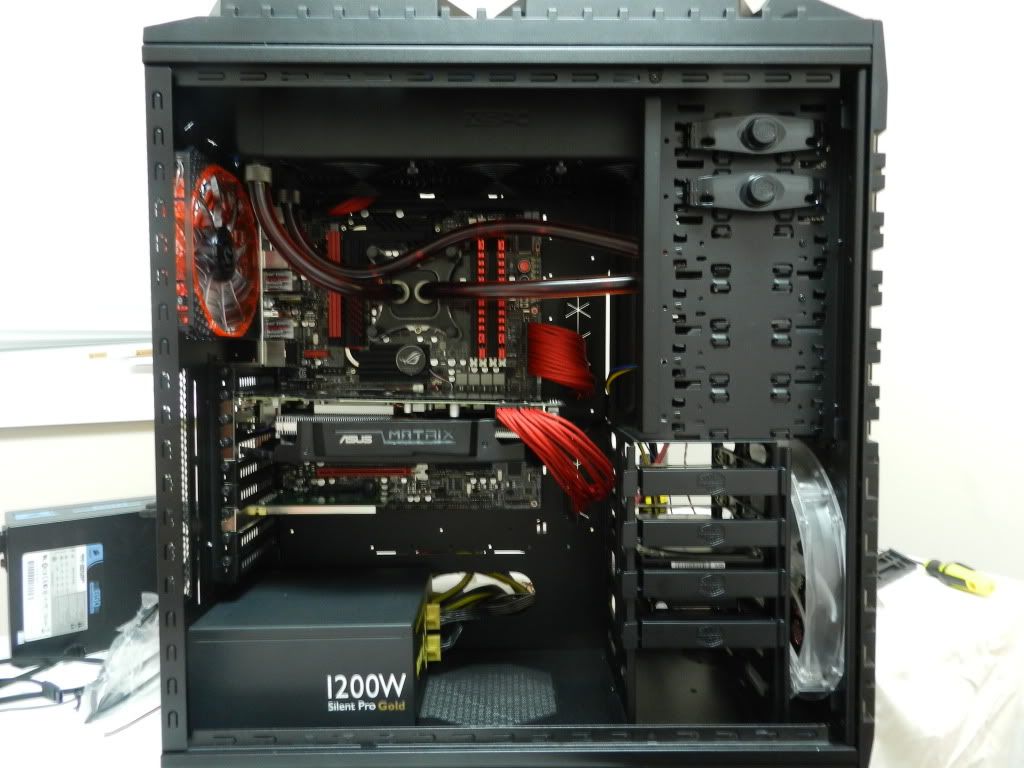
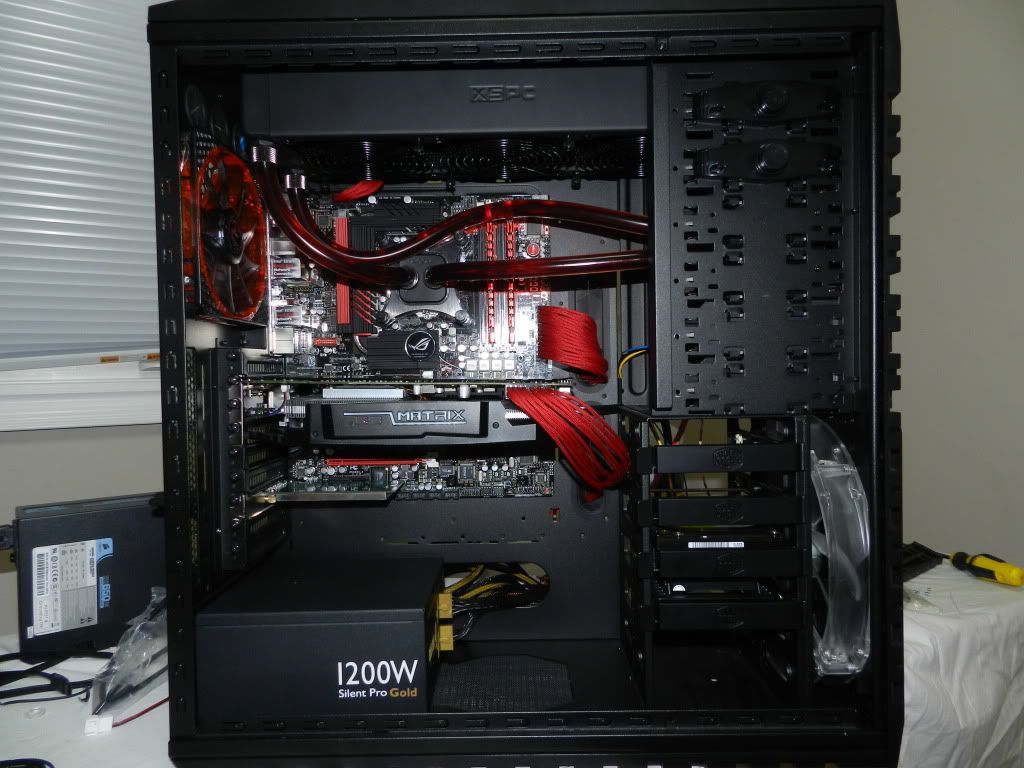
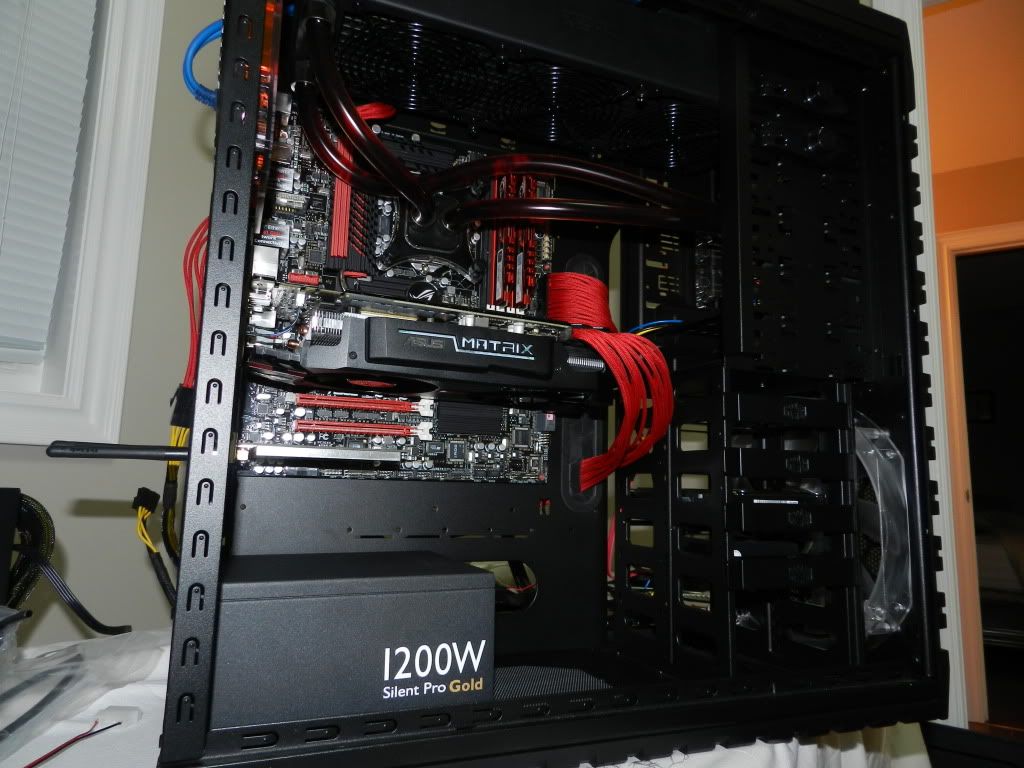
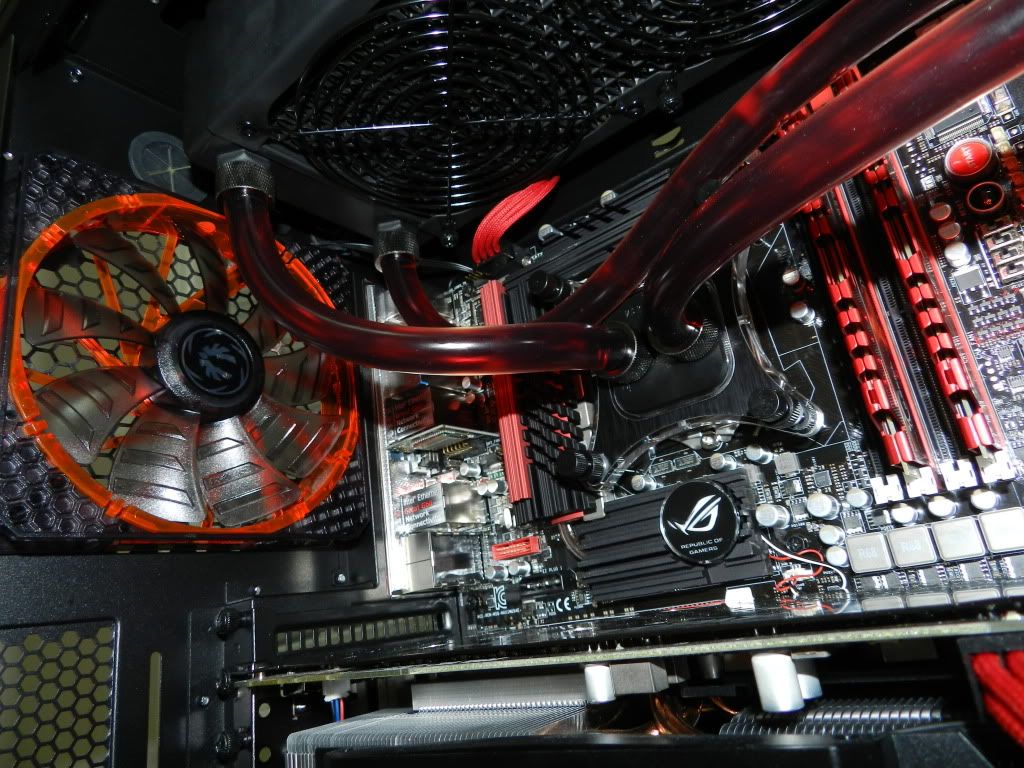
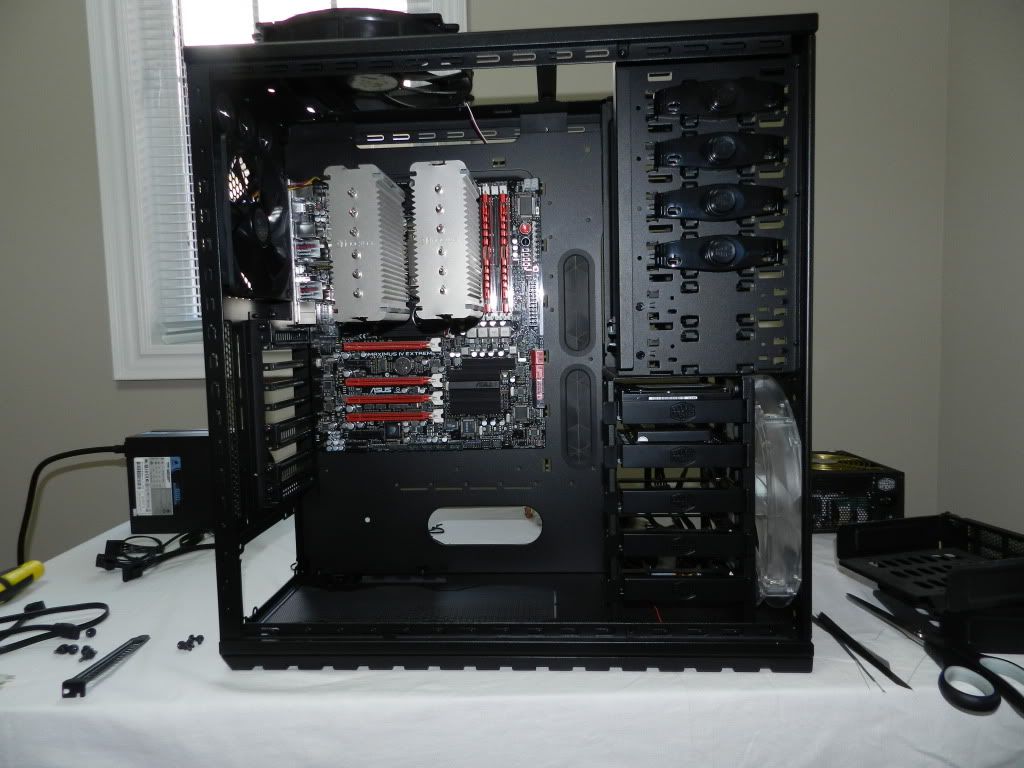
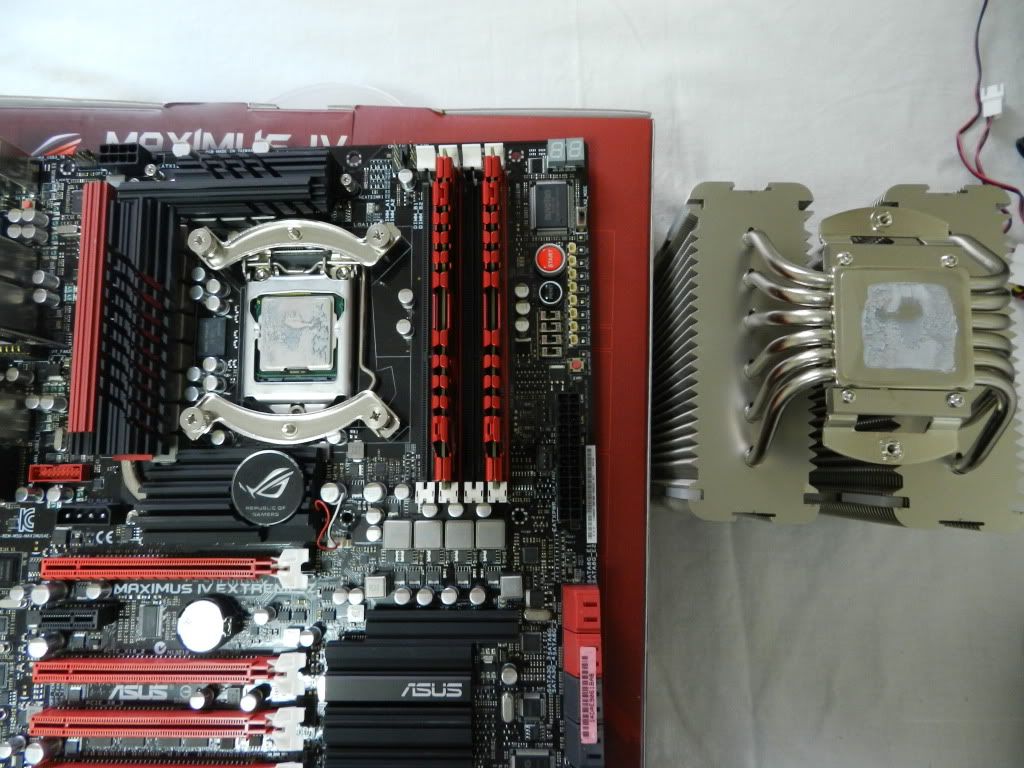
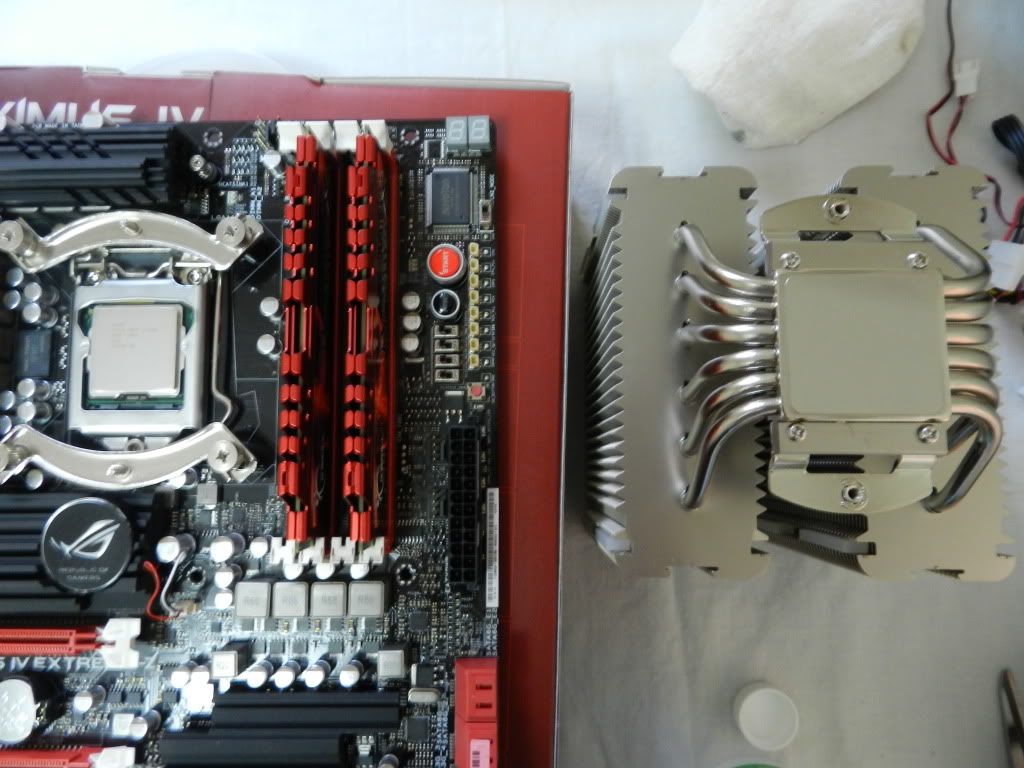
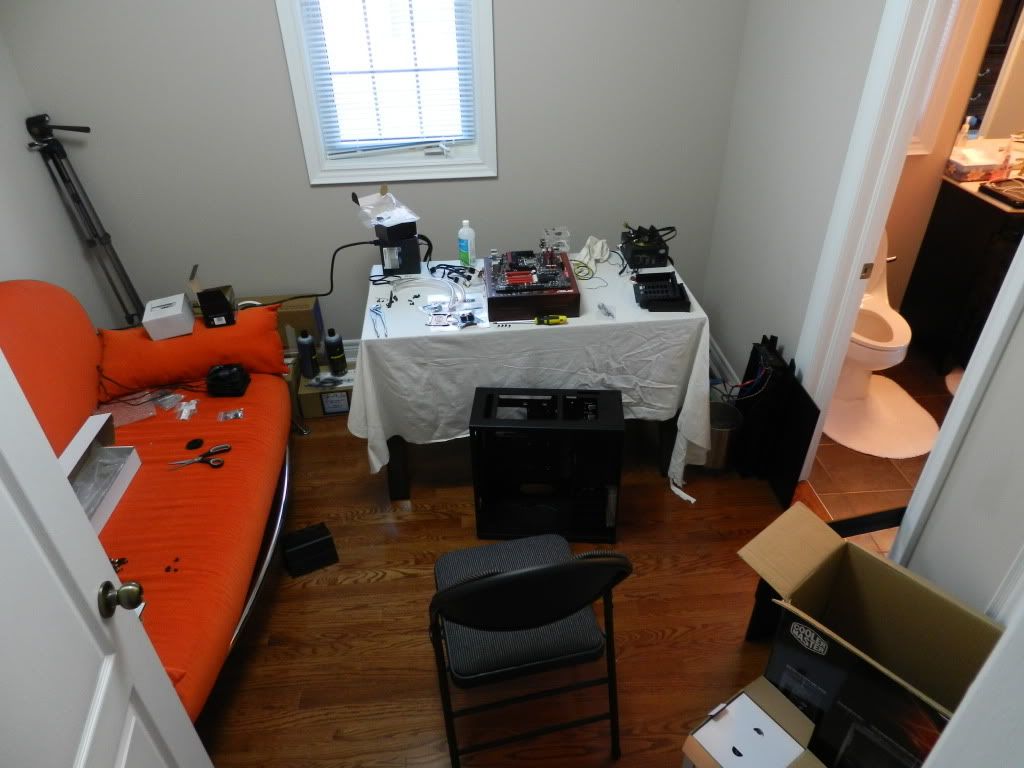
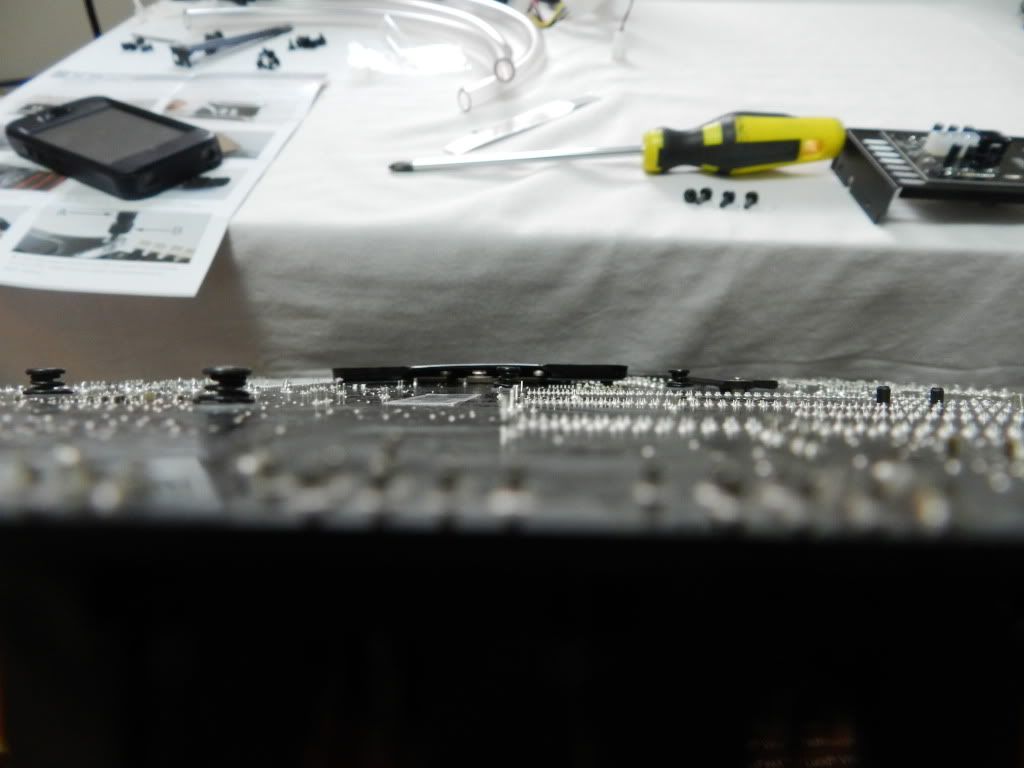
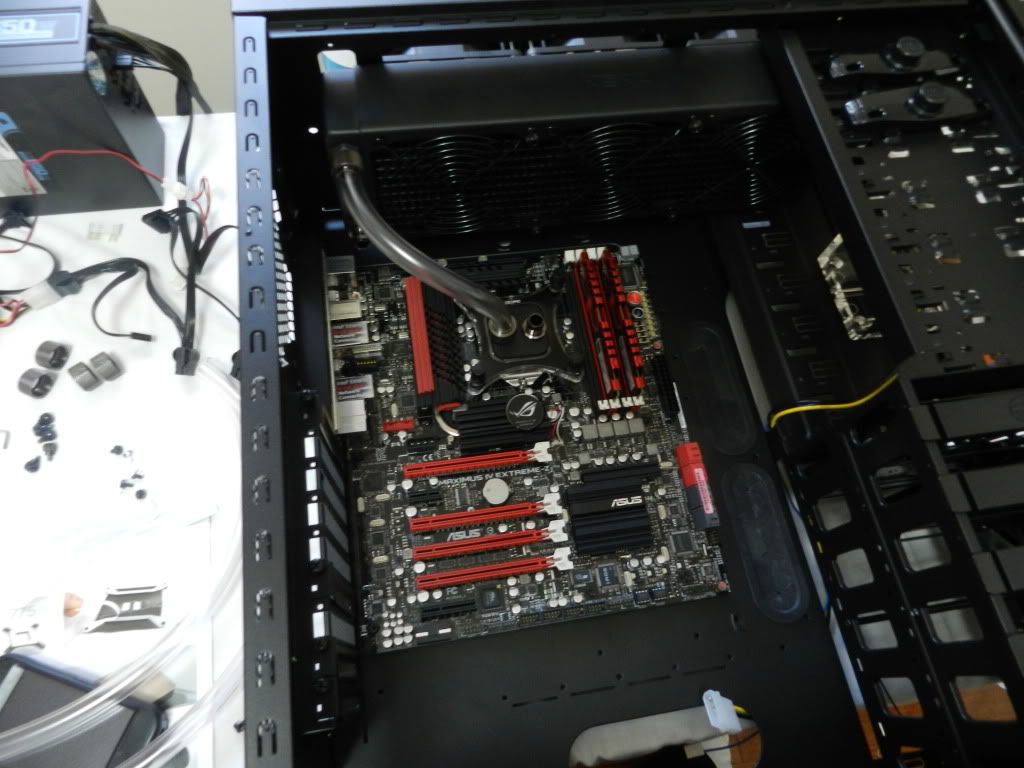
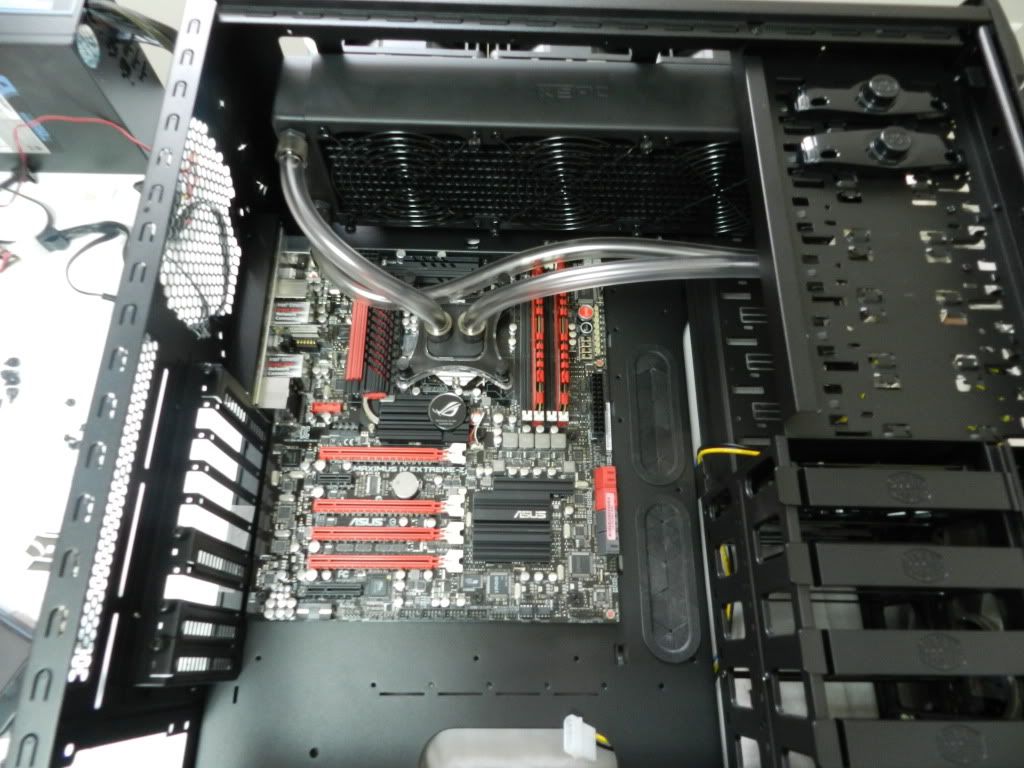
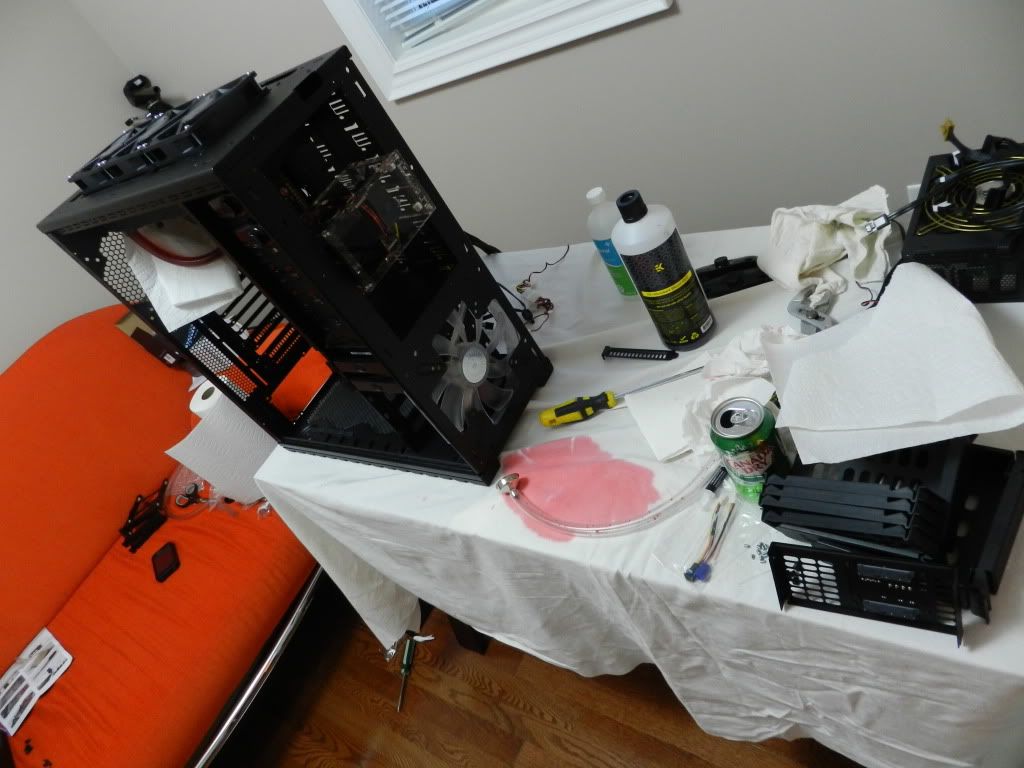
I want to give WCing a try and so I bought all the necessary equipment and yesterday I started disassembling my rig and cleaning the parts... the dust in that thing was gross. Now that that was done today I started my first loop. You can see my specs in my sig and you can tell it is a black and red themed build, but it can and will be improved.

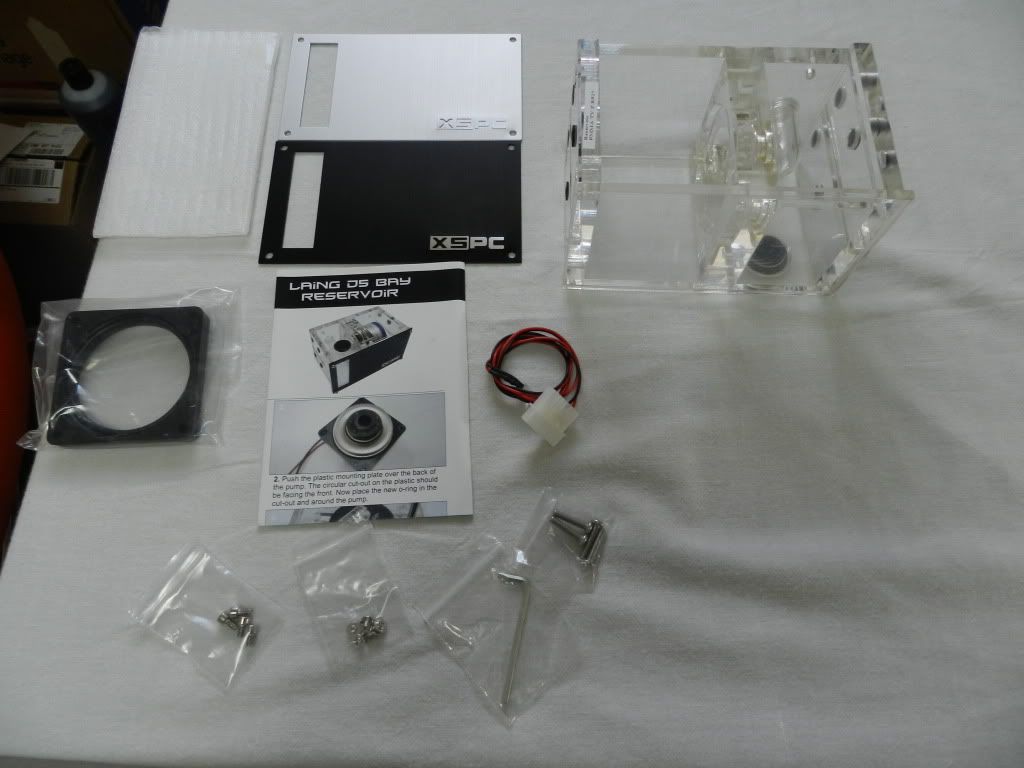
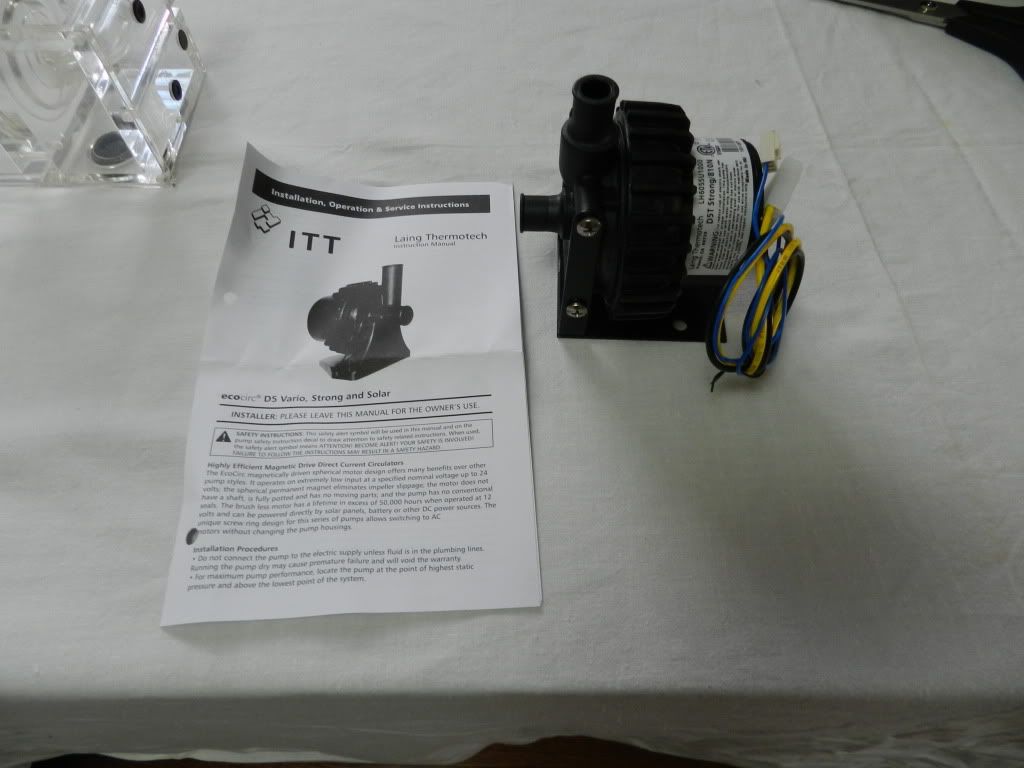
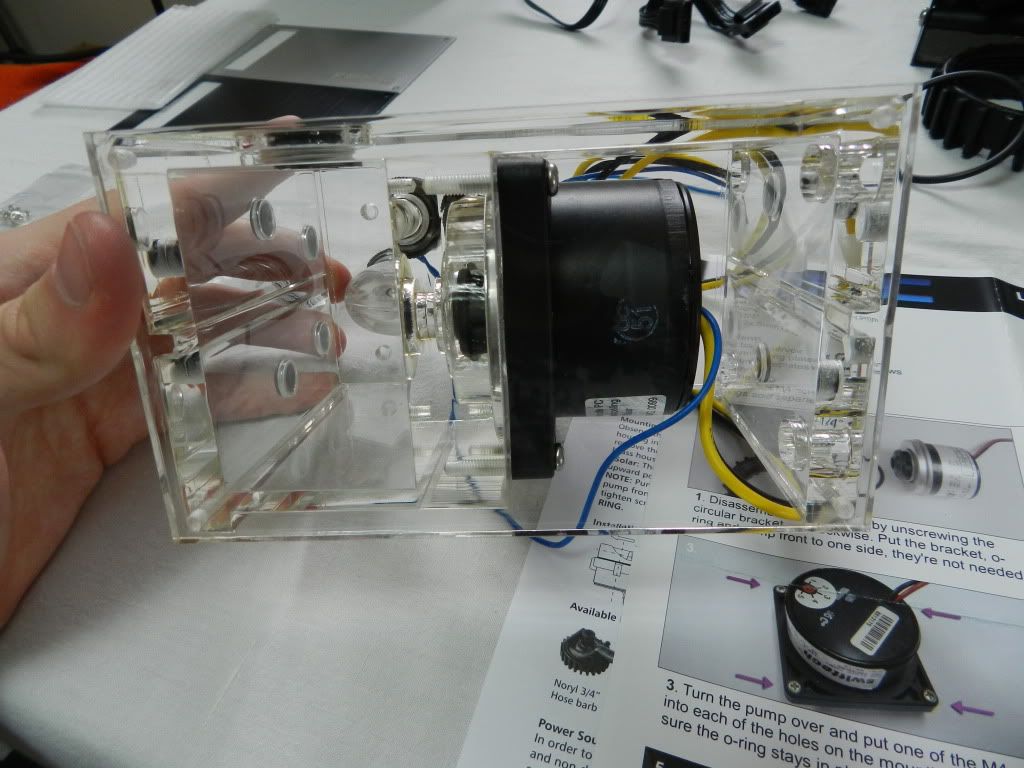
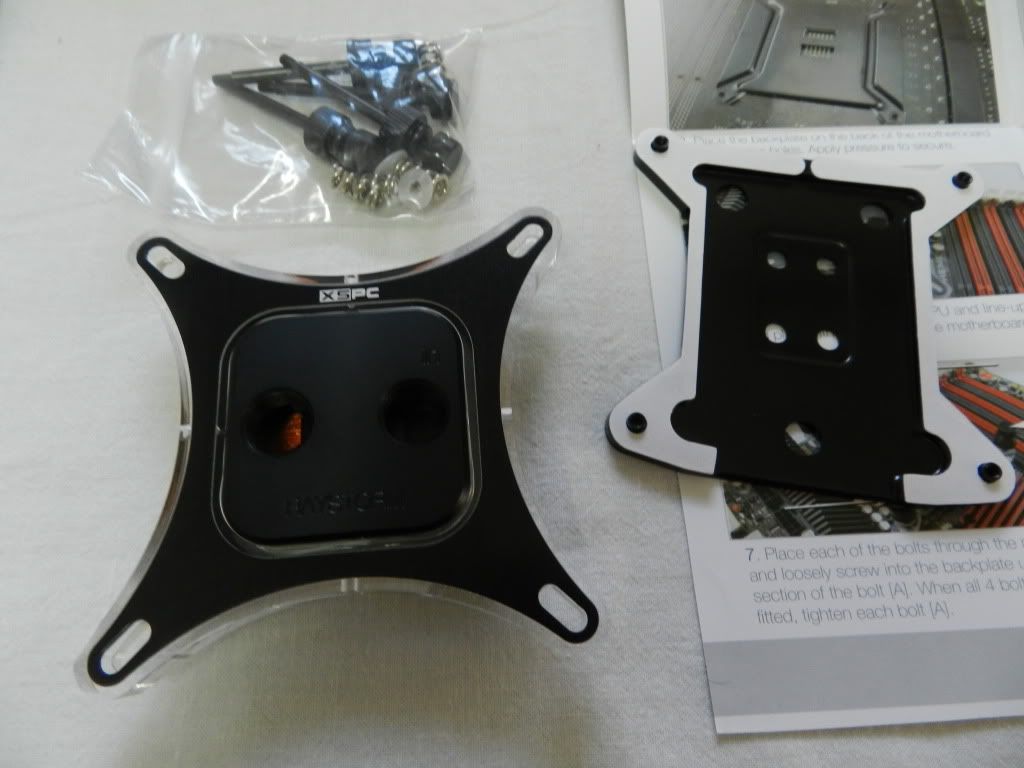
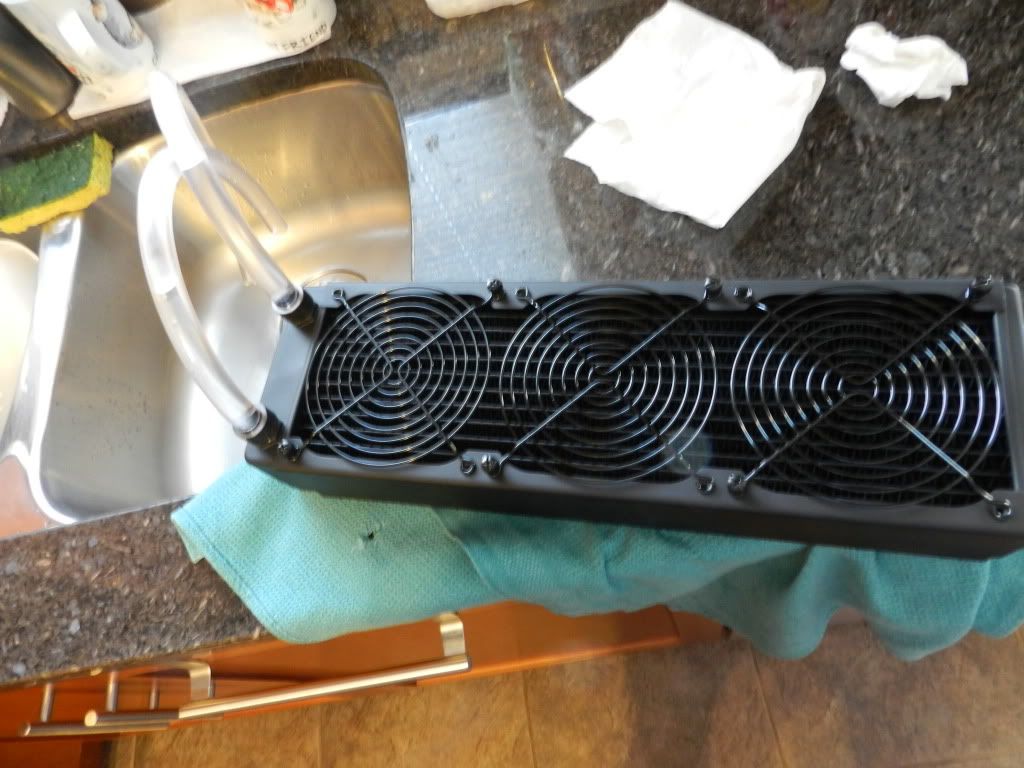
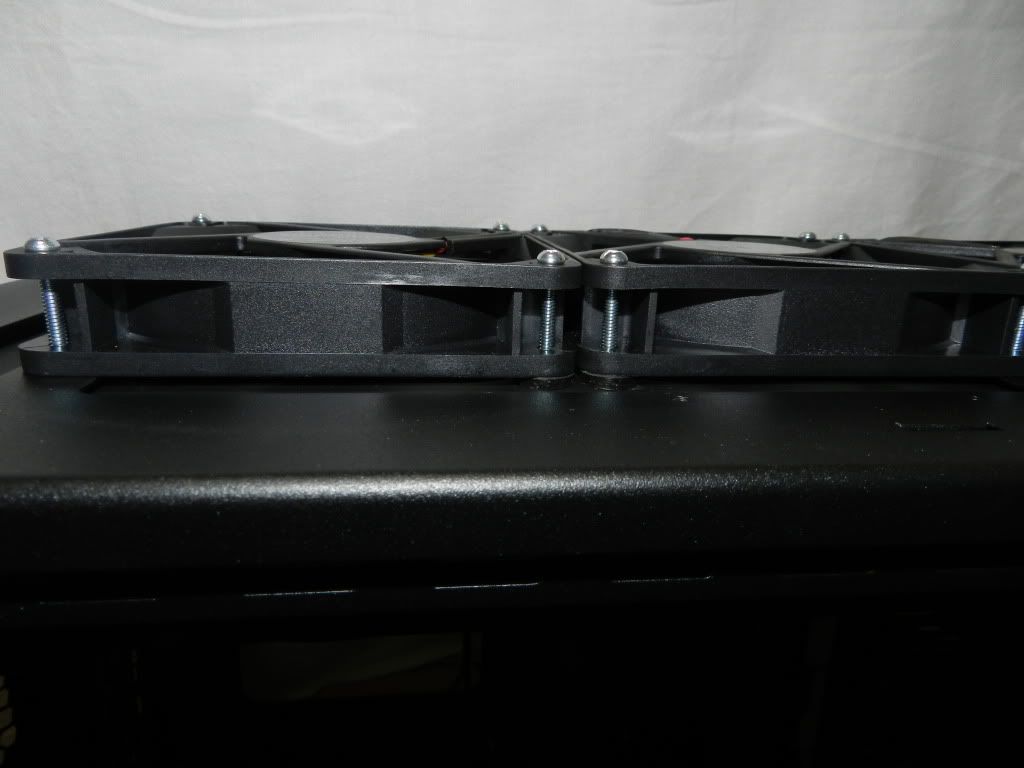
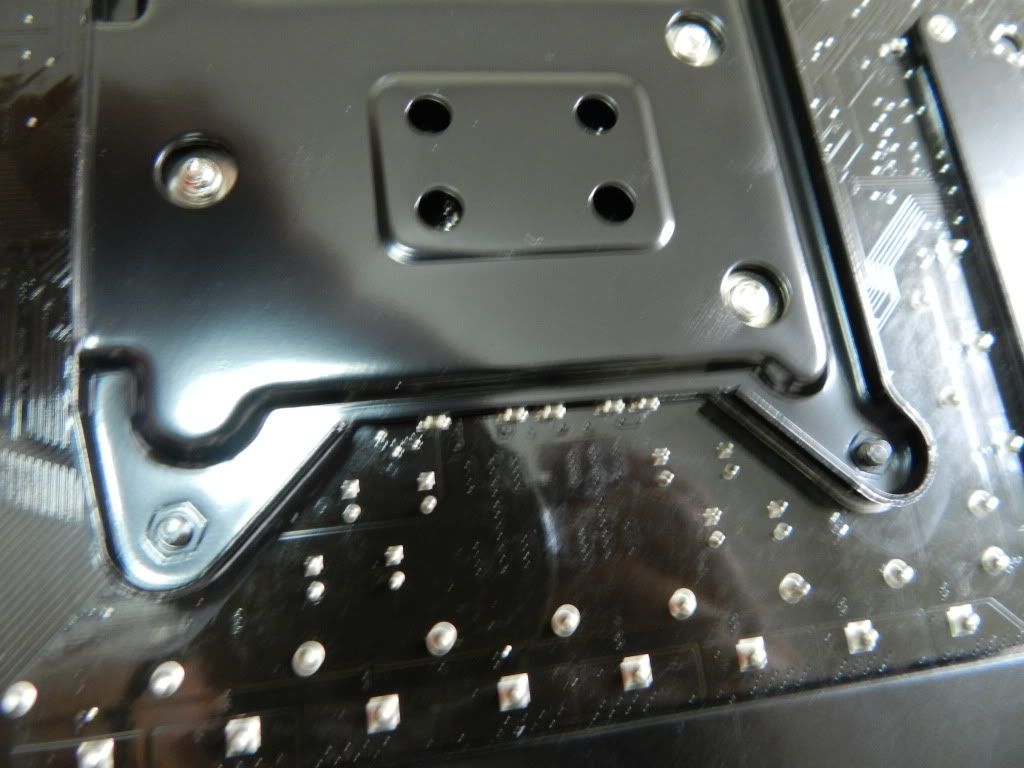
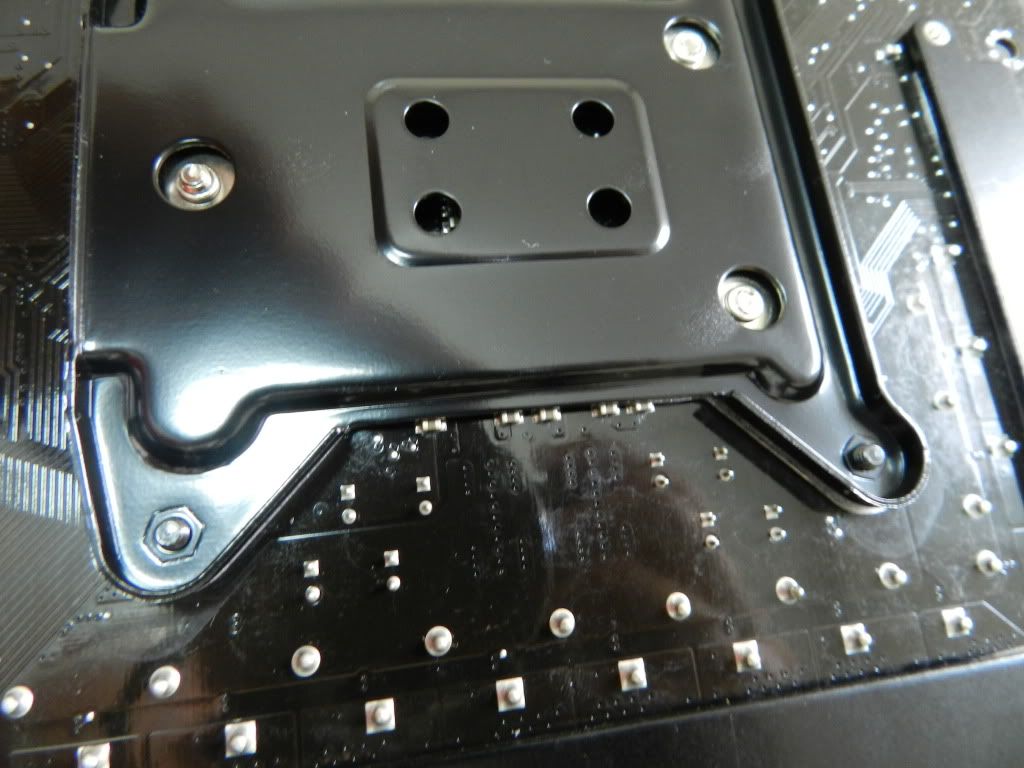
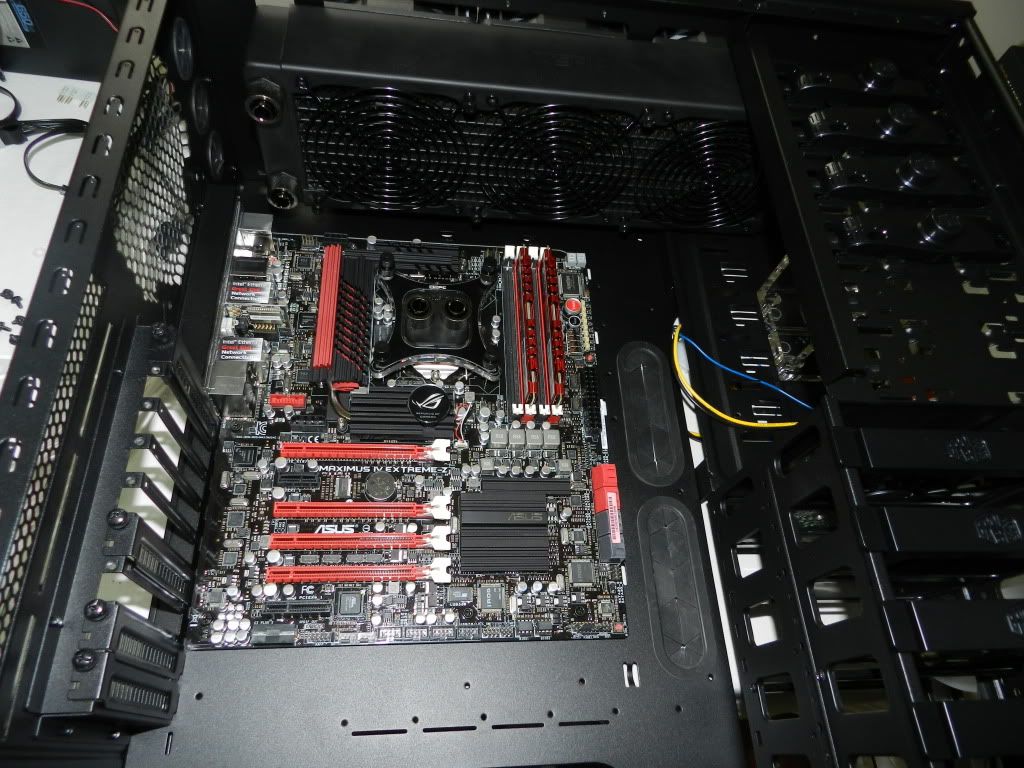
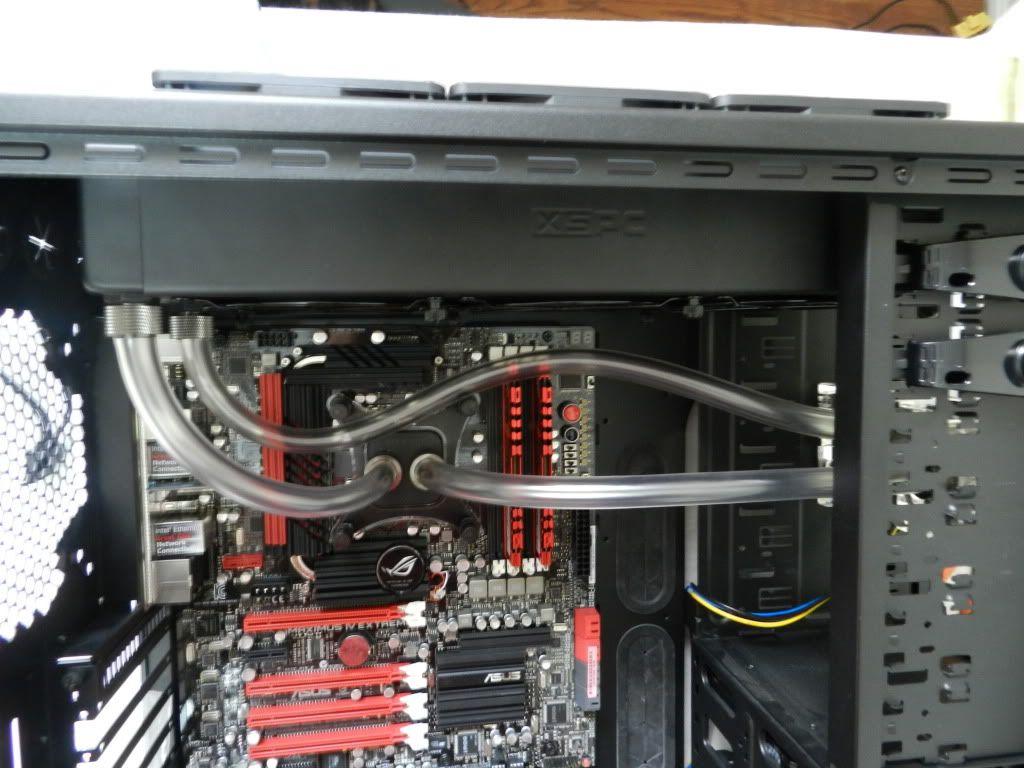
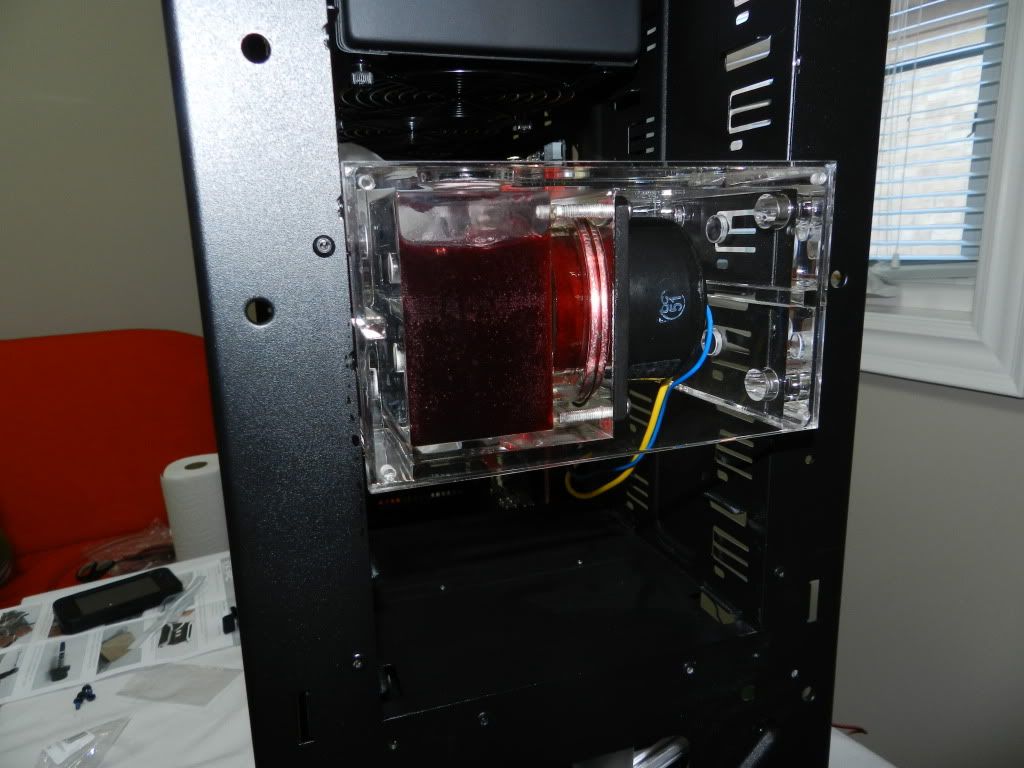
So what's replacing the D14 you ask, well its a XSPC kit that was slightly customized from Dazmode. It contains the Raystorm cpu block, an RX360 rad, a laing D5 strong pump, an XSPC dual bay res for the D5, black chrome compression fitting (i know a lot of people on this forum like barbs, but hey we all have different styles right? ), 3x 1650rpm XSPC fans which came with black fan grills and long black sleeved cables and clear tubing. As for the liquid I got 2 litres (but more on that later) of EK's blood red fluid (which ACTUALLY a very nice dark deep red, I really like it).

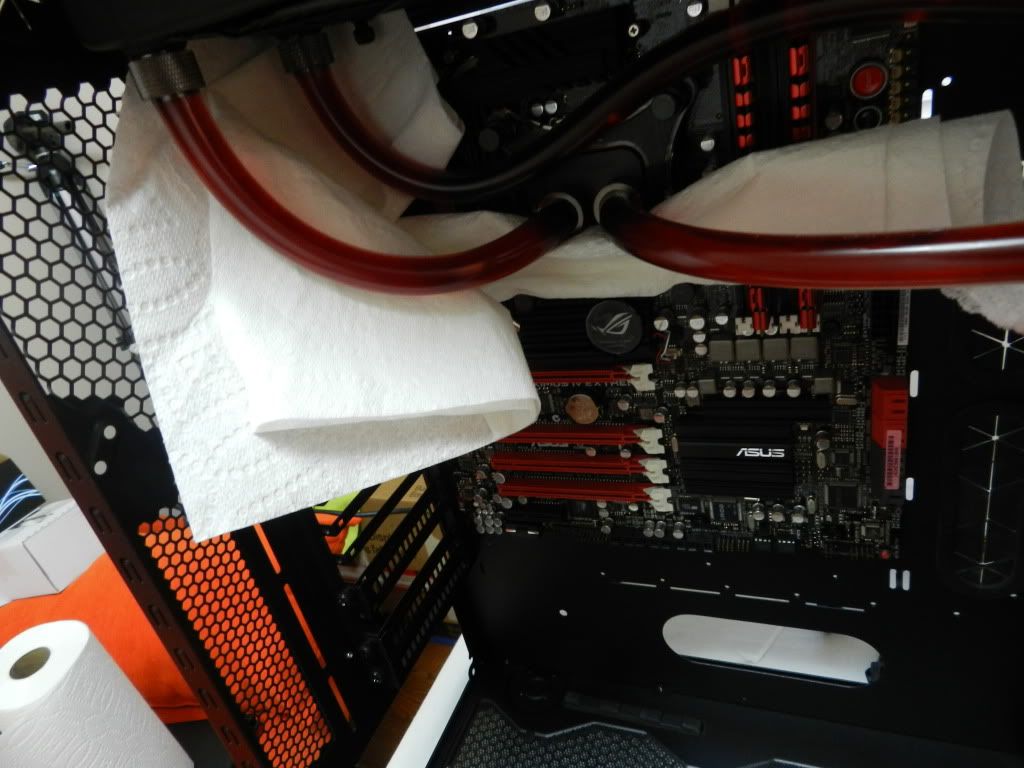
I took pictures along the way of my progress (right now i'm bleeding/leak testing - i think there is still a big chunk of air somewhere in the rad because i didn't even use 1 full 1L bottle, and i read with a rx and the dual bay res it should take a little MORE then 1L and mean is less... maybe cuz i have short tubing?? )

Also i will be back in 2-3 days because my girlfriend is getting some more parts for christmas to make my rig look prettier
wink.gif
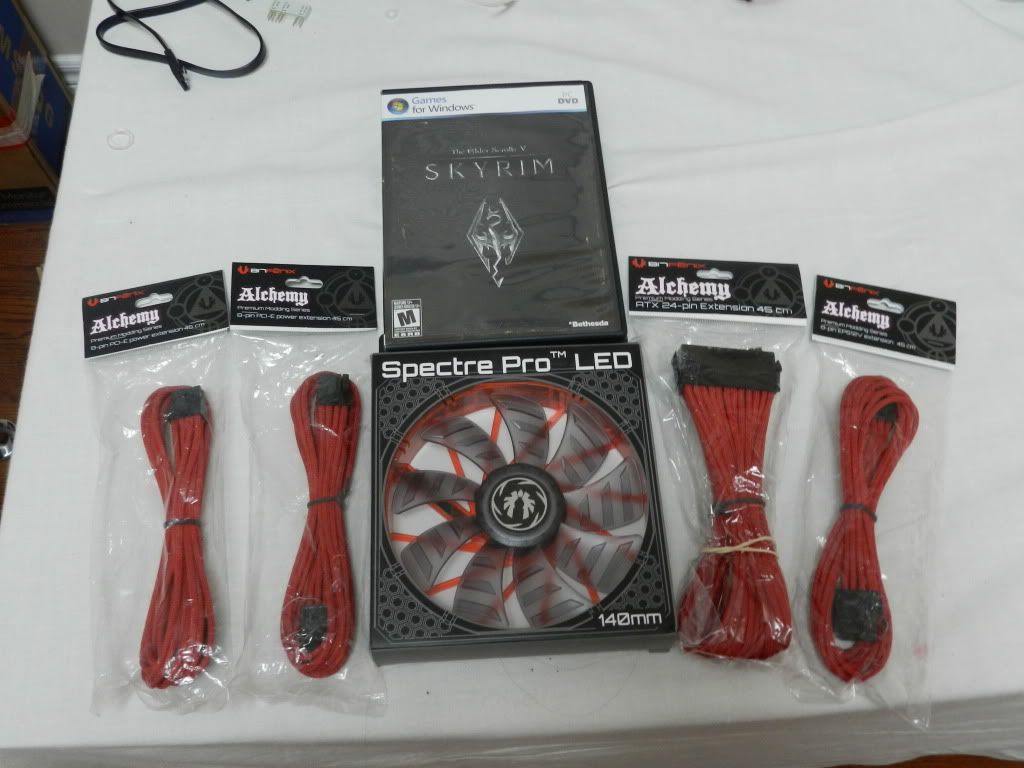
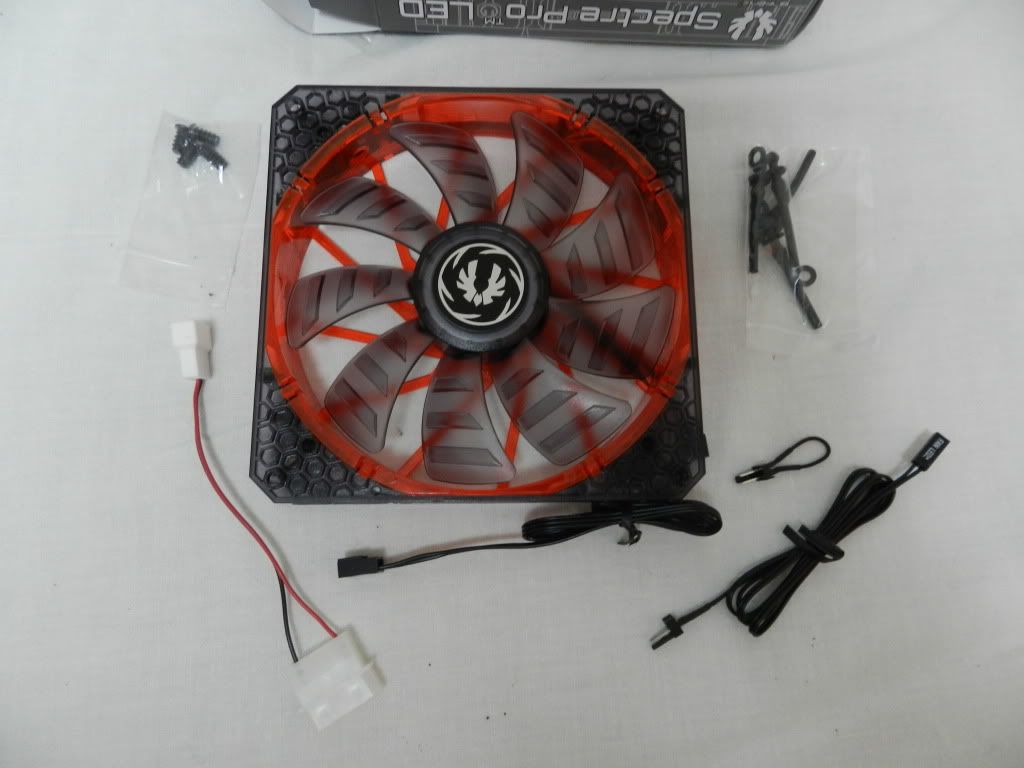
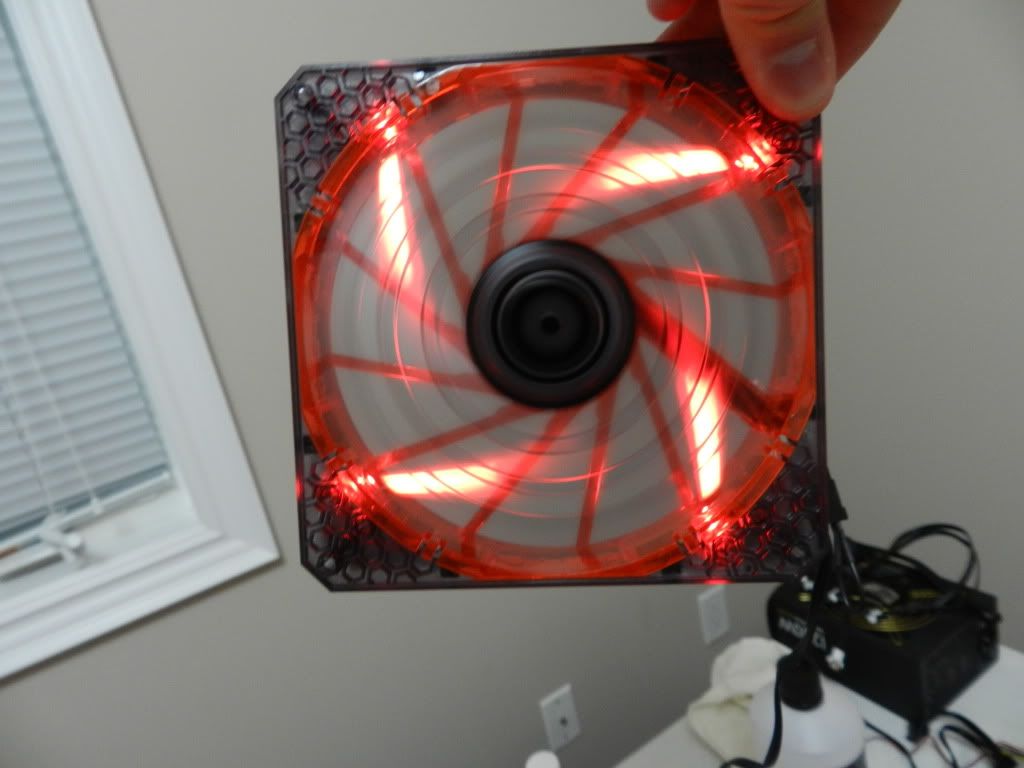
(i'm getting red bitfenix cable extensions and a spectre pro 140mm fan) hehehe lucky me
smile.gif


k i'll be posting the pics in a matter of hours so be sure to come back either later tonight or tomorrow
 
Sounds like another epicly shiny build to look foreward to - make sure you put some lighting in if you can
wink.gif

haha thanks, the lights are gonna come a little later (the only place i can find them doesn't have them in stock, and i called them ... have to wait to after new years, but then i'll probably wait a little longer because i don't want to pay like $10 shipping for a couple of leds that is gonna cost me like $15~$20)

pics are uploading to photobucket as i type... dam slow upload speed 100kb/s =( downloading is so much better

oh and WARNING - i am NOT into photography so if the pictures are not good or blurry or just at bad angles i'm sorry but i tried its just not one of my strong points
 
alrighty here comes all the pictures and explainations, sorry if theres a lot of pics and if this is a long post.

Ok so here is the res and all the stuff that came with it:

DSCN0462.jpg


here is the pump:

DSCN0463.jpg


here is the pump inside the res:

DSCN0464.jpg


here is my rig mostly stripped down and the last time the D14 will be on it:

DSCN0465.jpg


before cleaning the TIM:

DSCN0467.jpg


After cleaning the TIM:

DSCN0468.jpg


The sleek Raystorm block =D :

DSCN0469.jpg


room looks like a "bomb site" in TTLs words:

DSCN0471.jpg


Now in the kitchen flushing out the RX360:

DSCN0472.jpg


the next couple of pics are what came out of the rad, sorry if its hard to see in the pics but trust me there was a lot of little specks of 'stuff' some were black and some were bright green:

DSCN0474.jpg


DSCN0475.jpg


here i show there was some space between the rad and the fans due to the metal brackets that i used to mount the rad in the case, so i added some black plastic washers(also acting a little bit like dampeners
tongue.gif
:

DSCN0477.jpg


here i think i have a small problem there are two pics, the back plate fit in place and i didn't see this till i applied press on it when i mounted the water block, but basically there are a few components on the back of the M.IV.E-z that hold up one side of the backplate and make it look uneven and funny on the back of the mobo..... hope it doesn't matter cuz i don't feel like taking apart loop

DSCN0478.jpg


DSCN0479.jpg


DSCN0480.jpg


ha now that block is on the mobo and the mobo in the case:

DSCN0482.jpg


A little rant :: arggg stupid engineers that made the haf x 5.25 bays and the placing of the holes to screw in anything from the back.... as you can see from the pic there are two tabs where you can (or i thought) you can put a screw anywhere... but no, the spacing is tooo small and i had to lift one of the tabs, not that it matters just bugs me cuz they did a good job in the front ::

DSCN0484.jpg


DSCN0485.jpg


now back to the loop, the first hose is in:

DSCN0487.jpg


here is two angles of all the tubing:

DSCN0488.jpg


DSCN0489.jpg


and now the :"EK-Ekoolant Blood Red": in the loop:

DSCN0490.jpg


Funny story, when i watched Tom's beginner WCing videos and saw him slip liquid because he was filling the res too fast, i told myself that i can't do the same mistake now... well guess what thats exactly what i did
tongue.gif
lucky the first and only leak only got on the res and the table
tongue.gif


DSCN0492.jpg


look at that deep red in the res:

DSCN0491.jpg


and lastly a close up of the loop a few hours in leak testing, and everything is fine:

DSCN0493.jpg


If you got to reading this congratz and thanks for taking your time to look at my loop, i am no where near done the build, but as christmas is tomorrow i probably wont be touching it, so i'll have to continue on monday and finish it up. I will take more pics with my new spectre pro fan in the back of the case and the bitfenix cables. I also want to make something to hold up my gtx 580 matrix because its a heavy card and it bends down due to gravity, the only trick is that i want to make something that will actually look good and not dumb (like use a stick from the bottom of the case to the card to have it rest on
sleep.gif
) so tell me if you have any suggestions. Also tell me if i did something wrong, or even just if you like it so far.

alright MERRY CHIRSTMASS and happy holidays to everyone. i'll be posting again soon enoug.

.
 
looks great mate so far cant wait to see more

thanks man
smile.gif


you mentioned that you used more then a litre for your loop right? i think i remember you said that before, just wondering since i used less then 1 and thats with bleeding and with topping the res again (right now its leak testing and i filled the res)
 
That looks the muts nuts mate. btw what is the advantage of using the D5 pump and the bay res together? Without the pump on a soggy sandwich or the like - how noisy is it?
 
Awesome build so far mate:)

Everything goes nicely with the motherboard colours, i like the deep red coolant

Cant wait for more pics
biggrin.gif
 
That looks the muts nuts mate. btw what is the advantage of using the D5 pump and the bay res together? Without the pump on a soggy sandwich or the like - how noisy is it?

Well the only advantage I can think of is price since I got this as a kit it was less expensive, actually another would be you save space and you can less tubing (but that only matters in a smaller case).

It was noisy when I was bleeding it
tongue.gif
haha but now that i think 99% of the air is gone (i don't see any in the tubes, and when i flip my case around i don't hear anything) its pretty quiet. It is around the same as the one 230 or 200 not sure, mega flow fan in the front of the case, which IMO is very quiet! when i will turn on the fans on the rad (the 3x1650 rpm xspc ones) that will be the noisy thing in the case by far!

Awesome build so far mate:)

Everything goes nicely with the motherboard colours, i like the deep red coolant

Cant wait for more pics
biggrin.gif

thank you, yea i'm pretty happy that this pre-mix solution is this color (just slightly less dark then Tom's shadow h2o, but he said he used a lot of red and blue or black dyes)

and more pics will be coming probably tomorrow or the latest tuesday

Looks like blood; very nice shade

yea its a nice shade, it gets pretty close to a blood red shade in the res where theres more liquid, in the tubing its still nice and dark, but not quite like when you cut your finger or something like that

Merry Christmas dude
smile.gif
.

Awesome job mate, it looks brilliant.

Thanks

I hope you start your build/re-build soon too, would love to see some pics (you said that you also got a similar kit sitting around and that your waiting to doing your first loop right?) only words of advice is measure twice before cutting tubing (i almost cut one too short and was about to get really mad) and the other would be, be careful filling the res
tongue.gif
haha its tricky because the liquid start to go into the tubing and you see that and are like "cool look at that" and before you know it "SH** its full, how'd that happen so quickly, need paper towel NOW!!!!"

Merry Christmas to everyone, i hope you all have a wonderful day of gift giving and receiving
wink.gif
 
Dude I think you have me confused with someone else. I am not doing a water cooled build/re-build as far as I know
tongue.gif
.

OOPPSSS so sorry man :S

sleep.gif
i should checked before posting... nvm pretend i didn't say that, i just looked and it was hmmblah that said that on one of my others threads
 
Ok so got the rest of the things i need to finish up and i'll show you how far i got now.

So my chirstmas present from my wonderful girlfriend

DSCN0494.jpg


All the things that came with the fan
tongue.gif


DSCN0495.jpg


let there be light:

DSCN0496.jpg


And now a few pictures of the "finished for now" rig, i still need to do that cabling properly, but its late so i just wanted to turn it on and make sure everything work and it does
biggrin.gif


DSCN0497.jpg


DSCN0498.jpg


DSCN0499.jpg


DSCN0500.jpg


DSCN0501.jpg


so what do you think so far?

and do you have any opinions about whether i should put something in there to support the gpu, or is it fine?
 
THANKS
biggrin.gif


theres actually 1 more cable that not there (the front panel power switch) which was orange and white, but i just sleeved it
smile.gif
hehe my first time sleeving, and it the sleeving was just a bit small so it was pretty hard to slide on there...... but eventually it got on there, its black btw.

yea the bitfenix cables are a perfect shade of red and they have a really nice texture, they're soft
smile.gif
and flexable.

Also its only gonnna get tidier because none of the cable are tidied in the back right now after i pull them a little it should like just a little better (especially the pci cables, they are too loose right now).
 
Looking really good! I think I'm going to take the plunge (hopefully not literally) this week. I have to disassemble first and clean everything out, plus flush my rads. I want to get some extensions too, but will probably have to add them later.

How did you fill your res? I don't want to leave the tubing long enough to pull the rad out. I'm hoping I can leave the CD drive out and fill it through the top. Is that what you did?
 
Back
Top