You are using an out of date browser. It may not display this or other websites correctly.
You should upgrade or use an alternative browser.
You should upgrade or use an alternative browser.
Heaven & Hell
- Thread starter tinytomlogan
- Start date
FarFarAway
New member
Yeah you can make circles with the dremel, it just takes time and patience
Looking forward to it all stripped off")
Looking forward to it all stripped off
Im nervous now tbh!
Wont strip till right at the last minute......
Still go plenty to do before hand, Im off work all wekk so plan to get a fair bit done
if the missus lets me that is !
Wont strip till right at the last minute......
Still go plenty to do before hand, Im off work all wekk so plan to get a fair bit done
if the missus lets me that is !
Cheers guys means alot.
Ive never done a project to this extent before, only ever painted the chassis of my old case!
I hope you all like the finished product too.
I think when the lighting is in there it will make alot more sense and really set the case off.
Ive never done a project to this extent before, only ever painted the chassis of my old case!
I hope you all like the finished product too.
I think when the lighting is in there it will make alot more sense and really set the case off.
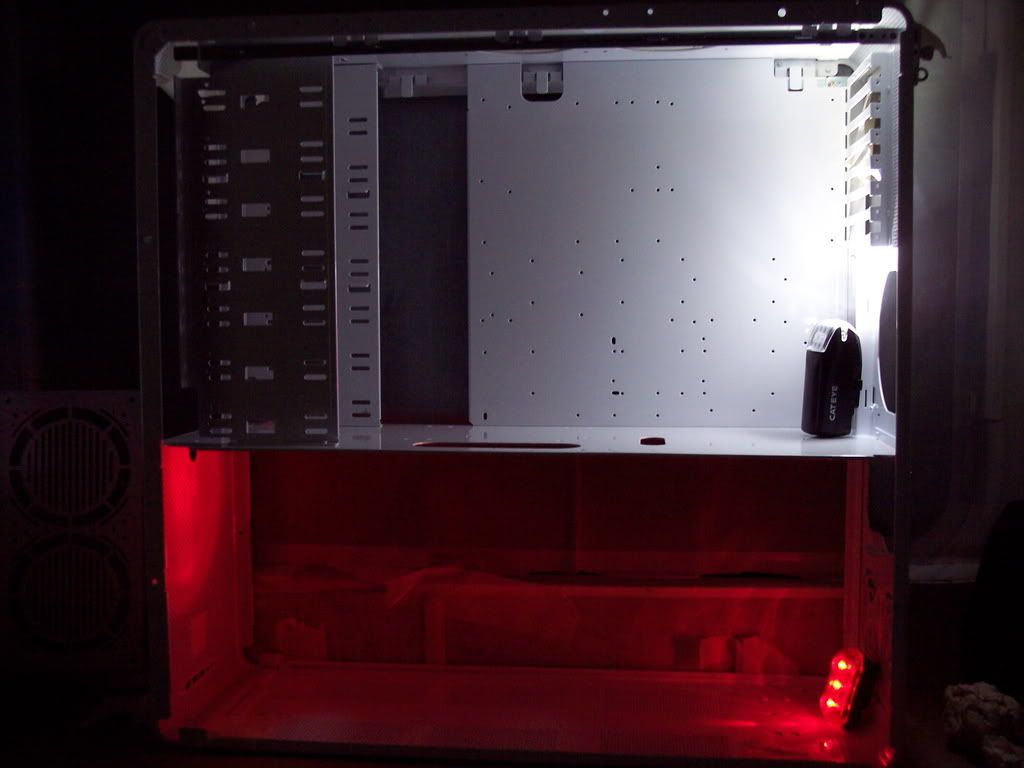
Was playing around with lights last night.
So I 'bodged' these lights in just to get an idea what it might look like....
What do you think.. Come on I want to know...... :?
So I 'bodged' these lights in just to get an idea what it might look like....
What do you think.. Come on I want to know...... :?
freedom_12
New member
Cool idea for a theme, how'd you come up with it?
Love the lighting, especially the red, looks really good.
Love the lighting, especially the red, looks really good.
Im actualy waiting on 2parts to finish it now (at powder coaters)
Im going to be in prebuild mode for from now on I think.
Still not sure on wether to braid the hose or not........?
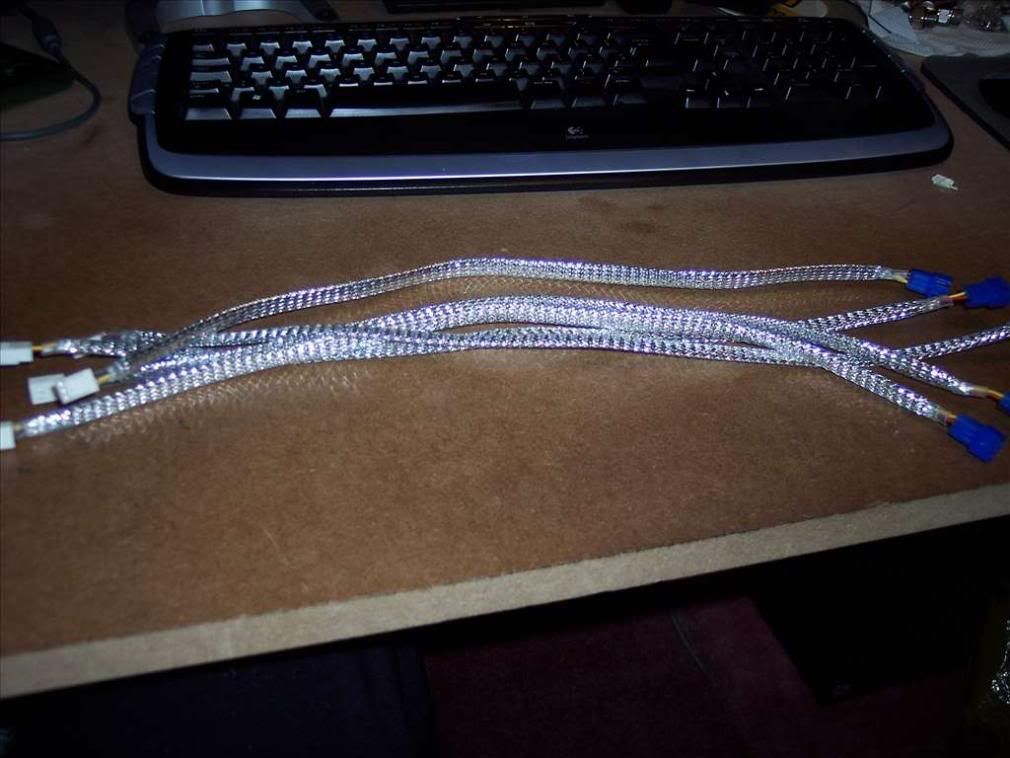
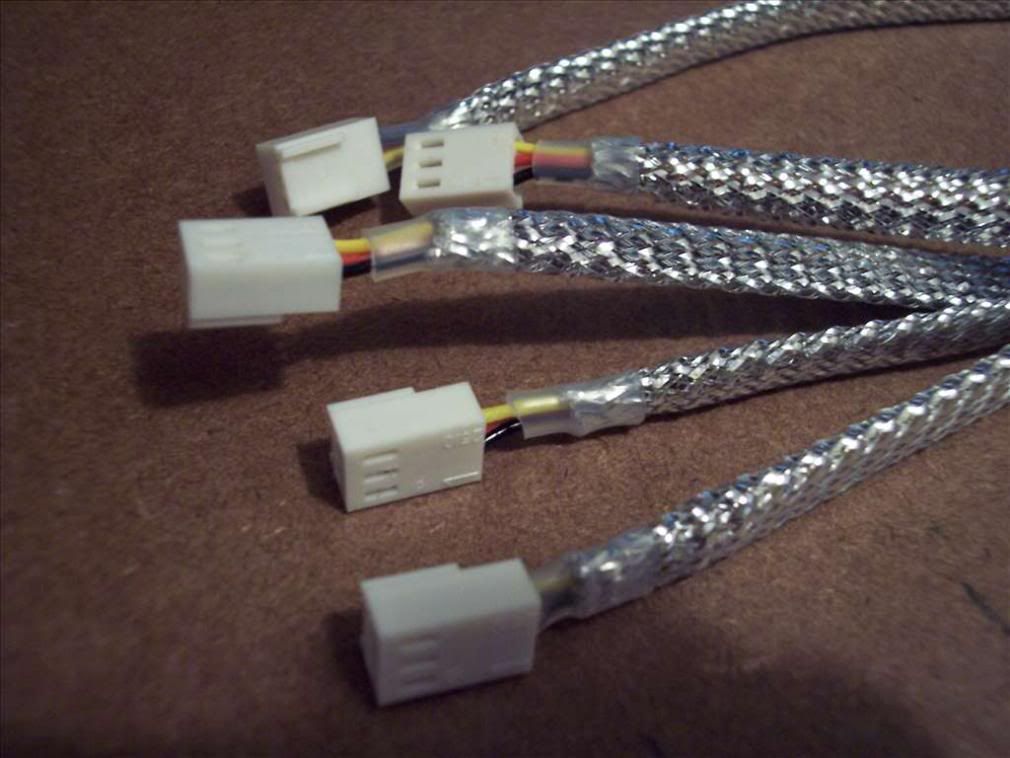
Need to start making fan cable extensions and braiding those too!
The theme just progressed, liked a clinical theme idea for ages!
Then an air/water theme.
But heaven and hell definately works better!
Could go Patriotic (UK) with blue coolant!
Im going to be in prebuild mode for from now on I think.
Still not sure on wether to braid the hose or not........?
Need to start making fan cable extensions and braiding those too!
The theme just progressed, liked a clinical theme idea for ages!
Then an air/water theme.
But heaven and hell definately works better!
Could go Patriotic (UK) with blue coolant!
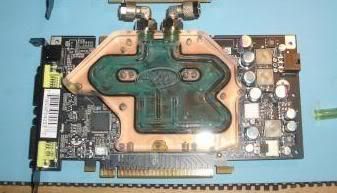
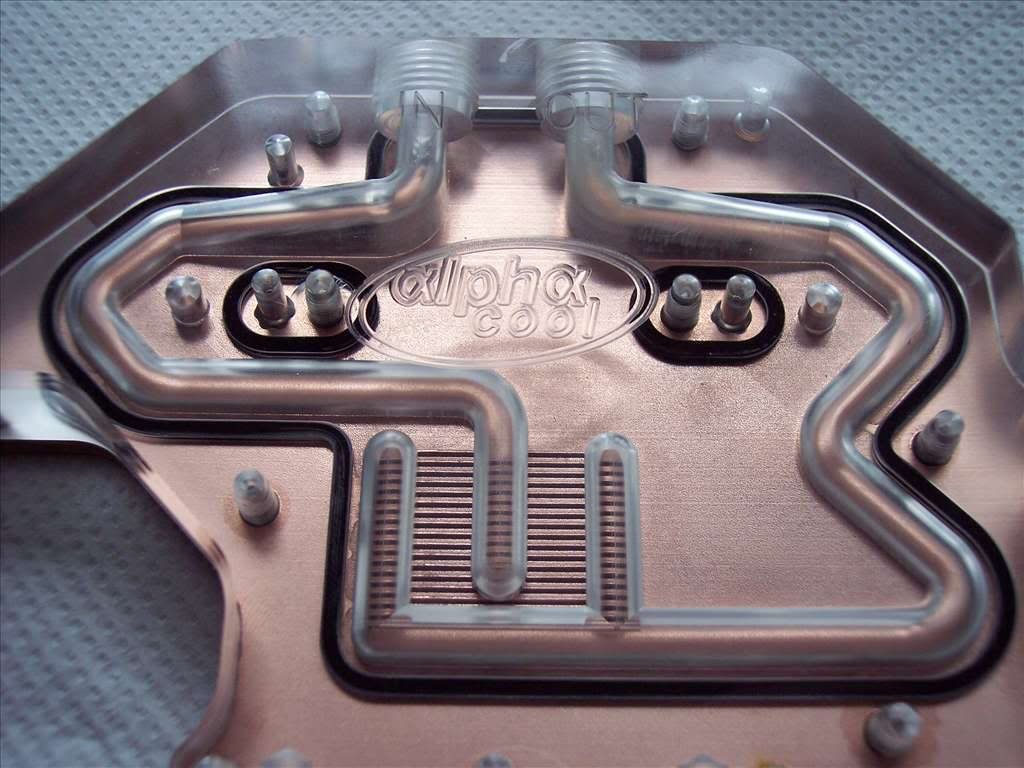
Not got much done in the last few days, did get the 7900GT and waterblock that I bought off of OC-Master though, so the other evening I set about putting abit of life back in to the water block as it needed a damn good clean and spruce up!
Before the comments this is not going to be a gaming rig so the GPU is overkill really")
Had to get this pic off of OC-M as I forgot to take one before I started DOH!
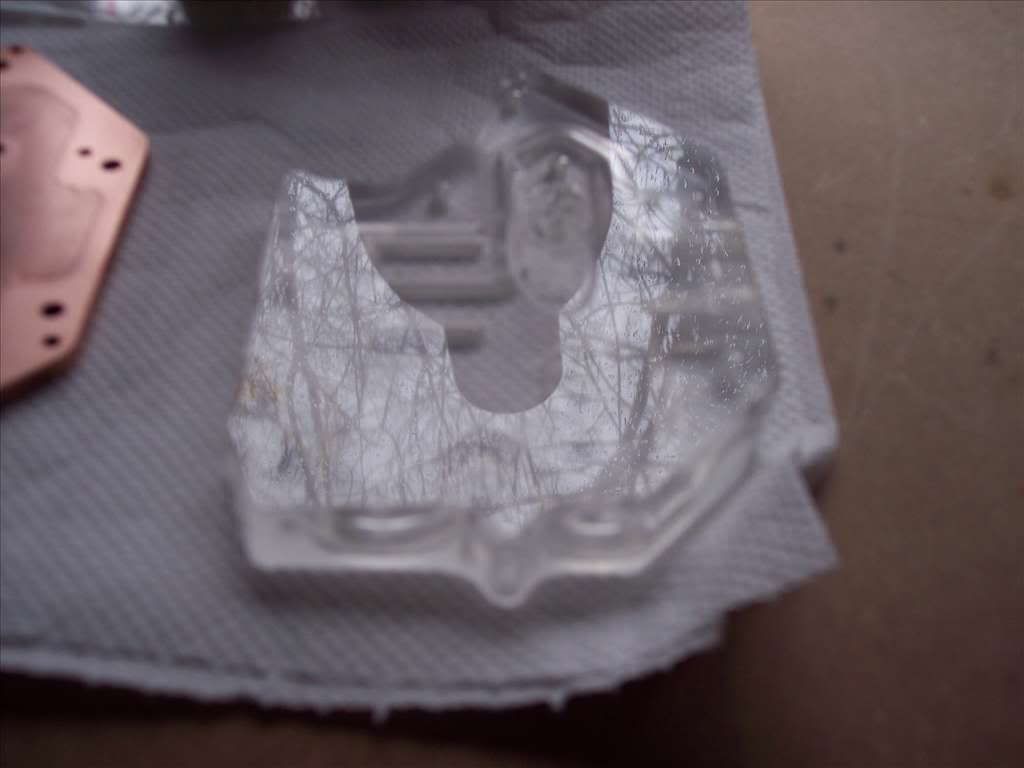
Got the vinega and my missus tooth brush out of the bathroom and set to scrubbing....
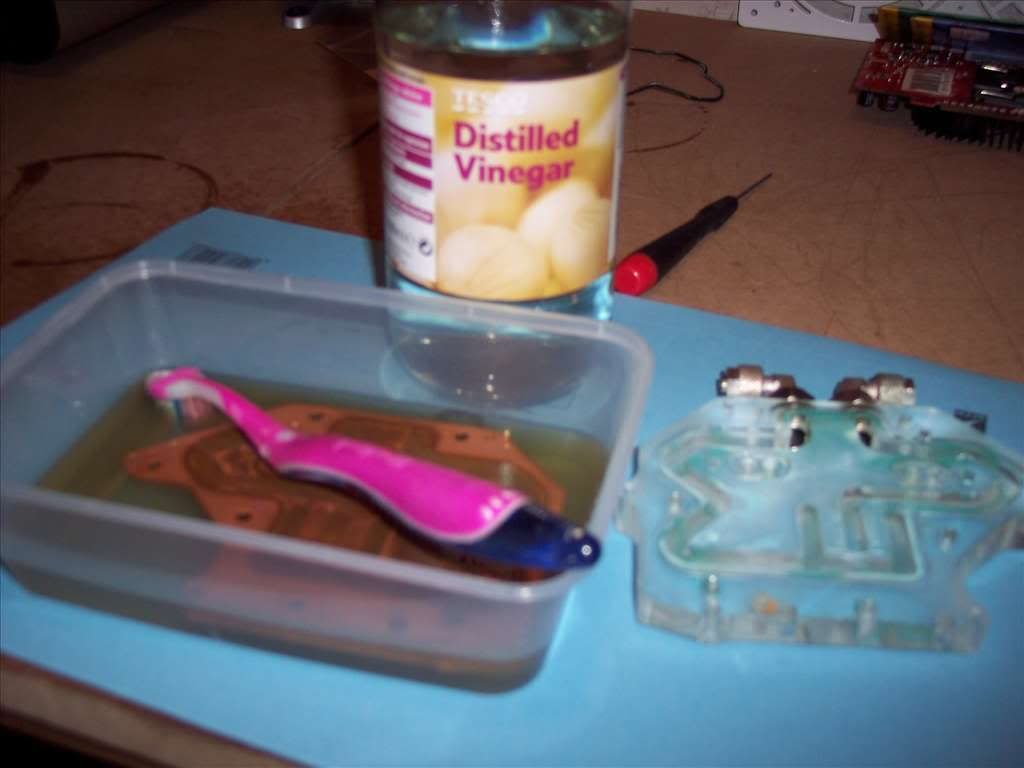
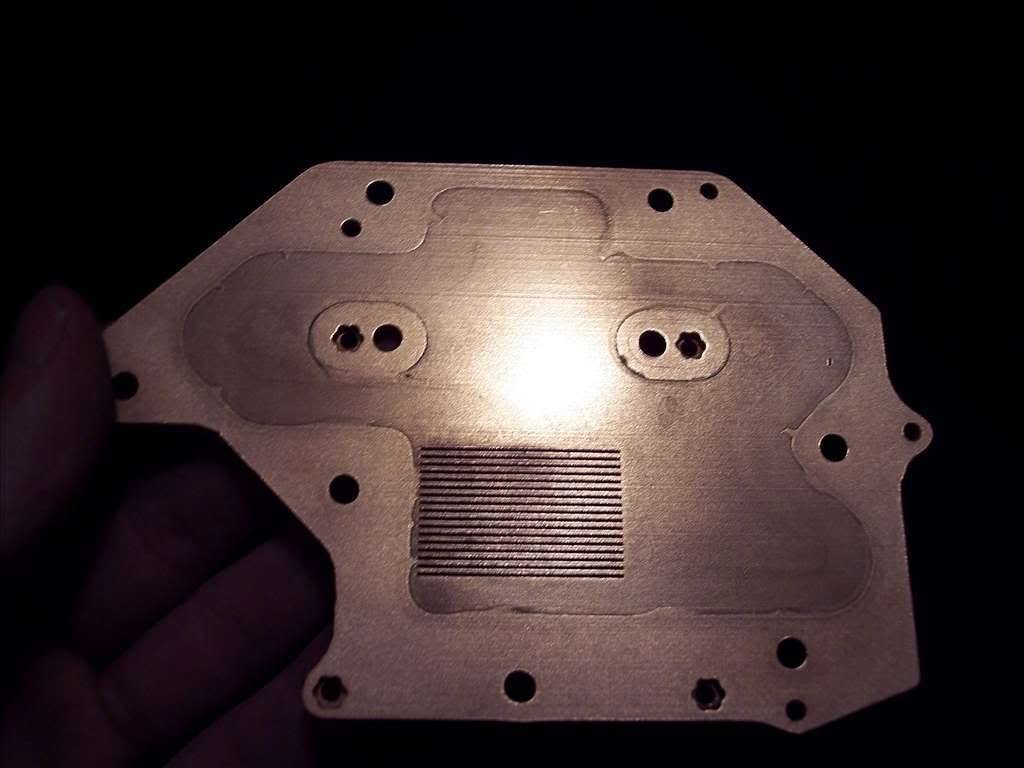
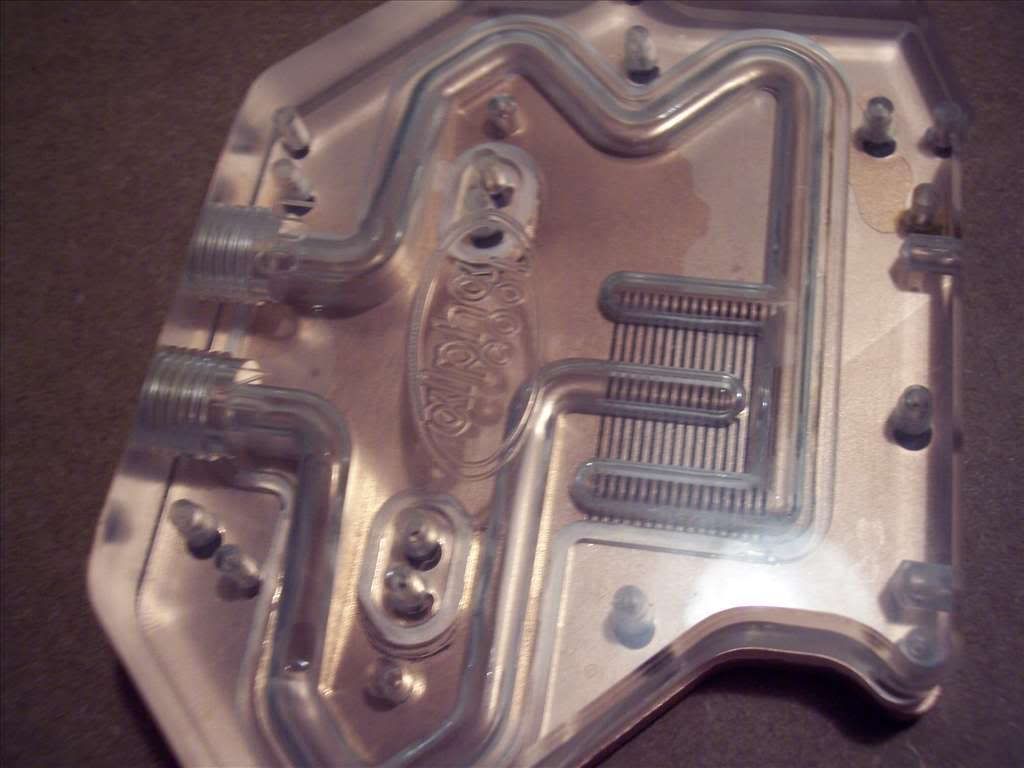
Once the grime was off I needed to get rid of the dark tarnish of the block so I thought Id try T-Cut, its got a low abrasive in it and it came up great!
While I was there the acrylic top had alot of little scratches making it dull so used more T-Cut on that and its now like new!
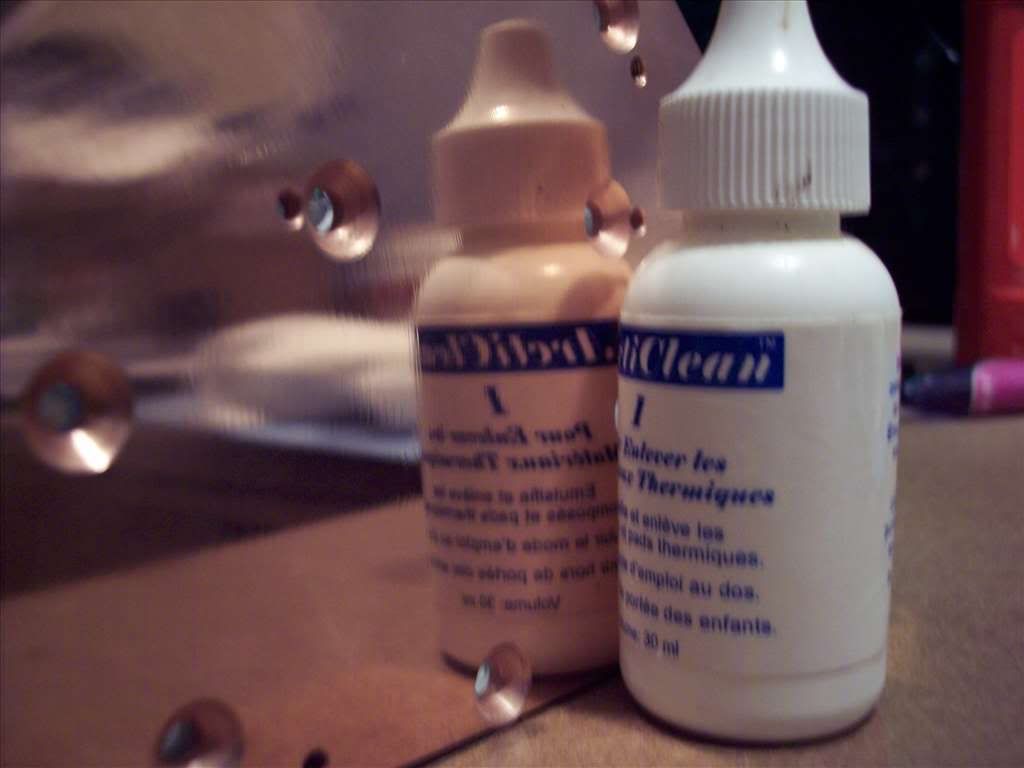
After cleaning the block again with Articlean 1 + 2 to get rid of any residue I nailed the old girl back together.
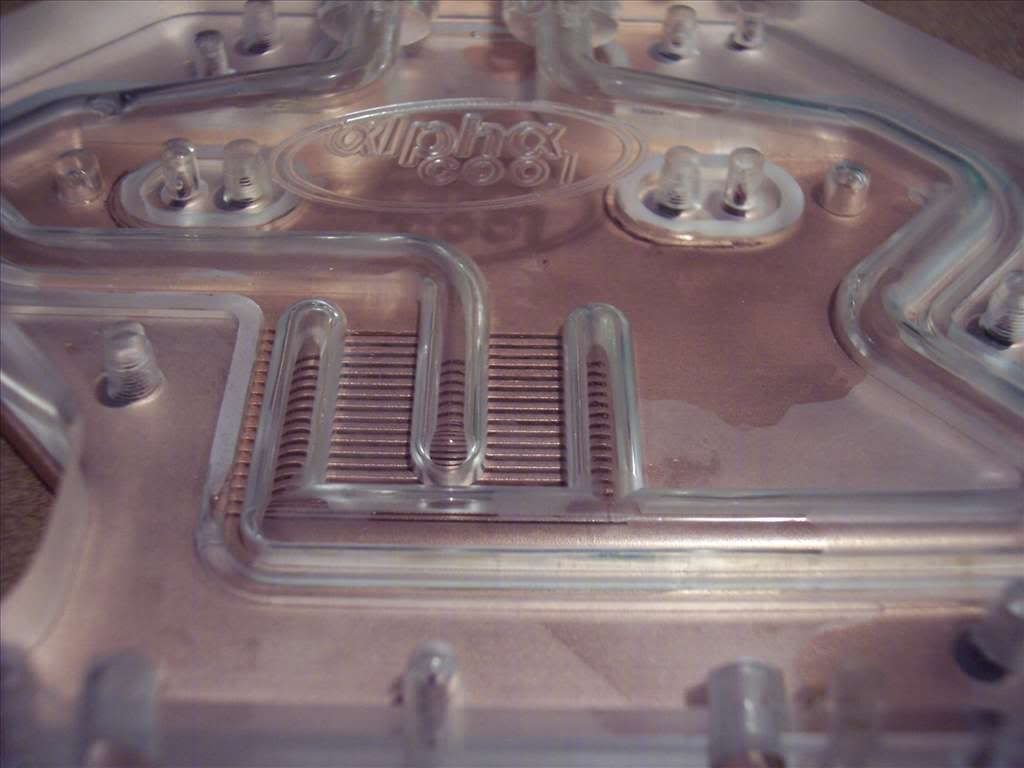
Now fully assembled.......
Should be moving quickly with this now, just got a couple of bits Im waiting for from Marcus then Im in full build mode
Before the comments this is not going to be a gaming rig so the GPU is overkill really
Had to get this pic off of OC-M as I forgot to take one before I started DOH!
Got the vinega and my missus tooth brush out of the bathroom and set to scrubbing....
Once the grime was off I needed to get rid of the dark tarnish of the block so I thought Id try T-Cut, its got a low abrasive in it and it came up great!
While I was there the acrylic top had alot of little scratches making it dull so used more T-Cut on that and its now like new!
After cleaning the block again with Articlean 1 + 2 to get rid of any residue I nailed the old girl back together.
Now fully assembled.......
Should be moving quickly with this now, just got a couple of bits Im waiting for from Marcus then Im in full build mode
Right things have been abit slow due to work being abit metal at the moment but heres what Ive managed to do in between drinking sessions this weekend....... :shock:
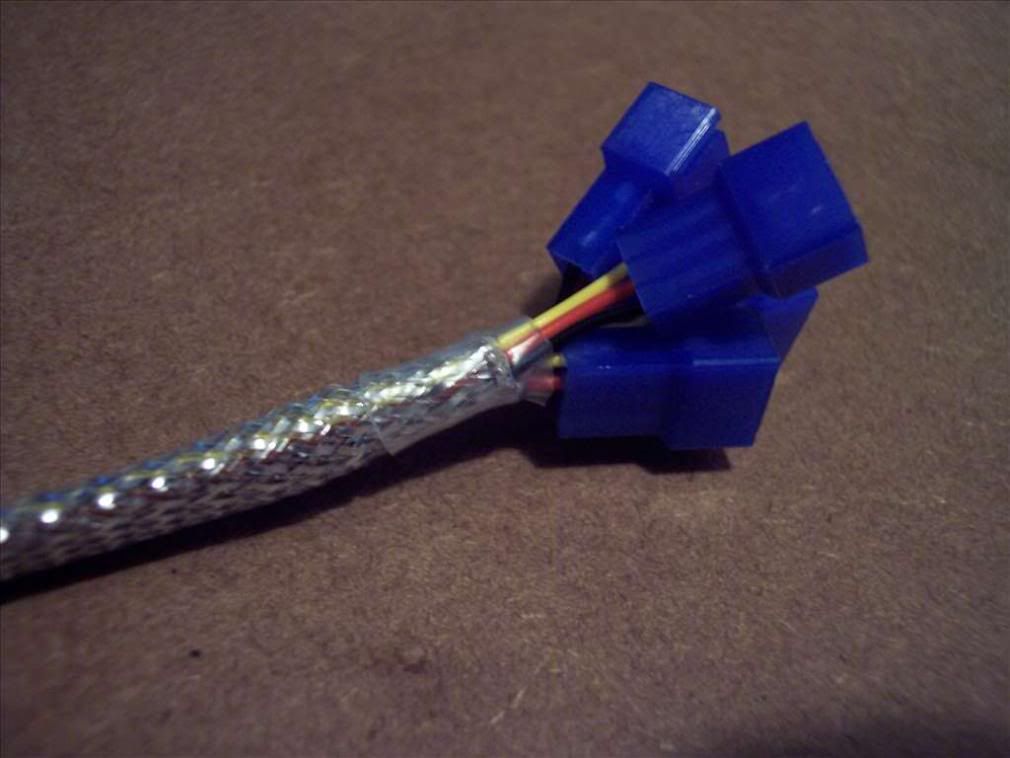
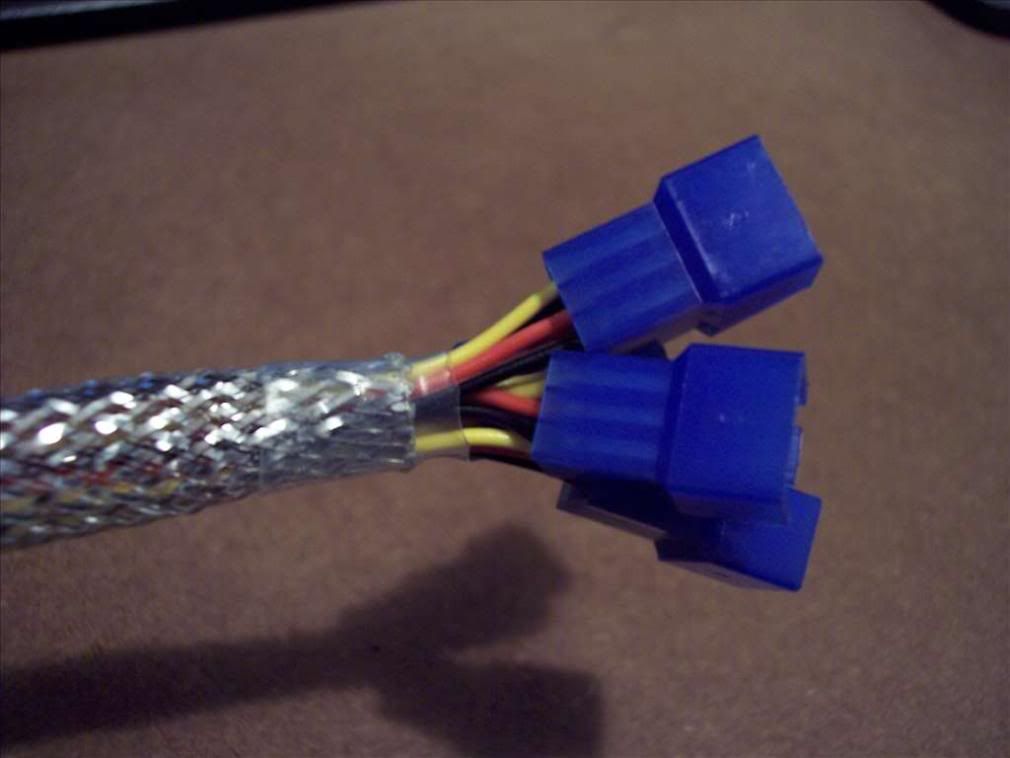
For starters there was afew bits I needed to braid so here comes the chromyness
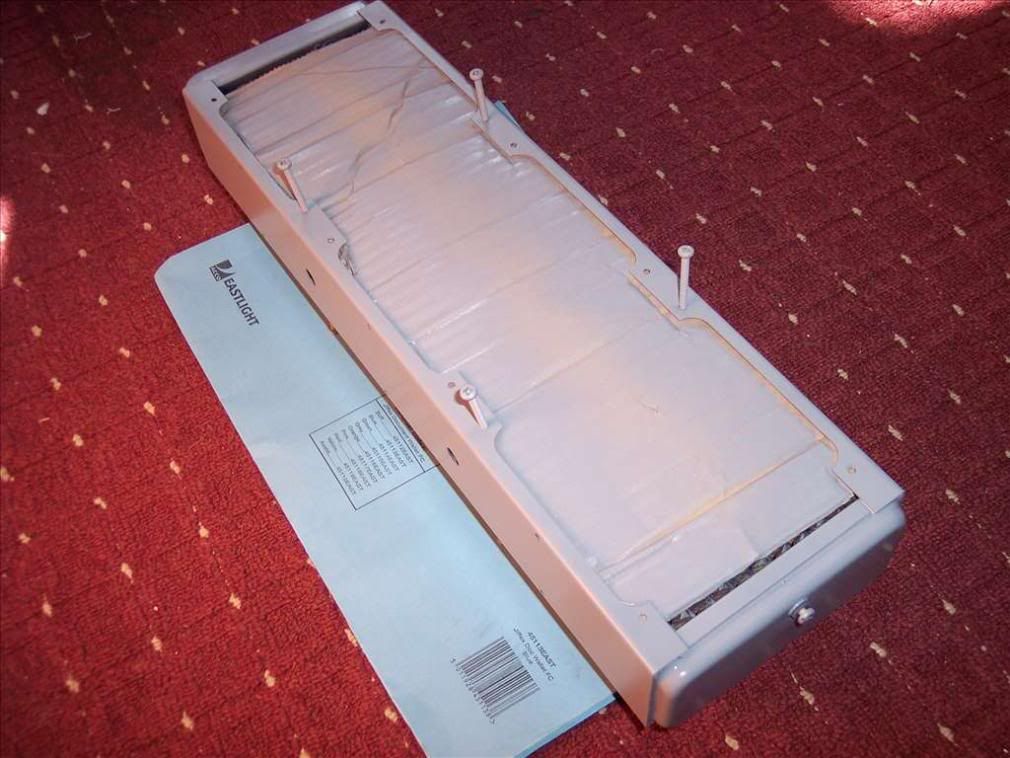
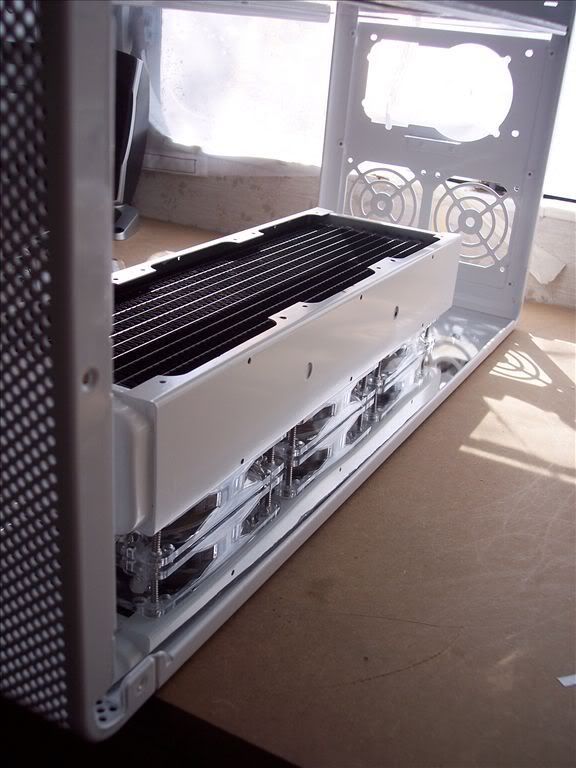
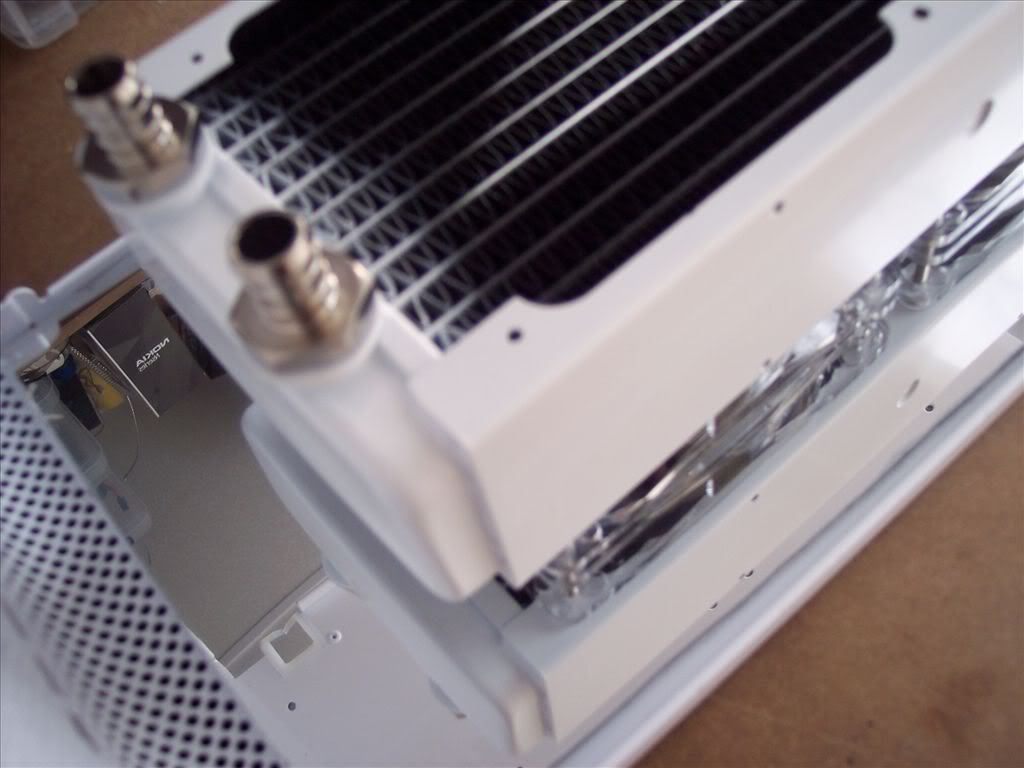
I aslo needed to paint my rad to match the case.
I ignored some silly requests to paint it red though (You know who you are :twisted: )
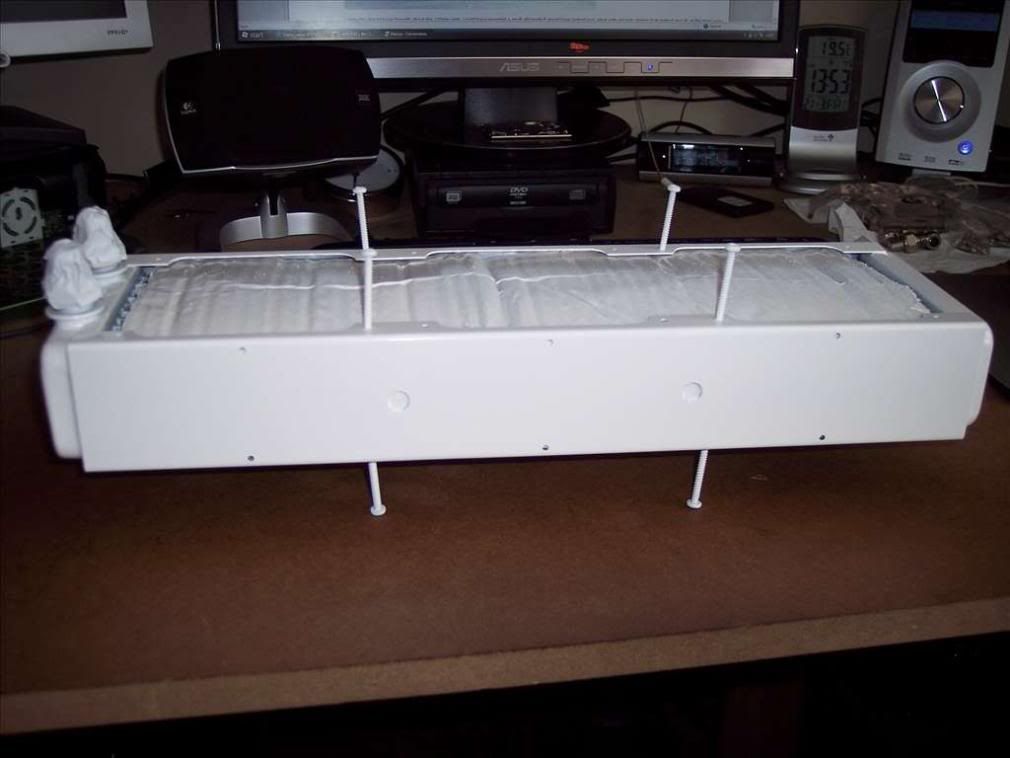
With that all nice and WHITE I thought Id bug it in to give you guys an idea before I go putting any acrylic in there.
Im really liking the way its shaping up now
Thats it for now, Im off to do some more acrylic work.
Think I may have to get a psu in there and light it up.......?
For starters there was afew bits I needed to braid so here comes the chromyness
I aslo needed to paint my rad to match the case.
I ignored some silly requests to paint it red though (You know who you are :twisted: )
With that all nice and WHITE I thought Id bug it in to give you guys an idea before I go putting any acrylic in there.
Im really liking the way its shaping up now
Thats it for now, Im off to do some more acrylic work.
Think I may have to get a psu in there and light it up.......?
Its wont be going near the mobo so its fine, you wont see much of it either but meh!
And yeah I gave the missus toothbrush a swish in the toilet and put it back in the pot in the bathroom
And yeah I gave the missus toothbrush a swish in the toilet and put it back in the pot in the bathroom
Right the updates will come as fast as I can be bothered to write them now, because Im sat beside Heaven & Hell at the moment using it!
I stripped my old rig down to build the xeons into it as my new download rig as I needed all the H&H parts to do mocks ups.
Ive not updated since due to not having all the software ect I needed and being to lazy to install it all.
So we are upto gettiing all the parts together now and and getting it all in the case.
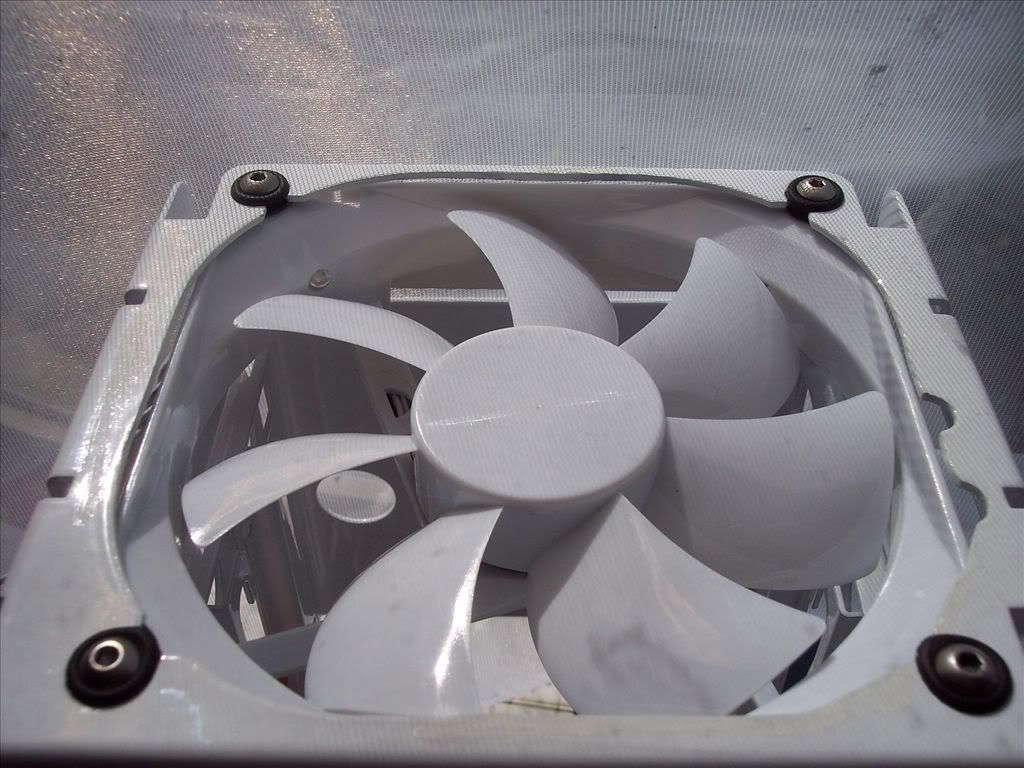
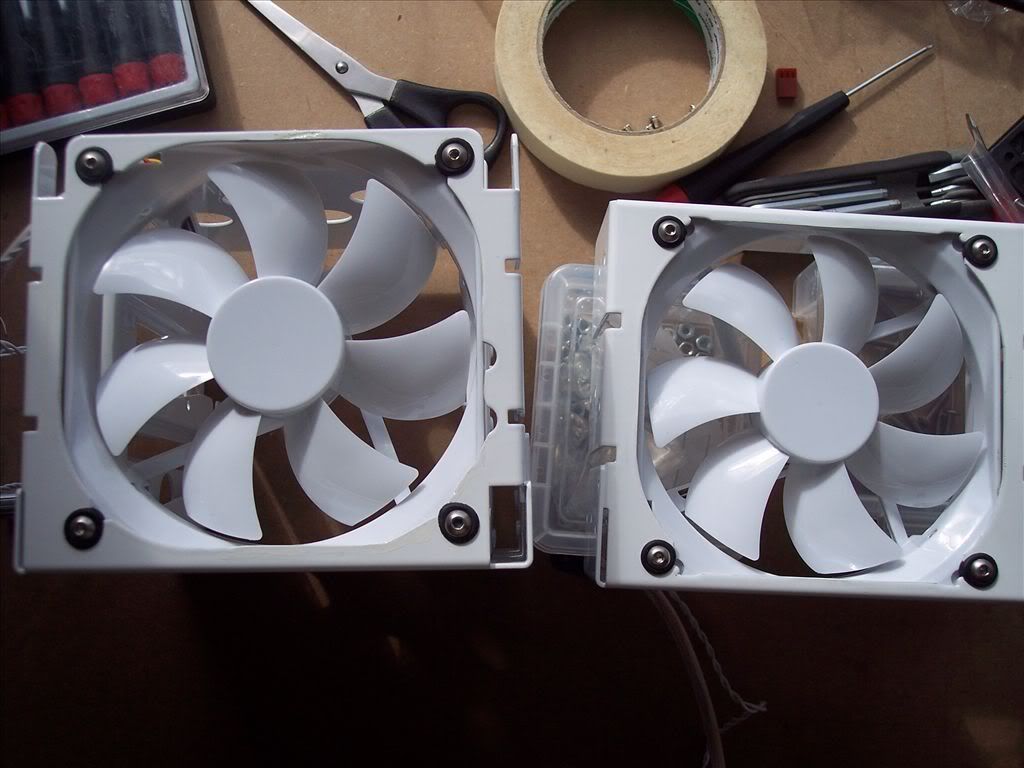
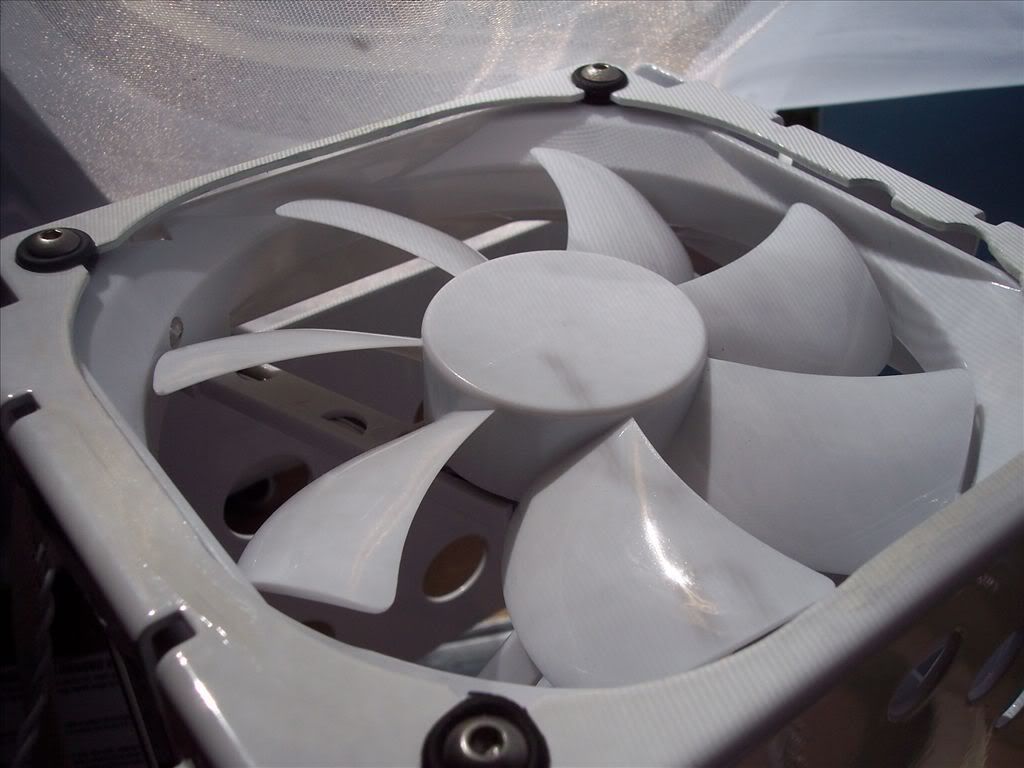
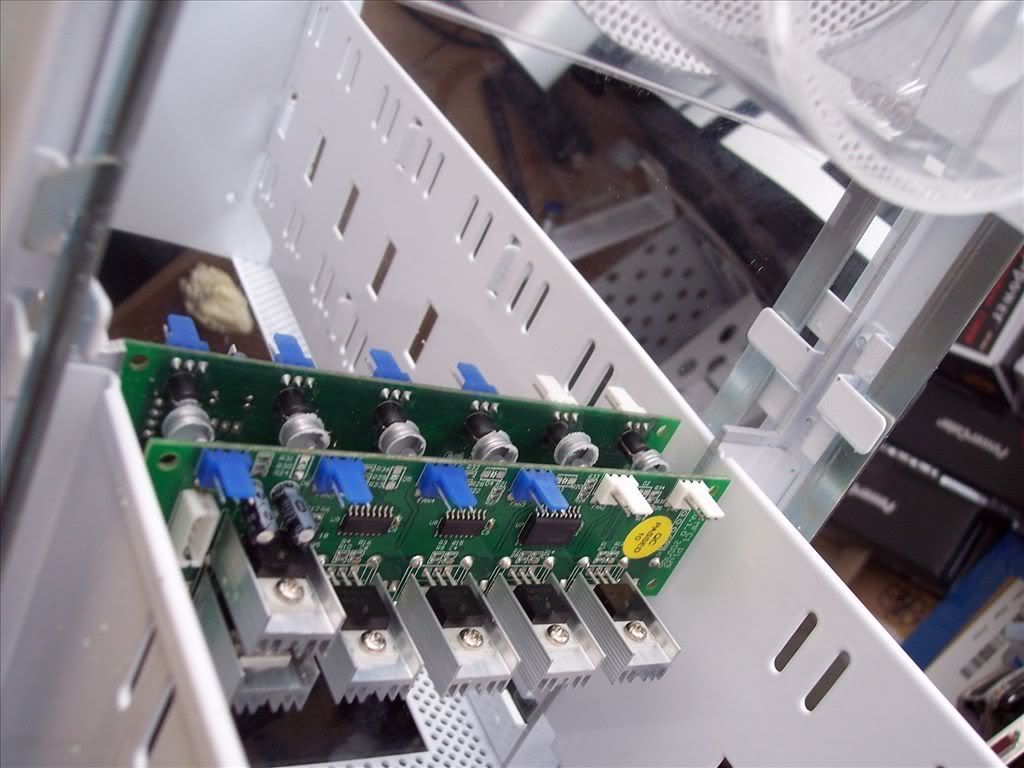
First things first the HDD caddy and the front 120mm fan mount needed sorting.
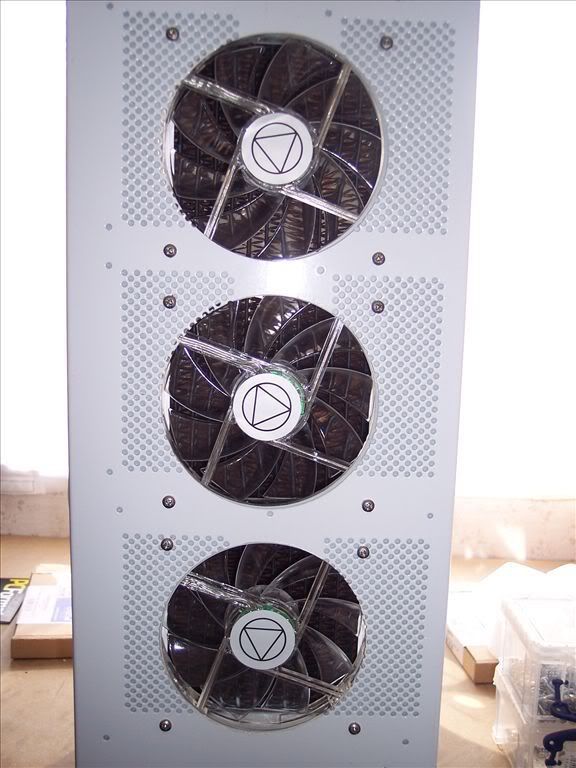
Spanking gorgeous white fans all braided and lovely
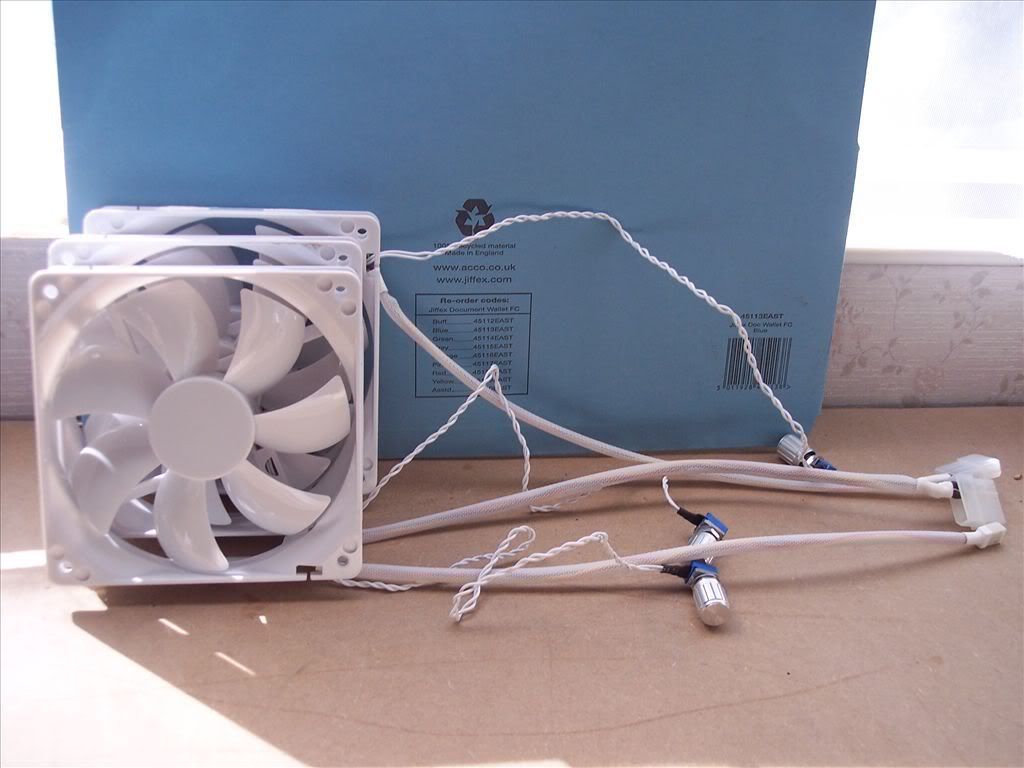
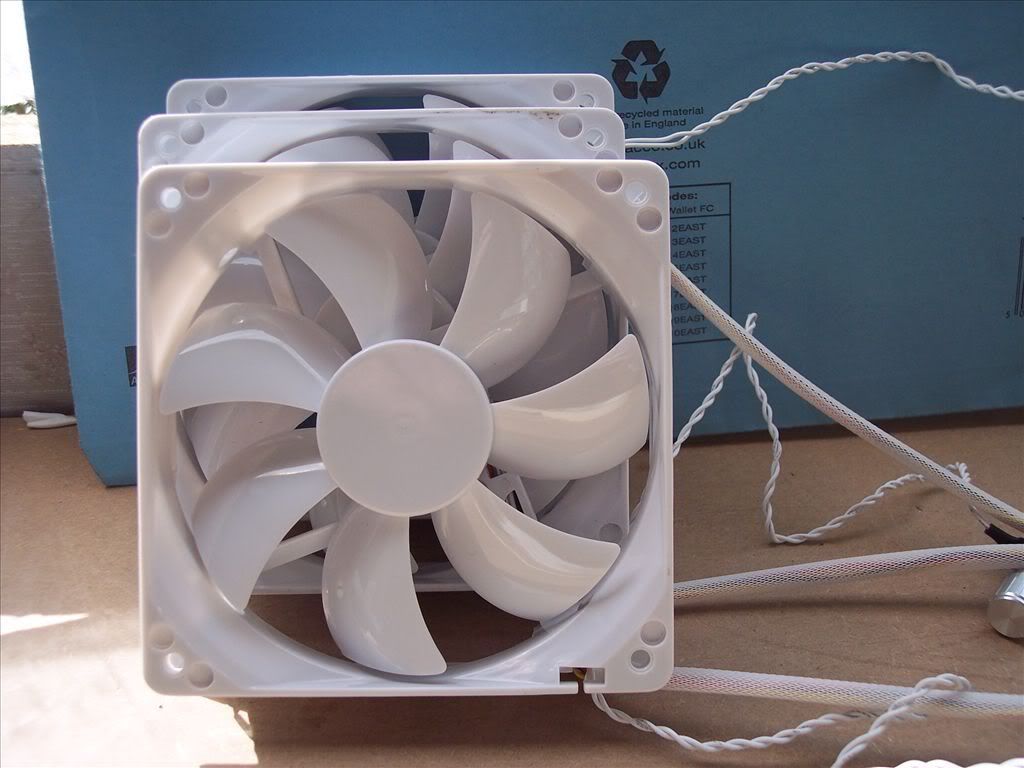

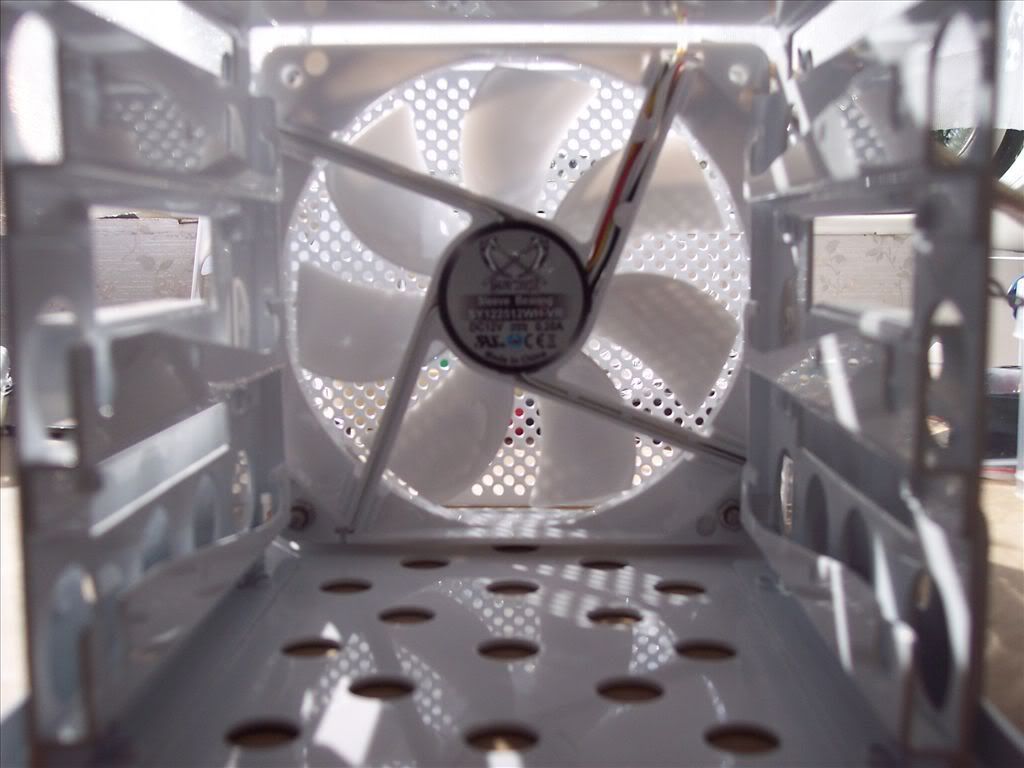
With the fans in the caddy and the mount....
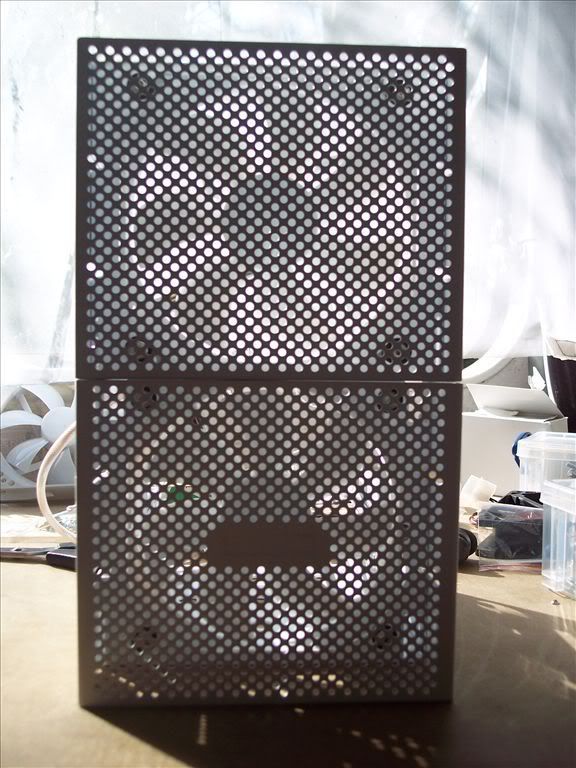
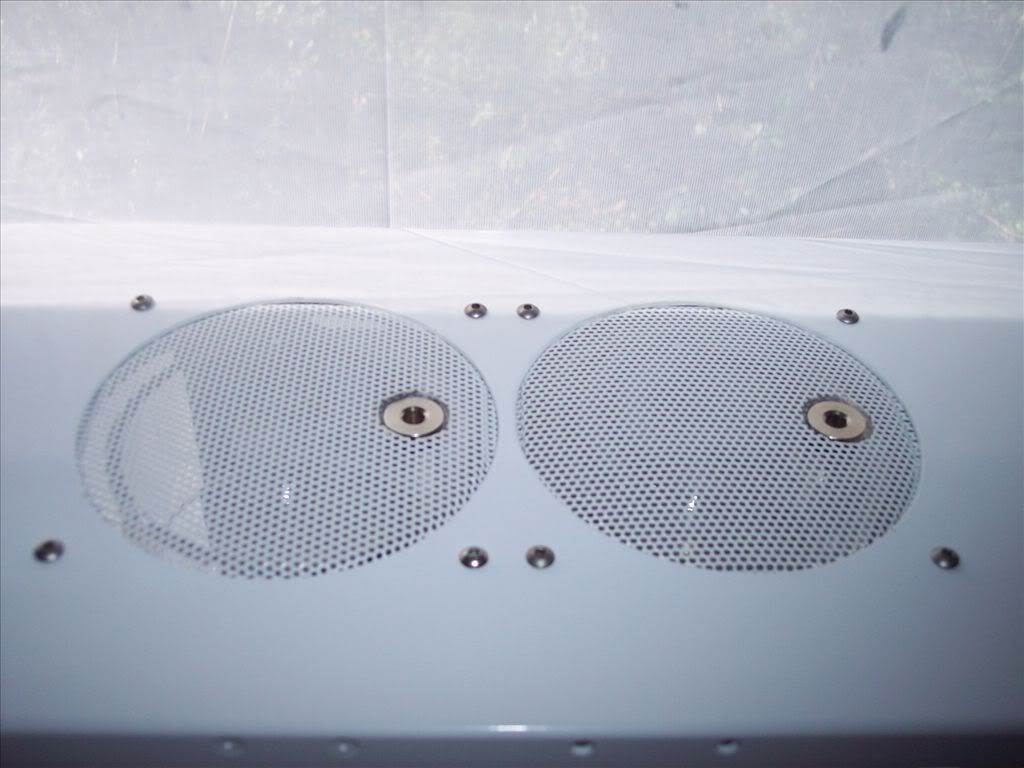
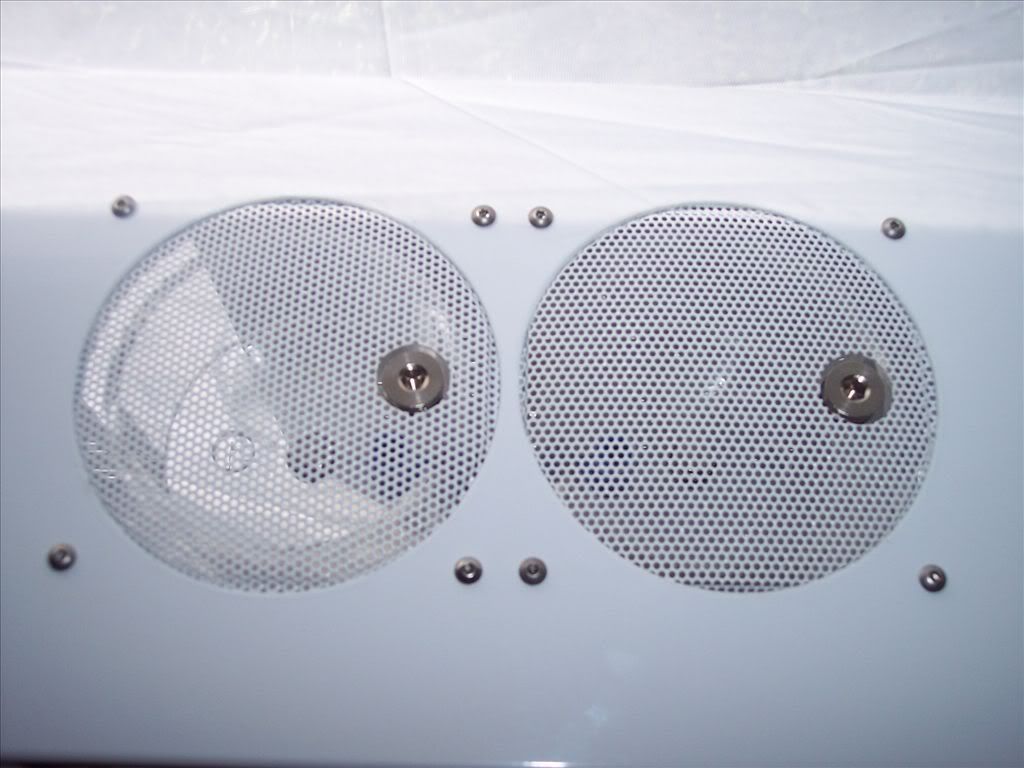
Now I was waiting for a while to get going with this as boy wonder had some hold ups with a case being delivered, which was due to be powdered white. I threw a grill and a mesh bezel at him to get done at the same time. Cheers MONKEY BOY!
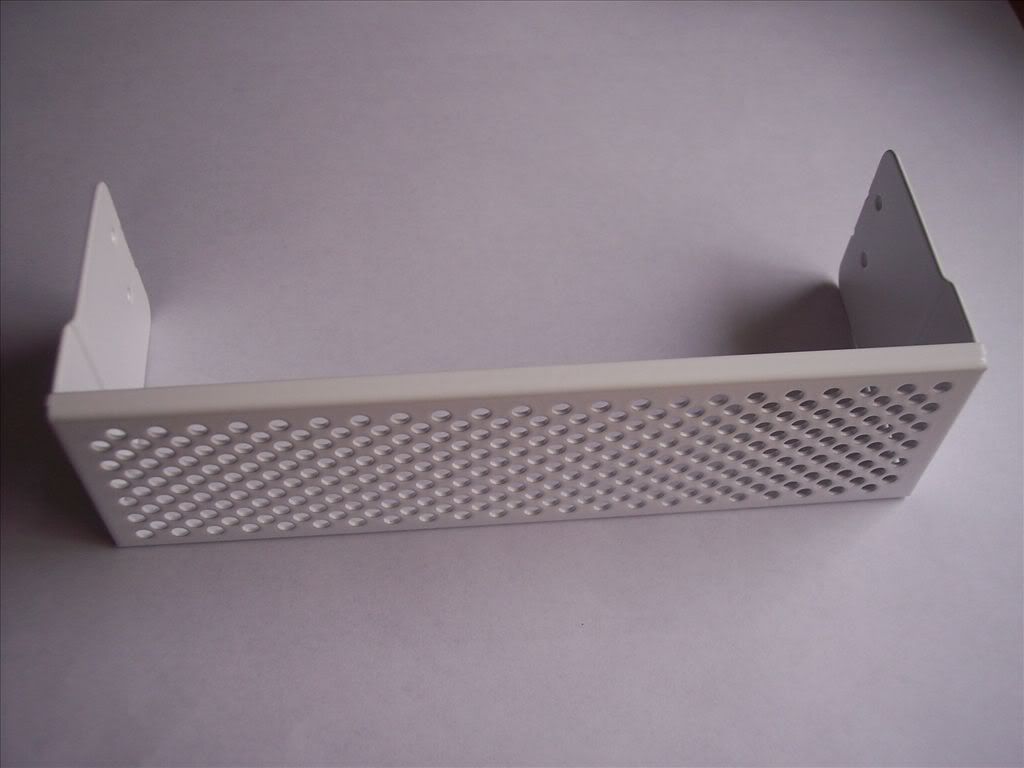
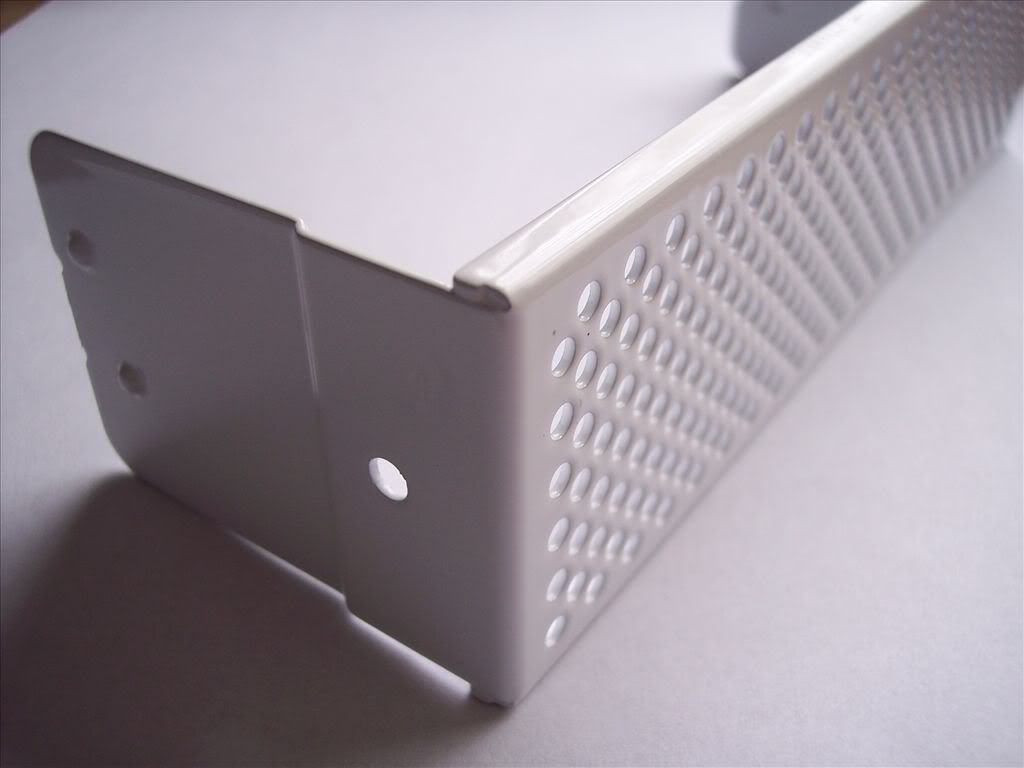
Right a quick mock up in and this is what the front is going to look like. Im really loving the white look........ =D>
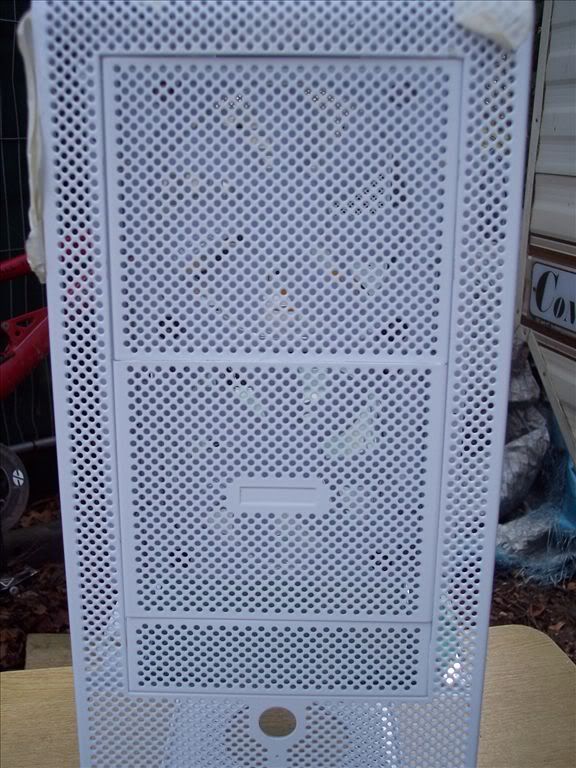
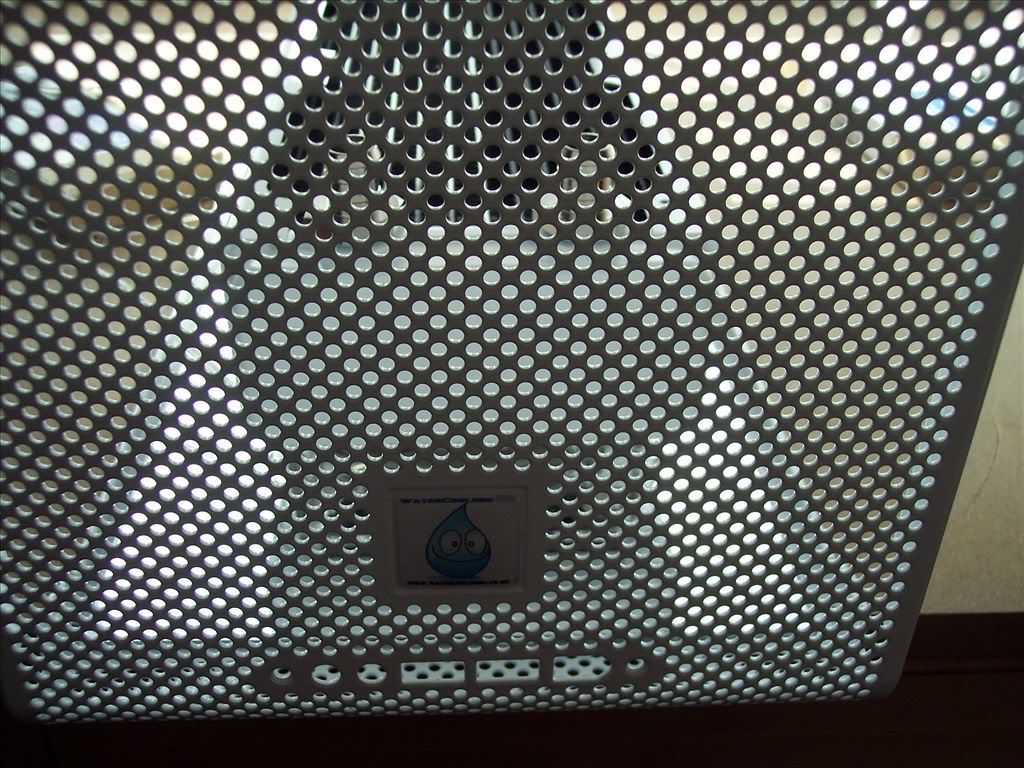
I was also waiting for my 2nd white grill from Robin Boy Wonder so I got that modded and in the case too.
I wasnt sure if I was going to 'stealth' the res's but now Ive seen this Ive got a fair idea that when this is all lit up its going to look the nuts so Ive decided to keep them.
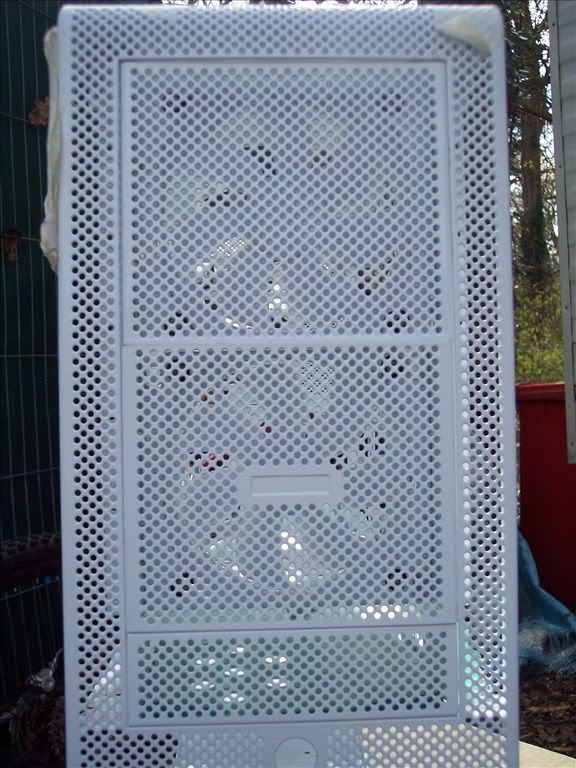
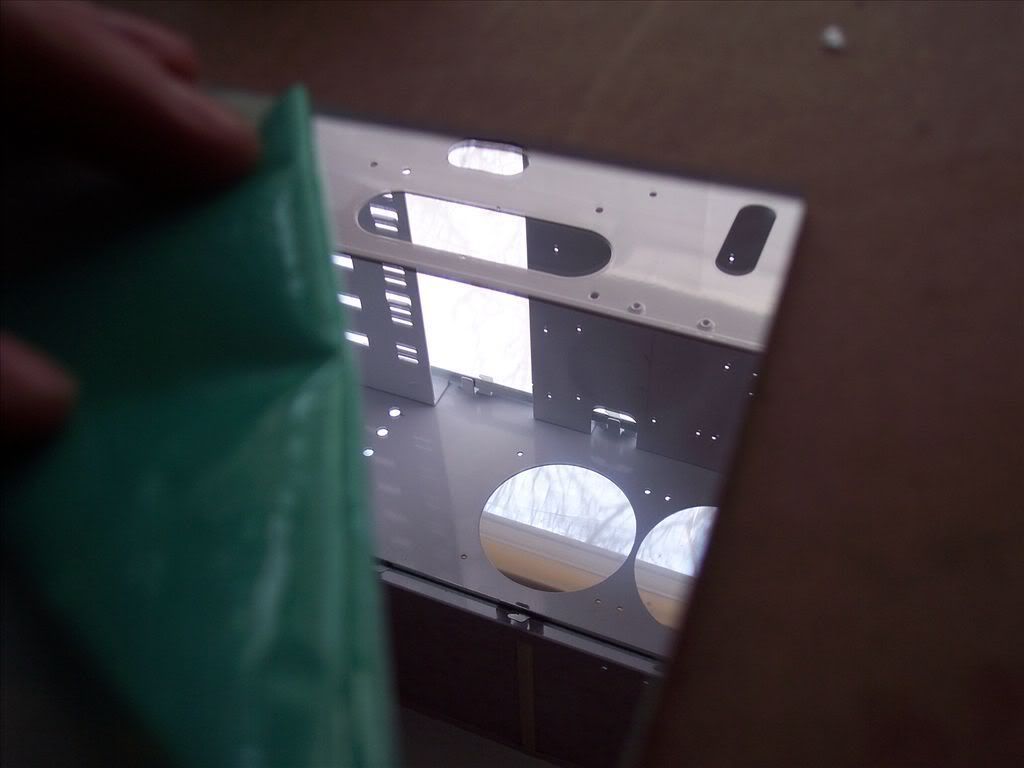
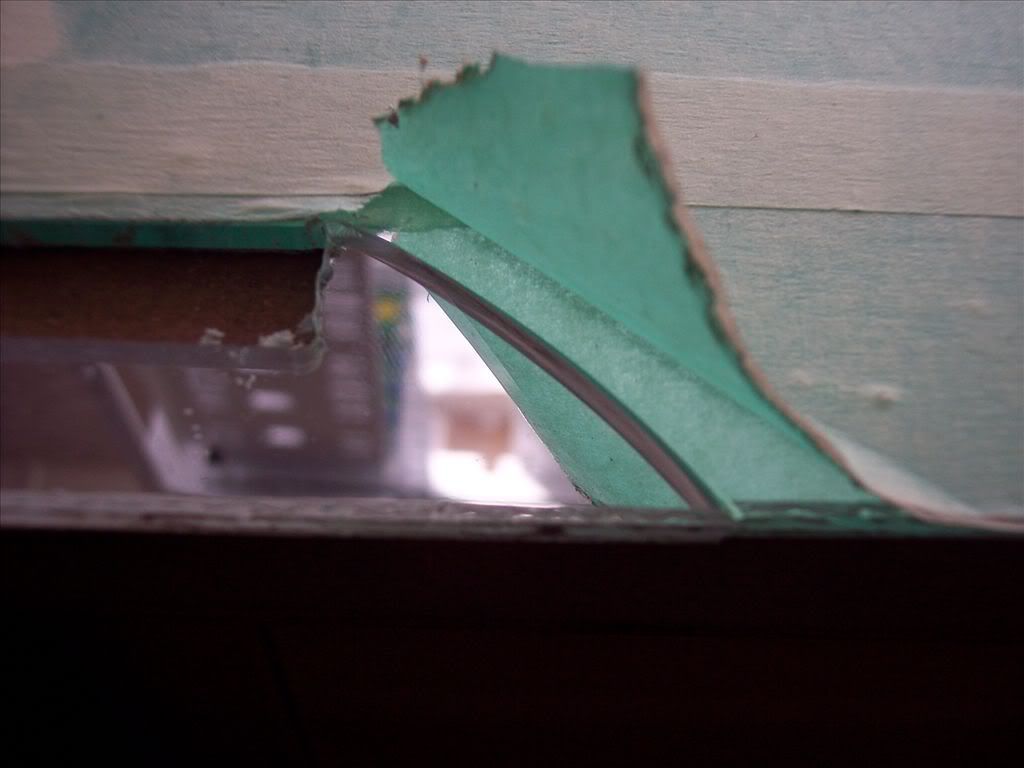
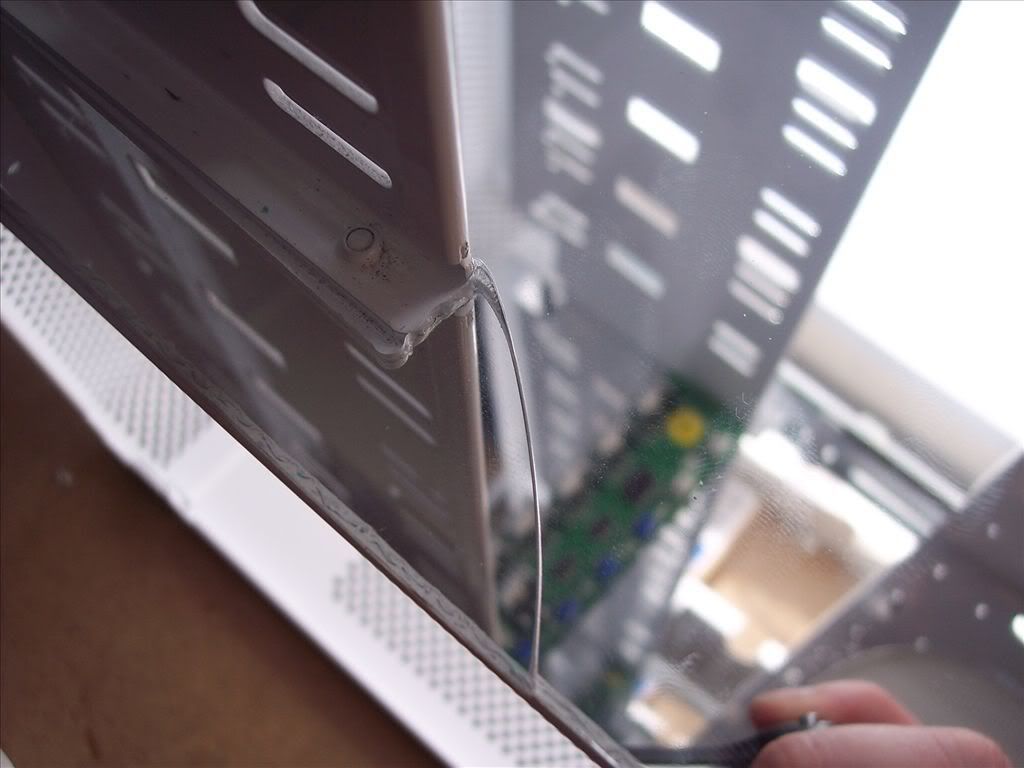
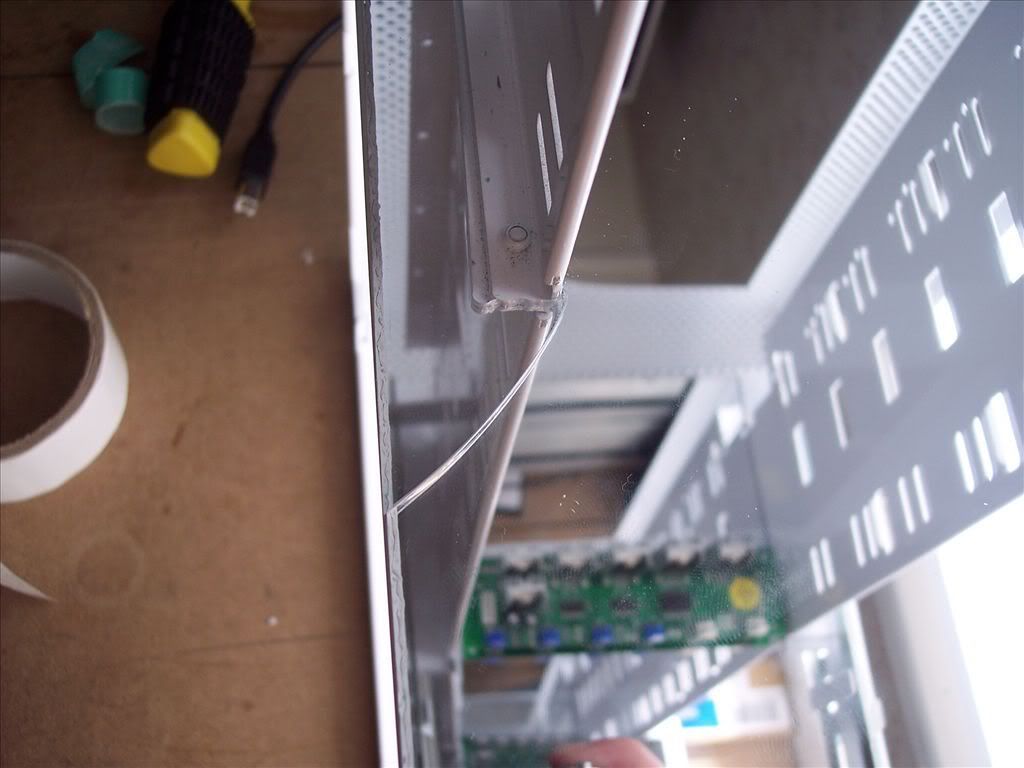
Now I like the grills its time to start getting the acrylic in, its been ready for ages but Ive not able to do any thing with it.
BRING ON THE MIRRORS!!!

Now Ive fitted the floor panel loads of tmes in the case but on the final mock up the dam leg that goes round the drive bays cracked
Im gutted, but tbh its got to stay, its took me hours to file and shape that one and it will have to stay for now :-k
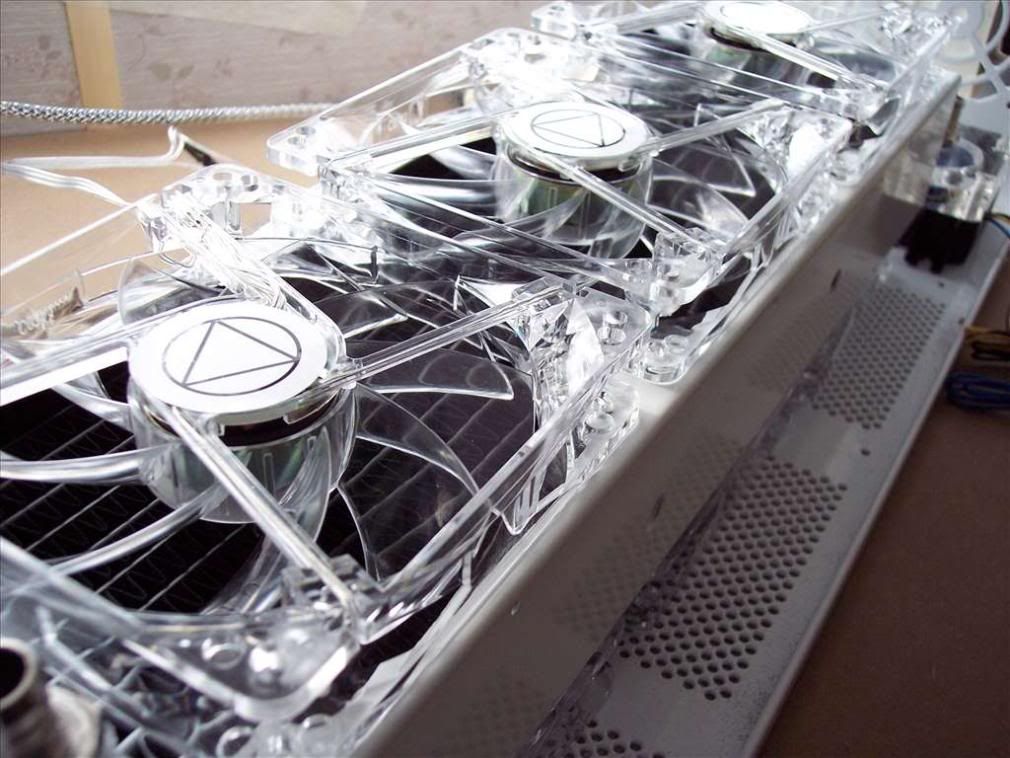
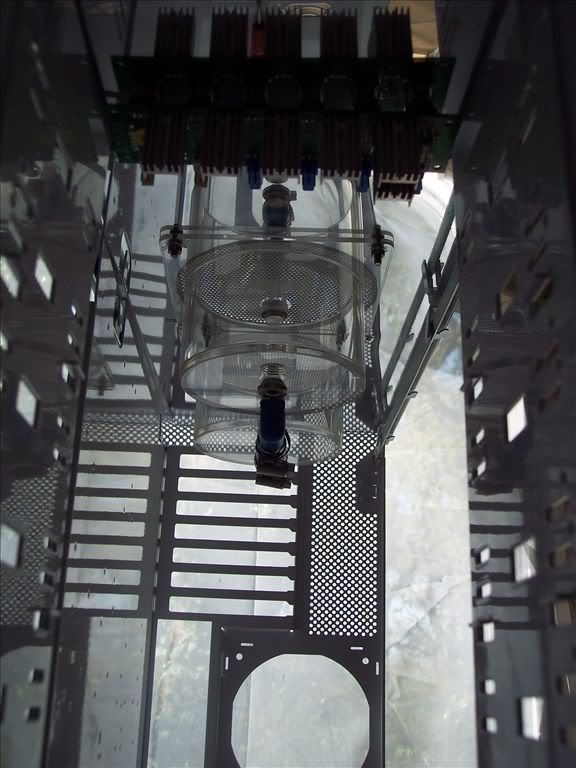
Anyways after that little cry I took some pics of the top section with all thw mirrors in.
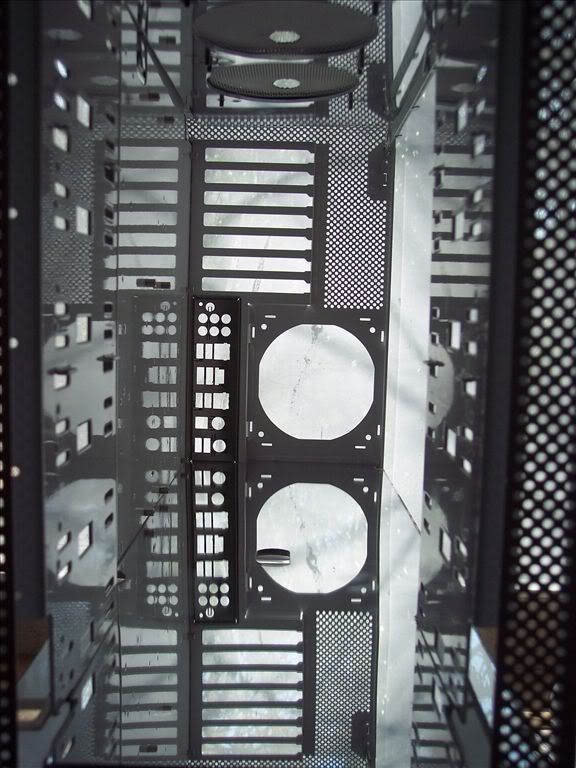
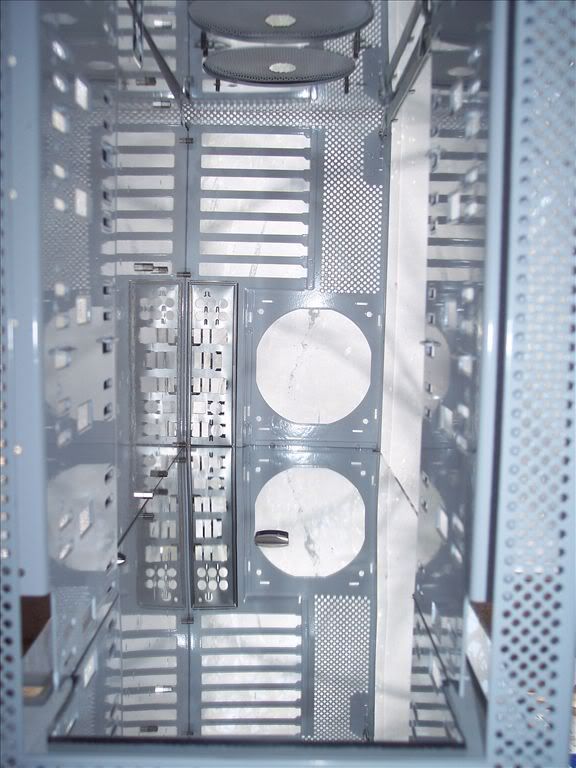
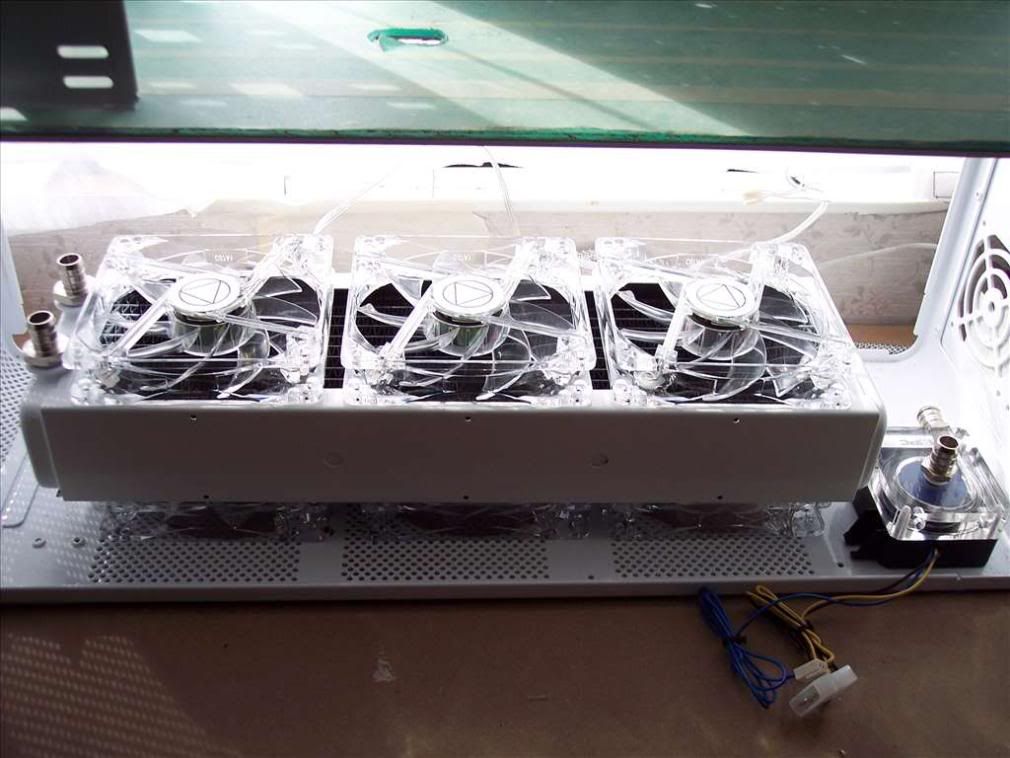
Still got to order my psu but I fitted the lower floor mirror, the first set of fans and the rad.
Ok thats it for this update folks......... What do you think so far?
I stripped my old rig down to build the xeons into it as my new download rig as I needed all the H&H parts to do mocks ups.
Ive not updated since due to not having all the software ect I needed and being to lazy to install it all.
So we are upto gettiing all the parts together now and and getting it all in the case.
First things first the HDD caddy and the front 120mm fan mount needed sorting.
Spanking gorgeous white fans all braided and lovely
With the fans in the caddy and the mount....
Now I was waiting for a while to get going with this as boy wonder had some hold ups with a case being delivered, which was due to be powdered white. I threw a grill and a mesh bezel at him to get done at the same time. Cheers MONKEY BOY!
Right a quick mock up in and this is what the front is going to look like. Im really loving the white look........ =D>
I was also waiting for my 2nd white grill from Robin Boy Wonder so I got that modded and in the case too.
I wasnt sure if I was going to 'stealth' the res's but now Ive seen this Ive got a fair idea that when this is all lit up its going to look the nuts so Ive decided to keep them.
Now I like the grills its time to start getting the acrylic in, its been ready for ages but Ive not able to do any thing with it.
BRING ON THE MIRRORS!!!
Now Ive fitted the floor panel loads of tmes in the case but on the final mock up the dam leg that goes round the drive bays cracked
Im gutted, but tbh its got to stay, its took me hours to file and shape that one and it will have to stay for now :-k
Anyways after that little cry I took some pics of the top section with all thw mirrors in.
Still got to order my psu but I fitted the lower floor mirror, the first set of fans and the rad.
Ok thats it for this update folks......... What do you think so far?
Similar threads
- Replies
- 50
- Views
- 20K
- Replies
- 0
- Views
- 2K
- Replies
- 5
- Views
- 4K