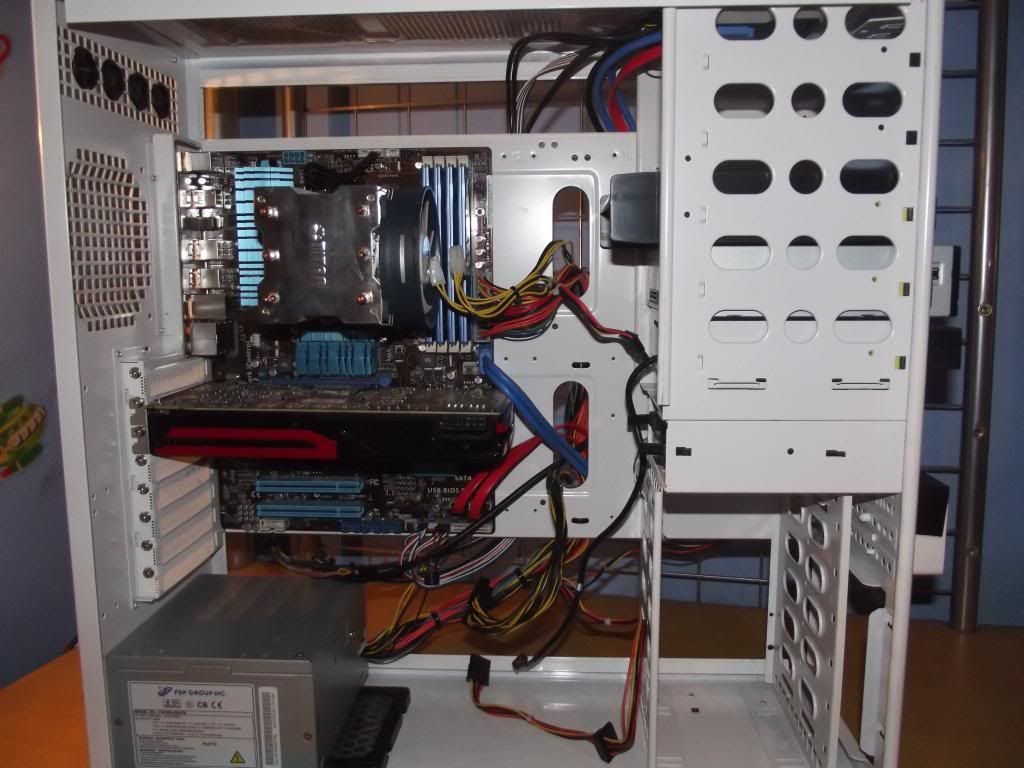
So this is my first real post that I have done, so hopefully I cover everything I need to. So without further ado, I'll introduce my build before the upgrades:
AMD BullDozer FX-4170 - Stock
Powercolour Radeon 7870 - Stock
ASUS M5A97 R2.0
16GB Kingston Hyper-X 1600MHz
FSP 450w PSU
1TB Seagate Baracuda 7200RPM
InWin Dragon Rider - White Limited Edition
I ordered my parts from SpecialTech - 29/12/12
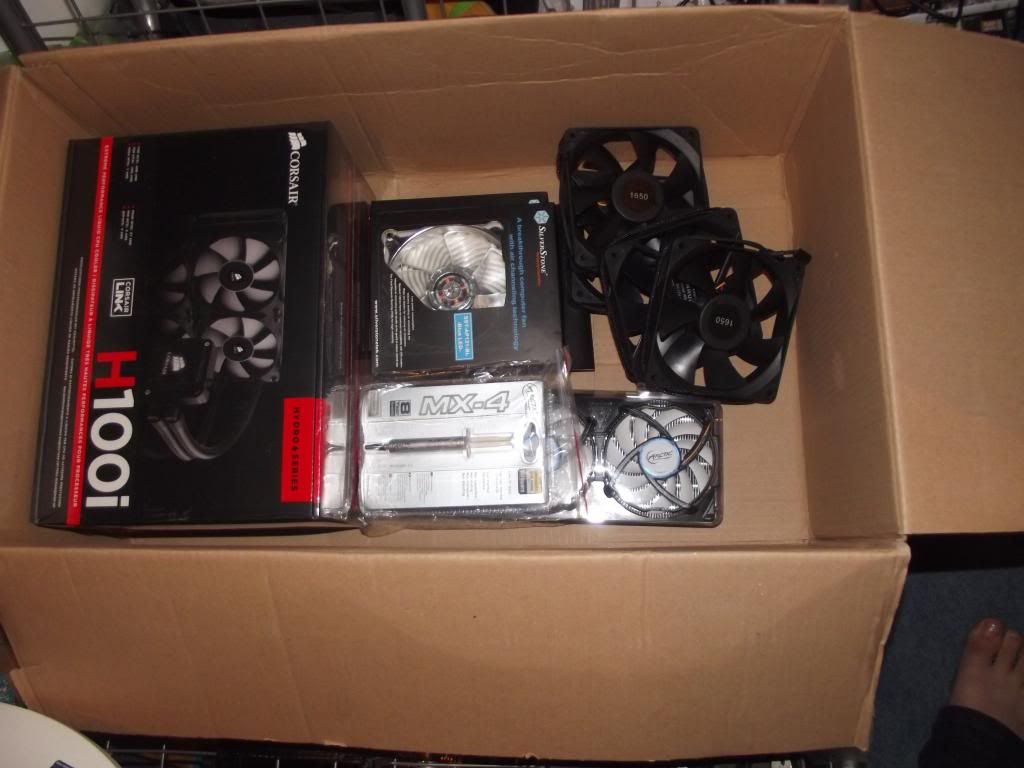
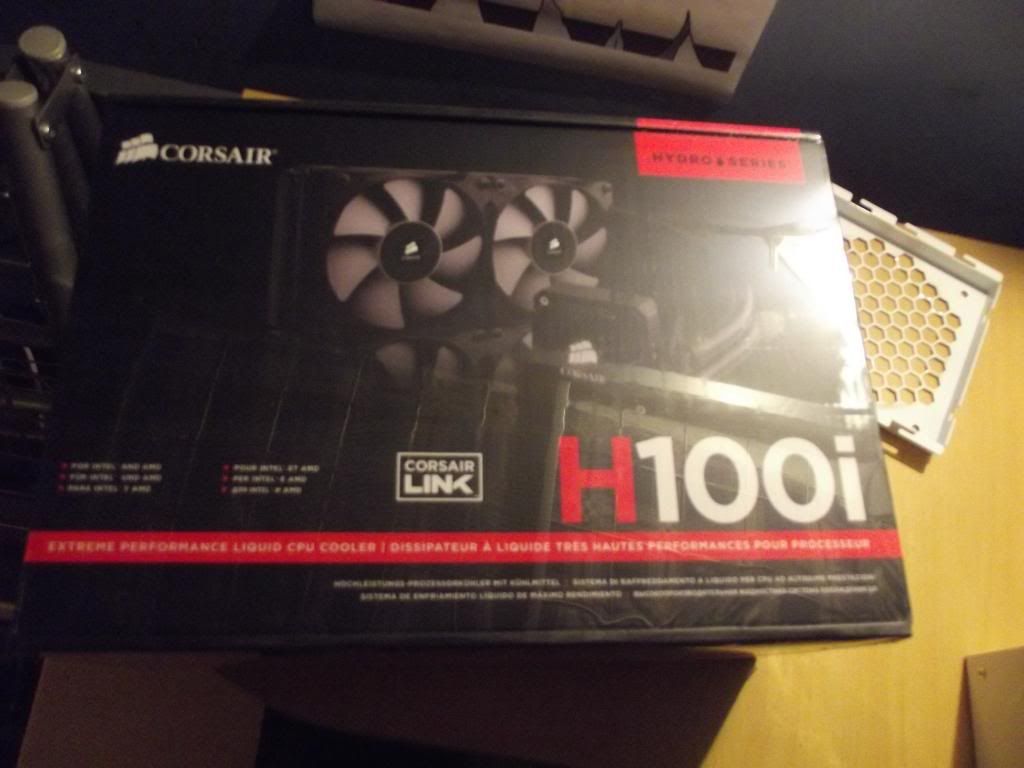
Corsair H100i CPU cooler
Arctic Cooling Accelero Xtreme III GPU Cooler
2x SilverStone Air Penetrator AP121
4x XSPC 120mm Quiet 1650RPM
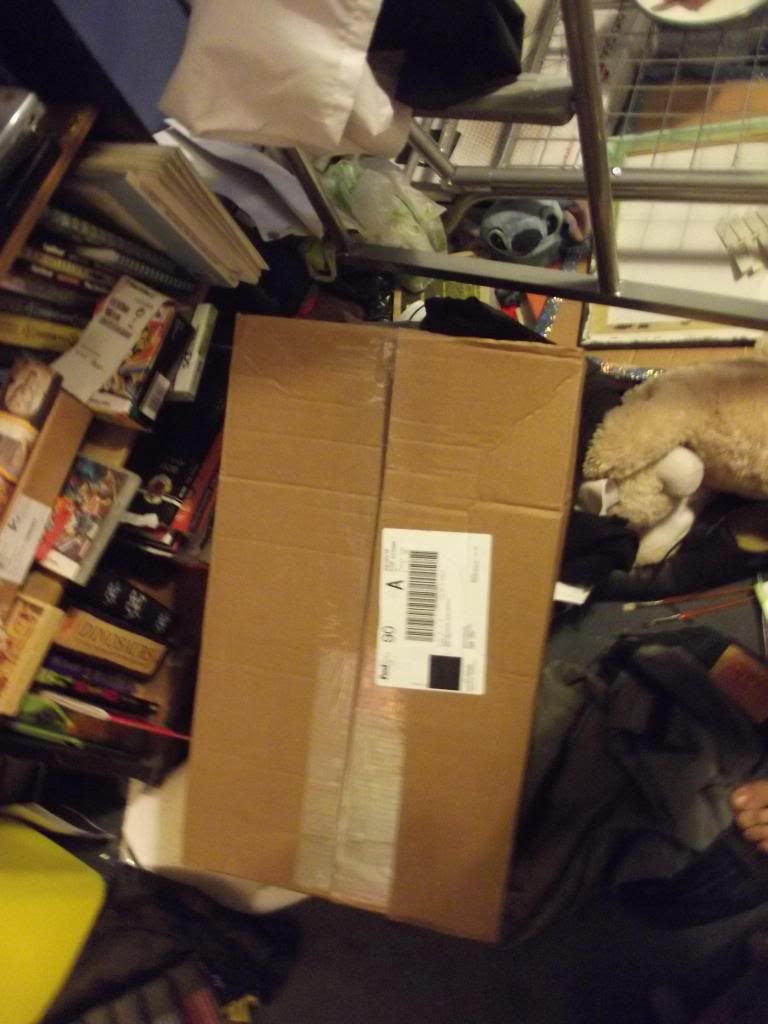
Parts arrived in a big brown box - 3/1/13
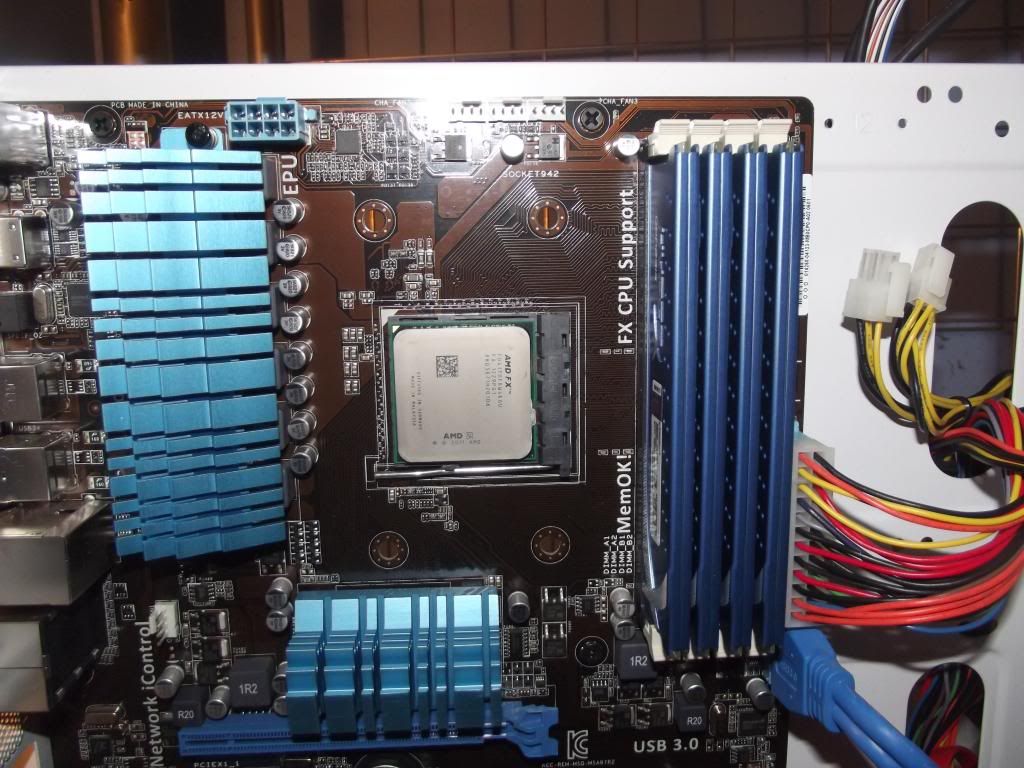
I started off by taking off the original Titan CPU cooler.
Cleaned it off with some baby wipes .
.
Went to pick up my H100i from the box.
I later realized, thanks to you guys, that I was missing a bracket. I bought one off Amazon the same night.

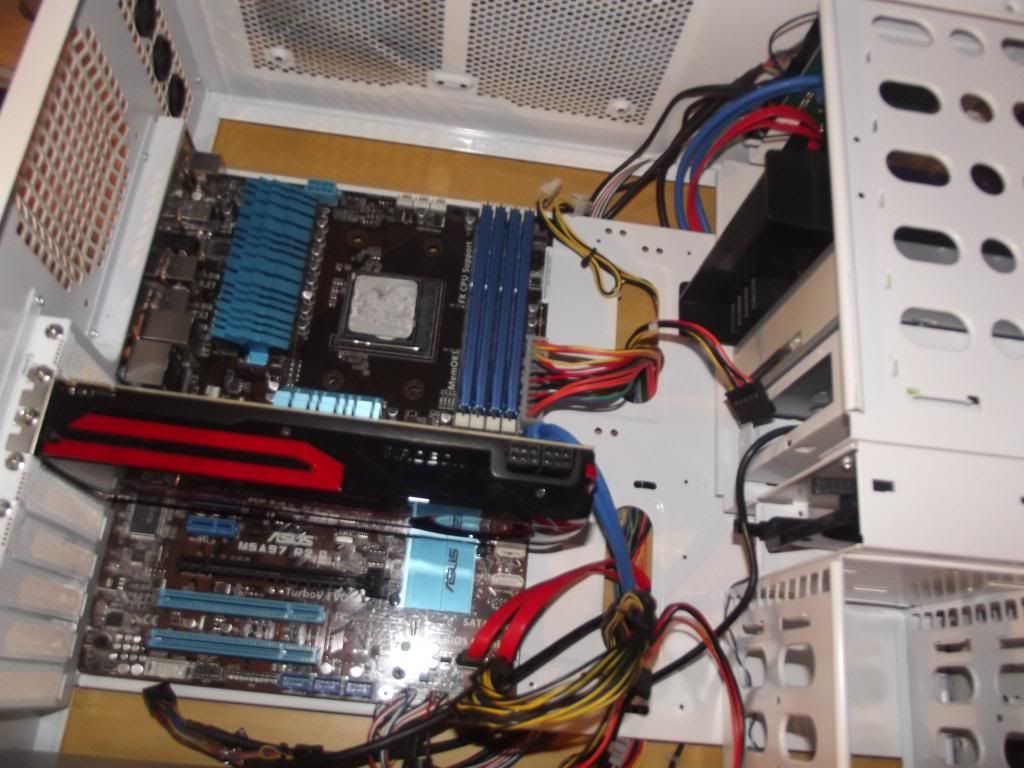
While I was waiting for this to come in the post I took the original cooler off of my 7870.

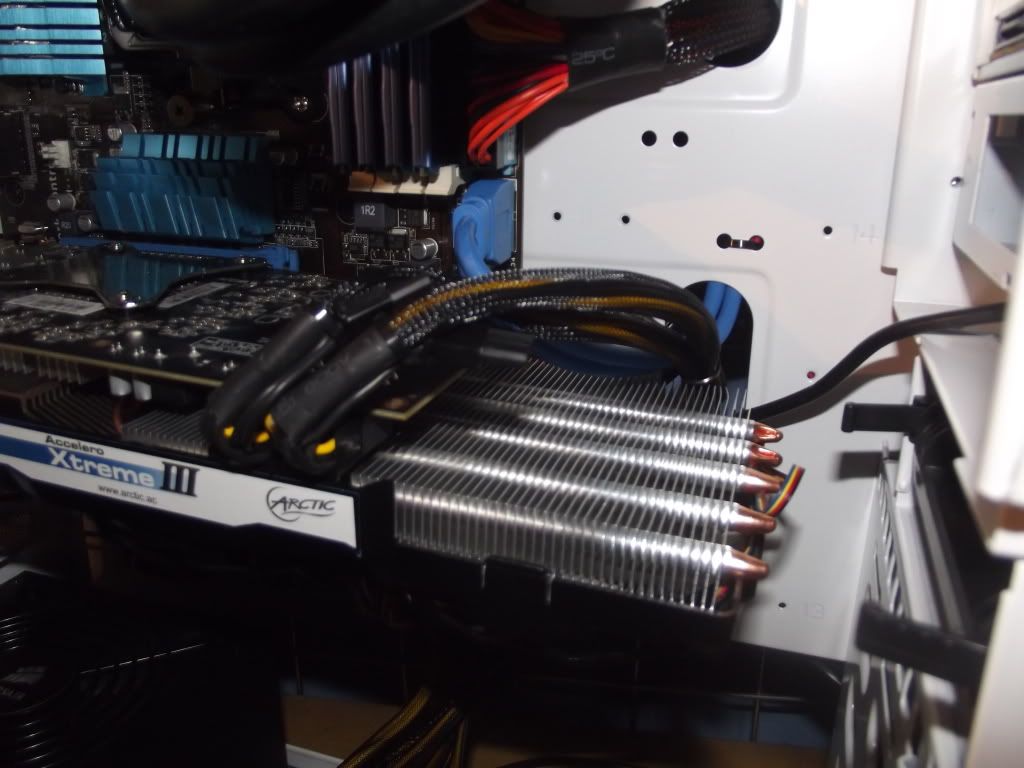
I then fitted my new Arctic Cooling Accelero Xtreme III to my 7870.I didn't nee to use any of my MX-4... It was already pre-applied...
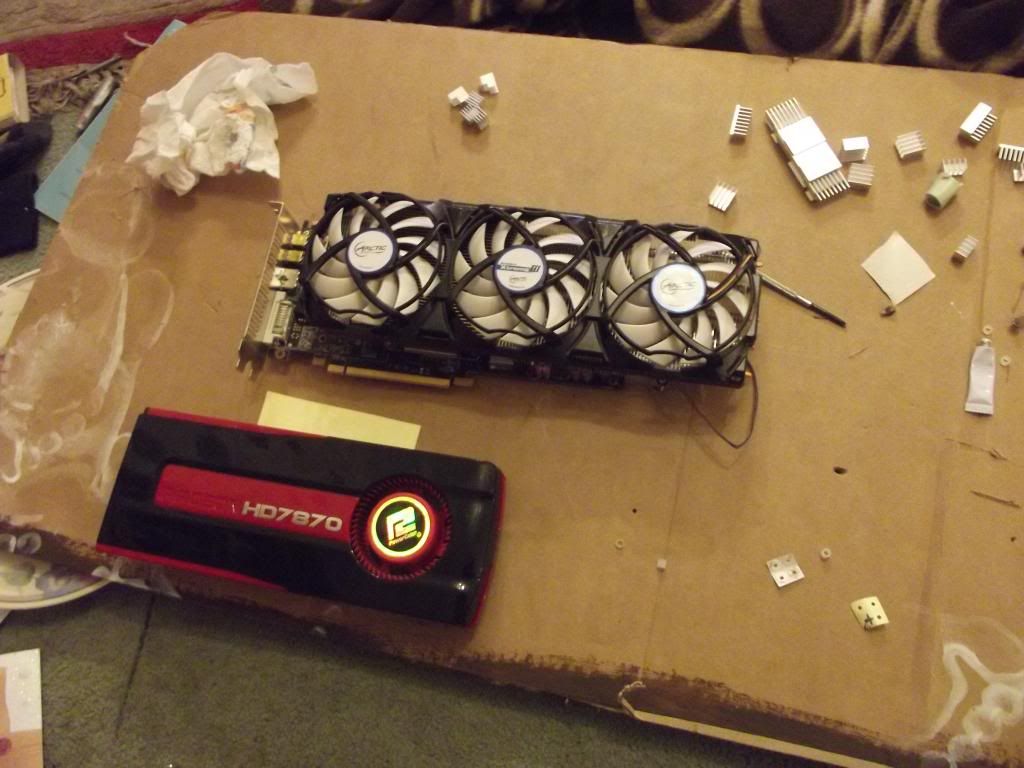
At first the cooler felt a bit loose but I just had to really tighten the screws as tight as I could.
Work done from 5/1/13 - 13/1/13
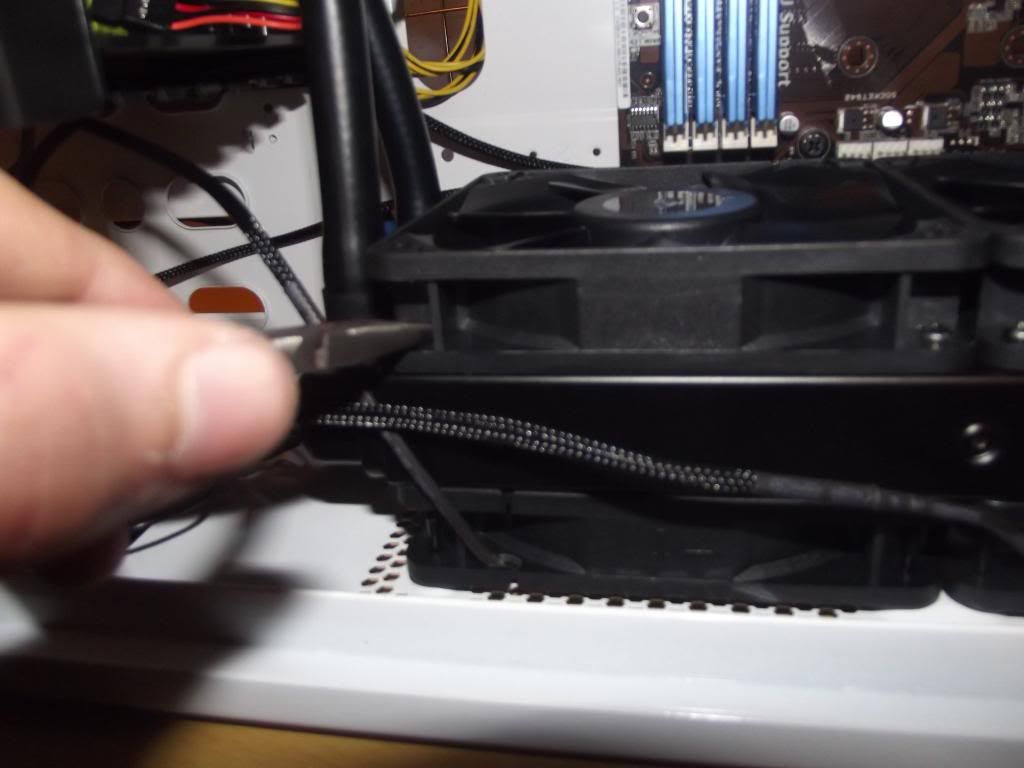
So the bracket still hadn't come , so instead of being a whiny bitch about it I decided to put the time that I had to good use in sitting the H100i to the roof of my case in push/pull. In the next picture I show how I ended up having to tighten the screws that came with the H100i with some pliers (I now realize that I could have used a screwdriver.
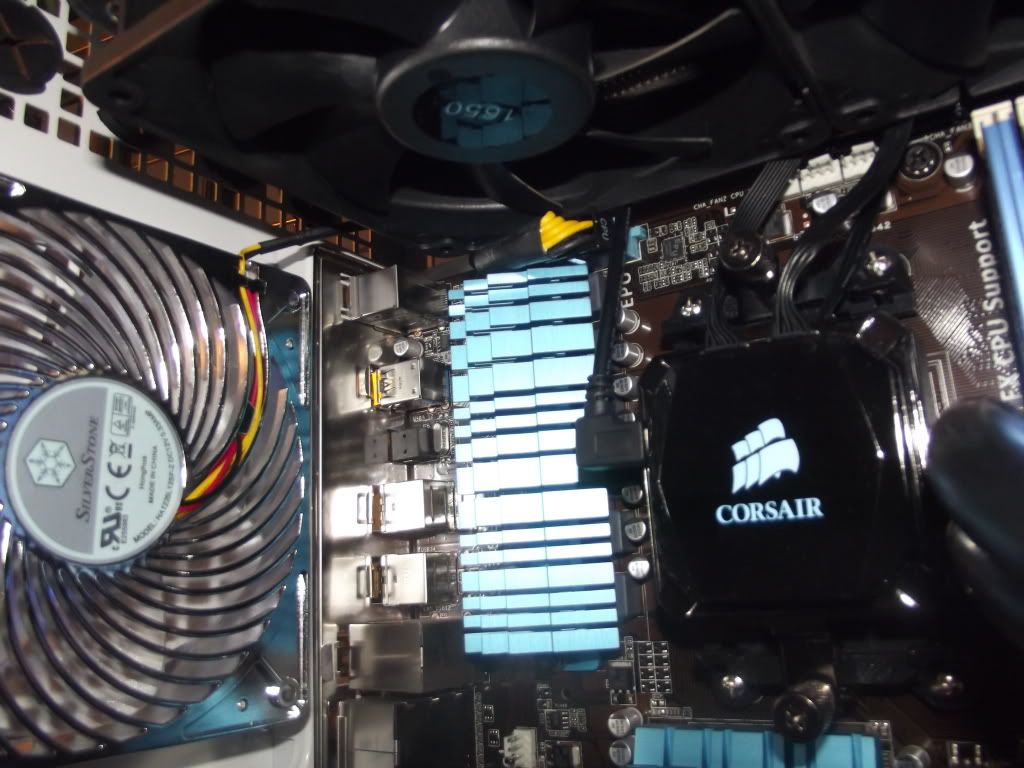
Here I was trying to show how I had to cut and sand my CPU power connector's plastic shroud thing just to fit it into the socket!
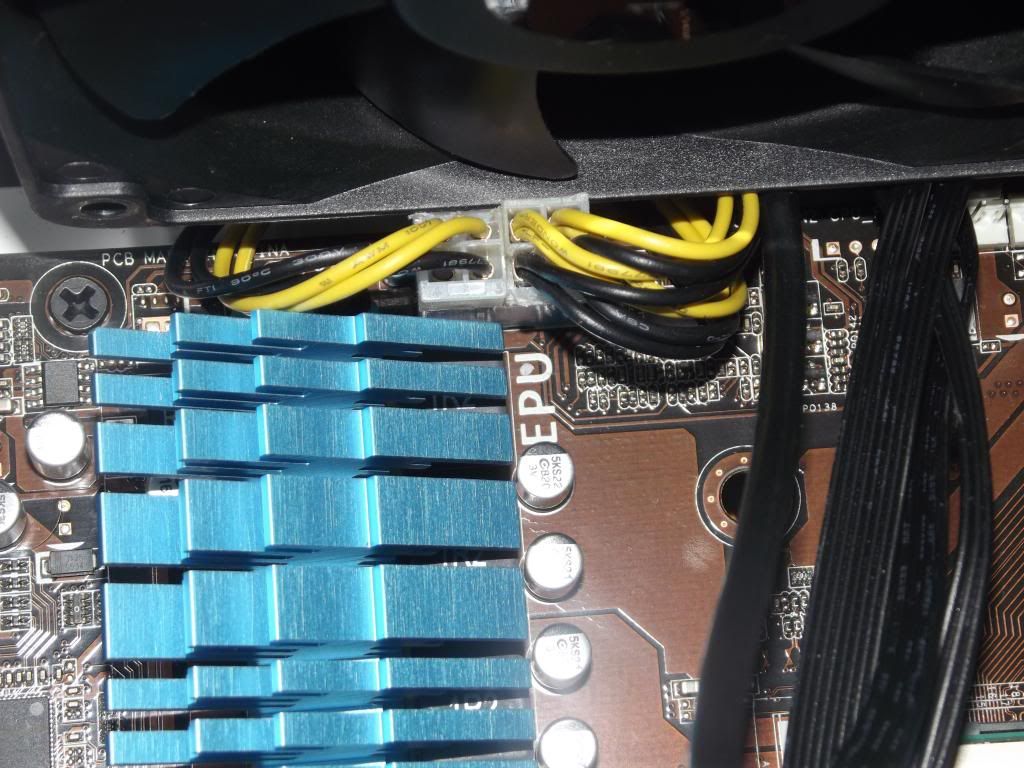
And this picture shows just how tight the fans and stuff are to being to tight to have push/pull. I'd say another mm on the radiator and I wouldn't be able to have push/pull. Just lucky I suppose!
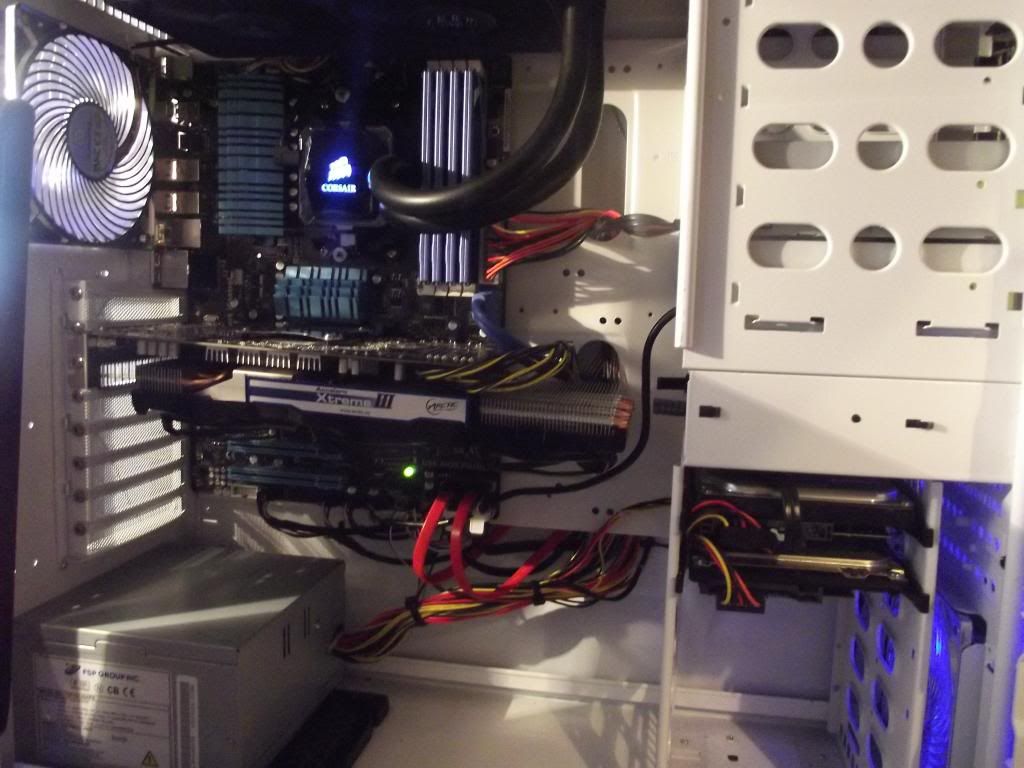
Scene as the bracket has still not arrived I decided I should just have a look at how it would look when it was on.

Bracket finally came! - 17/1/13
Today the Bracket finally came for the CPU socket and within 20 minutes of getting in from school I was ready for my first boot!
Stable overclocks! - 18/1/13
I finally have a stable overclock of 4.81GHz! The voltage really started to piss me off in the early hours of the 22nd but after bumping the voltage up another step to 1.4875v in the BIOS, I had Prime95 running for 24 hours stable. I also had a 5GHz stable but at a much higher 1.575v. I will use this for benchmarks but as a 24/7, the 4.8GHz is definitely good enough and made even better with temps of just 60C! I have also achieved a stable overclock on my R7870 of 1250MHz on the Core clock and 1450MHz on the Memory clock, with max temps of a very cool 50C!

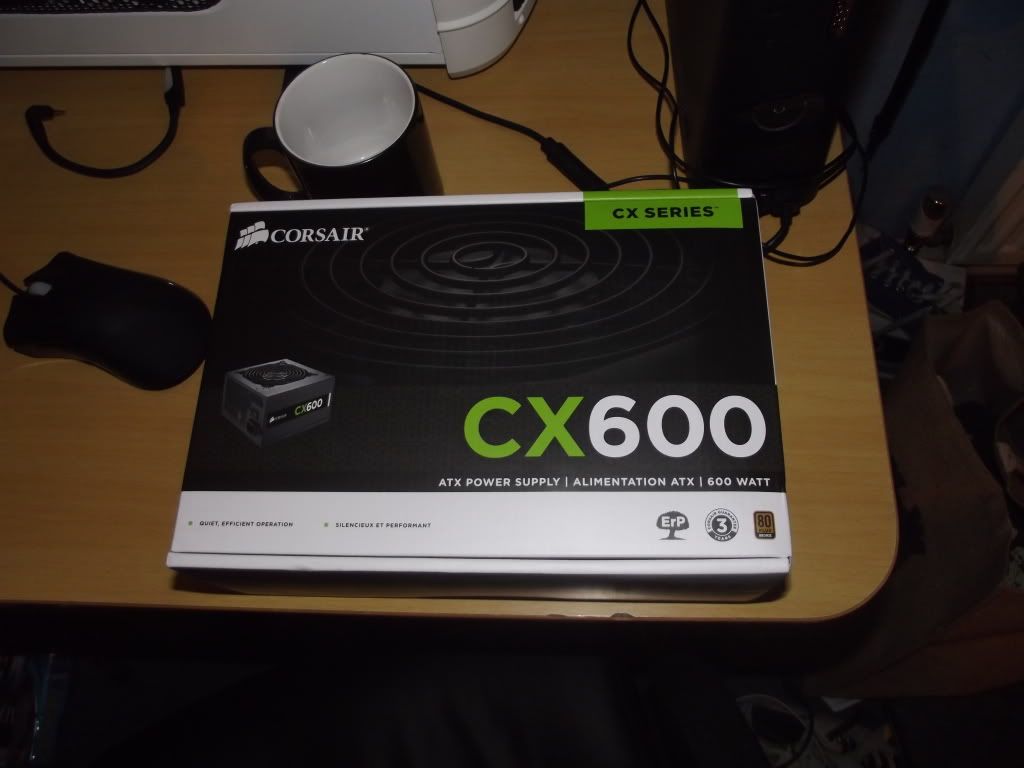
Ordered a new PSU! - 21/1/13
Today I finally got round to getting myself a good decent wattage PSU. I decided to go with the Corsair CX600 for no other reason for the price, it is the perfect PSU for me! I don't intend on going Crossfire any time soon and even if the CX600 doesn't have enough connections, I can always just use extensions etc... I plan on buying some individually braided extensions for the 24pin, CPU 8pin, dual 6pin (GPU) and front IO cables.
Update One:
CX600 has Arrived! - 30/1/13
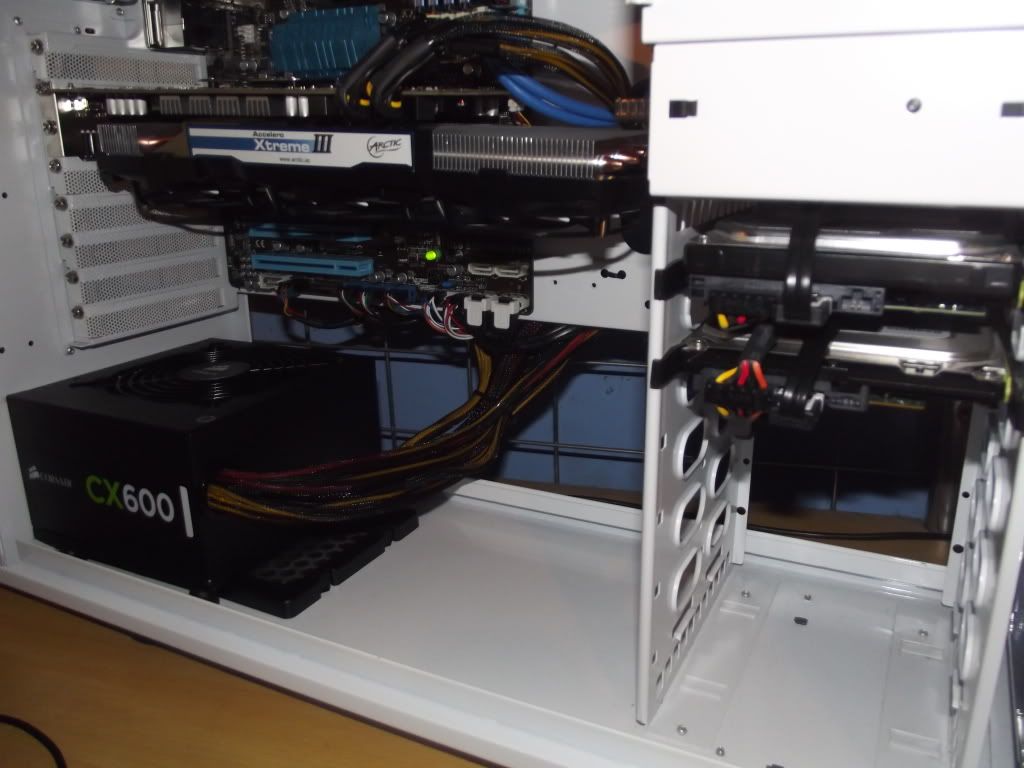
My PSU finally arrived and I've got to say, it is practically silent and has a sleek, black finish that really contrasts well with my case!
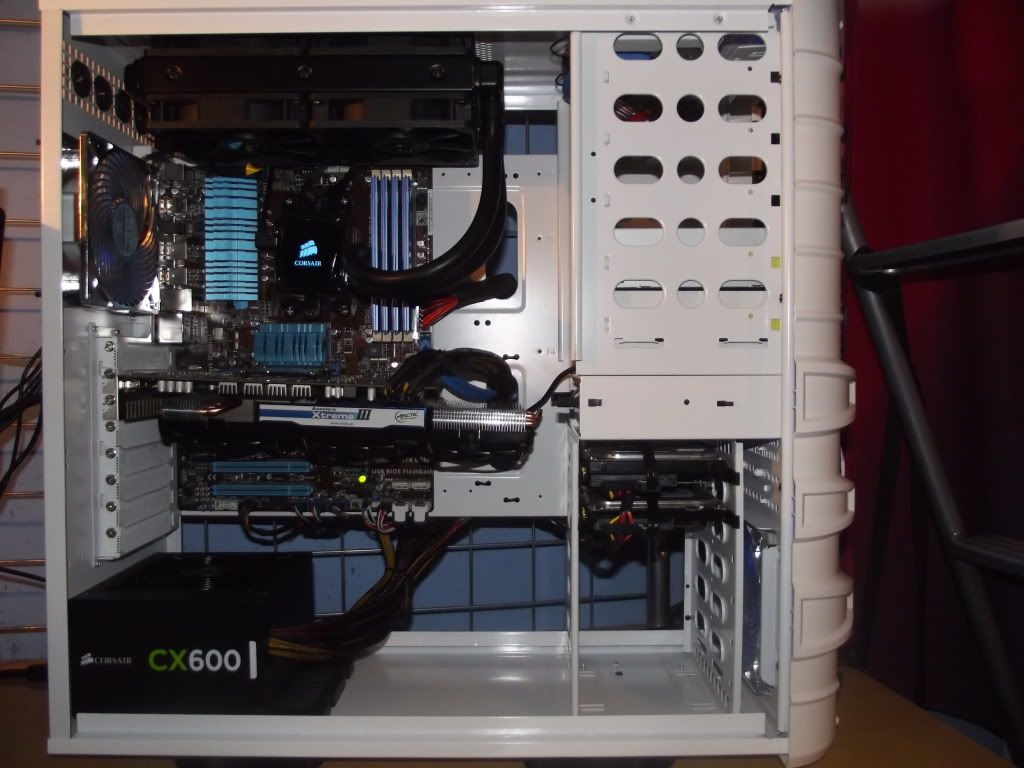
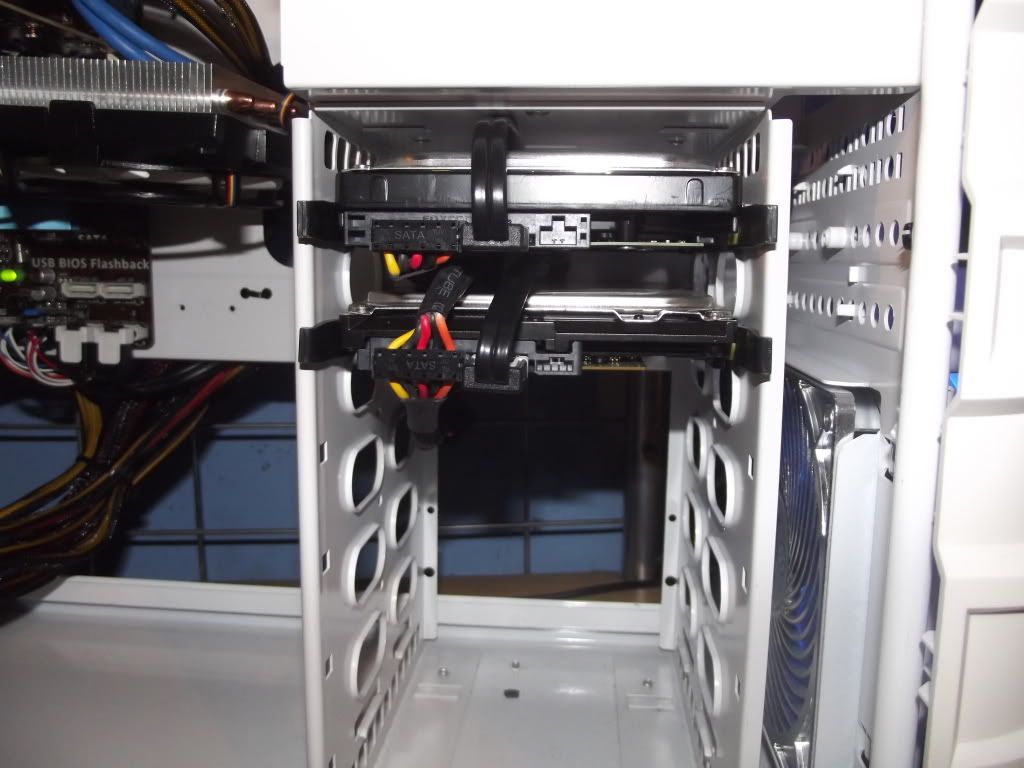
The CX600 has already got one of my older HDD's to start working again after it broke last year! The best part for me, I feel, is the braided cables! The really make the massive difference when it comes to aesthetics.
Unfortunately I did have to cut off the clip on the CPU power, but this time I made sure it looked better than before and made it almost unnoticeable.
I may sound a little strange in saying this, but I actually like the look of the non-modular PSU's. I mean having a modular one would be nice but I really do like the look of it!
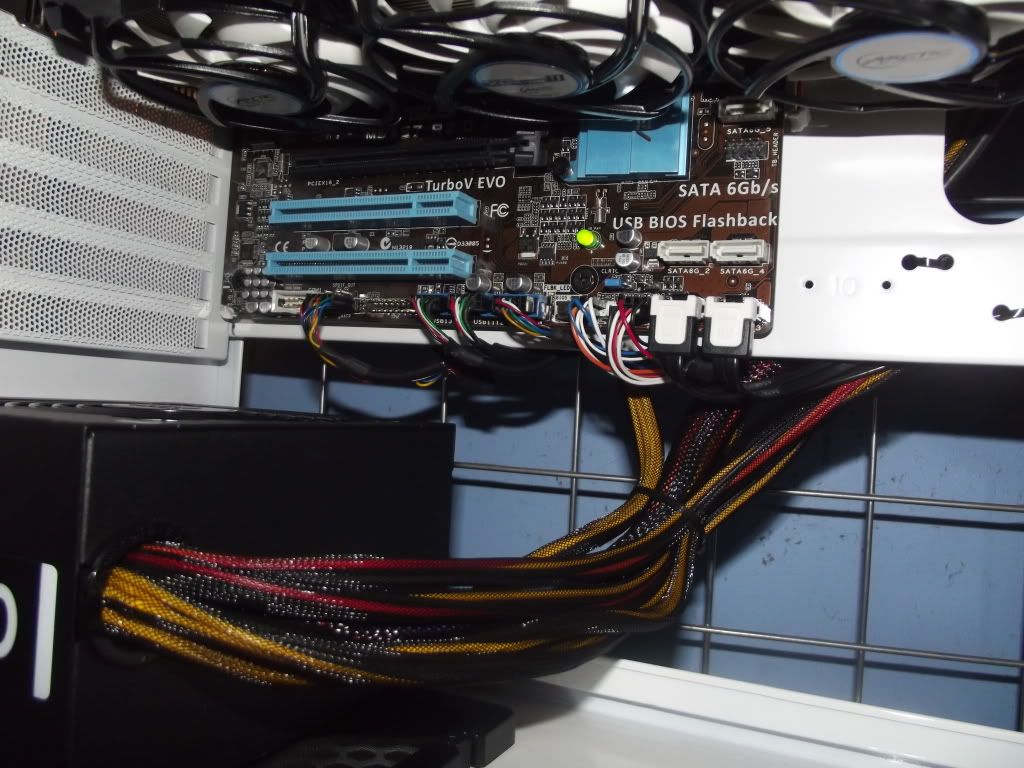
As for the graphics card, well. The CX600 comes with two 6+2 pin connectors, but I have, instead of left the +2 part just dangling around, I have cabletied the +2 bit to the end of the heat shrink on the sleeving.
Just a shot of the bottom of the case with the front IO and USB hub's hidden away as well as I could:
This is an ongoing project. I will be adding to this thread as I upgrade my system") . I hope you enjoy seeing my build take shape.
. I hope you enjoy seeing my build take shape.
AMD BullDozer FX-4170 - Stock
Powercolour Radeon 7870 - Stock
ASUS M5A97 R2.0
16GB Kingston Hyper-X 1600MHz
FSP 450w PSU
1TB Seagate Baracuda 7200RPM
InWin Dragon Rider - White Limited Edition
I ordered my parts from SpecialTech - 29/12/12
Corsair H100i CPU cooler
Arctic Cooling Accelero Xtreme III GPU Cooler
2x SilverStone Air Penetrator AP121
4x XSPC 120mm Quiet 1650RPM
Parts arrived in a big brown box - 3/1/13
I started off by taking off the original Titan CPU cooler.
Cleaned it off with some baby wipes
.
Went to pick up my H100i from the box.
I later realized, thanks to you guys, that I was missing a bracket. I bought one off Amazon the same night.
While I was waiting for this to come in the post I took the original cooler off of my 7870.
I then fitted my new Arctic Cooling Accelero Xtreme III to my 7870.I didn't nee to use any of my MX-4... It was already pre-applied...
At first the cooler felt a bit loose but I just had to really tighten the screws as tight as I could.
Work done from 5/1/13 - 13/1/13
So the bracket still hadn't come
, so instead of being a whiny bitch about it I decided to put the time that I had to good use in sitting the H100i to the roof of my case in push/pull. In the next picture I show how I ended up having to tighten the screws that came with the H100i with some pliers (I now realize that I could have used a screwdriver.
Here I was trying to show how I had to cut and sand my CPU power connector's plastic shroud thing just to fit it into the socket!
And this picture shows just how tight the fans and stuff are to being to tight to have push/pull. I'd say another mm on the radiator and I wouldn't be able to have push/pull
. Just lucky I suppose!
Scene as the bracket has still not arrived I decided I should just have a look at how it would look when it was on.
Bracket finally came! - 17/1/13
Today the Bracket finally came for the CPU socket and within 20 minutes of getting in from school I was ready for my first boot!
Stable overclocks! - 18/1/13
I finally have a stable overclock of 4.81GHz! The voltage really started to piss me off in the early hours of the 22nd but after bumping the voltage up another step to 1.4875v in the BIOS, I had Prime95 running for 24 hours stable. I also had a 5GHz stable but at a much higher 1.575v. I will use this for benchmarks but as a 24/7, the 4.8GHz is definitely good enough and made even better with temps of just 60C! I have also achieved a stable overclock on my R7870 of 1250MHz on the Core clock and 1450MHz on the Memory clock, with max temps of a very cool 50C!
Ordered a new PSU! - 21/1/13
Today I finally got round to getting myself a good decent wattage PSU. I decided to go with the Corsair CX600 for no other reason for the price, it is the perfect PSU for me! I don't intend on going Crossfire any time soon and even if the CX600 doesn't have enough connections, I can always just use extensions etc... I plan on buying some individually braided extensions for the 24pin, CPU 8pin, dual 6pin (GPU) and front IO cables.
Update One:
CX600 has Arrived! - 30/1/13
My PSU finally arrived and I've got to say, it is practically silent and has a sleek, black finish that really contrasts well with my case!
The CX600 has already got one of my older HDD's to start working again after it broke last year! The best part for me, I feel, is the braided cables! The really make the massive difference when it comes to aesthetics.
Unfortunately I did have to cut off the clip on the CPU power, but this time I made sure it looked better than before and made it almost unnoticeable.
I may sound a little strange in saying this, but I actually like the look of the non-modular PSU's. I mean having a modular one would be nice but I really do like the look of it!
As for the graphics card, well. The CX600 comes with two 6+2 pin connectors, but I have, instead of left the +2 part just dangling around, I have cabletied the +2 bit to the end of the heat shrink on the sleeving.
Just a shot of the bottom of the case with the front IO and USB hub's hidden away as well as I could:
This is an ongoing project. I will be adding to this thread as I upgrade my system
. I hope you enjoy seeing my build take shape.
Last edited:
 haha.
haha.


