Hey all first post,
Great forum and also love the Tiny Tom's you tubes vids
Thought I would put the build up that i started in October last year, So where to begin
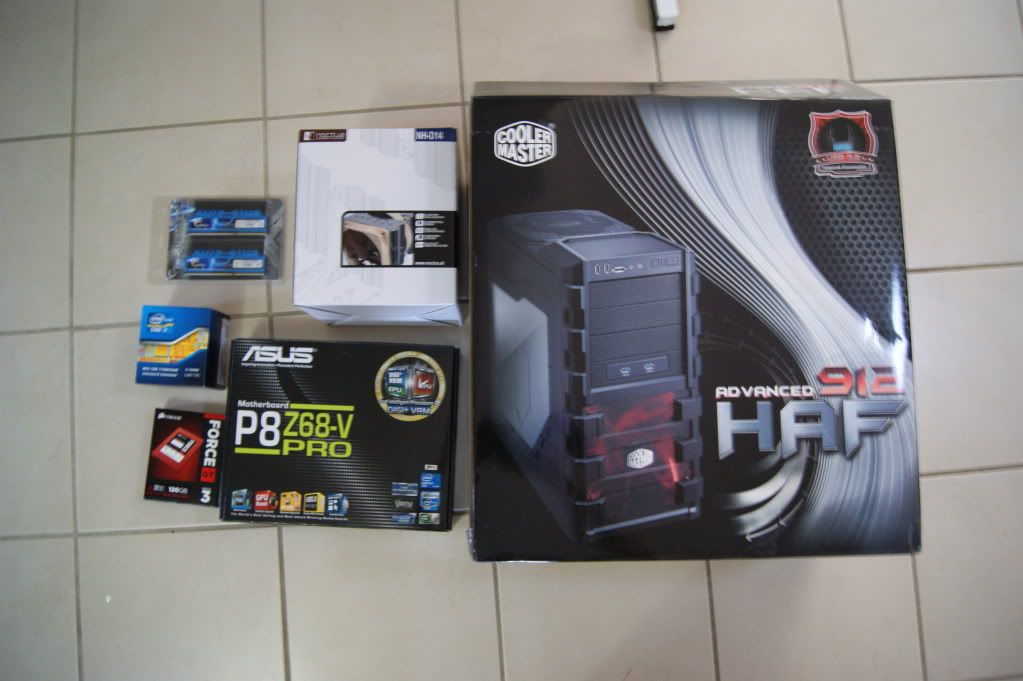
So parts so far as of 04/2012
As follows
i7 2600K@4.5 1.31V
Noctua NH-D14/Thermalright TY-140's
Asus P8Z68-V Pro
2x4GB GSKILL 8-8-8-24 F3-12800CL8D-8GBXM
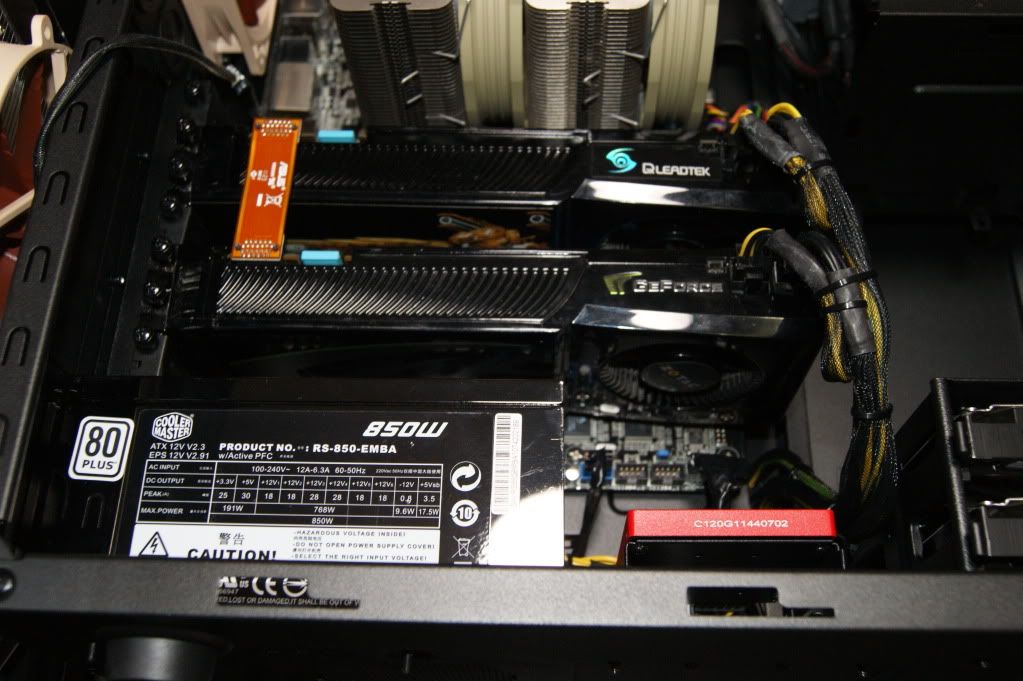
SLI GTX 280's (Reused)
Corsair Force GT 120Gb
Seagate Barracuda 2Tb
2x 2Tb Seagate Green Raid 1 (Reused)
CoolerMaster HAF 912/NF-P14 FLX & NF-P12
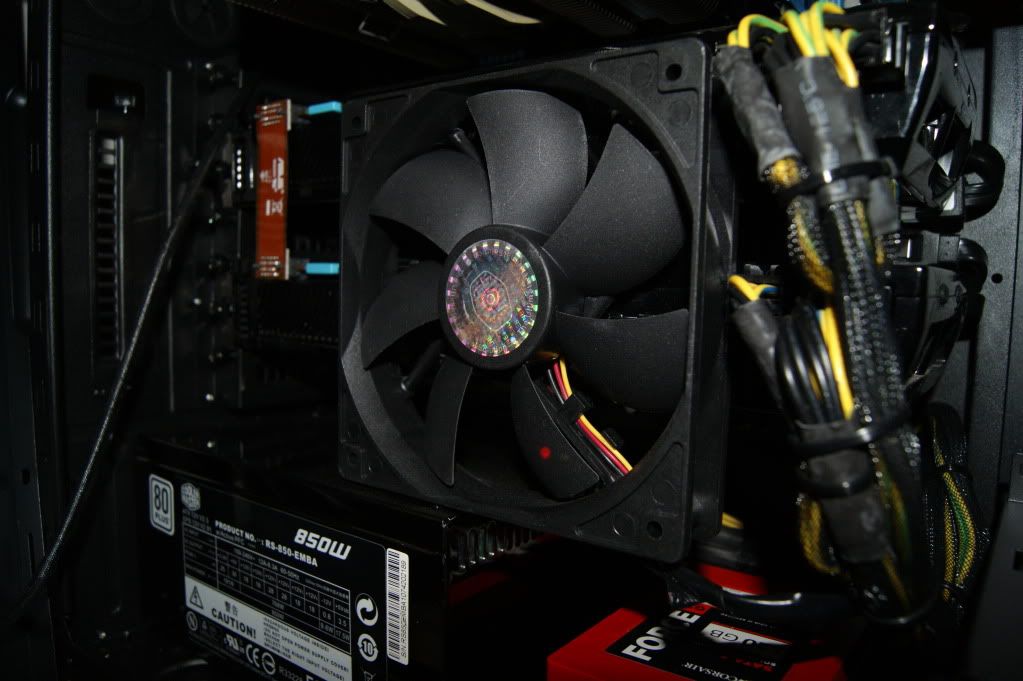
CoolerMaster 850W Power Pro (Reused)
Audio Technica ATH-AD700
Asus Xonar DX
Begin build Oct 2011
Scope for the Build was:
$1000 Budget (went over by 180)
Get best hardware for money possible
Get a quiter case with better cooling
Re-use my 2x GTX 280's (roughly equal a GTX 570 they get a 3dMark Vantage Score of 23,000)
So my old setup was a Q9550 790i Ultra setup in Lian Li case which was good quality but a little noisy.
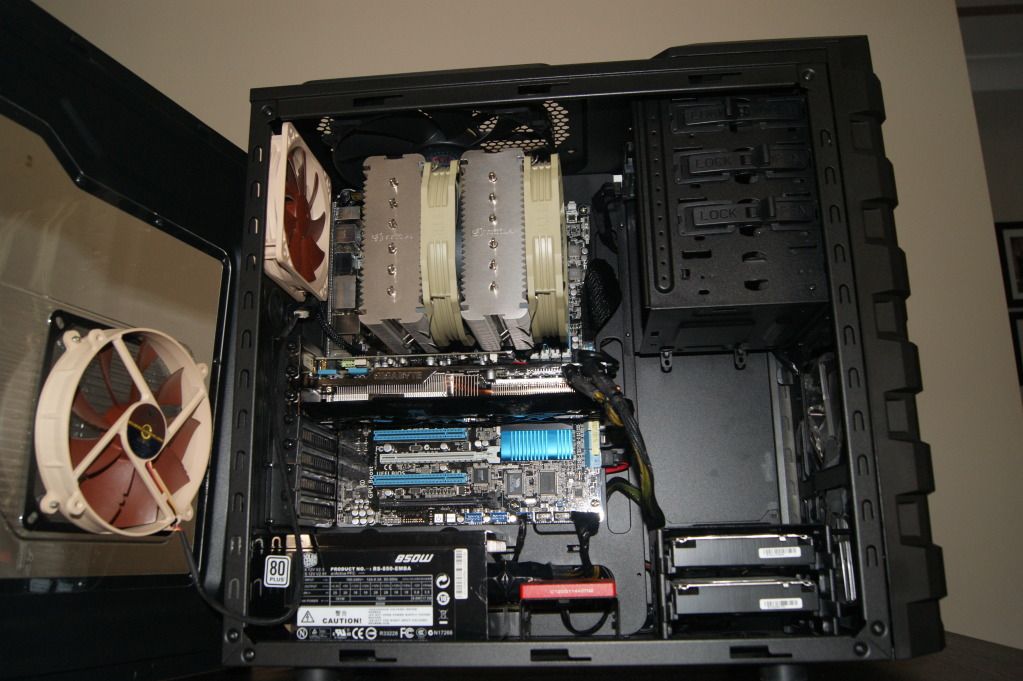
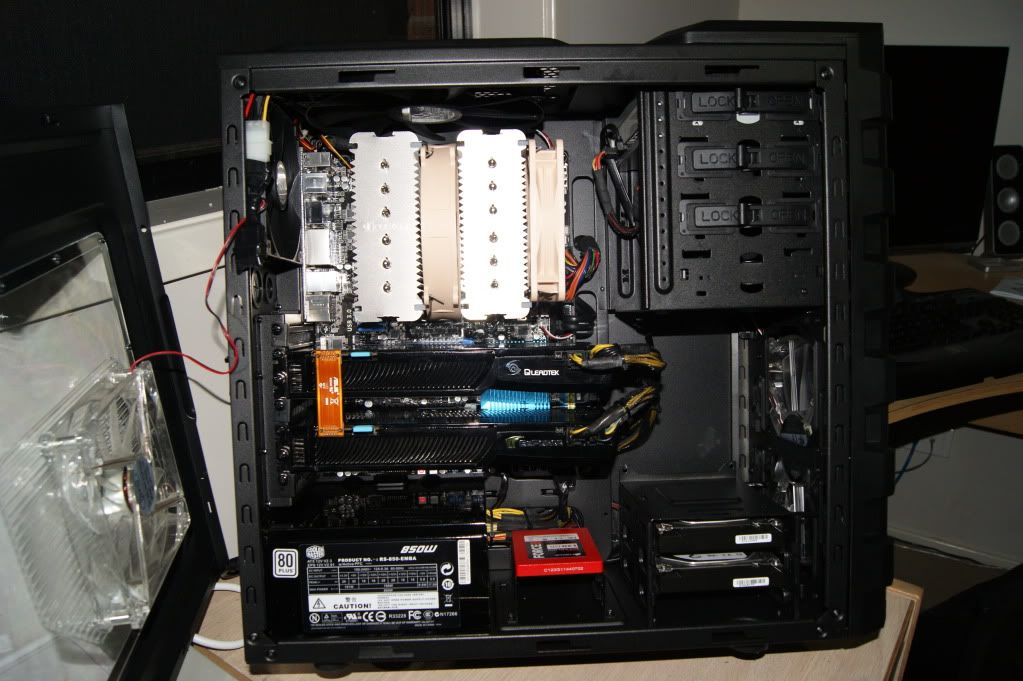
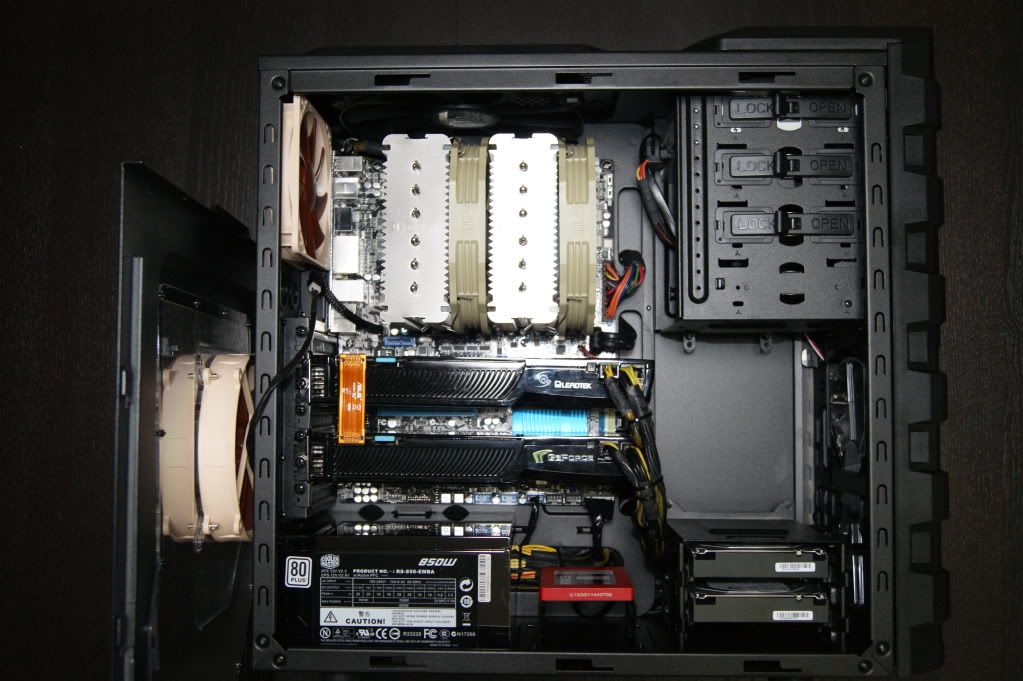
And put it together trying to be neat
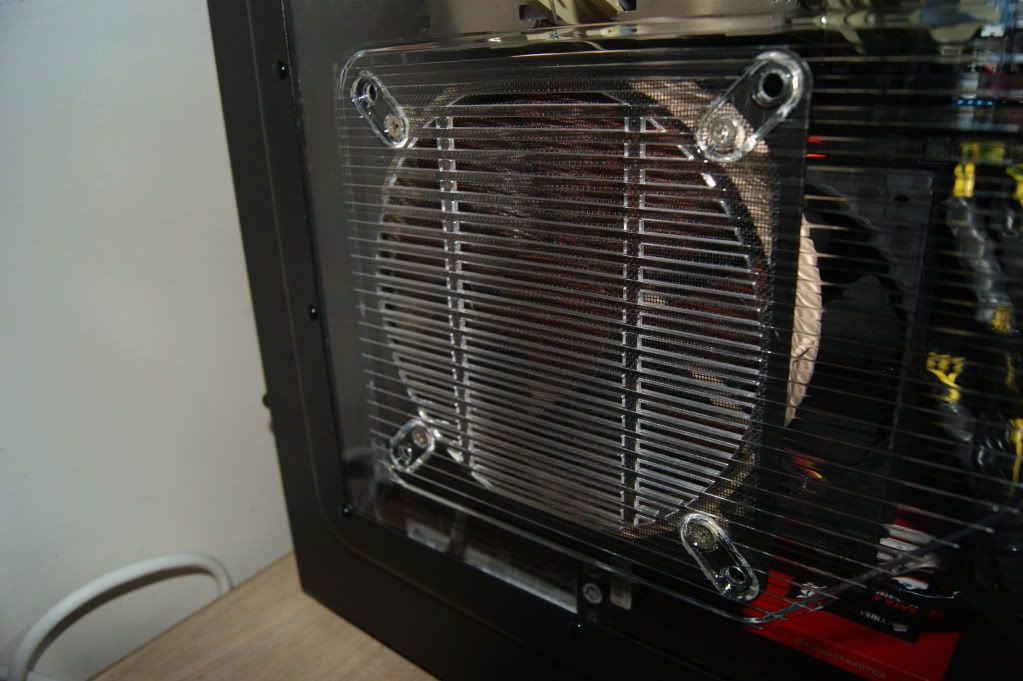
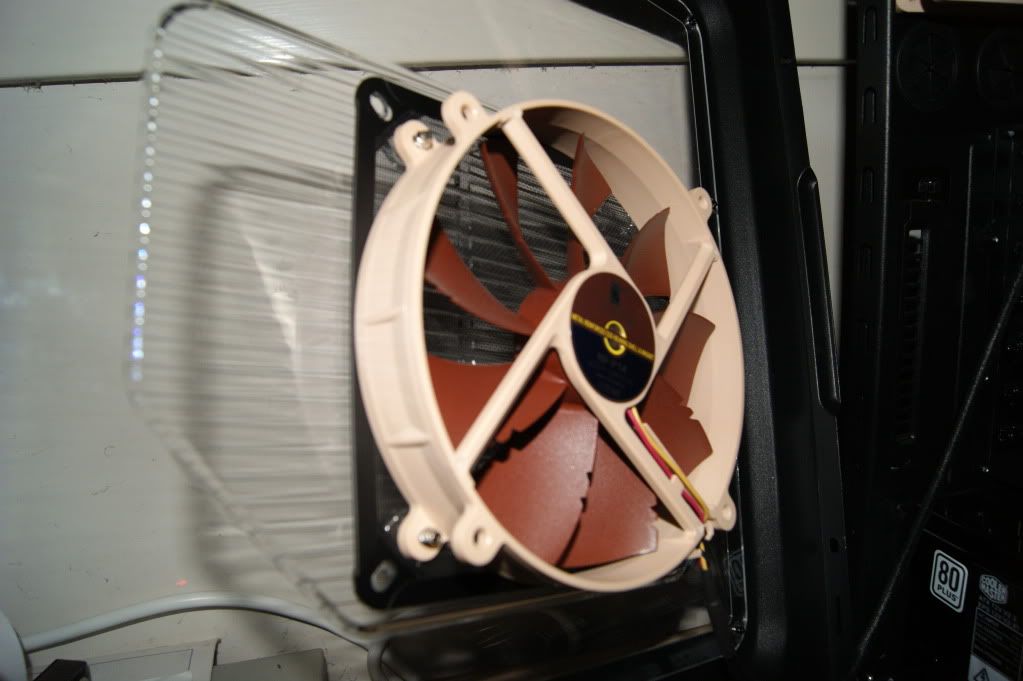
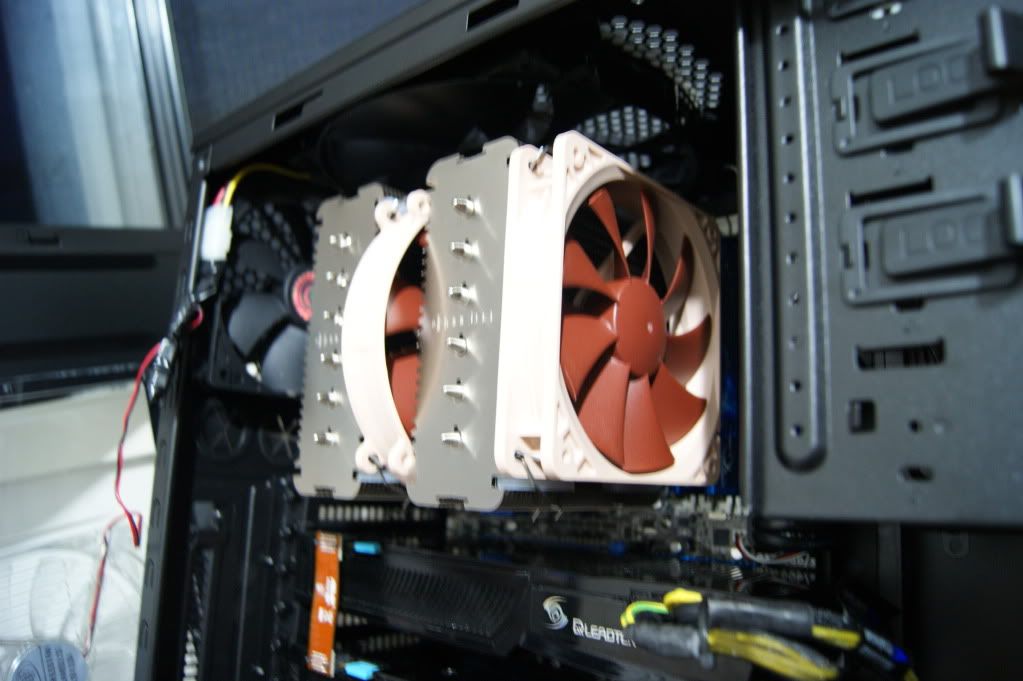
As you can see i reused a 140MM fan i had. I was running all fans from a 12V Connector (molex) and while all the new fans were quite my 140mm fan was annoyingly noisy.
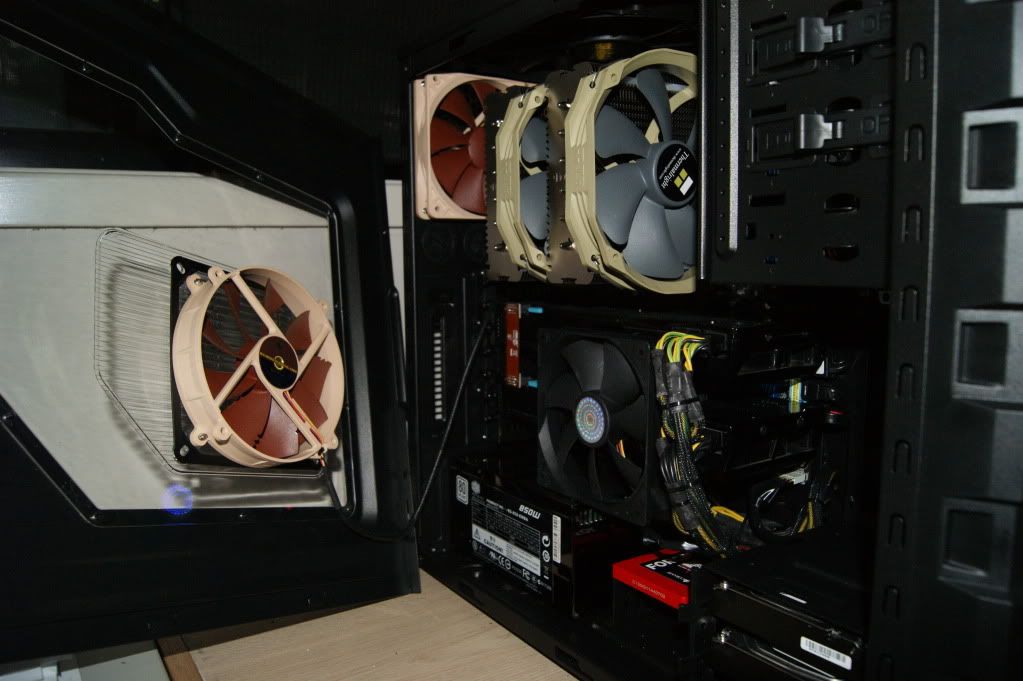
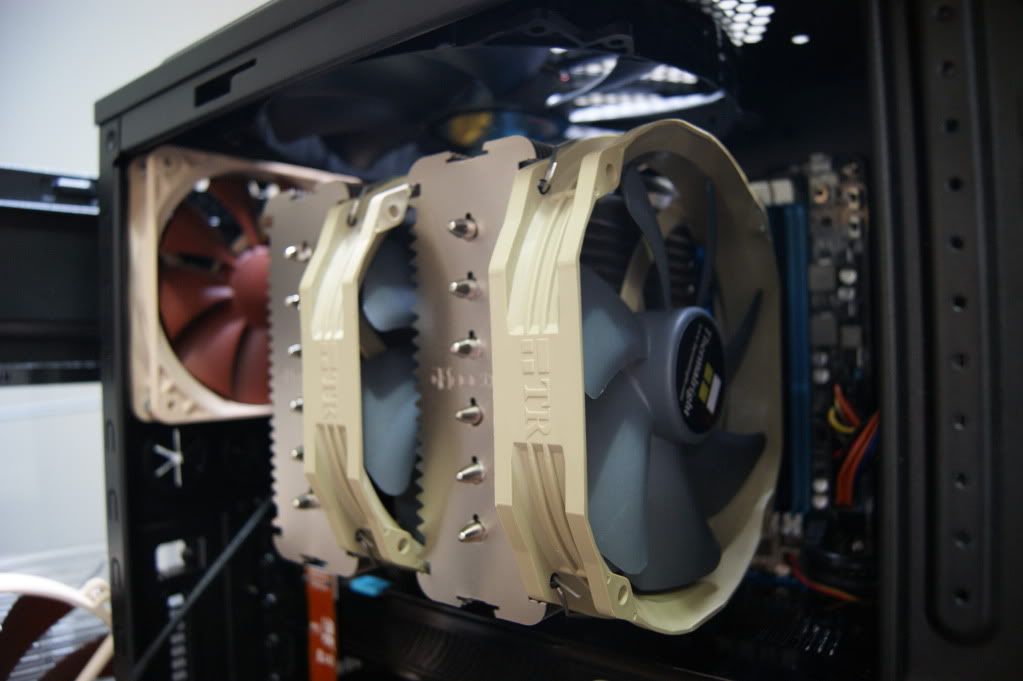
So I needed a new 140mm fan. So i went and bought two Thermalright PWM TY-140's, put them on my cooler and put the original noctua fans in my case, using the 140mm for the side. Also ran all of the case fans off the Motherboard fan headers so they can be controlled via the Fan Xpert software from ASUS. I run them at 40% when surfing the net and ramp them up to 100% when in game, this is based on a CPU temperature Setpoint.
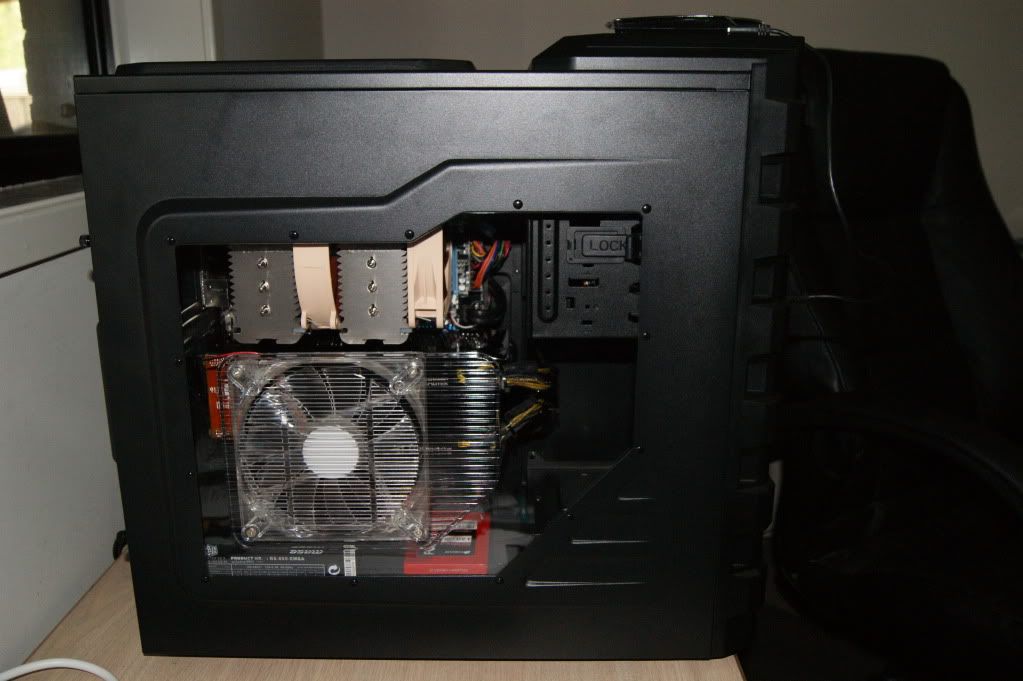
Original fans on the Noctua
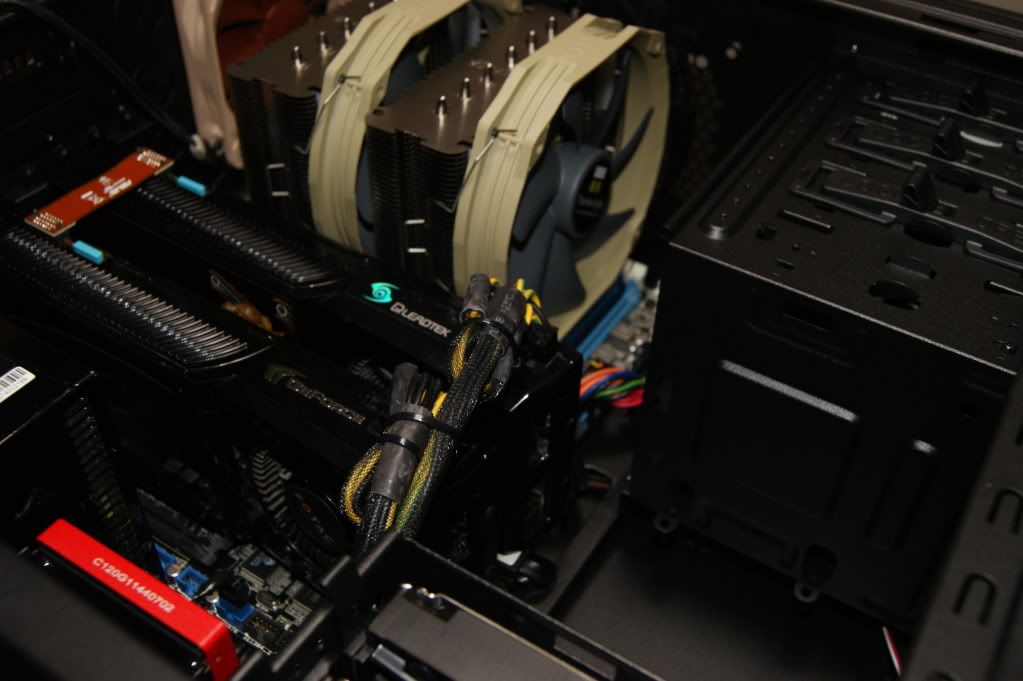
New Fans on the Noctua
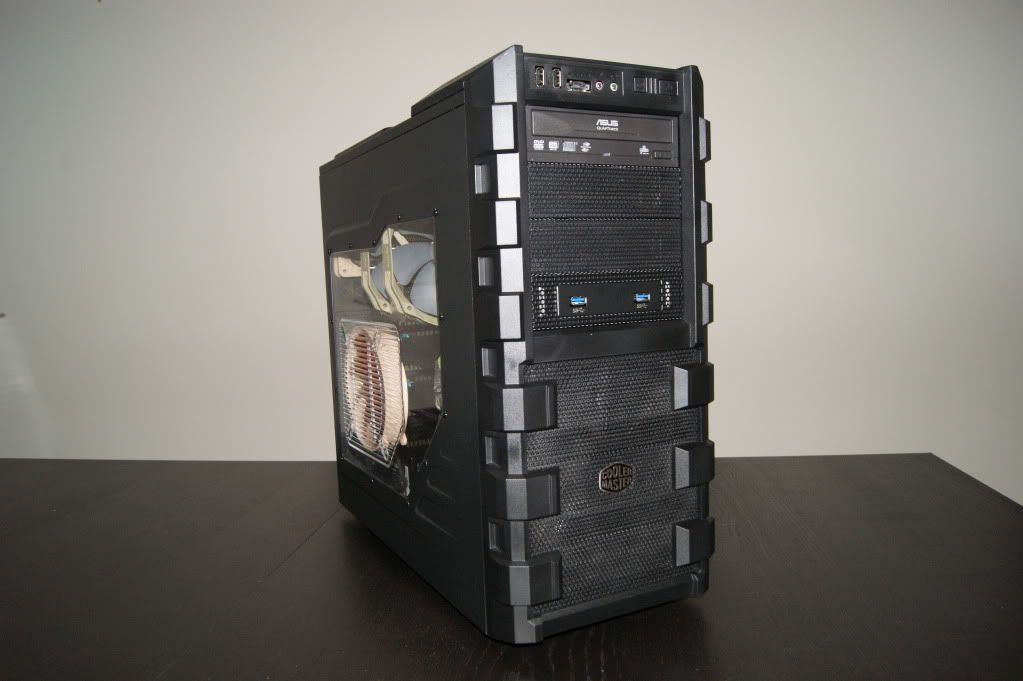
Outside shot
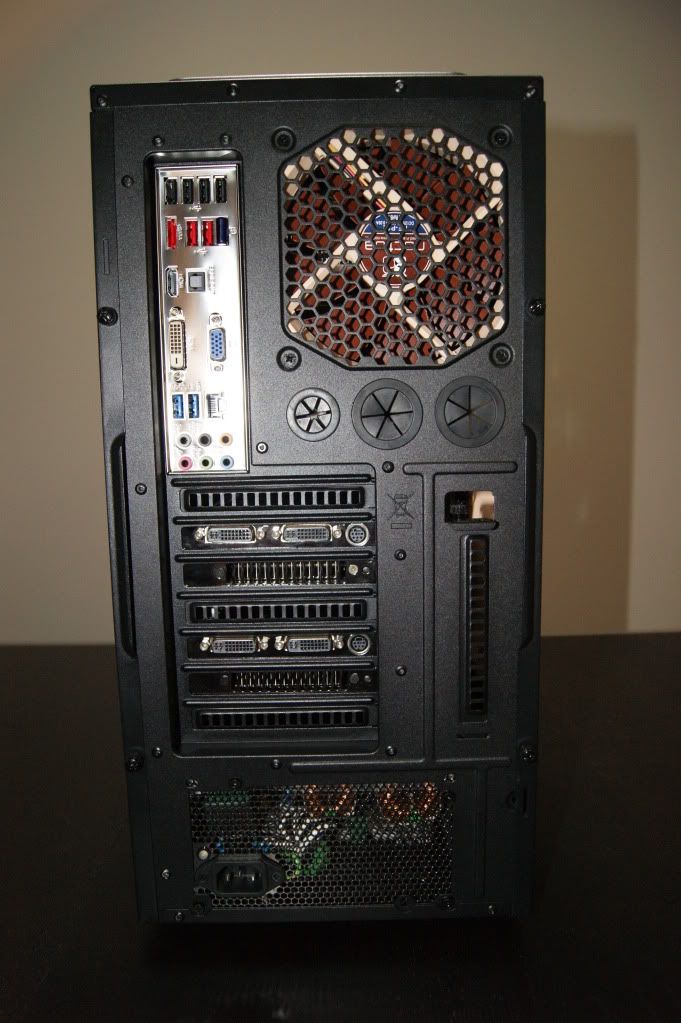
Rear
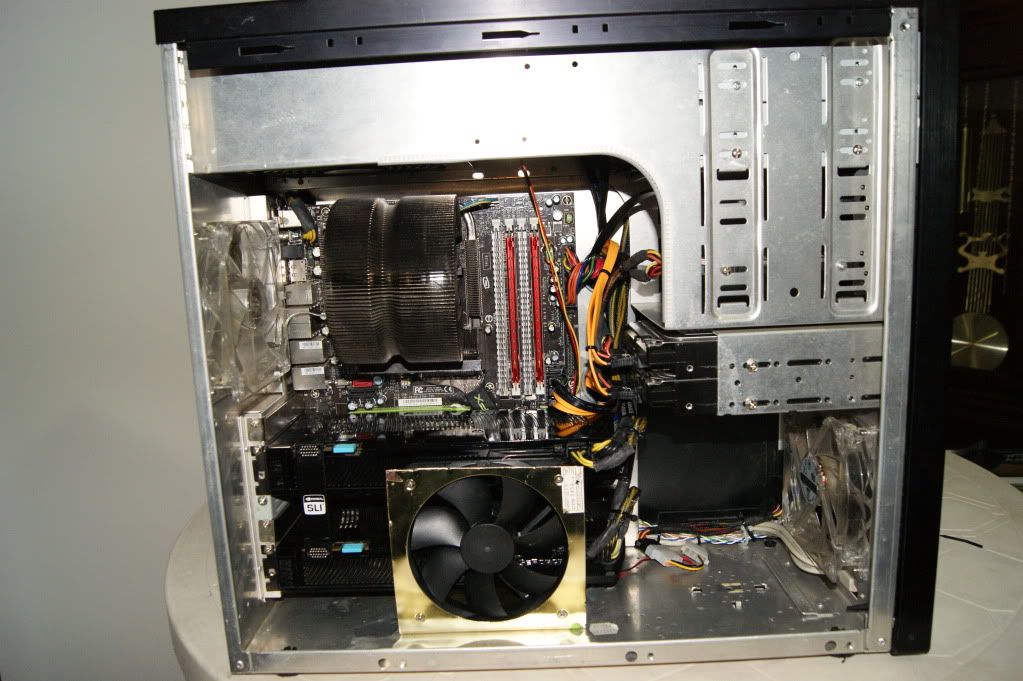
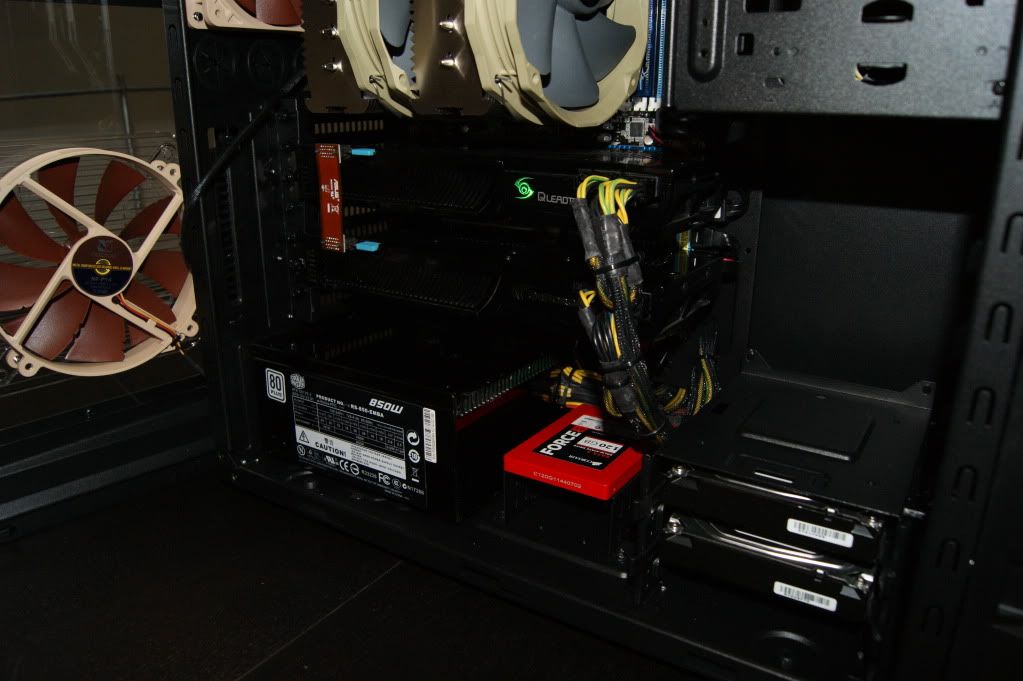
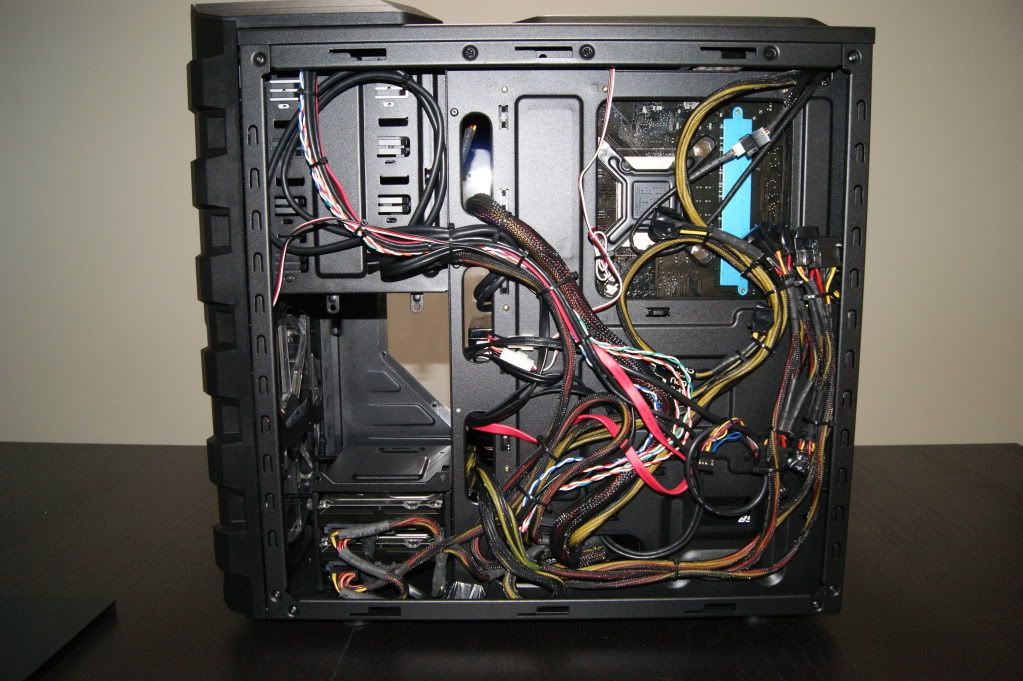
Tidyed up the cabling a little
Mounted the SSD on top of the case SSD bracket (just drilled 4 new holes)
Believe it or not that took about 5 hours before i was happy with how the cables were I really hate not having a Modular power supply Ohh well at least you dont see that side of the case )
So yeah it does everything i wanted, neat , quite, tons of grunt Happy days

Great forum and also love the Tiny Tom's you tubes vids
Thought I would put the build up that i started in October last year, So where to begin
So parts so far as of 04/2012
As follows
i7 2600K@4.5 1.31V
Noctua NH-D14/Thermalright TY-140's
Asus P8Z68-V Pro
2x4GB GSKILL 8-8-8-24 F3-12800CL8D-8GBXM
SLI GTX 280's (Reused)
Corsair Force GT 120Gb
Seagate Barracuda 2Tb
2x 2Tb Seagate Green Raid 1 (Reused)
CoolerMaster HAF 912/NF-P14 FLX & NF-P12
CoolerMaster 850W Power Pro (Reused)
Audio Technica ATH-AD700
Asus Xonar DX
Begin build Oct 2011
Scope for the Build was:
$1000 Budget (went over by 180)
Get best hardware for money possible
Get a quiter case with better cooling
Re-use my 2x GTX 280's (roughly equal a GTX 570 they get a 3dMark Vantage Score of 23,000)
So my old setup was a Q9550 790i Ultra setup in Lian Li case which was good quality but a little noisy.
And put it together trying to be neat
As you can see i reused a 140MM fan i had. I was running all fans from a 12V Connector (molex) and while all the new fans were quite my 140mm fan was annoyingly noisy.
So I needed a new 140mm fan. So i went and bought two Thermalright PWM TY-140's, put them on my cooler and put the original noctua fans in my case, using the 140mm for the side. Also ran all of the case fans off the Motherboard fan headers so they can be controlled via the Fan Xpert software from ASUS. I run them at 40% when surfing the net and ramp them up to 100% when in game, this is based on a CPU temperature Setpoint.
Original fans on the Noctua
New Fans on the Noctua
Outside shot
Rear
Tidyed up the cabling a little
Mounted the SSD on top of the case SSD bracket (just drilled 4 new holes)
Believe it or not that took about 5 hours before i was happy with how the cables were I really hate not having a Modular power supply Ohh well at least you dont see that side of the case )
So yeah it does everything i wanted, neat , quite, tons of grunt Happy days