Build log: C70

Well it has been a little while since I have posted an update,

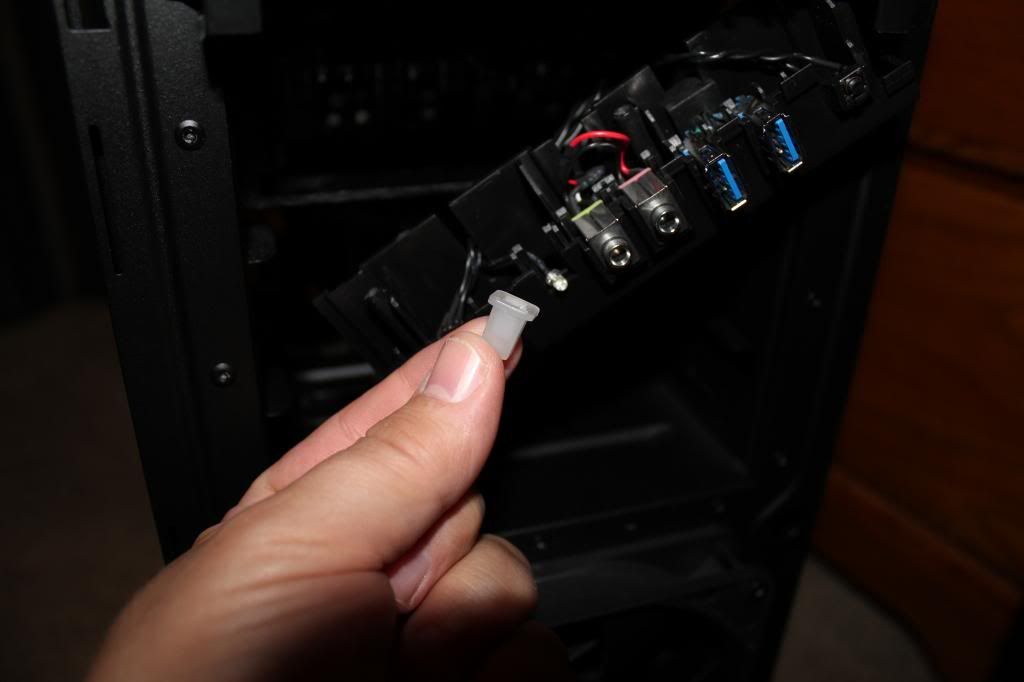
I has looking for ways to change the color of the front panel LED's and came up with a simple and very cheap way to change the color.

First off I will explain, the HDD led is just a 3mm LED and would be easy to change with another LED. However, the power LED would be a little harder. The power LED is a micro mini LED that is incorporated into the power button. I was able to find micro mini LED's at a local shop but they only carried green.

Because of the difficulty of changing the power LED I needed to find a different way to get the front panel LED's to match with the rest of the build.

I ended up going with Blue.

I had thought about colored film. A local party supply shop has colored cellophane a lady friend uses to make gift baskets. You can buy a multi color pack cheap.

By the way, I changed the window on my case. It is 1/8" safety glass. Stuck to the inside with 3M 4010. The last pic shows the window.

http://forum.overclock3d.net/showthread.php?t=52364
 
Tidy. Where did you find the yellow led ? I've tried a few and they are more amber than yellow

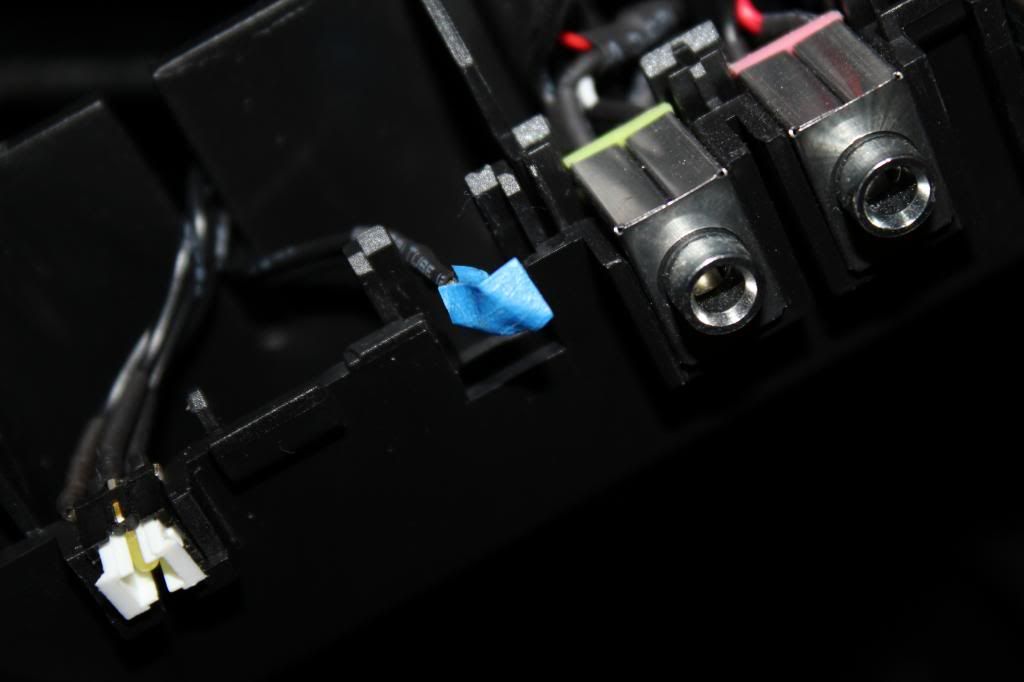
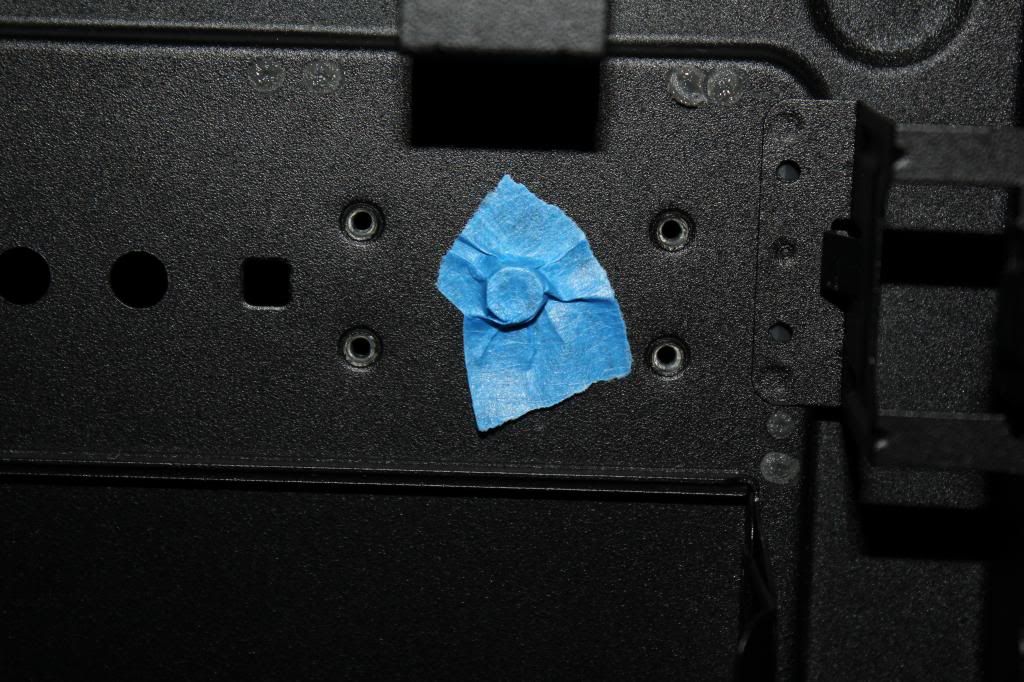
I did not change the LED's, I found other methods of changing the color. The blue and green are painters tape, the red is red film and the Yellow is from a plastic ziplock bag.

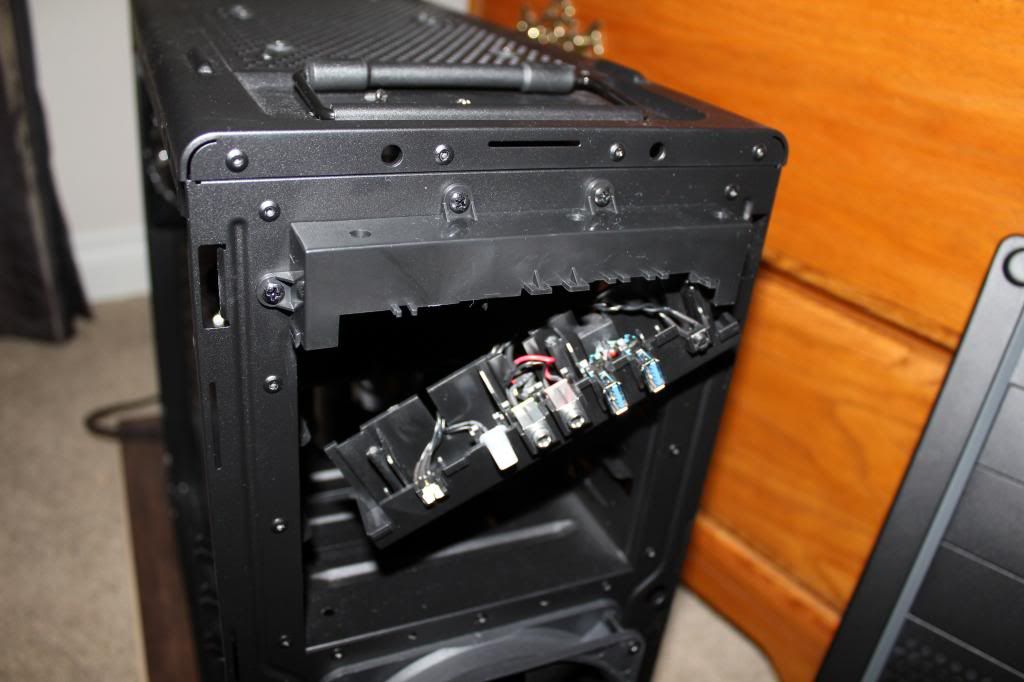
Inside of Front panel


HDD LED


I had thought about colored film. A local party supply shop has colored cellophane a lady friend uses to make gift baskets. You can buy a multi color pack cheap.

By the way, I changed the window on my case. It is 1/8" safety glass. Stuck to the inside with 3M 4010. The last pic shows the window.

http://forum.overclock3d.net/showthread.php?t=52364
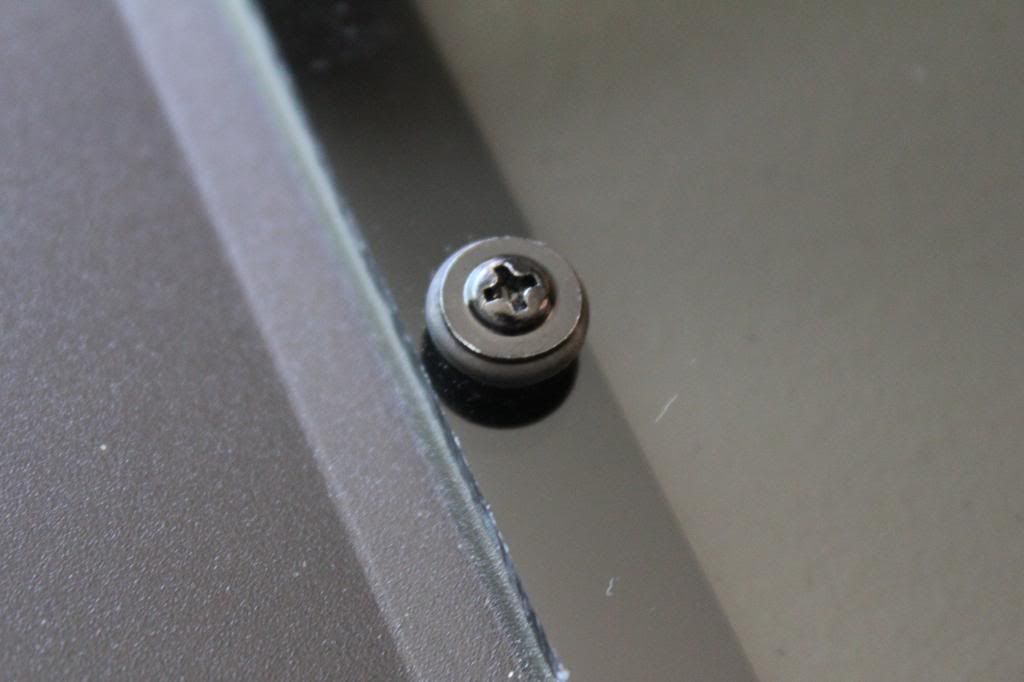
Looks great, I used the rubber grommets that came with the case as spacers.


Looks great, I used the rubber grommets that came with the case as spacers.

Great idea.

In one pic you can see I cut off the threaded studs on the bezel. I had a piece of plastic from a package I got something in and drilled a hole in it. Using that and laying the 32T hacksaw blade flat on it I cut the studs off. It left just enough of the stud, about the thickness of the steel, to help place the bezel properly. First I placed the 3M 4010 tape all around the inside of the cover and placed the glass, flipped the cover over. With the holes backed by the tape inside I put just a dab of fast setting silicone in each hole and put the bezel in place. I taped it down with painters tape and it just had to set-up about 15 minutes. OH, I did cut the 3M 4010 tape in half, it is 1" wide, just need 1/2". Fresh sharp Xacto blades highly recommended.
 
Nice looking setup. Oh how I love the look of the Raystorm/Razor water block combo :3. I personally prefer blue for the lighting, but that's probably because all my peripherals are backlit blue :lol:.
 
Last edited:
About the leds?

How did you get to the circuit board so you could change them, ive got some smds that would be perfect for my hdd lights
 
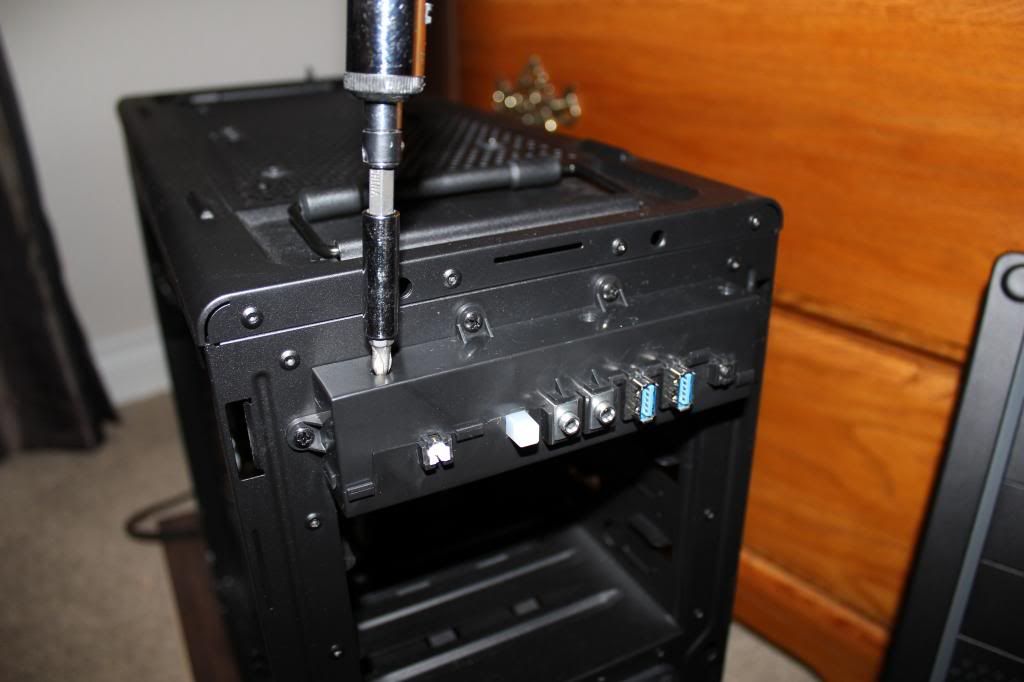
The front panel connector box has three screws on the top that you need to remove to get to the LED's


looks good buddy :) that res looks just right in there :) ive been toying with going underwater for my case, but i spent the money on a 780.
 
Back
Top