You are using an out of date browser. It may not display this or other websites correctly.
You should upgrade or use an alternative browser.
You should upgrade or use an alternative browser.
Build Log Bringing Sexy Back
- Thread starter sinnedone
- Start date
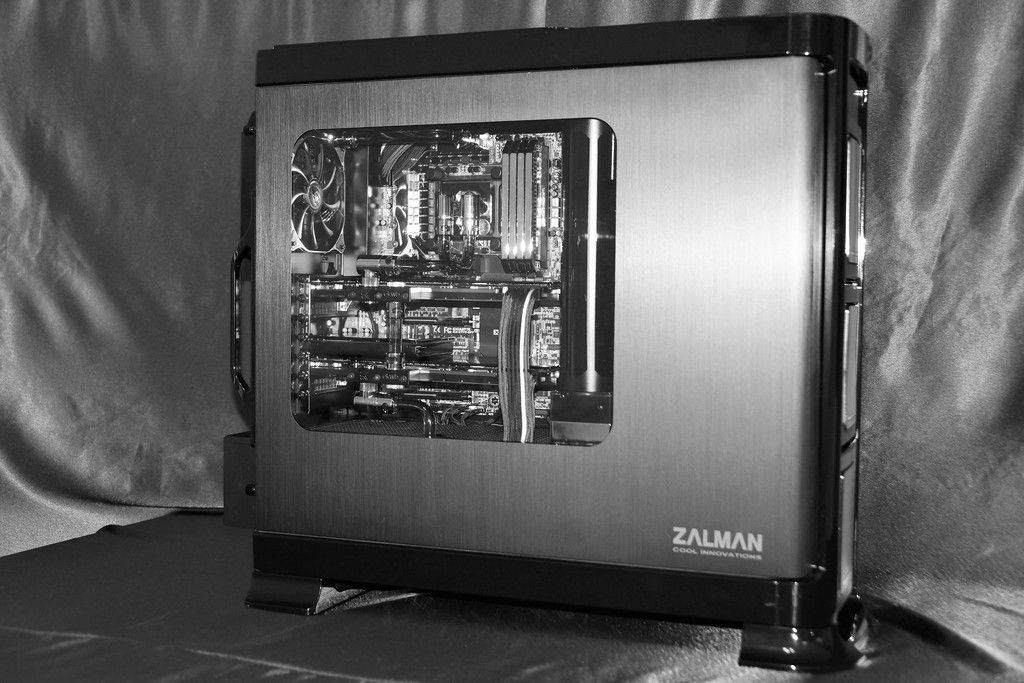
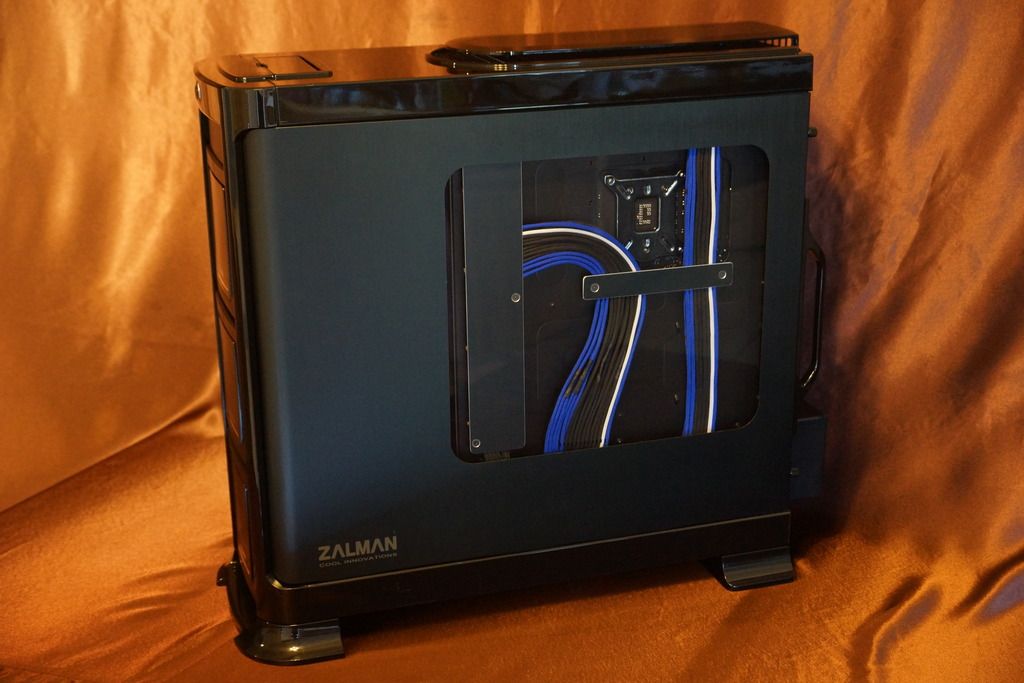
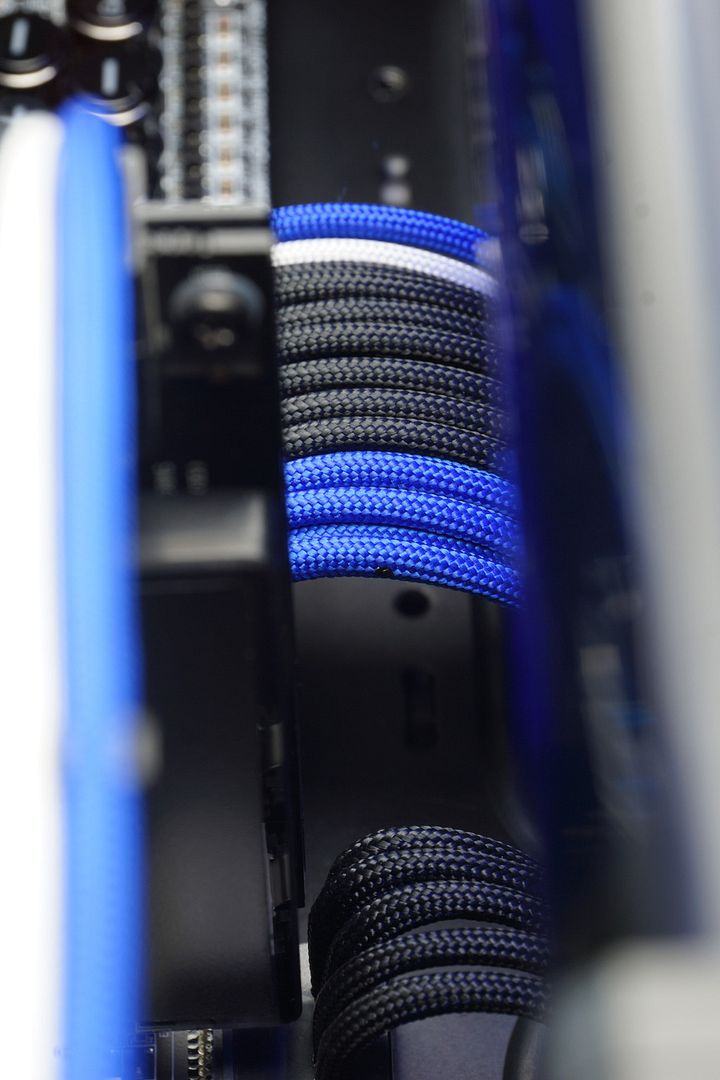
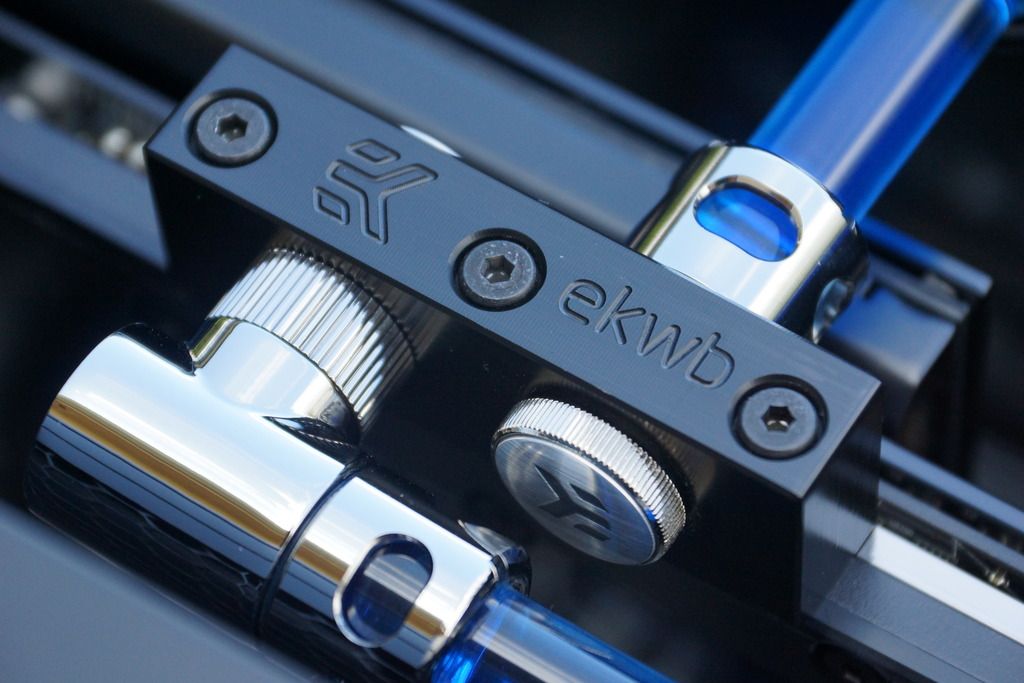
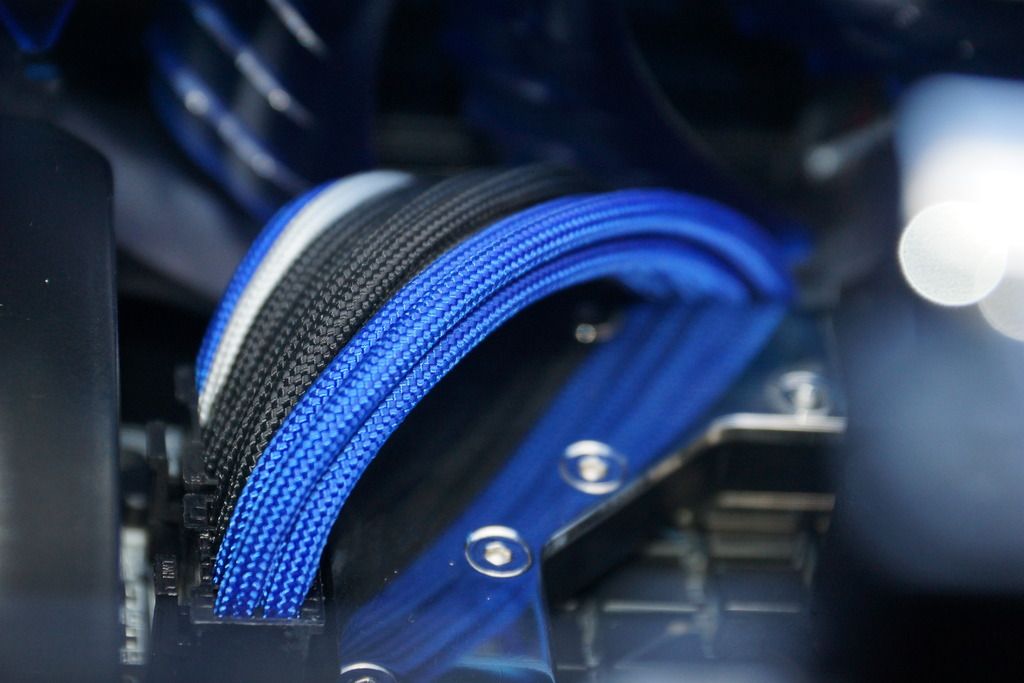
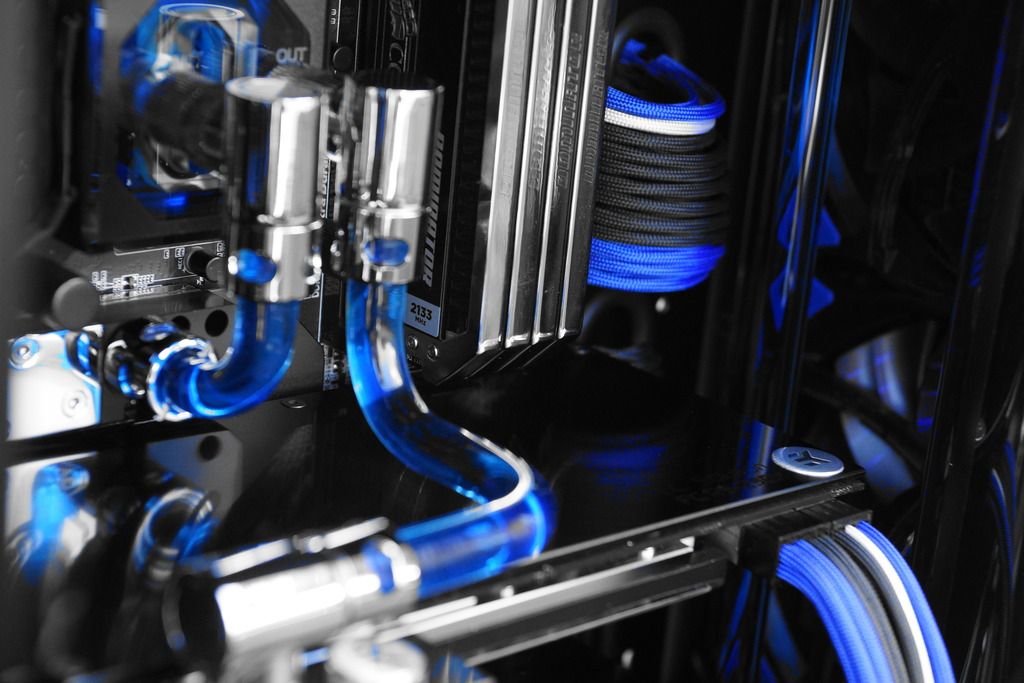
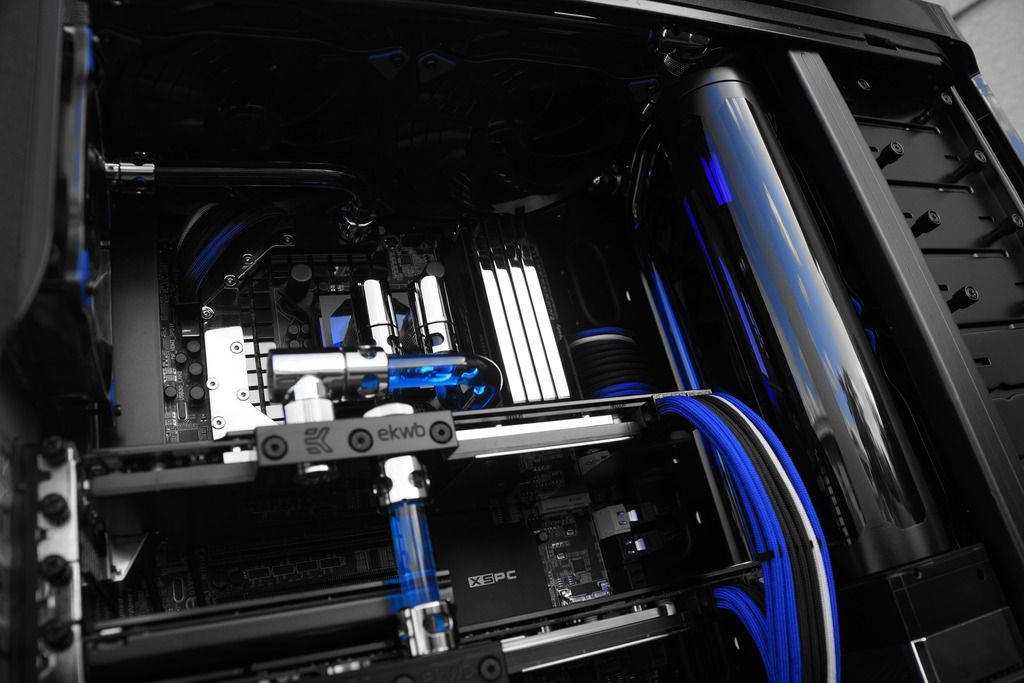
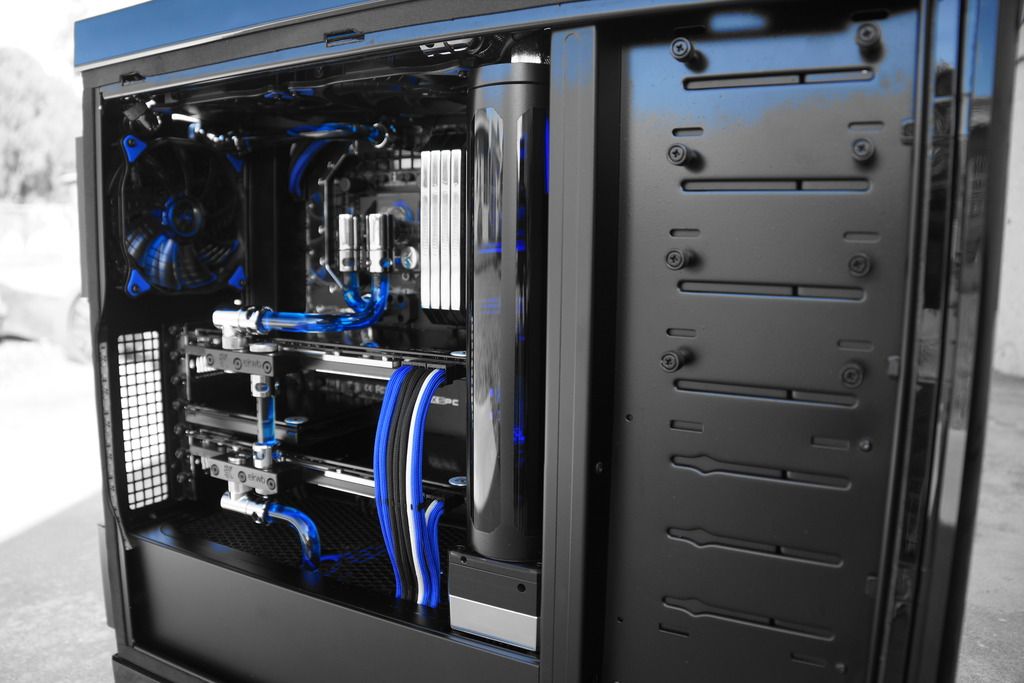
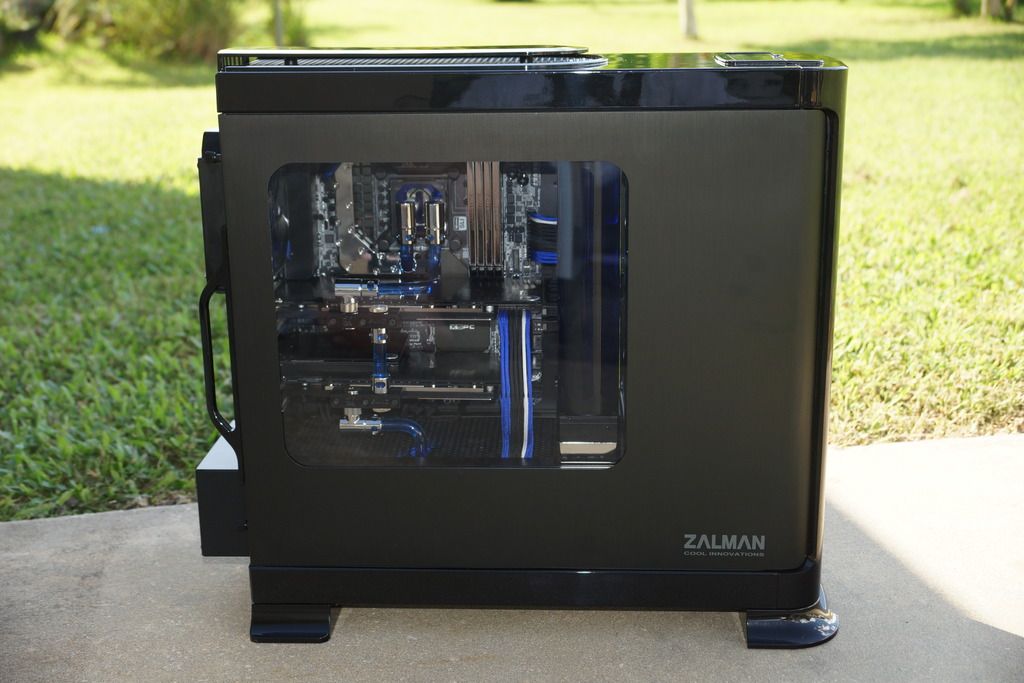
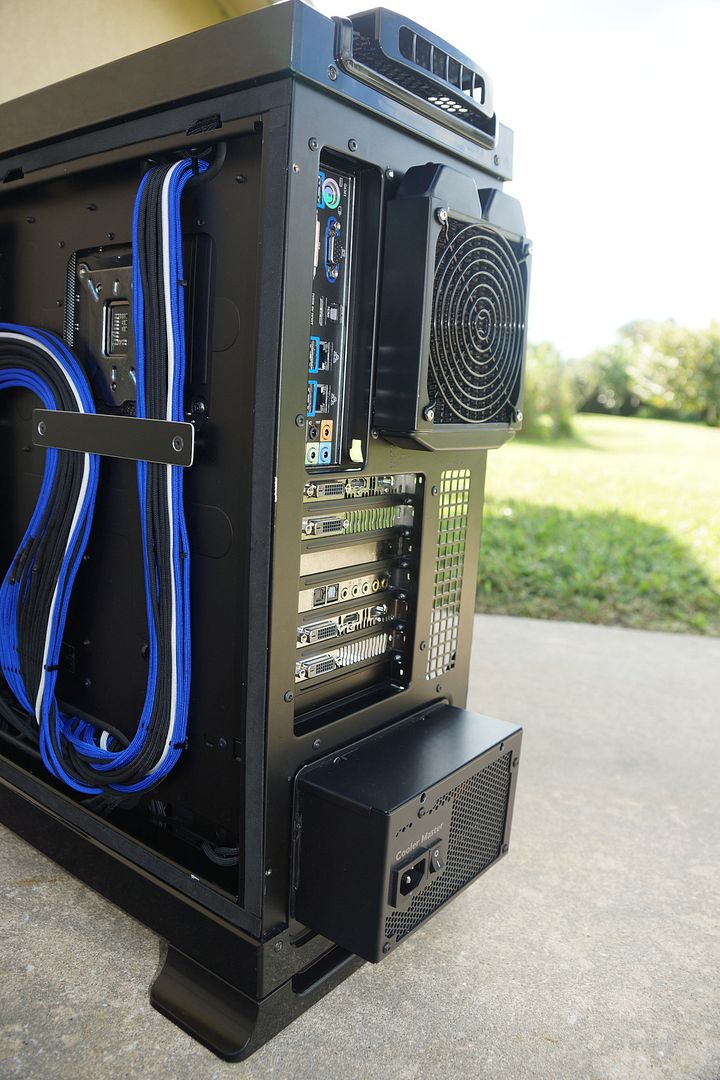
Dat cable management tho!
Thank you.
")
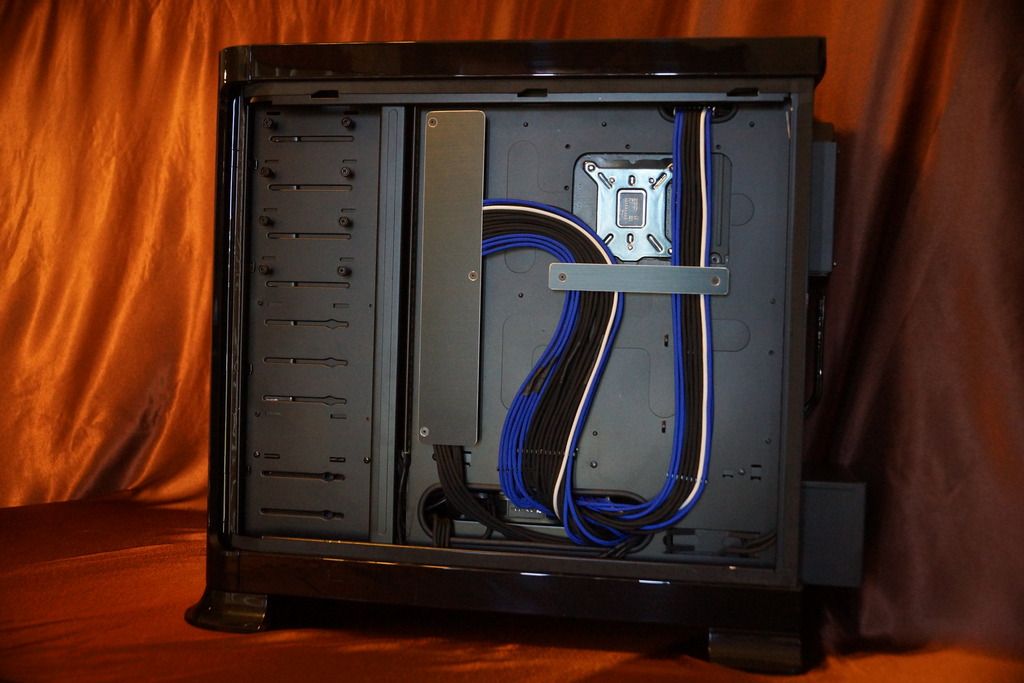
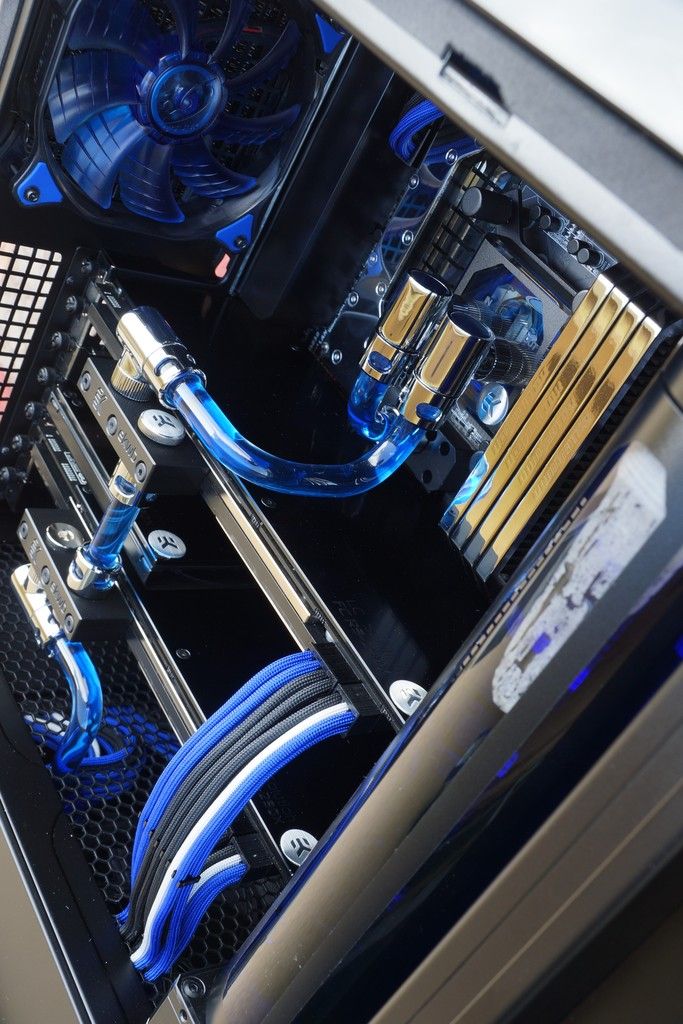
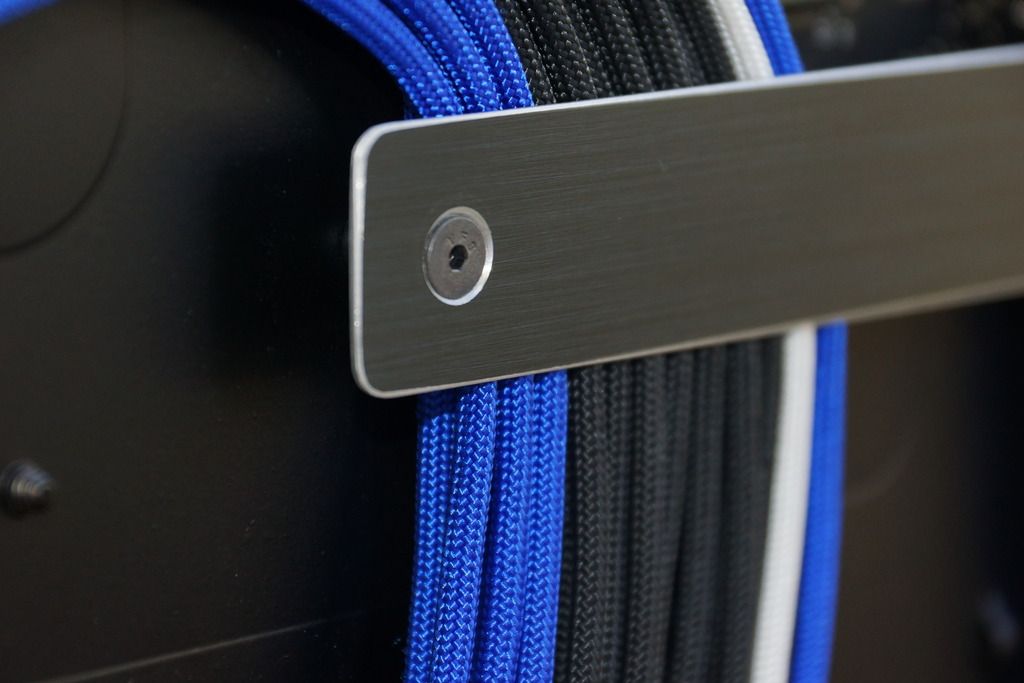
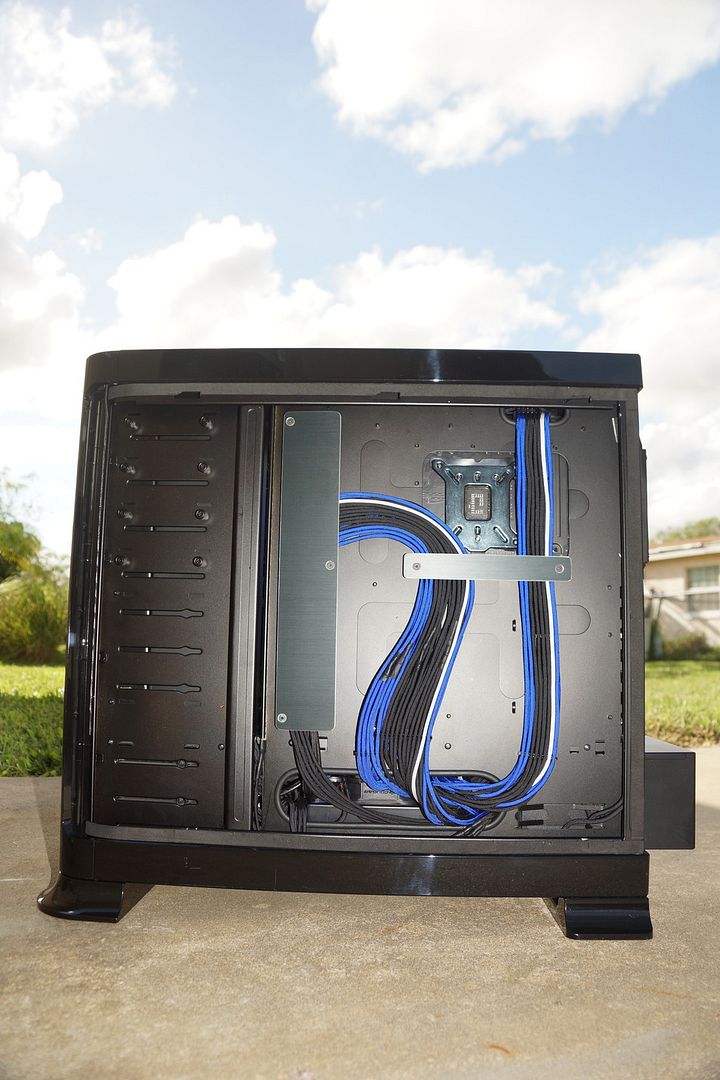
I actually wished I would have planned a little better as to not have the double wires spliced section visible through the rear window. Next build I'll do alot better.

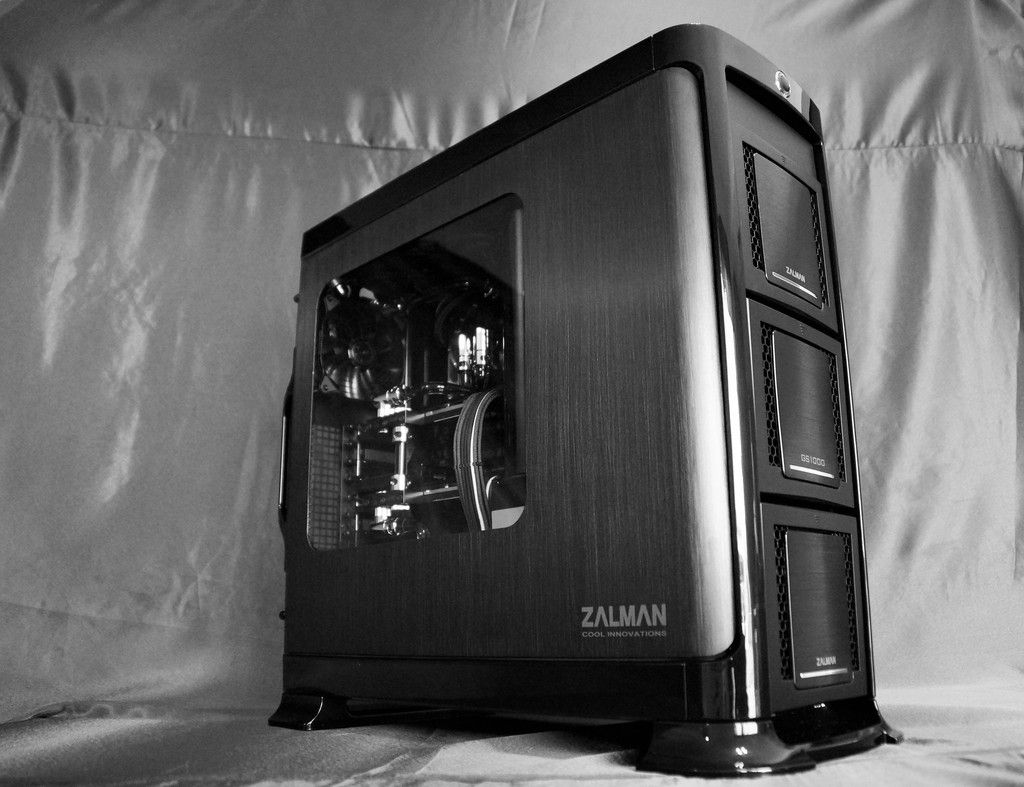
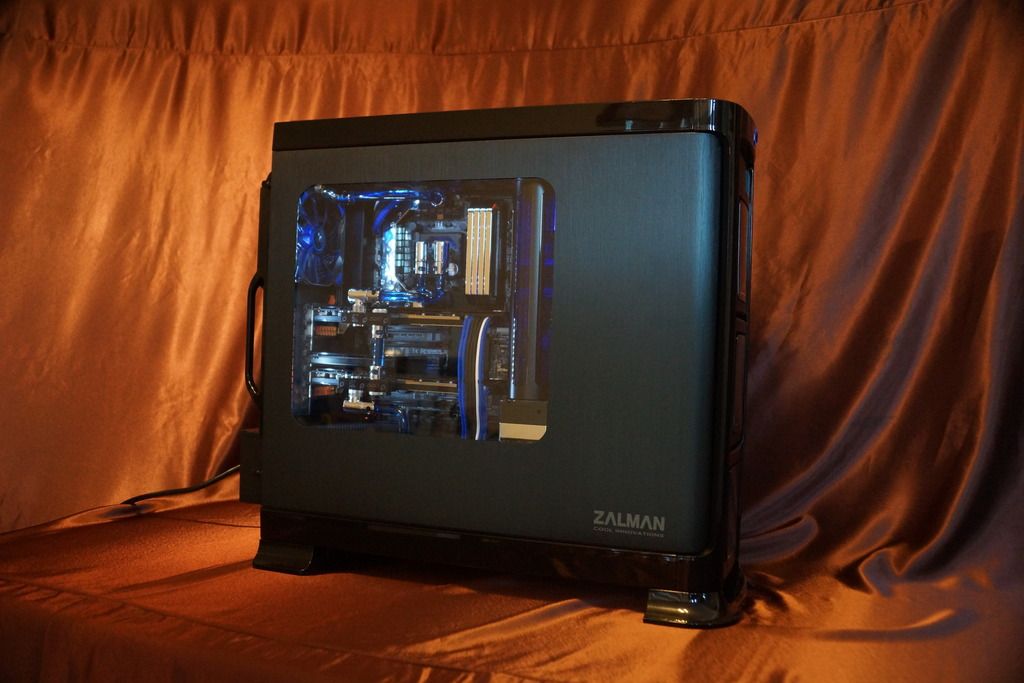
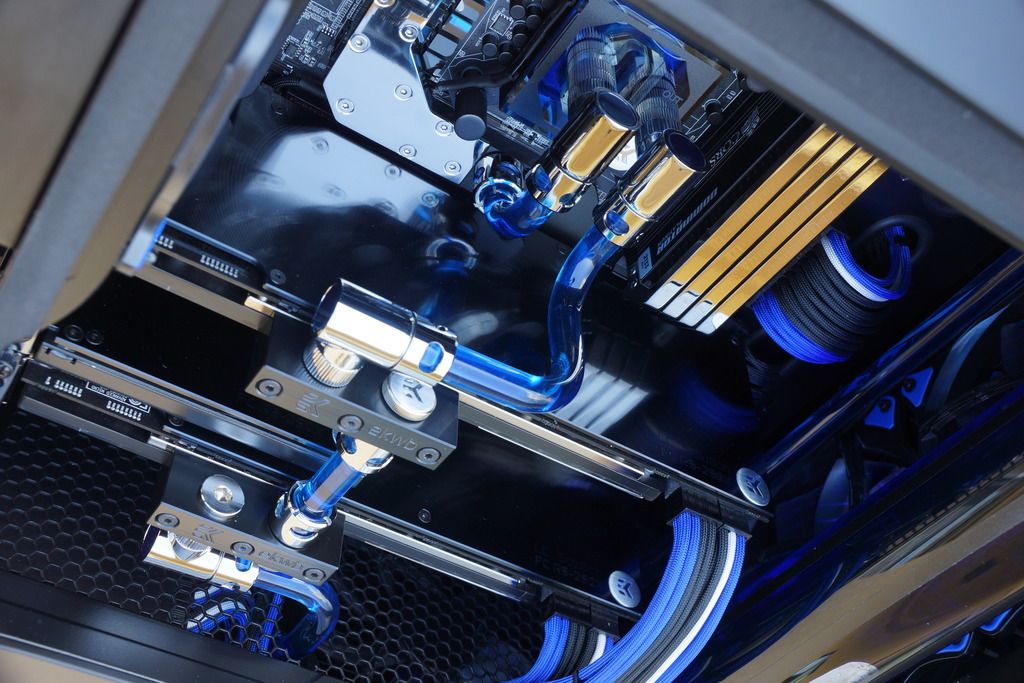
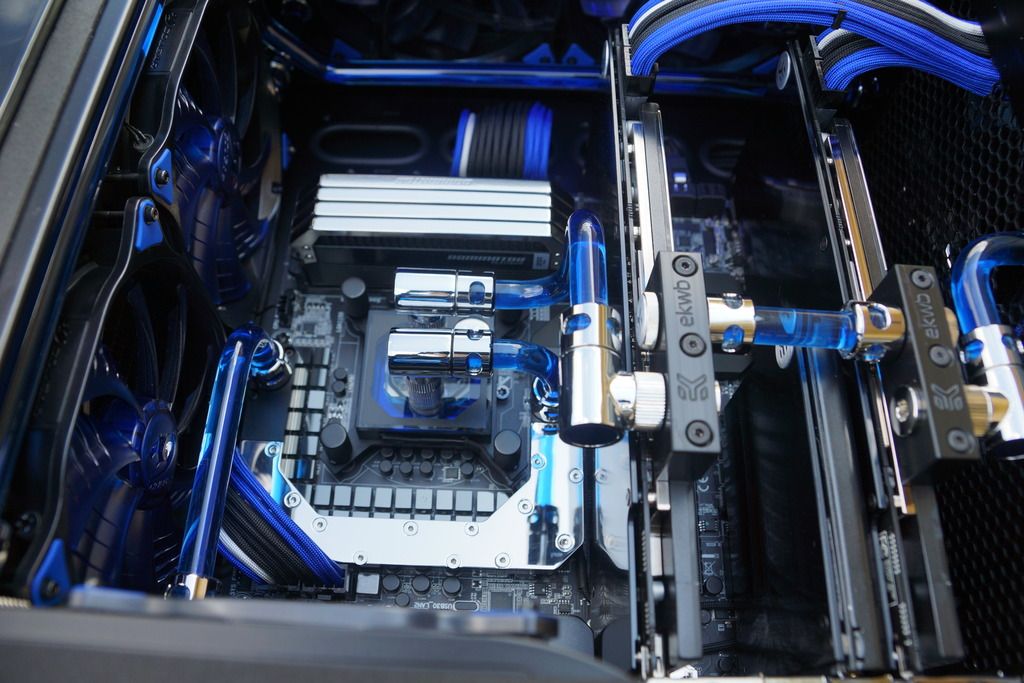
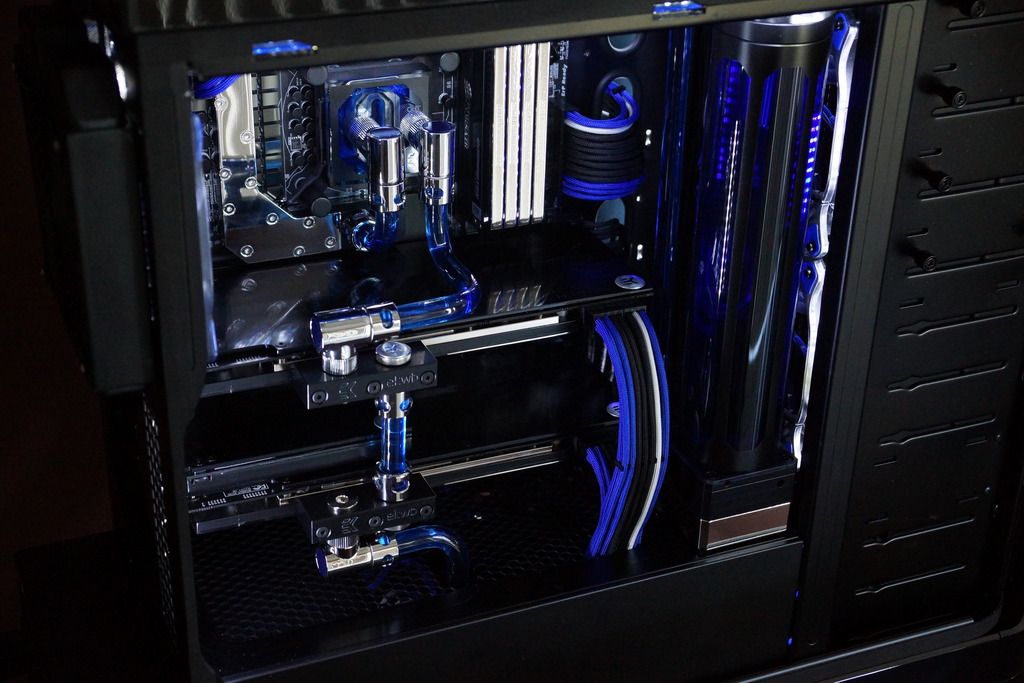
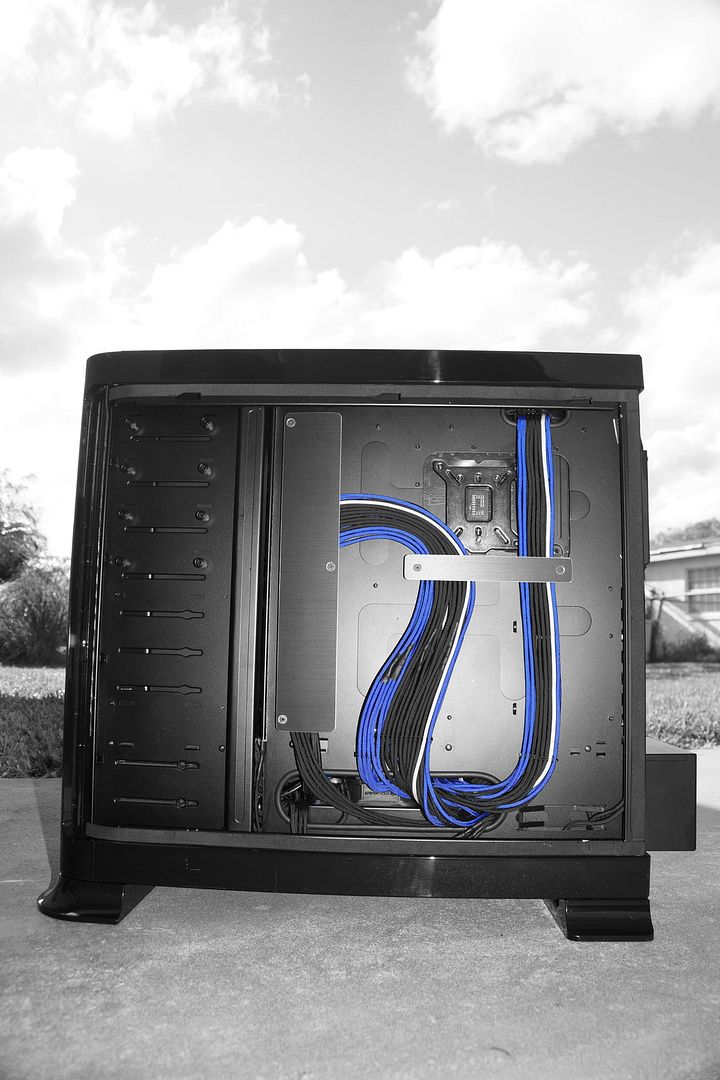
The whole build though
I've seen a lot of builds now. Thousands upon thousands but I can't remember the last time I saw something as beautifully planned and executed as this thing.
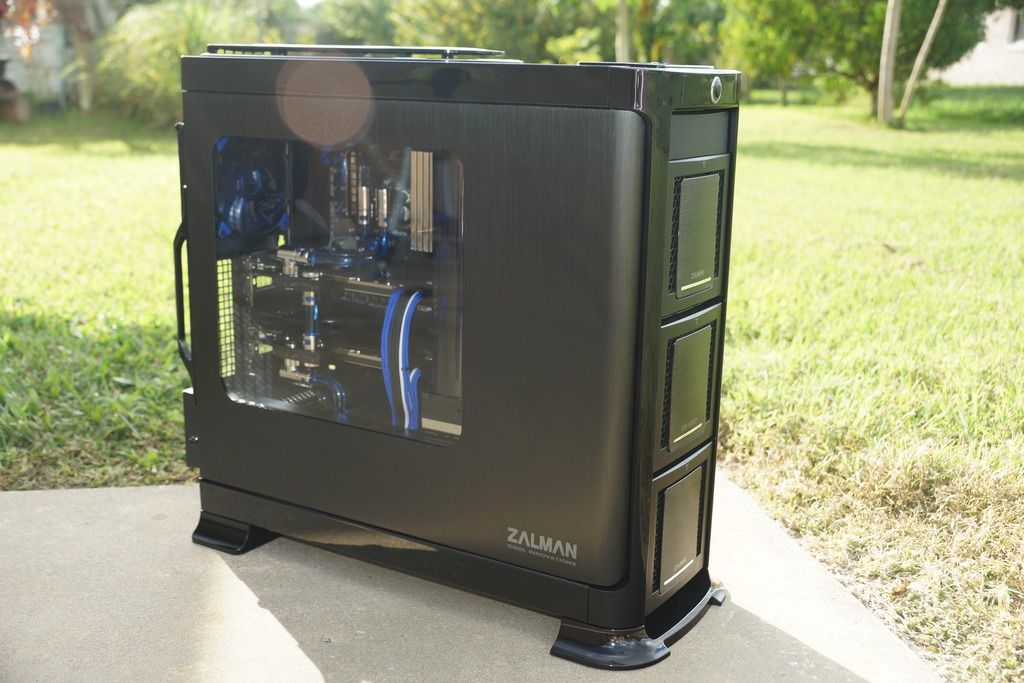
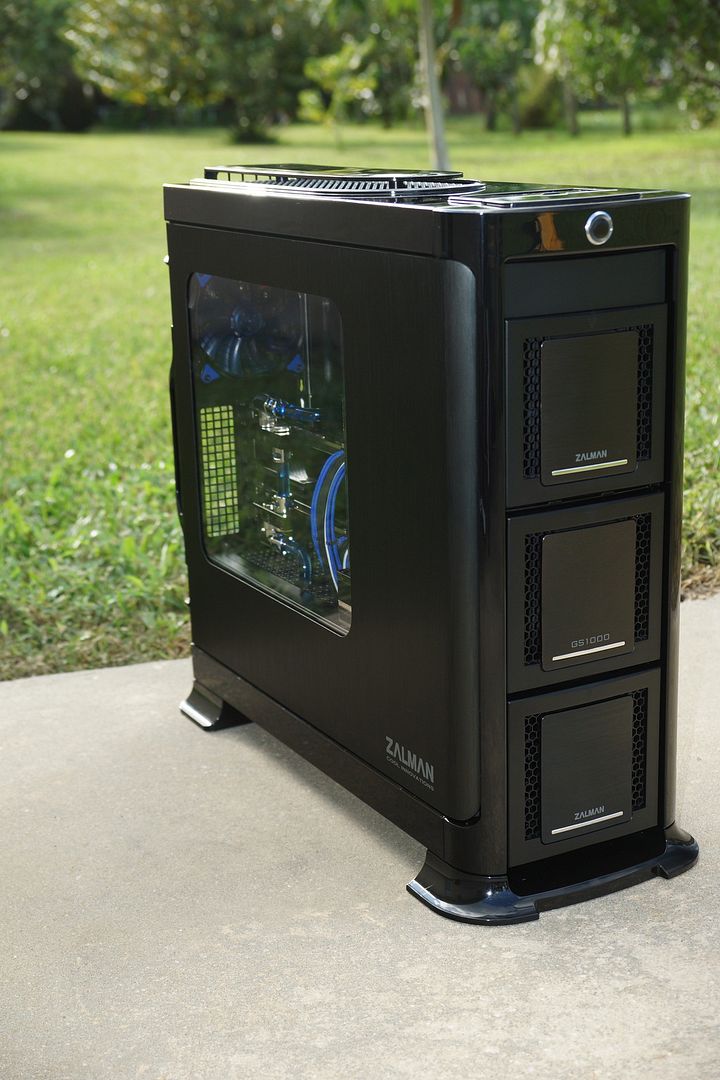
This isn't a simple case of some one taking a Caselabs for example and then throwing in thousands of pound's worth of equipment. This is a quite reasonably priced case that offers pretty much nothing in terms of water cooling and so on.
So to take that and basically make it work is just astonishing. Even the rad bolted to the back looks like it belongs there and is supposed to be there.
Amazing. Just absolutely amazing, and makes a really nice change because tbh? I'm getting pretty sick of Caselabs/Parvum/Hexgear builds. They're all the bloody same but in different colours.

Thank you for the positive feedback.
I personally like to touch and modify (for the better of course) every single aspect of a build. I guess this come from my car modding adventures as simply bolting on every part available is a no no for me.
Every time I see a caselabs build I am in awe of the space/modularity available. Unfortunately aesthetically they don't do it for me, so I can see where you are coming from with that statement.
Damn this is good.
Thank you
UNfortunately it's about to come to an end.

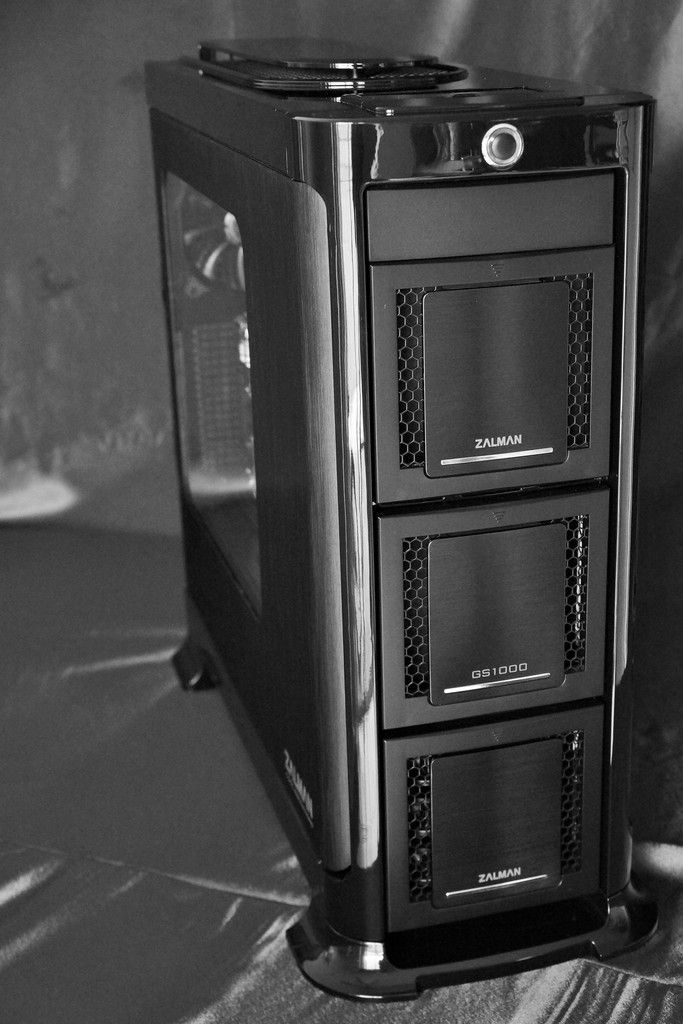
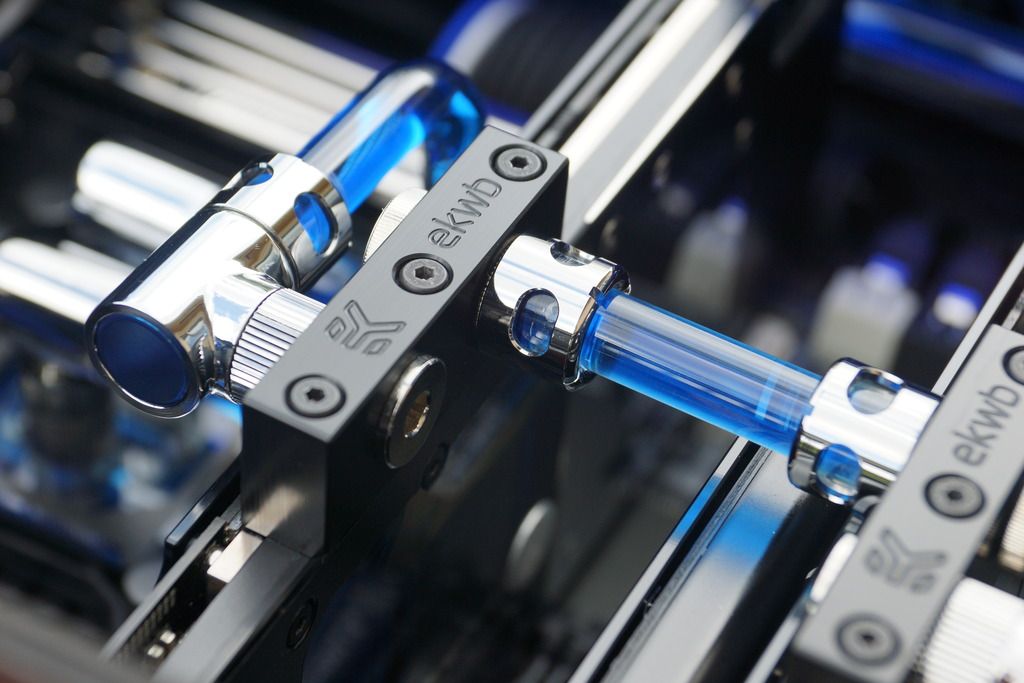
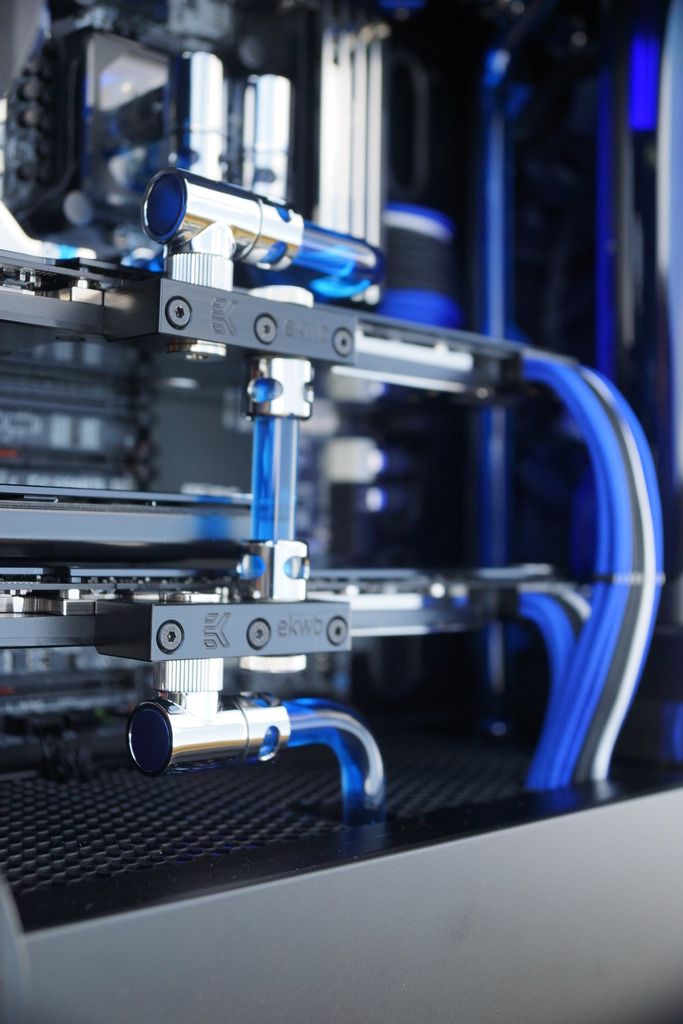
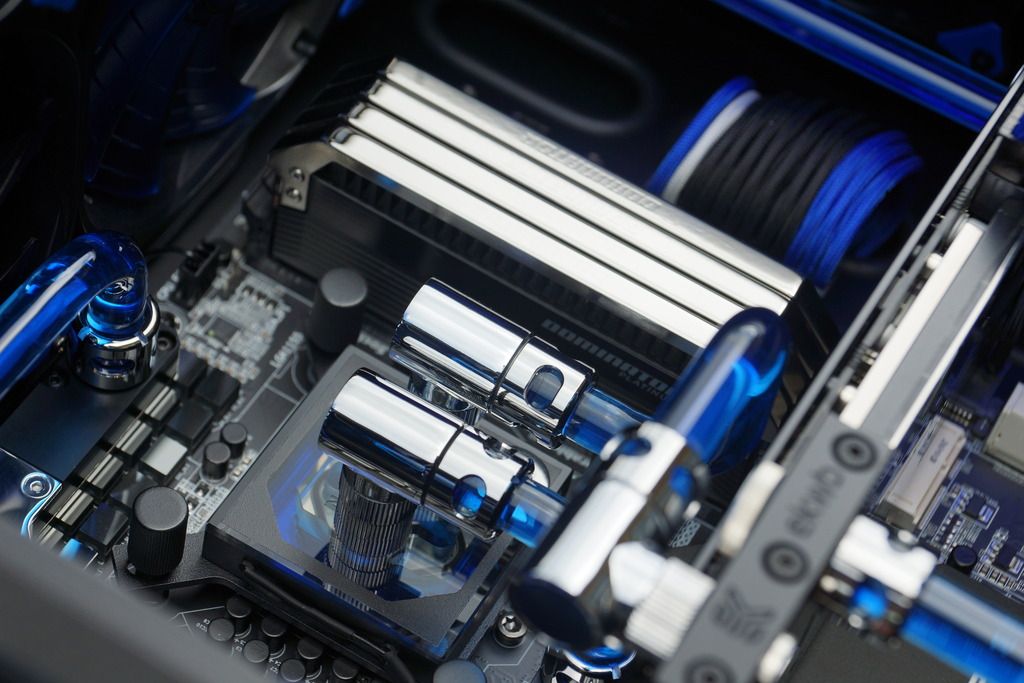
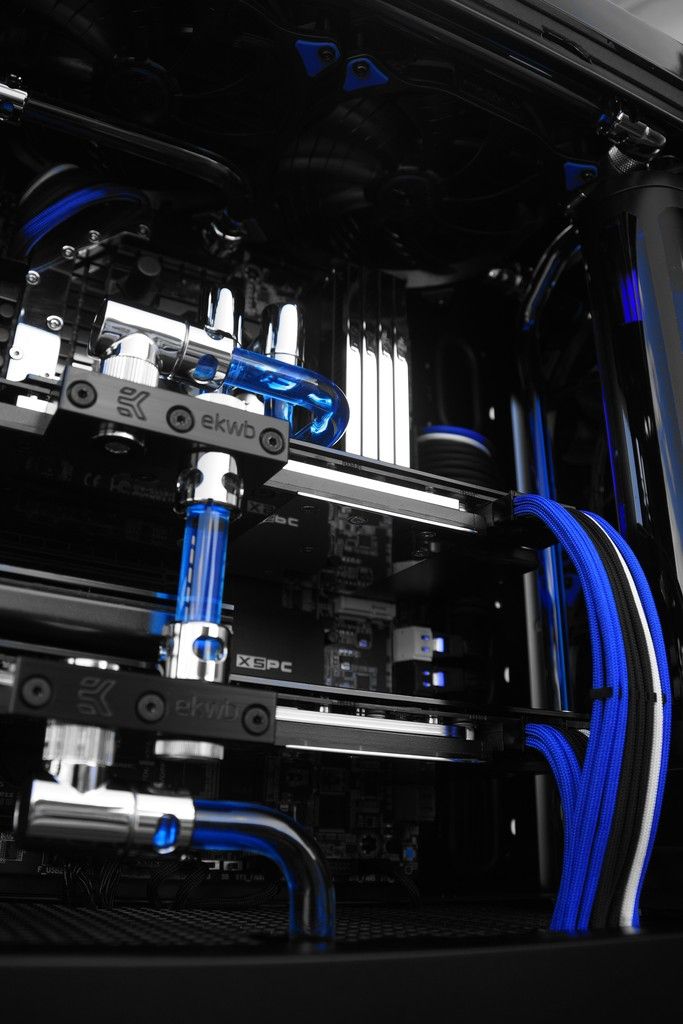
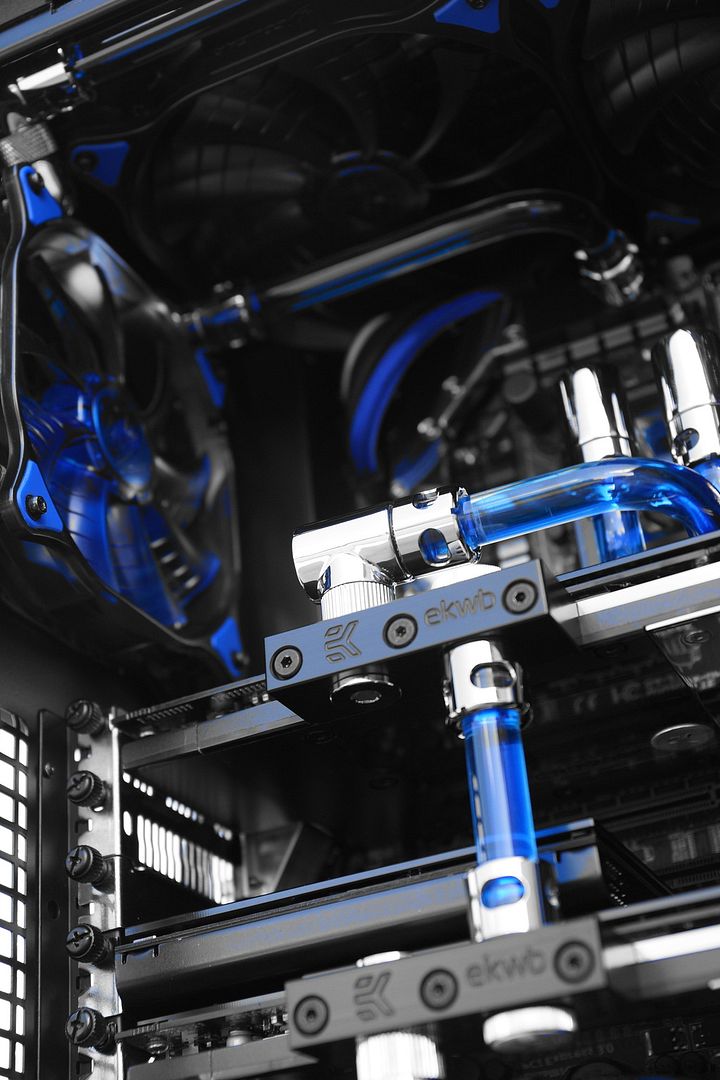
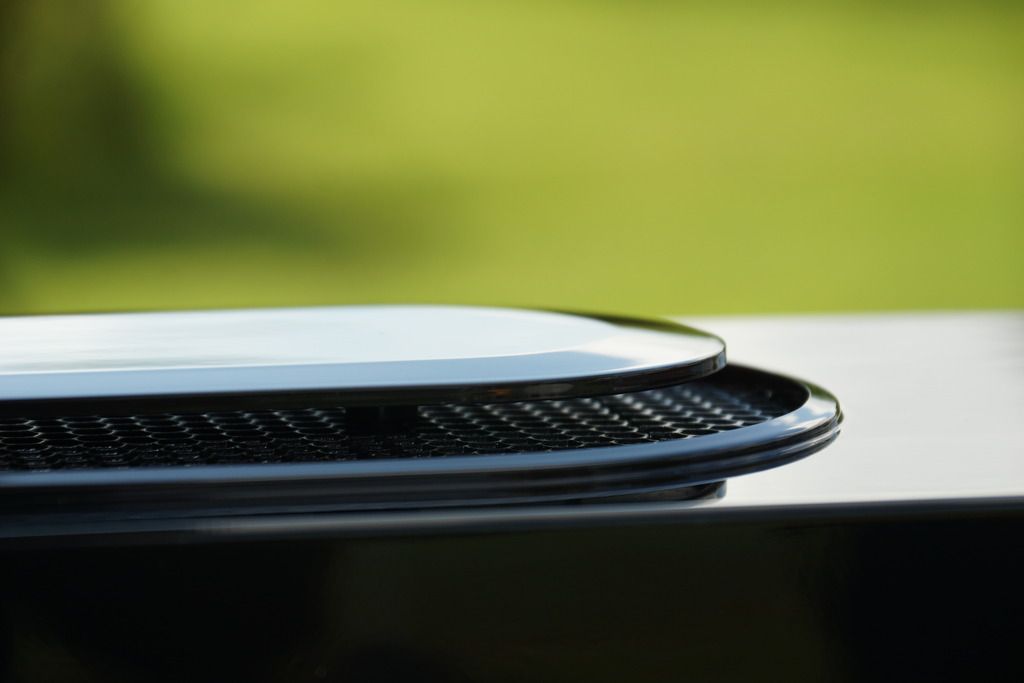
So shiny and chrome!
This is deffo one of my fave builds this year.
Thank you for the kind words.
Can't go wrong with shiny lol (well unless there's too much
 )
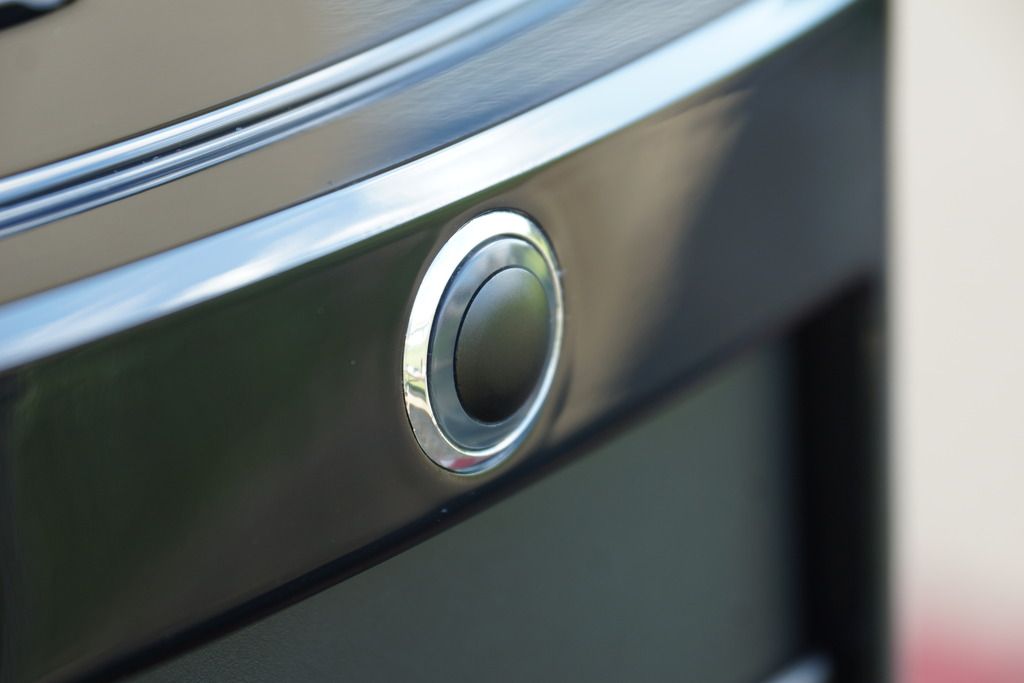
)The attention to detail wow.
Thank you
")
I am actually hoping next build I can take it a step further. I already have the case in mind I will be modifying.
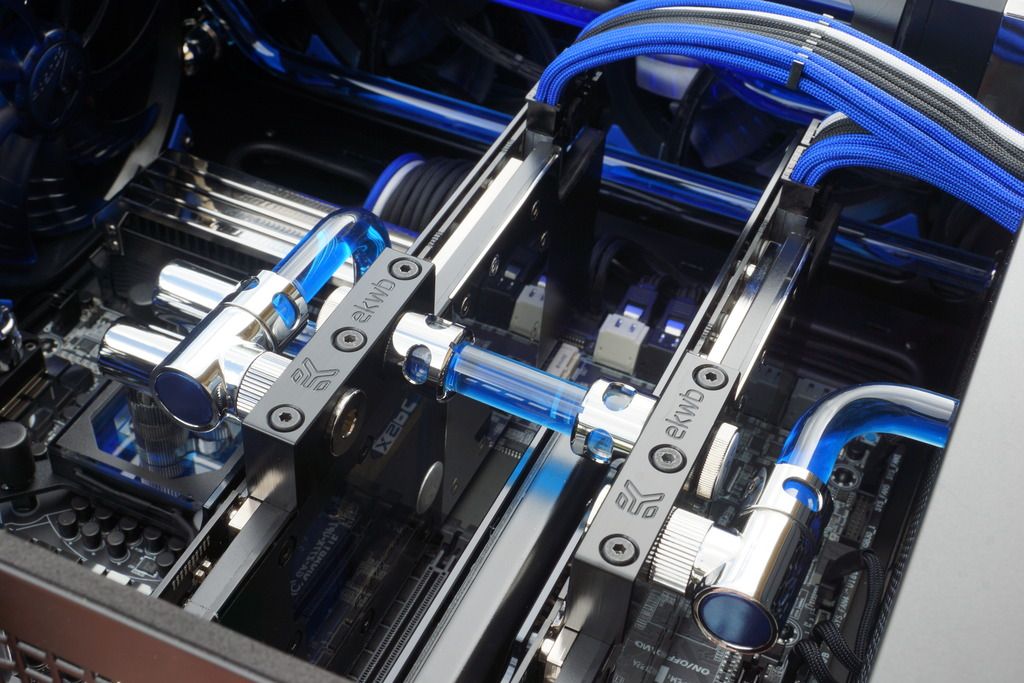
I'm sorry this build log/thread has been so picture heavy guys. I know sometimes there is a thing as too many pictures. UNfortunately I will be continuing this trend as I have taken the last and final pictures of the completed build. There's quite a bit of pictures, but I hope they are enjoyed.


jimma47
New member
Thank you.
I actually wished I would have planned a little better as to not have the double wires spliced section visible through the rear window. Next build I'll do alot better.
Looks beautiful!
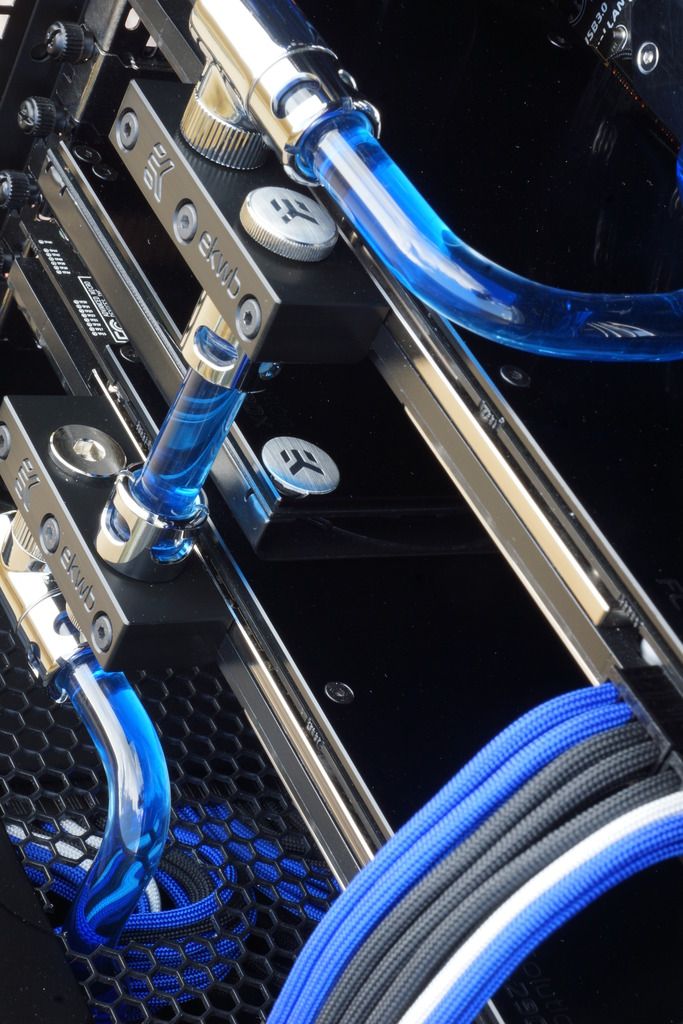
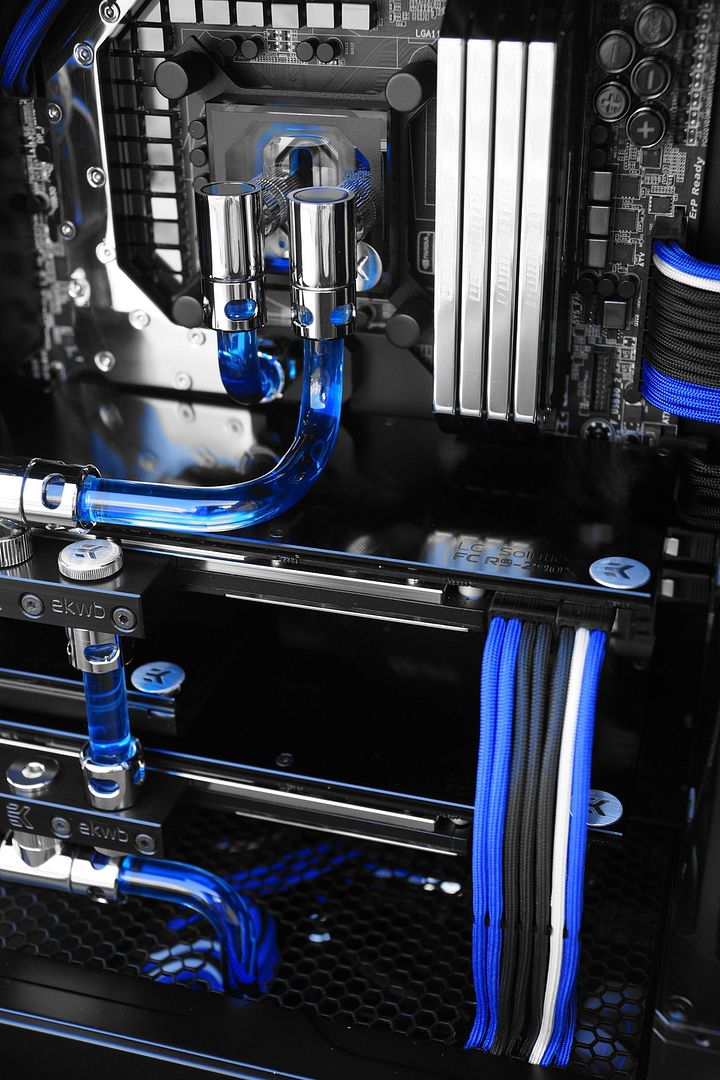
In reference to your spliced cables - It may be a bit cliché or tacky maybe but you could always run another horizontal bracket below the existing one and then do a diagonal between the two brackets to form the shape of the 'Z' in Zalman out of your cable management brackets. The spliced section should be covered up by the diagonal. Just an idea
edit - maybe even just a secondary horizontal bracket would cover them pretty well.
Wraith
Bettyswollocks
Oh my god this is perfection personified as a build log! Kudos from upon high, I'm going to need a moment to get my jaw off the floor.. :drool:
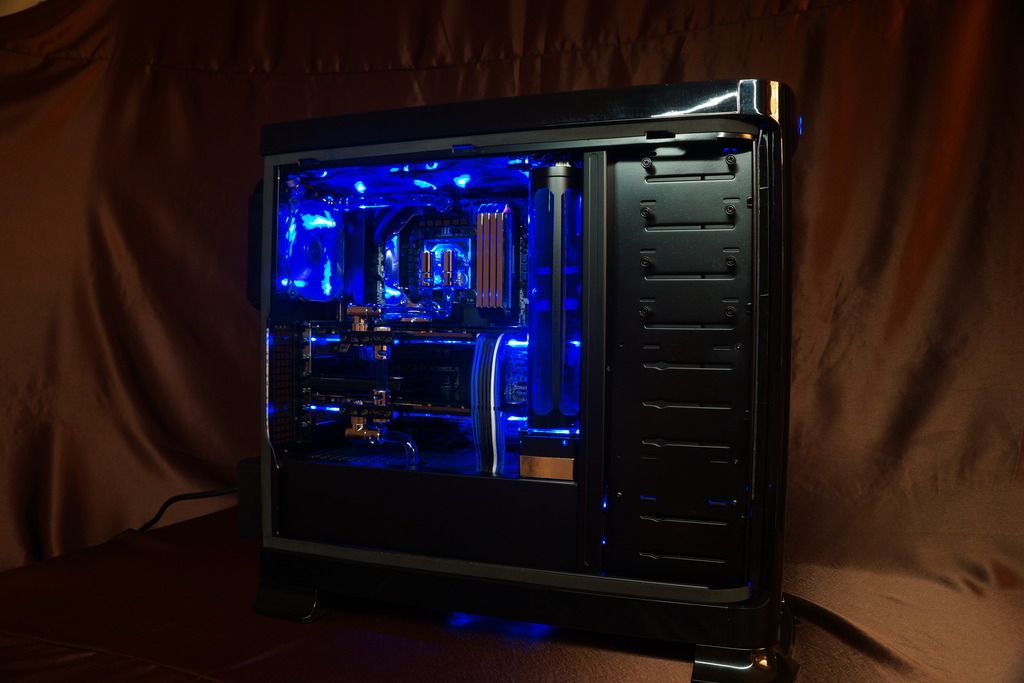
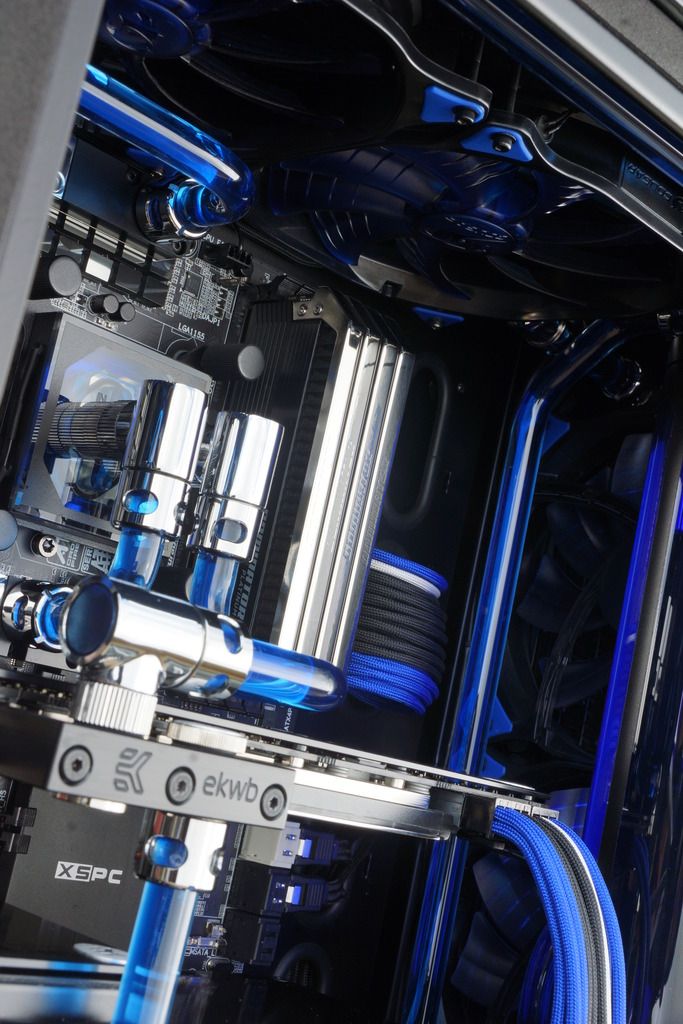
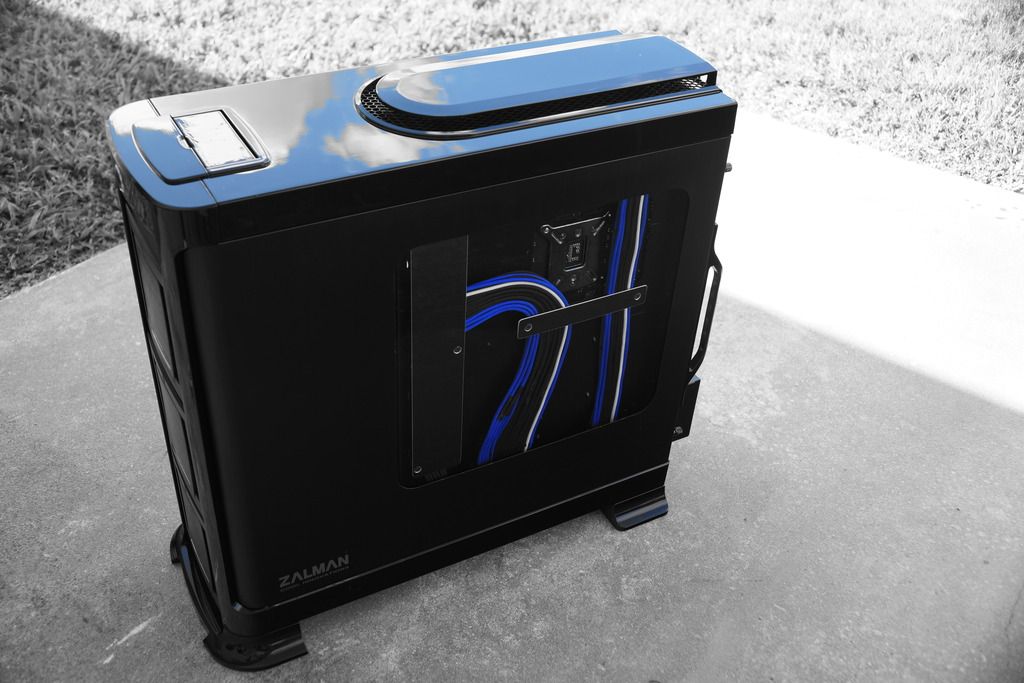
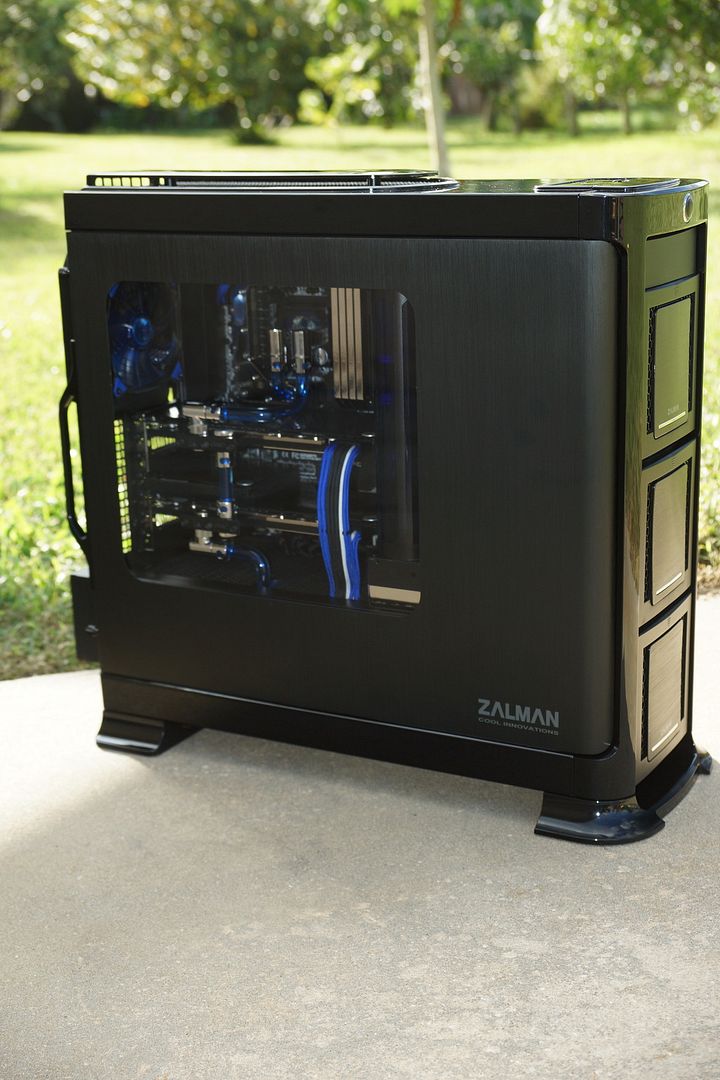
I'm not usually a fan of external mounted radiators but with this build it just works and that cable management is gorgeous.. and taking an old case and breathing new life into it is just amazing, again Kudos.
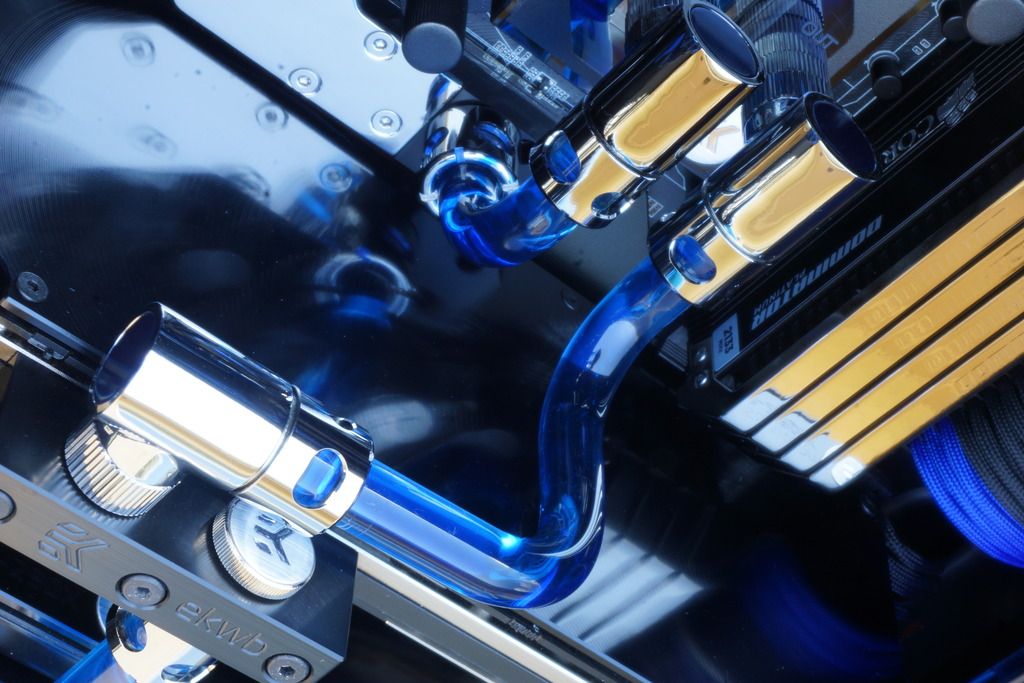
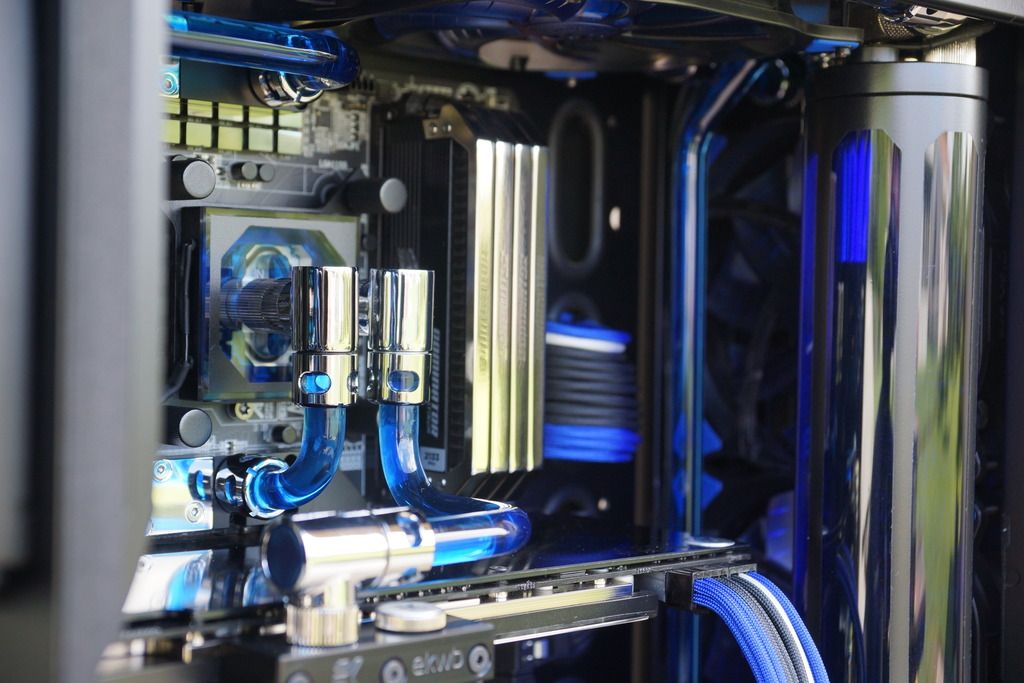
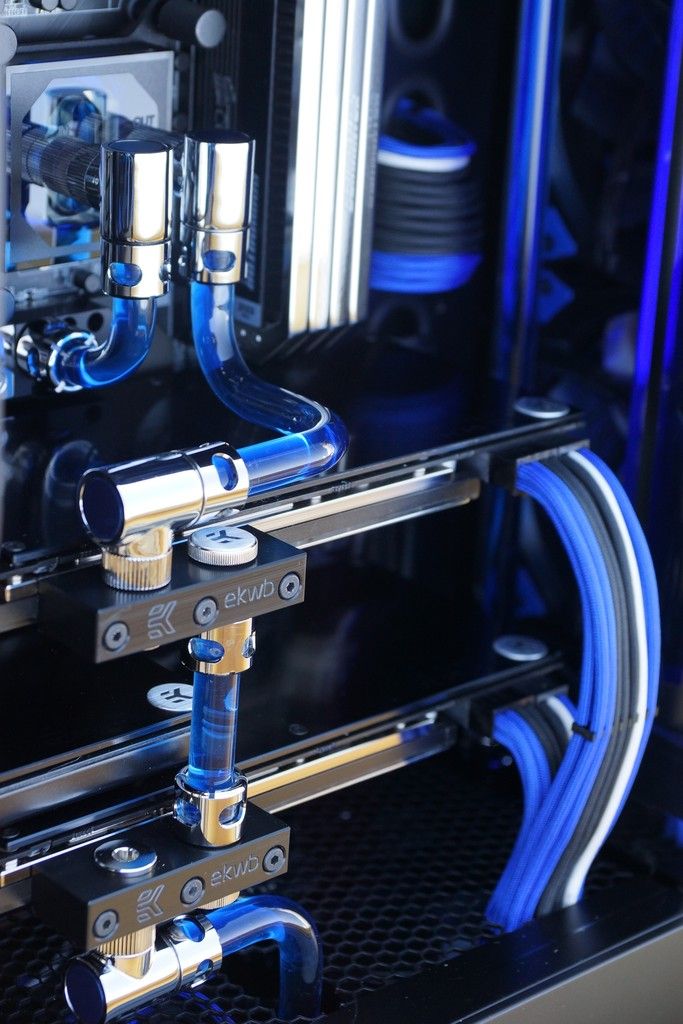
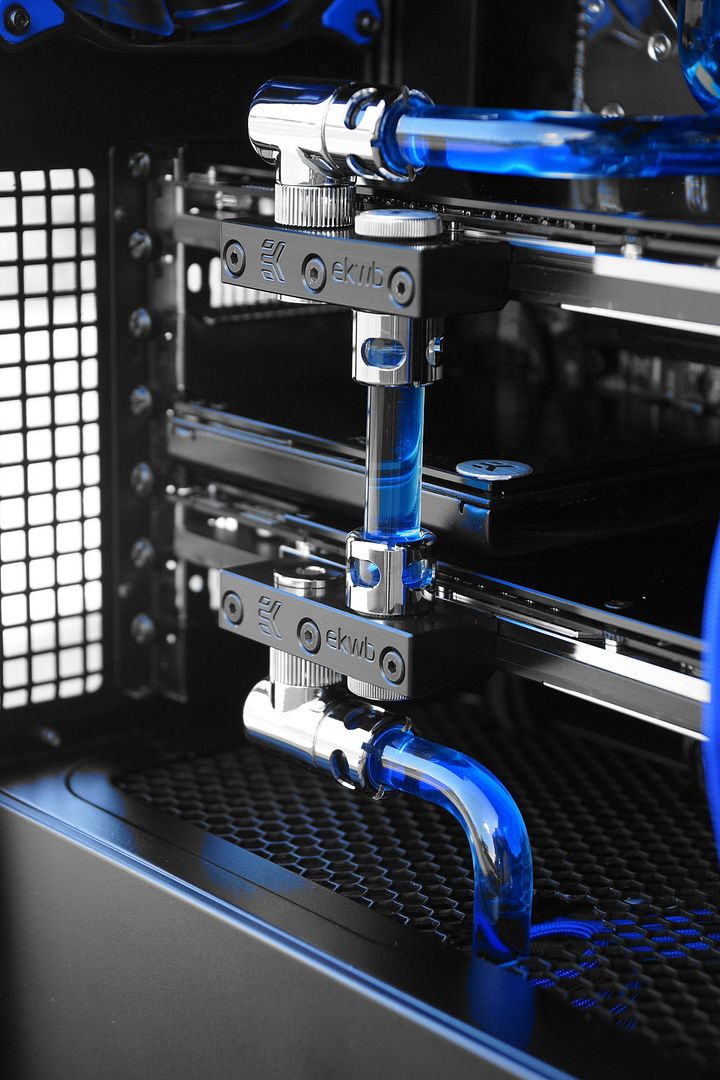
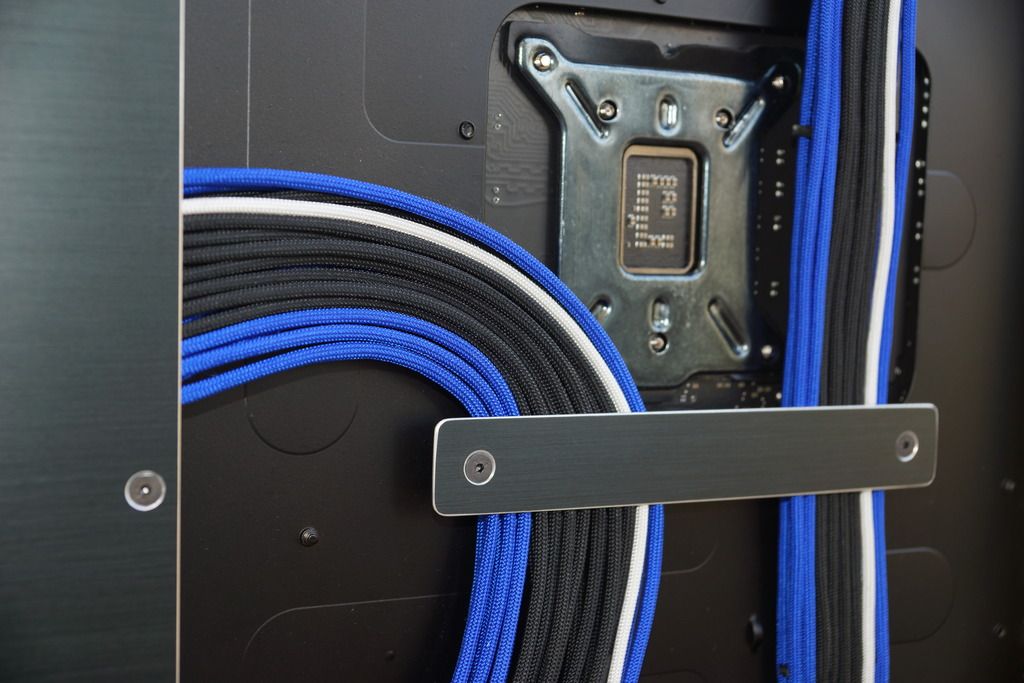
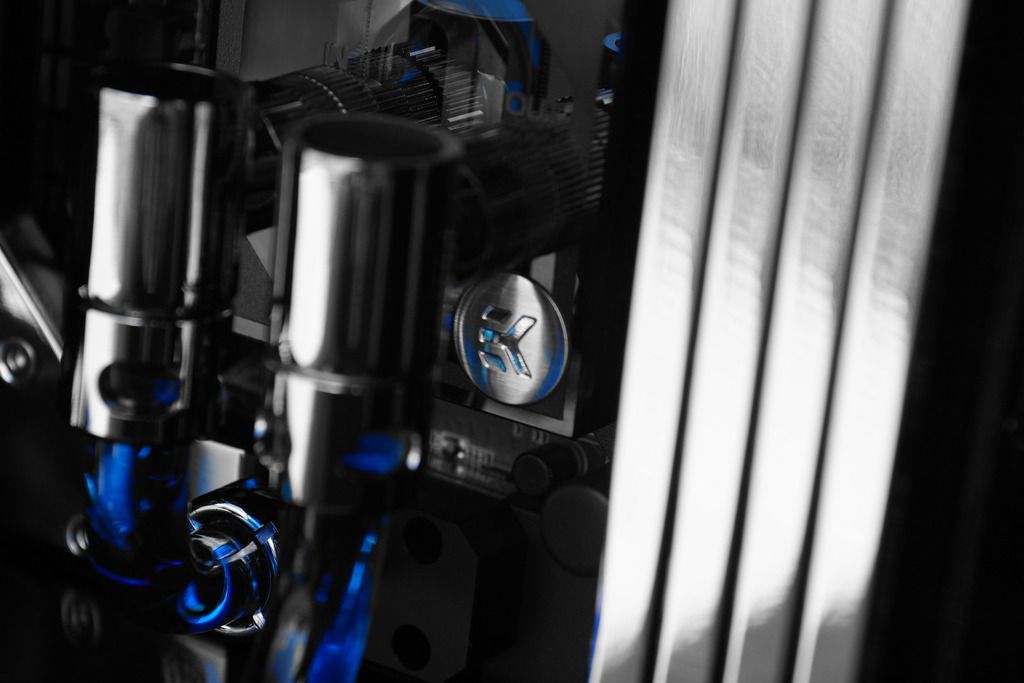
My favorite image from the build is this, it gives me a raging nerd-on.
I'm not usually a fan of external mounted radiators but with this build it just works and that cable management is gorgeous.. and taking an old case and breathing new life into it is just amazing, again Kudos.
My favorite image from the build is this, it gives me a raging nerd-on.
Looks beautiful!
In reference to your spliced cables - It may be a bit cliché or tacky maybe but you could always run another horizontal bracket below the existing one and then do a diagonal between the two brackets to form the shape of the 'Z' in Zalman out of your cable management brackets. The spliced section should be covered up by the diagonal. Just an idea
edit - maybe even just a secondary horizontal bracket would cover them pretty well.
Thank you
I actually had a similar ides (adding another bracket not the Z ) but I would have to tear down the pc to tap some holes. If I do run out of projects I will try to revisit this one with that idea.
Oh my god this is perfection personified as a build log! Kudos from upon high, I'm going to need a moment to get my jaw off the floor.. :drool:
I'm not usually a fan of external mounted radiators but with this build it just works and that cable management is gorgeous.. and taking an old case and breathing new life into it is just amazing, again Kudos.
My favorite image from the build is this, it gives me a raging nerd-on.
lol Thank you.
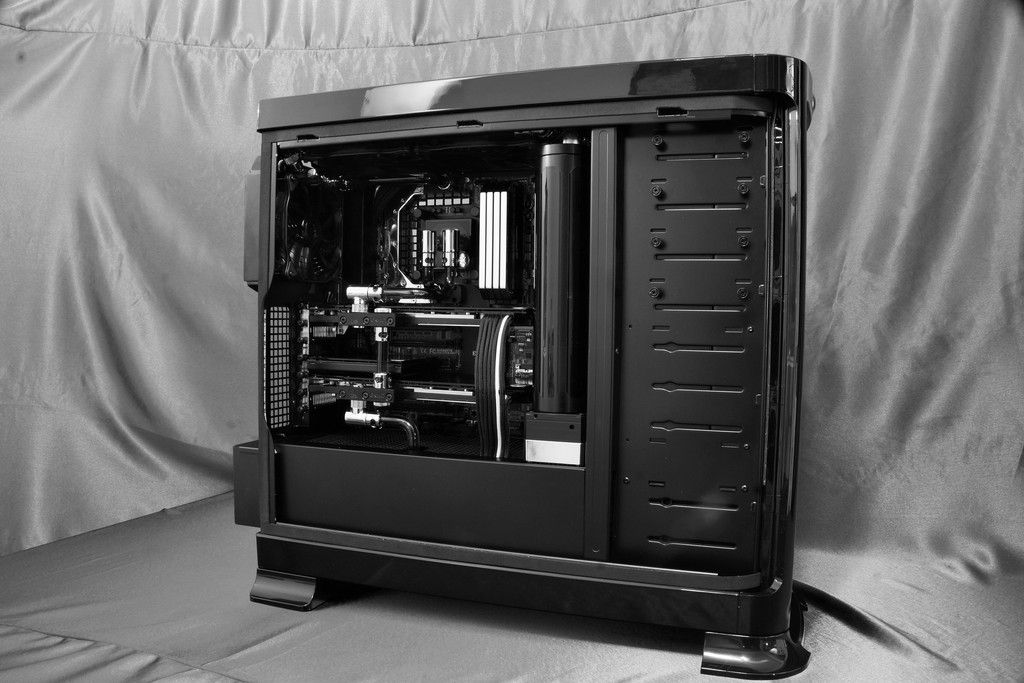
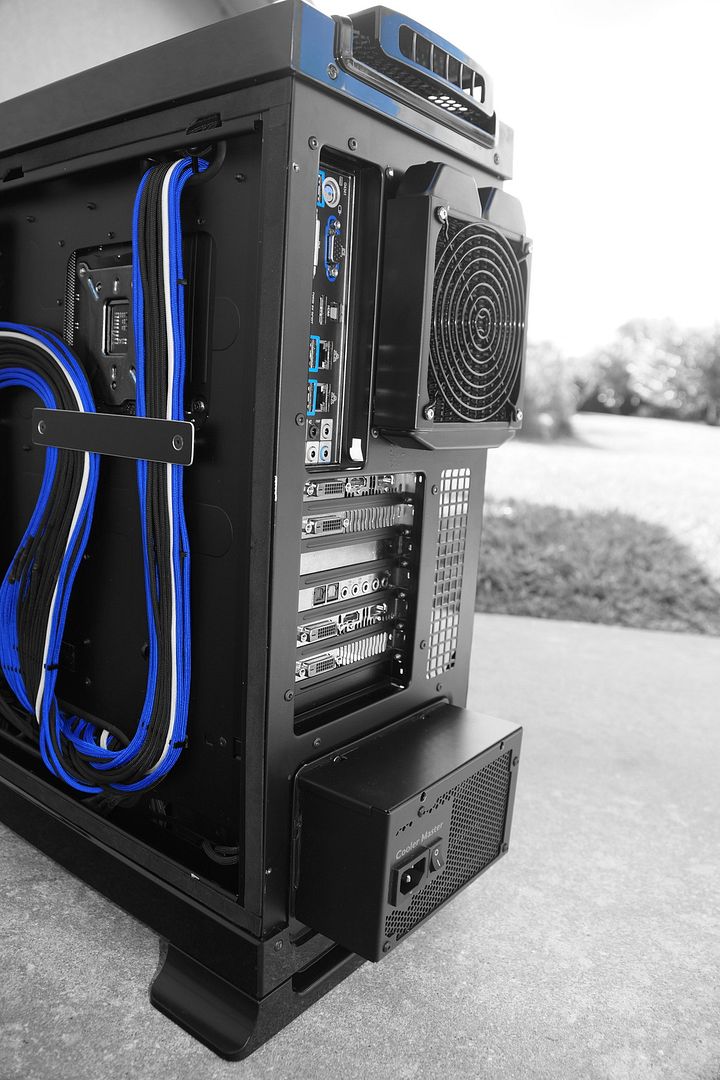
I didn't want to put a radiator back there but with 2 290's I was trying to get as much rad space as I could possibly fit. I will be trying something out in the next week or so and that would be setting all rads as intakes and removing the rear rad leaving the rest as intakes and keep the rear fan only as exhaust. I want to see the differences in fan rpm/internal temperatures/component temperatures. As it sits right now with a 25c ambient I get about mid 60's on the cpu at 1.3v and 50/52c on the cards at stock. Not bad considering max rpm on the fans is 1000rpm.
I like modifying cases. It's like seeing their true potential lol. I have my eye on the next case I want to mod so we'll see.
THat is one of my favorite pictures as well. Has a bit of a surreal look to it.
This is great dude!
Thank you
I'm glad you enjoyed following along.
Stunning.
I have no other words.
lol Thanks
One of the best builds I have seen to date. The black and chrome are just beautiful. I have alot of old hardware laying around here but I doubt I could even make any of it look that good.
Awesome job !!
Thank you.
I'm quite the fan of chrome on black as well. Lol
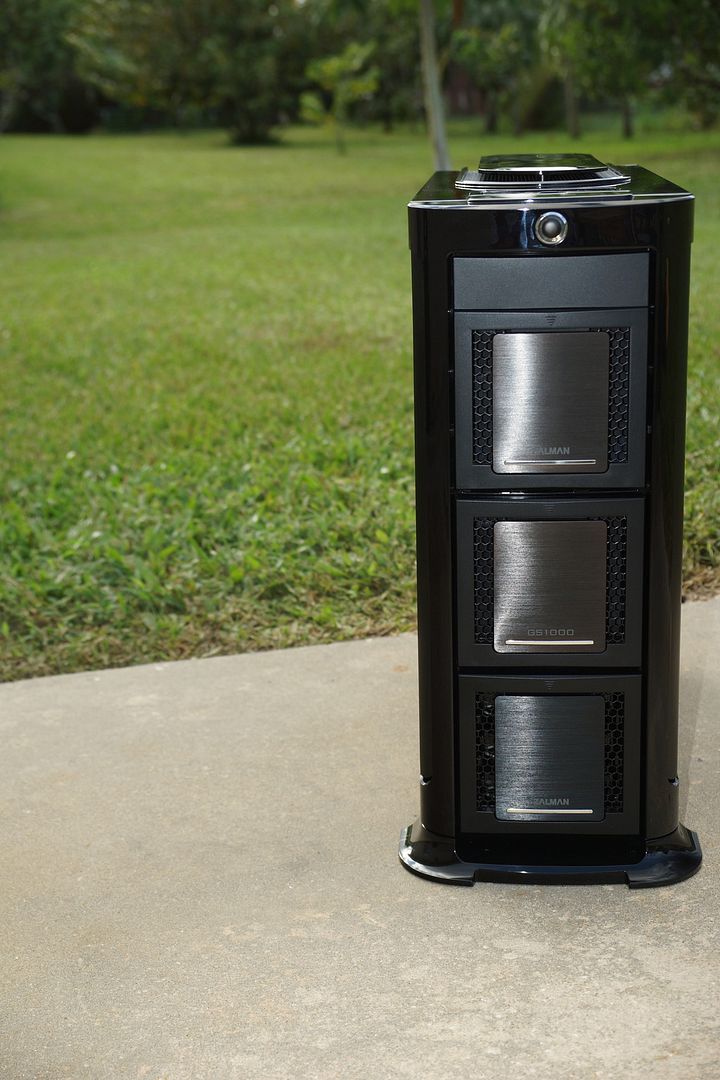
Not a big fan of the psu sticking out, but apart that this is an amazing build, well done mate
Thanks
I'm also not a fan.
i had to sacrifice for more rad space.God Father
New member
Stay tuned i bet some folks might be glued to the screen
Stay tuned i bet some folks might be glued to the screen
Lol
The only thing i have left ia the video. Hopefully this upcoming week.
Similar threads
- Replies
- 1
- Views
- 121
- Replies
- 16
- Views
- 1K