AlienALX
Well-known member
Please note this guide is very old. I will try and update it as and when but I am really busy right now. This should get you started though.
OK. So guide number one is braiding a PSU, extension, etc. First up you are going to want to remove the connectors. Now note, on PCIE power plugs, EPS connectors, 24 pin power connectors the pins are all the same. For years people have desperately tried to find easy ways to remove them, and a certain company makes a tool but even it leaves a lot to be desired as it does not push the pins in enough and often breaks because the end needs to be thin.
So let's start with the tools you need.
A paper clip.
Yup. that's it. Thing is, loads of people use this method but it often does not work. So let's do it the Zombie way eh?
So one paper clip. This costs about 0.1 of a penny but if you know what to do with it you will kick the crap out of the tool being sold.
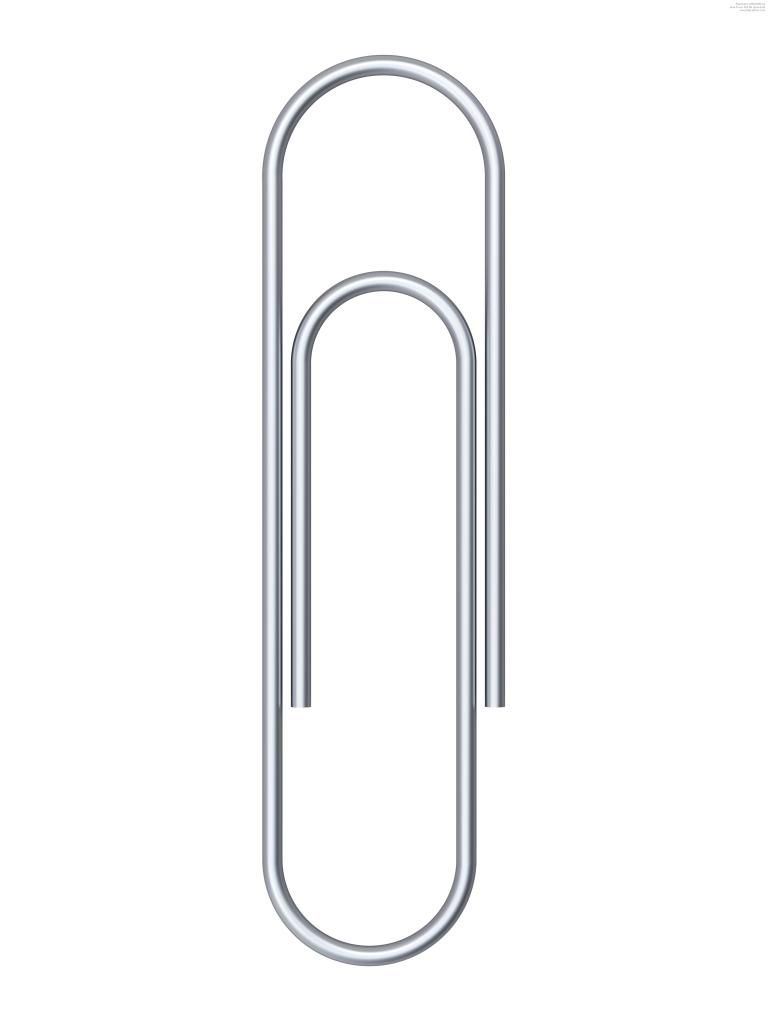
Now what we need is a L shaped piece. So, look at this pic.
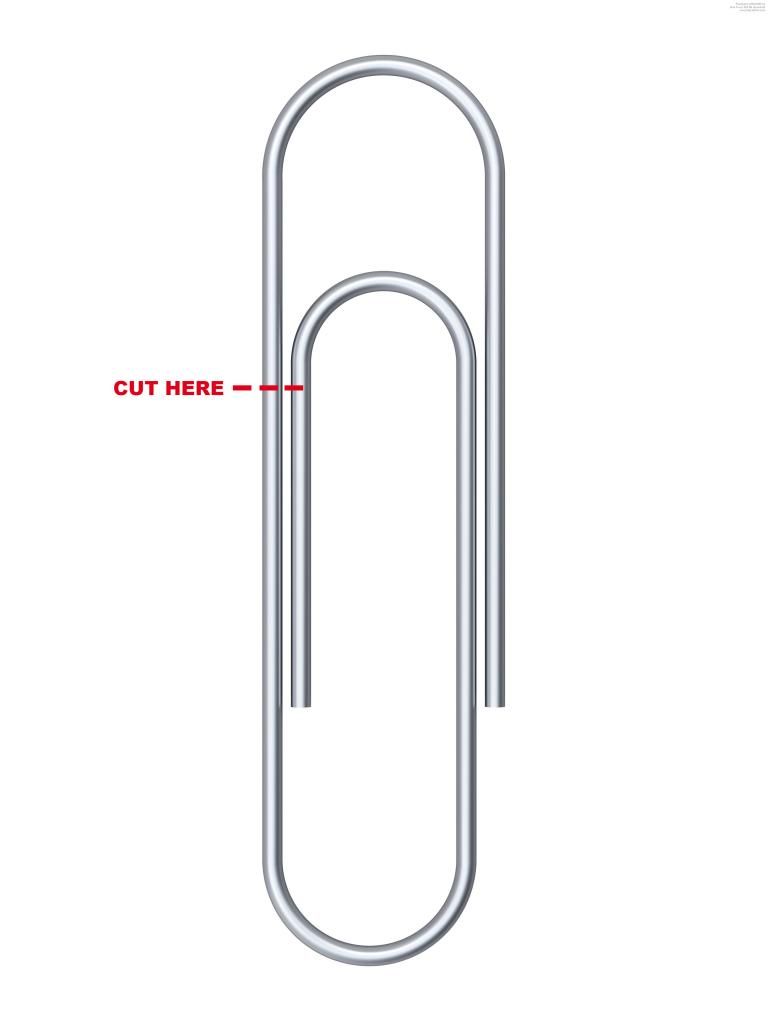
Cut it there with a pair of clippers, snips or plier cutter part. You will then have something that looks like this.
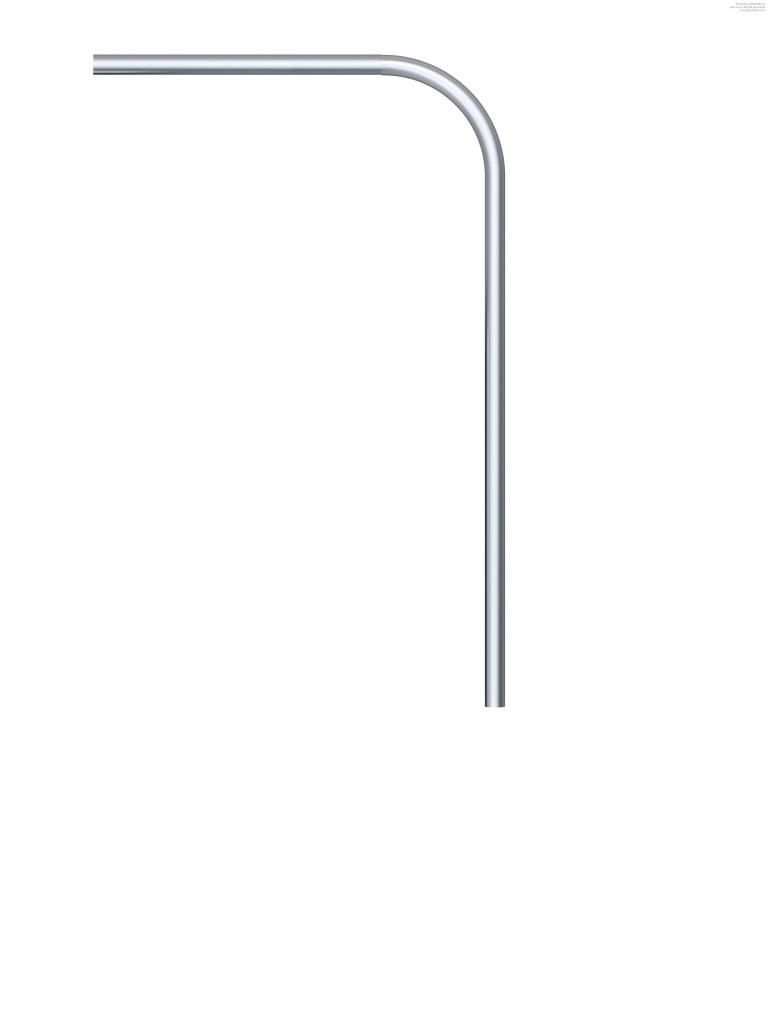
OK. Now you need a vice or a pair of pliers and a bloody strong grip. Now you need to basically crush the end so that it's pretty flat, kinda like this.
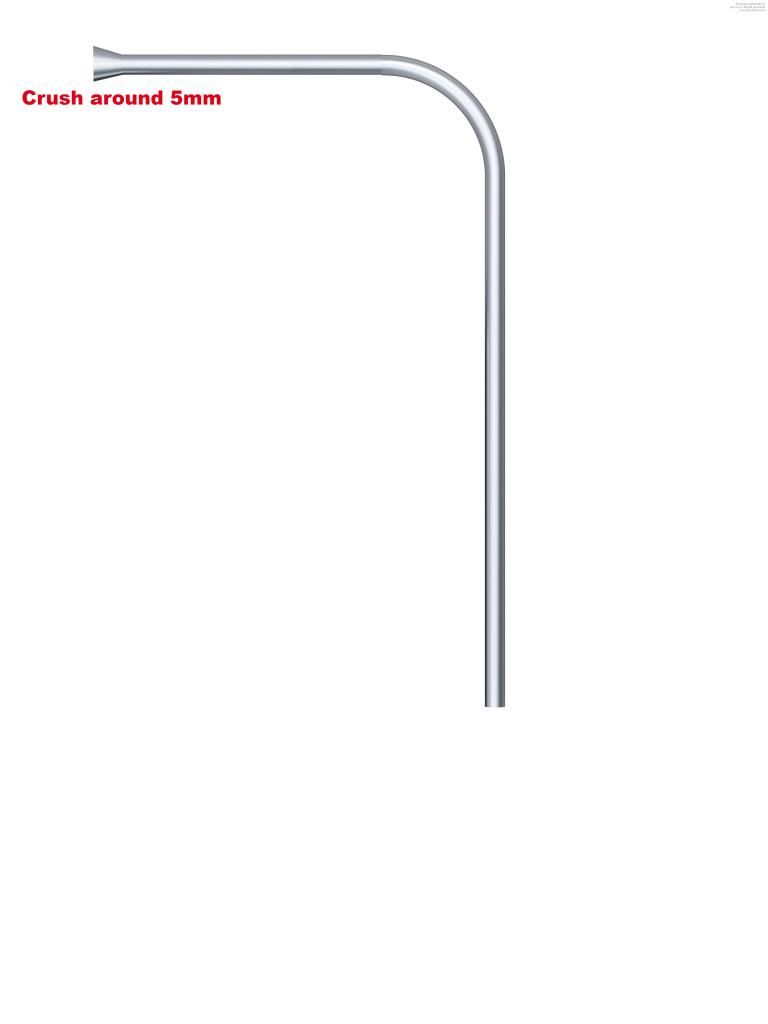
OK, now you have your tool. It costs small percentages of pennies to make loads more, they will wear out over time.
Now. Let's go through how to use said tool. Here is your enemy....
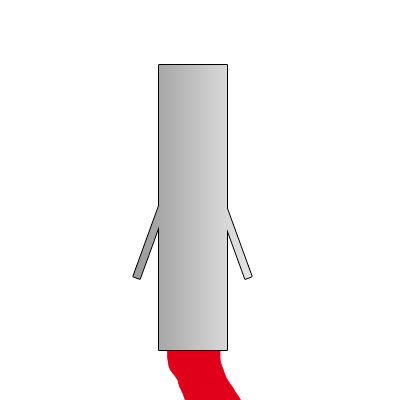
And trust me, this little hates your guts. It wants to cut you, slice your fingers and make you bleed. So how do we get it out?
As you can see, there are two little pins coming out of the side. This keeps the pin locked in place, and to get it out you need to push them both inward. Here's how.
This is a ATX 24 pin connector.
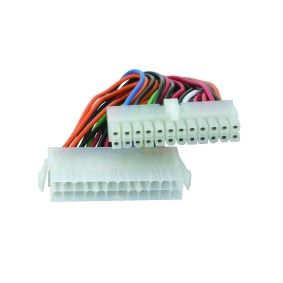
Every single wire in there has a pin on the end that is hollow, and coming out of the side are the two splines you saw in the image I made above. Now look at this.
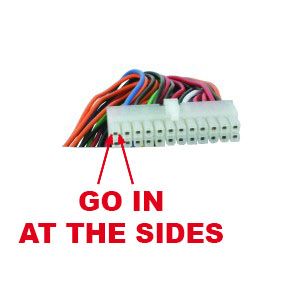
And you can see how you have to insert the tool you made. The pins are *always* on the side of the connector, not top and bottom. So, insert the spade part you made by crushing it with the pliers/vice. Push quite firmly, it needs to go all the way down. See, many people tried this method but it never worked every time. The pins are very hard to get right in, so I want you to watch this video tutorial now.
Now look, the method is rather simple. You force the tool down the side of the clip, make sure it's home, then twirl. Now this is where every one else stops, they do not make the twirl. Watch what I'm doing a few times, watch how quickly and easily I can extract these wires.
Note.
This part is crucial.I don't want your blood on my hands !!!!!!
On the back side of the connector there is a U shape. This is what stops the connector going all the way through. Just trust me on this, it's *ing* sharp. Look at this.
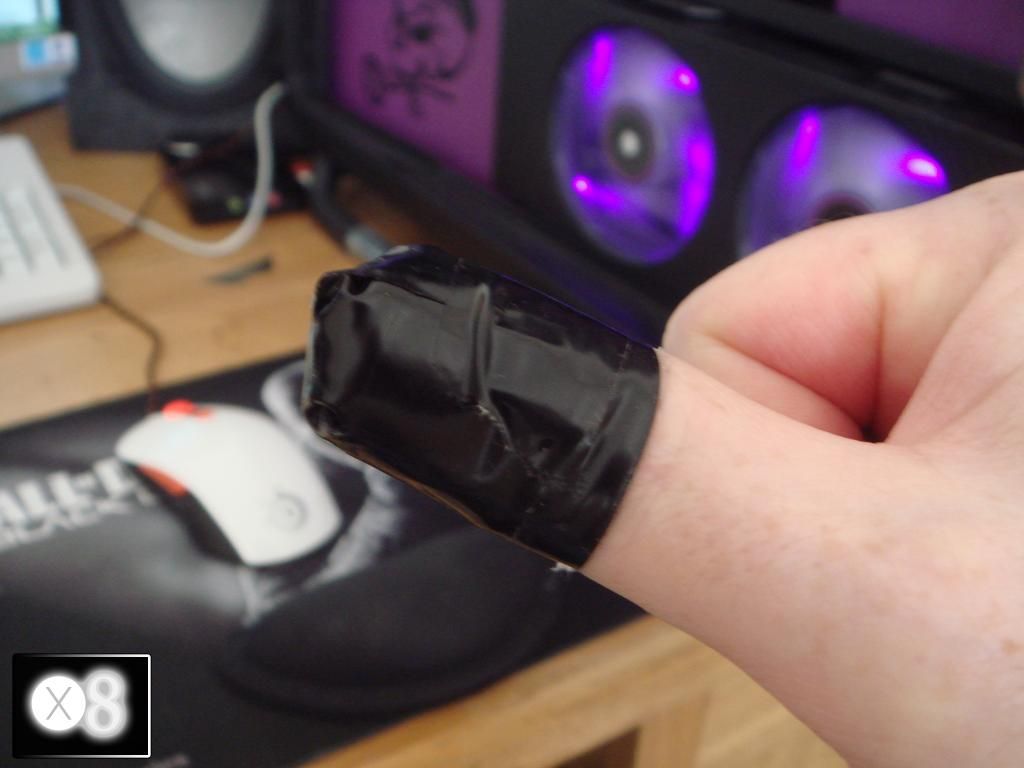
And what it actually looks like...

That one was super glued shut as it refused to stop bleeding. So, when you pull the wire out MAKE SURE YOUR FINGERS ARE NOT AT THE BACK AROUND THE CABLE.
Coming up next, braiding a cable with paracord (tomorrow as I need to actually do it and take some pics).
---------------------------------------------------------------------------------------------------
Braiding with paracord (same method for the other stuff pretty much)
How to braid cables, V1.
Right. Now that you have extracted your pin and wire, here is what you do next. First up here is your wire and that evil little bugger of a sharp U channel I was telling you about.
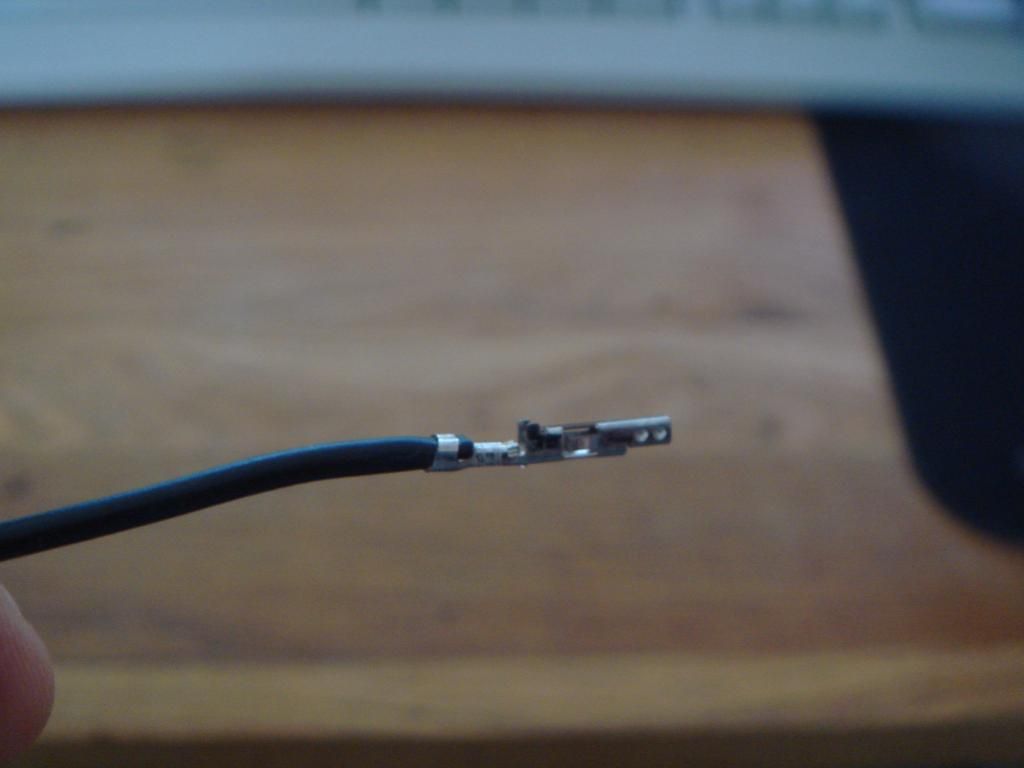
Nasty little SOB !! OK. So now take your paracord and pull it down the cable. Like this.
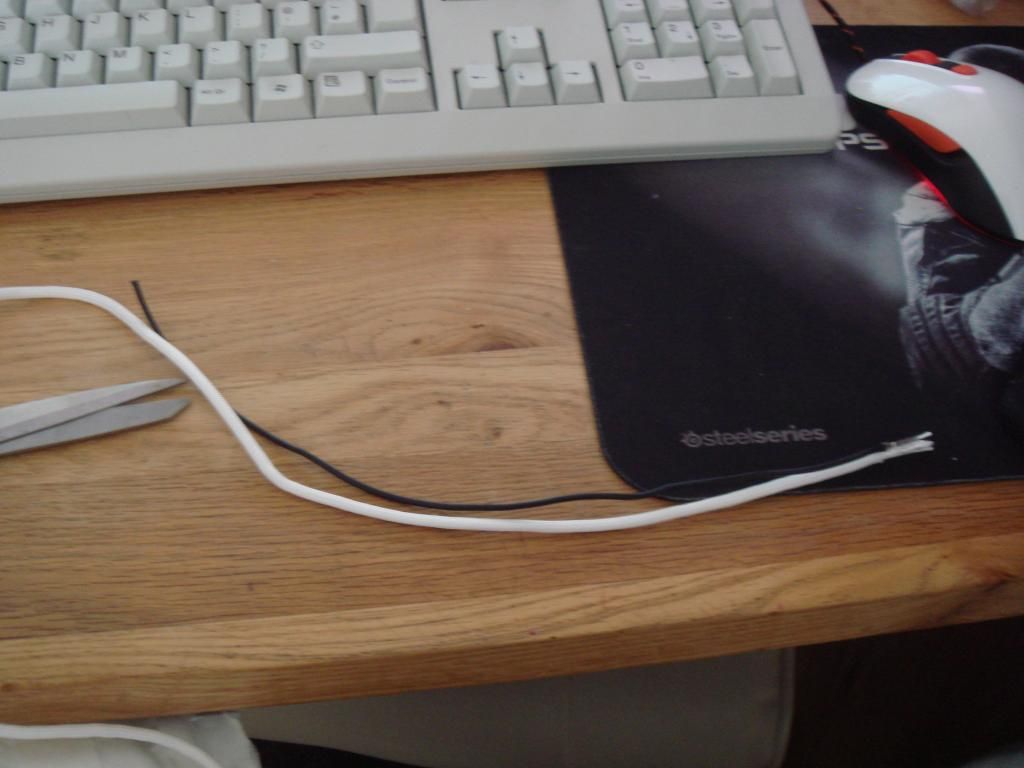
Always carry on for about another 1.5 inches. Paracord is stretchy, and tends to stretch when you pull it down the wire to get the length so add a bit on so that when it contracts it doesn't wind up too short. Nice sharp pair of scissors and cut.
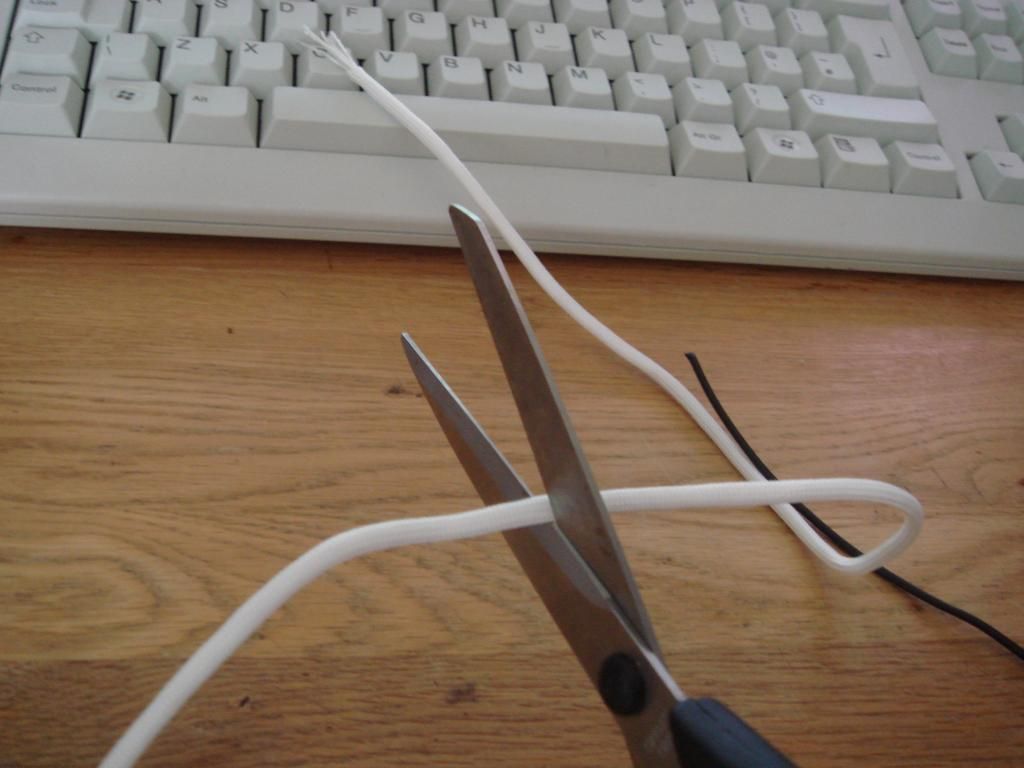
Pull out the core. Now a quick interlude. Most paracord is 7 strand core. However, expensive paracord is better quality *but* is thicker and can be useless for braiding with. I suggest using cheaper, thinner walled paracord. OK, what I do is bunch the cores and then tie them up together and toss them in the bin. It can make a right mess if you drop it.
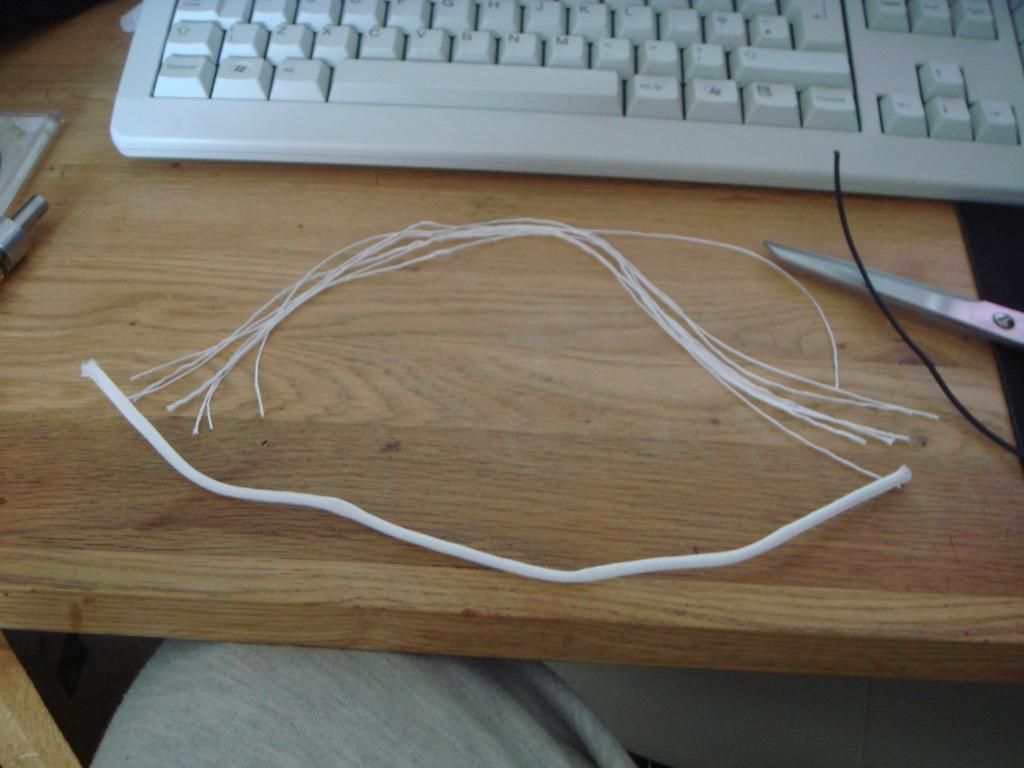
OK, so now take a lighter and gently burn the ends, like this.
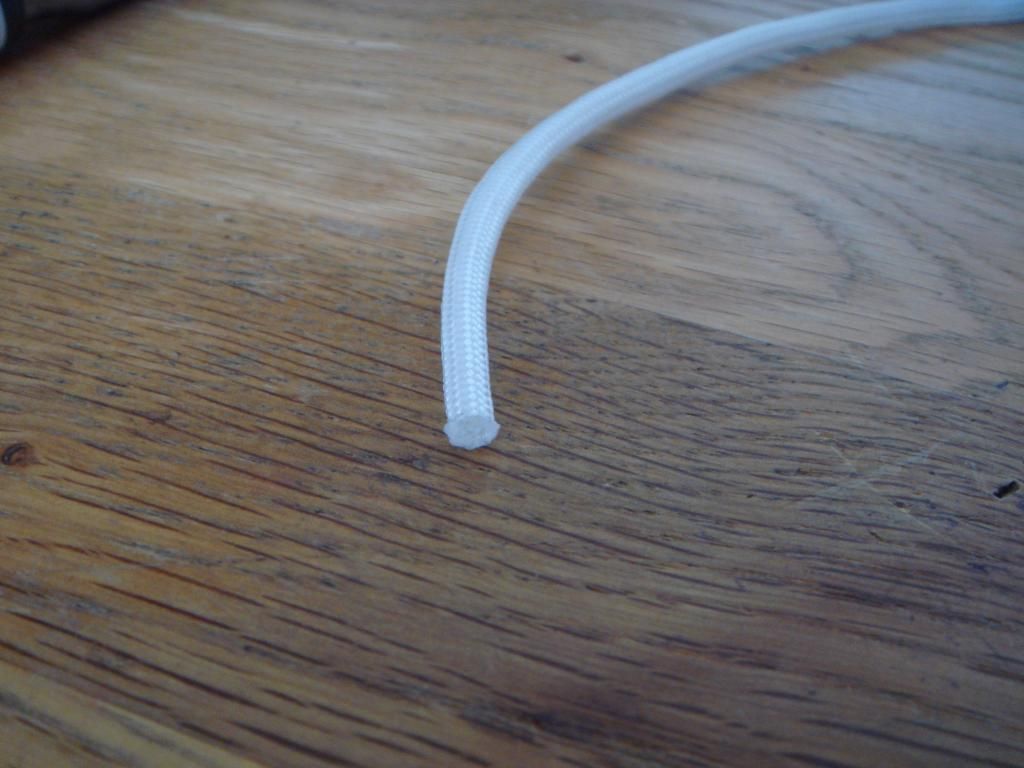
That will stop it fraying. Then you insert the scissors and cut, like this.
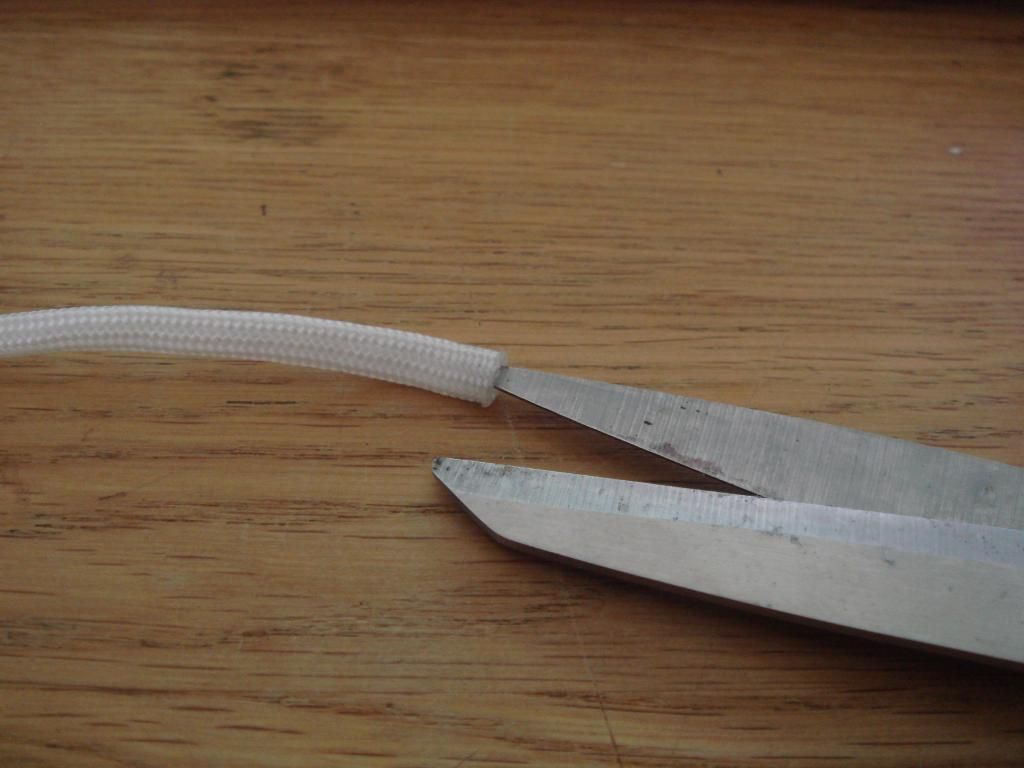
Do that 4 times, so you are in effect doing this...
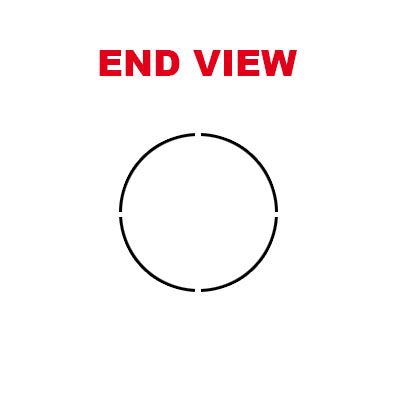
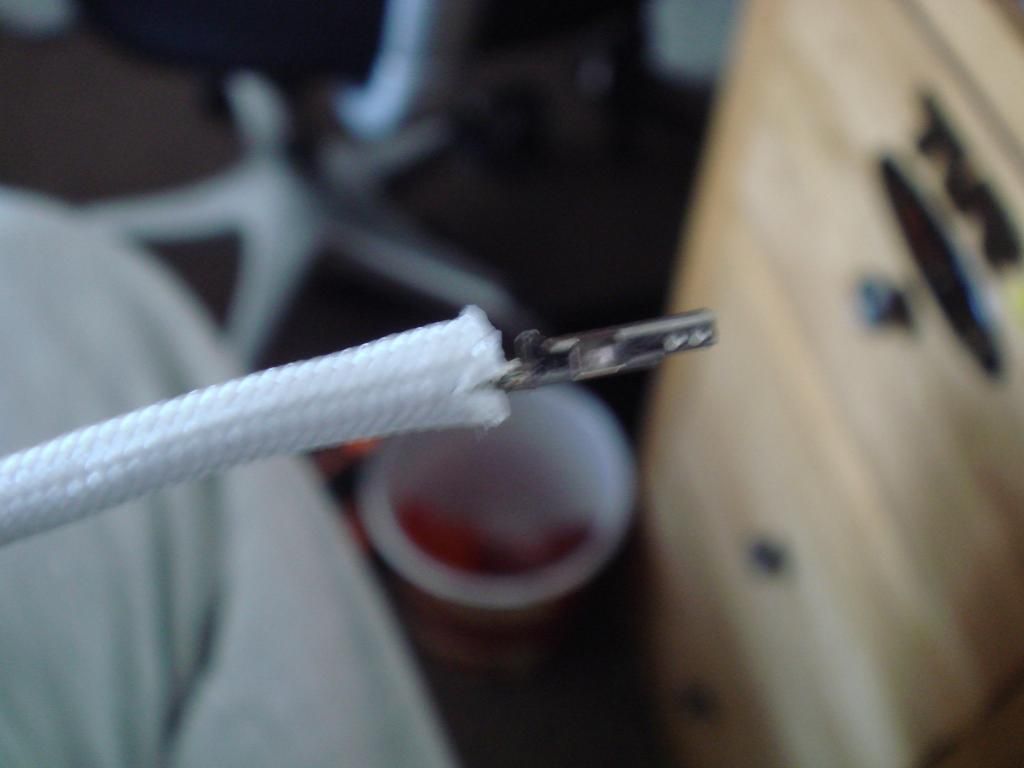
And you do that to open it back up. Then braid your cable. I use a metal sheath that I insert the end into, then pull the paracord over that. You can also tape them up and do it that way. More on the tool soon. You need to run the paracord up below the U channel. Go over it and it will not go back into the plug. So do this.
OK. So now you need to heat the end of the paracord with a lighter, evenly all the way around. Then you need to leave it a few seconds to cool down a bit, then roll the end in your finger and thumb so that it does this.
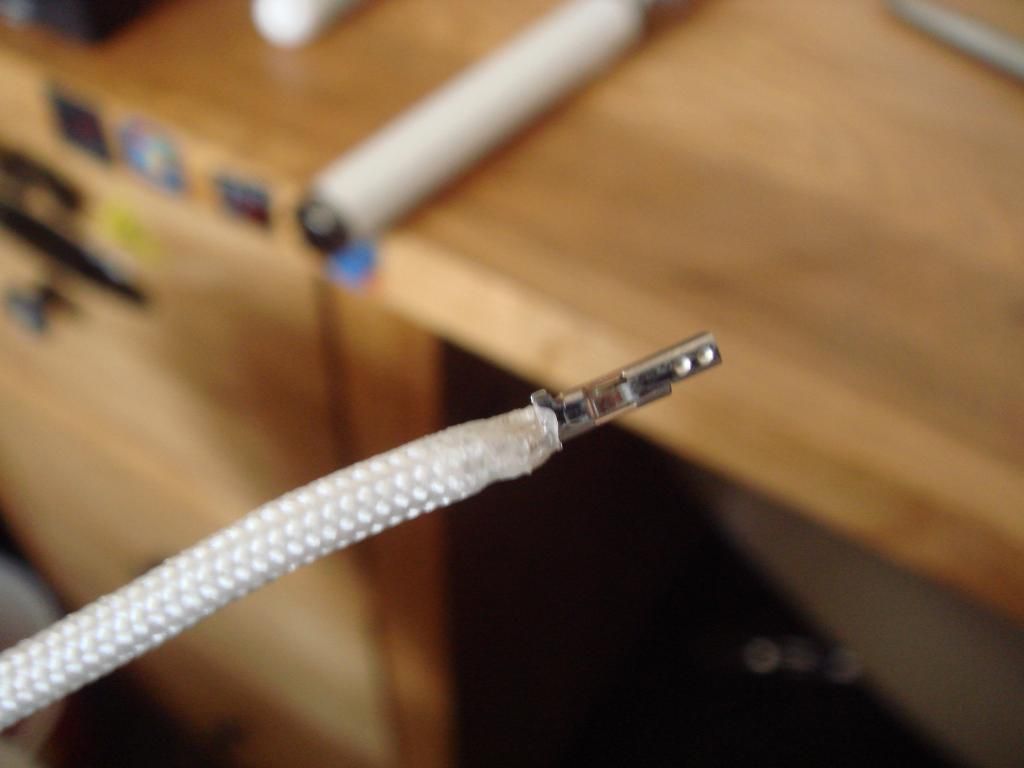
If you roll too early it will stick to your finger and thumb and burn. If you roll too late it will not do that ^ so practice is key. If there are any small bits or strands left simply heat and roll again.
OK, final step. Make sure you open up the clips. I use the end of a scalpel blade (an old one).
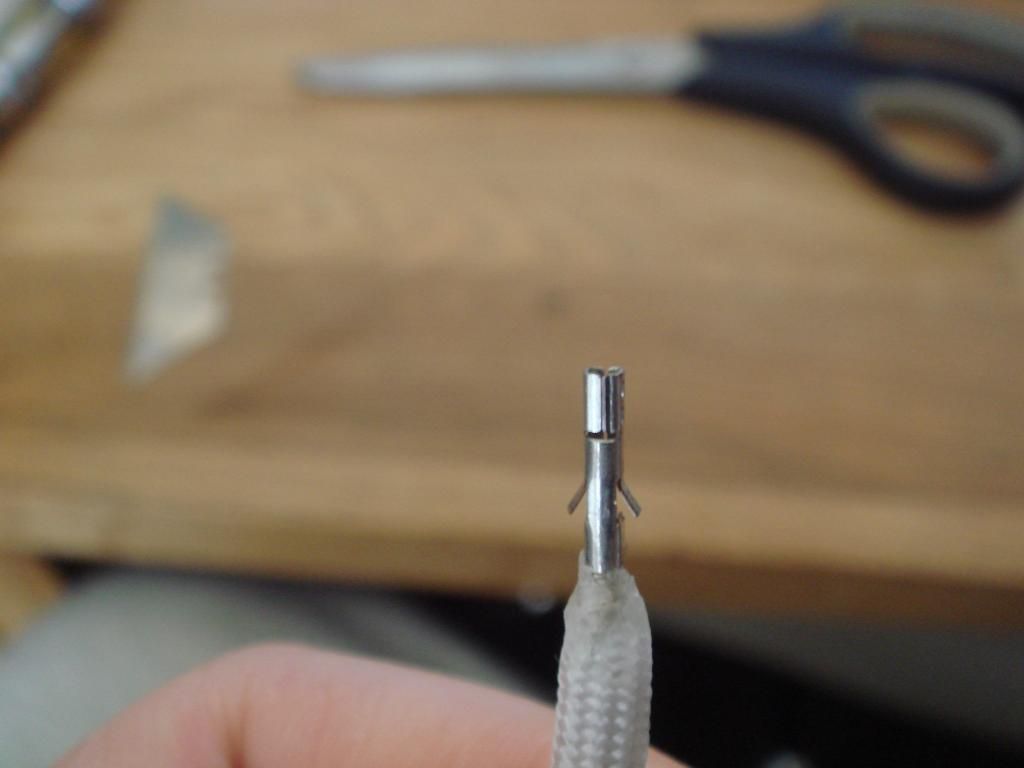
Now note. There is only one way you can reinsert the connector. The U channel has a channel in the plug that it will go into and it's one way only. So, what I suggest is looking at the orientation as you remove the pins, then inserting it back exactly as it came out.
More soon, but this should get you going on shrinkless braid.
Over and out
--------------------------------------------------------------------------------------------------
Let me have a read over it and I will see if it needs to be changed.
OK. So guide number one is braiding a PSU, extension, etc. First up you are going to want to remove the connectors. Now note, on PCIE power plugs, EPS connectors, 24 pin power connectors the pins are all the same. For years people have desperately tried to find easy ways to remove them, and a certain company makes a tool but even it leaves a lot to be desired as it does not push the pins in enough and often breaks because the end needs to be thin.
So let's start with the tools you need.
A paper clip.
Yup. that's it. Thing is, loads of people use this method but it often does not work. So let's do it the Zombie way eh?
So one paper clip. This costs about 0.1 of a penny but if you know what to do with it you will kick the crap out of the tool being sold.

Now what we need is a L shaped piece. So, look at this pic.

Cut it there with a pair of clippers, snips or plier cutter part. You will then have something that looks like this.

OK. Now you need a vice or a pair of pliers and a bloody strong grip. Now you need to basically crush the end so that it's pretty flat, kinda like this.

OK, now you have your tool. It costs small percentages of pennies to make loads more, they will wear out over time.
Now. Let's go through how to use said tool. Here is your enemy....

And trust me, this little hates your guts. It wants to cut you, slice your fingers and make you bleed. So how do we get it out?
As you can see, there are two little pins coming out of the side. This keeps the pin locked in place, and to get it out you need to push them both inward. Here's how.
This is a ATX 24 pin connector.

Every single wire in there has a pin on the end that is hollow, and coming out of the side are the two splines you saw in the image I made above. Now look at this.

And you can see how you have to insert the tool you made. The pins are *always* on the side of the connector, not top and bottom. So, insert the spade part you made by crushing it with the pliers/vice. Push quite firmly, it needs to go all the way down. See, many people tried this method but it never worked every time. The pins are very hard to get right in, so I want you to watch this video tutorial now.
Now look, the method is rather simple. You force the tool down the side of the clip, make sure it's home, then twirl. Now this is where every one else stops, they do not make the twirl. Watch what I'm doing a few times, watch how quickly and easily I can extract these wires.
Note.
This part is crucial.I don't want your blood on my hands !!!!!!
On the back side of the connector there is a U shape. This is what stops the connector going all the way through. Just trust me on this, it's *ing* sharp. Look at this.

And what it actually looks like...

That one was super glued shut as it refused to stop bleeding. So, when you pull the wire out MAKE SURE YOUR FINGERS ARE NOT AT THE BACK AROUND THE CABLE.
Coming up next, braiding a cable with paracord (tomorrow as I need to actually do it and take some pics).
---------------------------------------------------------------------------------------------------
Braiding with paracord (same method for the other stuff pretty much)
How to braid cables, V1.
Right. Now that you have extracted your pin and wire, here is what you do next. First up here is your wire and that evil little bugger of a sharp U channel I was telling you about.

Nasty little SOB !! OK. So now take your paracord and pull it down the cable. Like this.

Always carry on for about another 1.5 inches. Paracord is stretchy, and tends to stretch when you pull it down the wire to get the length so add a bit on so that when it contracts it doesn't wind up too short. Nice sharp pair of scissors and cut.

Pull out the core. Now a quick interlude. Most paracord is 7 strand core. However, expensive paracord is better quality *but* is thicker and can be useless for braiding with. I suggest using cheaper, thinner walled paracord. OK, what I do is bunch the cores and then tie them up together and toss them in the bin. It can make a right mess if you drop it.

OK, so now take a lighter and gently burn the ends, like this.

That will stop it fraying. Then you insert the scissors and cut, like this.

Do that 4 times, so you are in effect doing this...

And you do that to open it back up. Then braid your cable. I use a metal sheath that I insert the end into, then pull the paracord over that. You can also tape them up and do it that way. More on the tool soon. You need to run the paracord up below the U channel. Go over it and it will not go back into the plug. So do this.

OK. So now you need to heat the end of the paracord with a lighter, evenly all the way around. Then you need to leave it a few seconds to cool down a bit, then roll the end in your finger and thumb so that it does this.

If you roll too early it will stick to your finger and thumb and burn. If you roll too late it will not do that ^ so practice is key. If there are any small bits or strands left simply heat and roll again.
OK, final step. Make sure you open up the clips. I use the end of a scalpel blade (an old one).

Now note. There is only one way you can reinsert the connector. The U channel has a channel in the plug that it will go into and it's one way only. So, what I suggest is looking at the orientation as you remove the pins, then inserting it back exactly as it came out.
More soon, but this should get you going on shrinkless braid.
Over and out
--------------------------------------------------------------------------------------------------
Let me have a read over it and I will see if it needs to be changed.
