Feronix
New member

If you want to see the end result, you can check out there Rig Gallery here!
Thanks to Corsair for supplying me with RAM!

Heya guys!
Since my final exams are over and I now have a LOT of spare time on my hands, I thought it was time to finally start the new build. This is an early introduction as I'm currently still working on getting the funds together but I wanted to start the build log anyway

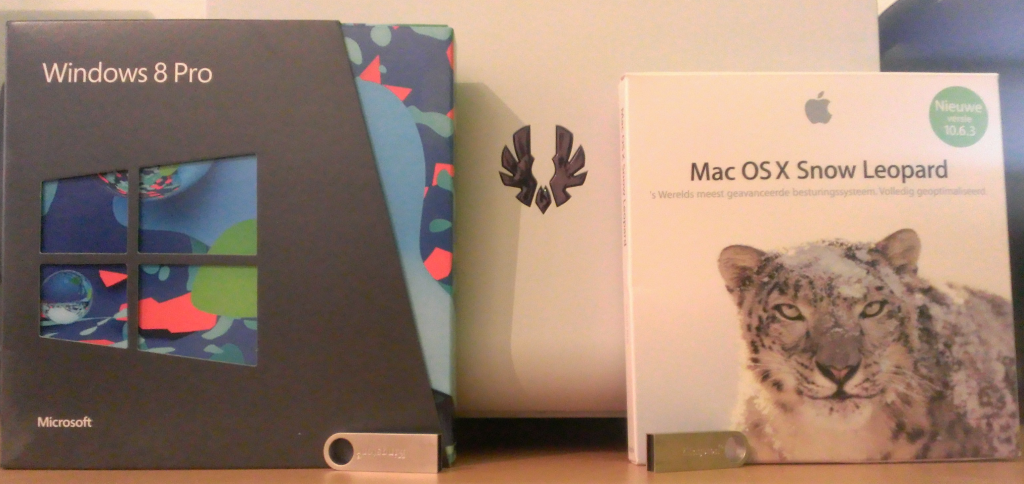
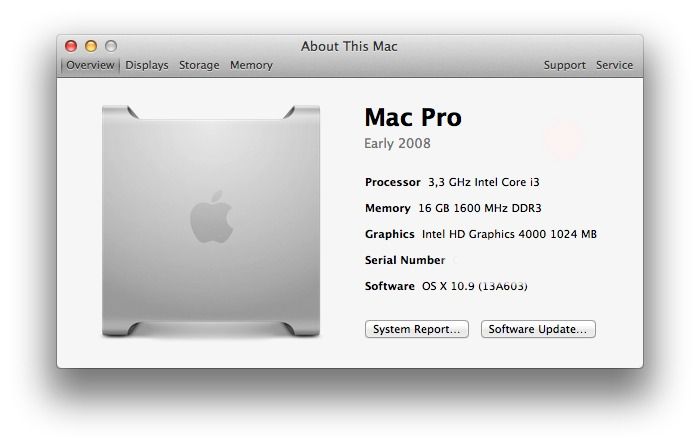
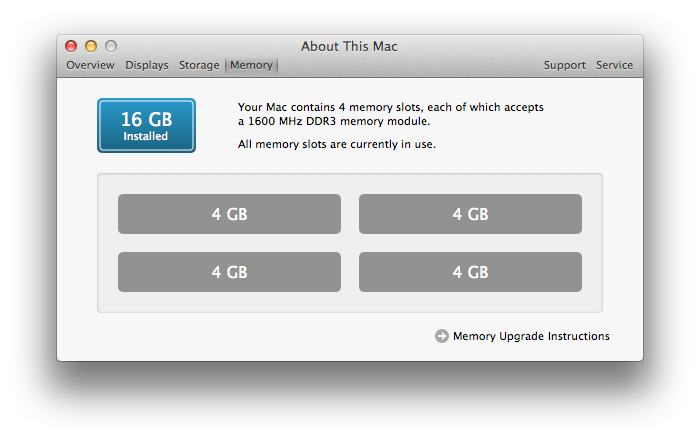
So I was looking for a lot of things in one build; It has to be OS X compatible, it has to be ITX, it needs to look good, be relatively quiet and still cool plenty. There's also kinda a strict budget as a student. The computer will be used for PhotoSoup/ video editing, and a bit of gaming. After weeks of researching and reading I came up with the following spec list:
- Bitfenix Phenom ITX White
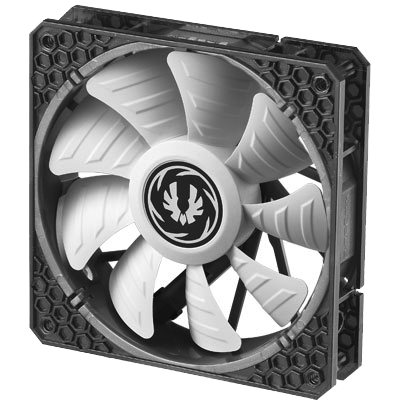
'-> Bitfenix Spectre Pro 230 mm fan in white (with a simple mod)
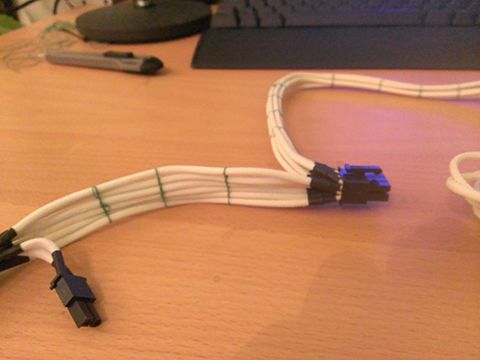
'-> Bitfenix Molex to 3x3 pin 7Volt white sleeved
- Corsair RM 650 with white cable kit
- Gigabyte GA-H87n-WiFi
- Intel Xeon 1230 V3
'-> Corsair H60 2013 Edition
'-> Bitfenix Spectre Pro 120mm PWM white (with a mod again)
- 2x8GB Corsair Vengeance 2400MHz
- 2 x 1Tb WD Caviar Blue 7200RPM (One for storage/programs, one for OS X)
- 240GB Crucial M500 SSD
'-> Bitfenix Molex to 3xSata white sleeved
- EVGA GTX 760 ACX 2GB
As you may or may not have guessed the colour scheme will be black & white, with some tiny green accents. There will be some mods involved but nothing too special with powertools and all (I don't really have those anyway
 )
)Off to a good start: After unboxing the Phenom I wanted to take the Flexcage out (the upper HDD cage) and the clips just snapped off. Luckily for me I won't need them at all, but this is just poor :huh:
Now the Phenom doesn't have the absolute best front intake. I needed to take care of that. At first I wanted to do this by making the holes at the sides bigger but as you can see them through the mesh I didn't want to mess that up and decided to go with a somewhat more subtle approach at the bottom:
Before:

After:

Filed it down a little and it looks alright, straight at least, but you won't see it anyway. Should probably get some mesh/dust filter in there though.
Considering so far I only have the case here yet, there's not much else I can do so far so I decided to make her 100% ready to start the build. After removing the stock fans I decided that the LED cables also needed to go. I never even use them in my own builds and it would only create more clutter in what is already a small case with many cables.

Then I noticed that the audio cable shows quite a bit of colour on both ends. Especially between the HD Audio and AC '97 connectors, where it isn't covered by anything at all. Fixed

Although I might still decide to remove this and just cut off the AC '97 connector entirely. Does anyone know if this is safe to do?
I then decided that after the stock fans, LED cable, 5.25" bay , top HDD cage and mounts for the top HDD cage the 2.5" drive slots on the right side panel needed to be removed too:

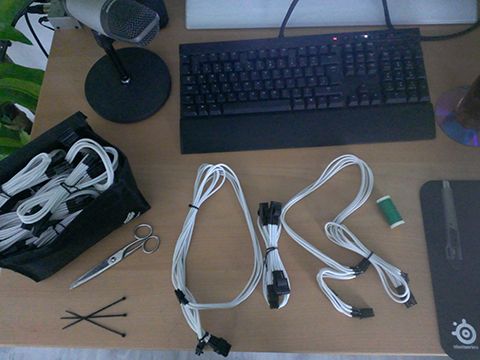
Finally, I started a tiny bit of cable management. I've already thought it out completely, now all I need to do is actually get the rest of the components to do the build :lol:

Last edited:
")

") .
. 
 .
.