JonnySuper
New member
I thought I would share my weekend adventure.
My sister asked me for my help a few weeks ago with breathing some life back into my Niece Alex's' computer. Being the loving brother and uncle, I decided I would put all my efforts into this.
The first goal was to bring her computer up to speed so she could play more modern games as her HD 4850 and one HD was starting to show its age. We had to do the project on a tight budget. fortunately most of the components were salvageable aka system memory, motherboard, processor and some cables.
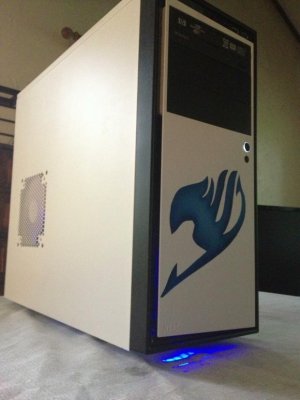
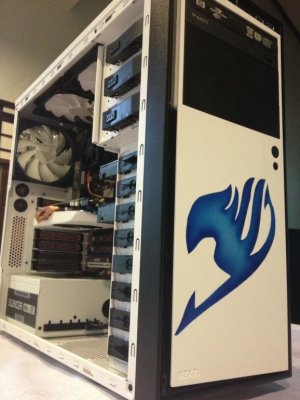
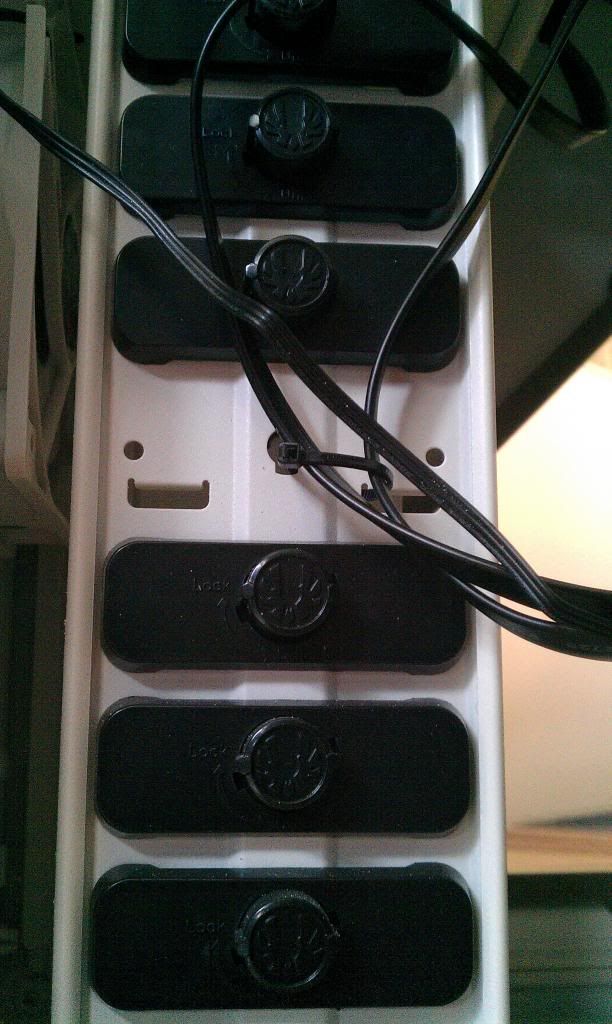
The second goal was to make the computer unique, reliable and professionally built as possible with the supplies at hand. So I called in a few favors, rounded up a couple old hard drives, power supply, a new graphics card and grabbed my airbrushing kit. My sister purchased a budget case, made a few necessary trips to the store for odds and ends, gave ample support during the entire process and kept my belly full of beer and tasty food to keep my stamina up")
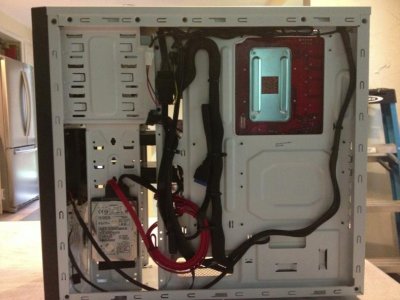
I failed to take before shots but all I need to tell this amazing community is "birds nest" and "haunted house" for you to understand what I was working with. System specs are as follows.
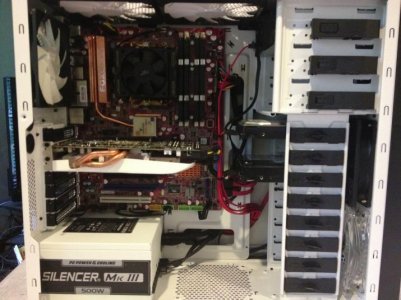
Case: NZXT Source 210 Elite White (New)
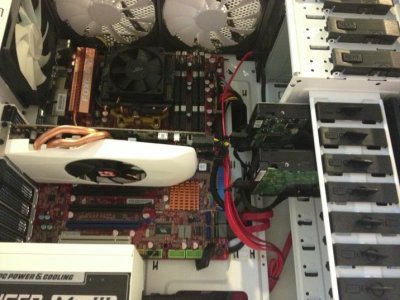
Motherboard: Foxconn A79A-S AM2+/AM2 AMD 790FX ATX
Processor: AMD Phenom II X4 940 Black Edition
Memory: Wintec AMPX 4GB (4 x 1GB) 240-Pin DDR2 SDRAM DDR2 1066
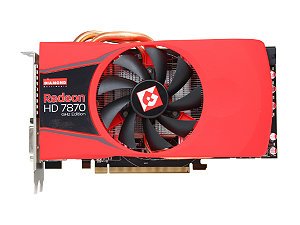
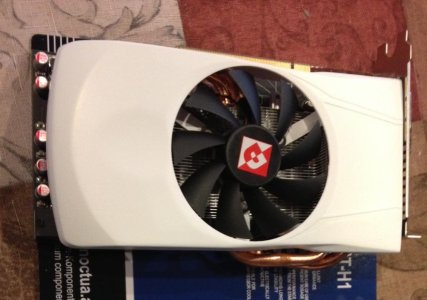
Graphics Card: DIAMOND Radeon HD 7870 GHz Edition 2GB 256-bit
Power Supply: PC Power and Cooling Silencer Mk III Series 500W
Hard Drives: 2x Hitachi desk star 160GB, Hitachi super slim 360GB
Whew.... that was a bit of a rant. Your patience is appreciated.
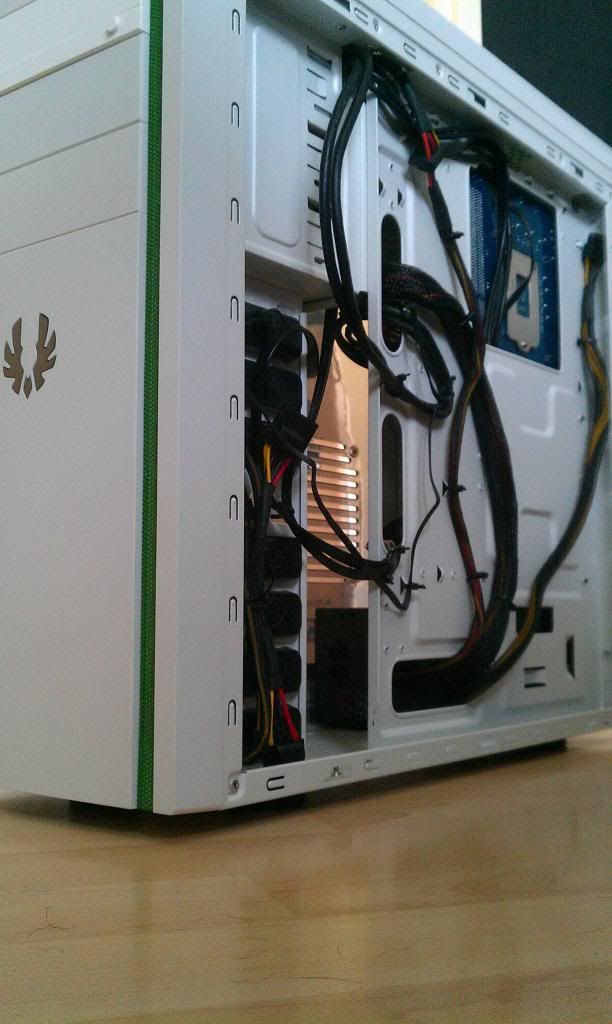
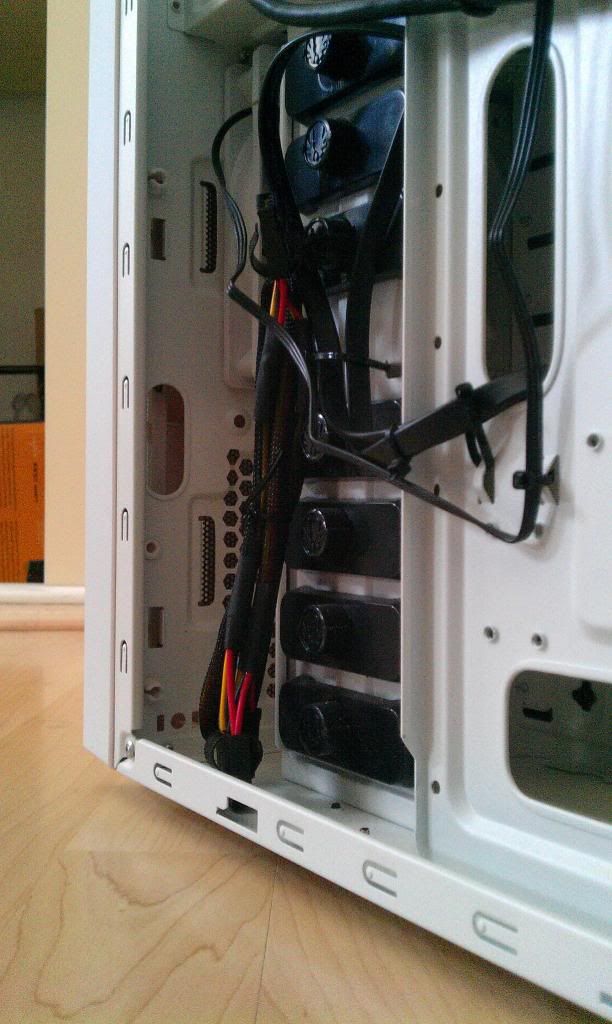
The Results.
My sister asked me for my help a few weeks ago with breathing some life back into my Niece Alex's' computer. Being the loving brother and uncle, I decided I would put all my efforts into this.
The first goal was to bring her computer up to speed so she could play more modern games as her HD 4850 and one HD was starting to show its age. We had to do the project on a tight budget. fortunately most of the components were salvageable aka system memory, motherboard, processor and some cables.
The second goal was to make the computer unique, reliable and professionally built as possible with the supplies at hand. So I called in a few favors, rounded up a couple old hard drives, power supply, a new graphics card and grabbed my airbrushing kit. My sister purchased a budget case, made a few necessary trips to the store for odds and ends, gave ample support during the entire process and kept my belly full of beer and tasty food to keep my stamina up
I failed to take before shots but all I need to tell this amazing community is "birds nest" and "haunted house" for you to understand what I was working with. System specs are as follows.
Case: NZXT Source 210 Elite White (New)
Motherboard: Foxconn A79A-S AM2+/AM2 AMD 790FX ATX
Processor: AMD Phenom II X4 940 Black Edition
Memory: Wintec AMPX 4GB (4 x 1GB) 240-Pin DDR2 SDRAM DDR2 1066
Graphics Card: DIAMOND Radeon HD 7870 GHz Edition 2GB 256-bit
Power Supply: PC Power and Cooling Silencer Mk III Series 500W
Hard Drives: 2x Hitachi desk star 160GB, Hitachi super slim 360GB
Whew.... that was a bit of a rant. Your patience is appreciated.
The Results.
")