You are using an out of date browser. It may not display this or other websites correctly.
You should upgrade or use an alternative browser.
You should upgrade or use an alternative browser.
HELIOS (Caselabs SMH10 | black/copper | EVGA SR-2 | Geforce Titan) - by alpenwasser
- Thread starter alpenwasser
- Start date
alpenwasser
New member
My Old Rig & The XSPC Raystorm
Update Time")
[size=+2]My Old Rig[/size]
I took my old rig apart last week and needed to get a few things in order before being able to
properly continue the log.
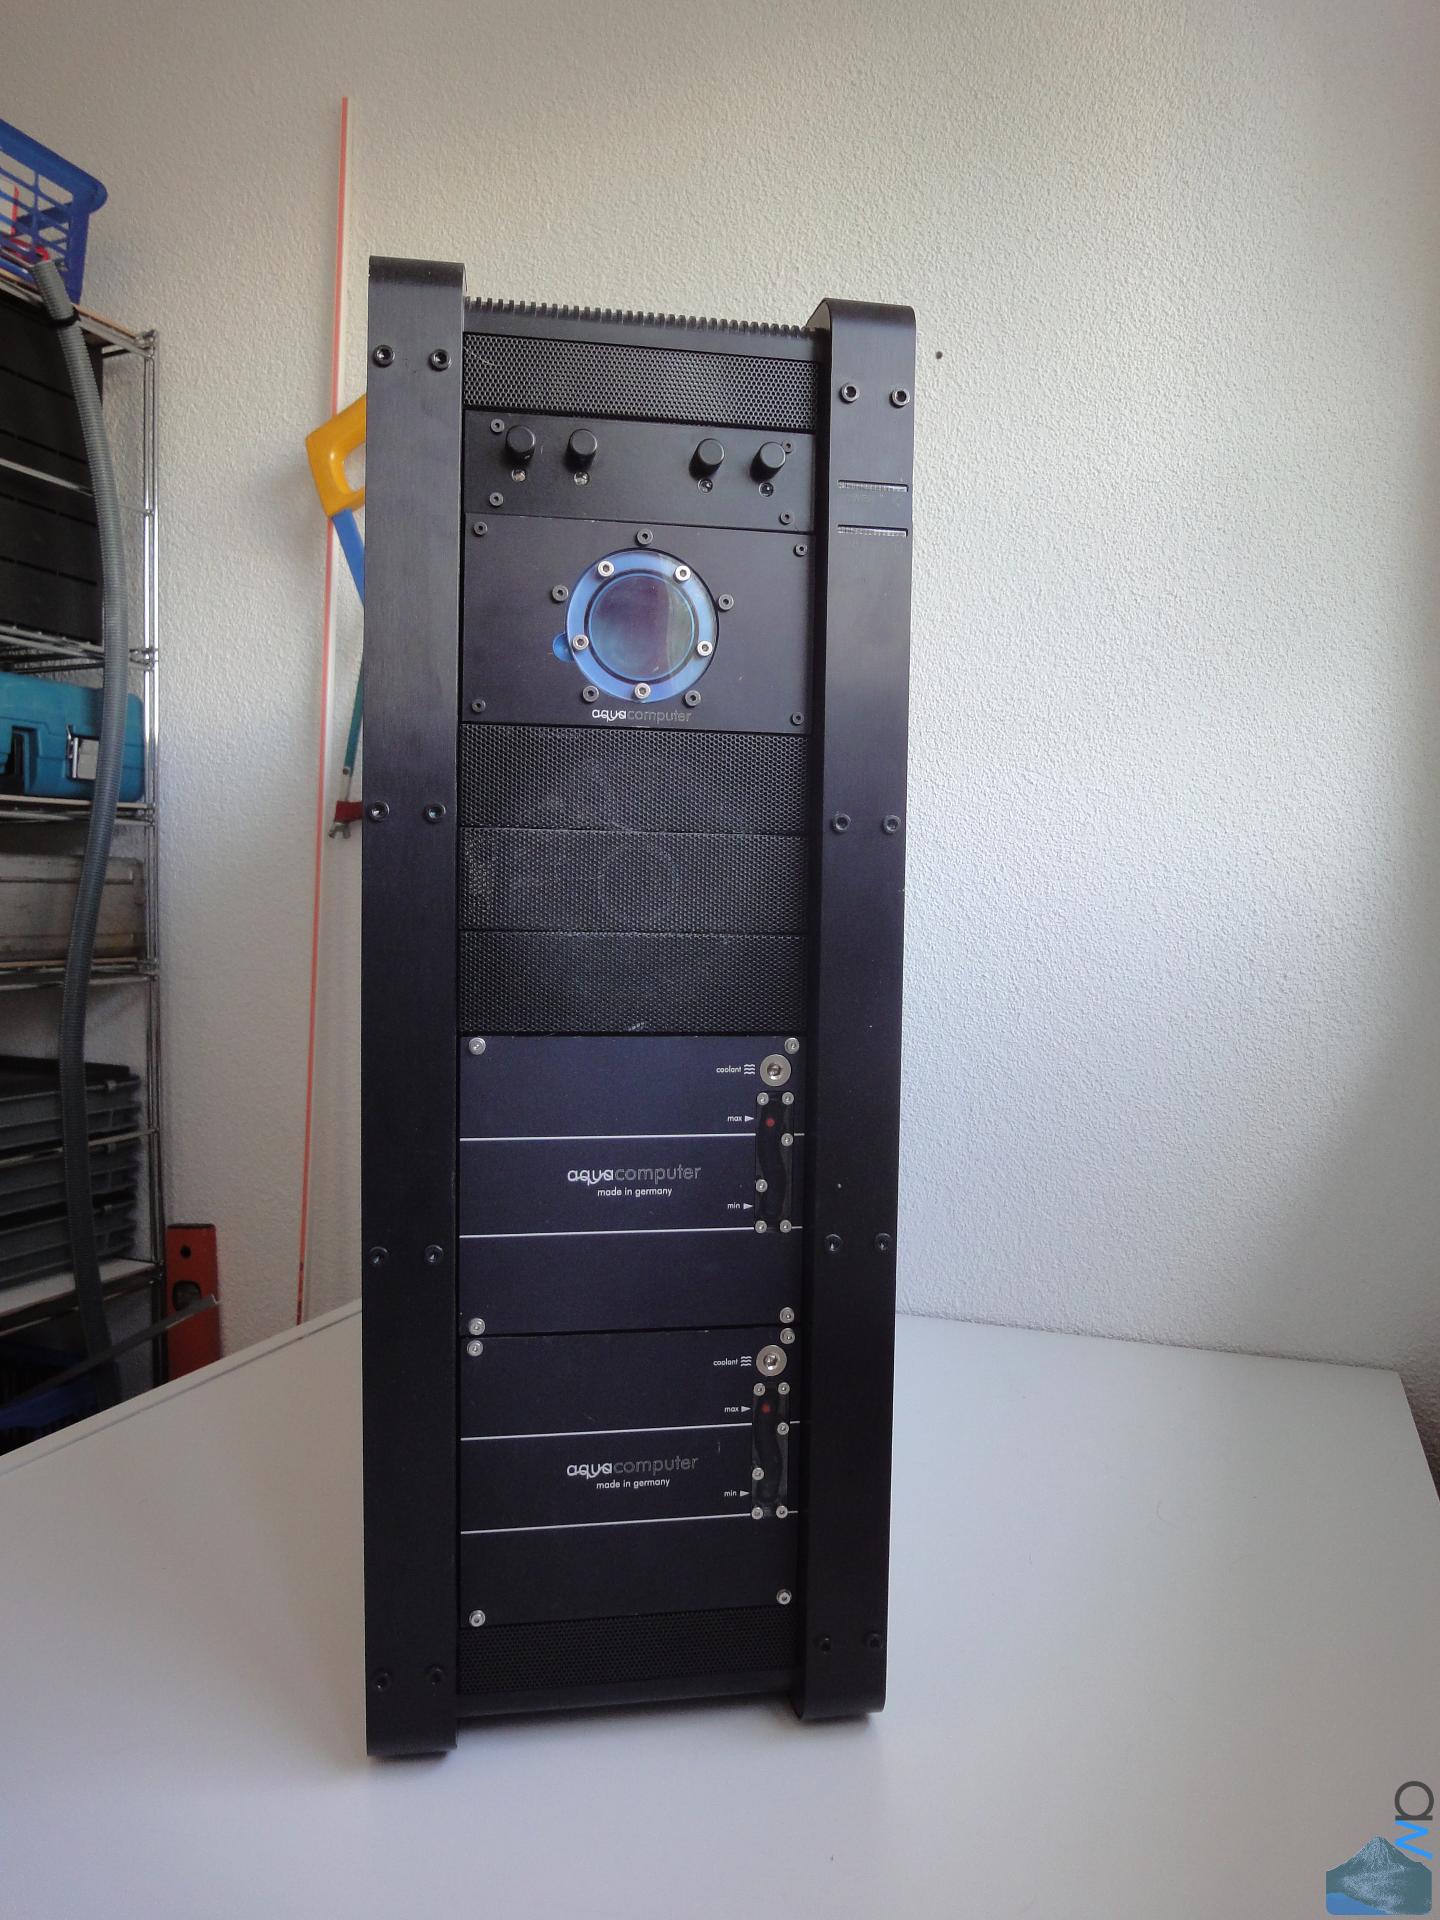
My old rig had been in a Xigmatek Elysium since December 2011, and previously to that I
had been using a Lian Li PC-343B since about September 2007. The Elysium I picked
due to its many 5.25" bays since I was running two Aquadrives and another 3 HDD's on air,
and even though it has quite a few faults, the core chassis is sturdy enough to handle all that
weight quite well. Also, it's quite affordable for what it offers, which was relevant as well.
I won't go into too much detail here since you will be seeing most of its parts in other upcoming
rigs, so for now I give you a few impressions of the old lady.
Overview
As one can see, it was not exactly a work of art. Due to budget and time constraints
I had to make a few compromises, but it did its job, and it did it well. It just didn't look very
elegant doing it :lol:

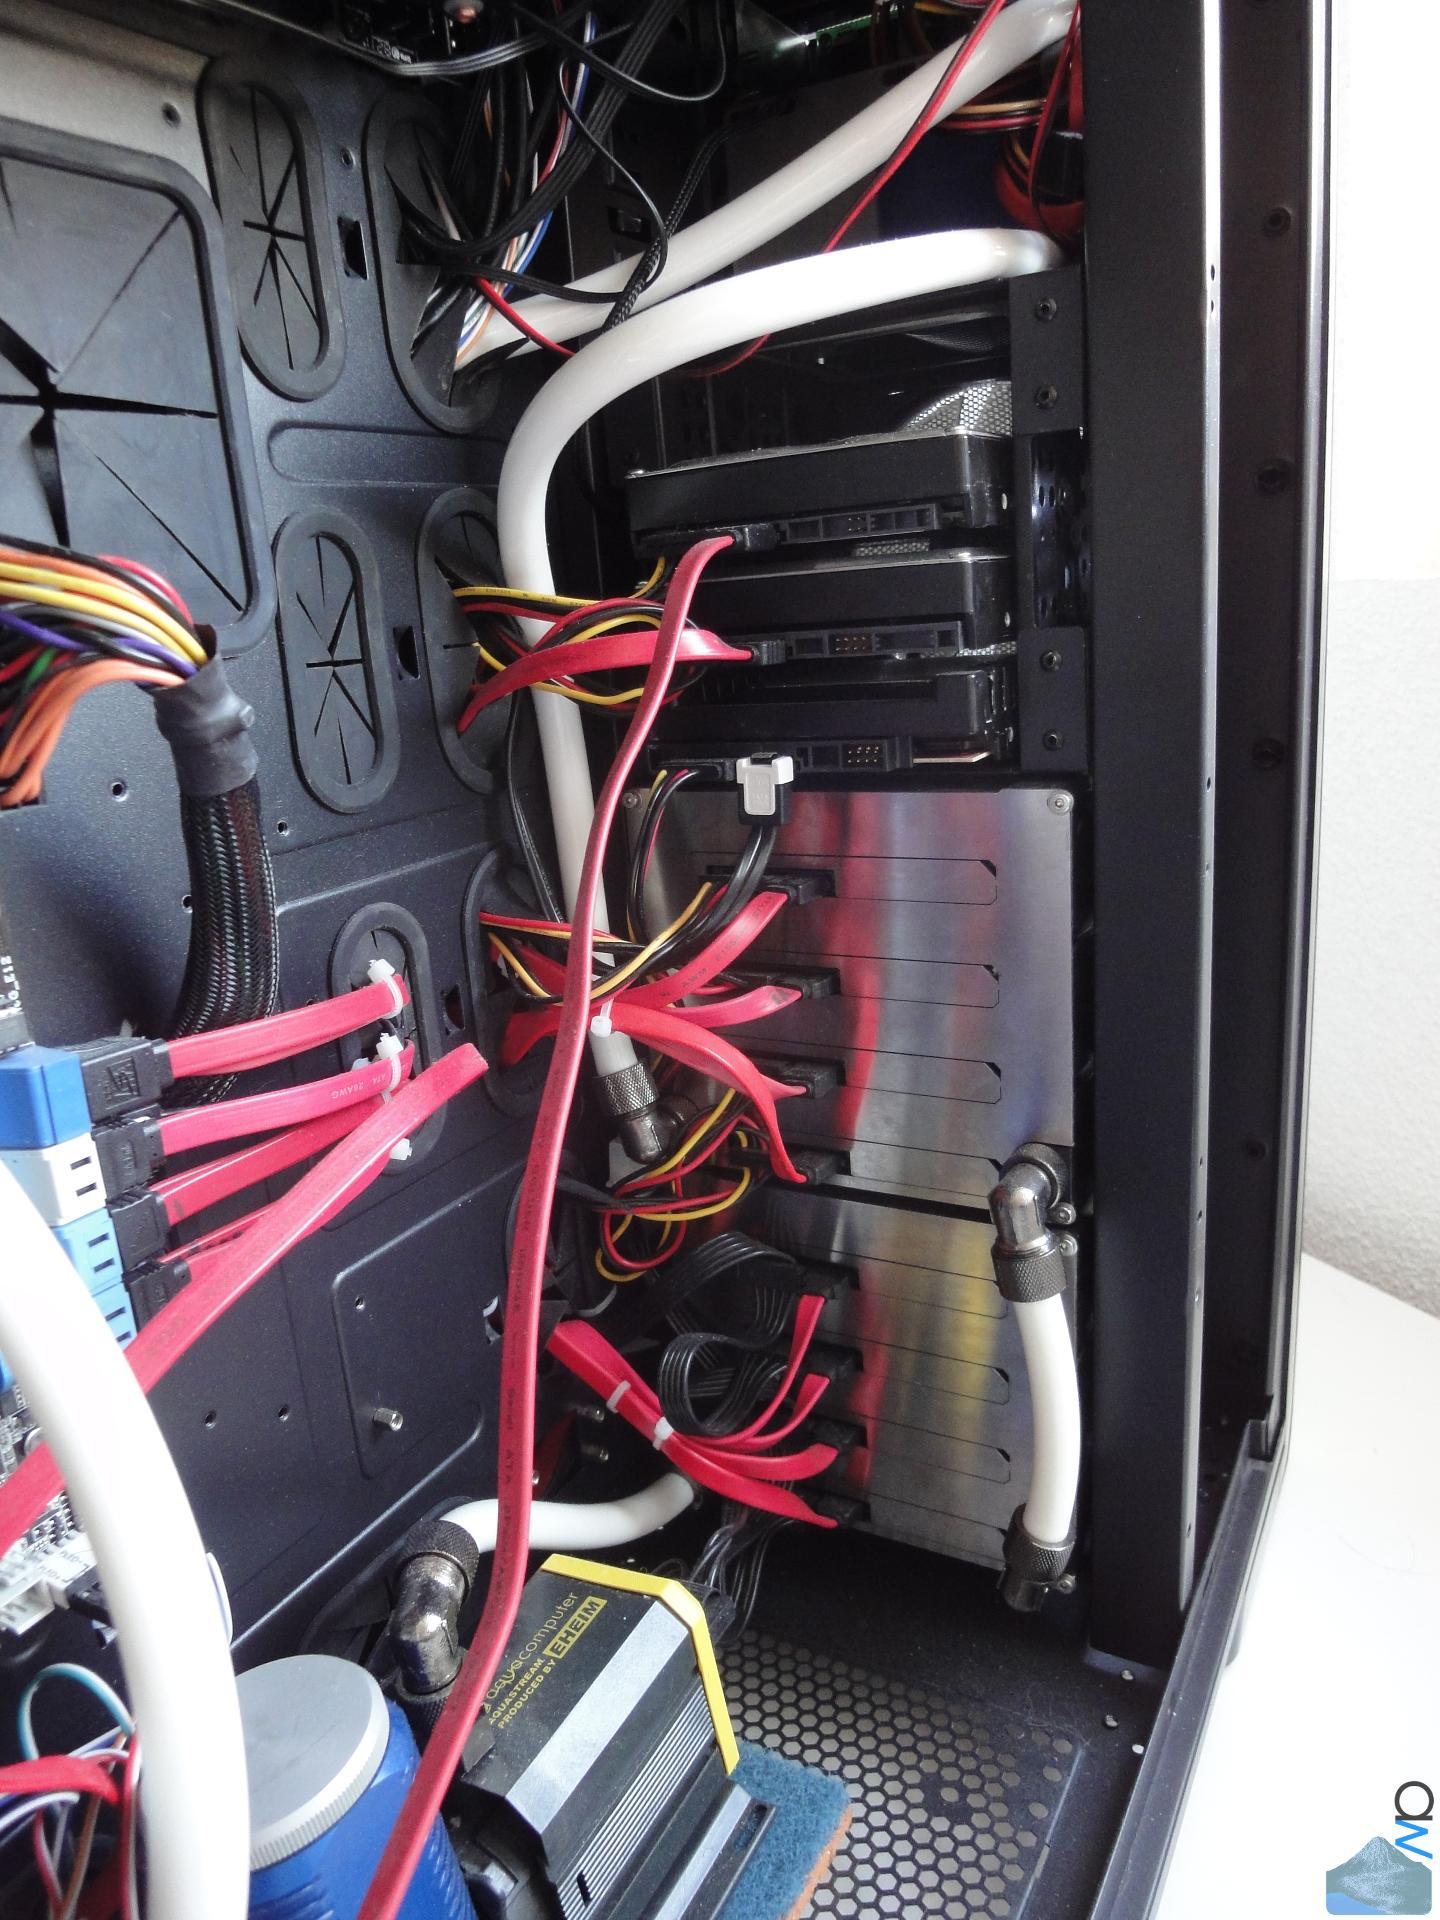
HDD's

The Front
The two Aquadrives at the bottom housed 4 x WD RE4 2 TB, 3 x Samsung 1 TB and
1 x Samsung 750 GB, above that I had 2 x Samsung 500 GB and 1 x WD Velociraptor
150 GB.

Cable "Management"
Yes, ahem, as I said, not exactly a work of art :lol:

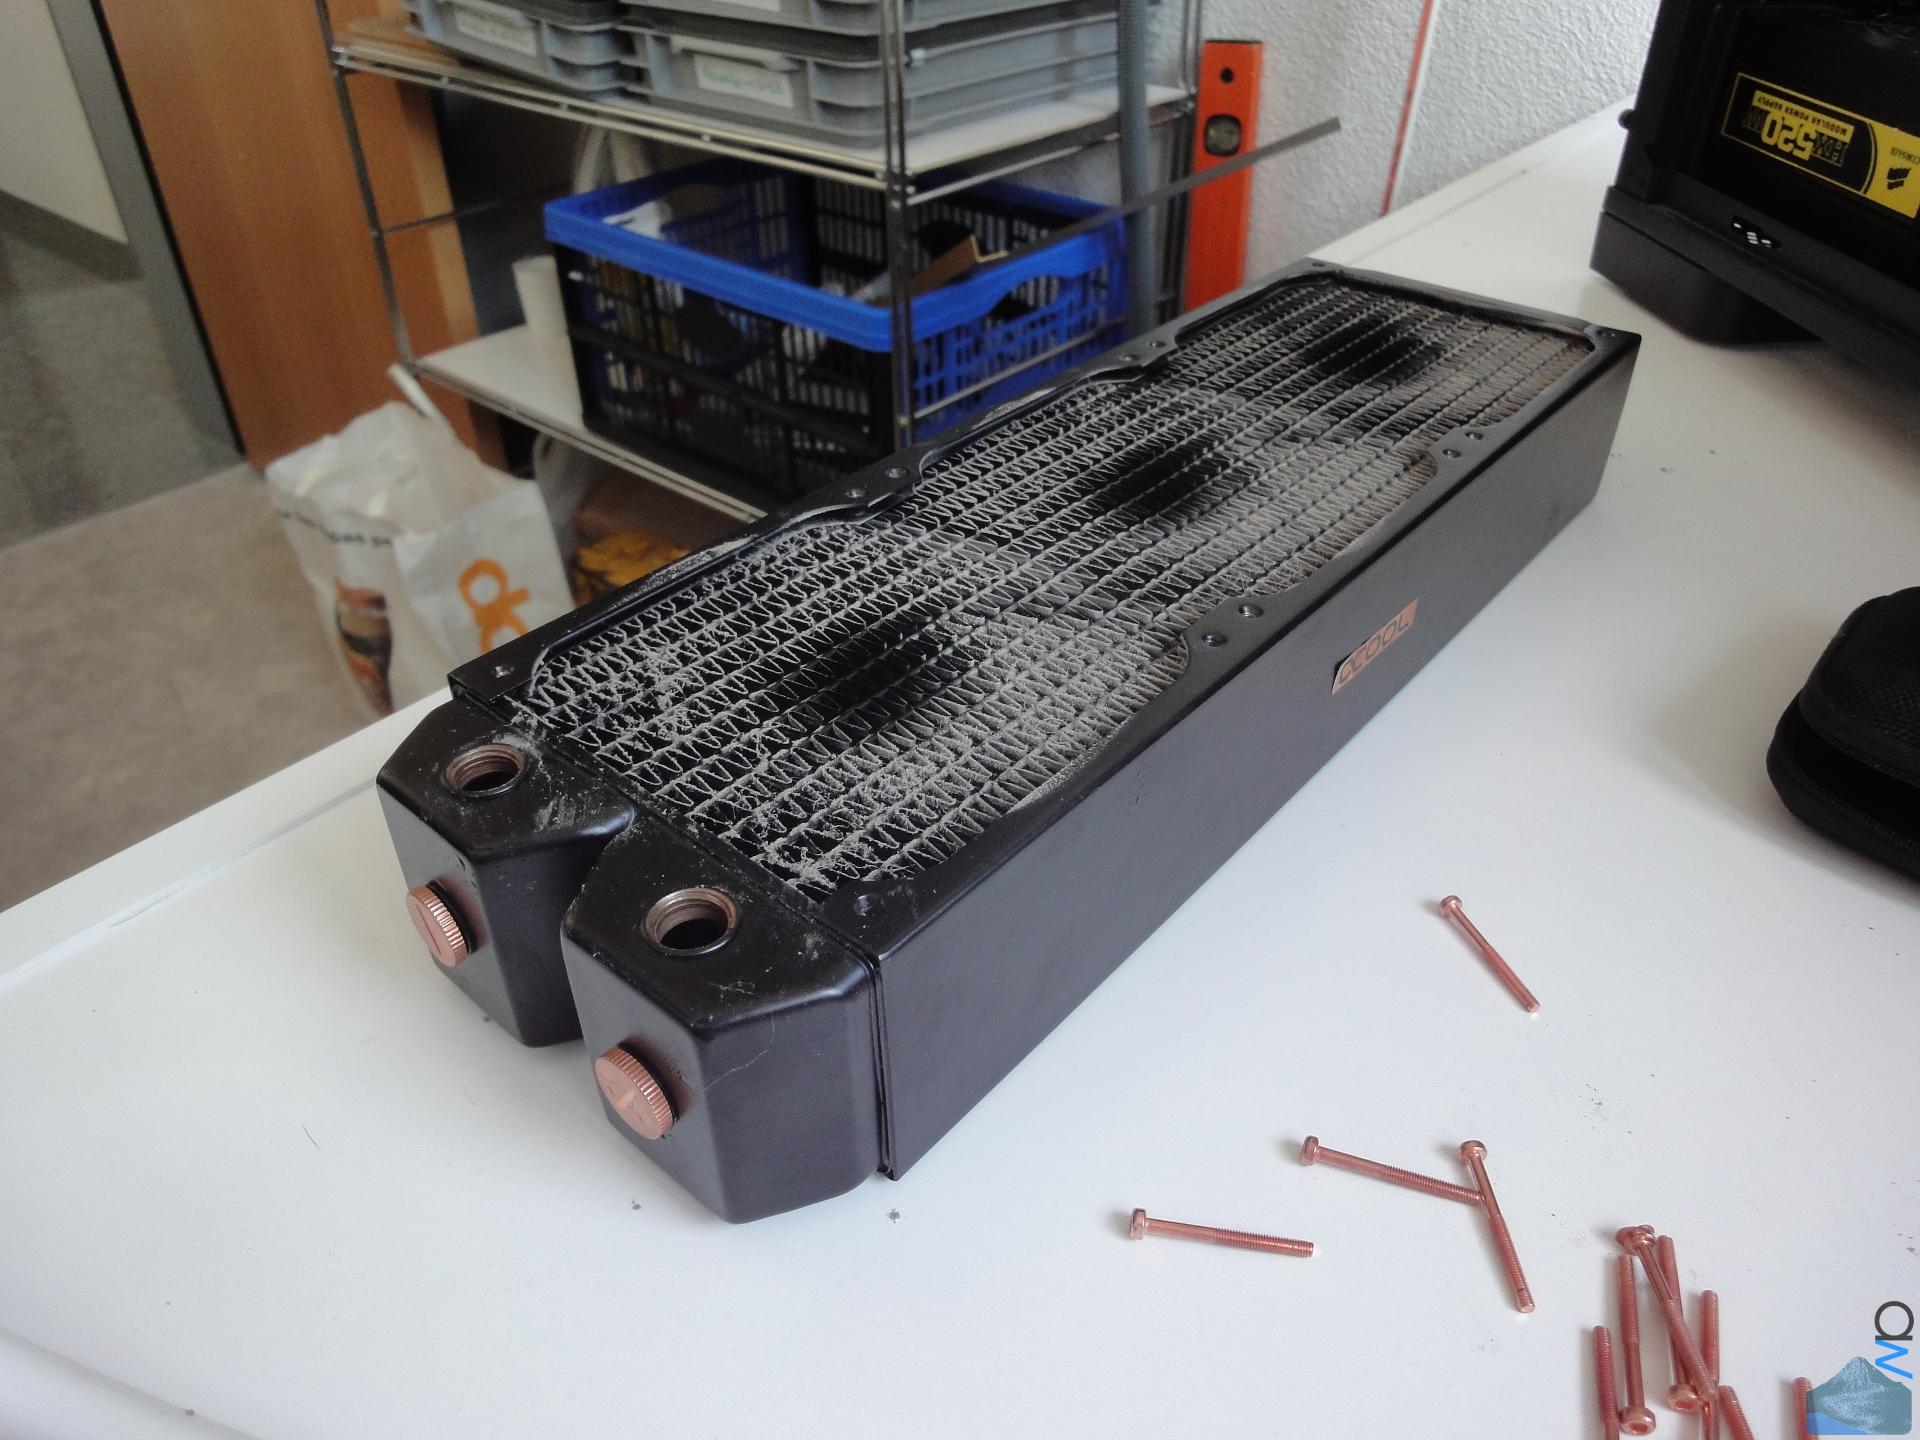
Some Dust
As you can see above, the radiator was at the top of the case, and it pushed air out. It's not
very dusty where I live, and it looks a lot worse here than it actually was. The dust was
really only at the radiator's fins' edges. But yes, it was time for a cleaning anyway :lol:

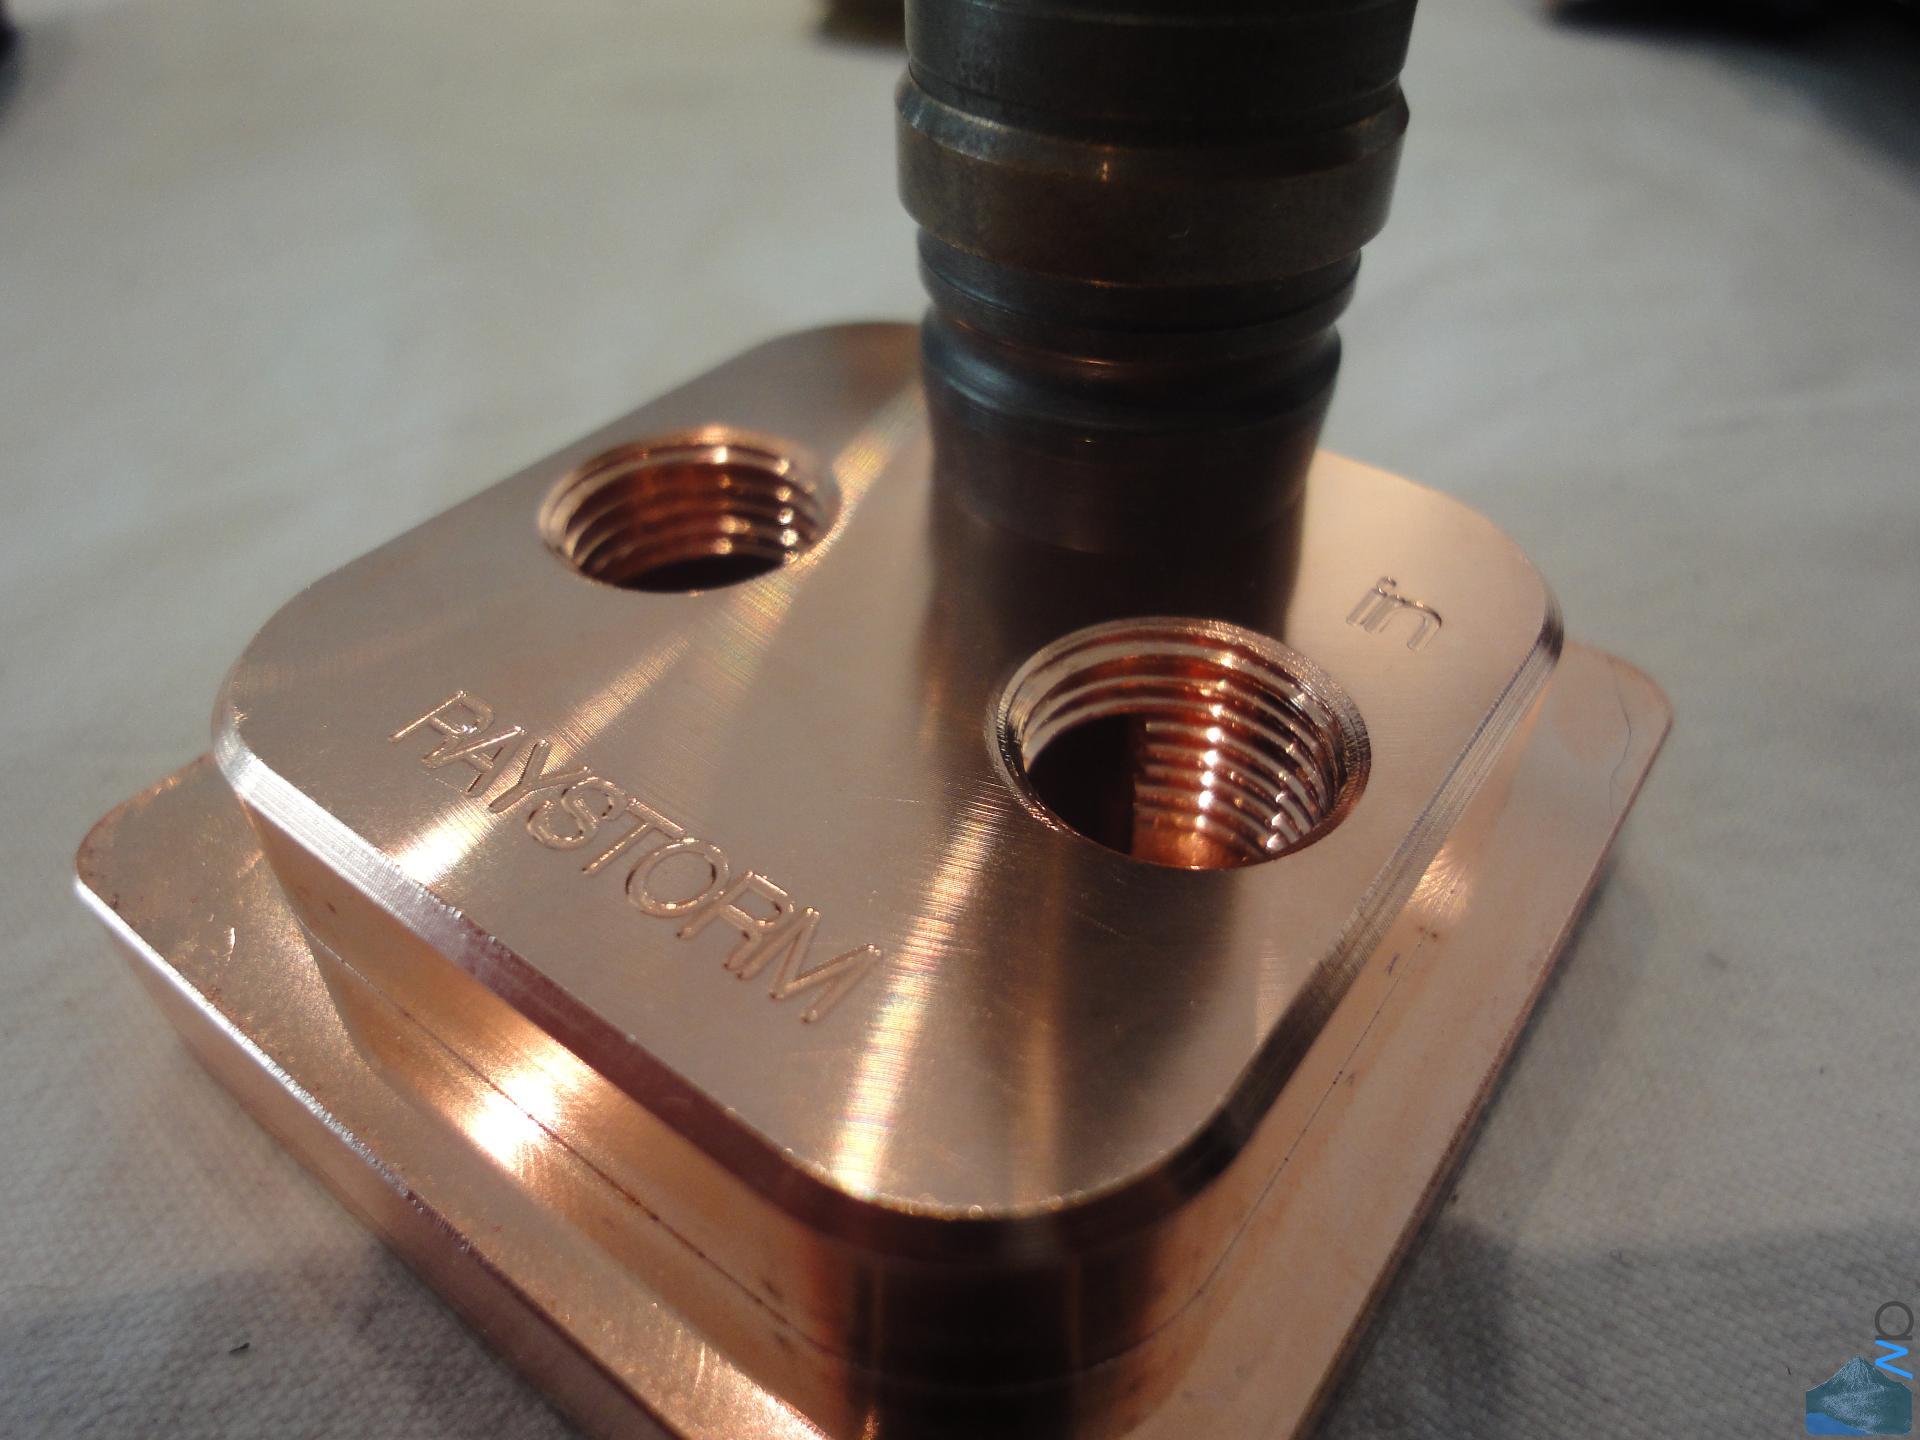
[size=+1]The Raystorm[/size]
Since XSPC could not deliver Raystorms for a while, I had to wait a few weeks between getting
my first one and the second one. Interestingly, they changed the surface work on the copper
top. The one I got from an earlier production batch had milling marks on top, whereas the newer
one was buffed to some degree.
These two different surfaces won't really go together, so I will be polishing them both to a nice
mirror shine (that was always my intention anyway, but now it has become a necessity).
The Earlier Sample
You can see the milling marks quite clearly here, especially in the full version of the pic (click
for that).

The Newer Sample
The difference is quite striking, especially so in person. These two would not look right next
to each other as soon as they are hit by light.

Sanding and Polishing: Round One
There are still lots of micro scratches in the surface, although they are only visible if the light
hits them at the right angle. Not good enough yet, but I've never done this before, so I estimate
it will take me a while and a few tries to get this right. But this would be boring without having
the occasional challenge and learning new stuff, so that's ok.
This is the one from the earlier batch, and so far I've spent about five hours working the surface.

Custom Copper Cover
I wanted to try out how a it would look replacing the black cover with a copper one. This was
two days of Dremel work and filing by hand, and it's still in a rather crude stage, as one can
easily see from the edges. However, it was enough to allow me to get an impression of how
it would look. I painted the silver alu bracket black with a sharpie and placed the copper
cover on it.
But alas, it was just too much copper, and I doubt I will be going with this for the final build.
It was an interesting Dremel challenge though. Most likely I think I will paint the silver
bracket black. The silver just doesn't quite look right to me.
I didn't want to paint the black covers with copper (I do have copper spray paint, which you
will see later), since for one I was skeptical if it would look right from the get-go and I didn't
want to ruin the original covers, and secondly if it had looked right I would have felt like I
was cheating. :lol:
:lol:

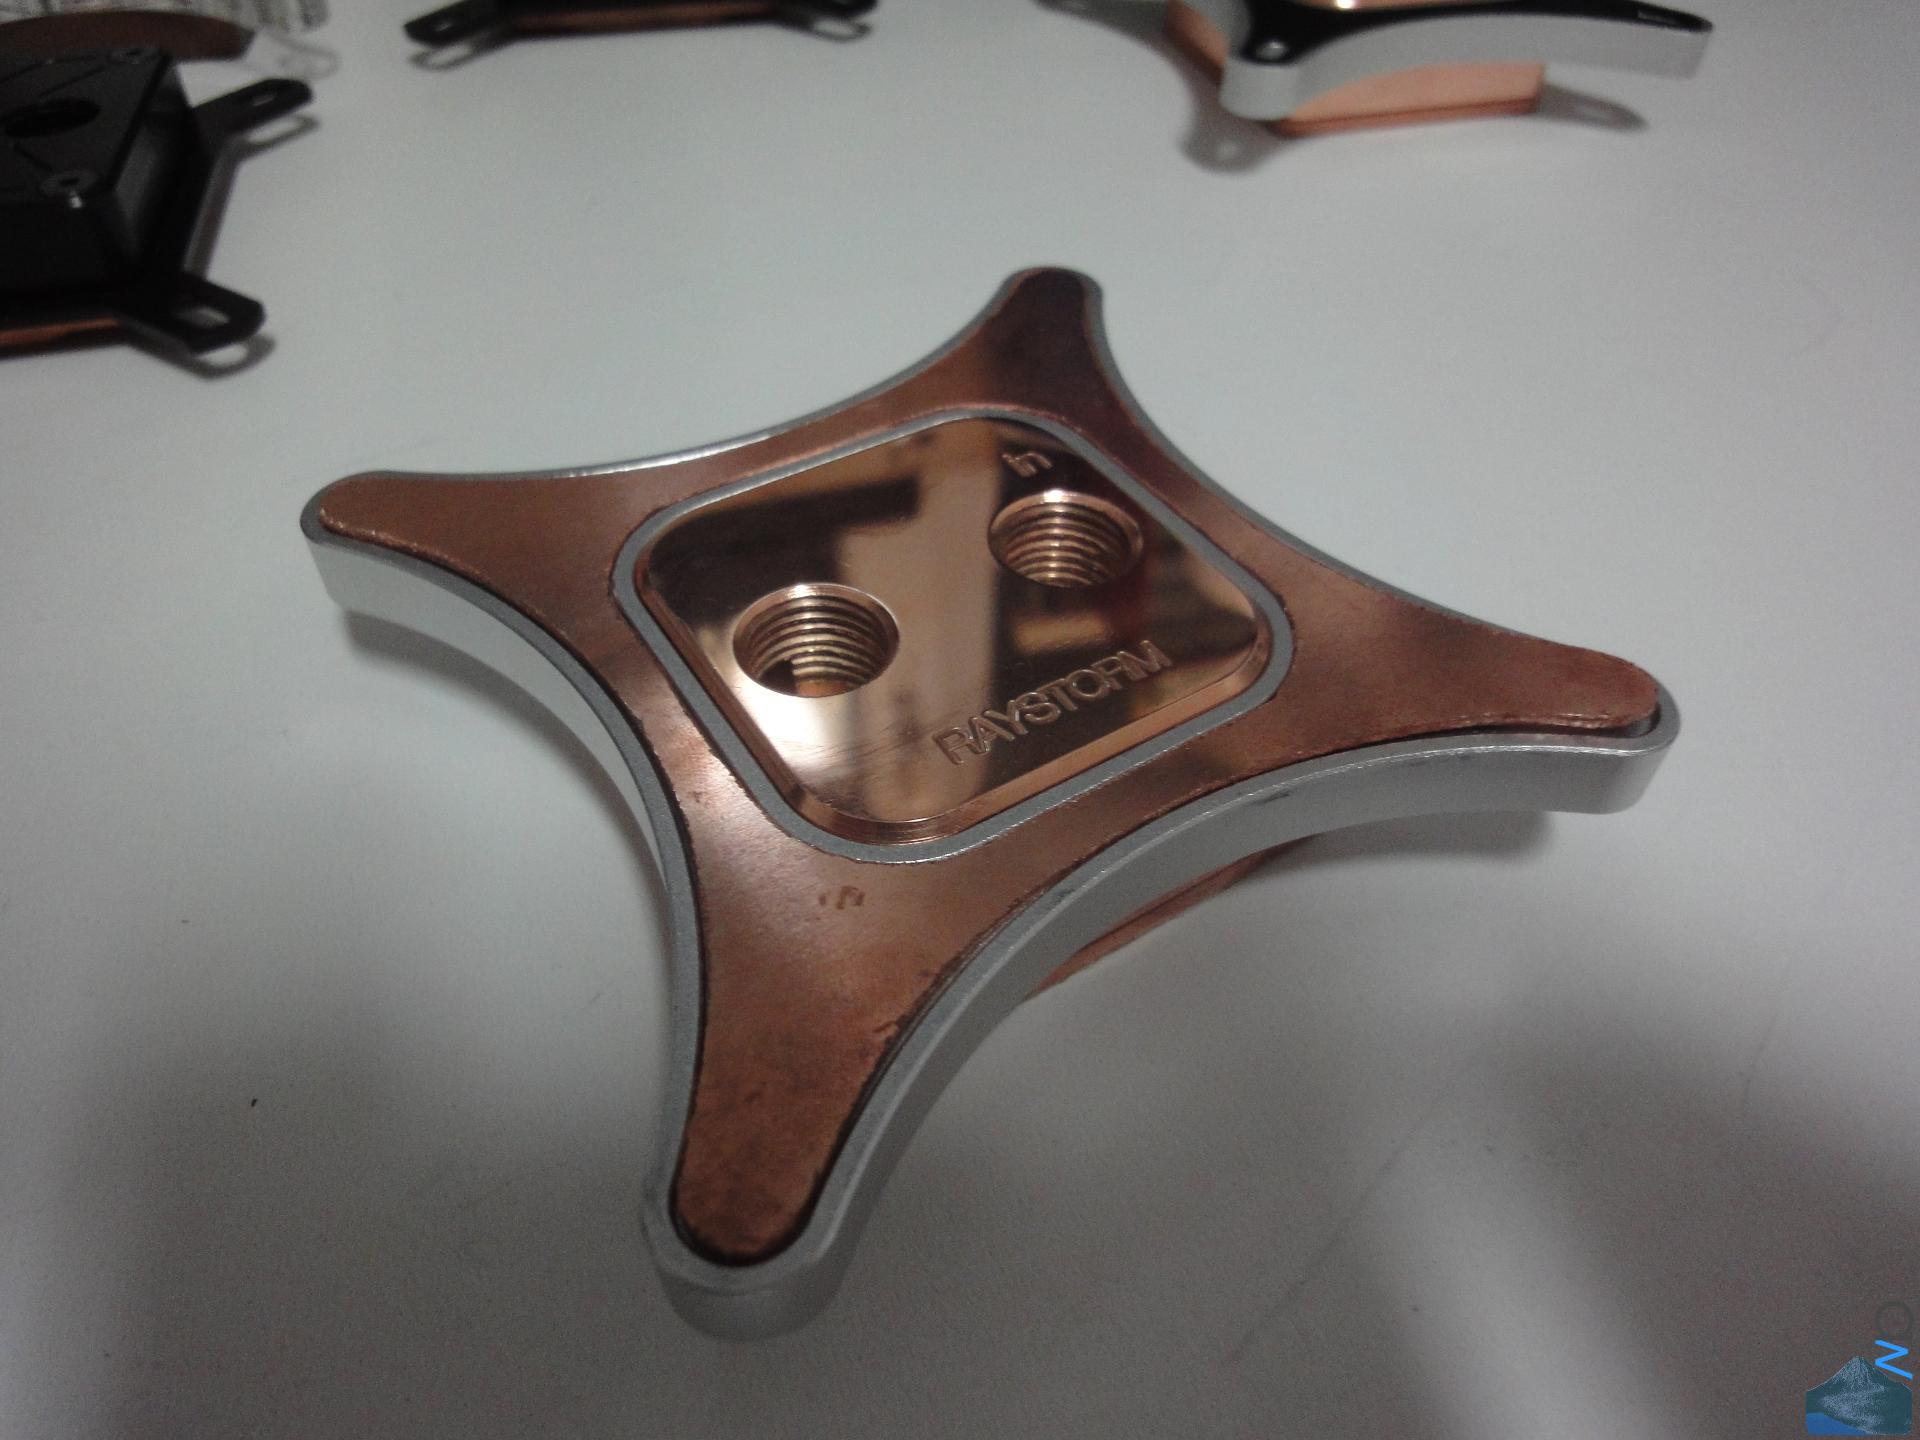
Custom Cover on Block
I forgot to take any pictures with the black sharpie on it, but trust me, it was still not right.
Also keep in mind that I will probably have two Alphacool RAM blocks (yes, I bloody know
they are pointless, but I like the looks, probably :lol: ) in copper next to these.

Next up I will be planning the cable management (and therefore possibly custom cables),
but that will be a tricky one, so don't expect me to solve that problem within the next
two days.
That's it for now, thanks for watching. Stay tuned for the build in which the UT60 will end up")
Update Time
[size=+2]My Old Rig[/size]
I took my old rig apart last week and needed to get a few things in order before being able to
properly continue the log.
My old rig had been in a Xigmatek Elysium since December 2011, and previously to that I
had been using a Lian Li PC-343B since about September 2007. The Elysium I picked
due to its many 5.25" bays since I was running two Aquadrives and another 3 HDD's on air,
and even though it has quite a few faults, the core chassis is sturdy enough to handle all that
weight quite well. Also, it's quite affordable for what it offers, which was relevant as well.
I won't go into too much detail here since you will be seeing most of its parts in other upcoming
rigs, so for now I give you a few impressions of the old lady.
Overview
As one can see, it was not exactly a work of art. Due to budget and time constraints
I had to make a few compromises, but it did its job, and it did it well. It just didn't look very
elegant doing it :lol:

HDD's
The Front
The two Aquadrives at the bottom housed 4 x WD RE4 2 TB, 3 x Samsung 1 TB and
1 x Samsung 750 GB, above that I had 2 x Samsung 500 GB and 1 x WD Velociraptor
150 GB.
Cable "Management"
Yes, ahem, as I said, not exactly a work of art :lol:
Some Dust
As you can see above, the radiator was at the top of the case, and it pushed air out. It's not
very dusty where I live, and it looks a lot worse here than it actually was. The dust was
really only at the radiator's fins' edges. But yes, it was time for a cleaning anyway :lol:
[size=+1]The Raystorm[/size]
Since XSPC could not deliver Raystorms for a while, I had to wait a few weeks between getting
my first one and the second one. Interestingly, they changed the surface work on the copper
top. The one I got from an earlier production batch had milling marks on top, whereas the newer
one was buffed to some degree.
These two different surfaces won't really go together, so I will be polishing them both to a nice
mirror shine (that was always my intention anyway, but now it has become a necessity).
The Earlier Sample
You can see the milling marks quite clearly here, especially in the full version of the pic (click
for that).
The Newer Sample
The difference is quite striking, especially so in person. These two would not look right next
to each other as soon as they are hit by light.

Sanding and Polishing: Round One
There are still lots of micro scratches in the surface, although they are only visible if the light
hits them at the right angle. Not good enough yet, but I've never done this before, so I estimate
it will take me a while and a few tries to get this right. But this would be boring without having
the occasional challenge and learning new stuff, so that's ok
.This is the one from the earlier batch, and so far I've spent about five hours working the surface.

Custom Copper Cover
I wanted to try out how a it would look replacing the black cover with a copper one. This was
two days of Dremel work and filing by hand, and it's still in a rather crude stage, as one can
easily see from the edges. However, it was enough to allow me to get an impression of how
it would look. I painted the silver alu bracket black with a sharpie and placed the copper
cover on it.
But alas, it was just too much copper, and I doubt I will be going with this for the final build.
It was an interesting Dremel challenge though. Most likely I think I will paint the silver
bracket black. The silver just doesn't quite look right to me.
I didn't want to paint the black covers with copper (I do have copper spray paint, which you
will see later), since for one I was skeptical if it would look right from the get-go and I didn't
want to ruin the original covers, and secondly if it had looked right I would have felt like I
was cheating.
:lol: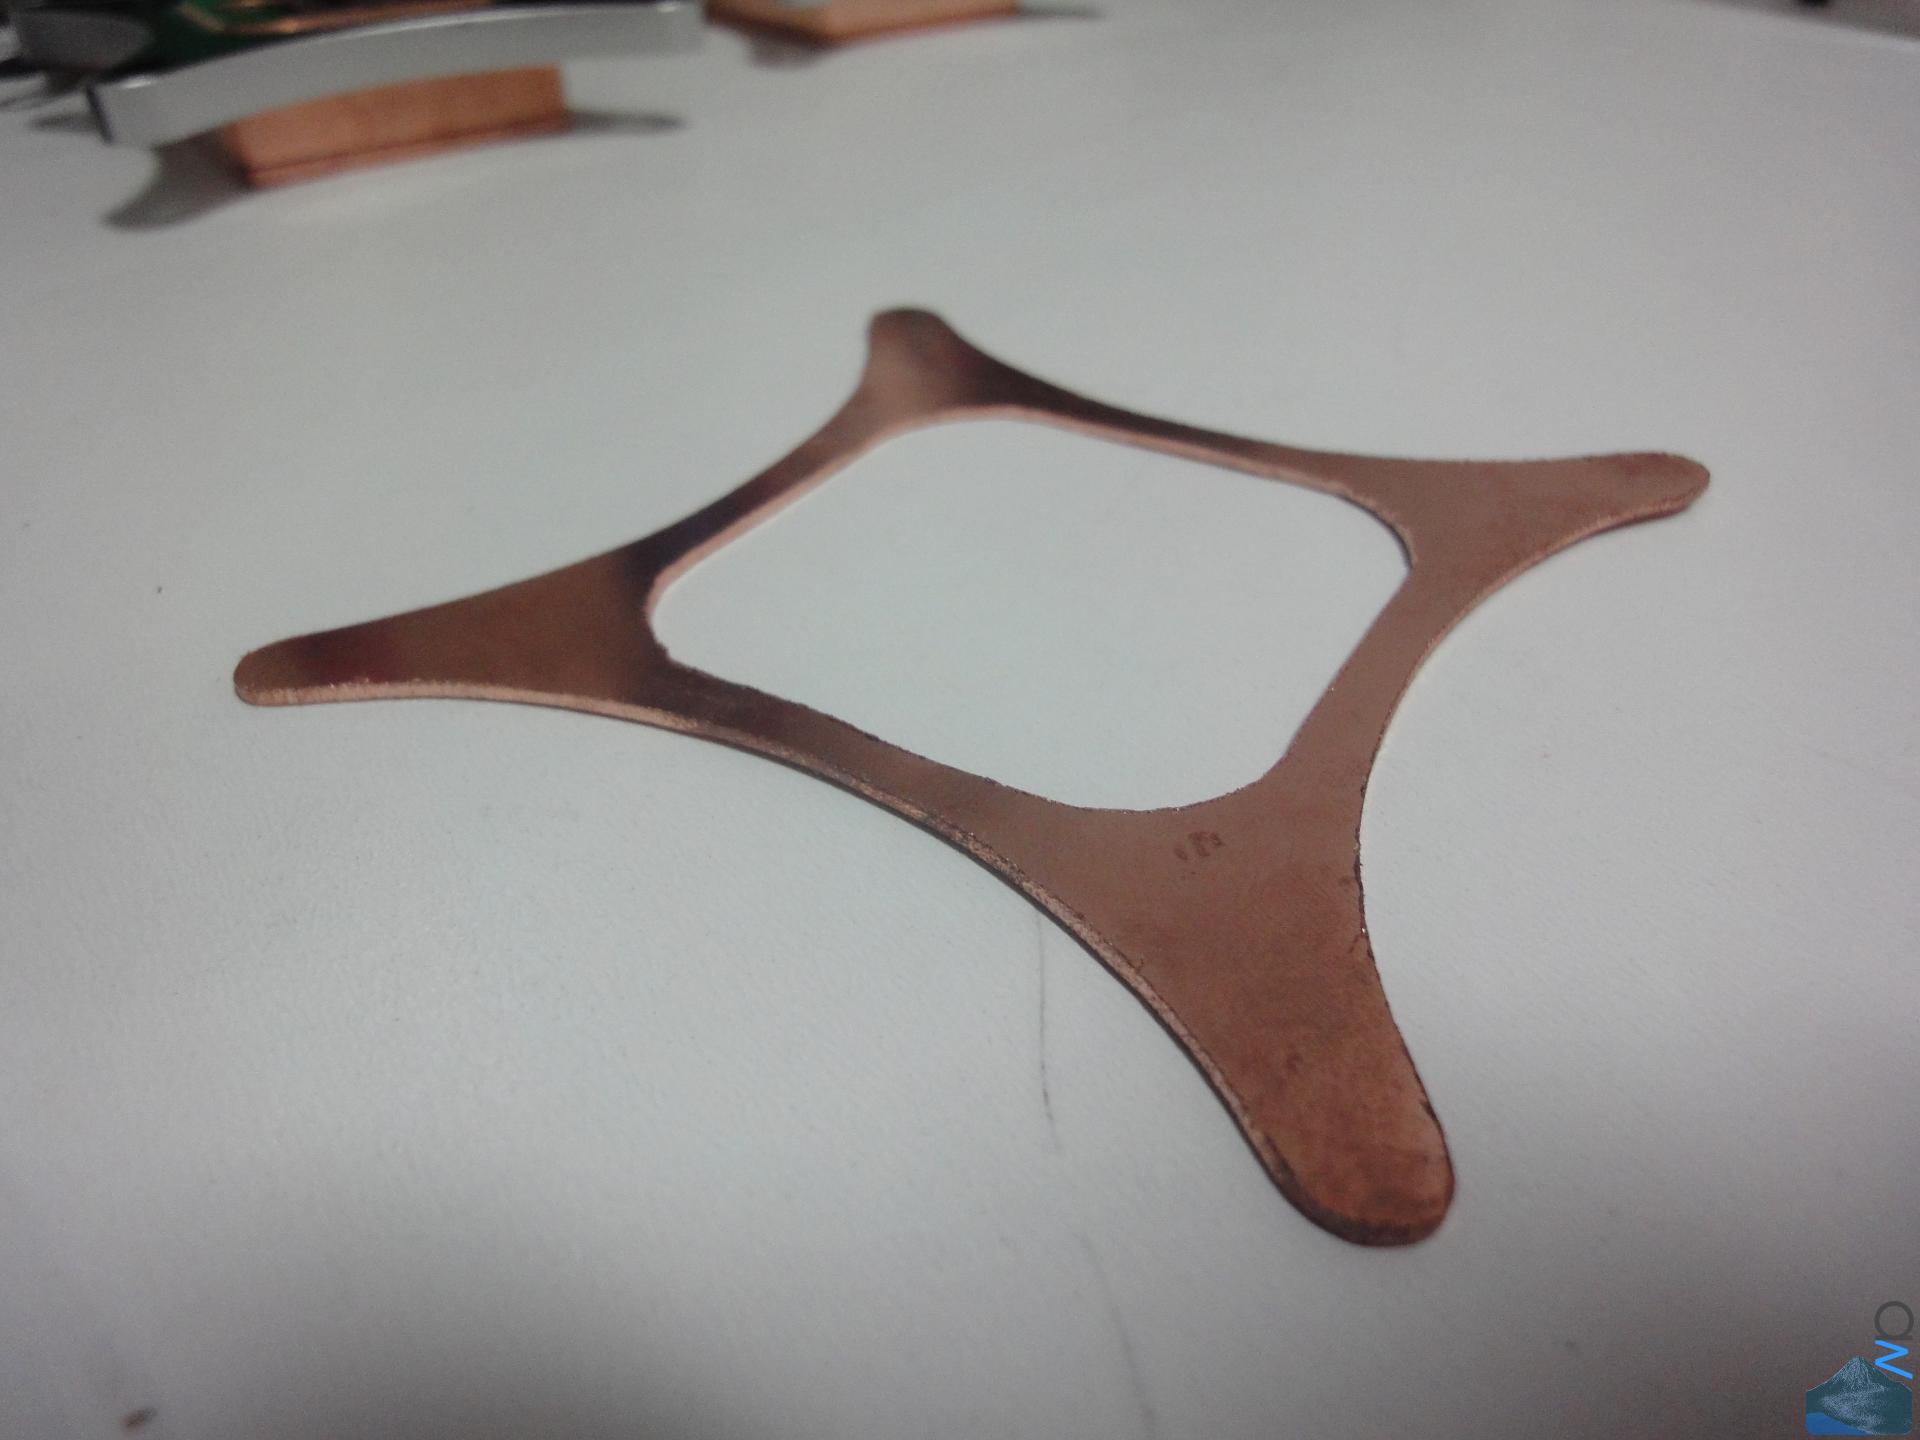
Custom Cover on Block
I forgot to take any pictures with the black sharpie on it, but trust me, it was still not right.
Also keep in mind that I will probably have two Alphacool RAM blocks (yes, I bloody know
they are pointless, but I like the looks, probably :lol: ) in copper next to these.
Next up I will be planning the cable management (and therefore possibly custom cables),
but that will be a tricky one, so don't expect me to solve that problem within the next
two days.
That's it for now, thanks for watching. Stay tuned for the build in which the UT60 will end up
Last edited:
pcjunkie429
New member
I think it'd look better having the stock black trim plates on the Raystorm blocks, since you're gonna get copper RAM blocks (which will be right next to the CPUs), and already have copper fittings. I think the copper plate on the block would be a bit too much. It'd look like you robbed the US Mint of all their pennies xD :lol:. Other than that, this is coming along nicely :biggrin:.
alpenwasser
New member
I think it'd look better having the stock black trim plates on the Raystorm blocks, since you're gonna get copper RAM blocks (which will be right next to the CPUs), and already have copper fittings. I think the copper plate on the block would be a bit too much.
Absolutely agree, but I just had to see it in person before making the final decision. The nice
thing was that I accidentally discovered that the black trim plate (thanks for that btw, I was
looking for that expression
) in combination with a black mounting bracket wouldprobably look very nice (I put the black trim piece on the sharpie'd mounting bracket and was
quite pleased with the look). It was a good way to kill two afternoons though :lol:
pcjunkie429
New member
(thanks for that btw, I was
looking for that expression
Lol no problemo mate. ^_^
It was a good way to kill two afternoons though :lol:
Indeed. Nothing wrong with experimenting.

Mgutierrez33
New member
love love love love love those copper bits! It'll definitely be interesting to see the RAM blocks alongside them, looking forward to more!
:beerchug:
:beerchug:
alpenwasser
New member
wow that custom cover for the cpu block is :drool: but i kinda agree to much copper still this is gonna be a beast of a build cant wait for more updates!!
I think I could have gotten it to quite a refined state if I had kept working on it, but since
I won't be using it anyway, that's kind of pointless now
love love love love love those copper bits! It'll definitely be interesting to see the RAM blocks alongside them, looking forward to more!
:beerchug:
Yeah, I sort of have the feeling I will have to add some black accents to the RAM blocks in
order not to have the same problem the custom trim plate for the Raystorm caused (i.e.
copper overload). But they are very nice blocks
NeverBackDown
AMD Enthusiast
That is a **** ton of copper! You will for sure have one heavy build
B NEGATIVE
New member
Love it mate,i am working with copper on my Arctic Water build,shame you are not in the UK,I have just spent a small fortune on a metal polisher that will buff those mill marks right out.
alpenwasser
New member
That is a **** ton of copper! You will for sure have one heavy build
Hehe, yes it probably will not be very light. But I'm pretty sure it will be lighter than its
predecessor, 11 HDD's plus two Aquadrives weigh a crapload. Plus the Elysium is not
exactly light either (15.5 kg IIRC), although it's actually only ~3 kg heavier ( ~ 6.5 lbs for
you
) than the SMH10.But yeah, those Raystorm CPU blocks are massive.
Love it mate,i am working with copper on my Arctic Water build,
Thanks mate! Been following Arctic Water closely, and I really like it if I may say so. I would
have never guessed white/copper could look as good as it does simply because I had never
actually seen it before, and ever since seeing PrometheusCU I had just been completely
fixed on black/copper. But Arctic Water looks really beautiful!. :wub:
shame you are not in the UK,I have just spent a small fortune on a metal polisher that will buff those mill marks right out.
Haha, yeah I would have gladly sent them to you. On the other hand, as a college student
(at least in the earlier semesters) you don't often get to do manual labour (which I quite
enjoy, at least this kind
), and since I've never done this before I'm rather looking forward to figuring out how to get this right. I'm actually already quite happy with the current first
results, the mill marks are gone, it's just some really fine (but very visible if the light hits
at the right angle) scratches that remain.
I have sandpaper from 600 grit up to 2500 grit, plus some sheets of 7000 grit EDIT:
correction: 5000 grit /EDIT (all suitable for wet sanding). Besides that I will try out
different polishing compounds and use the dremel with those, some first experiments
have yielded promising results; you just have to be careful with using the dremel for
polishing to not "favour" one part of the surface but give the entire thing the same
attention. From what I've tried so far, I will probably have to go back to some coarser
paper (400~800) to get those scratches out, but I don't want to go too coarse right away.
I'm definitely no expert at this, but at some point somebody figured this out, so it should
be feasible for me as well :lol:
Last edited:
NeverBackDown
AMD Enthusiast
7000 grit sandpaper? I know metals use very fine grits but i guess being more familiar on wood working i underestimated metals
alpenwasser
New member
I haven't tried it yet tbh, but since I was buying a bunch of different grit papers I thought I might as
well add it to the order. It's not like it costs a fortune.
And yes, even though I'm no expert on metals, you can still see very fine scratches quite clearly
if the light hits the surface at the right (or wrong, rather) angle. Think piano lacquer on wood.
well add it to the order. It's not like it costs a fortune.
And yes, even though I'm no expert on metals, you can still see very fine scratches quite clearly
if the light hits the surface at the right (or wrong, rather) angle. Think piano lacquer on wood.
I'm really liking the look of the copper, I think copper and black will look great together . I was going to say you might want to look into a coating of something ( lacquer or something similar)on the copper to stop that nasty green color.
Can't wait to see how this turns out , keep up the good work.
Can't wait to see how this turns out , keep up the good work.
alpenwasser
New member
I'm really liking the look of the copper, I think copper and black will look great together . I was going to say you might want to look into a coating of something ( lacquer or something similar)on the copper to stop that nasty green color.
Can't wait to see how this turns out , keep up the good work.
I have actually been thinking about that and will do some experiments with clear coats.
After having spent all that time polishing the copper parts I don't want the clear coat to
screw everything up, but I would definitely also like to avoid tarnishing.
But this will likely only come in the late stages of the build since it's not very urgent.
Thanks for the support!
alpenwasser
New member
It won't screw anything up so long as it's good clear.
Good to know, thanks. Then I suppose it's just a matter of getting the right
coat and doing it properly
alpenwasser
New member
What about a couple of light coats of spray on clear coat ? I'm not sure how it will hold up to heat though.
That's pretty much what I have in mind. I don't think heat will be a big issue, the copper parts
won't really get very hot; I doubt they will hit 40 C (maybe for short times), maybe not even
30 (ambient temps are usually ~ 20 C in my room, although they can get to above 30 C in
summer). As long as the spray coat is a decent product and I apply it correctly I think I
should be fine.
But to be thorough I will certainly look into this before actually doing it, no point in being so
detail oriented in the rest of the build and then getting sloppy at the end.
JMMP
New member
Hi alpenwasser!!
Out of curiosity, do you know that HELIOS it´s the name of Bull´s Supercomputer?
I just wanted to share this information with you!
by the way.....nice rig you´ve got there
http://www.datacenterdynamics.com/focus/archive/2012/03/japan%E2%80%99s-supercomputer-nuclear-fusion-research-helios-comes-online
Similar threads
- Replies
- 11
- Views
- 1K
- Replies
- 5
- Views
- 484