PSU & Pump Mount, Making the 24 Pin Cable
PSU & Pump Mount, Making the 24 Pin cable
Wow, it seems like ages ago that there was some progress on this. However, my hands have not
been idle. Since ZEUS is finally more or less done (finishing touches, testing and then I'll
post the last part of the log) I finally found some time this week to proceed with HELIOS,
namely with mounting the PSU, the pumps and making the 24 pin wire.
As mentioned before, I will be using mostly 16 AWG Silicone wires, which have a few advantages
over normal PVC wires, as well as one major disadvantage and one minor one. The minor one is
cost; it is actually quite expensive. 10 meters of 16 AWG wire cost ~ 7.75 GBP (~12 USD).
The PSU
Not much to say here, it's just an absolute stunner.
(click image for full res)

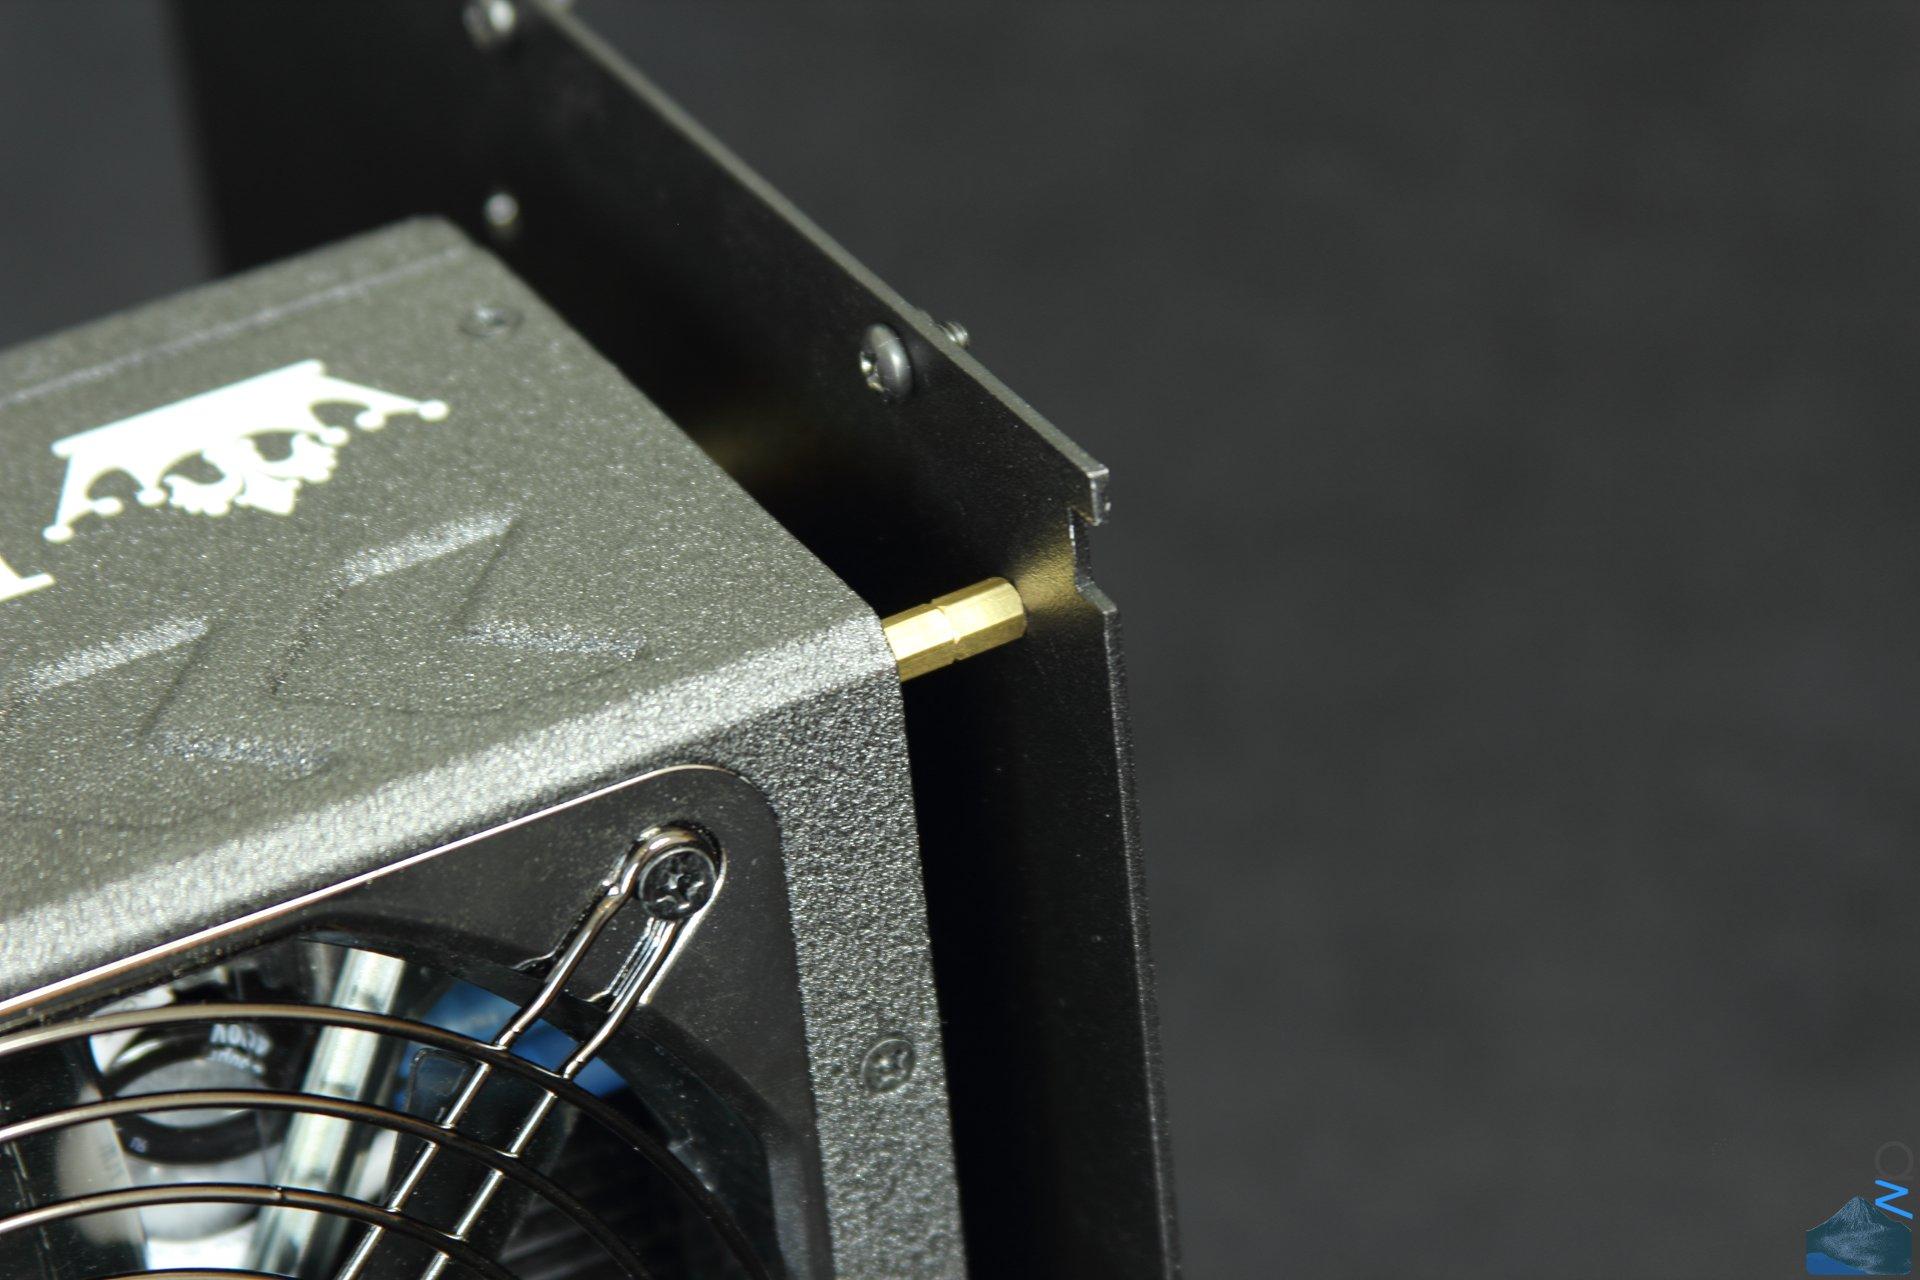
This is how it's mounted to the plate. There's also a cutout to fit the 230 V connector through
and to access the ON/OFF button.
(click image for full res)

The pumps are bolted to the same plate. Makes for a nice and compact unit.
") (click image for full res)
(click image for full res)

And inside the case:
(click image for full res)
 Making the 24 Pin
Advantages of Silicone wire: It's extremely flexible and can tolerate much higher temperatures
(this one is rated to 200 C). The temperature thing might sound a bit silly for a PC, but it
actually came in very handy during making the wires.
The tools I used:
(click image for full res)

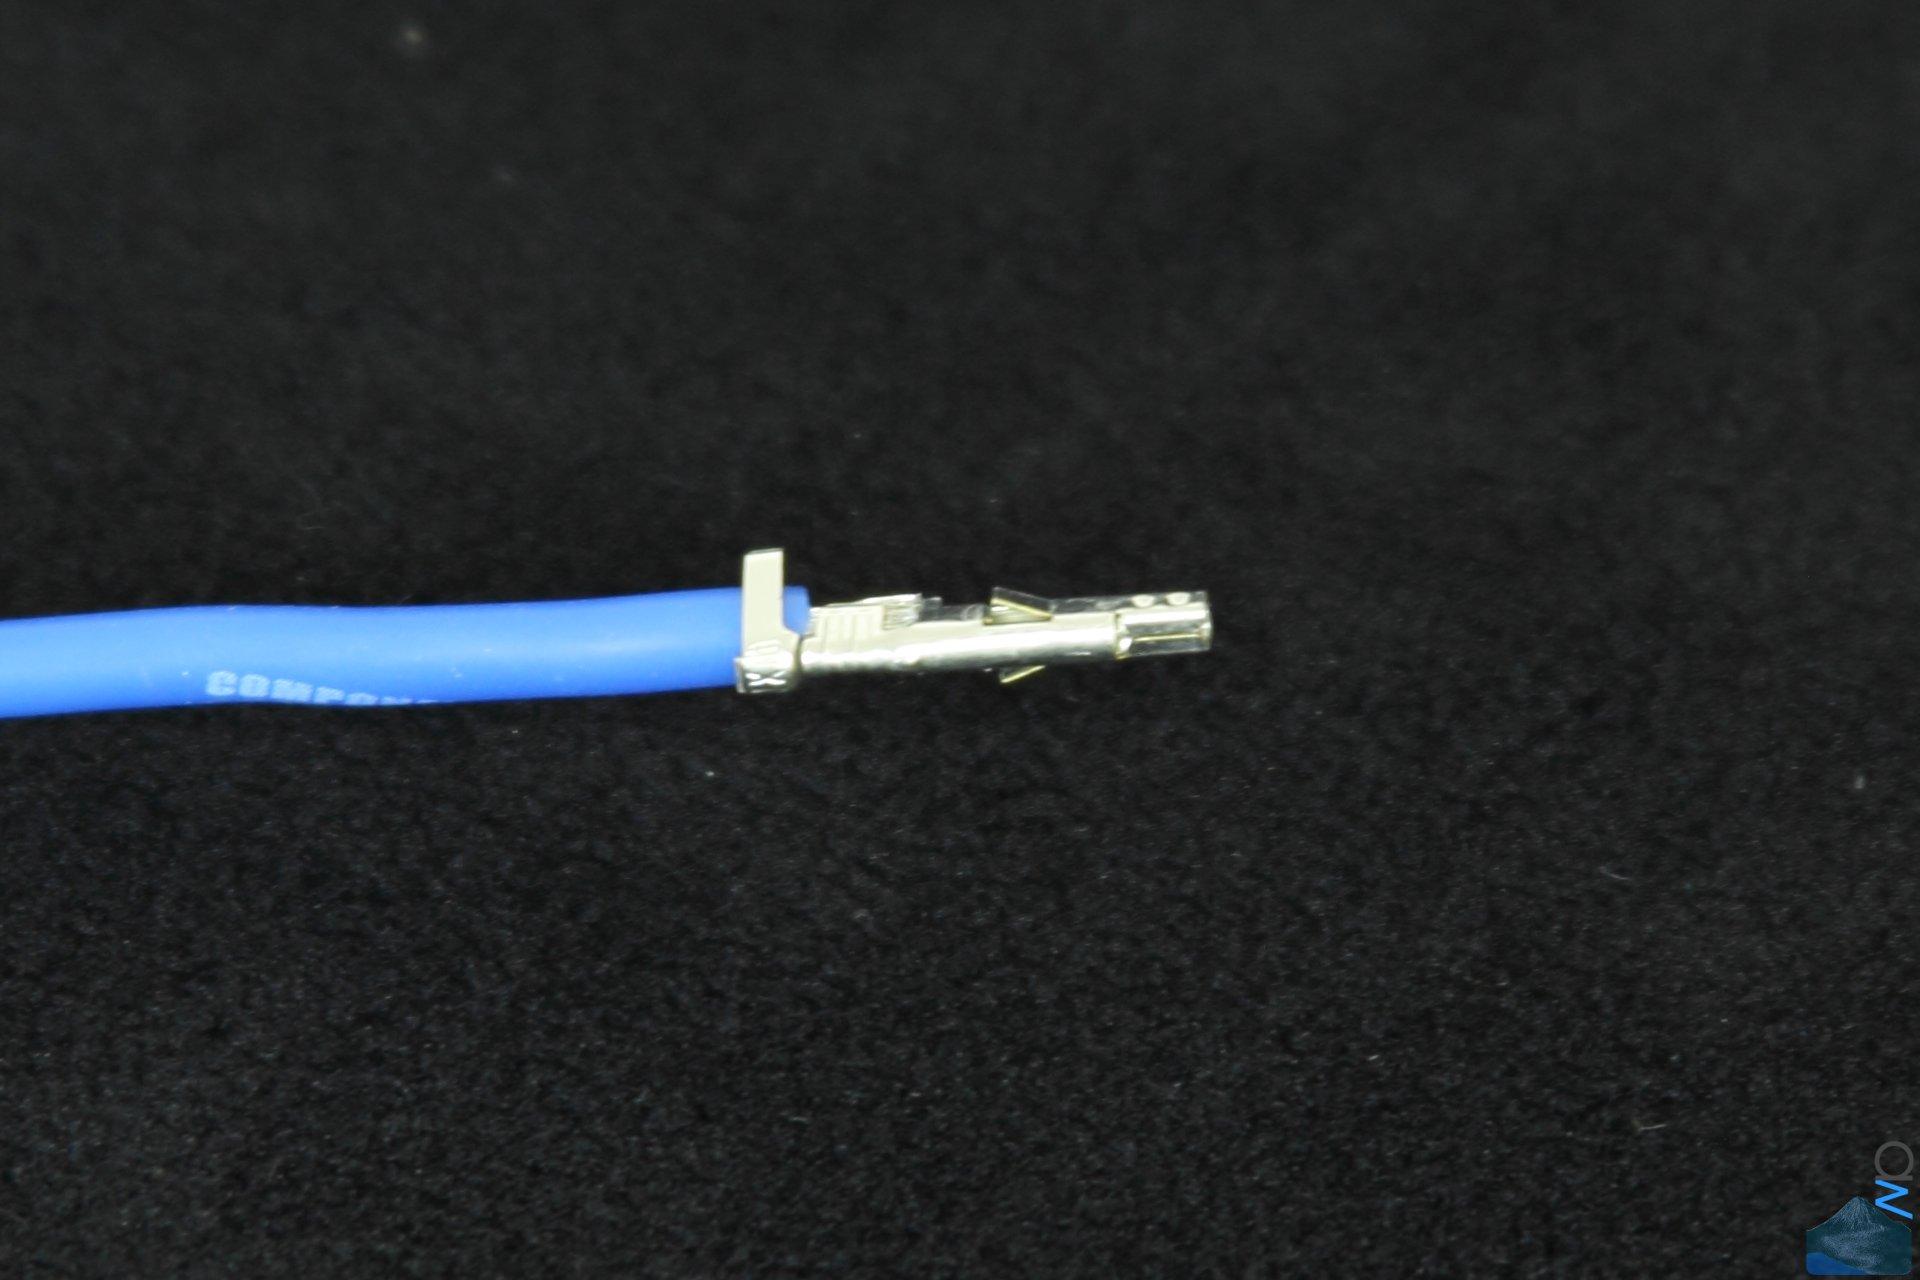
Stripping the wire in preparation for crimping. You can clearly see that there are an insane
amount of strands, which is the other aspect that makes this wire so much more flexible than
PVC coated one (besides the Silicone, obviously). The disadvantage of this is that the wire
itself is substantially thicker than its PVC counterpart, coming in at a bulky 3.1 mm diameter
for a 16 AWG wire. The 16 AWG PVC wires that came with my PSU measure about 2.0 mm in
comparison.
(click image for full res)

The thickness of the wire requires me to press the crimp terminal onto the wire and then
insert that assembly into the crimper, instead of first fixing the terminal inside the crimper,
inserting the wire into that and then pressing down.
(click image for full res)

Luckily, Silicone is very soft, meaning it compresses nicely under the crimping terminal's wings.
Be careful though: There are (at least) two versions of this terminal floating around: One with
longer wings and one with shorter wings. The short winged version is completely unusable for
this setup. As you can see, this is not a flawless crimp, but the insulation does not come below
the second pair of wings, which I deem good enough for my purposes (otherwise I'd have an insane
amount of wasted crimp terminals
")
). Still, despite all this, the rate of failed crimps does
noticeably rise when using such a thick wire. The most common fault I encounter is that one of the
rear wings breaks of (the ones which are supposed to crimp down on the insulation).
Fortunately the core's large thickness due to the many strands makes most of these still perfectly
usable since the forward pair of wings hold the wire in place quite tightly (much more tightly than
if you had a rear wing failure with a PVC wire), in fact it takes an enormous amount of force to
rip off the crimp terminal (I've tried a few times to test the blemished crimps).
(click image for full res)

The indispensable sleeving tool:
(click image for full res)

And with the paracord sleeve. Note that I haven't melted the ends, which is on purpose. Melted
paracord becomes quite hard, which doesn't work for what I'm doing here.
(click image for full res)

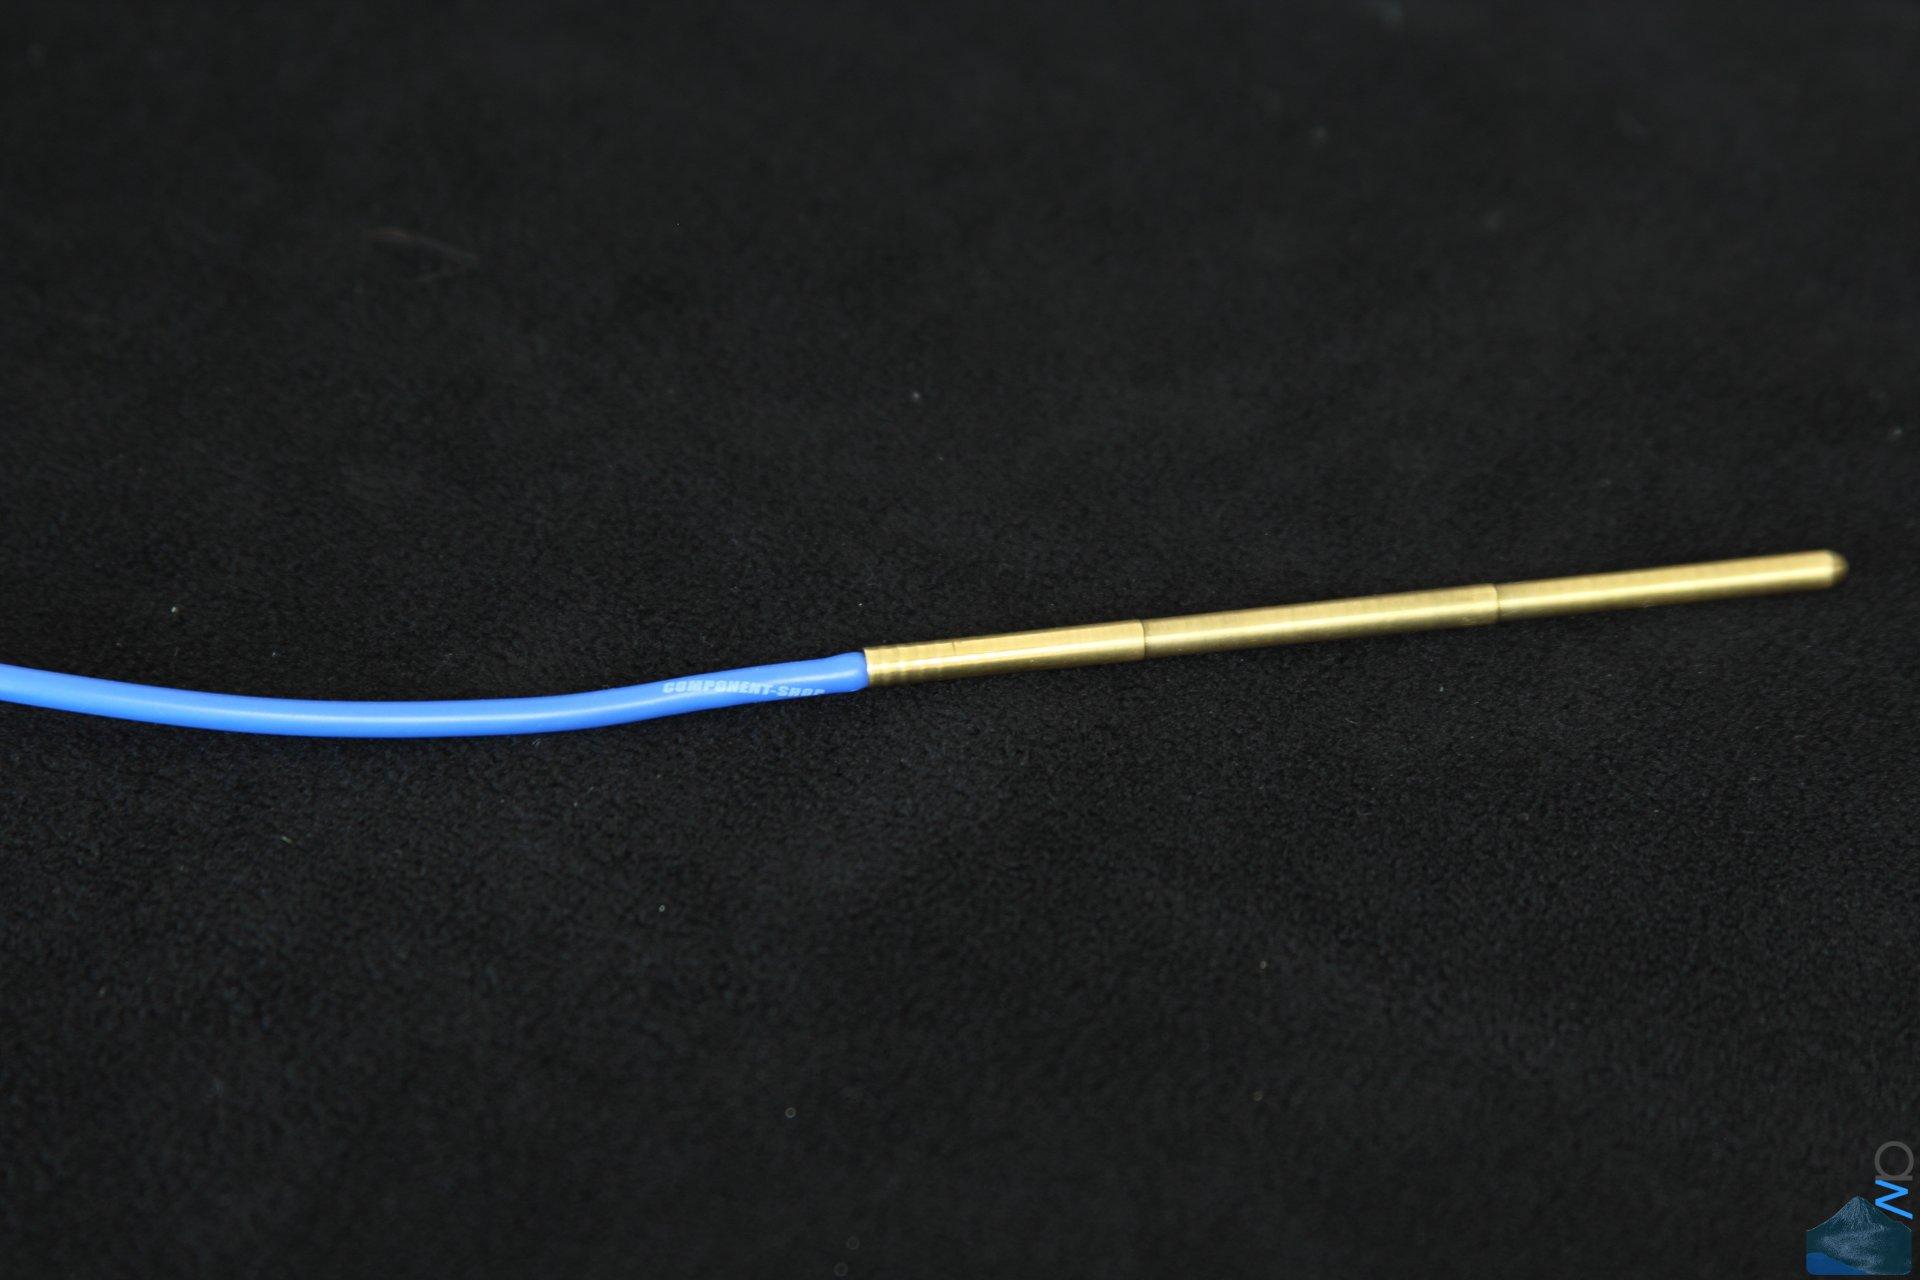
Distance gauge for what comes below.
(click image for full res)

And here we have the trick to the problem of thick wires. Since the wires are much too
thick to fit into the connector with a sleeve on them (they do fit easily without one),
I had to come up with another solution than the usual one of melting the sleeve onto
the crimp terminal.
Since I absolutely wanted to avoid using heat shrink I came up with this solution. If you
have a look above at all the things I used for this, you will notice a roll of 0.25 mm Nylon
thread. I took that thread and wound it around the wire's ends, making sure to have the right
distance from the crimp connector's end to the Nylon thread and that each Nylon piece had
the exact same number of windings (20). This is also why the paracord is not melted before;
keeping it unmelted and soft makes it possible to tighten down the Nylon thread much more
firmly.
The advantages of this technique are that it looks much better than heat shrink (at least to
me, which is what matters :lol: ), and since you can tighten it down very nicely, it also
holds the paracord sleeve in place much better than an equal length piece of heat shrink.
Also, this nicely avoids those "steps" one often has to have when using heat shrink. The
downside of this approach is that it takes an absolutely
ridiculous amount of time to do.
Doing this one wire you see here took me 30 minutes (including taking the pics). Without
taking pictures I usually need around 15~20 minutes for one wire, and up to 45 minutes for a
doubly crimped one (of which there are five in the 24 pin cable, an absolute nightmare).
All in all, the 24 pin cable has taken me around 12 hours of work so far. What I still need
to do is lace it so that all wires run as parallel as possible, but that will only be done
once I have it inside the case and can see where to best place the lacing bridges.
(click image for full res)

This is where the heat resistance of Silicone comes in handy. Taking the extra paracord
off with a heated box cutter nicely terminates the whole thing and secures it to the wire,
while leaving the Silicone undamaged. I've tried this with PVC and the hot blade easily
melts through the insulation if I do things identically to this.
However, one needs to be careful not to accidentally touch the Nylon cord with the heated
blade, or else the Nylon will come undone and has to be redone (happened four times during
the 24 pin assembly :cussing
.
This is where I was presented with another problem: No matter how perfectly well placed the
sleeve's ends are, there will always be a bit of unwanted colour at the end. Therefore, this
needs to be painted (well,
needs is a relative term :lol: ).
Oh, and in case anyone's wondering: They didn't have black wire in 16 AWG in stock and I
really didn't feel like waiting a few weeks for that. Since you can't see through paracord
this isn't hugely important.
(click image for full res)

Also see here:
(click image for full res)

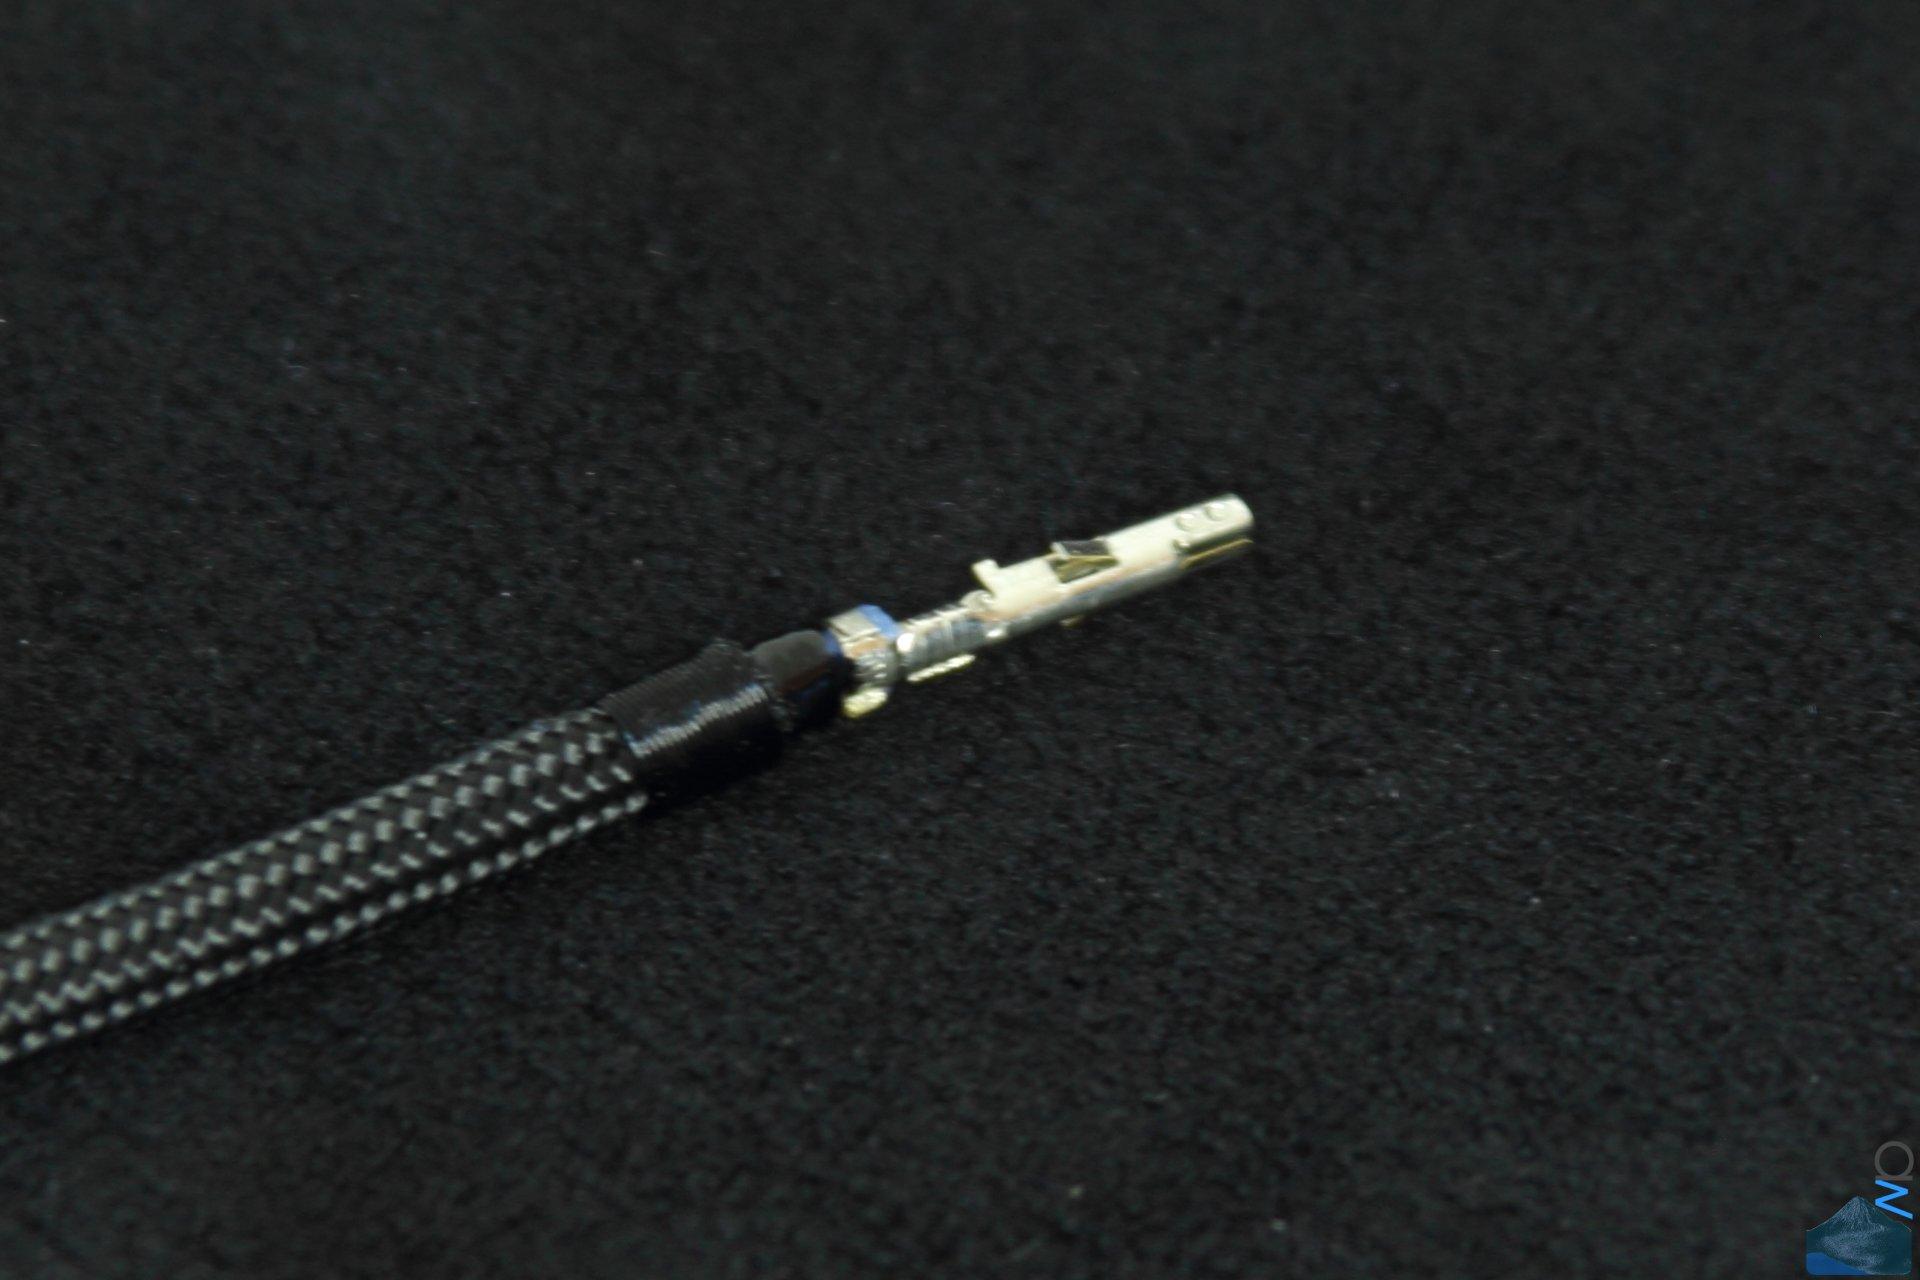
Another wire in its painted state, this time with black sleeving. The black is a bit more
forgiving of errors (sand colour is not at all), however it's also quite a bit trickier to
see what's going on. I apologize for the blurry picture, it's quite a heavy magnification
so I didn't realize this until it was too late.
(click image for full res)

And finally, the 24 pin in its current state.
(click image for full res)

Now it's on to do the remaining cables.
 Sure you know this but just reminding you.