Project: Fallen Angel

Image courtesy of Viking @ Deviant Art
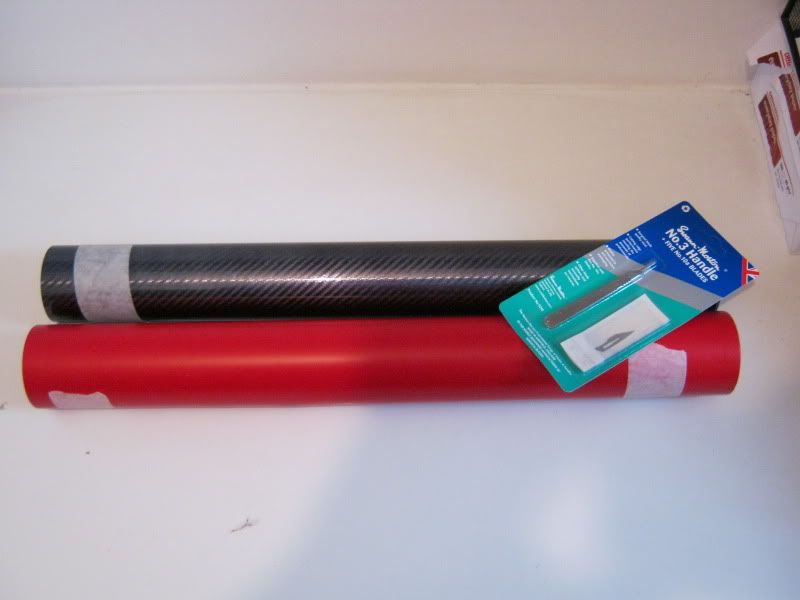
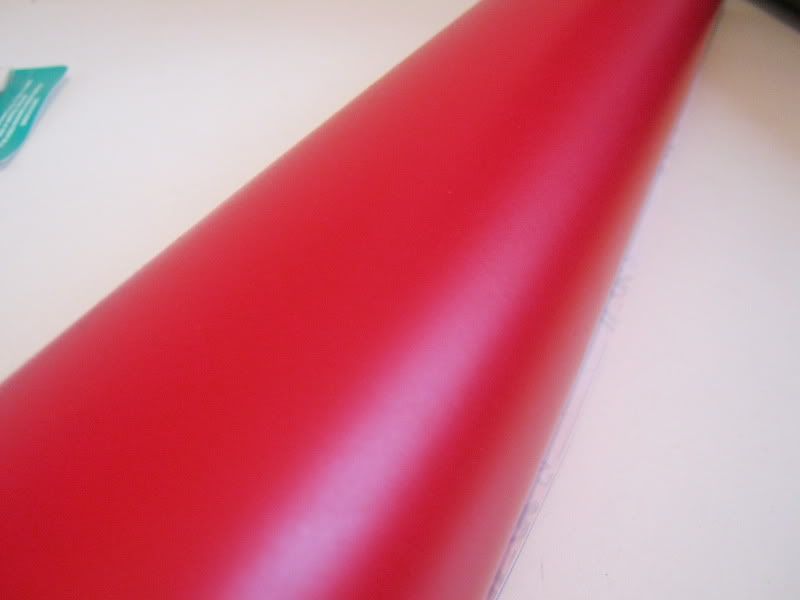
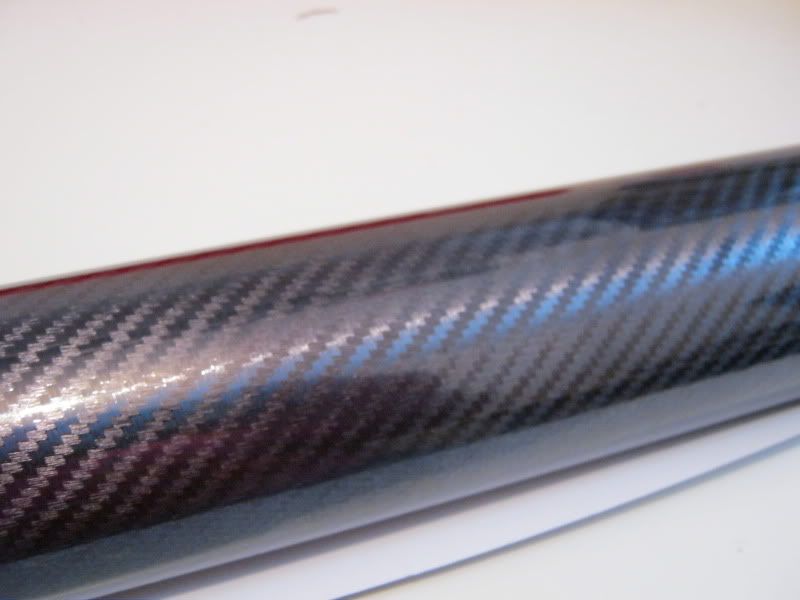
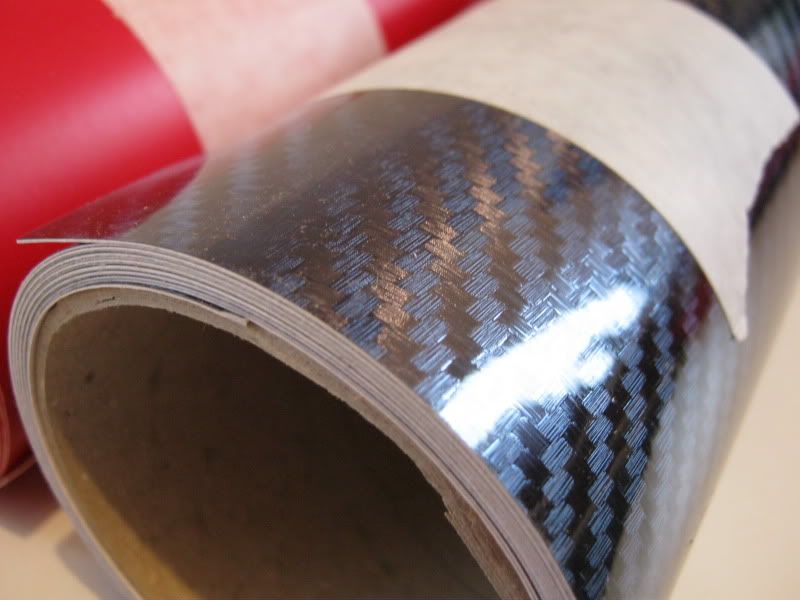
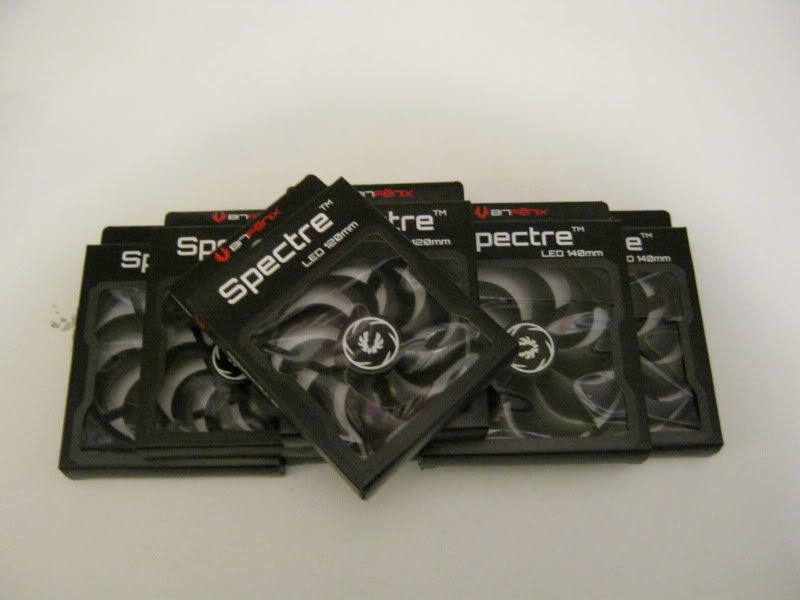
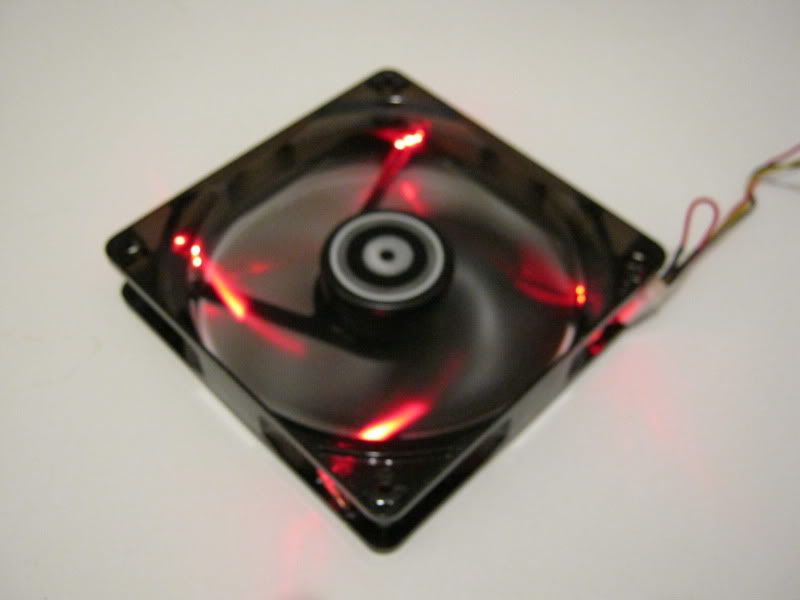
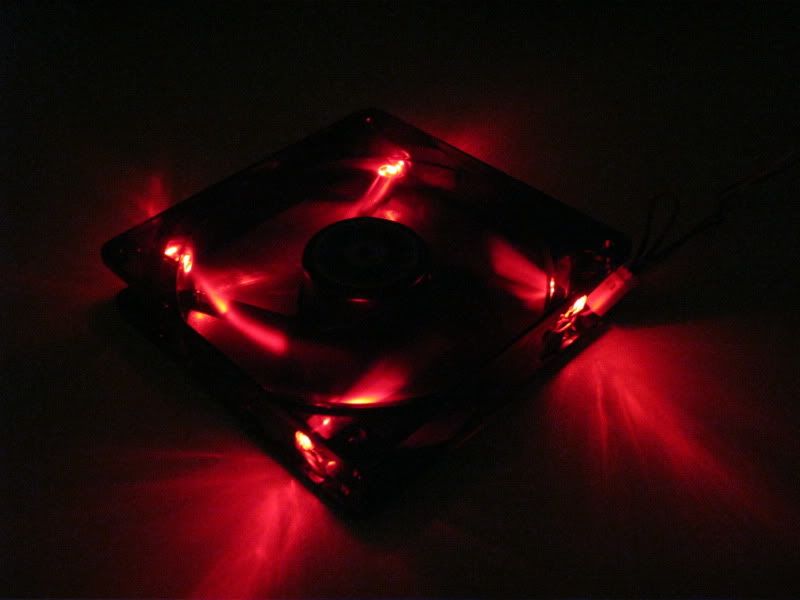
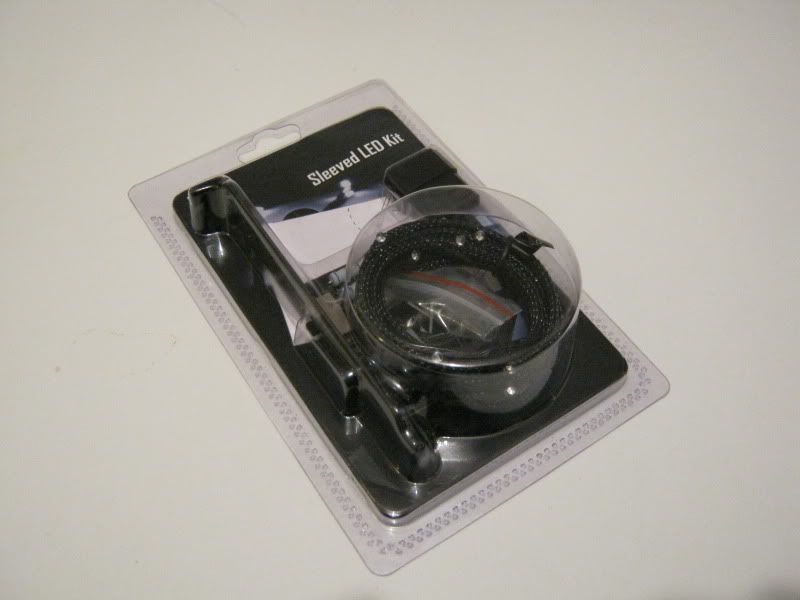
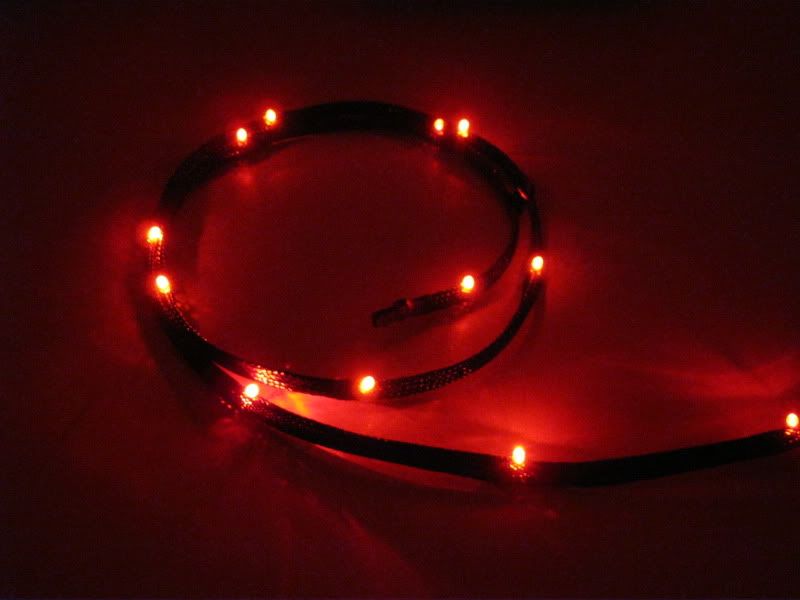
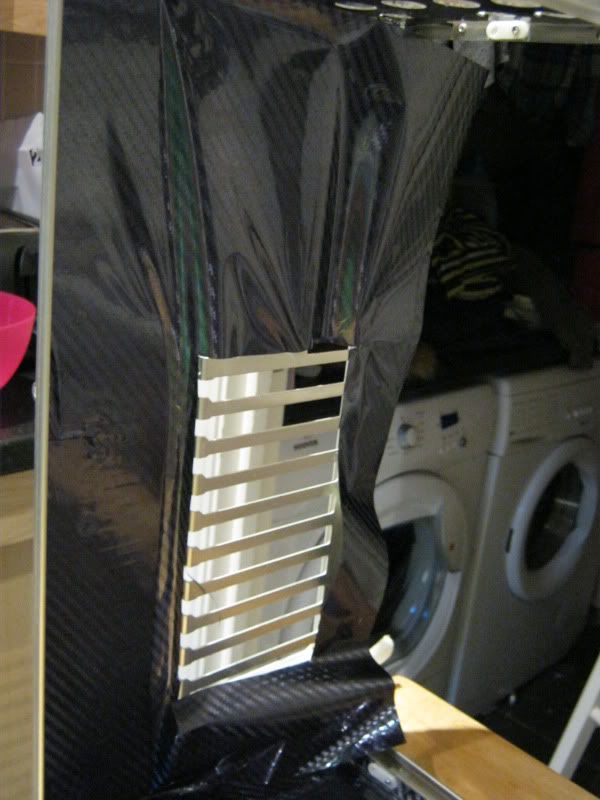
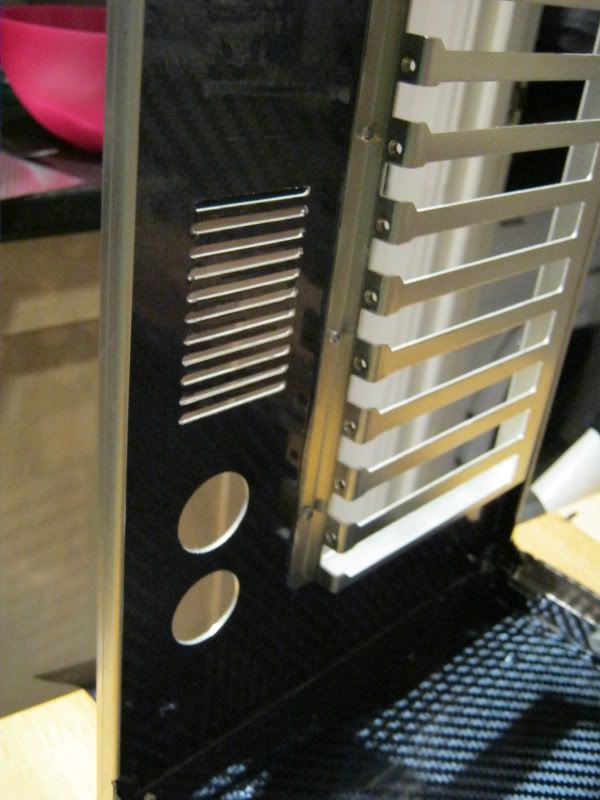
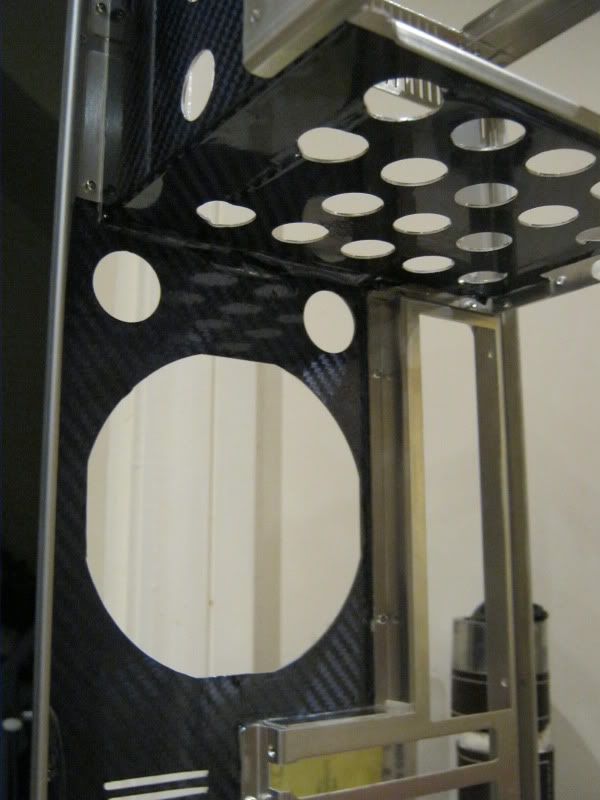
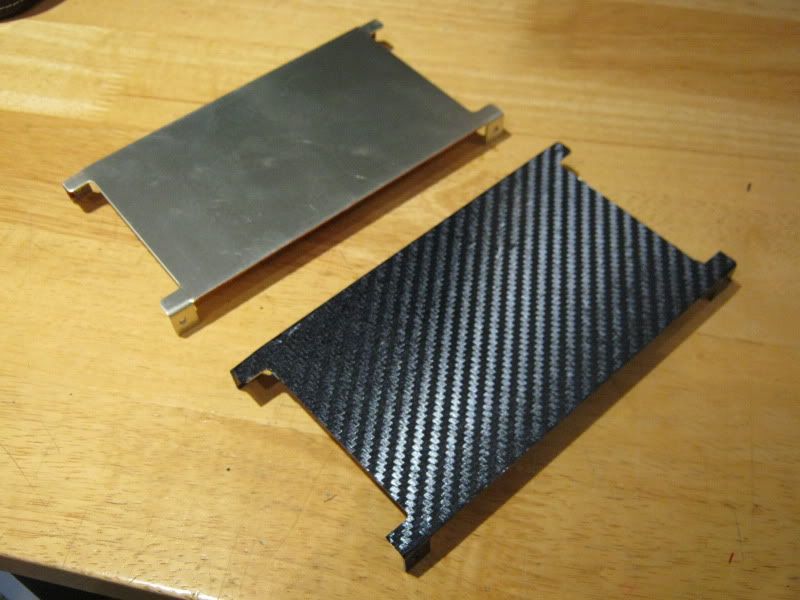
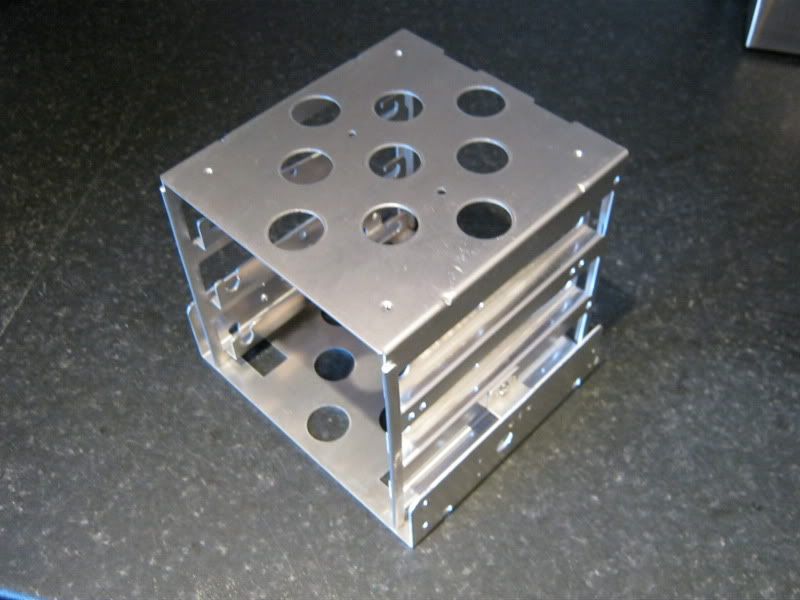
So it's time for a new project. I wanted to do something a little darker than my previous build, Project Angel, so I decided to go for a red/black theme which ties in nicely with the Angelic alterego, hence the Fallen Angel title.
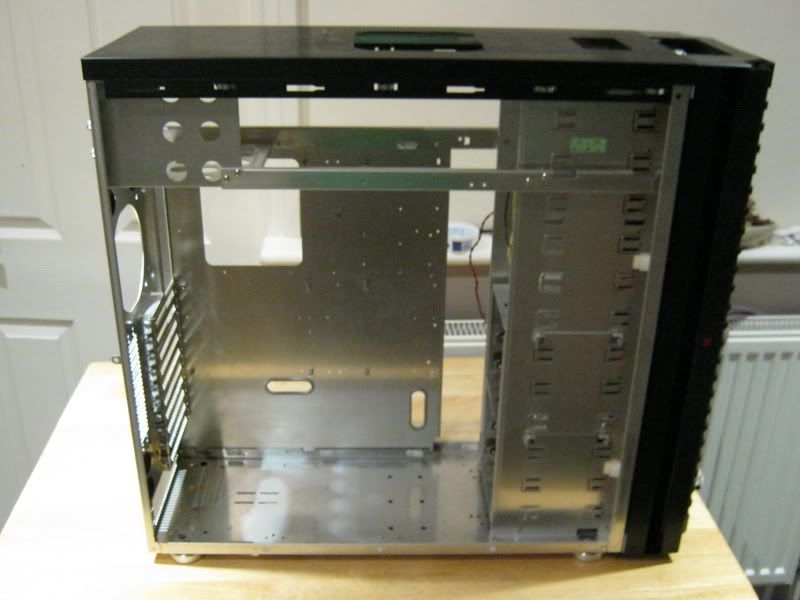
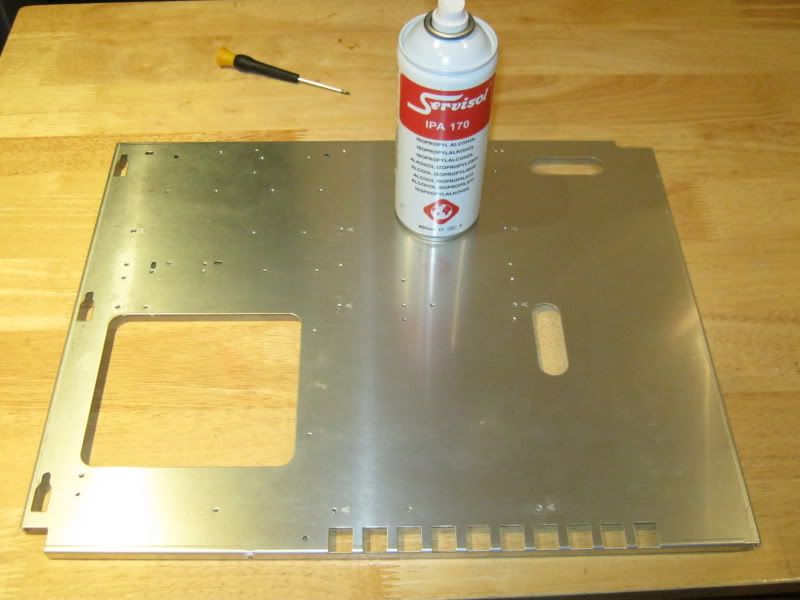
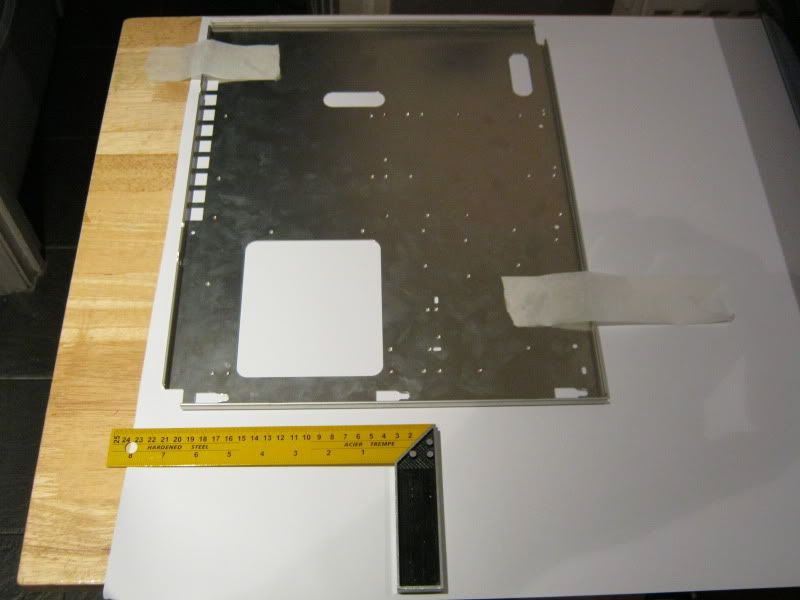
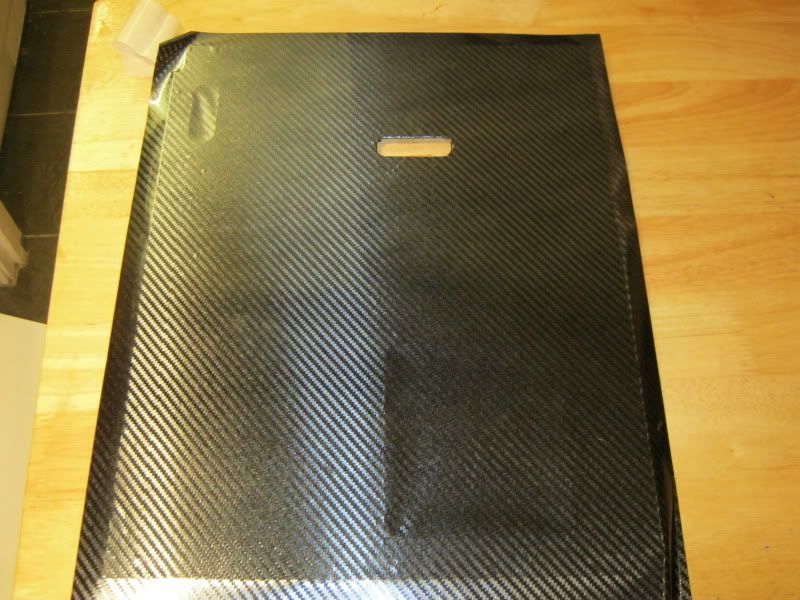
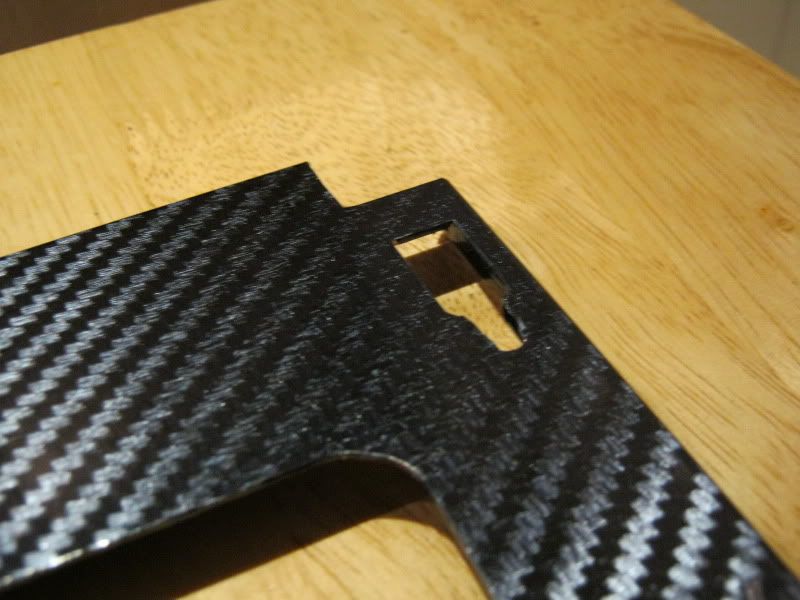
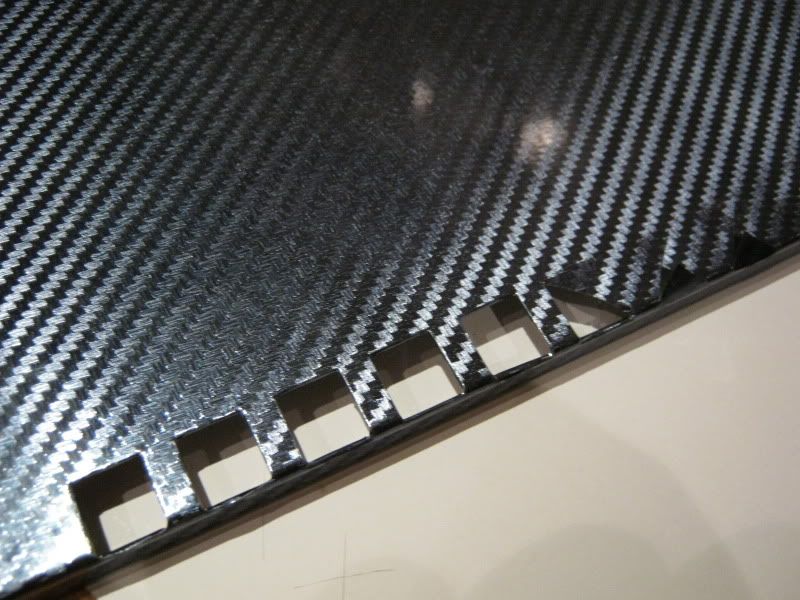
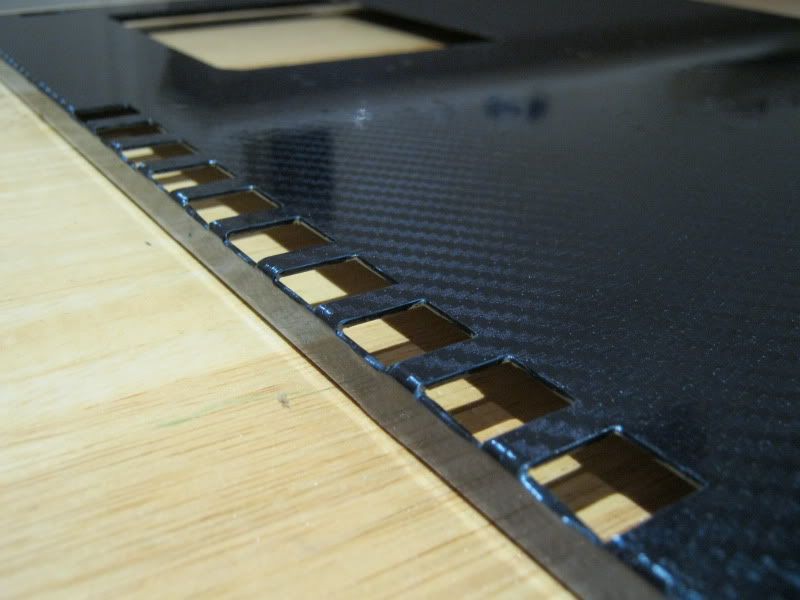
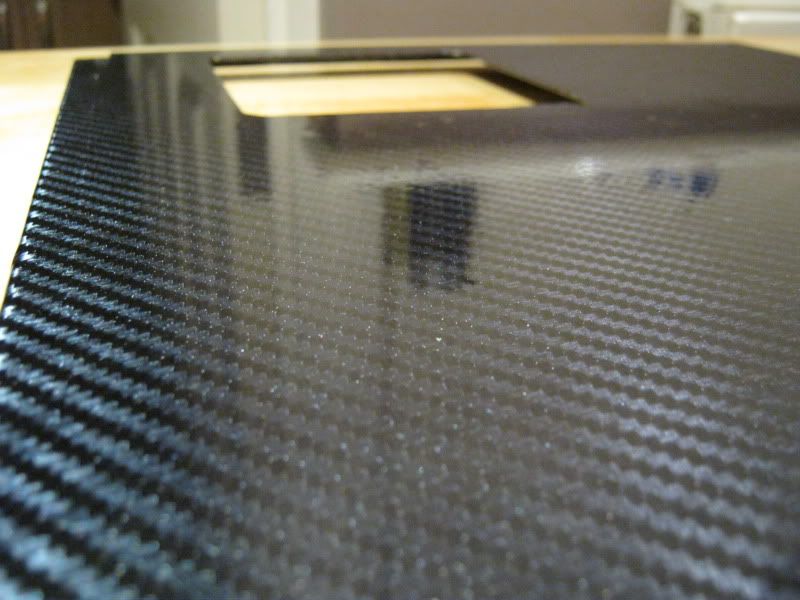
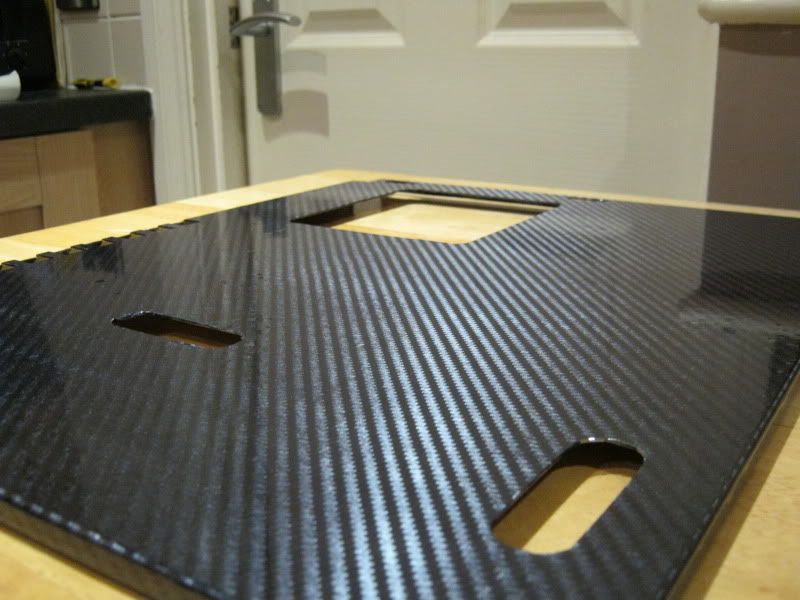
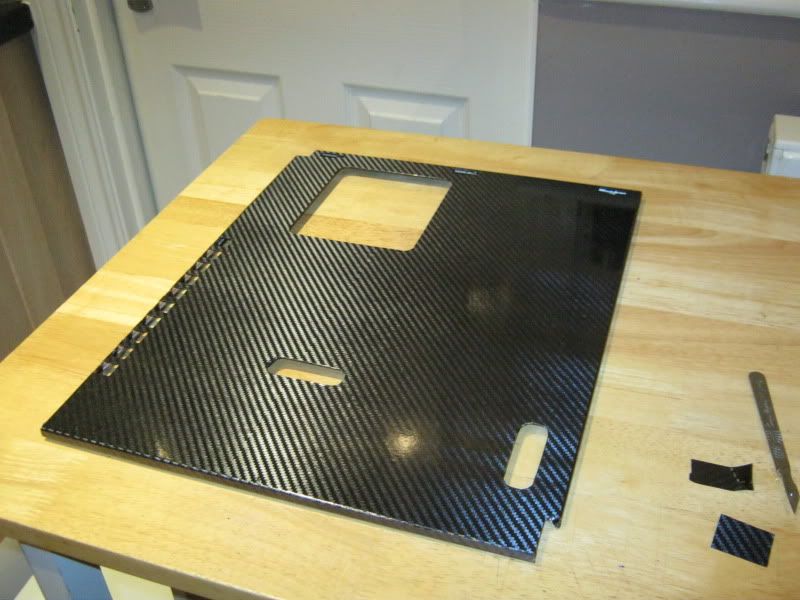
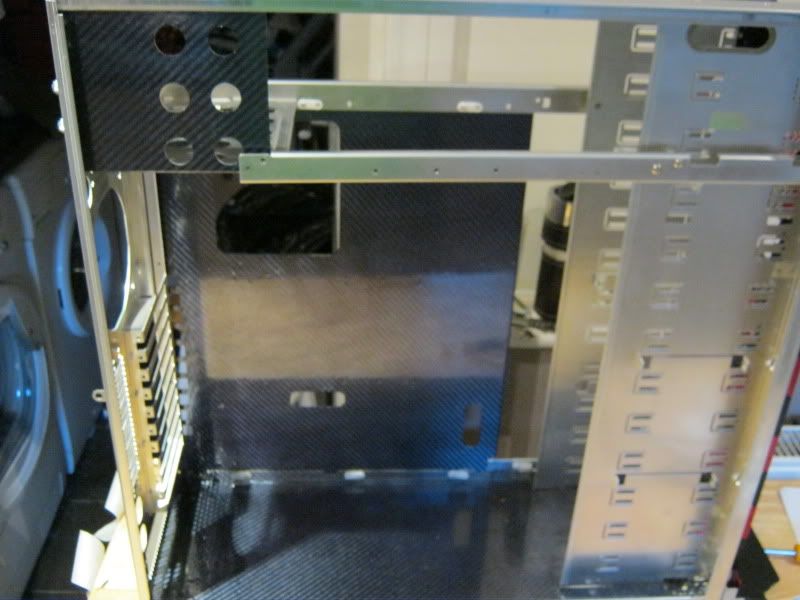
I'm still in the process of collecting parts for the build but I have the case which still requires a little work but to give you an idea, here are some sneek shots of it:
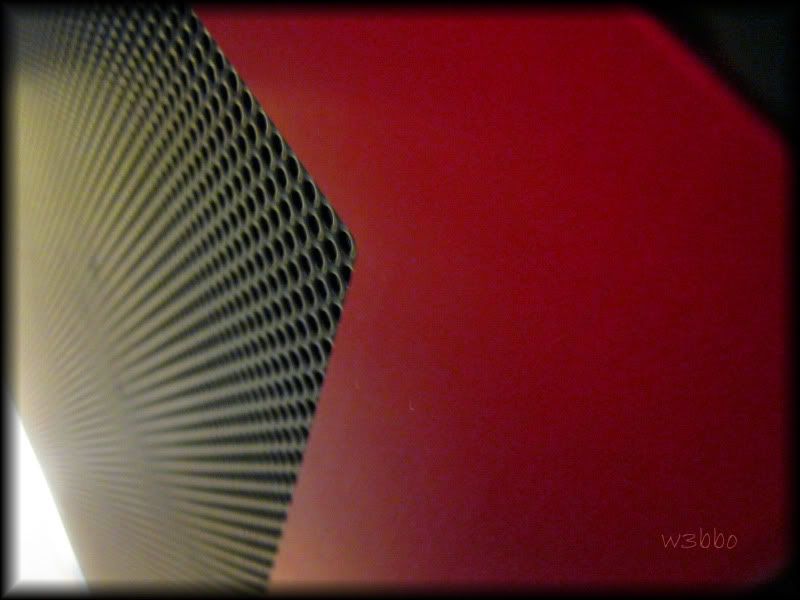
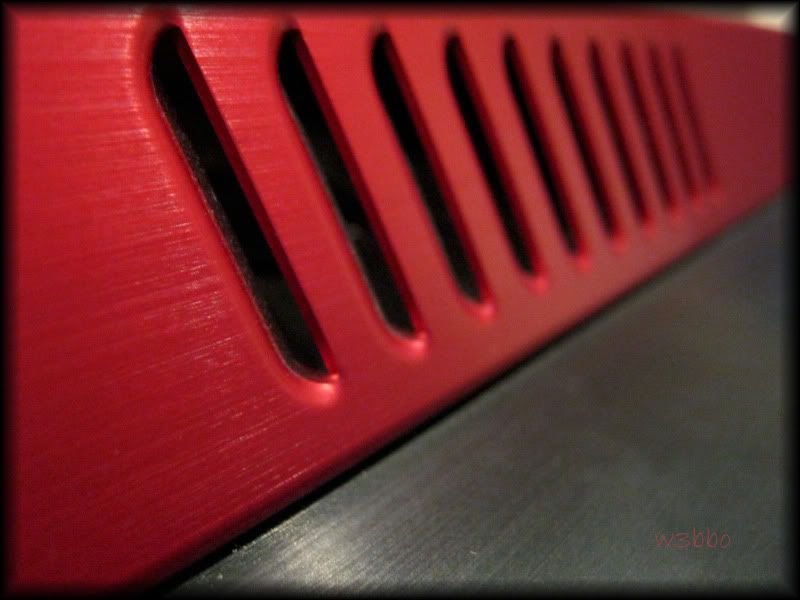
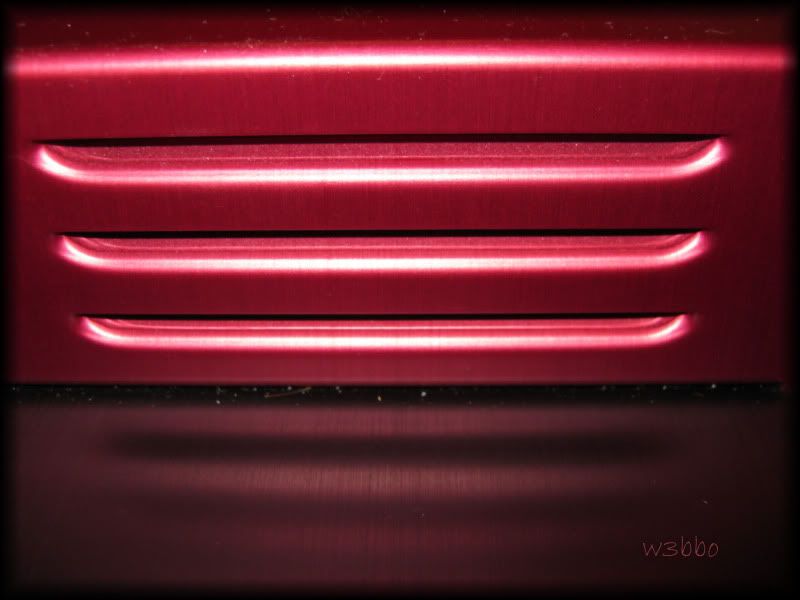
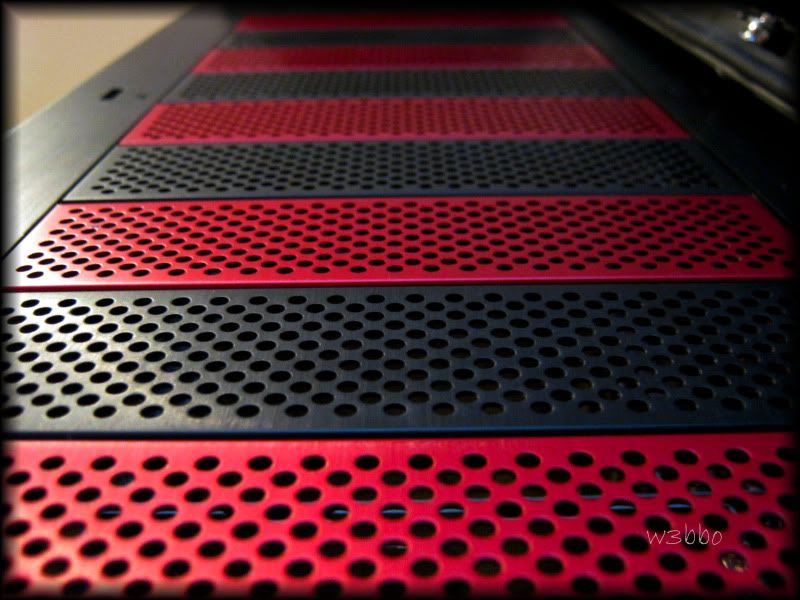
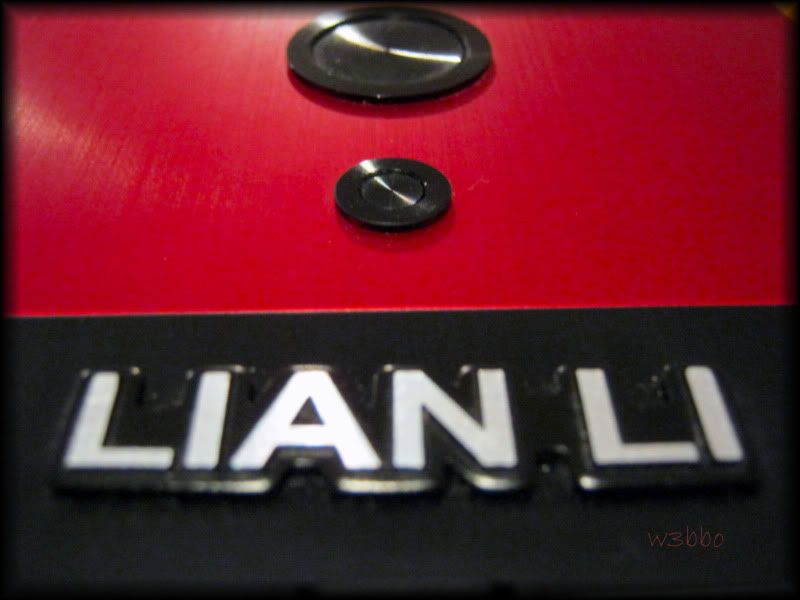
Image courtesy of Viking @ Deviant Art
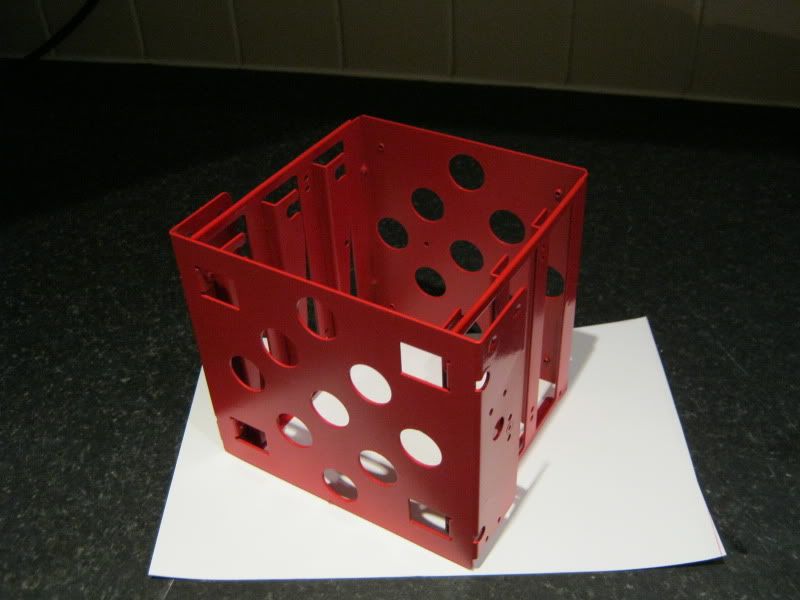
So it's time for a new project. I wanted to do something a little darker than my previous build, Project Angel, so I decided to go for a red/black theme which ties in nicely with the Angelic alterego, hence the Fallen Angel title.
I'm still in the process of collecting parts for the build but I have the case which still requires a little work but to give you an idea, here are some sneek shots of it: