Title: Radeon HD 4850 stock heat sink hack (msi)
Subtitle: Help, my MSI 4850 is idling at 70 degrees!
All credits to Alfredo Alejandro

Abstract
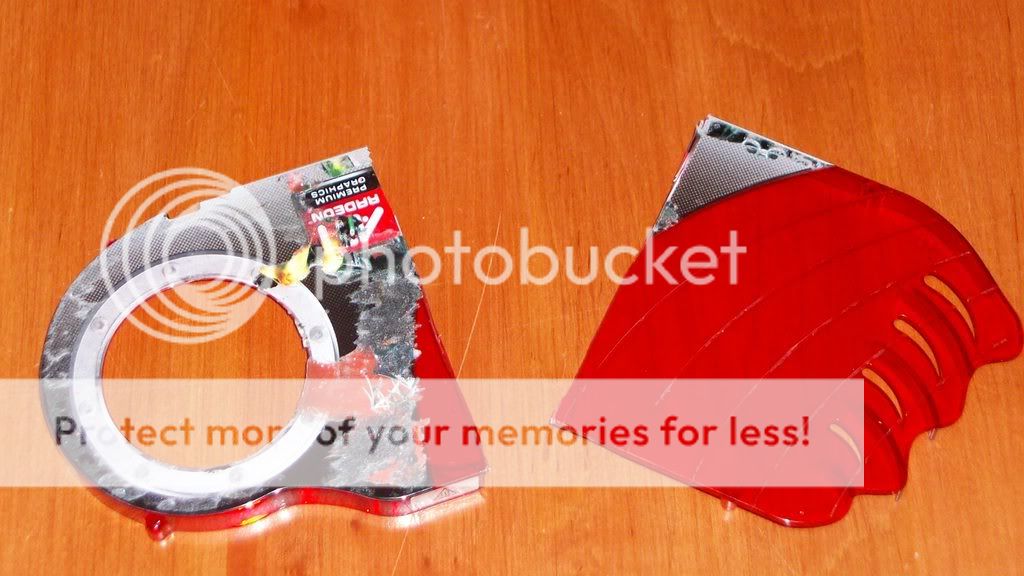
-Remove the plastic cover on the MSI Radeon HD 4850 (which acts to insulate the heat sink)
-Force air movement underneath the copper plated heat sink
-Remove the plastic coating underside the copper stock heat sink
-Replace the thermal goo on the GPU (the stock was probably better than the trash I bought with a gift card unfortunately)
--My troubles
From day 1 the MSI built Radeon HD 4850 was giving me trouble. It was idling at 71 which made me very uncomfortable. The drivers from the CD sucked, the MSI drivers from online sucked too, and did not allow you to adjust the fan speed of the rig. For a while, the actual ATI drivers sucked too (I heard atleast), but they changed that, and allowed you to change the fan speed. (BUT installing the ATI drivers after installing the MSI ones can cause serious problems with your system, luckily that's an F-disk away and I'm not hindered by such inconveniences.)
Anyway, for a time all was good, I could... Manually turn up the fan speed whenever I wanted to play a game (when doing this, I would have to put up with an cacophony of whizzing from the chincy stock cooler). Sometimes I'd forget to do this and it would make me feel a bit as though I were hurting my card (the card would reach temps of 90 degrees before the failsafe system turned the fan on to %100). Obviously this solution sucks. Soon after, I found a way to re-flash the firmware on the Radeon 4850, and adjust the fan speed's algorithm to keep the fan at a reasonable temp / noise level automatically. This was great, but while playing games, you would still have to put up with the fairly noisy fan. The solution? water cooling! But not budgeted right now, so I went with the stock cooler mod, and it only cost me a fresh tube of thermal paste (and my day I guess if you count the blogging and stuff). Read on to experience the modification extravaganza along with me!
Step one, unscrew the stock cooler and all that jazz...
(too boring for an actual picture, sorry)
Ok, I got the sink off the board... just barely... the four screws holding in the bracket are very small, do make sure you find a driver with a decent grip on the buggers before proceeding / stripping the hell out of them. Notes: Apply firm and consistent downward pressure and begin by making minimal jerks to nudge the screw out.
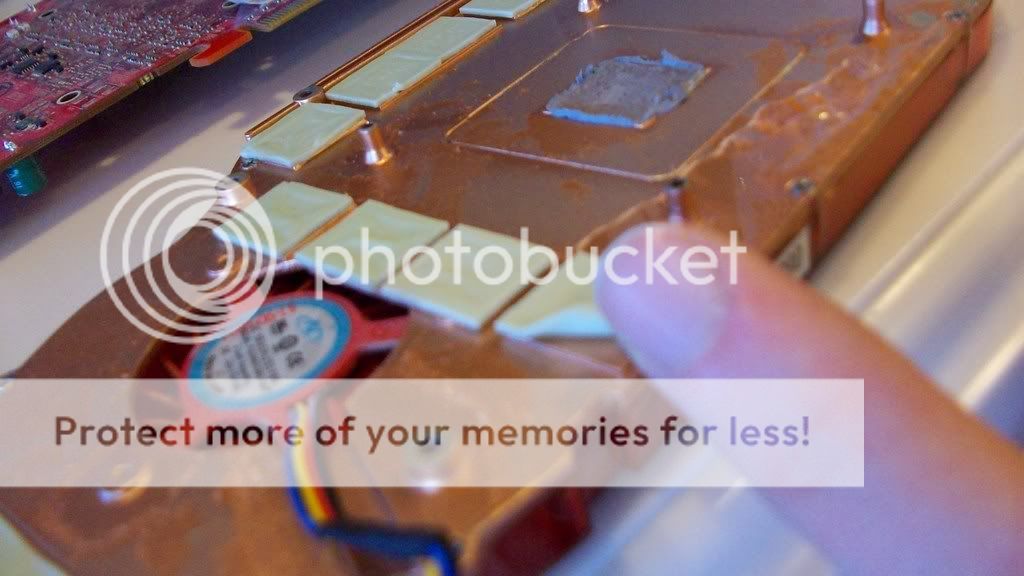
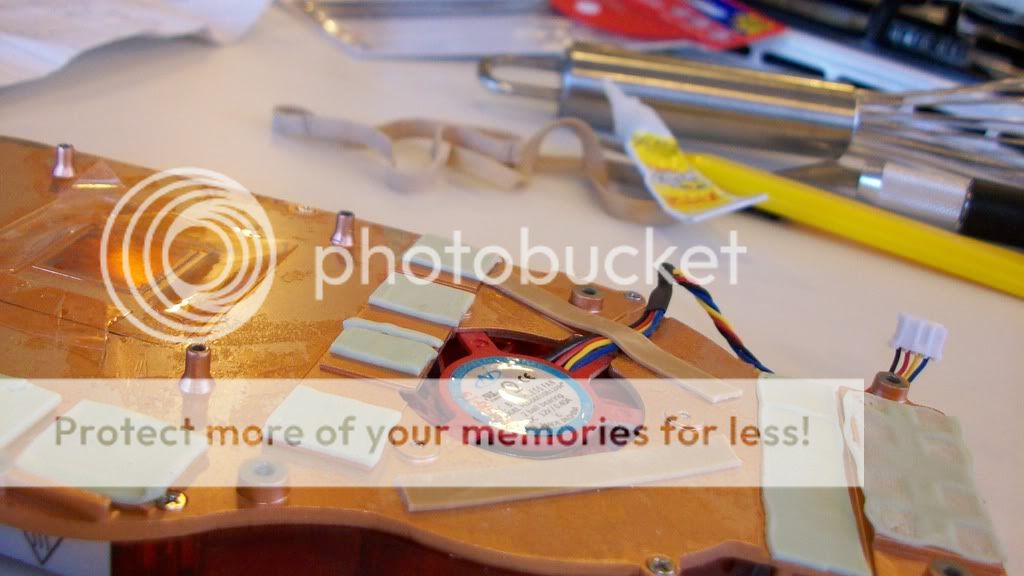
Once I got the heat sink off I realized... to restore everything, I only need to apply thermal goo to the GPU connection, there's rubbery seats that fit to all the other chips on the board (woot!)
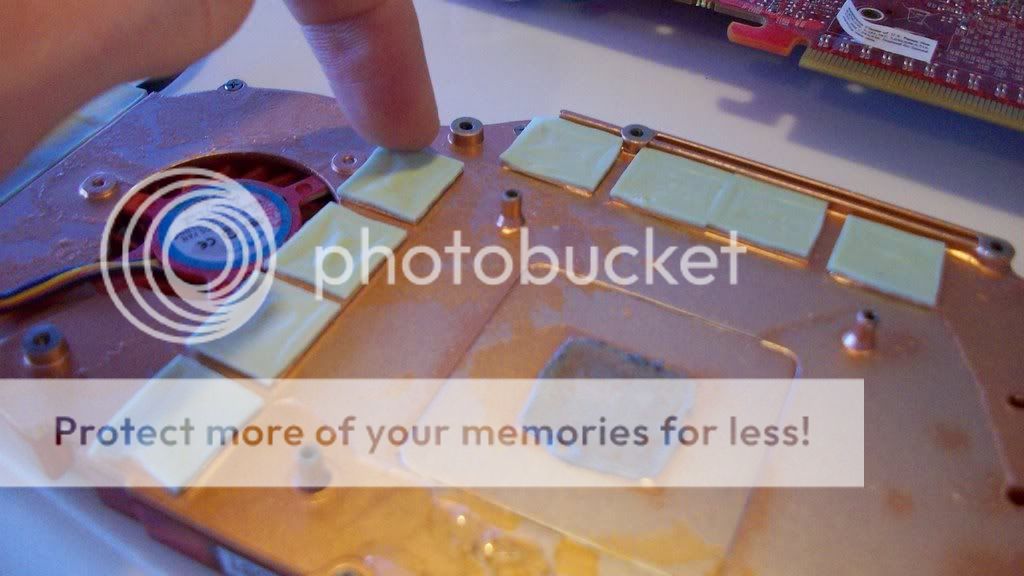
I decided on whim that I would remove the plastic sheathing on the underside of the heatsink (as I stumbled upon Alfredo's blog), even though I'm not sure what exactly it's there for in the first place. (thoughts: from now on, never plug your computer into a non-grounded outlet OR never touch the sink again.)
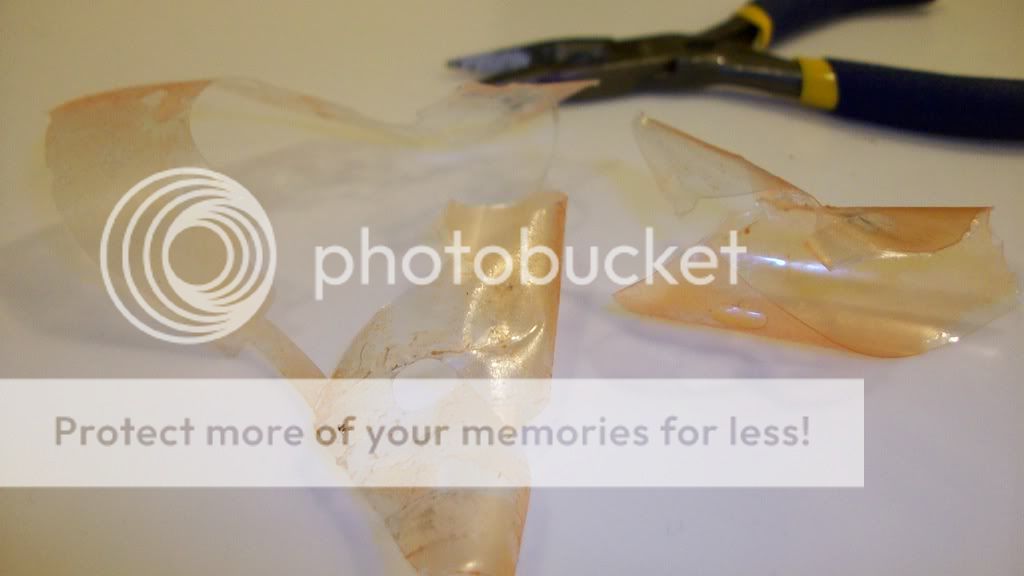
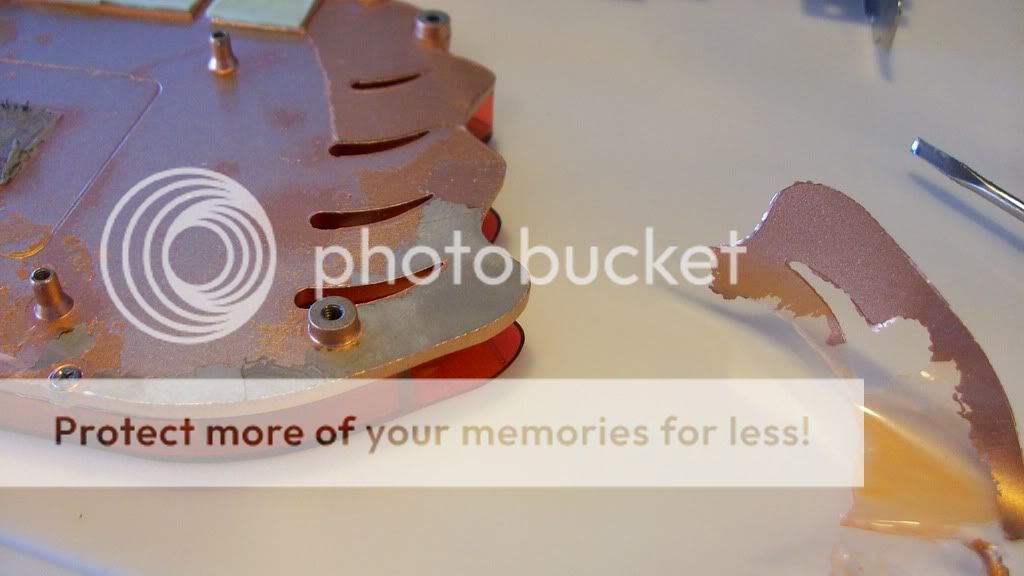
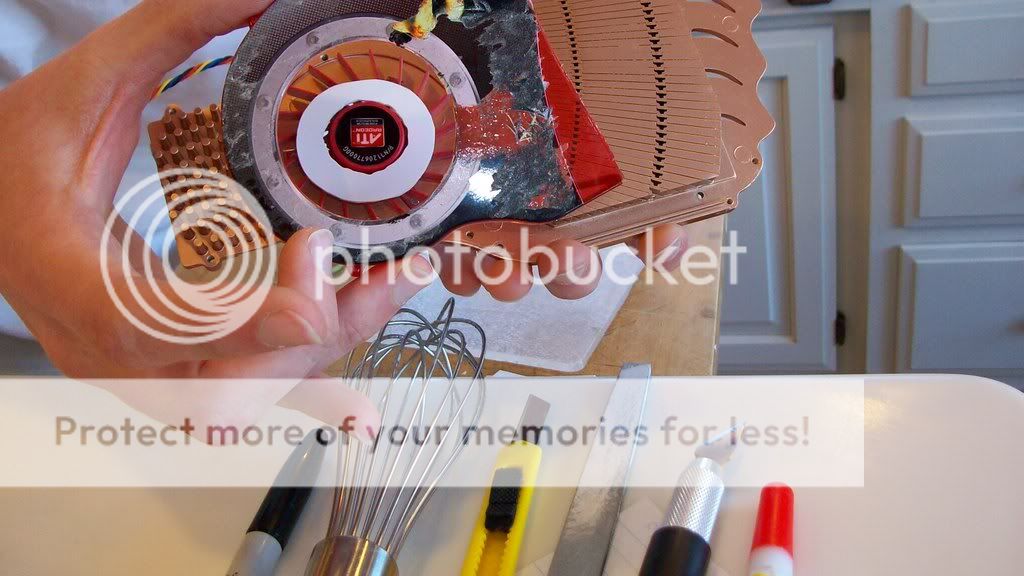
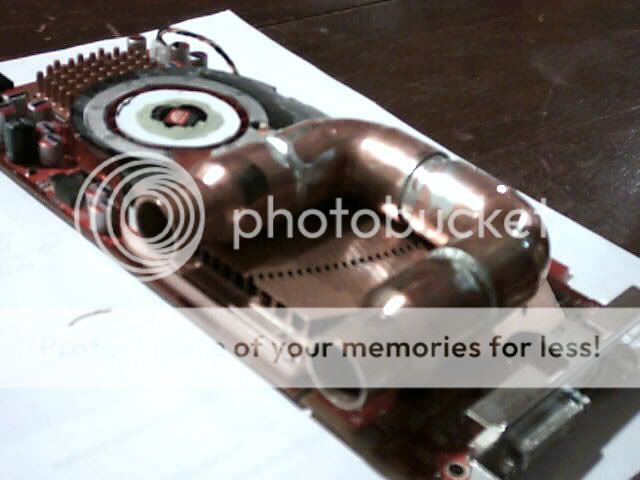
As I peel up the plastic coating, I noticed the SOME OF THE COPPER PEALING AWAY! lol, what is this thing made of?

...looks a bit like wood.. but it's not ...feels like aluminum or steal. Now that I think about it, it would be ludicrous to make a stock cooler as awesome as I first envisioned this one to be. By measure of touch, I judge the wood-looking material to be half as good as the copper foil itself (and three times better than copper when covered with plastic; placebo not bothered to be accounted for). Proceed with caution if you plan to peal. As you get to the end of pealing, anchor your pealing hand on a surface to prevent / limit over pealing (which has resulted in lifting off the copper coating 2/4 times).
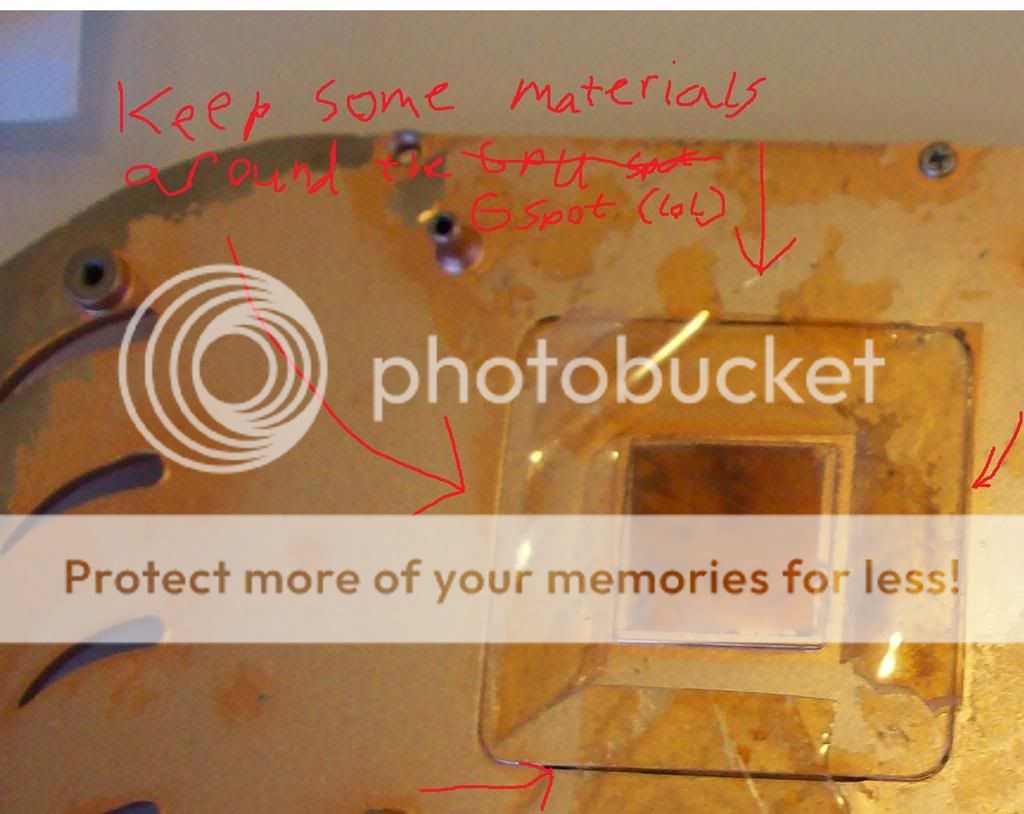
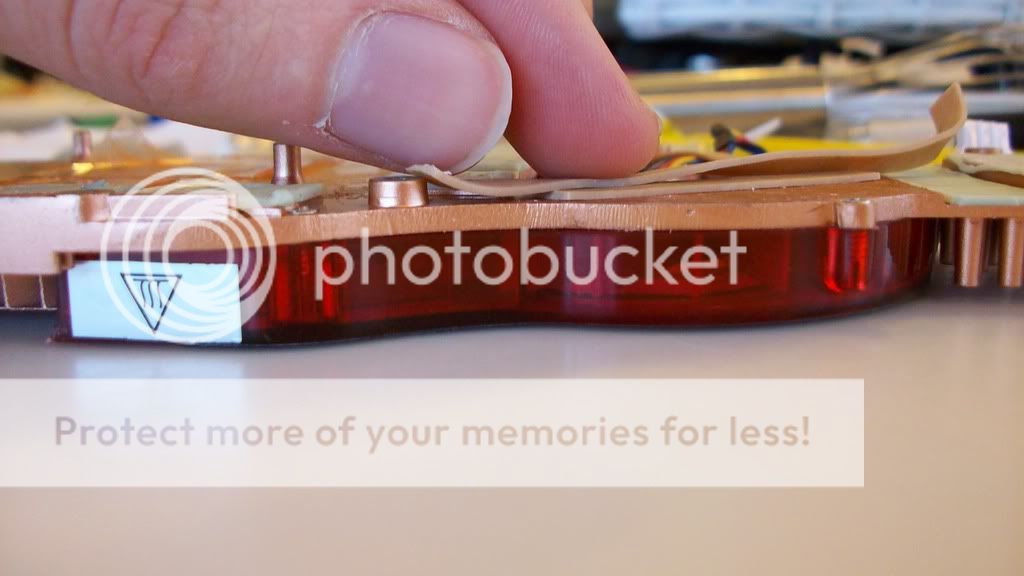
WARNING: "The central part of the plastic sheath adjusts the height between the GPU metal rim and the ceramic heat spreader." So leave it, you can you a razor on it before you peal it, or use a scisor on the pealing post peal. (now mine looks half assed btw, hopefully it's flush.)

eeeewwwwwww icky
Below you can see a video of me using a very old vacuum to take care of the dust. The quality is too low to convey the rewarding feel of the effort, but it's too late I taped it!
http://www.youtube.com/watch?v=ccAXw_lq7sQ
To make my vacuum disk I originally planned on recycling a free plastic bottle.

The recycling, for a change, was completely empty.

No thanks, not thirsty now, I'm in the middle of something.
Fortunately for me my brother woke up and I was able to come up with a name for the plastic Alfredo used, and also some of the material itself ("Sheet styrene"). He's much better at this sort of craft so I welcomed the help.
GLUE-POW!!
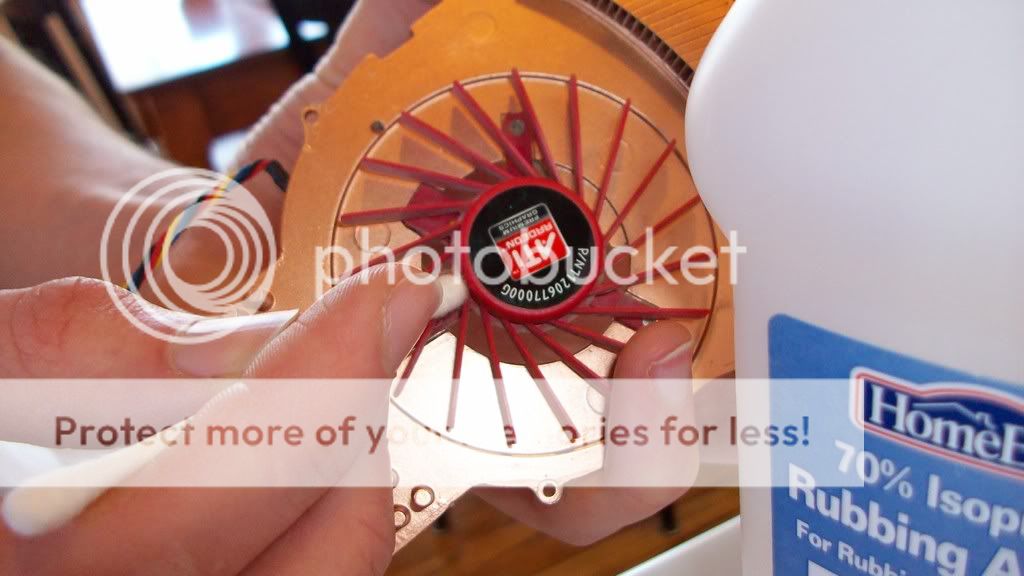
We cleaned off the dust with alcohol and Q-tips, and then fastened our styrene disk to the top of the fan with super glue.

Then we used something called Milliput to seal the disk in place. This should reduce noise, and perfect airflow, but I’m concerned the weight of the material may cause premature fan destruction. Here's to crossed fingers.
...(picture tense change)
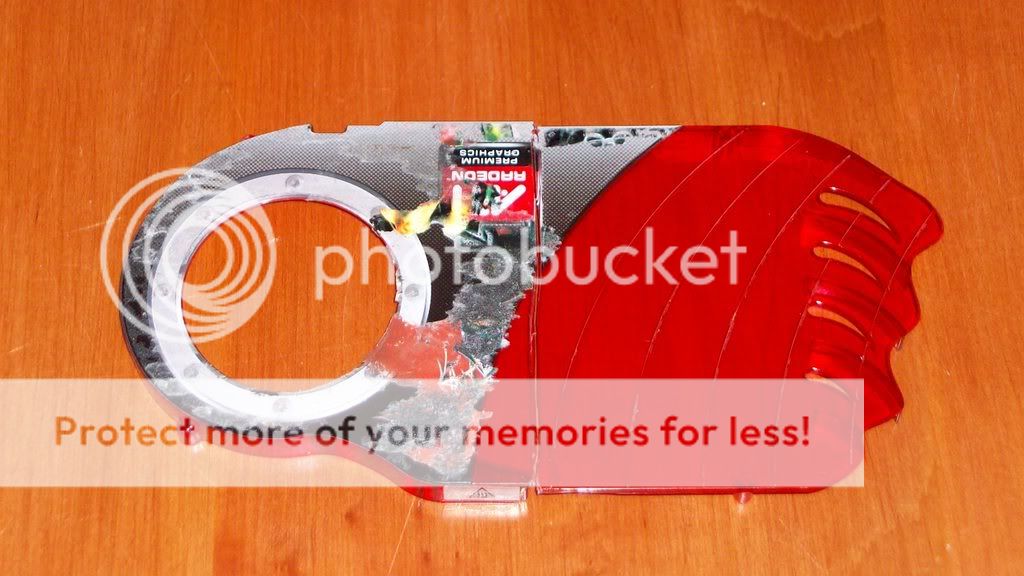
The whole idea behind this was to make the most of the shabby stock cooler, so I decided to stick with hacking the plastic covering rather than fashioning a new one.
KAAAAA-BLAAAAAMM!!!
I decided to dremle the cover out a little further later on. I think it's uber now (the smaller kind of uber?). It would suck to dremle too far though, keep in mind.
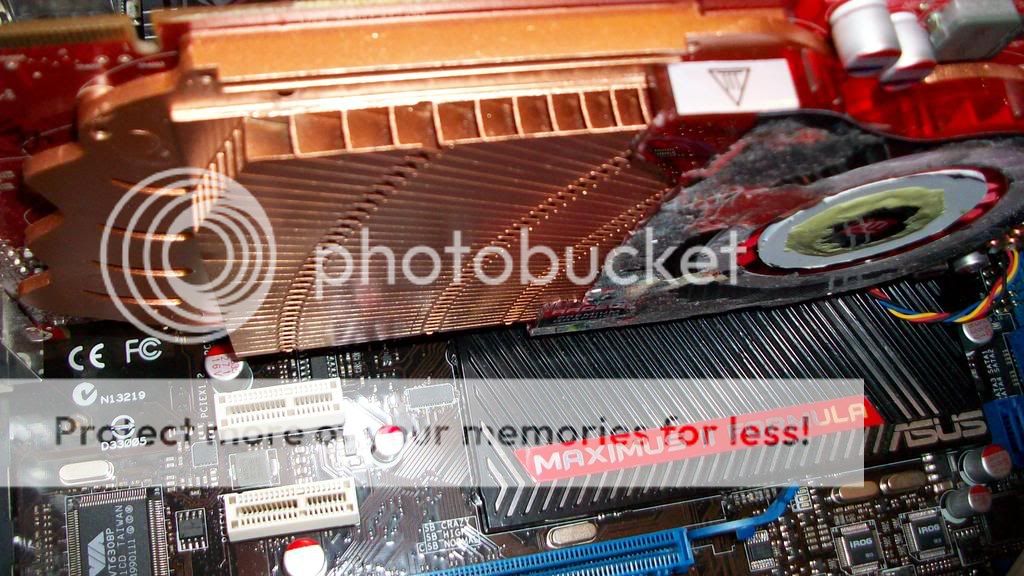
I glued down rubber bands to channel the airflow favorably underneath the heatsink. If you didn't read the linked-to blog, that's the big idea behind this heat sink hack; using the copper surface underneath the card maximizes heat dissipation resulting in 10 degrees cooler at GPU.
I only used two layers, and considered three, as I super glued them into place. As that my rubber bands were old and crusty, I didn't want to stack too many under there; they didn't seem capable of... acting rubbery. Hopefully two is plenty.
Reassembly went smooth. After every last duck was squared away in its row I fired the bird up and...

Haha, Just kidding! It still boots!!!!! YES!!! SUCK IT FATE!!! And what's more! the temp is idling at 61 rather than 74!

And at load (using fallout 3, at an actual laggy spot) it seems to reach temps of about ~92 which isn't bad at all considering the fan is moving at 33%. I performed some kind of a firmware mod a while ago (http://www.techpowerup.com/rbe/) so when the fan speed is automatic, it will be kept extra cool... let's see how cold that is after my GPU returns to idle... 70 degrees load, @ 63% --not too shabby concidering this card is crazy hot (wtf were they thinking at ATI? oh well), but this things a little noisy for me still. I'd like the fan speed below 50% and with another fan and a little more tweaking I might be able to make this happen in the pre-water cooling mean time.
*is happy Doggy... for now...
 To Be Continued
Subtitle: Help, my MSI 4850 is idling at 70 degrees!
All credits to Alfredo Alejandro
For his beautifully written essay on the 4850 stock cooler enhancements which can be found here http://www.alfredoblogspage.blogspot.com/
Abstract
-Remove the plastic cover on the MSI Radeon HD 4850 (which acts to insulate the heat sink)
-Force air movement underneath the copper plated heat sink
-Remove the plastic coating underside the copper stock heat sink
-Replace the thermal goo on the GPU (the stock was probably better than the trash I bought with a gift card unfortunately)
--My troubles
From day 1 the MSI built Radeon HD 4850 was giving me trouble. It was idling at 71 which made me very uncomfortable. The drivers from the CD sucked, the MSI drivers from online sucked too, and did not allow you to adjust the fan speed of the rig. For a while, the actual ATI drivers sucked too (I heard atleast), but they changed that, and allowed you to change the fan speed. (BUT installing the ATI drivers after installing the MSI ones can cause serious problems with your system, luckily that's an F-disk away and I'm not hindered by such inconveniences.)
Anyway, for a time all was good, I could... Manually turn up the fan speed whenever I wanted to play a game (when doing this, I would have to put up with an cacophony of whizzing from the chincy stock cooler). Sometimes I'd forget to do this and it would make me feel a bit as though I were hurting my card (the card would reach temps of 90 degrees before the failsafe system turned the fan on to %100). Obviously this solution sucks. Soon after, I found a way to re-flash the firmware on the Radeon 4850, and adjust the fan speed's algorithm to keep the fan at a reasonable temp / noise level automatically. This was great, but while playing games, you would still have to put up with the fairly noisy fan. The solution? water cooling! But not budgeted right now, so I went with the stock cooler mod, and it only cost me a fresh tube of thermal paste (and my day I guess if you count the blogging and stuff). Read on to experience the modification extravaganza along with me!
Step one, unscrew the stock cooler and all that jazz...
(too boring for an actual picture, sorry)
Ok, I got the sink off the board... just barely... the four screws holding in the bracket are very small, do make sure you find a driver with a decent grip on the buggers before proceeding / stripping the hell out of them. Notes: Apply firm and consistent downward pressure and begin by making minimal jerks to nudge the screw out.
Once I got the heat sink off I realized... to restore everything, I only need to apply thermal goo to the GPU connection, there's rubbery seats that fit to all the other chips on the board (woot!)
I decided on whim that I would remove the plastic sheathing on the underside of the heatsink (as I stumbled upon Alfredo's blog), even though I'm not sure what exactly it's there for in the first place. (thoughts: from now on, never plug your computer into a non-grounded outlet OR never touch the sink again.)
Note: before you start pealing, note that you should leave some on the board (where the GPU would contact the heatsink) to keep the proper distance.
As I peel up the plastic coating, I noticed the SOME OF THE COPPER PEALING AWAY! lol, what is this thing made of?
...looks a bit like wood.. but it's not ...feels like aluminum or steal. Now that I think about it, it would be ludicrous to make a stock cooler as awesome as I first envisioned this one to be. By measure of touch, I judge the wood-looking material to be half as good as the copper foil itself (and three times better than copper when covered with plastic; placebo not bothered to be accounted for). Proceed with caution if you plan to peal. As you get to the end of pealing, anchor your pealing hand on a surface to prevent / limit over pealing (which has resulted in lifting off the copper coating 2/4 times).
WARNING: "The central part of the plastic sheath adjusts the height between the GPU metal rim and the ceramic heat spreader." So leave it, you can you a razor on it before you peal it, or use a scisor on the pealing post peal. (now mine looks half assed btw, hopefully it's flush.)
eeeewwwwwww icky
Below you can see a video of me using a very old vacuum to take care of the dust. The quality is too low to convey the rewarding feel of the effort, but it's too late I taped it!
http://www.youtube.com/watch?v=ccAXw_lq7sQ
To make my vacuum disk I originally planned on recycling a free plastic bottle.
The recycling, for a change, was completely empty.
No thanks, not thirsty now, I'm in the middle of something.
Fortunately for me my brother woke up and I was able to come up with a name for the plastic Alfredo used, and also some of the material itself ("Sheet styrene"). He's much better at this sort of craft so I welcomed the help.
GLUE-POW!!
We cleaned off the dust with alcohol and Q-tips, and then fastened our styrene disk to the top of the fan with super glue.
Then we used something called Milliput to seal the disk in place. This should reduce noise, and perfect airflow, but I’m concerned the weight of the material may cause premature fan destruction. Here's to crossed fingers.
...(picture tense change)
The whole idea behind this was to make the most of the shabby stock cooler, so I decided to stick with hacking the plastic covering rather than fashioning a new one.
KAAAAA-BLAAAAAMM!!!
I decided to dremle the cover out a little further later on. I think it's uber now (the smaller kind of uber?). It would suck to dremle too far though, keep in mind.
I glued down rubber bands to channel the airflow favorably underneath the heatsink. If you didn't read the linked-to blog, that's the big idea behind this heat sink hack; using the copper surface underneath the card maximizes heat dissipation resulting in 10 degrees cooler at GPU.
I only used two layers, and considered three, as I super glued them into place. As that my rubber bands were old and crusty, I didn't want to stack too many under there; they didn't seem capable of... acting rubbery. Hopefully two is plenty.
Reassembly went smooth. After every last duck was squared away in its row I fired the bird up and...
Haha, Just kidding! It still boots!!!!! YES!!! SUCK IT FATE!!! And what's more! the temp is idling at 61 rather than 74!
And at load (using fallout 3, at an actual laggy spot) it seems to reach temps of about ~92 which isn't bad at all considering the fan is moving at 33%. I performed some kind of a firmware mod a while ago (http://www.techpowerup.com/rbe/) so when the fan speed is automatic, it will be kept extra cool... let's see how cold that is after my GPU returns to idle... 70 degrees load, @ 63% --not too shabby concidering this card is crazy hot (wtf were they thinking at ATI? oh well), but this things a little noisy for me still. I'd like the fan speed below 50% and with another fan and a little more tweaking I might be able to make this happen in the pre-water cooling mean time.
*is happy Doggy... for now...
 I hooked it all up, but the specific hose clamps I used were no good due to the changes in heat effecting the cheap rubber tubing. I'm thinking I need to Epoxy / solder water terminals that are ribbed, or maybe use a different clamp. They didn't come off, just a little leaking that was, luckily for me, closely observed. If you have any bright spots on the issue feel free to post a link / notes --though I won't have time to deal with this proj for like.. forever, lol.)
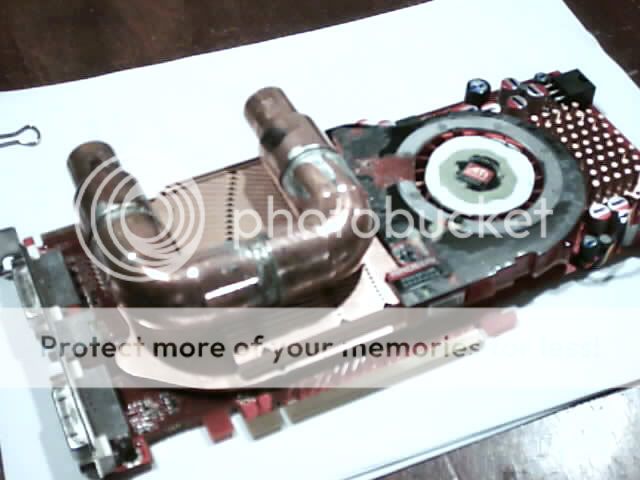

 : The epoxy wasn't completely set after the first 5 mins, which deeply concerned me, but that may have been due to the low temps I keep my place (btw, I let it set for 2hrs to be safe). Never the less I am currently investigating how trustworthy my epoxy job is. When I get my water gear I'll give it a very rigerous test but the very heavy copper piping seems well fascened for now. Oh yeah, I forgot to test the solder job, lol, I might be in a little trouble down the road.

 I just love DIY solutions.