NightRider
New member
[Project] TJ05 [SilverStone and old school hardware] [Final Pics]

Hi OC3D users and viewers.
Today I want to present you my new project, TJ05.
For a very long time that I've been watching SilverStone cases and always wanted one. A few weeks ago, found someone selling one (a TJ 05) (way too cheap lol) and I thought "well, if it isn't today, it will never be."
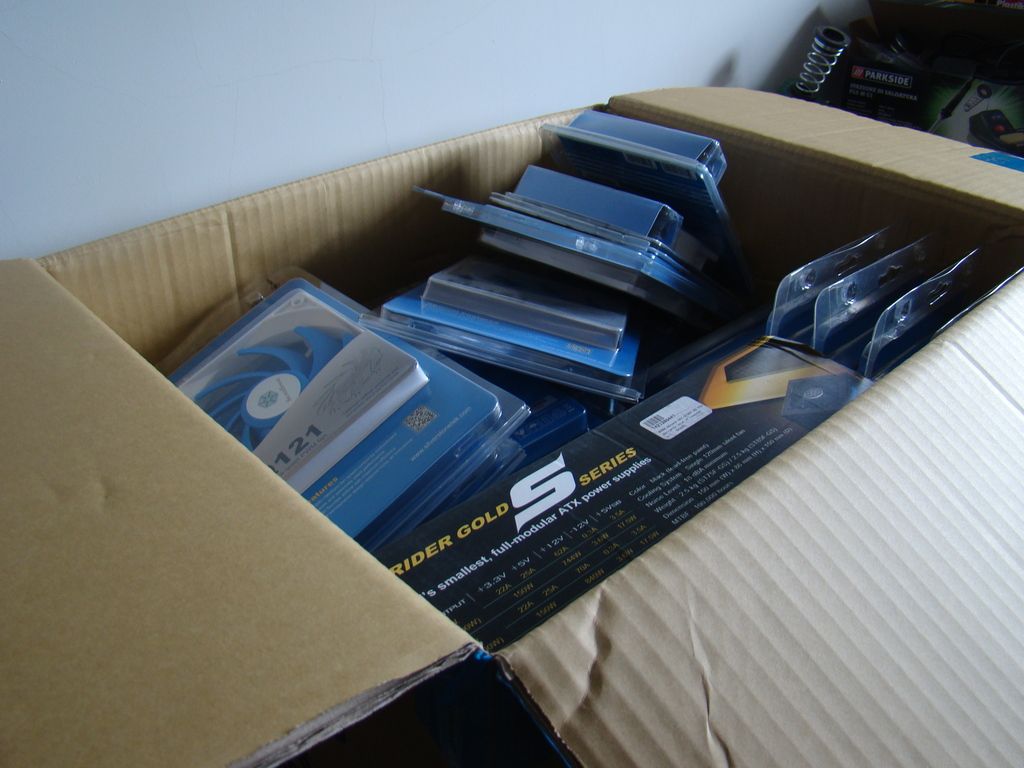
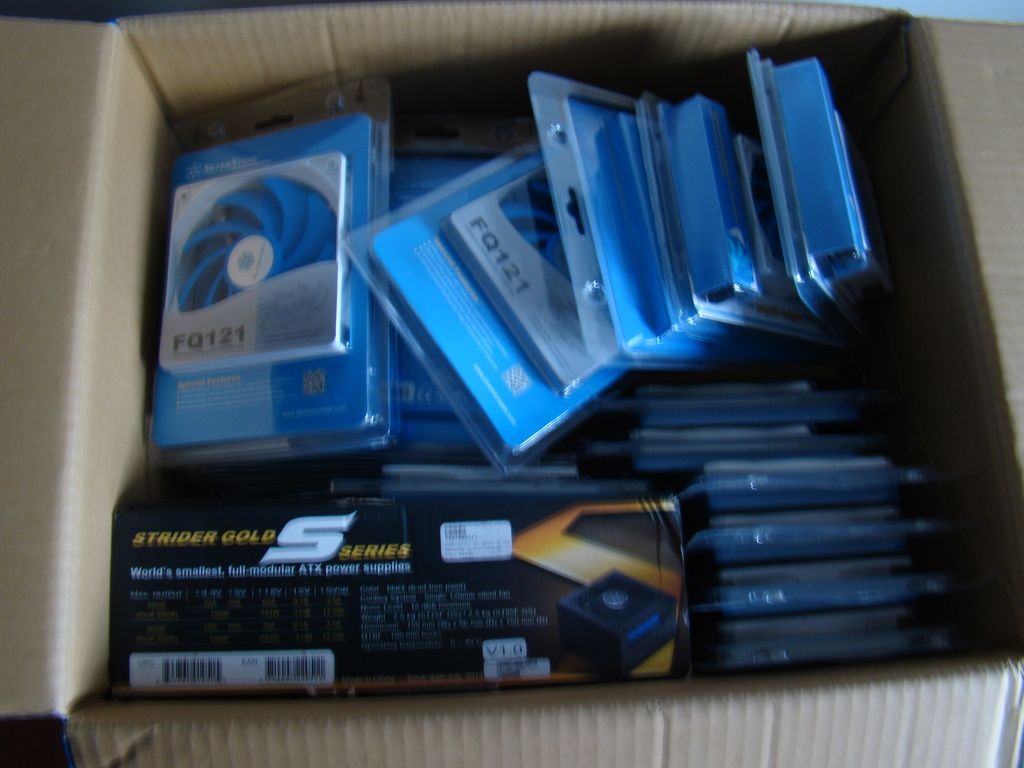
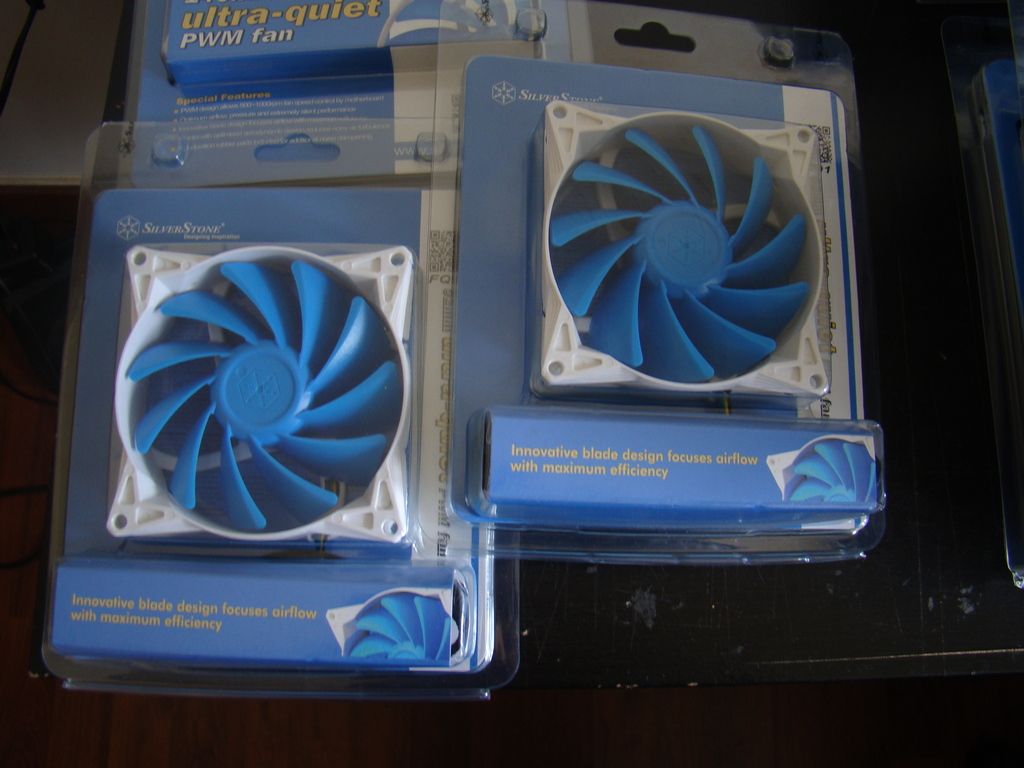
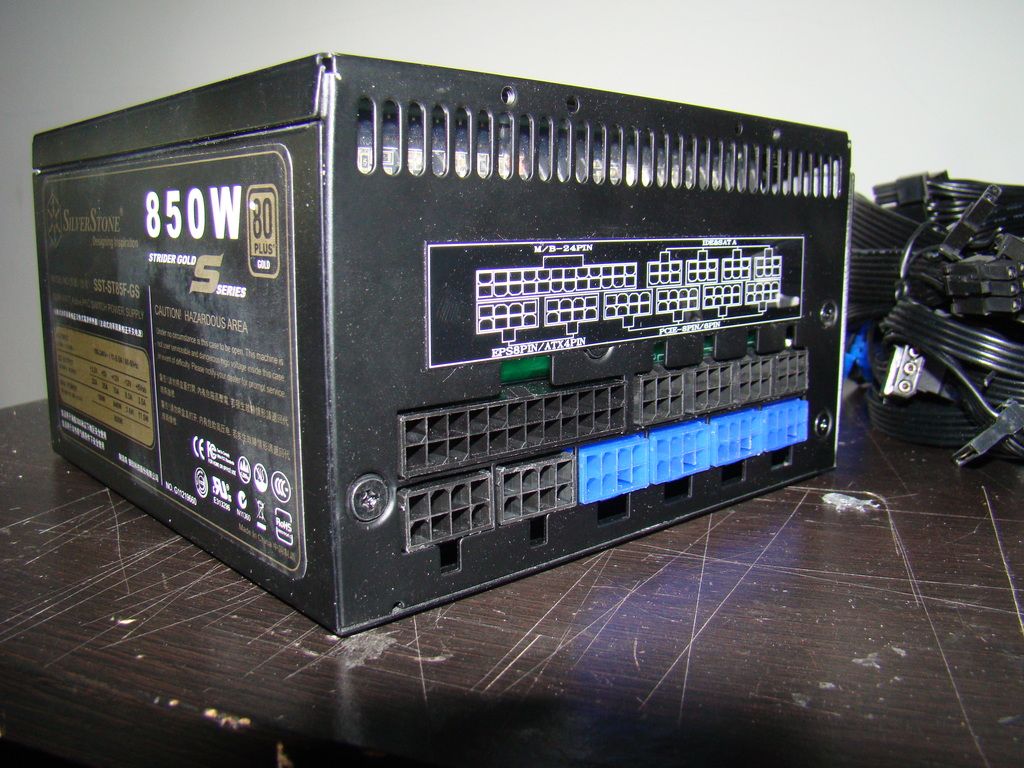
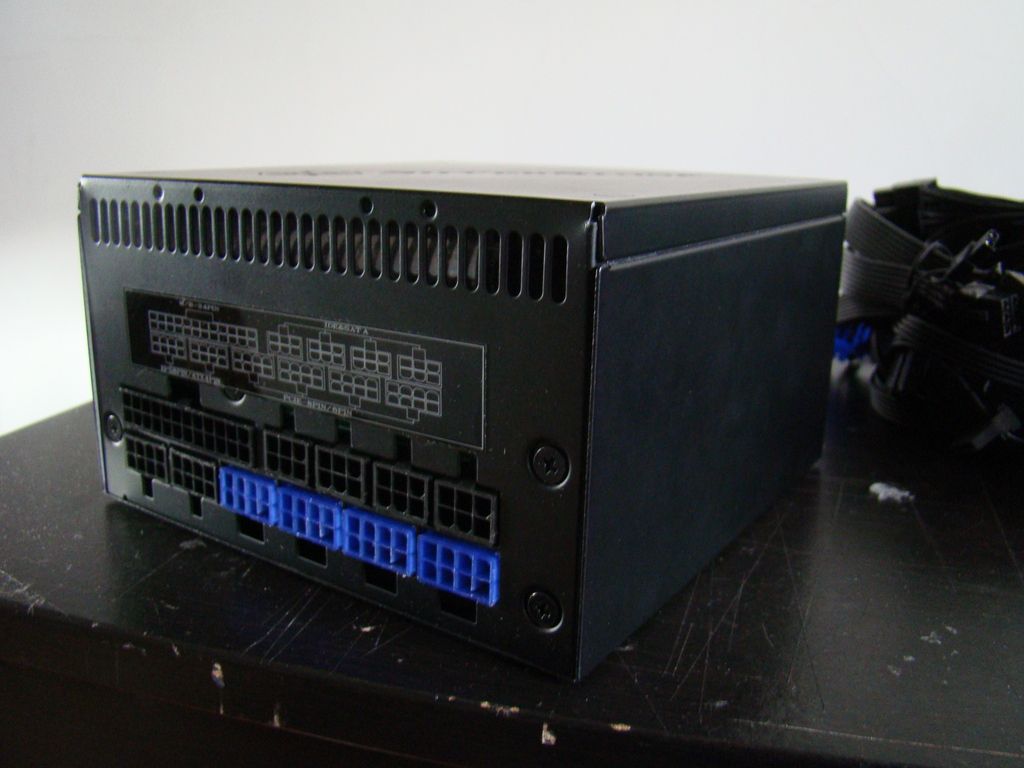
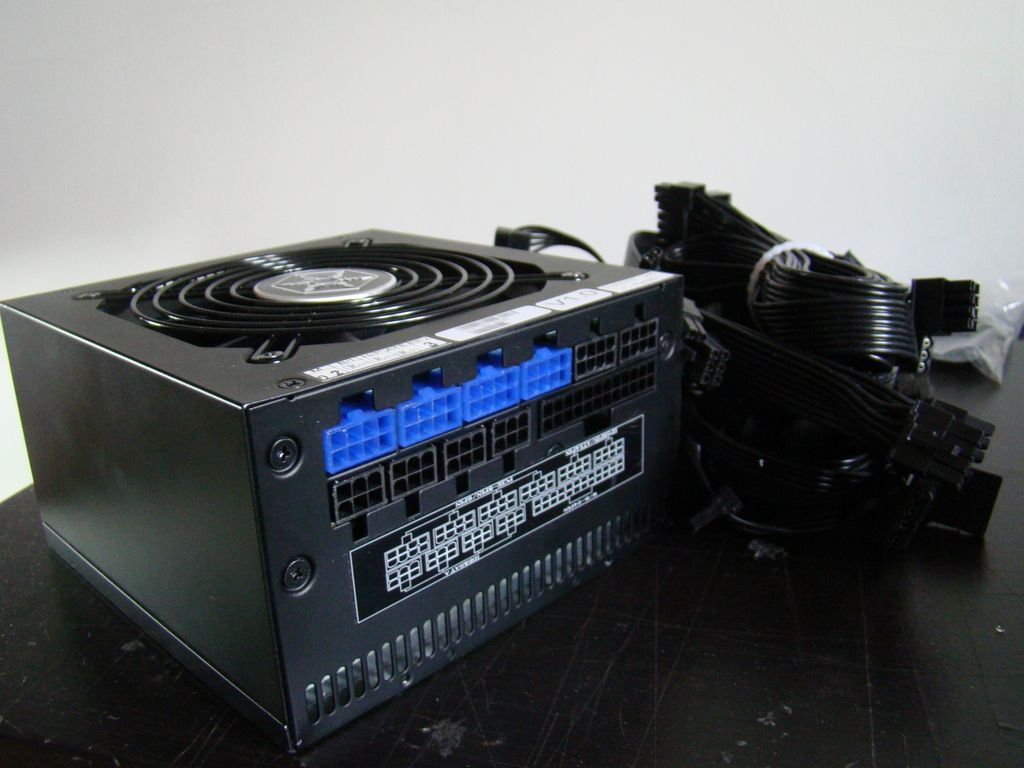
Started thinking about how and what should i do to it (PSU + Drive bay cover were the first ideas). But, as the project go, I started having new ideas. But, lets see some pics
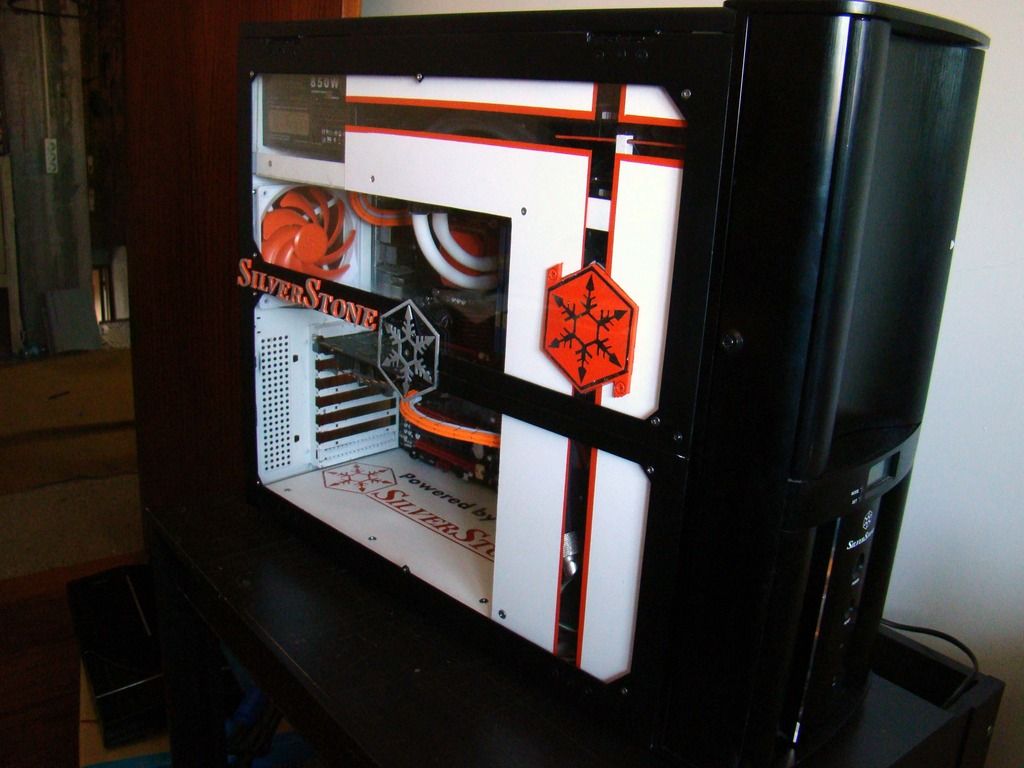
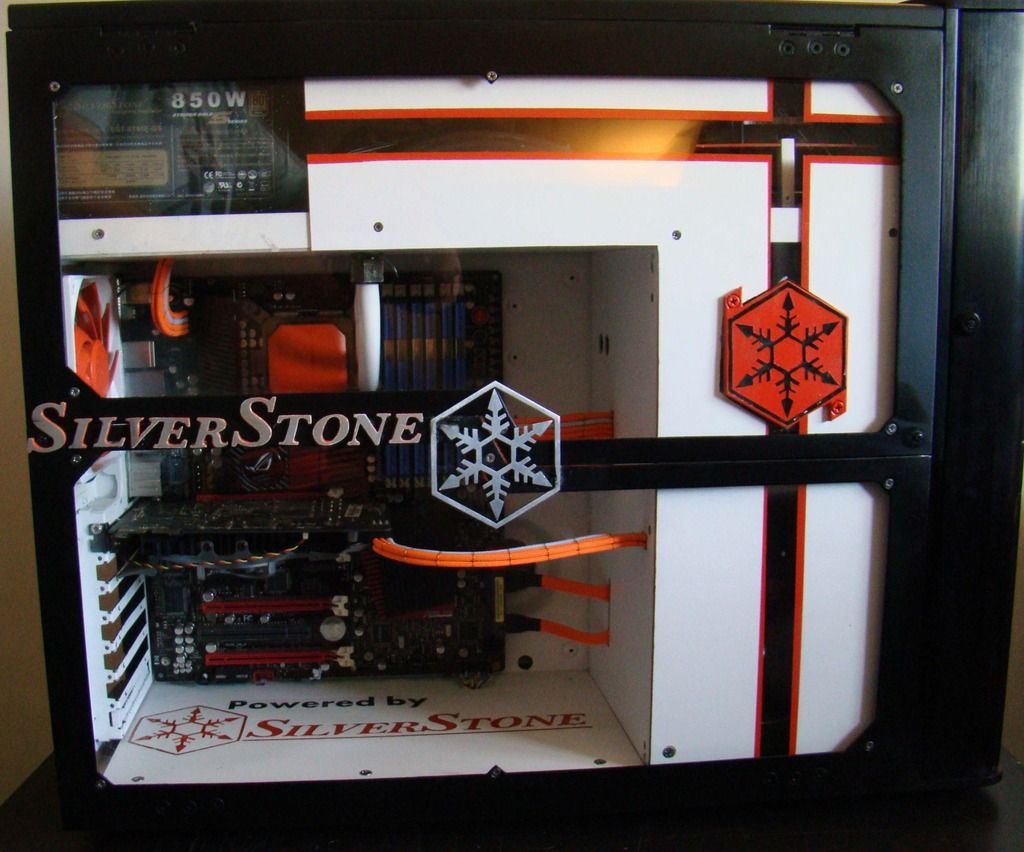
After a lot of thinking and advices asked, the build will be orange + white + black (eheh hope I'll surprise you in the end)
P.S. I'm sorry for the photo quality but I'm not that good taking pictures. This are the best I have in the middle of a lot of other pictures.
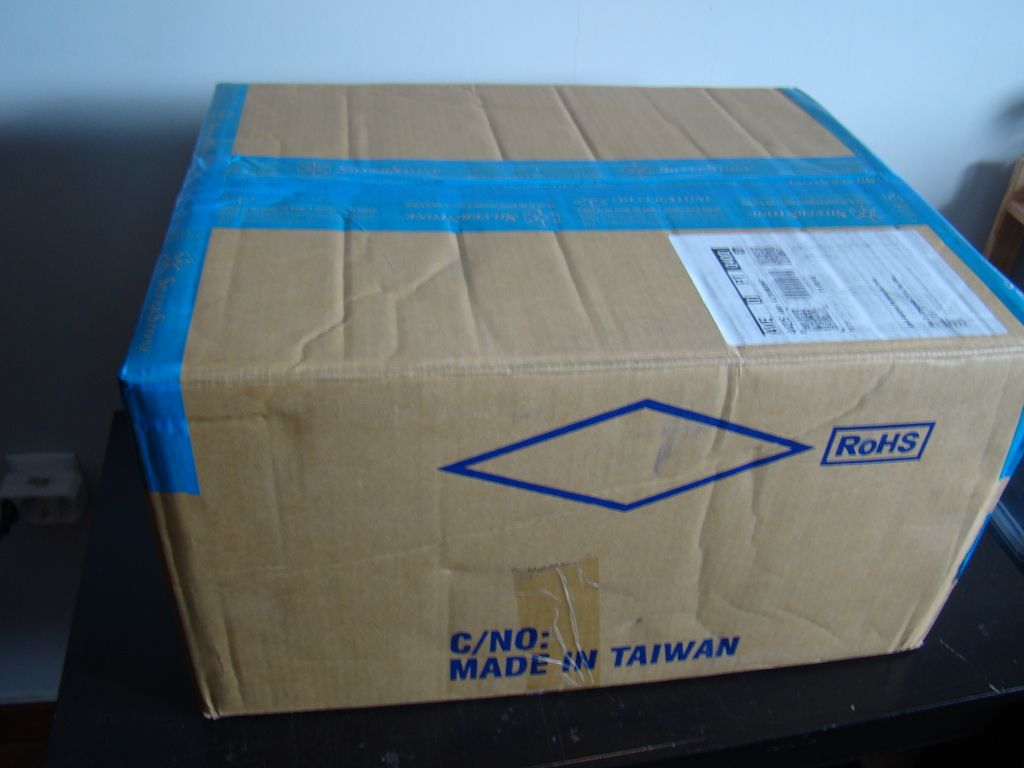
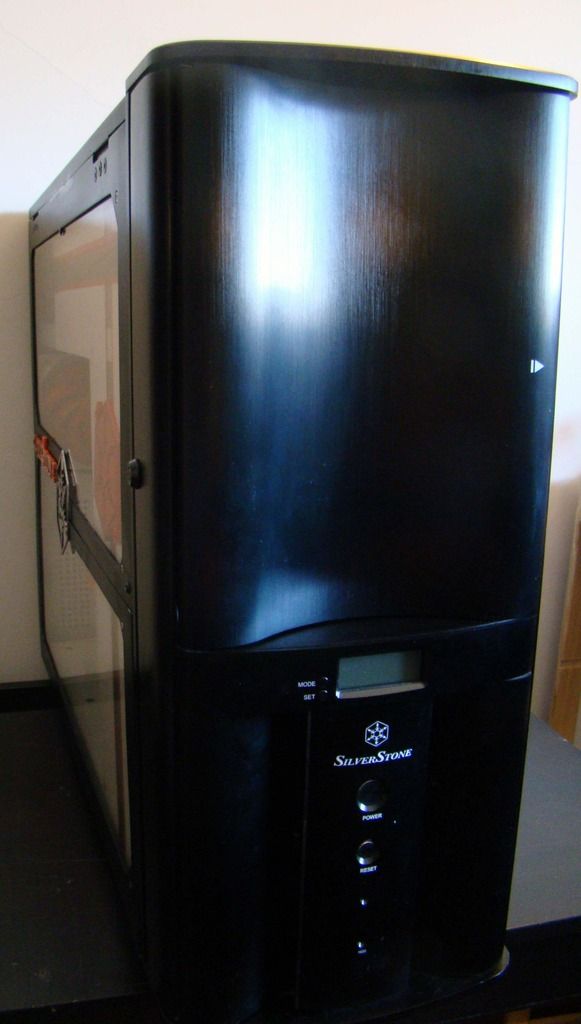
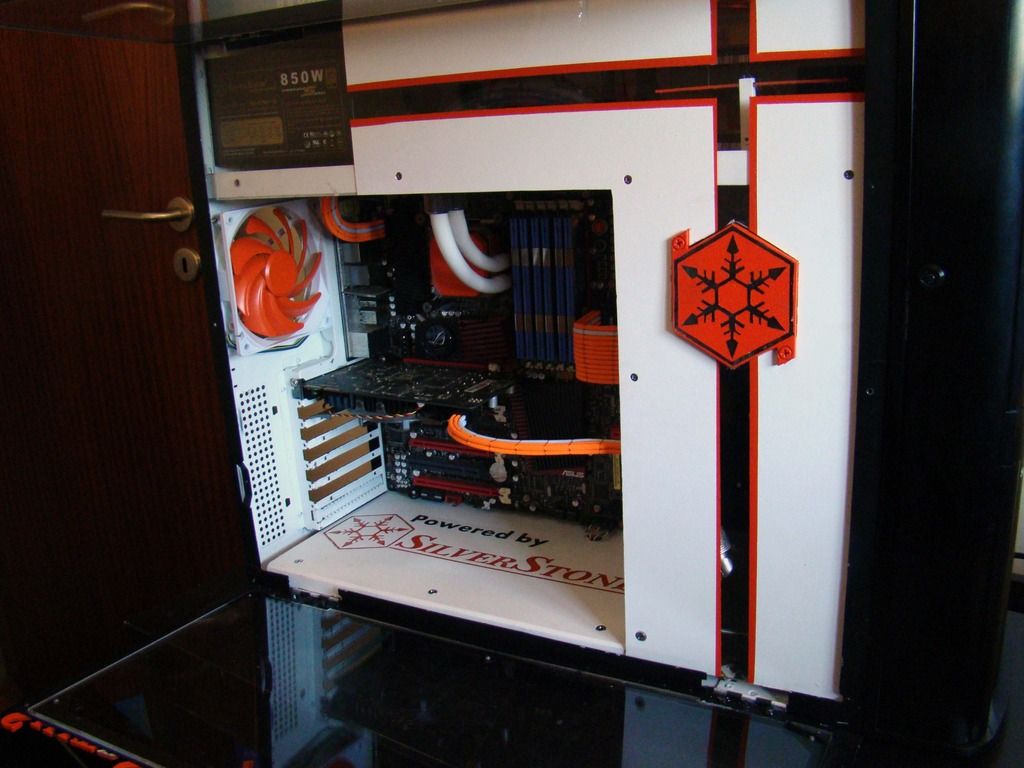
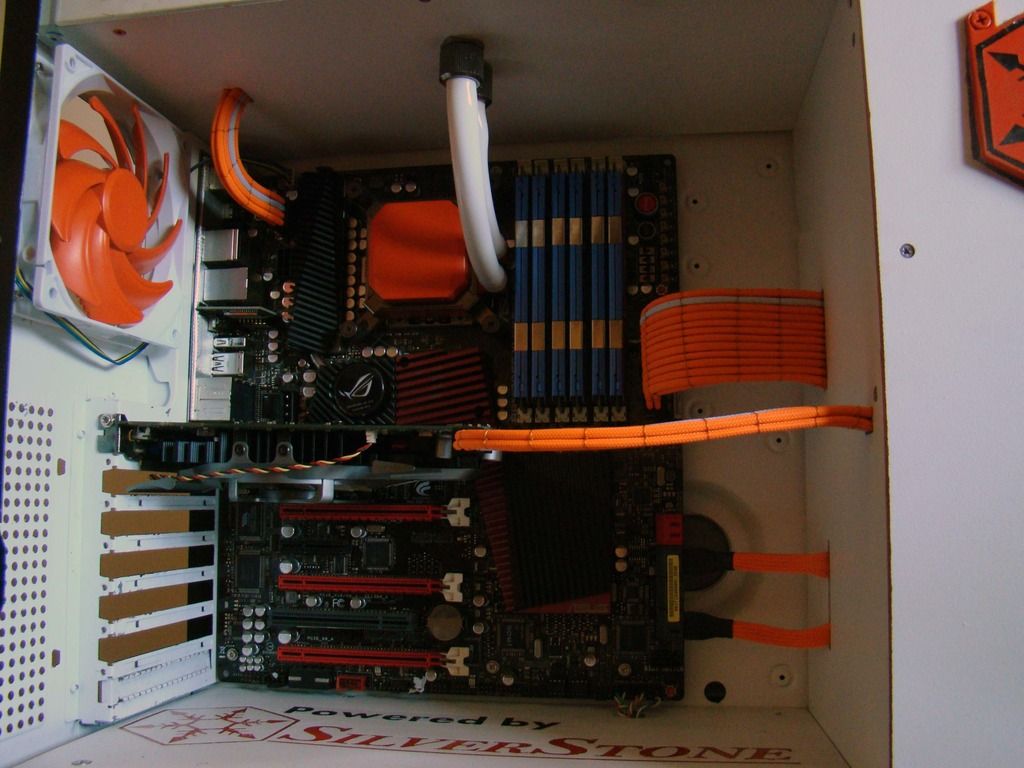
So, The case...
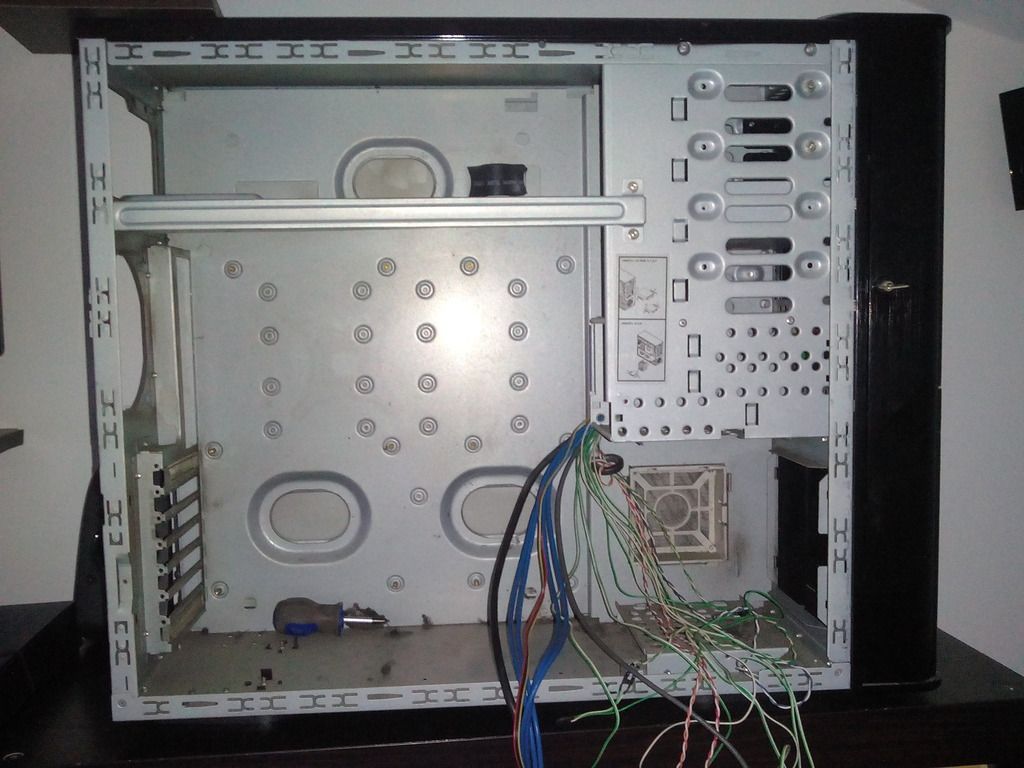
Dirty poor case... It had a really serious beating from the previous owner
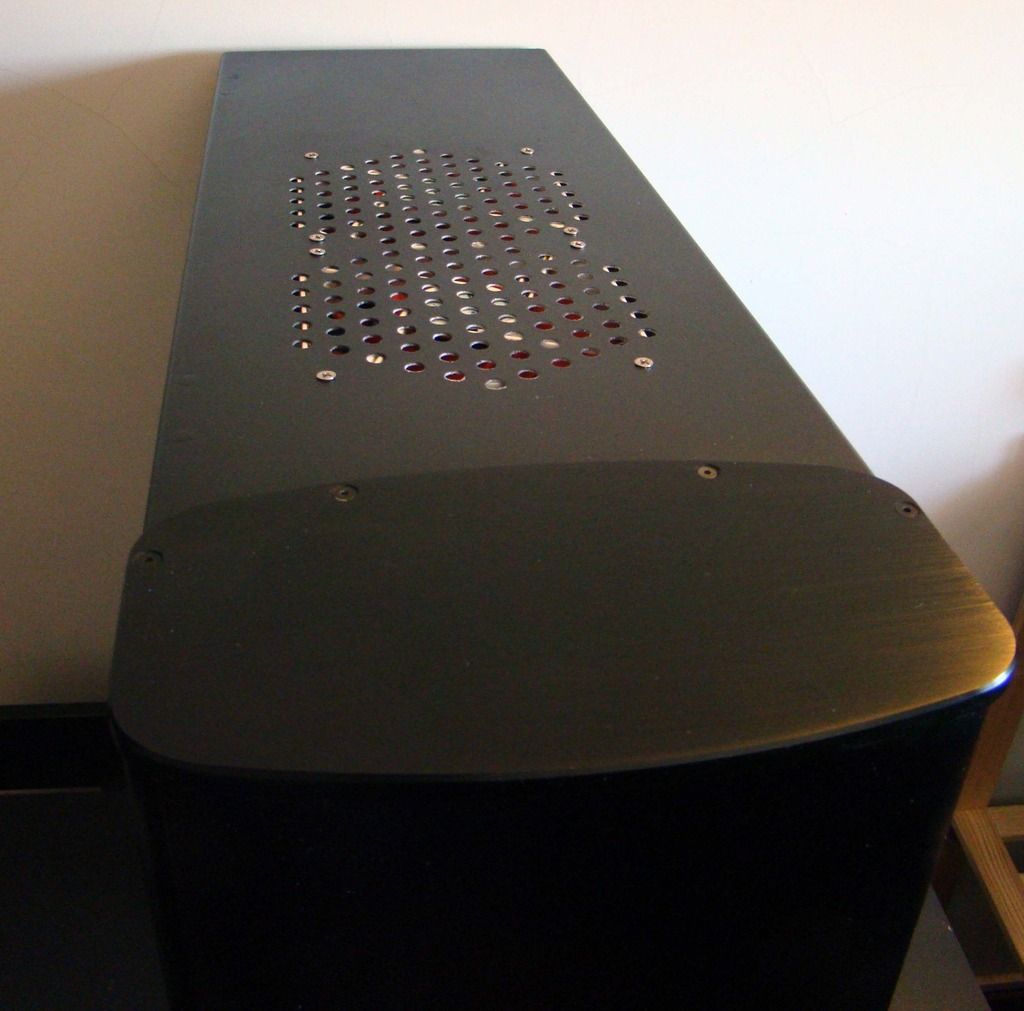
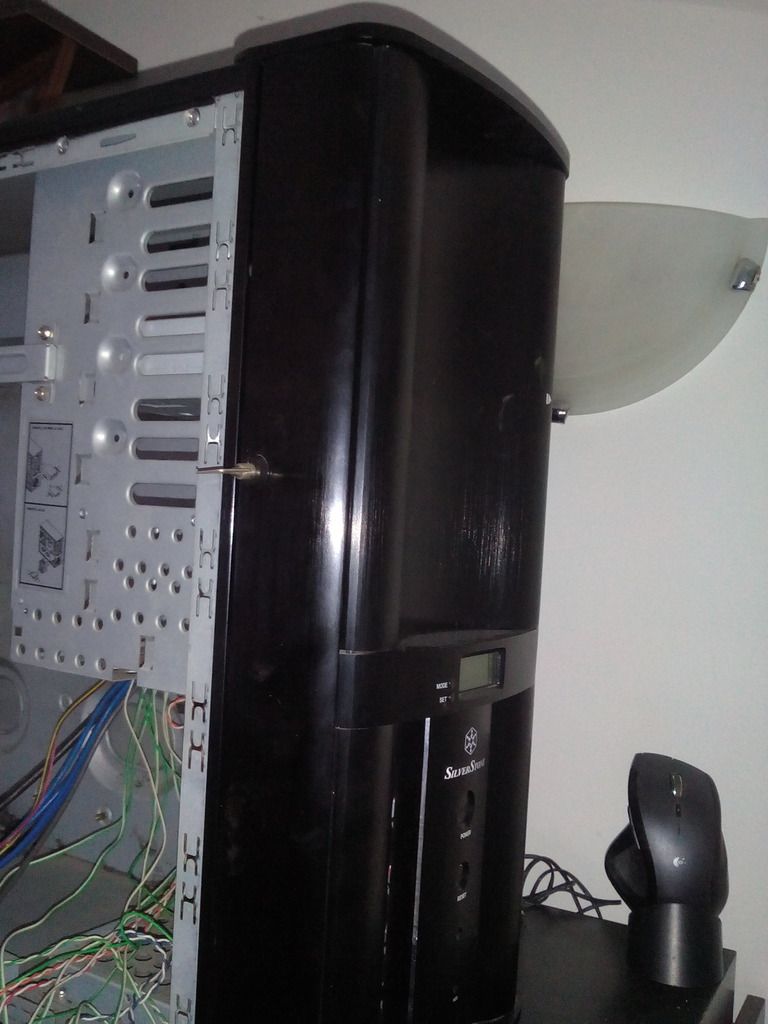
My eyes fell for this front. It's just... beautiful.
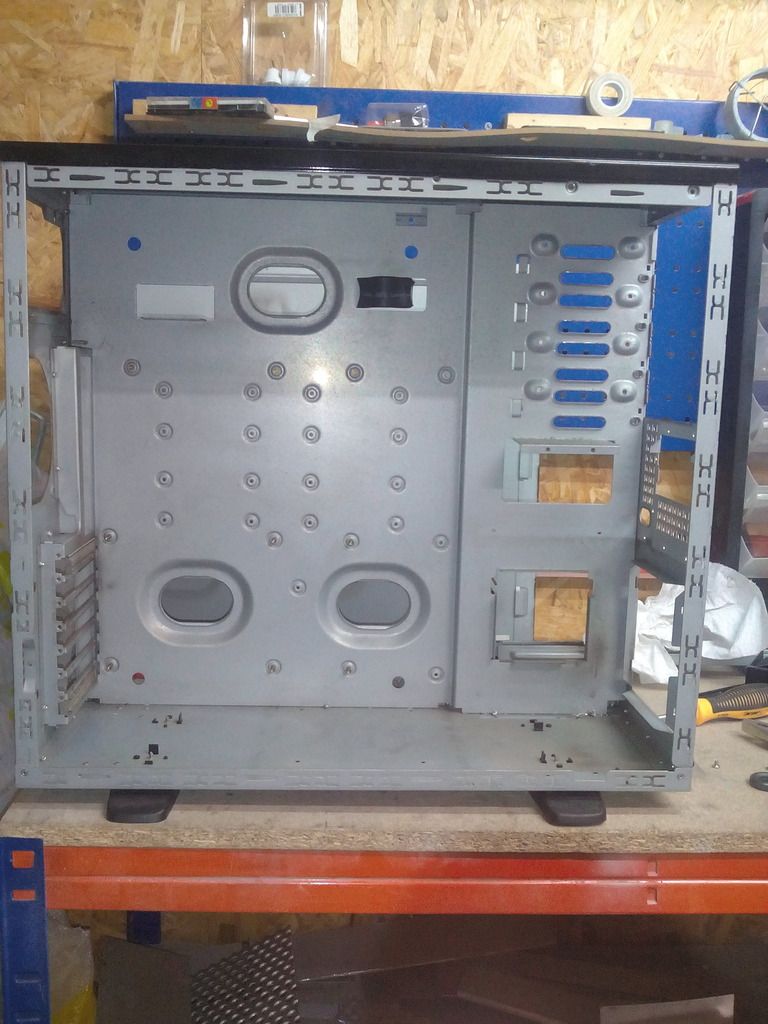
So, after dusting it (and almost get killed doing it ), striping (the case, not me)
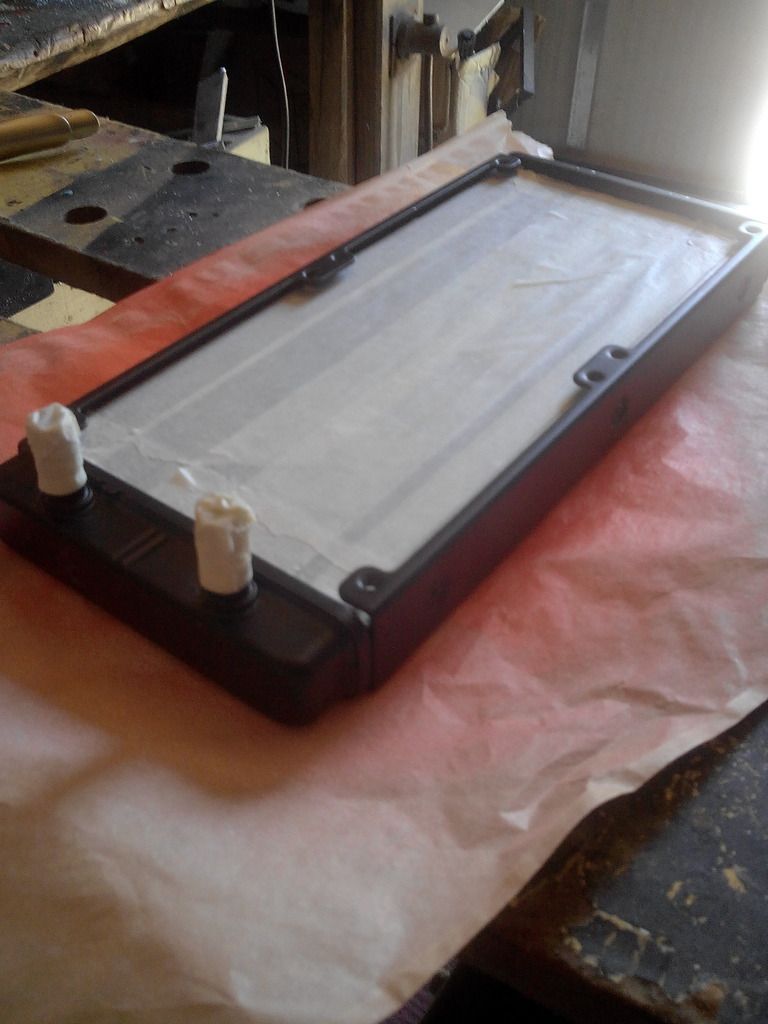
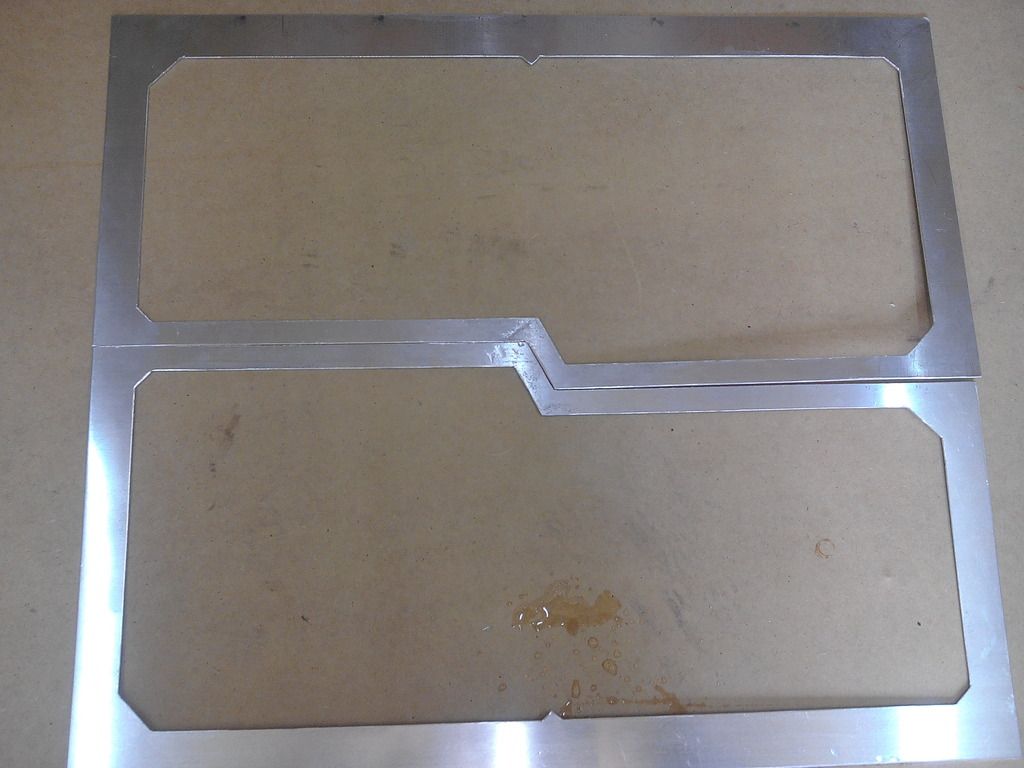
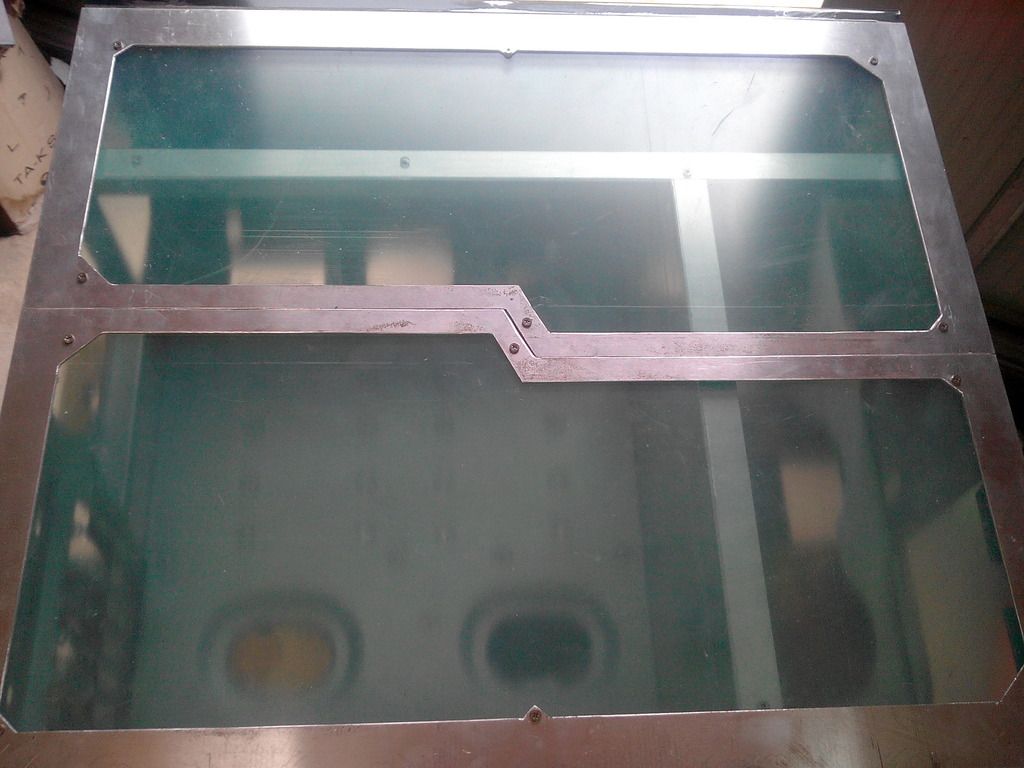
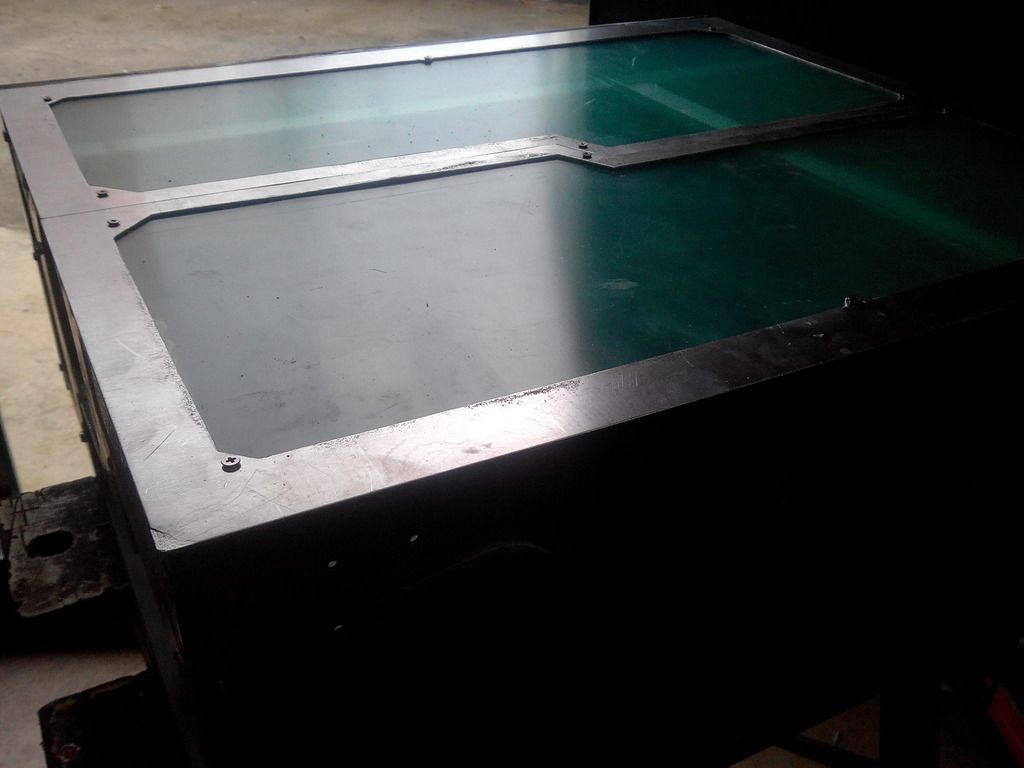
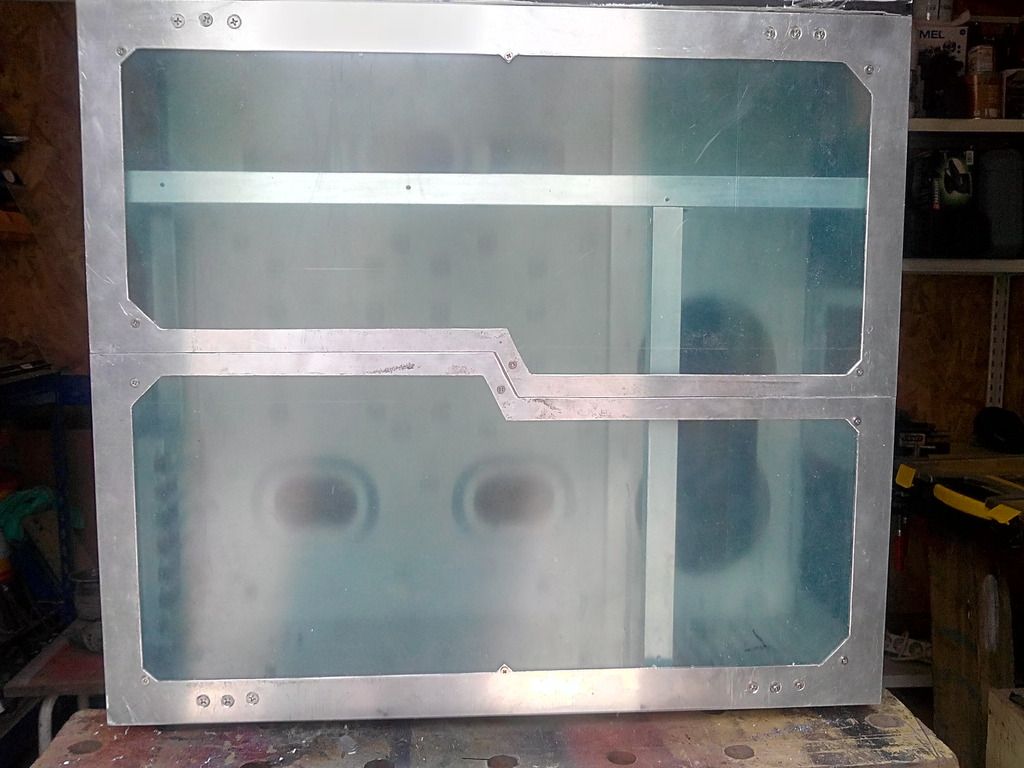
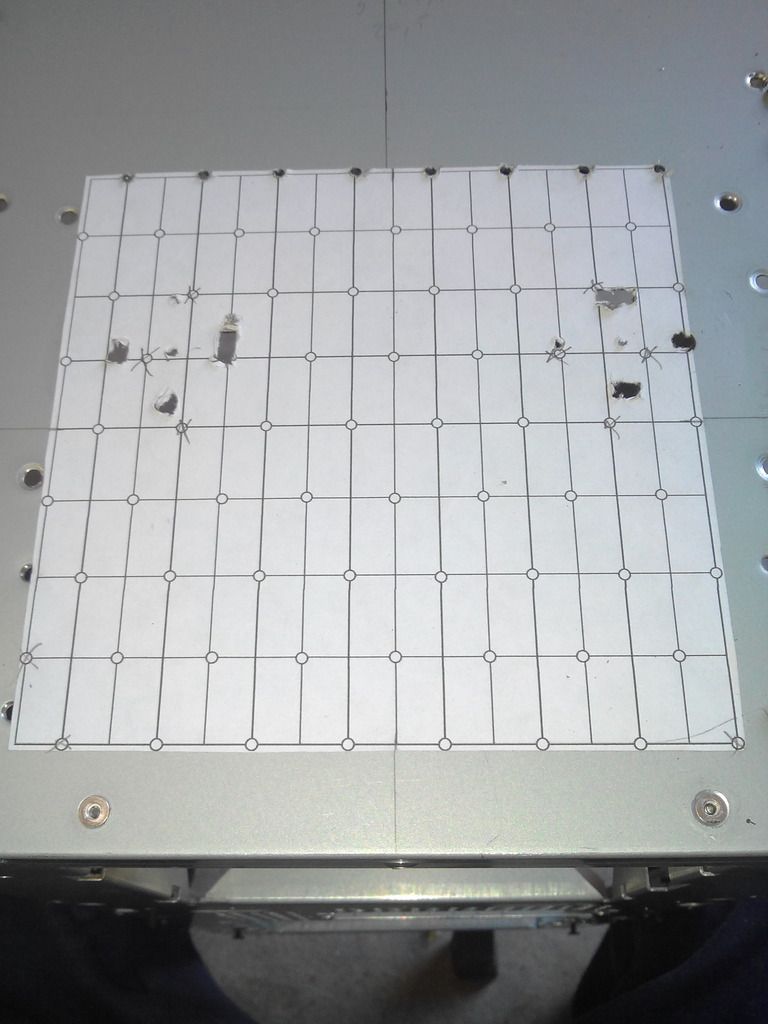
After some hours and some cutings, the covers are done
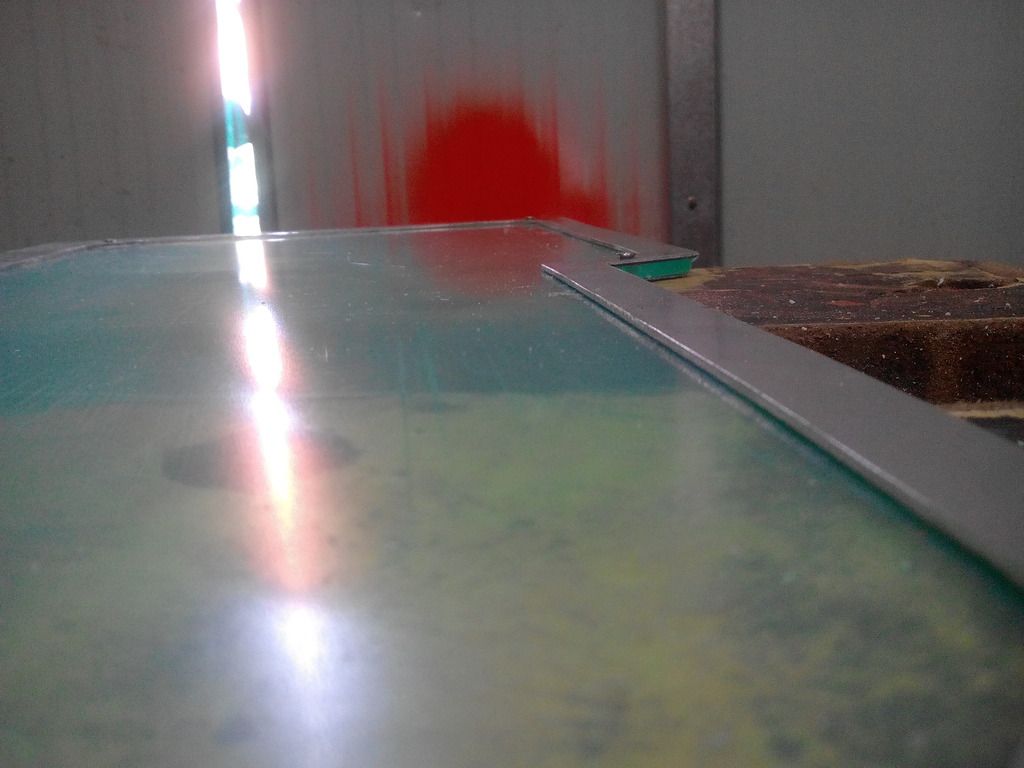
The side window:

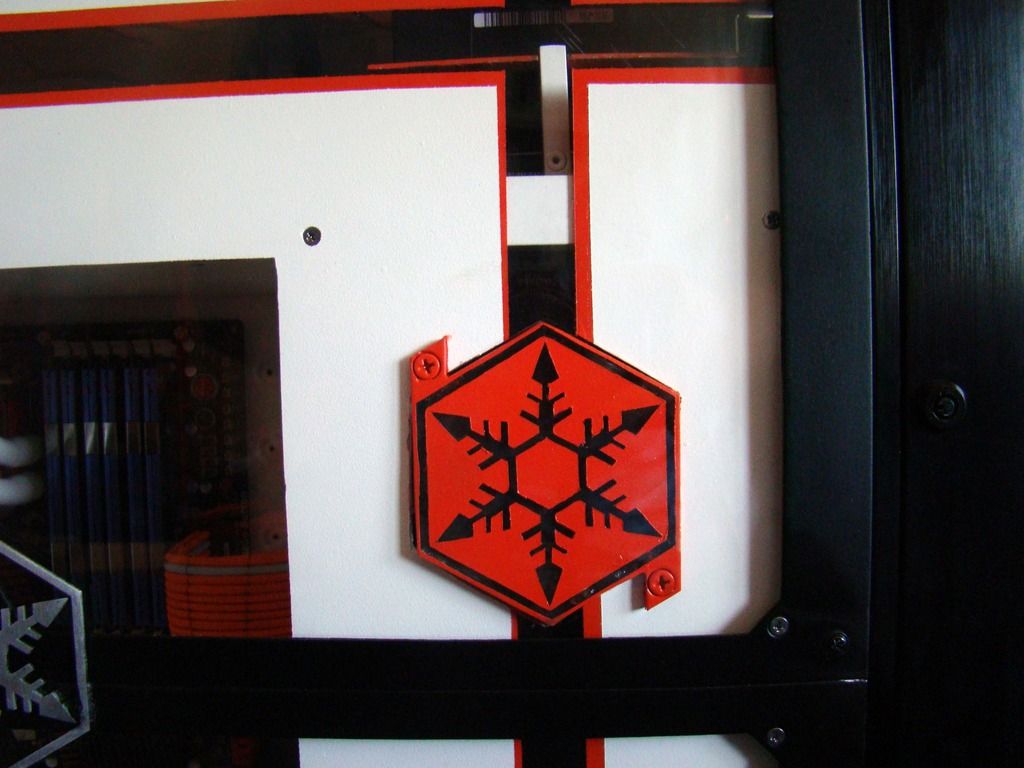
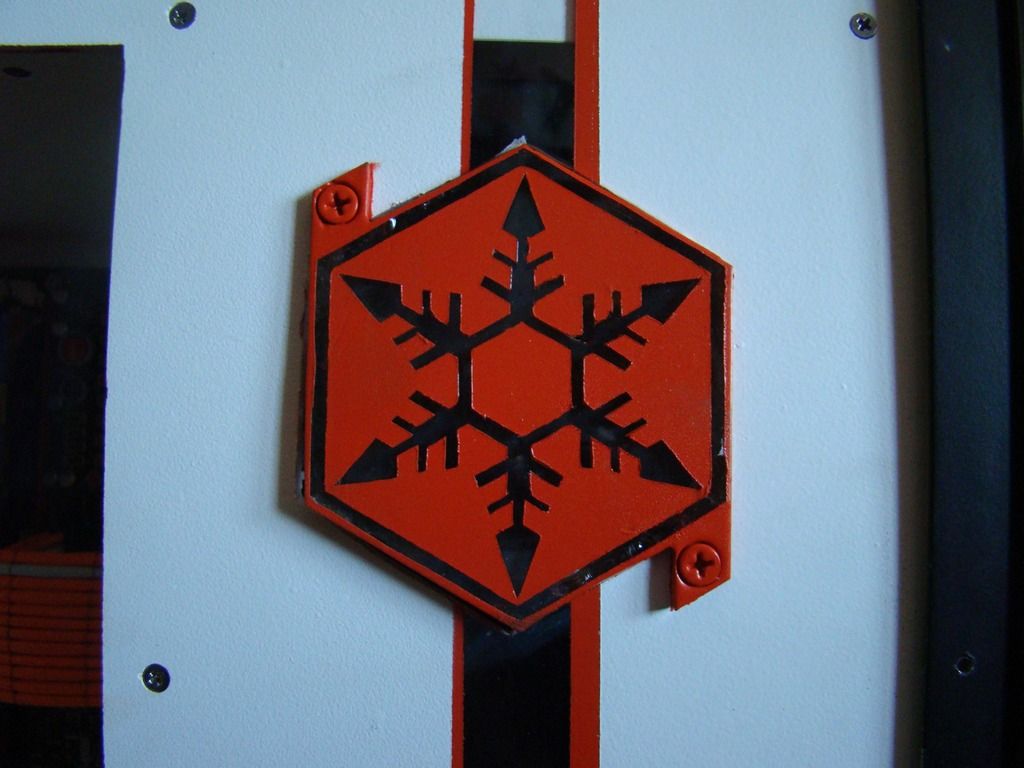
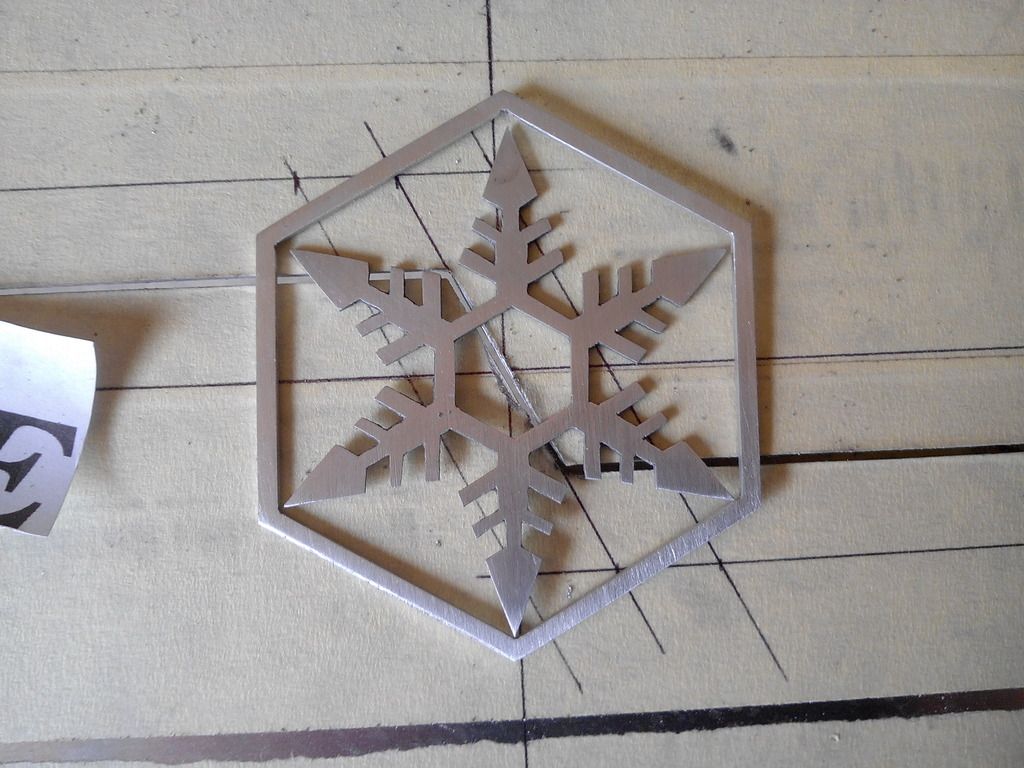
After cuting the side window, cut the SilverStone symbol:
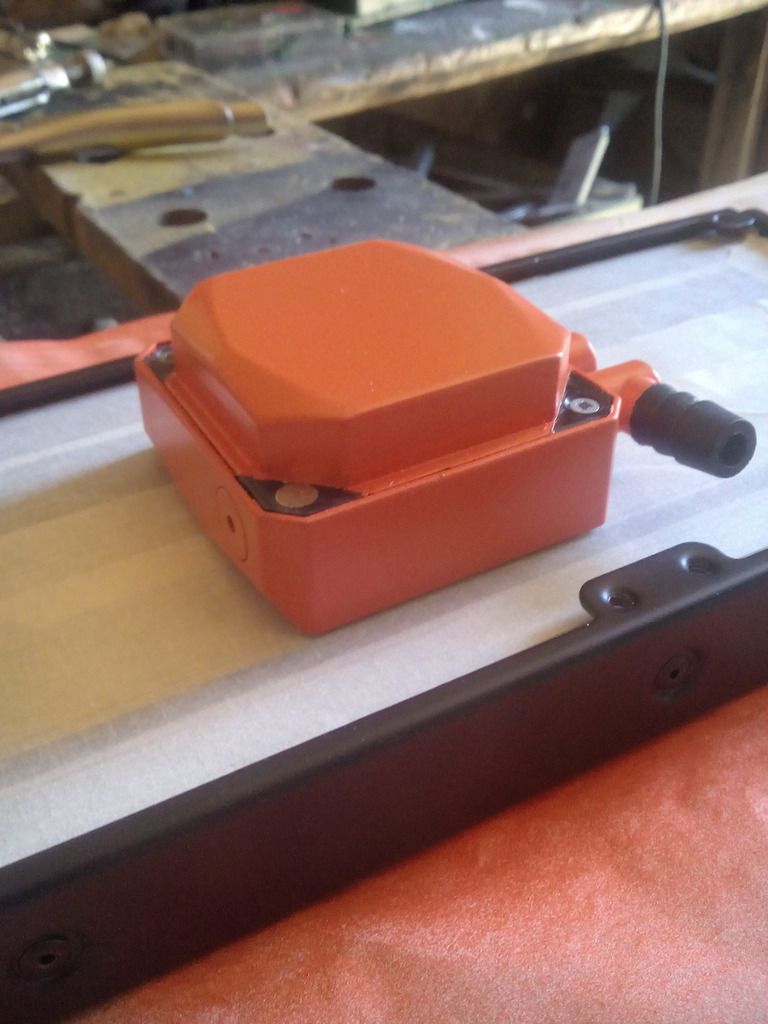
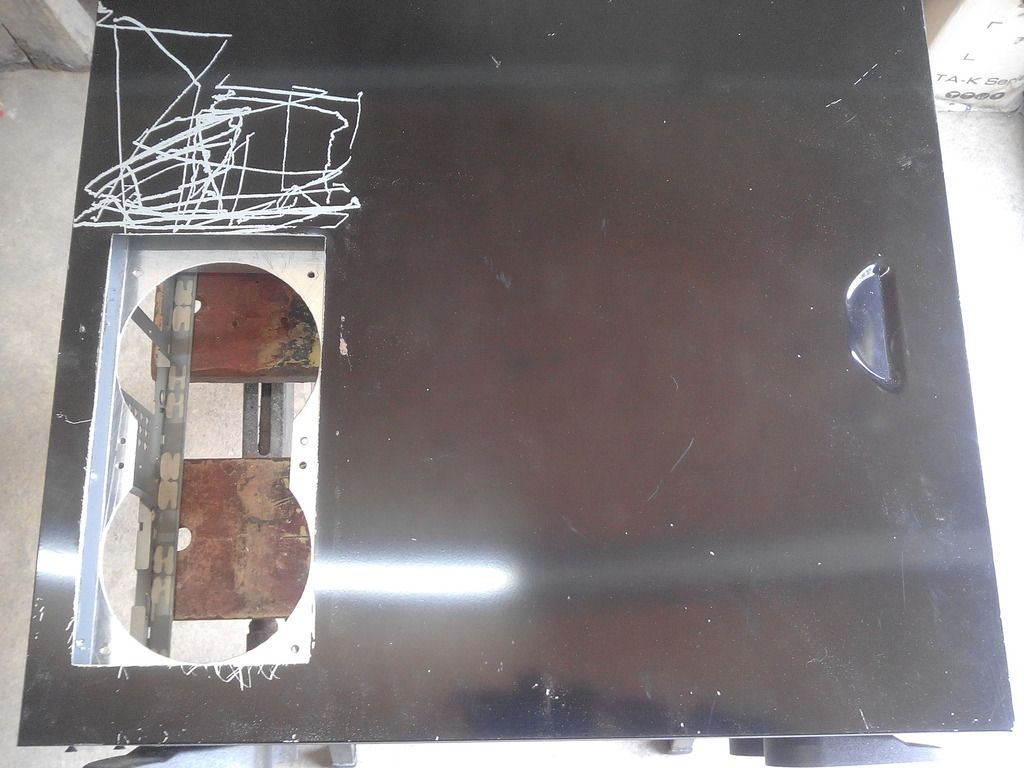
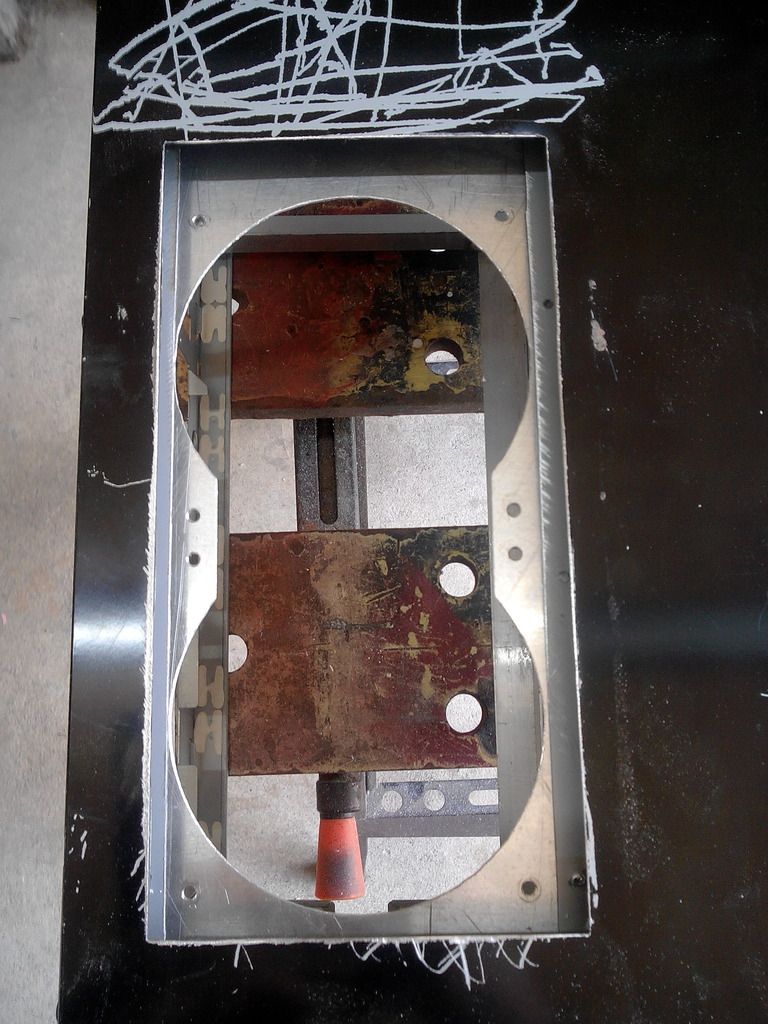
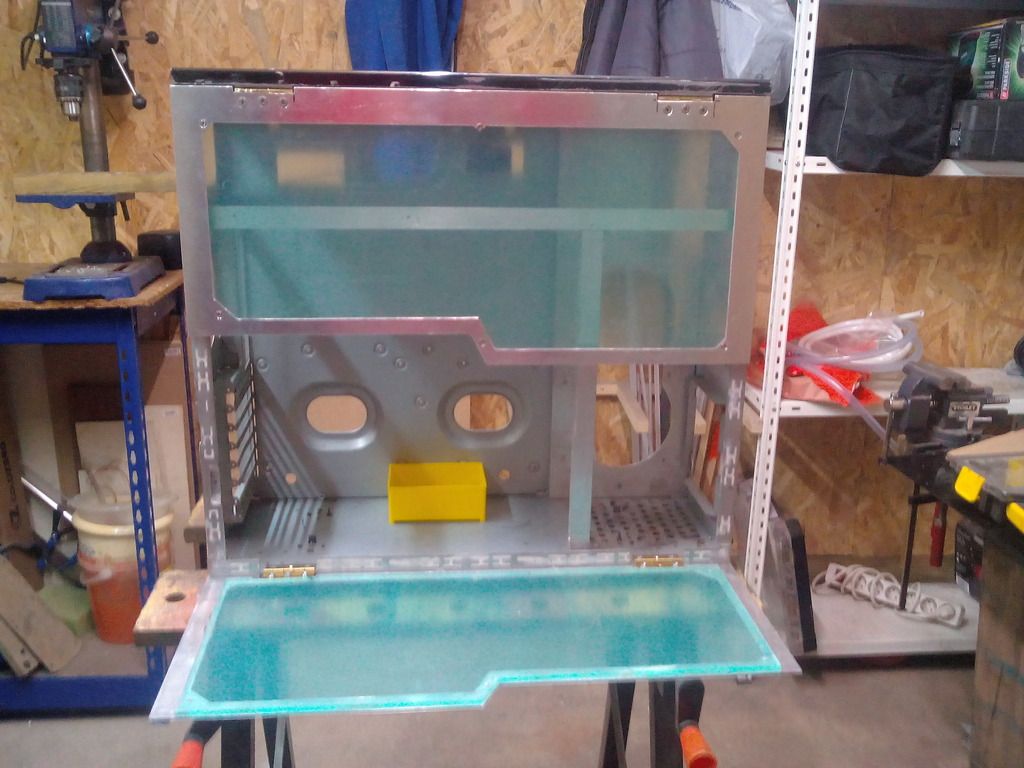
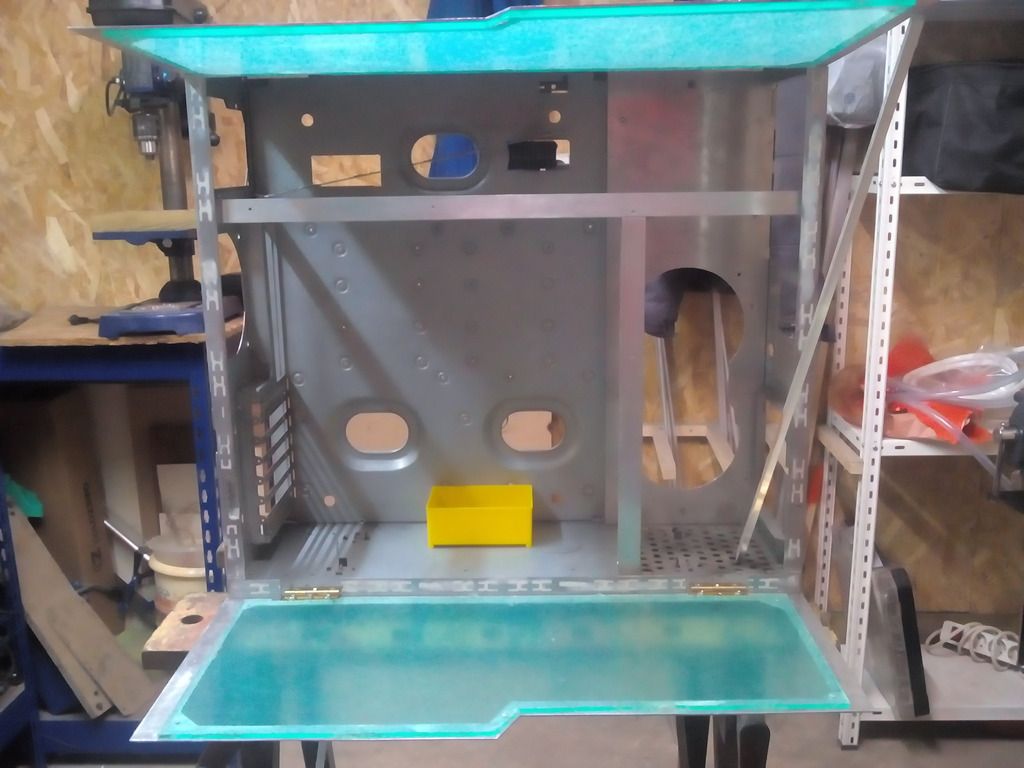
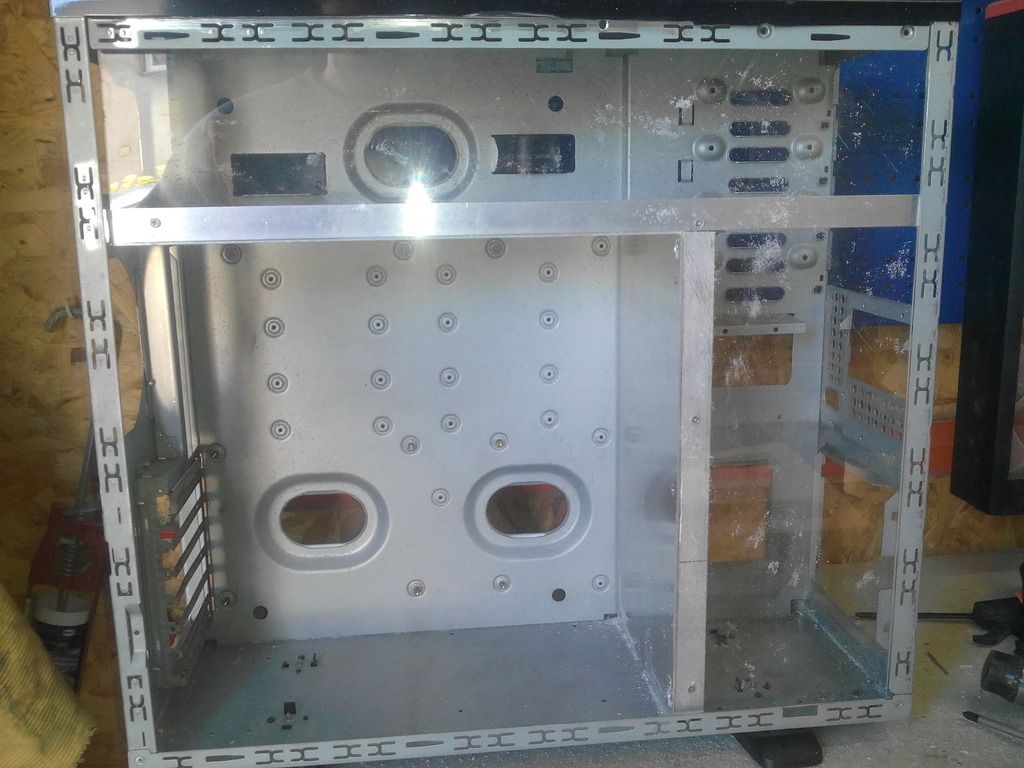
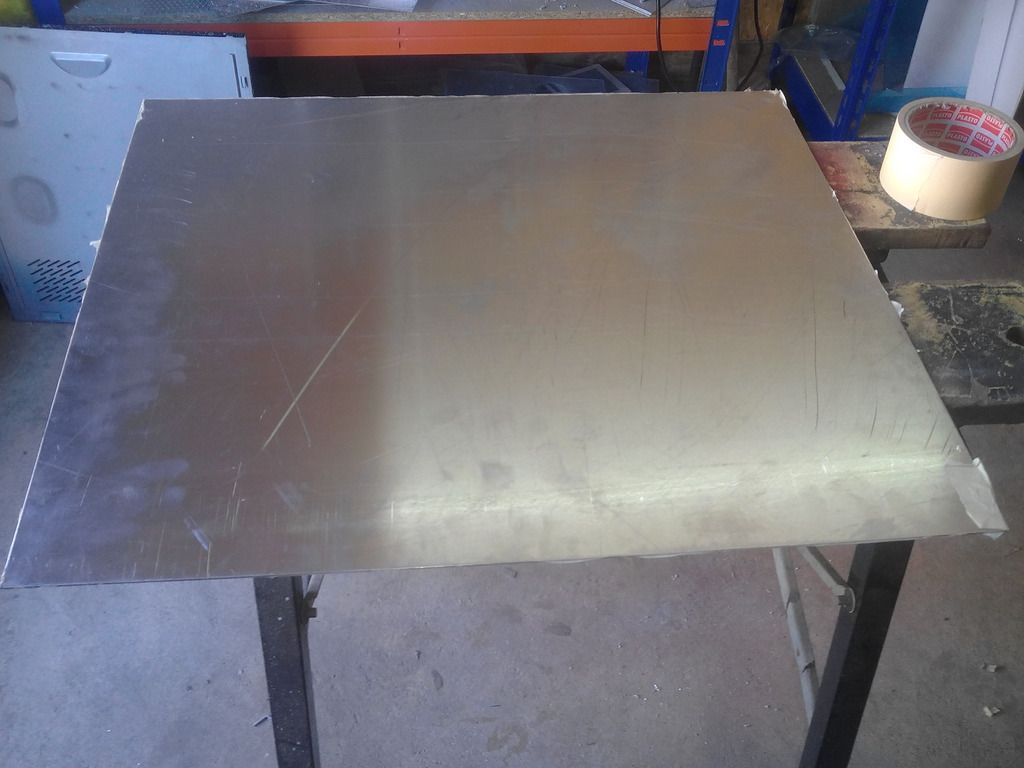
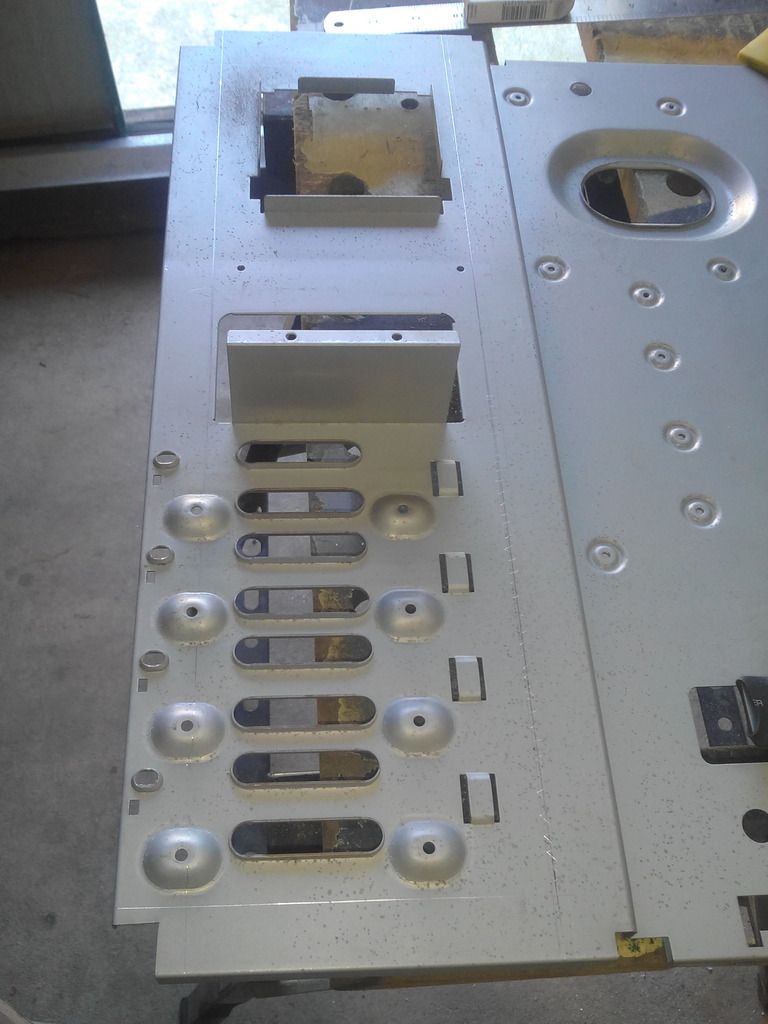
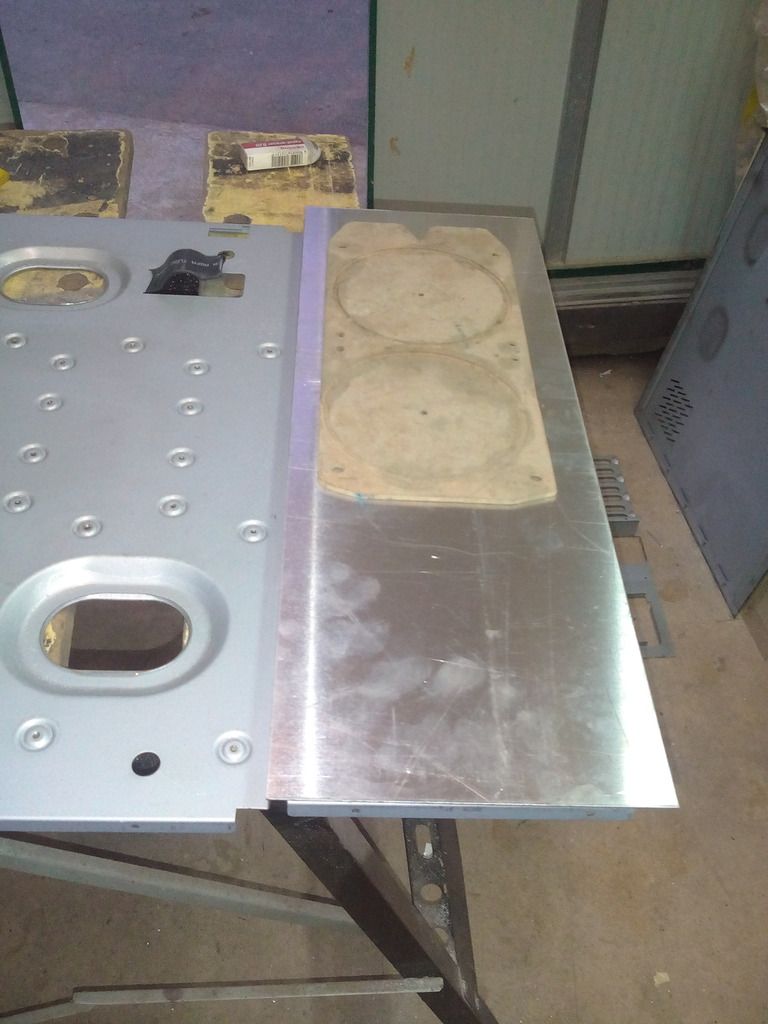
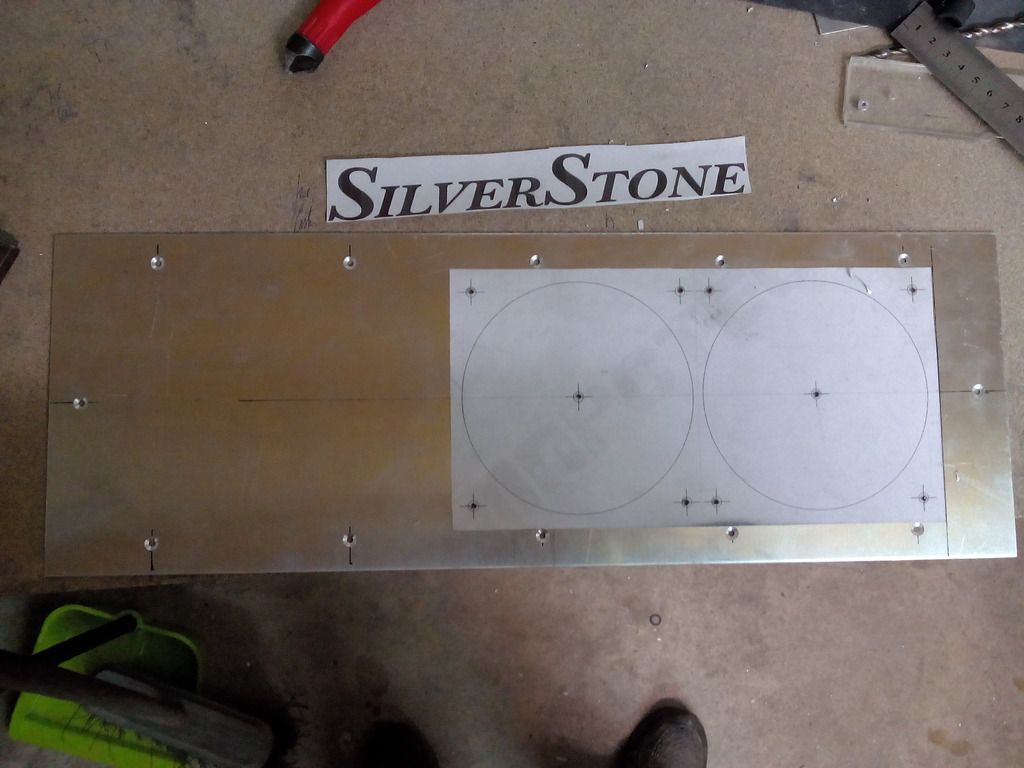
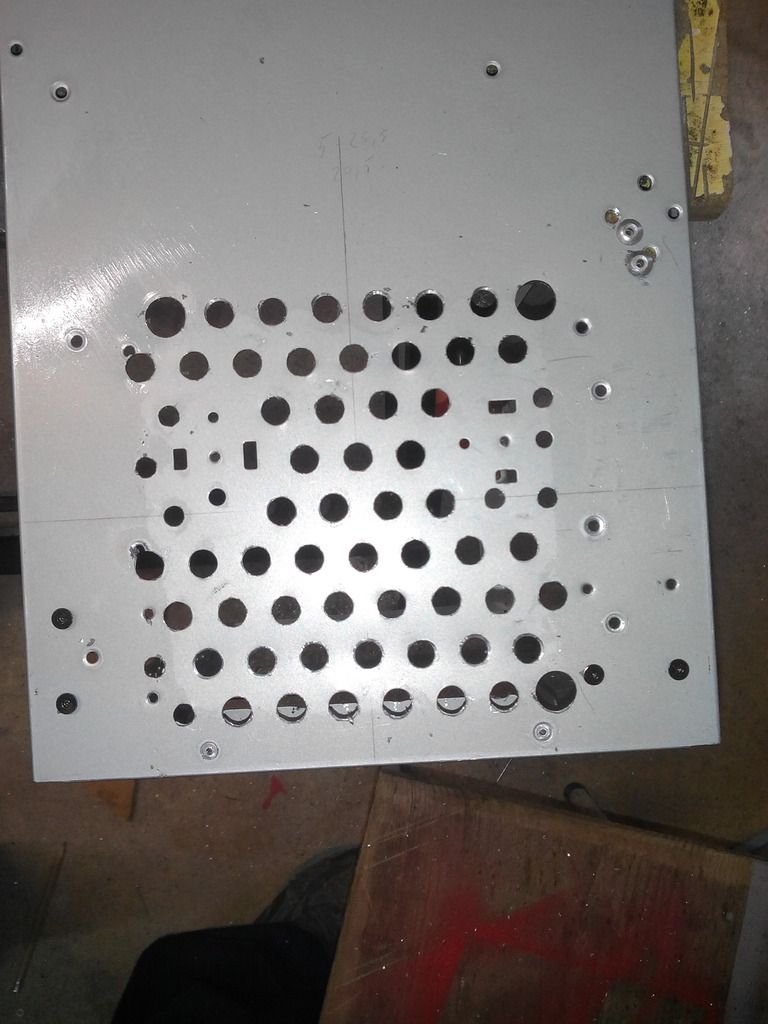
Removed the MB tray, and did some cutting:
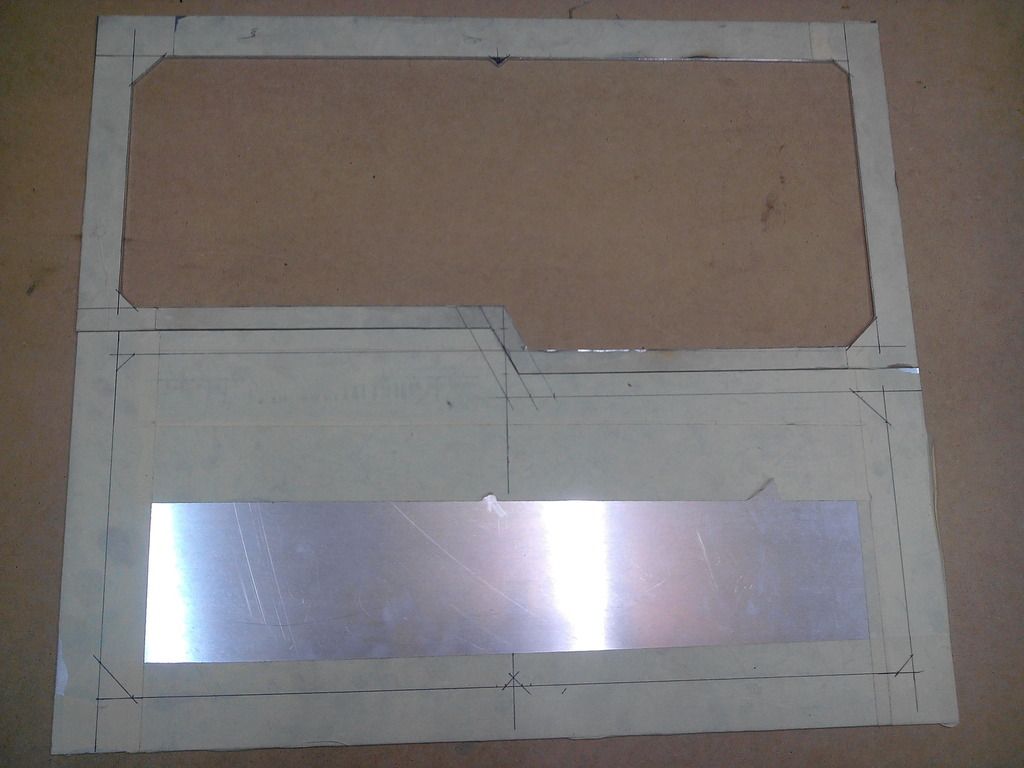
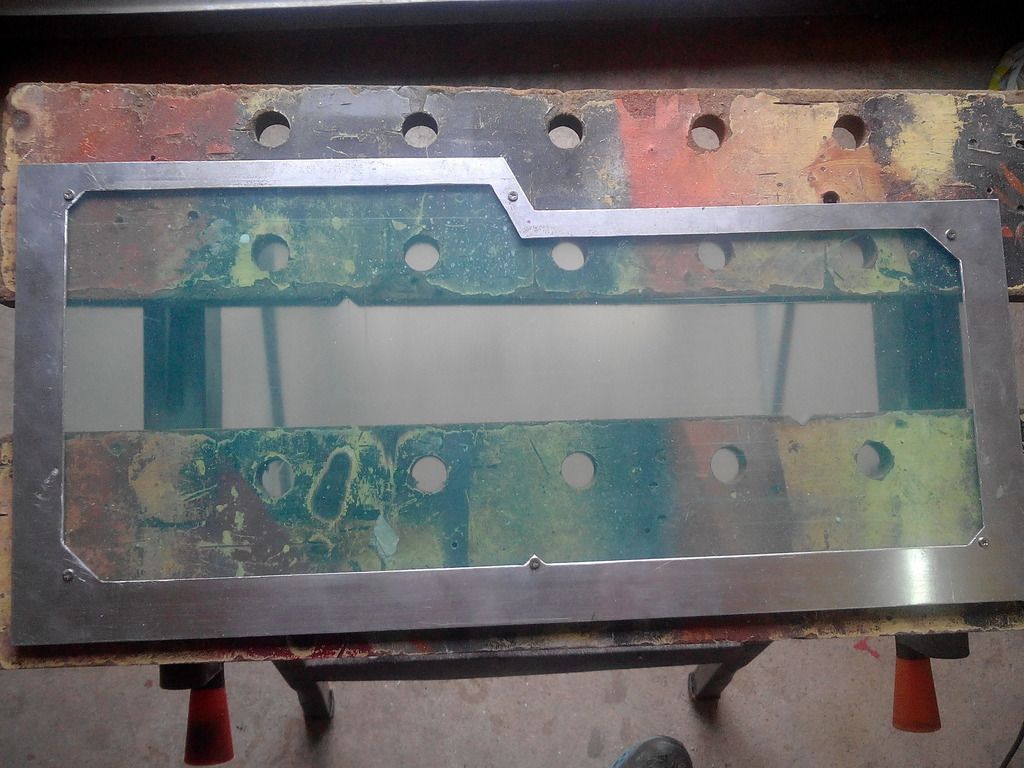
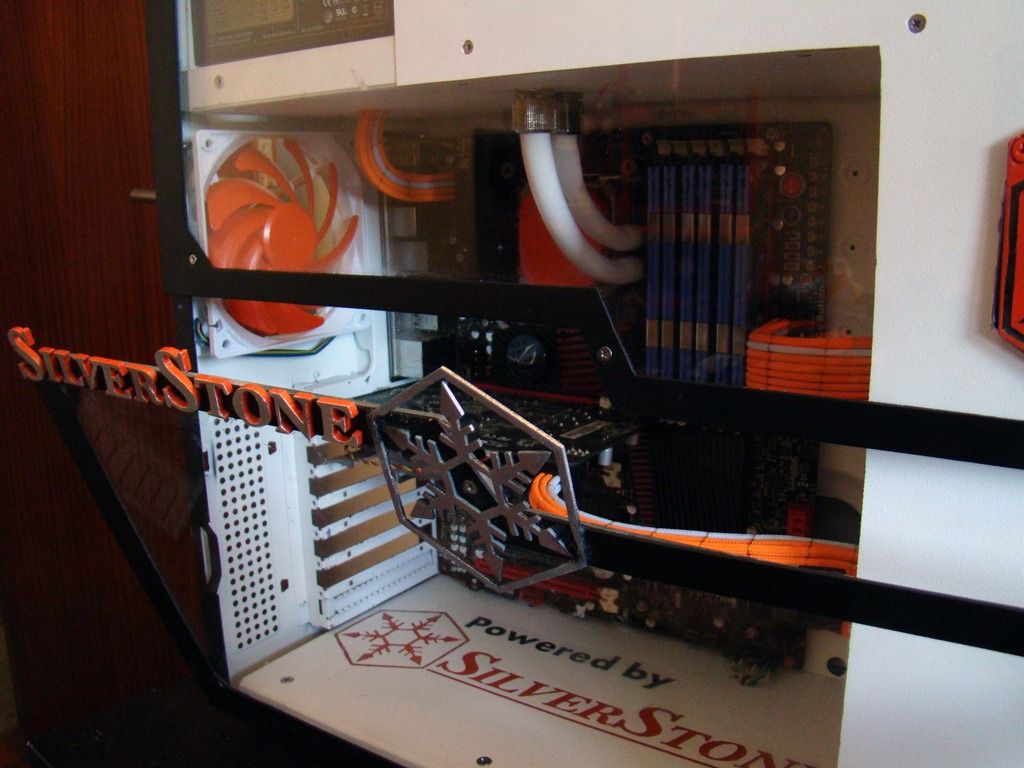
That aluminium will become the radiator + hdd holder
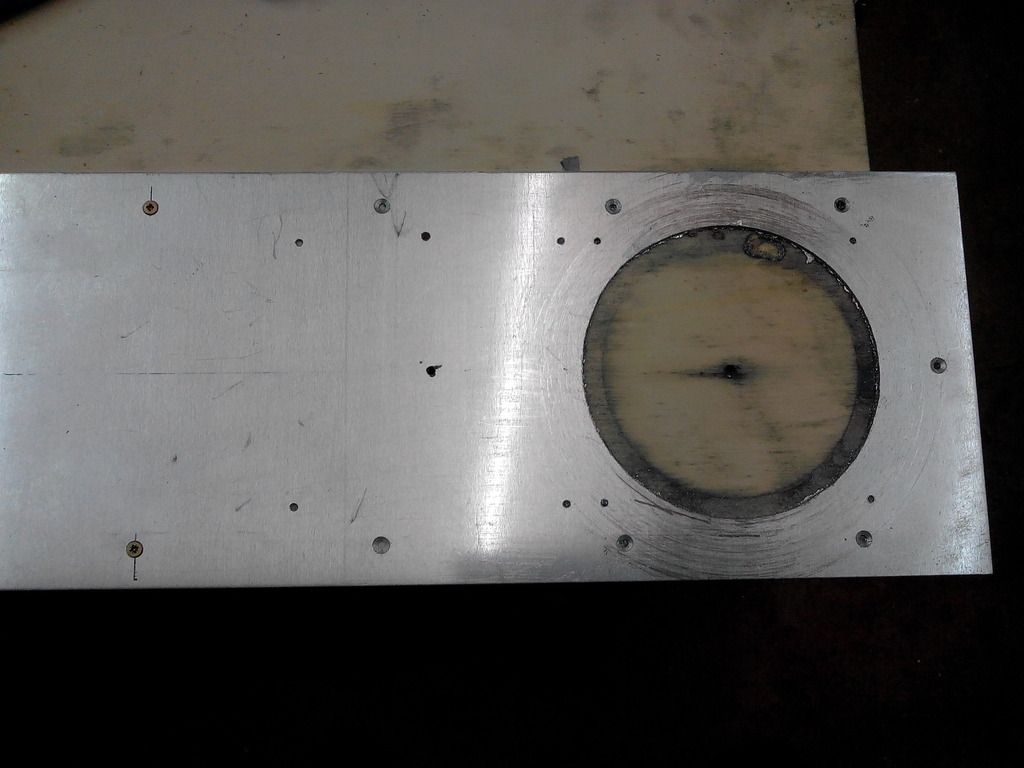
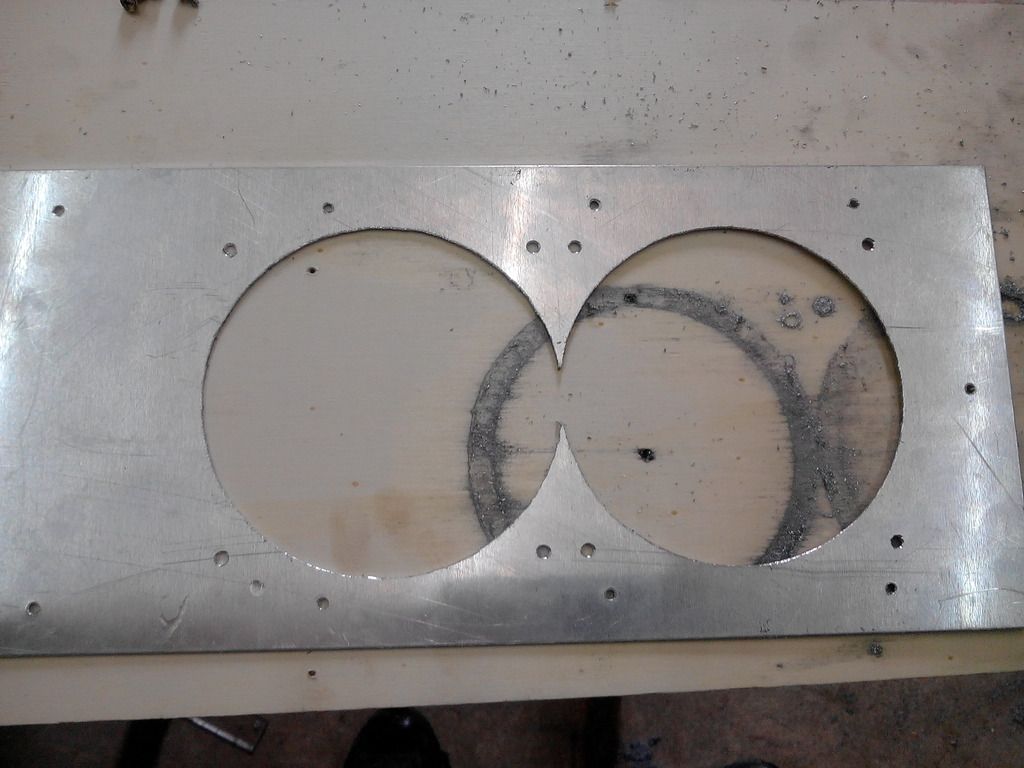
The Dremel is such a great tool... Got to love it...
What a strugle to find this revits, but they look awesome for this
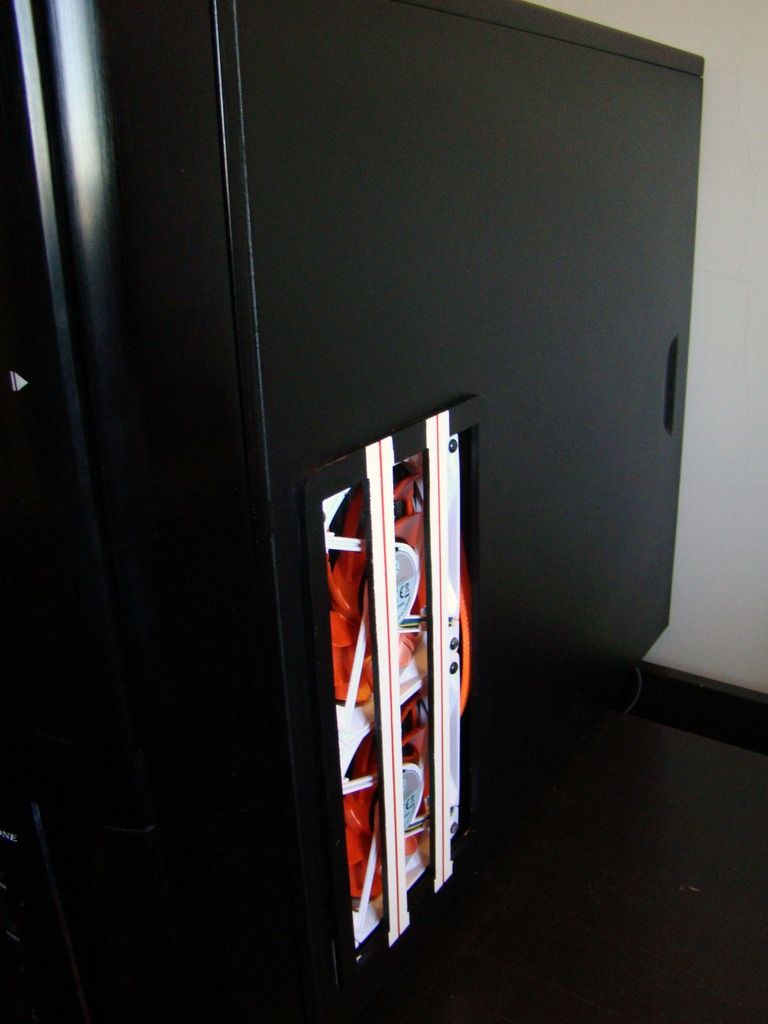
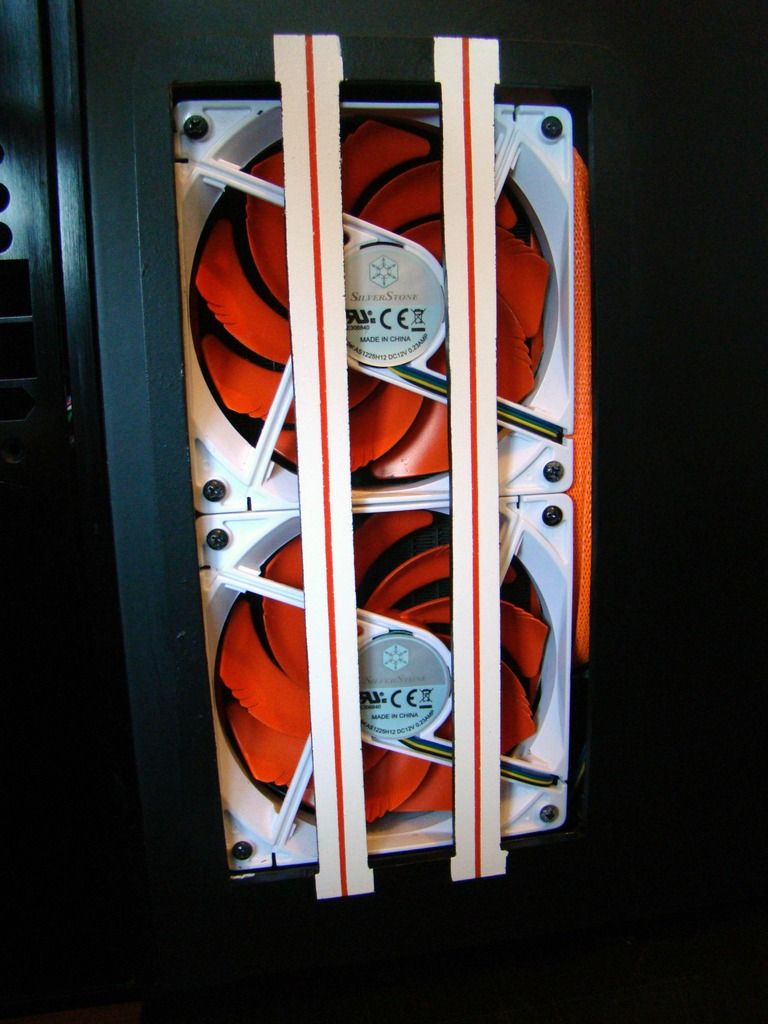
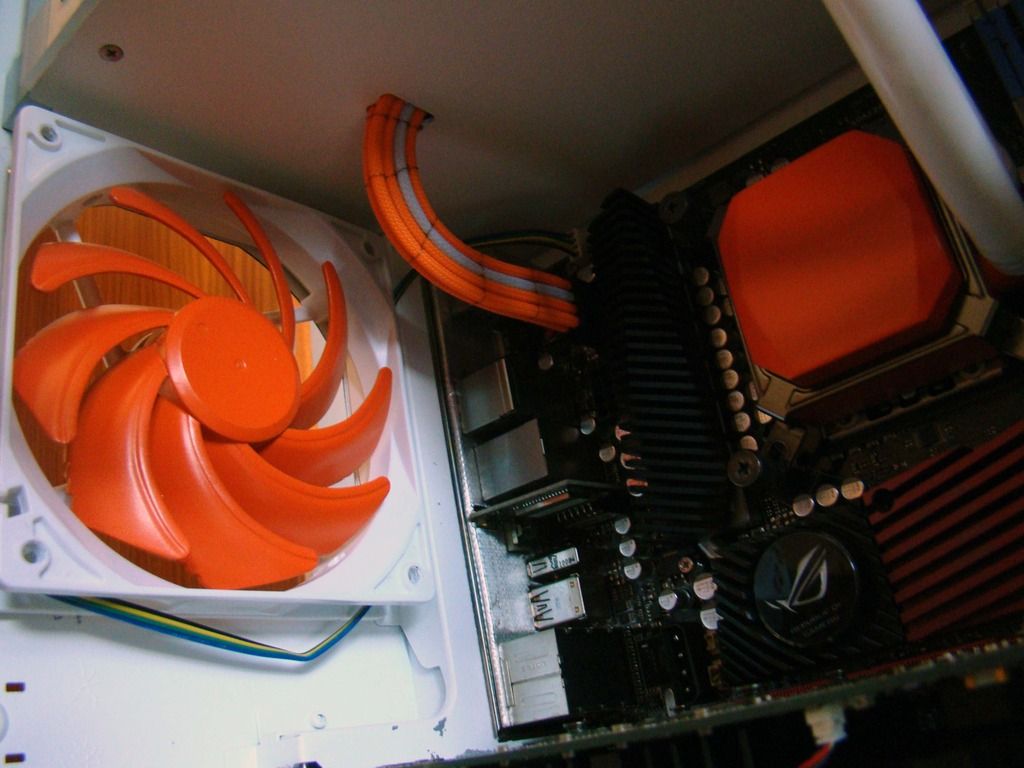
Drilled the bottom for a fan. But now I wont be able to use it [I'll explain later on]
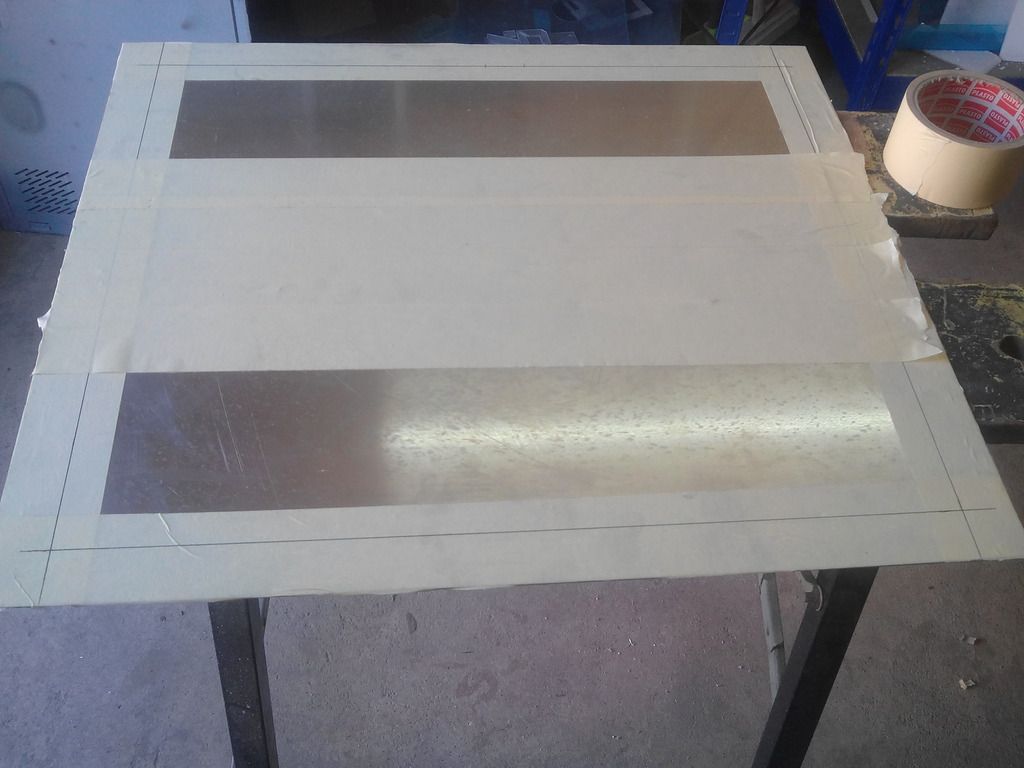
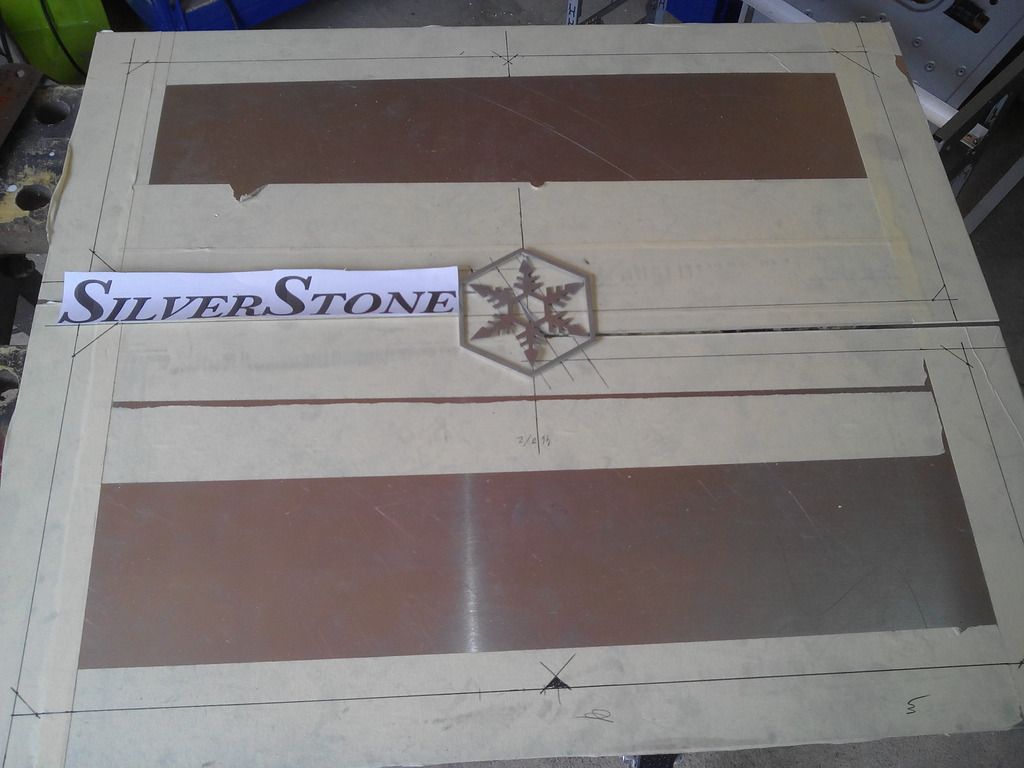
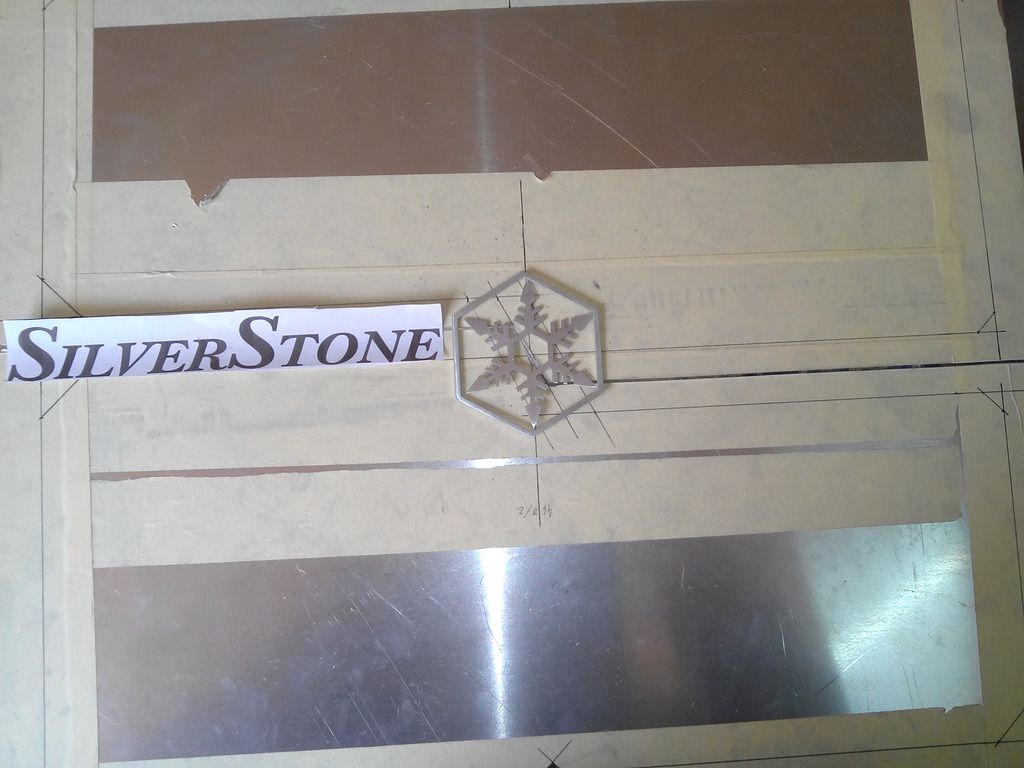
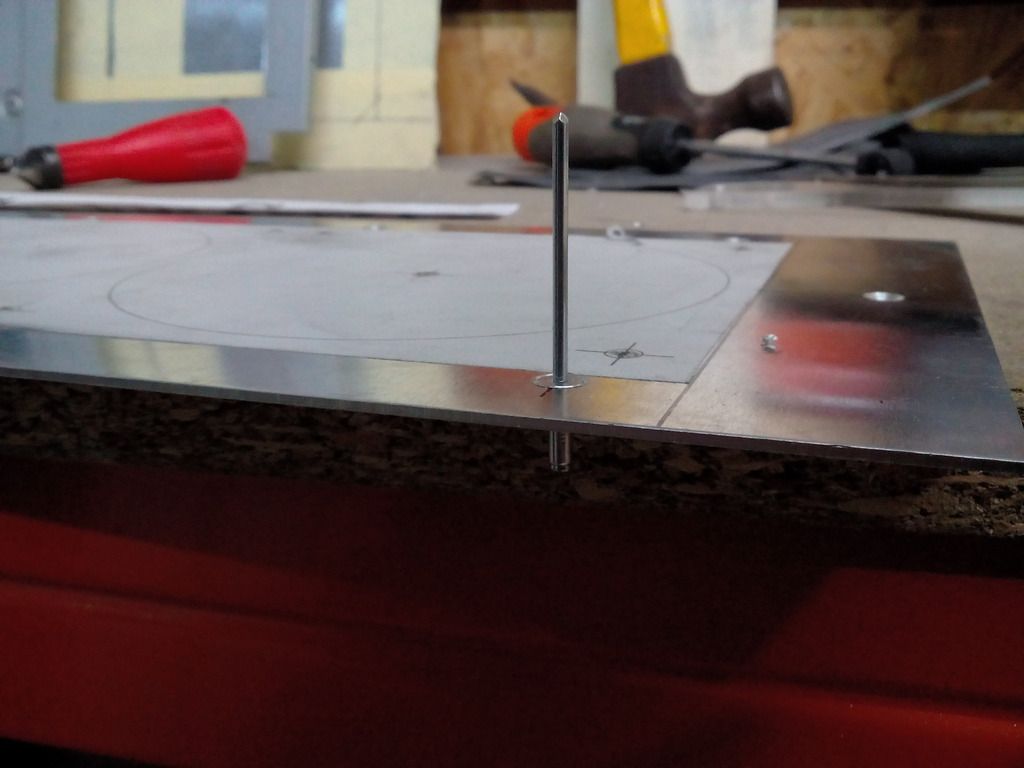
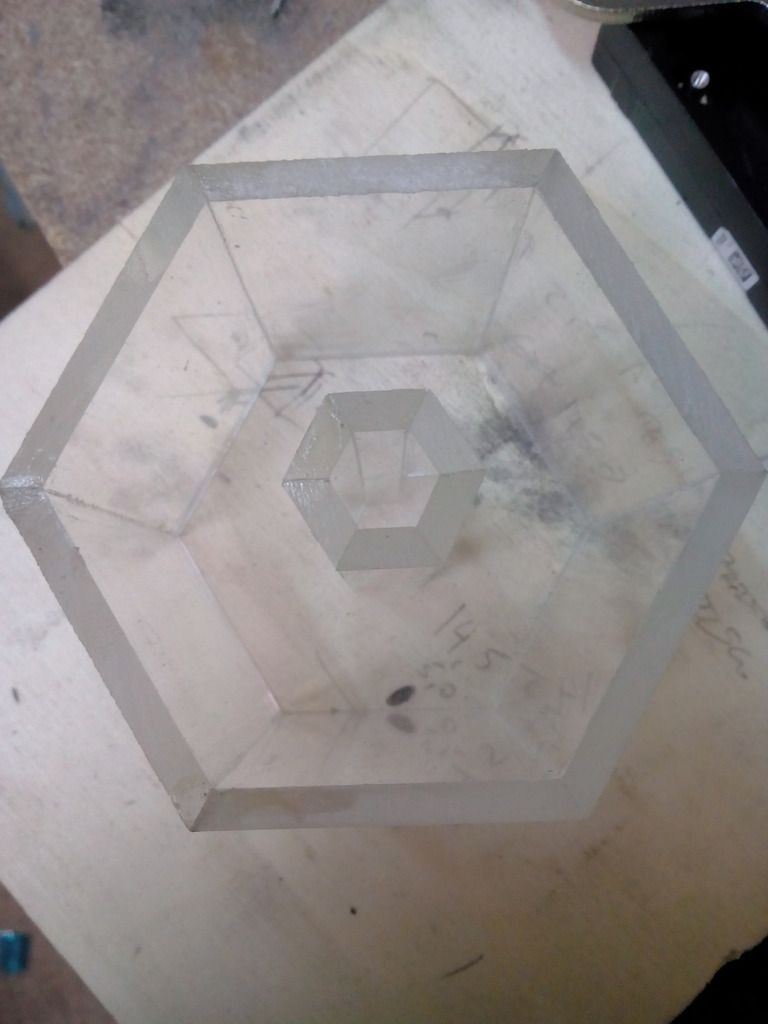
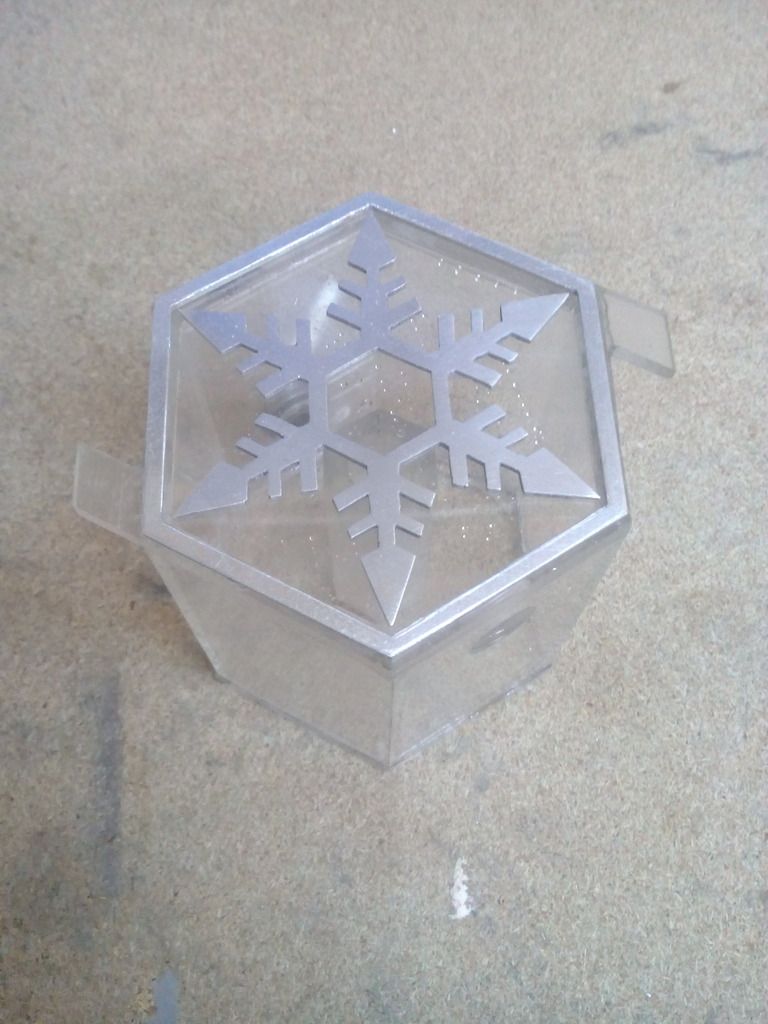
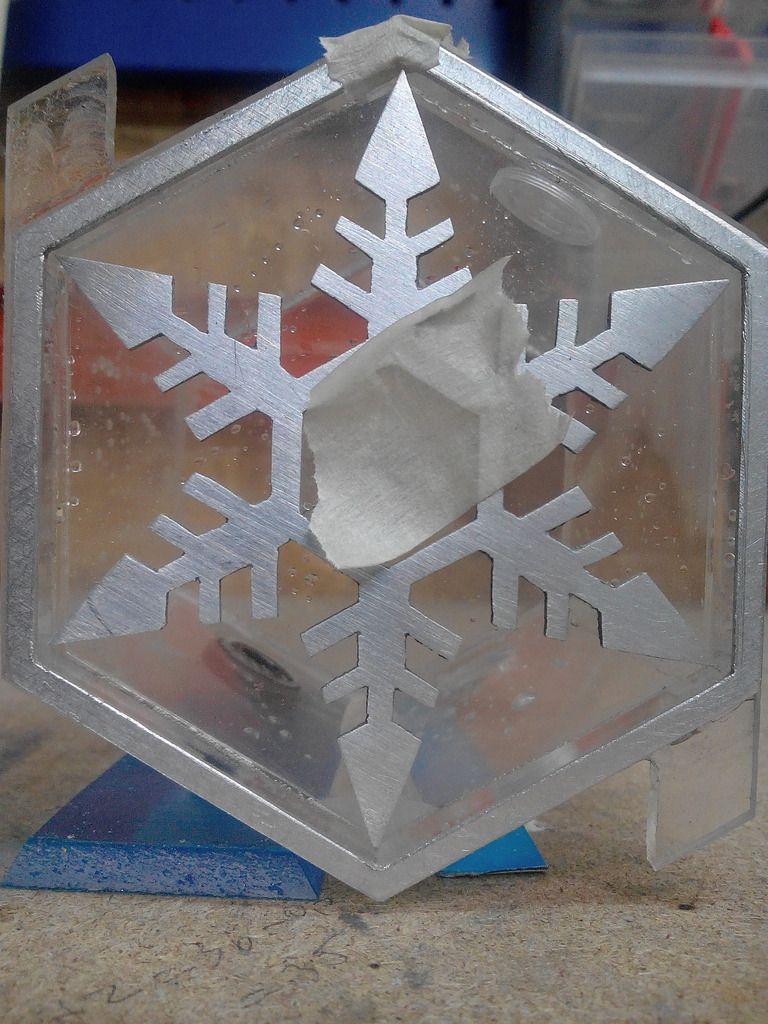
So, I've decided to do a custom reservoir using the SilverStone symbol.
At first I've tried to contact companies for cuting it. When I told what would it be, they started saying I wouldn't be abble to do it because of angles and so.
Well, I'm kinda stubborn. And when someone tell me I wont be abble to do, I do it (at least have to try!)
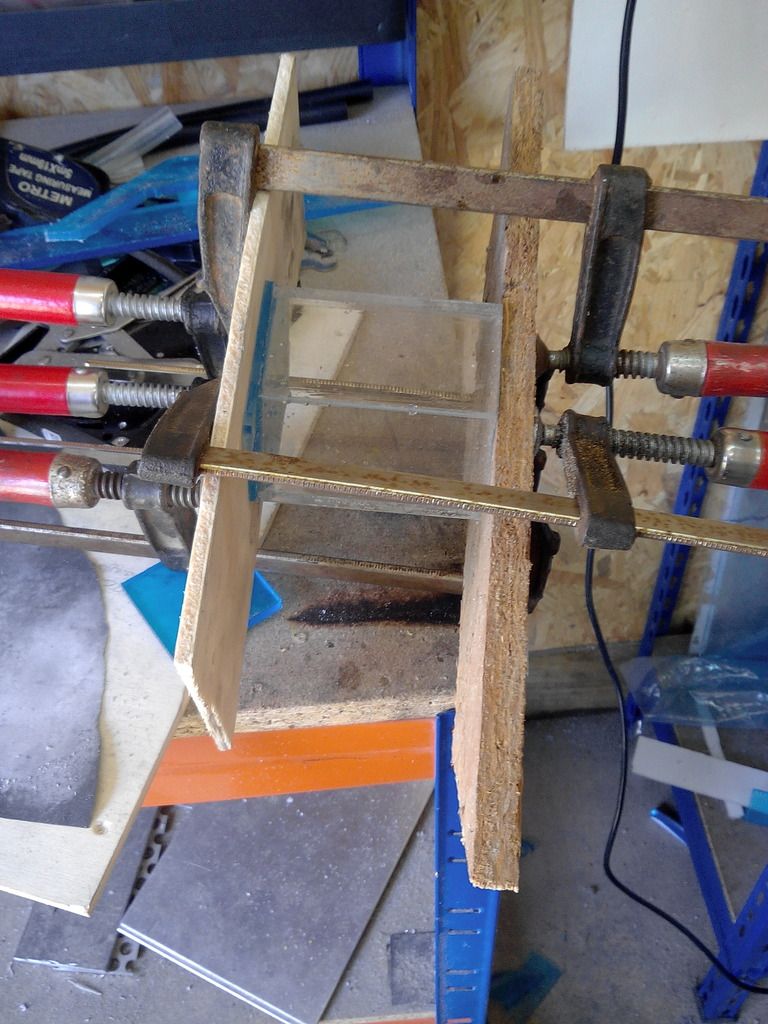
So, after HOURS(!!!) cuting, filling, glue it all together, almost destrution by my kittie, here it is:
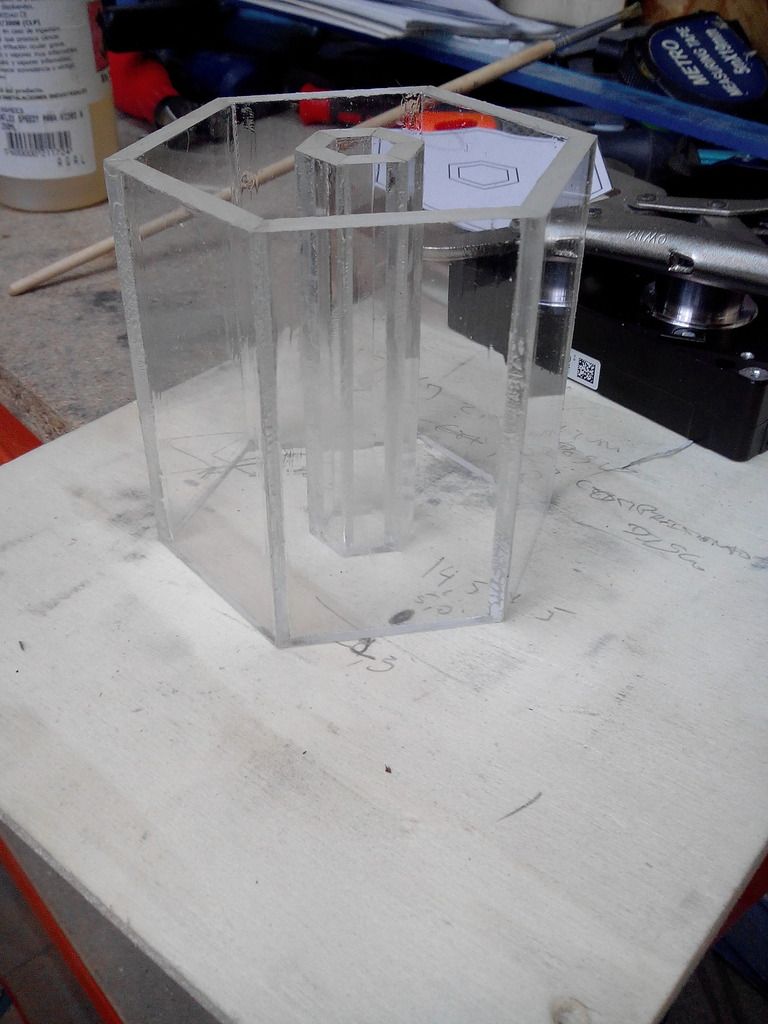
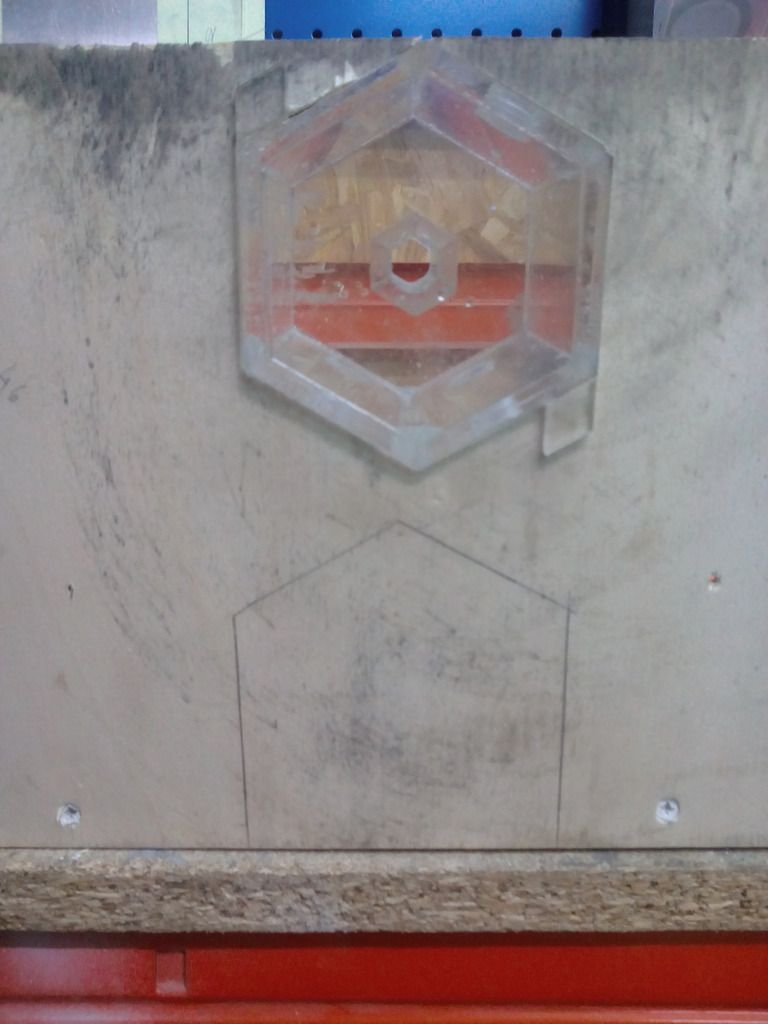
Glued the top
And the bottom [dont know what my phone tried to focus here ahah]
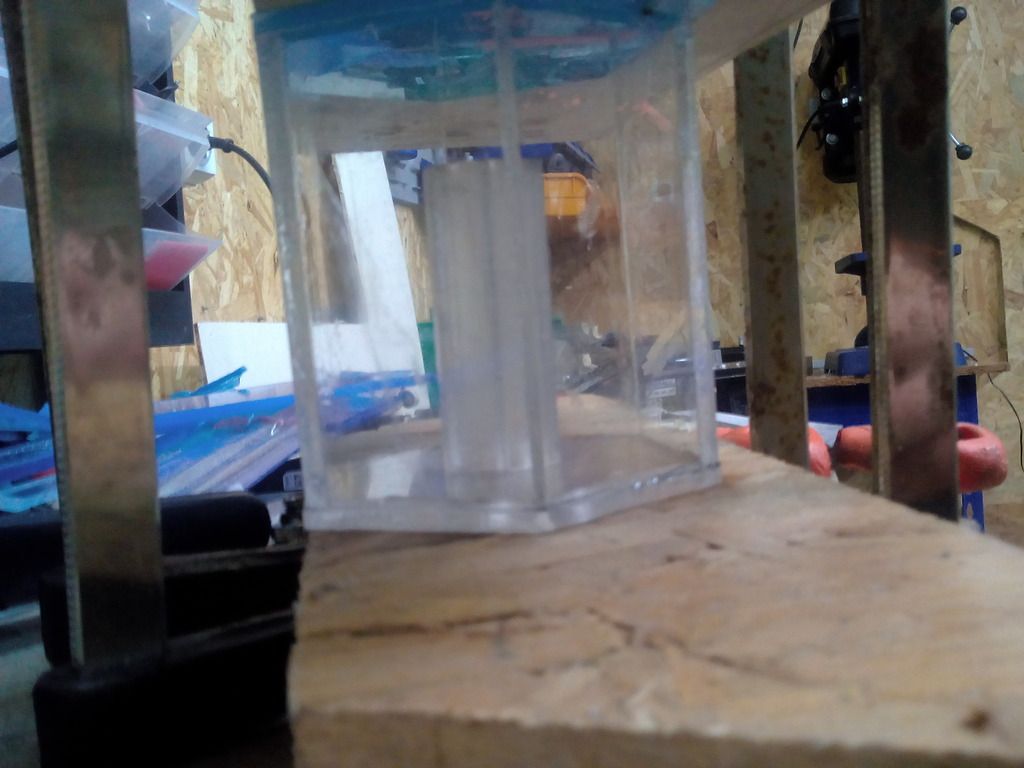
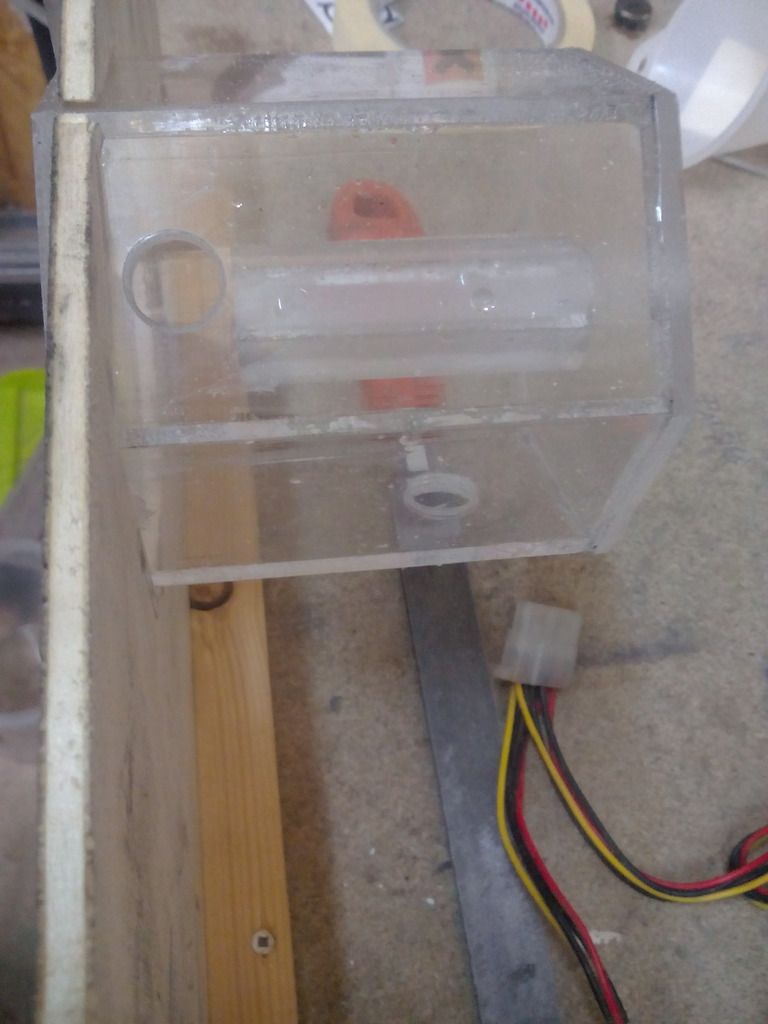
All glued, drilled and taped for 1/4
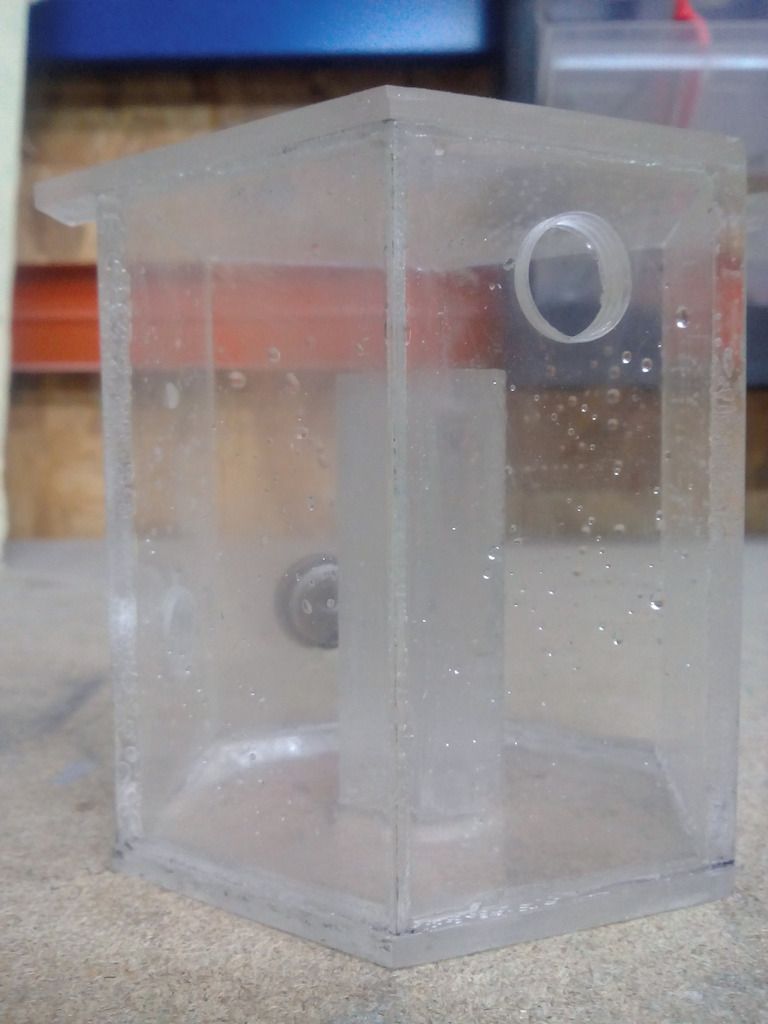
It looks good for me!

Still dont know how I'll fix it, but I'll find a way eheh
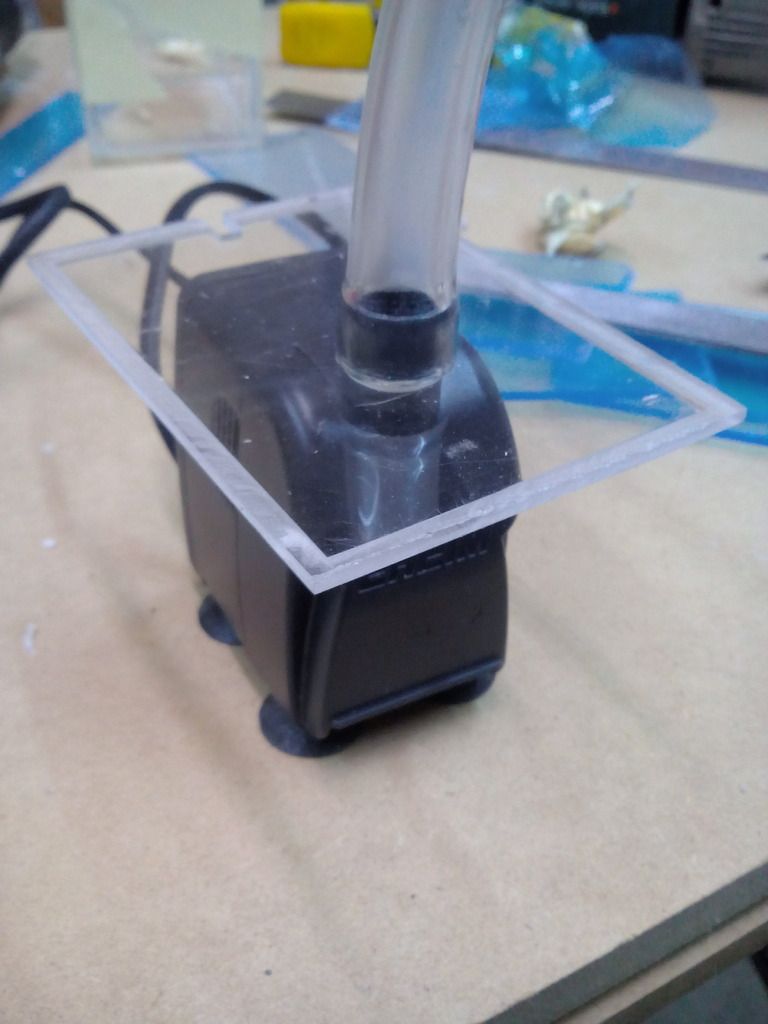
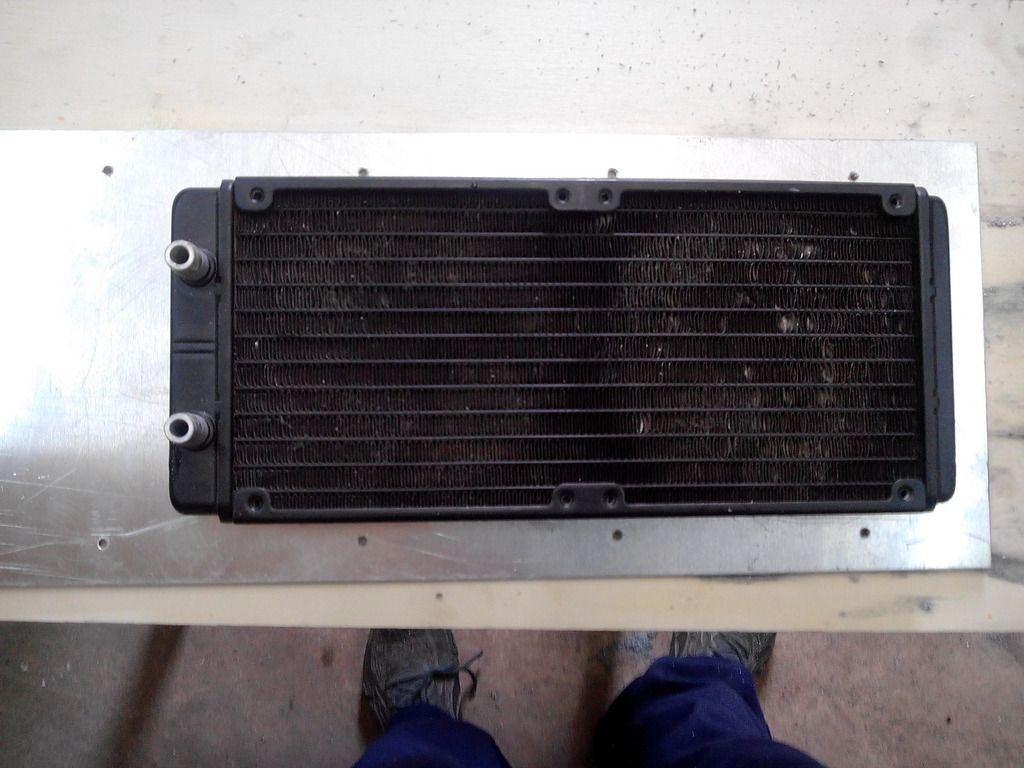
So, I needed to test it. Did a cut on a small piece of wood and did the testing
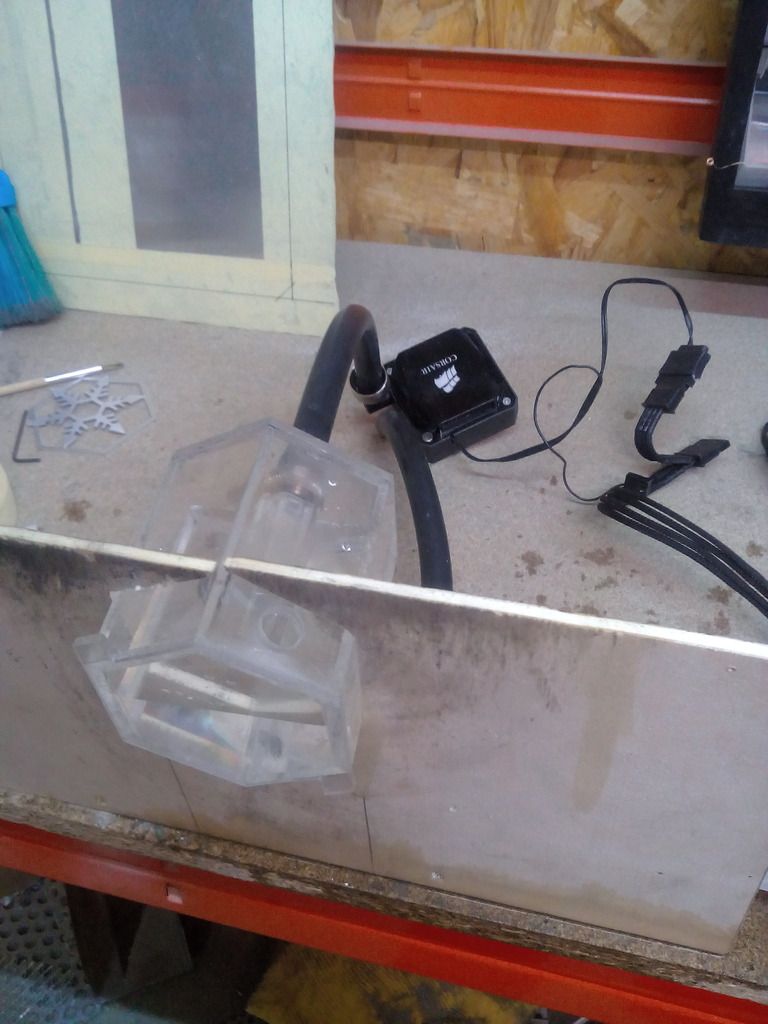
Yes. That is a h100i. And no, i won't be abble to use it. Why?! Well, it sucks. Really bad pressure. Soon I'll post the alternative!
This is it folks. This is what I have for now, hopefuly soon enough I'll post new pics with a lot of new work.
Hope you enjoy and hope you can give me some feedback!
Thanks in advance!
Hi OC3D users and viewers.
Today I want to present you my new project, TJ05.
For a very long time that I've been watching SilverStone cases and always wanted one. A few weeks ago, found someone selling one (a TJ 05) (way too cheap lol) and I thought "well, if it isn't today, it will never be."
Started thinking about how and what should i do to it (PSU + Drive bay cover were the first ideas). But, as the project go, I started having new ideas. But, lets see some pics
After a lot of thinking and advices asked, the build will be orange + white + black (eheh hope I'll surprise you in the end)
P.S. I'm sorry for the photo quality but I'm not that good taking pictures. This are the best I have in the middle of a lot of other pictures.
So, The case...
Dirty poor case... It had a really serious beating from the previous owner
My eyes fell for this front. It's just... beautiful.
So, after dusting it (and almost get killed doing it
), striping (the case, not me)
After some hours and some cutings, the covers are done
The side window:
After cuting the side window, cut the SilverStone symbol:
Removed the MB tray, and did some cutting:
That aluminium will become the radiator + hdd holder
The Dremel is such a great tool... Got to love it...
What a strugle to find this revits, but they look awesome for this
Drilled the bottom for a fan. But now I wont be able to use it [I'll explain later on]
So, I've decided to do a custom reservoir using the SilverStone symbol.
At first I've tried to contact companies for cuting it. When I told what would it be, they started saying I wouldn't be abble to do it because of angles and so.
Well, I'm kinda stubborn. And when someone tell me I wont be abble to do, I do it (at least have to try!)
So, after HOURS(!!!) cuting, filling, glue it all together, almost destrution by my kittie, here it is:
Glued the top
And the bottom [dont know what my phone tried to focus here ahah]
All glued, drilled and taped for 1/4
It looks good for me!
Still dont know how I'll fix it, but I'll find a way eheh
So, I needed to test it. Did a cut on a small piece of wood and did the testing
Yes. That is a h100i. And no, i won't be abble to use it. Why?! Well, it sucks. Really bad pressure. Soon I'll post the alternative!
This is it folks. This is what I have for now, hopefuly soon enough I'll post new pics with a lot of new work.
Hope you enjoy and hope you can give me some feedback!
Thanks in advance!
Last edited: